
'%20x='0'%20y='0'%20height='100%25'%20width='100%25'%20%0A%20%20%20%20%20%20%20%20%20%20xlink%3Ahref='data:image/jpg;base64,/9j/2wBDAAYEBQYFBAYGBQYHBwYIChAKCgkJChQODwwQFxQYGBcUFhYaHSUfGhsjHBYWICwgIyYnKSopGR8tMC0oMCUoKSj/2wBDAQcHBwoIChMKChMoGhYaKCgoKCgoKCgoKCgoKCgoKCgoKCgoKCgoKCgoKCgoKCgoKCgoKCgoKCgoKCgoKCgoKCj/wgARCAAGAAoDASIAAhEBAxEB/8QAFgABAQEAAAAAAAAAAAAAAAAAAAMG/8QAFAEBAAAAAAAAAAAAAAAAAAAABf/aAAwDAQACEAMQAAAAxkRYH//EAB4QAAEEAgMBAAAAAAAAAAAAAAIBAwQRAAUSEzEh/9oACAEBAAE/ANTuJB7RyE1wBjgrZOmKmY+pYpdJ9rHGpgOECnGJRWr6/c//xAAXEQADAQAAAAAAAAAAAAAAAAAAAgMS/9oACAECAQE/AL0bKn//xAAXEQEAAwAAAAAAAAAAAAAAAAACAAES/9oACAEDAQE/AADmp//Z'%3E%3C/image%3E%3C/svg%3E)
Some Genshin Impact players are having trouble with the "Find your way through the mist and make an offering at the perches" objective.
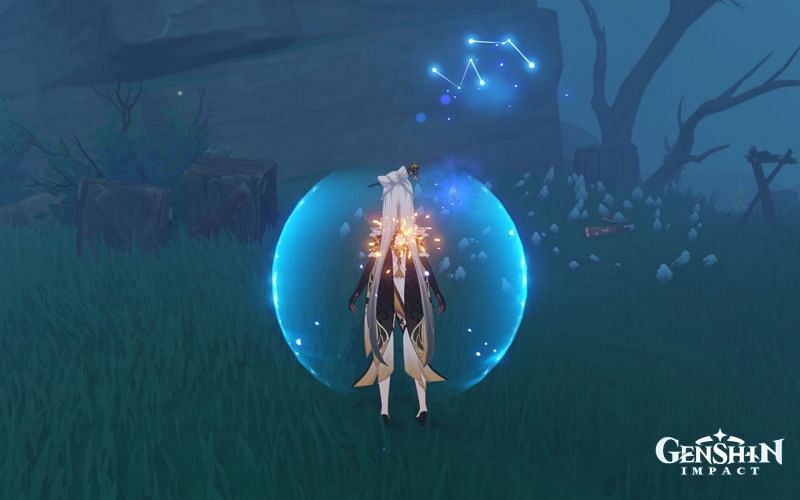
This part of the quest continues from the tutorial aspects of the "A Particularly Particular Author" quest. Everything before this involves talking and learning how to use Elemental Sight to collect three nearby feathers.
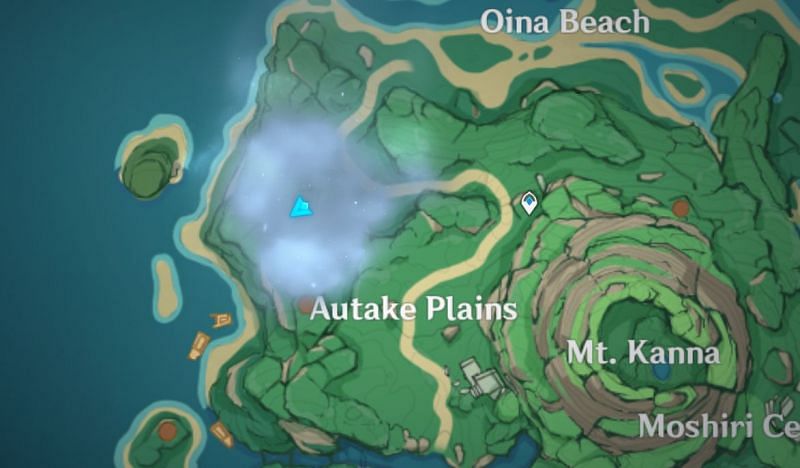
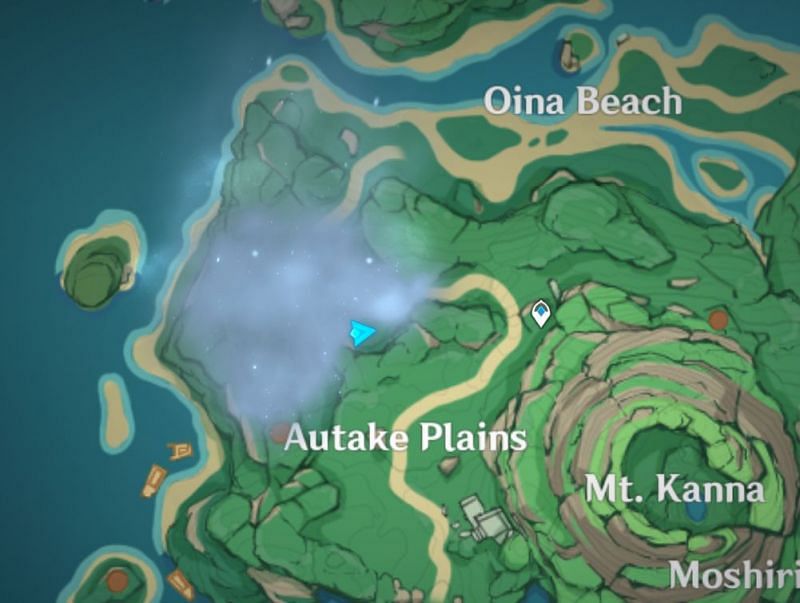
There should be three misty areas on the Tsurumi Island map. One is near Autake Plains, another near Shirikoro Peak, and the final one is at Chirai Shrine. It doesn't matter which one travelers begin with, as long as they complete all three.

The fog prevents players from teleporting to the Teleport Waypoints here.
Genshin Impact quest guide: A Particularly Particular Author continuation
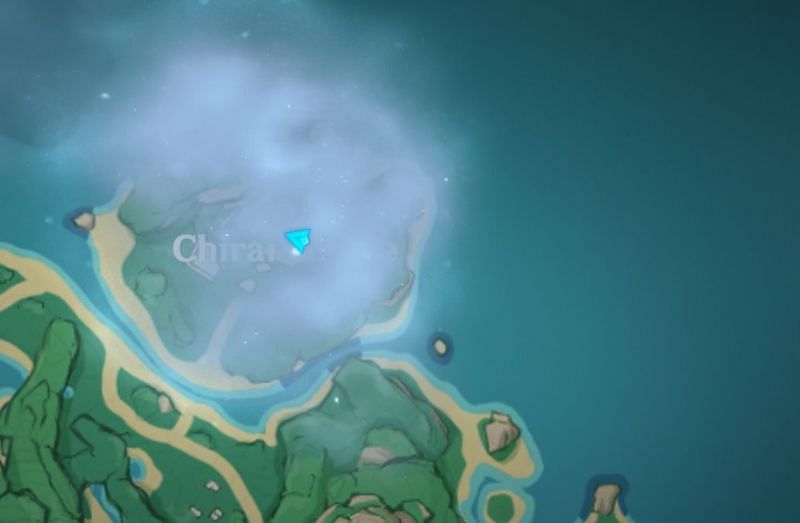
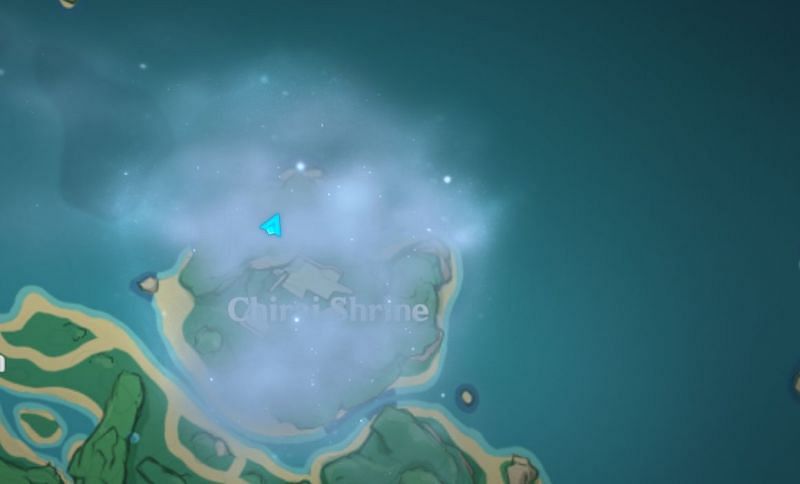
Perch 1 (Chirai Shrine)
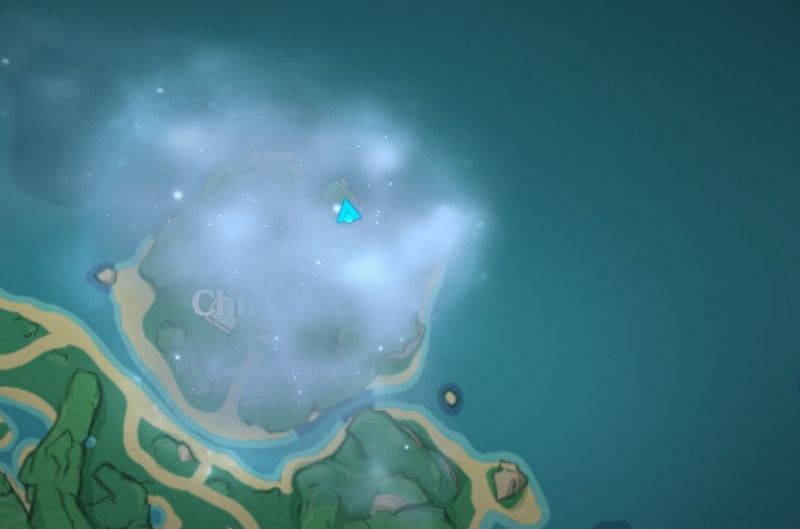
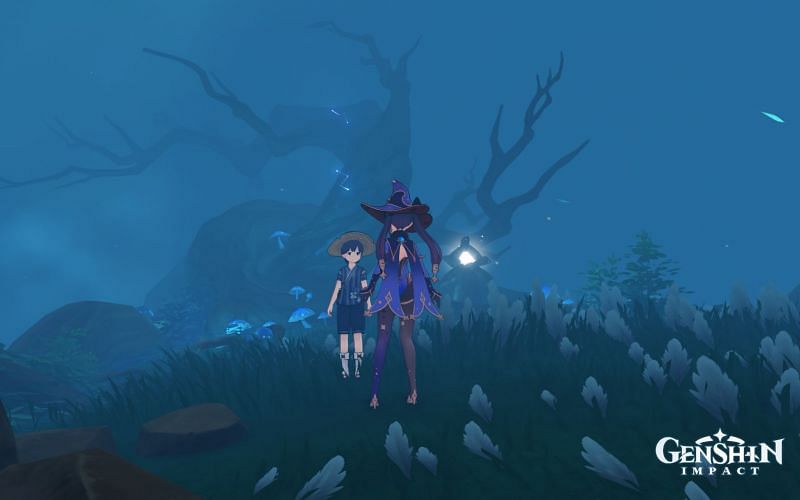
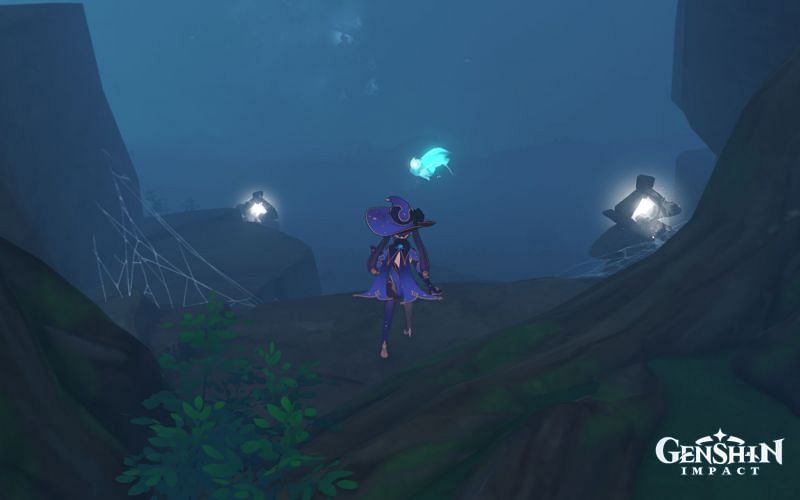
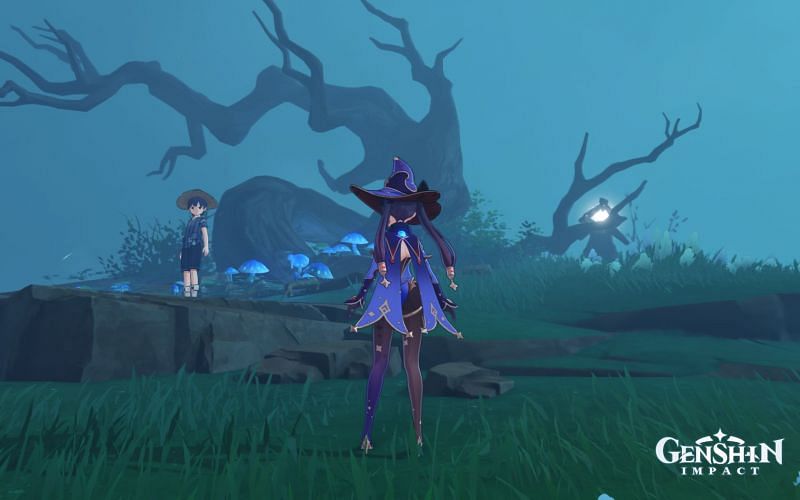
A little west of the map marker shown above will trigger a cutscene where the player will come across Ruu and Ku again. They must then head to the nearby perch and touch it to further continue with the quest.
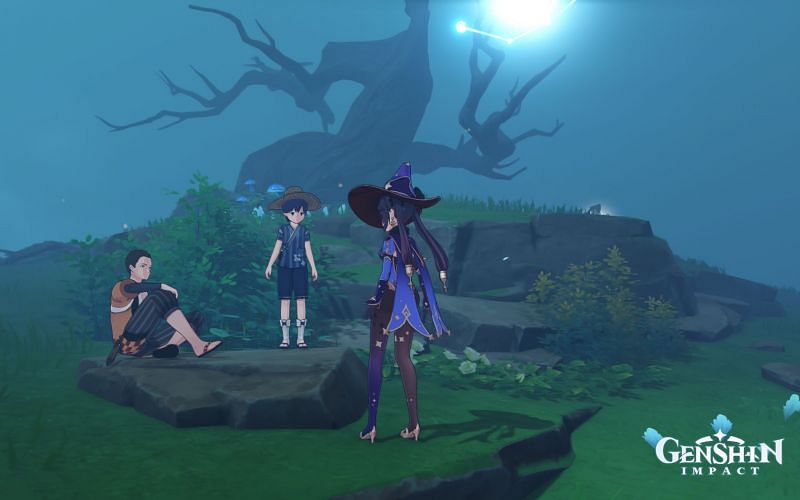
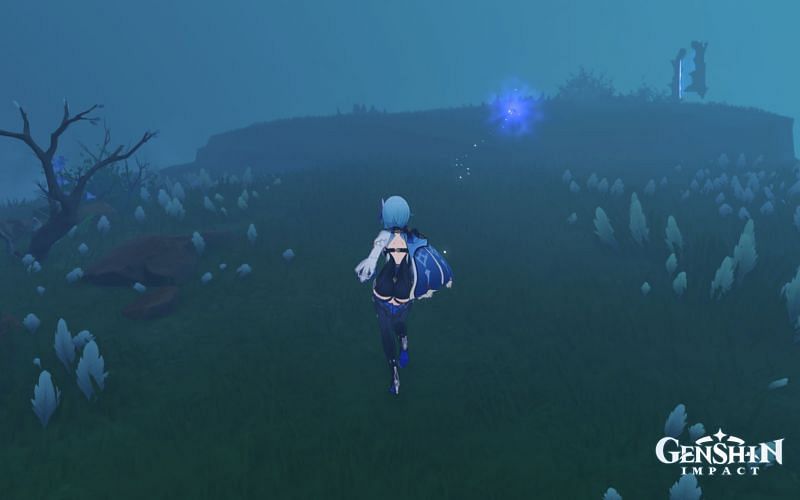
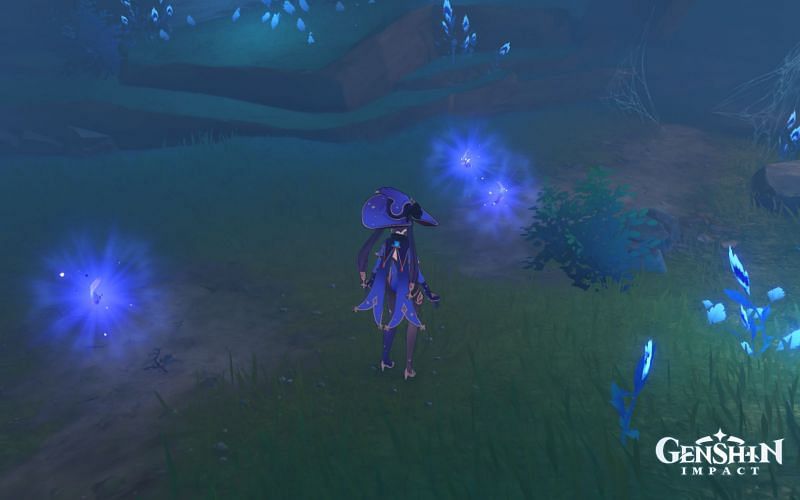
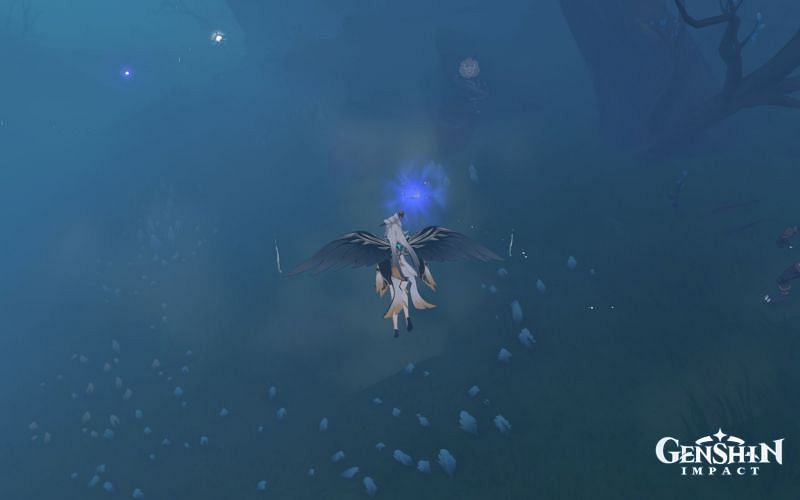
Note: The perch, along with the two kids, is on the northern islet of the easternmost fog. Go to it (near the blue mushrooms) to trigger another cutscene.
Also, Genshin Impact players can see feathers on the minimap. It won't appear on the main map, so keep that in mind.
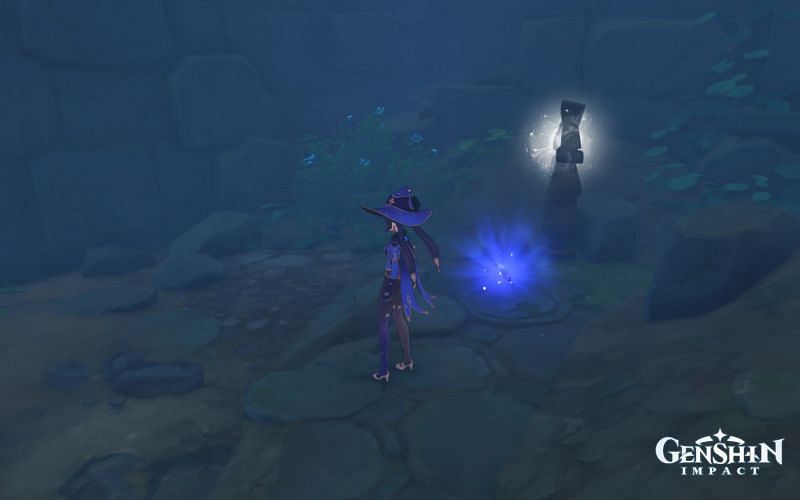
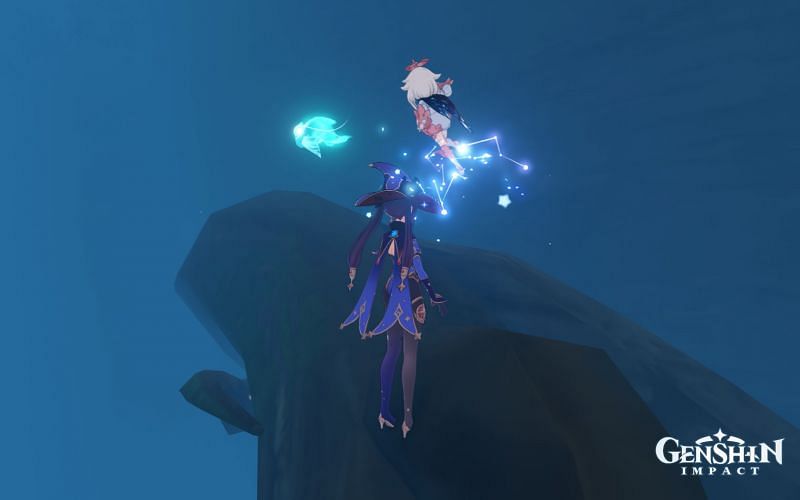
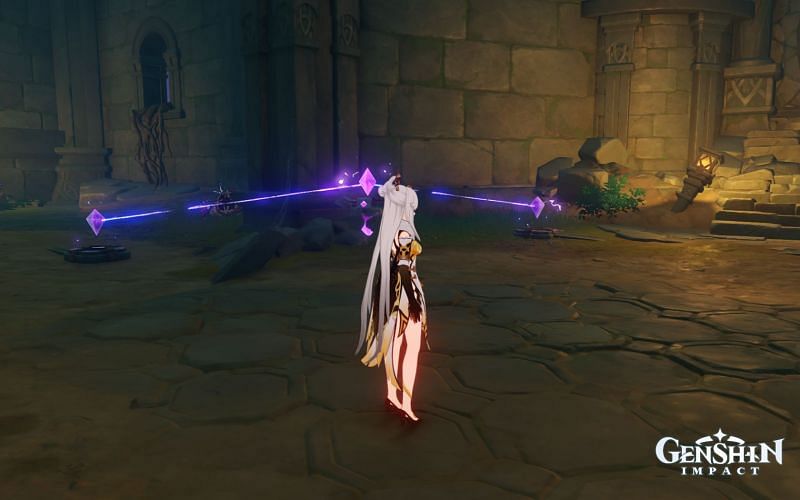
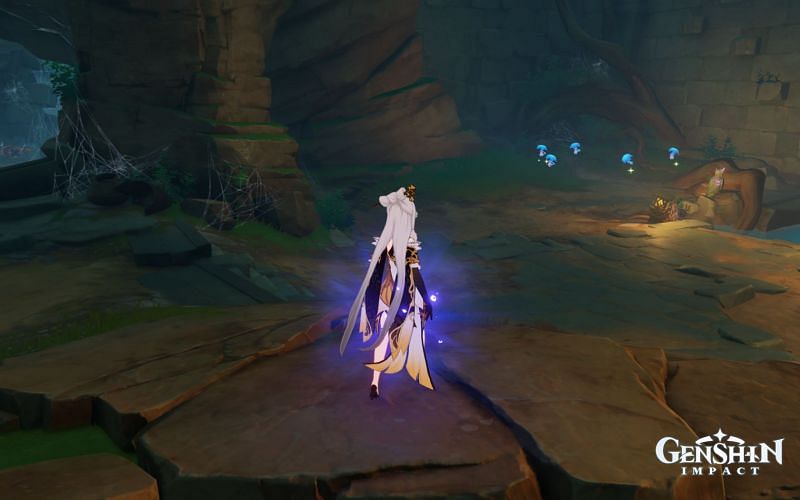
The main gimmick of finding all of the feathers for this quest involves using Elemental Sight. Using it here will let users know that they should head south to locate all three feathers so they can make an offering to the perch.
Travelers will see a hole in the ground at this location. Jump down to see the first feather.
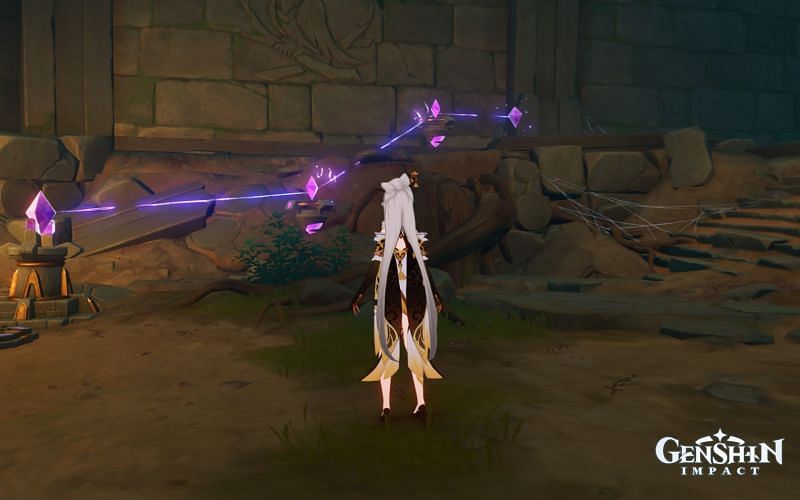
Interact with it to send it back to the perch. There is nothing else here, so climb out of the hole and use Elemental Sight again. There should be a trail pointing westward.

There will be some Rifthound whelps here. You can either ignore or fight them; either way, it's not relevant to the quest (fighting them gives a Common Chest).
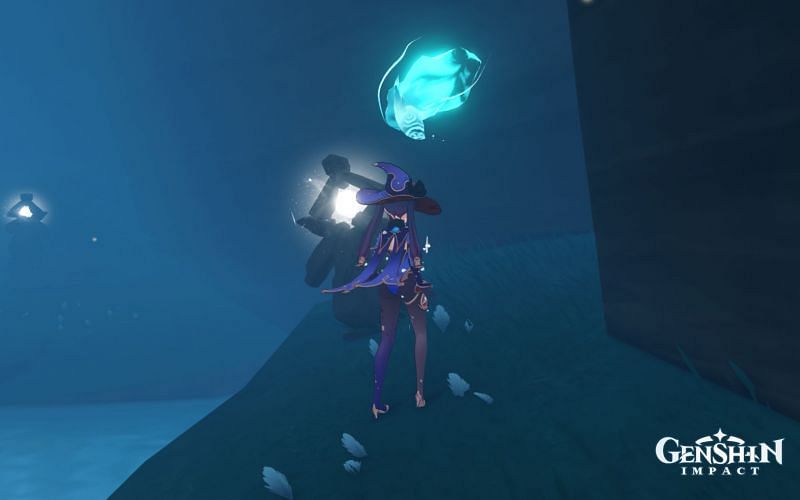
Interact with the feather and use Elemental Sight again to see the following feather location.
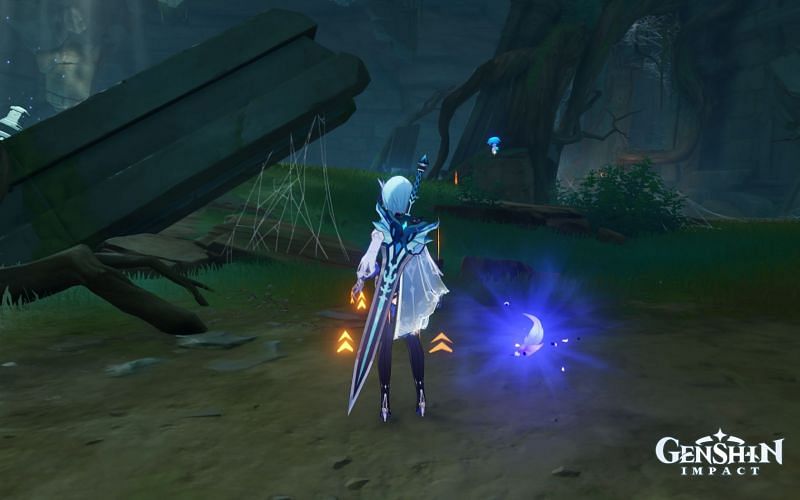
Genshin Impact players can find the final feather here. Approach it to find out that it can move.
All that gamers have to do is follow this feather. There will be some enemies along the way, so it's vital for them to either evade their attention or eliminate them to pick up the feather.

If users do everything correctly, they should be in front of the perch here. Go toward it and interact with it to make an offering to the perch.
Chirai Shrine should be open on the map (with no more fog here). If players activated the Teleport Waypoint here, then they can teleport to it now.
Ruu makes a clever joke about the "Rule of Three," and gamers must now make an offering to the perch in two more locations.
Perch 2 (Shirikoro Peak)
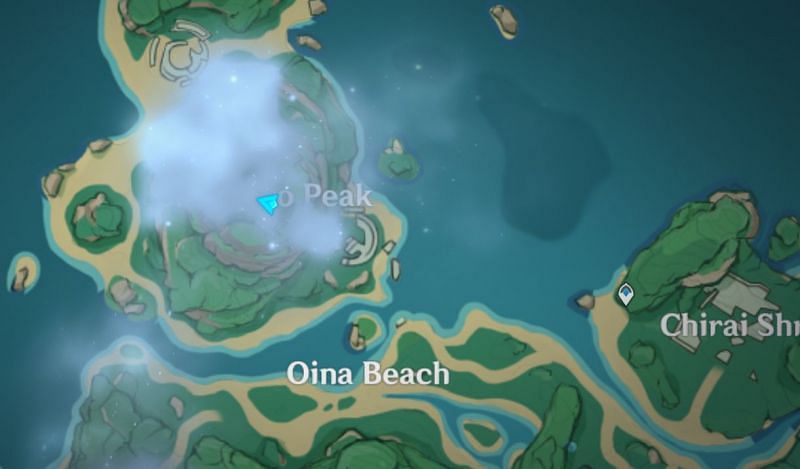
The second perch isn't at the very top of Shirikoro Peak.
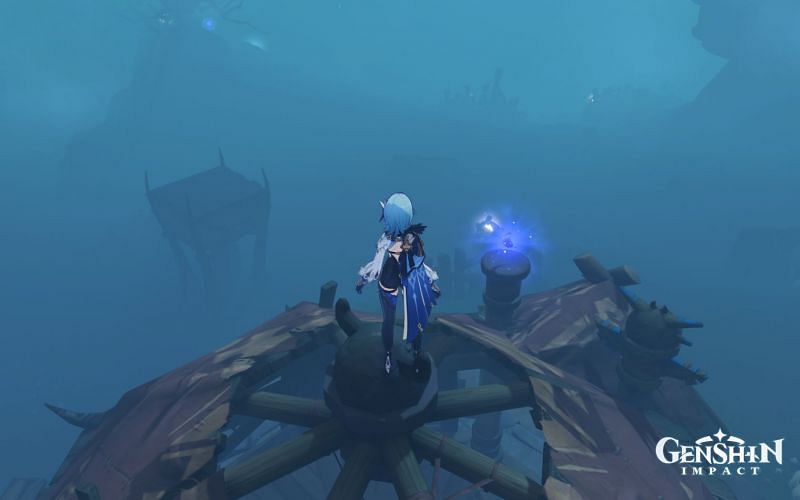
There will be a quick cutscene featuring Ruu here. Approach the perch to touch it, which then scatters three feathers over Shirikoro Peak. Using Elemental Sight here will notify users to go north. Unfortunately, this one is underwater.
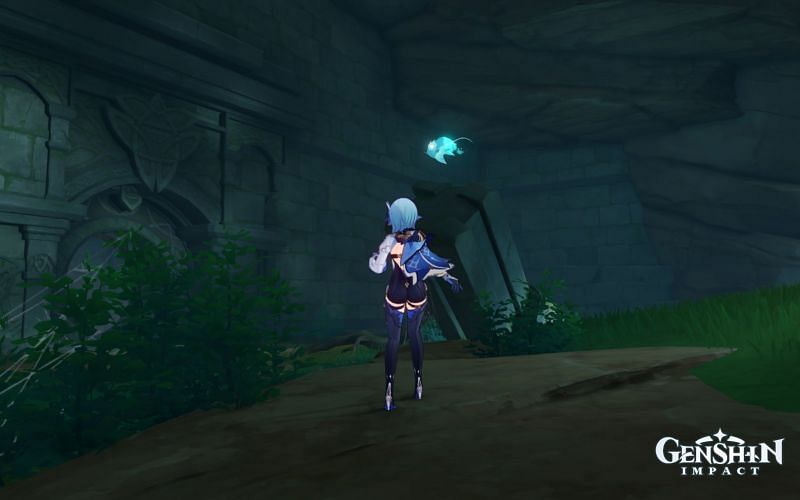
Naturally, it involves another "drain the water" puzzle. Genshin Impact players should head slightly northwest to see a Seelie. Follow it (and use the nearby Electrogranum to teleport upward quickly).
Eventually, it will go near the perch that the player will make an offering at, which also leads players to the following Seelie location.
Climb up the tree to see the second Seelie.
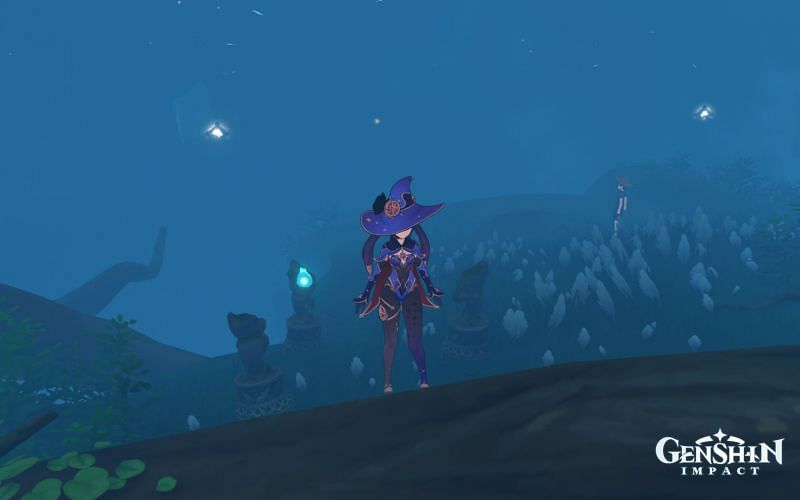
This Seelie will go down to its respective statue quickly.
Head south to find the final Seelie; bring it back to its statue. If gamers do it correctly, an Exquisite Chest should spawn, and the water should now be drained.

Use Elemental Sight and head down. Users should spot all three feathers grouped up.
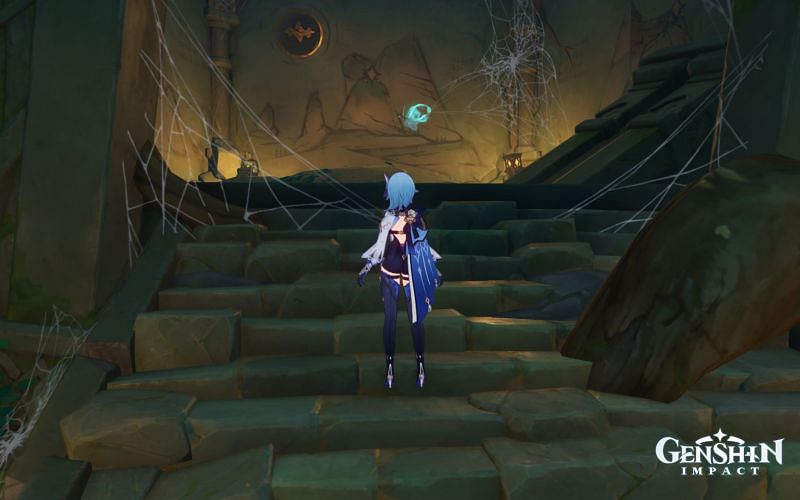
Approaching them will make two of them go through a cave with a spider web on it. That allows gamers to collect one feather. Continue to follow the feathers, only to see them pass through a big door.
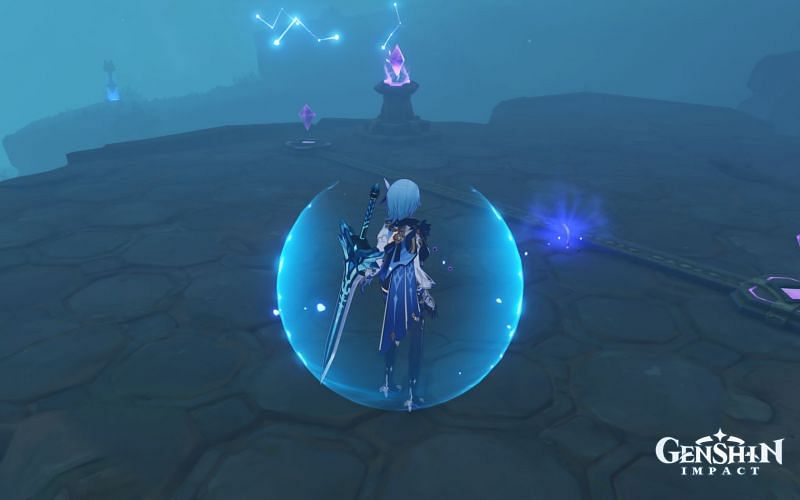
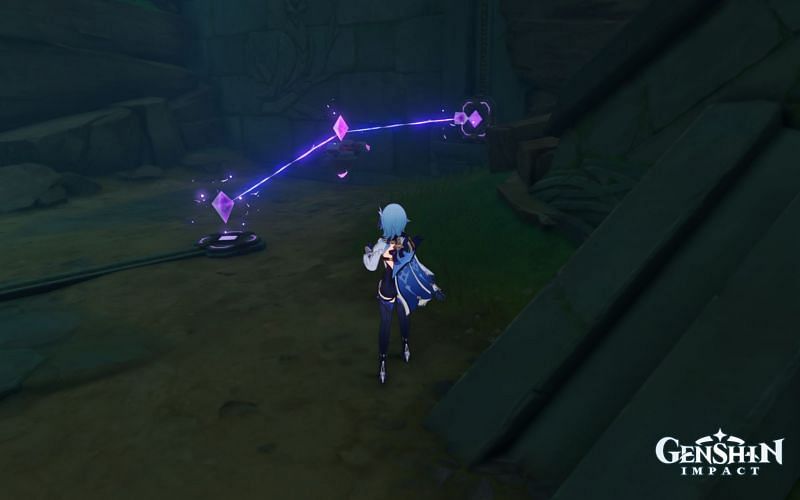
There will be some enemies here, so take care of them to focus on the puzzle. It's a Relay Stone Puzzle, so players must manipulate them in a certain way to progress.
Move a Relay Stone to the location shown in the above image.
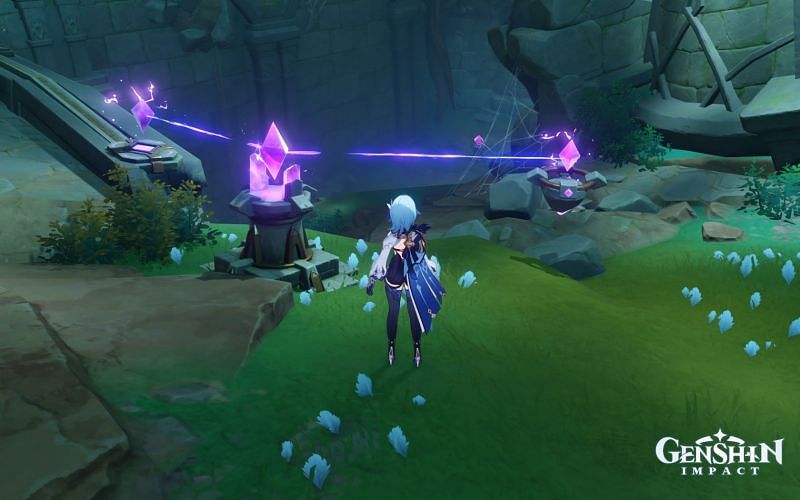
Likewise, move some Relay Stones to these locations to advance in this quest. Upon doing so, another Exquisite Chest will spawn.
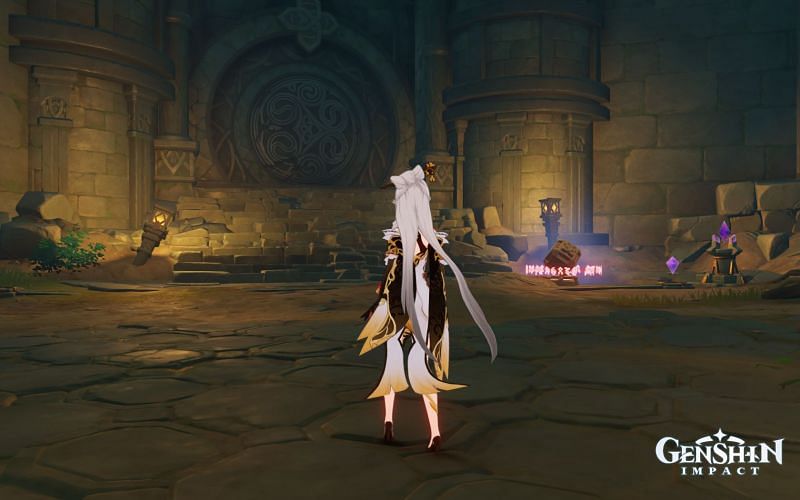
More importantly, the cube mechanism to the right of the chest can now be activated. Activate it and go through the door. There will be a Ruin Golem on the other side.
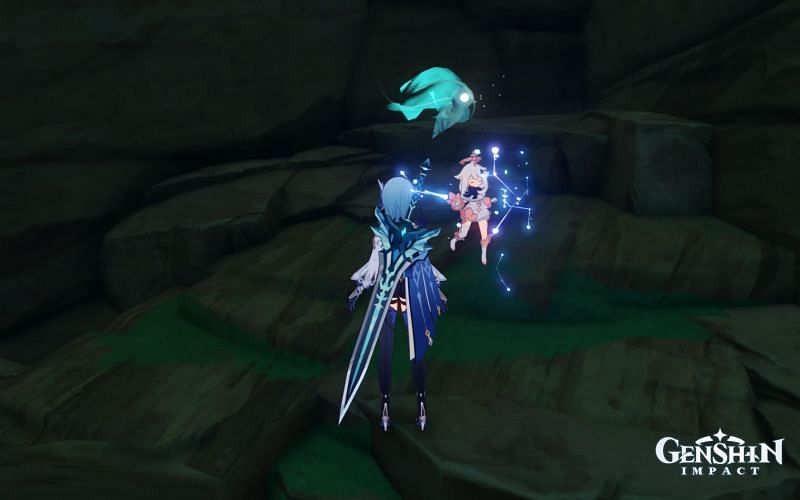
Users cannot interact with the feather whilst in a battle. Hence, deal with the Ruin Golem to collect the second feather for this perch. The third feather is nearby, but it will go through another door.
To activate the nearby cube, readers must collect three more Seelies.
This Seelie is out in the open. Approach it, and climb a bit to get it to its destination.
Rinse and repeat the usual business.
Use Elemental Sight to see a large pile of rocks that gamers can break on the northern side of the room. Break it, and follow the Seelie to its destination.
If players take all three Seelies back to the nearby statues, they can activate the cube near them. Another cutscene featuring water being drained will play.
Pick up the two Relay Stones down there. There is also another Relay Stone near the dome area. The following images are the guides to solving this puzzle:
After setting up all of the Relay Stones like this, the player can collect another chest and activate the nearby cube to open another large door.
The final feather is to the right upon entering this room. Collect it, and Paimon should remark how they've collected everything.
Note: If the player logs out while trying to collect any of these three feathers, they must retrace their steps to trigger the feathers to move to their final location once again.
Return to the perch to make an offering. Shirikoro Peak should now be complete.
Perch 3 (Autake Plains)
This section won't take as long as the previous perch. There are some Rifthounds near the perch here, so take care of them.
Approach the tree here to trigger another cutscene.
Use Elemental Sight to see that a feather is nearby.

There will be some Rifthounds here; take care of them.
Interact with it.
Go here.
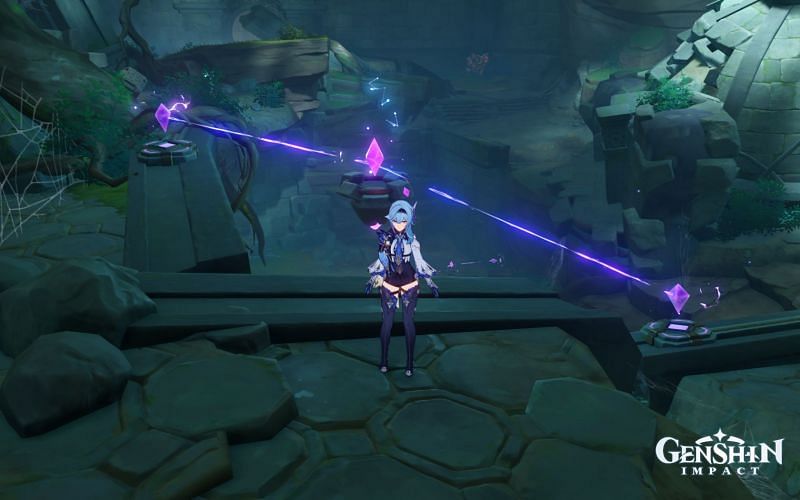
It will lead users to a thunder barrier. Grab some nearby Electrogranum to gather it. Defeat more enemies along the way to send it back to the perch for a future offering.

There are many enemies near this location; Genshin Impact players will find the final feather on a roof.
After interacting with it, Genshin Impact players can go to the perch to make their final offering.
The fog will clear over this location, and they will see another cutscene. Afterward, users will go to the ceremonial site to continue with this quest. They will collect the quest item and head back to Kama.
Afterward, they will return to Sumida to give her that item. "A Particularly Particular Author" should now be complete.
