- Create Wiki Page
- All Pages

Building a hobbit hole is much more than placing a door at the base of a mountain. To reach the heights of the Hobbiton hobbit holes, you will need to place great thought into the landscaping and interior of your cozy little home. While it can be intimidating seeing a 1:1 replica of the incredible architecture of a true Lord of the Rings hobbit hole, remember that Minecraft is a game of creativity and expression. You can build whatever fits your needs. This guide will show you a rough estimation of the materials required to build a hobbit hole as well as give you some ideas on what to think of when building your own hobbit hole.
This is more of a rough list than anything else. The number of blocks you use will of course vary depending on how large or small you want your hobbit hole to be. These blocks are more guidelines than anything else, and you can swap out any blocks you like or dislike with ones you want your hobbit hole to contain. For a true Hobbiton hobbit hole found within the Shire, you should consider green leafy blocks, wooden blocks, and some stony blocks to help sell the experience. Of course, you can go as rustic or modern as you want to. For this guide, I leaned more towards rustic themes than anything else.
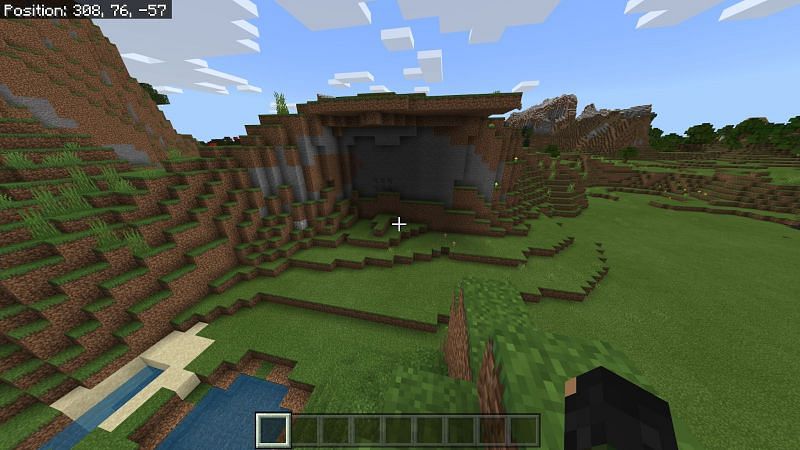
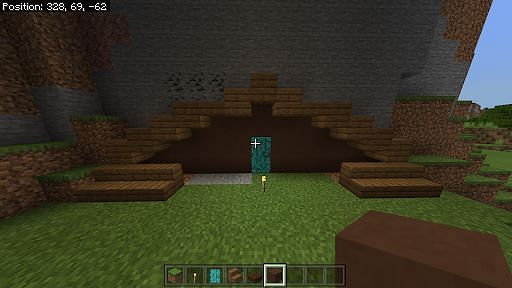
You will want to locate a nice hill, to begin with. This could be at the valley of a mountain, a grassy and hilly plain, or even a terraformed hill you create. Whatever you decide, you will want a hill to begin with. In my case, I found a nice overhang that inspires me.

Start by terraforming some of the lands around you. While it should remain somewhat uneven, you will want to start with a level playing field and place/remove land as you desire. Think about what you want to include with your hobbit hole. I would like a path that goes up into the hole itself, so leaving some room for elevation into the yard of the home itself was important for me.
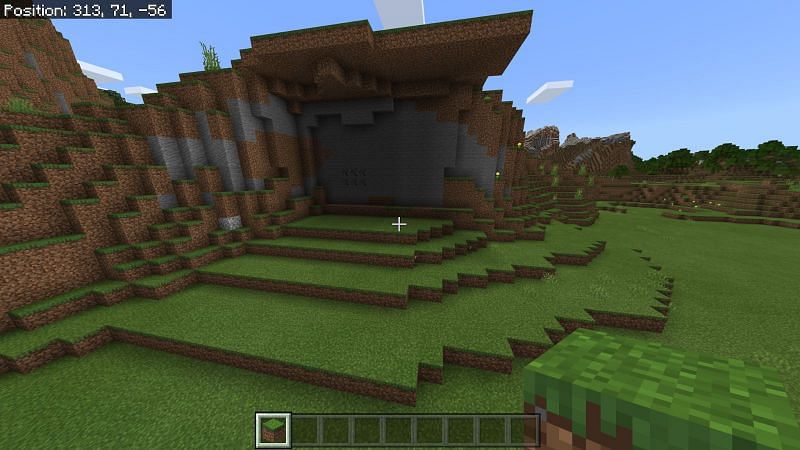
Of course, you will need some room for the yard itself, no self-respecting hobbit has a hole that is simply flush with the hill itself. Other things to consider are your dimensions. Typically going with an odd number across is beneficial as you will have a true middle to go off of. Now is the time to decide if you want double doors or a single door for your home. Go even with dimensions if you want a double door in the middle, or odd with your dimensions if you want a single door.
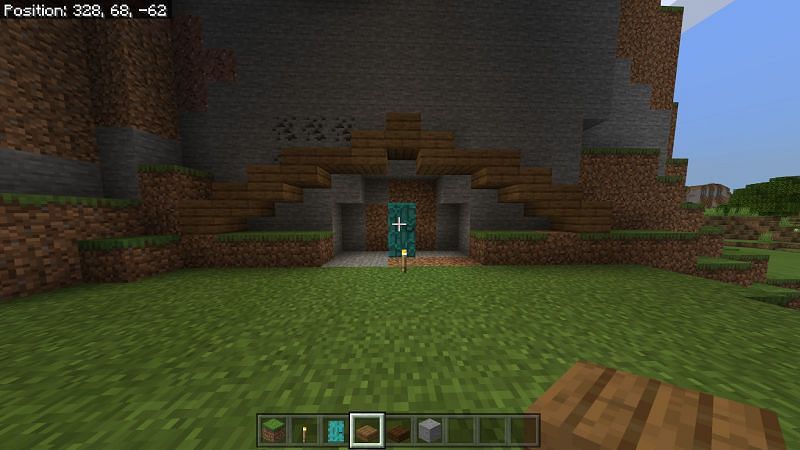
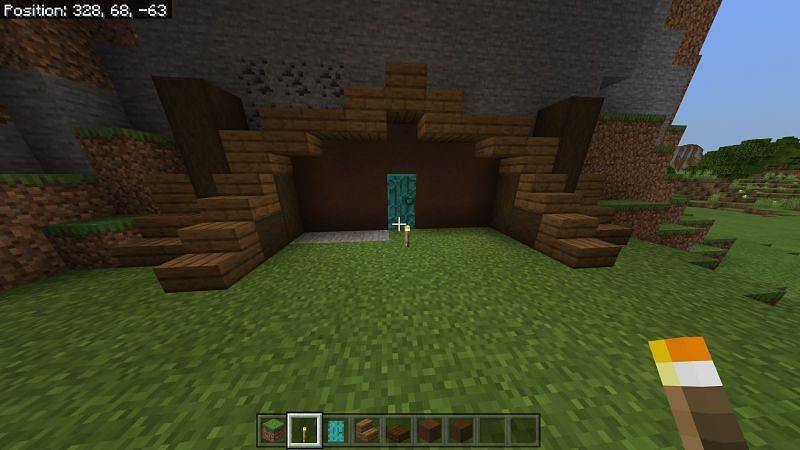
You will want to use slabs and stairs to help give the entrance some added texture. The door will be sunken into the wall, but the arch above and around the door should extend outwards. My specific dimensions were 13 across at this point and the door will sit flush with the outer wall of the home. Next I removed the walls that will sit flush with the door. Also, add some accents to the base of the arch to give it some structural integrity.
To help set the home apart from the stony hill, I considered clean textured blocks like terracotta, concrete, or sandstone. This is more about personal opinion than anything else, use whatever suits you. I chose brown terracotta as it seemed to fit the color of the wood nicely.
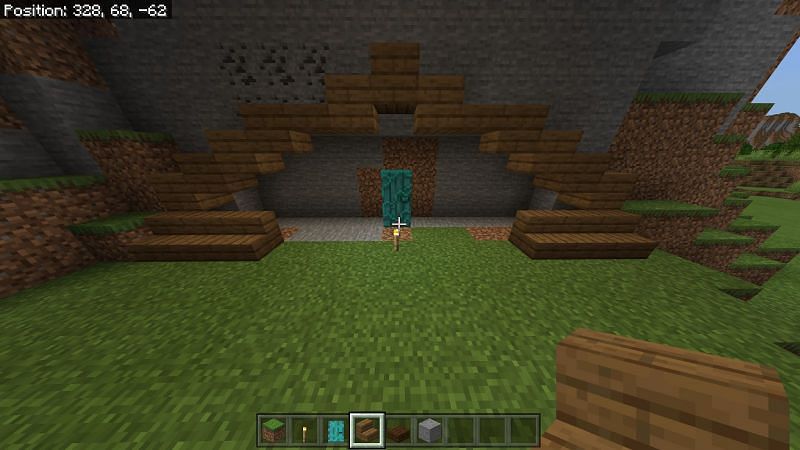
To finish the entryway, I added some stripped wood pillars to add some texture and filled in the stairs to make it all fit flush with the floor.
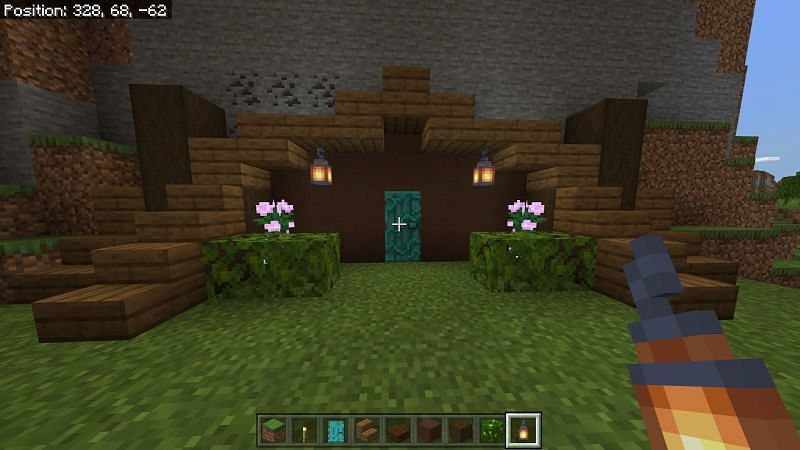
Throw in some leaves, flowers of your choice, and some lanterns to bring the entryway some color and lift up how drab it looks.
Next came the path, which took me quite some time to become happy with. You will want to consider how the yard looks and whether it is mildly overgrown, holds a garden, where the path itself goes, etc. When creating your entryway, try to make add in the grassier blocks, or play around with the dirt to add some texture and contrast. There’s a lot to consider, but here is a rough approximation of how to make a yard that fits your entryway.
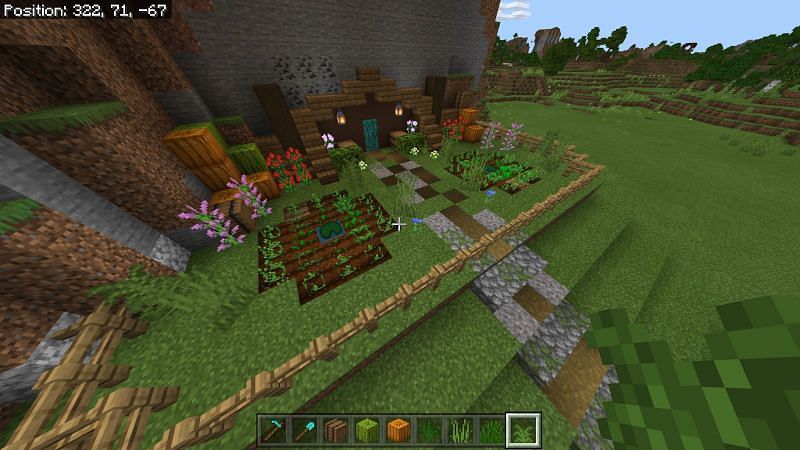
To make the path, I used a shovel on the grass to make a dirt path, complemented it with gravel blocks, and added some mossy cobblestone to help bridge the grass and gravel together. Afterward, I planted some grass in the yard, a few flowers, a garden with various seeds, and placed pumpkins, melons, and barrels across the yard. There is not exactly a formula to follow here, just place what you would expect to find in a yard out front. Of course add some fences to keep any unwanted guests out.
Once the exterior is completed, you can get started on the interior. A few thoughts about the entry is how it seemed to have no doors, instead of a circular entryway for each of the rooms. While Gandalf had trouble standing in the hallways of a hobbit hole, you should have at least 3-4 blocks of height.
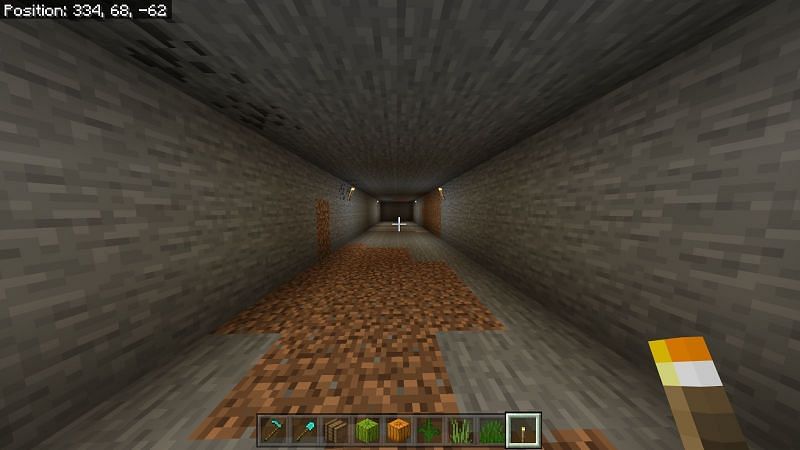
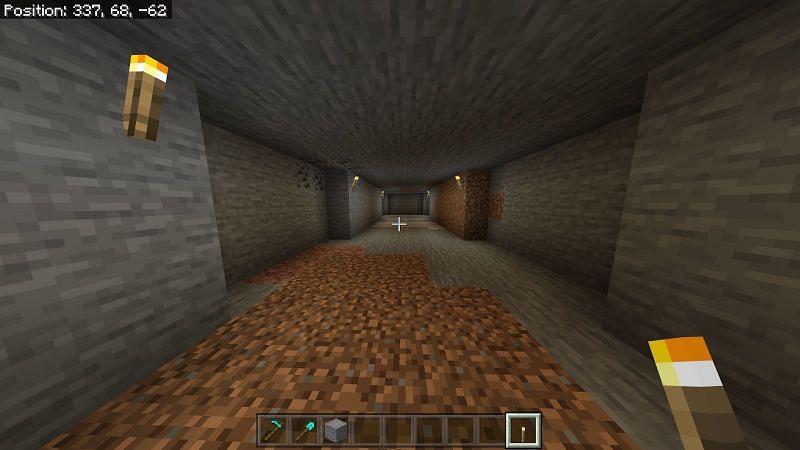
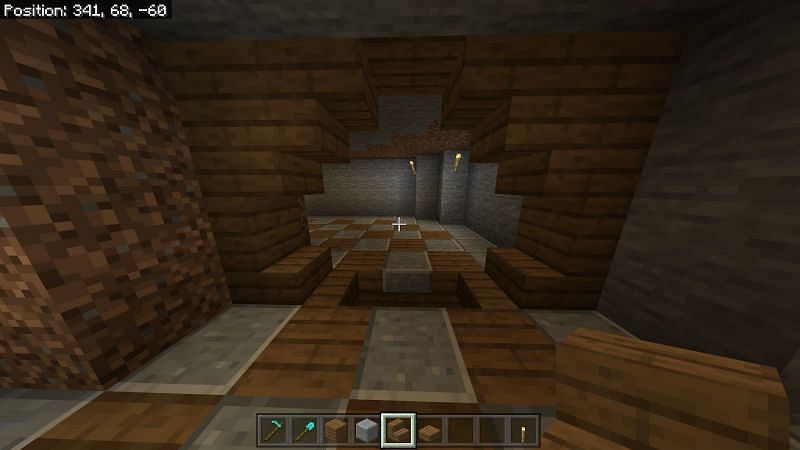
In the movies, it seemed Bilbo’s Bagend had a long hallway connecting rooms to the side. In order to stay true to that form, I dug out a hallway that was 25 blocks long, 3 blocks high, and 5 blocks wide. I wanted the doorways to maintain their circular, no-door, fashion, so I planned a space 5x3 wide for each of the doorways into the other rooms. Of course if you are not trying to recreate Bagend, you can always reshape the dimensions to fit your needs.
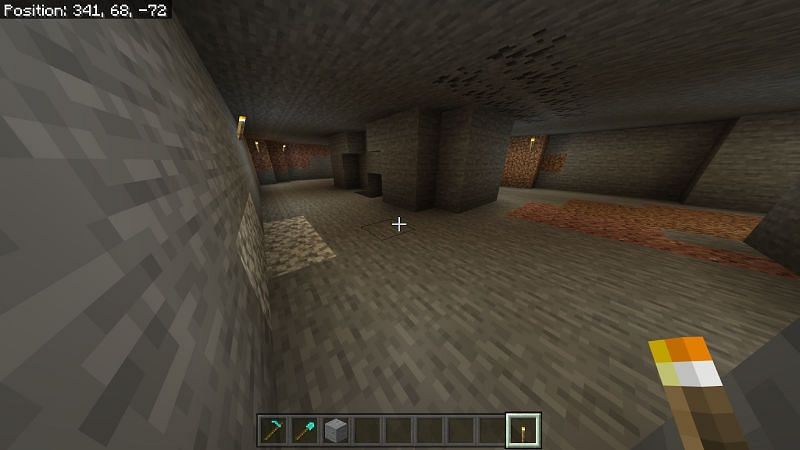
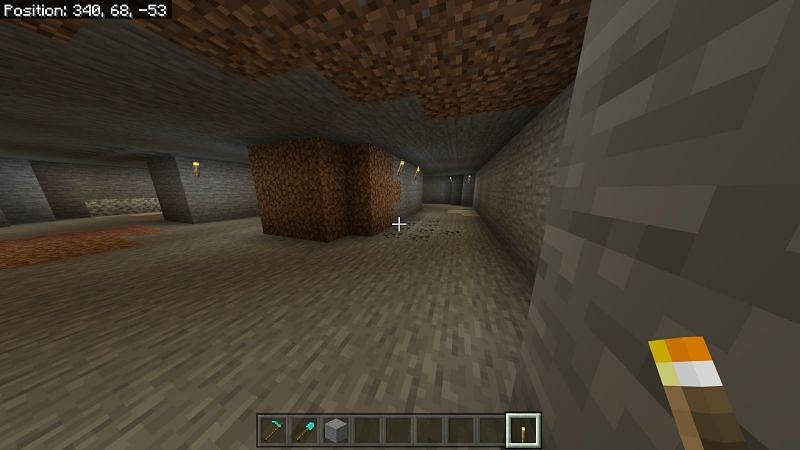
Next is to create the rooms for this cozy little home. Dig out enough space on both ends to make room for a dining area, a kitchen, a bedroom, and a study. Leave enough space to dig into the wall on the inside for a fire pit and other amenities. Of course, this is a rough guideline, not necessarily a must-have. Consider how large you want your hobbit hole to be and use this guide as a reference.
Do the same for the other side as well. They do not need to be identical, but planning ahead for what rooms you want in the future can help with the process. Of course, you can freeform the process if you want to see how it shapes up. Whatever method works better for you.
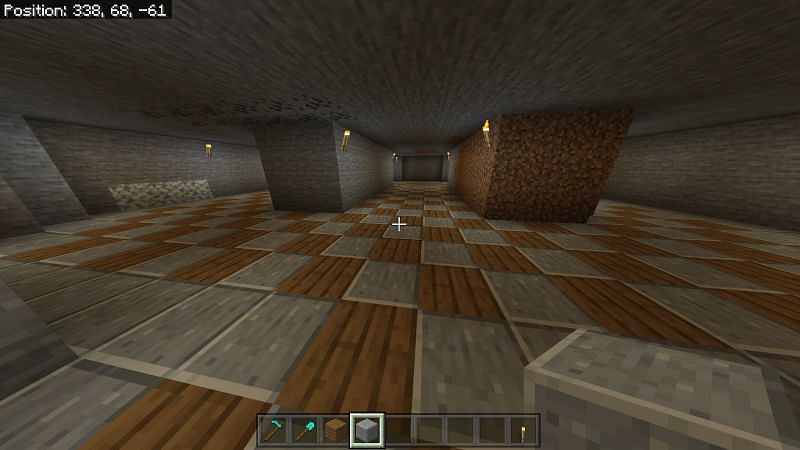
Now that the general shell of the interior is completed, you can consider what bocks you would like to use for the flooring, wall, and ceiling. I replaced the floor with a line of andesite around the edges and a checkerboard pattern of spruce wood and polished andesite. In the movies, it seemed to be a polished linoleum floor. Since there really is not a block that can match that color and sheen, polished diorite with some brown accents was the move for me. If you are playing on RTX, remember that the polished stone blocks like granite, andesite, and diorite will also have a sheen on them.
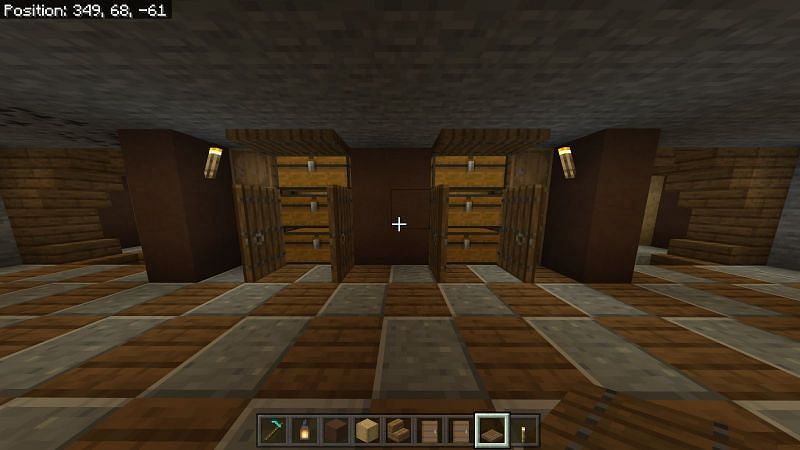
After some deliberation over the circular doorways into each room, placing a block in the corner and adding some upside-down stairs connected to some right side upstairs makes for a decent circular pattern. For each entryway, you can get as complex or simple as you want to be. Adding some foliage or patterns on your wall can breathe some life into the underground dreariness.
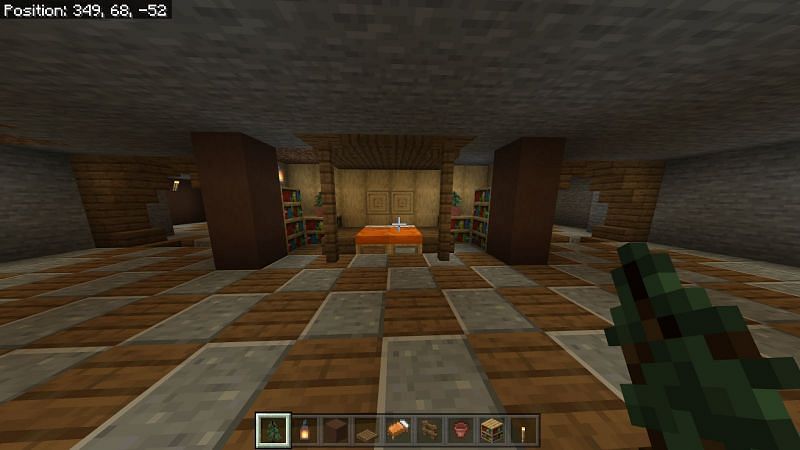
Do the same for the other 4 entryways as well. Now it is time to work on the furniture. Of course, a hobbit would have plenty of space for eating. A large dining table is essential. The walls of stone were replaced with brown terracotta to match the exterior and stripped oak wood for a bright contrast. You can place item frames on flat surfaces, try to stay aware of how high the blocks are, as the item frames will not fit on blocks that are halfway up. You can add whatever food items you want to make it feel more like a dining area than a longboard of wood.
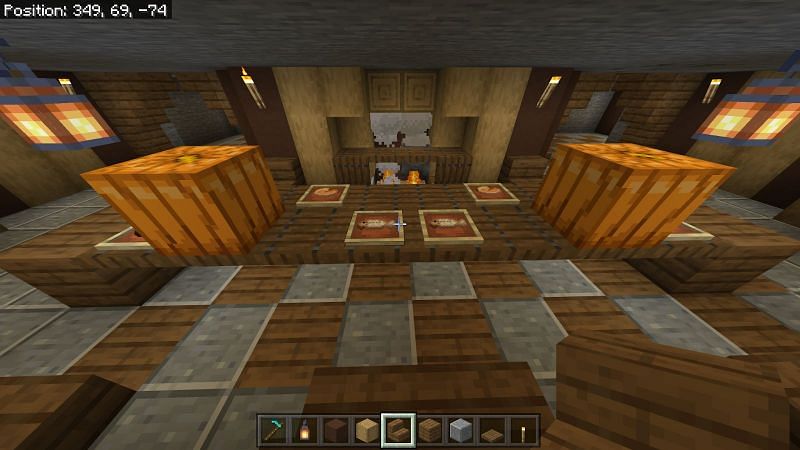
The firepit was constructed with campfires, cauldrons, and spruce trapdoors. Add some smokers to help sell the feeling of smoking food for your extravagant dining area. The opposite side of the wall of the firepit was repurposed into a closet as it seemed to fit well. You can leave the doors open or closed if you want to have easy access or a more flush wall. This is not exactly true to the movies, but no Minecraft home is set without a decent amount of storage.
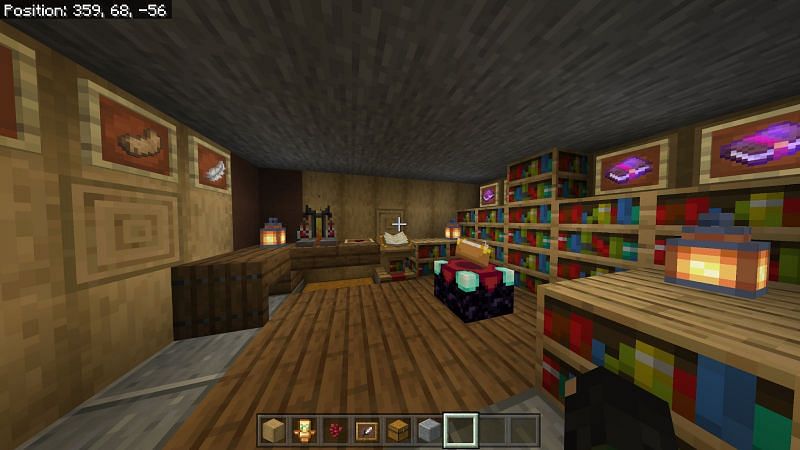
On the other end of the hobbit hole, I decided to place the bedroom. To make it a bit cozier, there are lanterns to keep things well lit, flowerpots of spruce saplings, bookshelves, and a bed frame made of slabs, fence posts, and trapdoors. The walls were of course replaced with a similar pattern for the dining room.
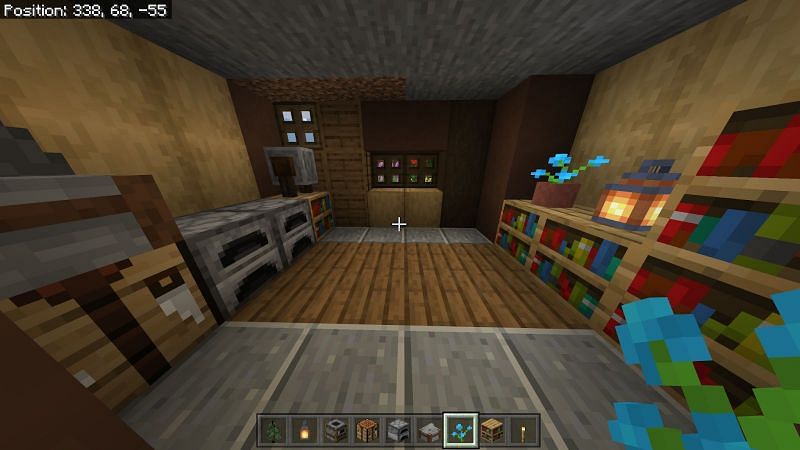
The corners of the bedroom can be refashioned to fit certain rooms for enchanting, potion brewing, crafting stations, etc. Adding the circular fashioned door to split the rooms into separate areas can help make each room feel distinct. I added a crafting room to one corner and added some bookshelves, lanterns, and flower pots to help furnish the room. The oak trapdoors fit as nice window patterns and lead out to the exterior of the hobbit hole. Add some flowers or shrubbery if you would like.
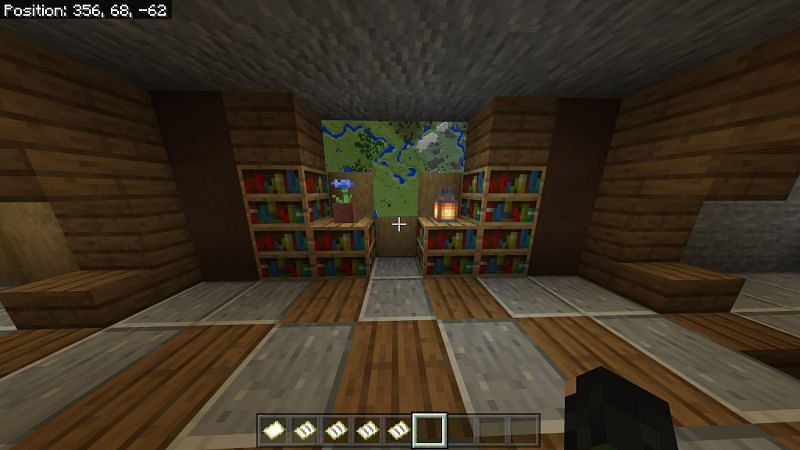
Finally, at the end of the room when you first enter, I added a small map wall to help fill out the stony wall. This map was made small to catch the surrounding area, but you can make it as large as you would like it to be. It can be a nice touch when you have other builds and homes surrounding the hobbit hole. Add some furniture to help the map wall not stick out like a sore thumb.
For the last corner of the bedroom area, I added an enchanting/brewing area for the wayward adventurer. Here you can find potion reagents, enchanting supplies, and it is furnished with bookshelves, a lectern, brewing stand, and item frames with snowberries, rabbit’s foot, and a feather. Again, the walls match the rest of the hobbit hole.
There is much more to include if you desire. Otherwise, this would be a fitting home for any Minecraft player who wants a piece of Hobbiton in their own world. While it can be difficult to recreate an exact replica of Bagend into your world, you can get an area that fits within the same criteria to fulfill a certain experience of a hobbit hole in your own fashion. Nothing above has to be followed as if it were a specific formula for success, it is meant to give you an idea of how to proceed or draw inspiration from.
Congratulations, you now have an idea of what a hobbit hole would look like, shaped in the world of Minecraft. There is a lot more to cover and much more to add, but this should hopefully give you a stepping stone towards building a cozy shelter with the cover of a hill. You can make it as large or as small as you want it to be. Remember that Minecraft is a game about creative expression, building an exact replica can be enticing, but also throw in what is convenient for you. Consider adding extra storage space, a guest bedroom, a pantry, a trophy room, whatever seems appropriate. The world is your oyster and you get to use Minecraft as your canvas.


