
'%20x='0'%20y='0'%20height='100%25'%20width='100%25'%20%0A%20%20%20%20%20%20%20%20%20%20xlink%3Ahref='data:image/jpg;base64,/9j/2wBDAAYEBQYFBAYGBQYHBwYIChAKCgkJChQODwwQFxQYGBcUFhYaHSUfGhsjHBYWICwgIyYnKSopGR8tMC0oMCUoKSj/2wBDAQcHBwoIChMKChMoGhYaKCgoKCgoKCgoKCgoKCgoKCgoKCgoKCgoKCgoKCgoKCgoKCgoKCgoKCgoKCgoKCgoKCj/wgARCAAGAAoDASIAAhEBAxEB/8QAFQABAQAAAAAAAAAAAAAAAAAABQb/2gAIAQEAAAAAhj//xAAUAQEAAAAAAAAAAAAAAAAAAAAF/9oACAECEAAAACv/xAAUAQEAAAAAAAAAAAAAAAAAAAAB/9oACAEDEAAAAH//xAAhEAABAgQHAAAAAAAAAAAAAAACAQMABBEhEhQWIkFRcf/aAAgBAQABPwCYmRObacVXkpwJqlPOo1Tj3ZML3uUf/8QAFxEBAAMAAAAAAAAAAAAAAAAAAQACMf/aAAgBAgEBPwAqOz//xAAYEQACAwAAAAAAAAAAAAAAAAAAAgEDMf/aAAgBAwEBPwCpYfT/2Q=='%3E%3C/image%3E%3C/svg%3E)
Minecraft players are always looking for easier ways to gather materials in their worlds. After all, the less time a player spends completing monotonous tasks such as mining and gathering, the more time they have to devote to more exciting things like exploring and building. The easiest way for players to save time is by gathering materials with a farm, particularly one that works automatically.
Farms are the easiest and quickest way to get a lot of materials in Minecraft. Certain items, such as cocoa beans, can be farmed with a simple button press with the right build. Cocoa beans can be useful for making brown dye and even creating cookies, which are great for the player to snack on. This article will explain the easiest and most effective automatic cocoa bean farm that players can make in Minecraft.

How players can build an automatic cocoa beans farm in Minecraft
Cocoa beans can be found inside the jungle biome in Minecraft. They can always be found growing on the side of jungle trees or jungle logs. They cannot be planted in the soil like some other crops. However, with a little bit of engineering, players can create their own special log formations and easily grow cocoa beans.
This tutorial, created by YouTuber NaMiature, showcases just how simple it is to create an automatic farm. However, before players can get started, they need to ensure that they have the right items. They are:
- 17 Jungle Logs
- 20 Glass Blocks
- 1 Dispenser
- 1 Water Bucket
- 1 Button
- 2 Hoppers
- 2 Chests
Once players have gathered these ingredients, they can start the build. To build an automatic cocoa beans farm in Minecraft, players need to complete the following steps.
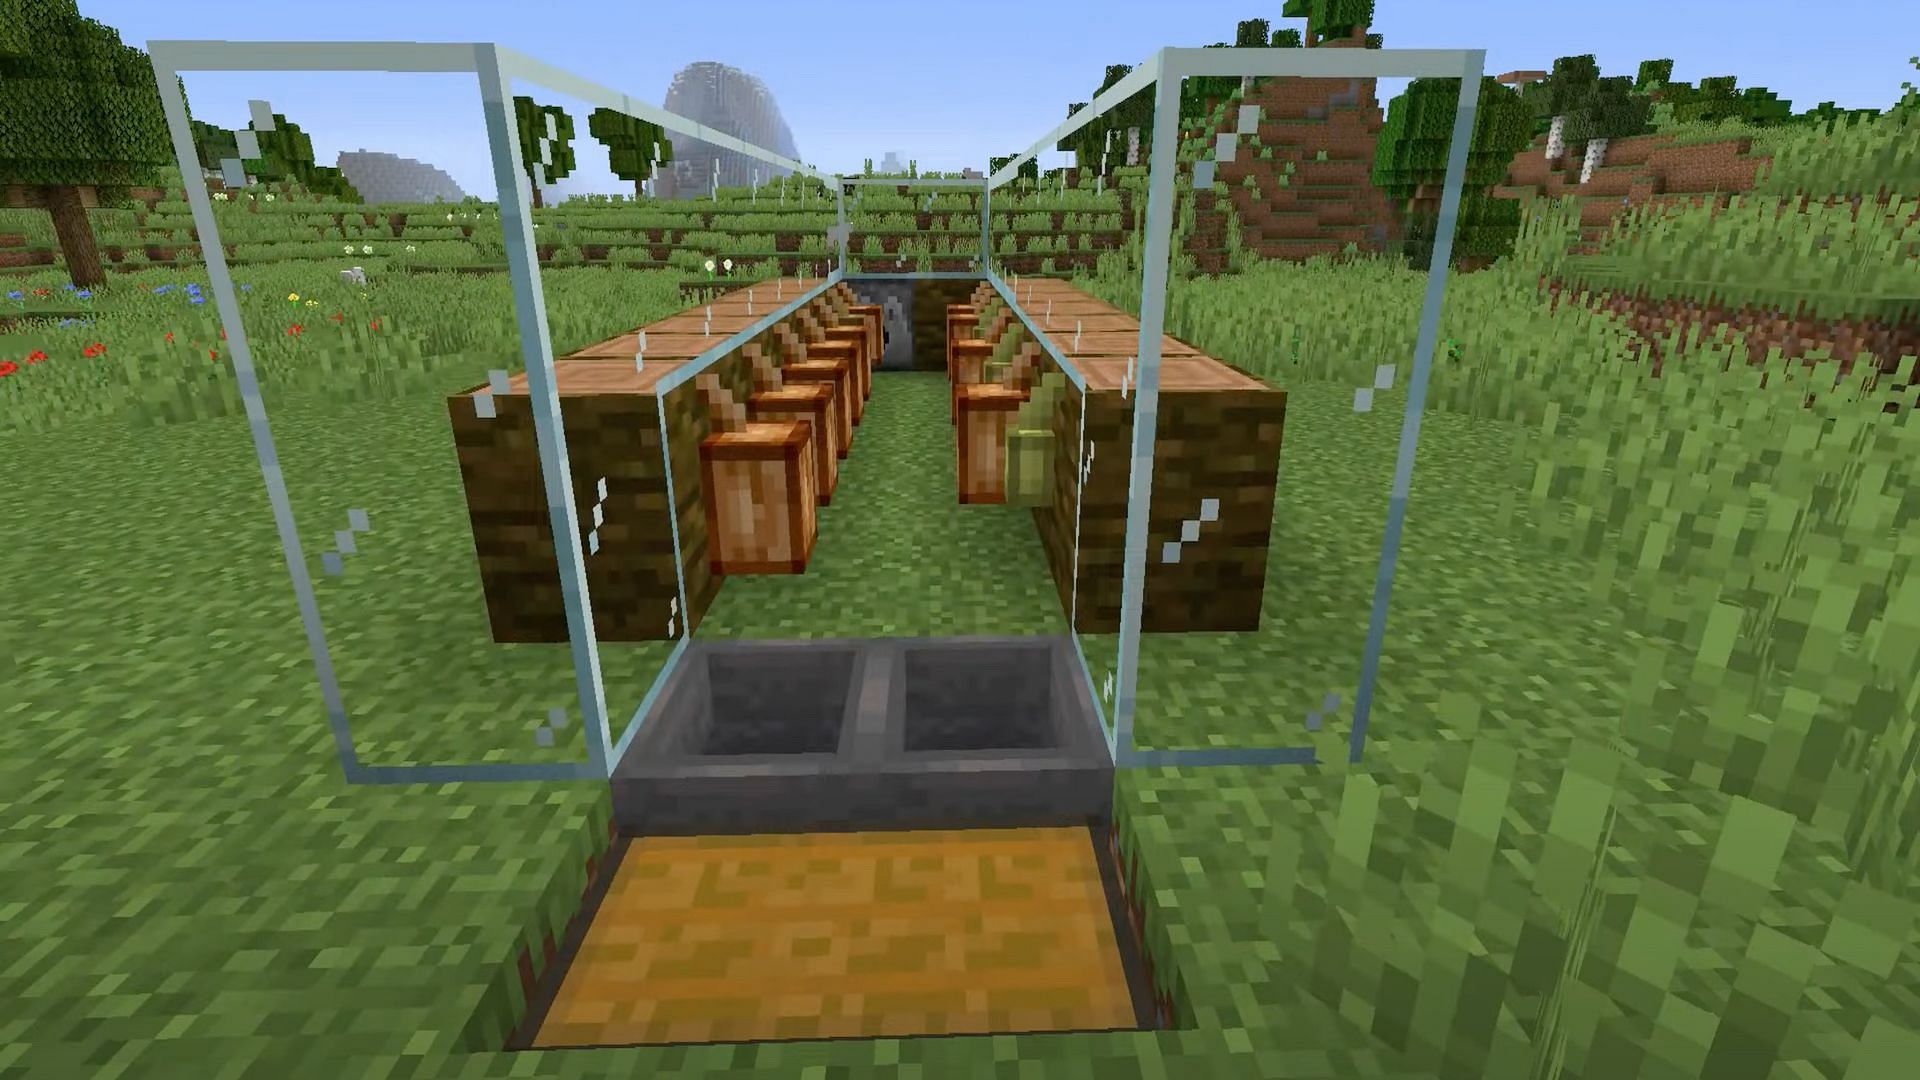
Step 1: Place 2 rows of 8 Jungle Logs
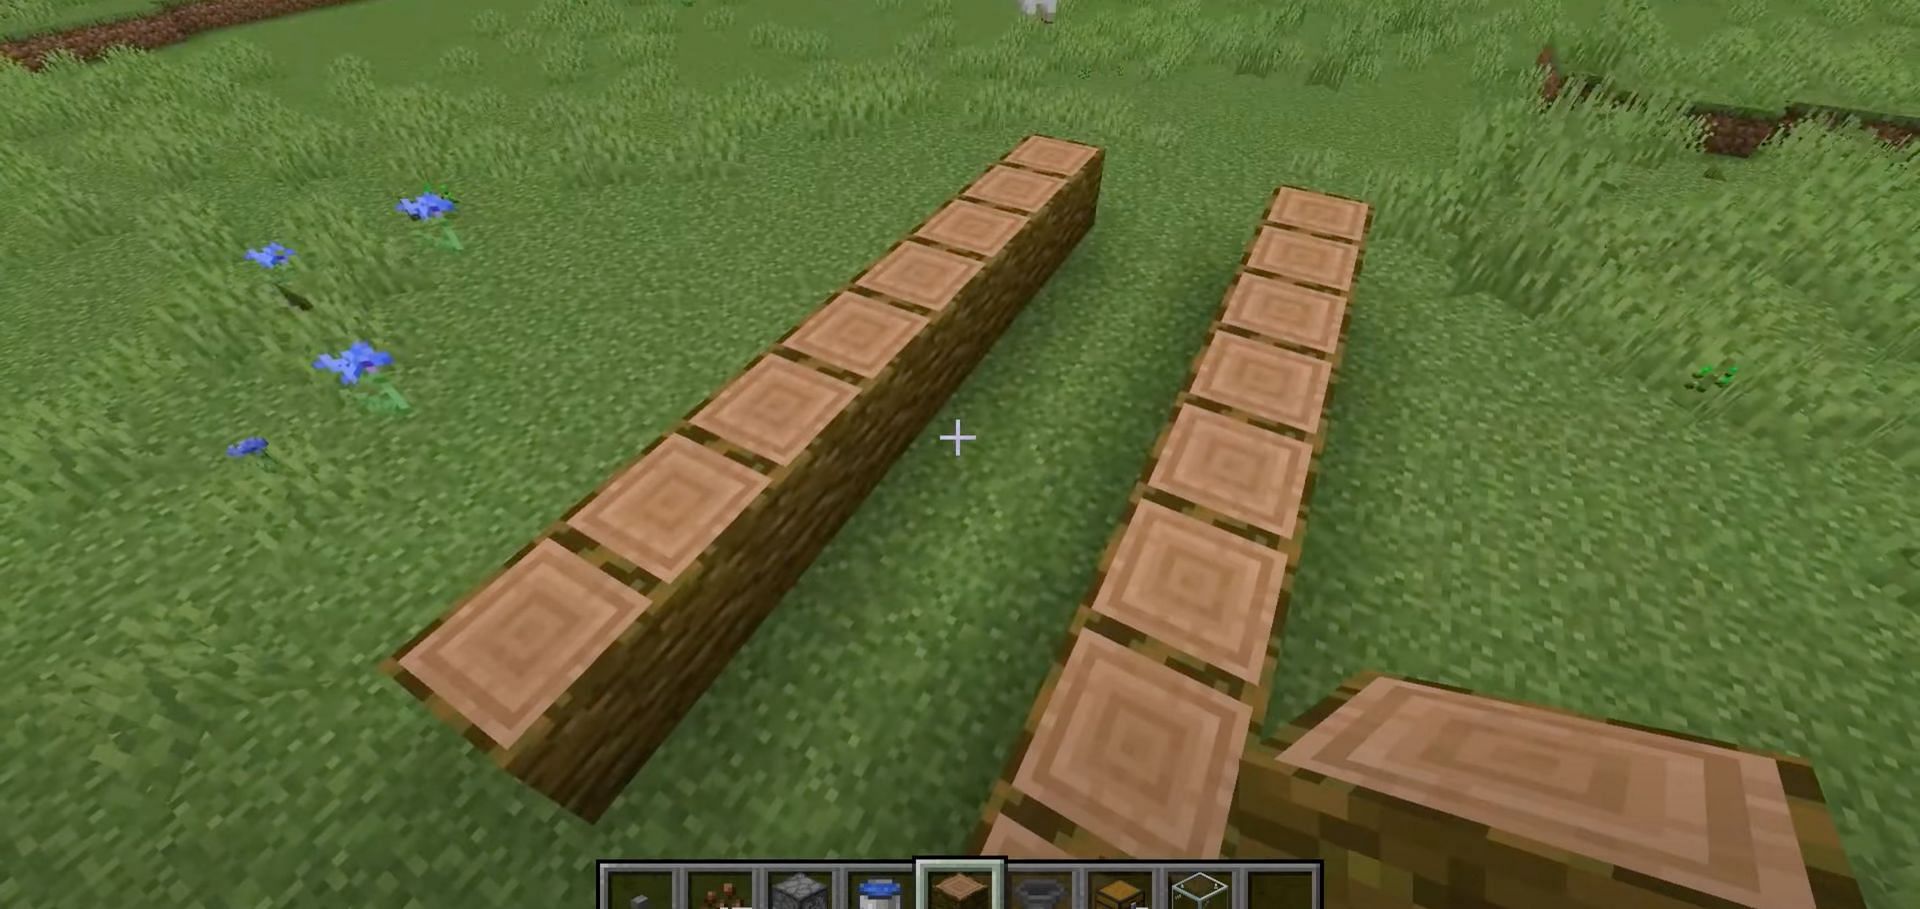
Players will first need to place 2 rows of 8 jungle logs. They should ensure that there is 2 blocks of space in between each row of jungle log.
Step 2: Place a Dispenser and a block next to it

Players should place the dispenser and another jungle log at the end of the two rows of jungle logs.
Step 3: Place glass blocks across the top
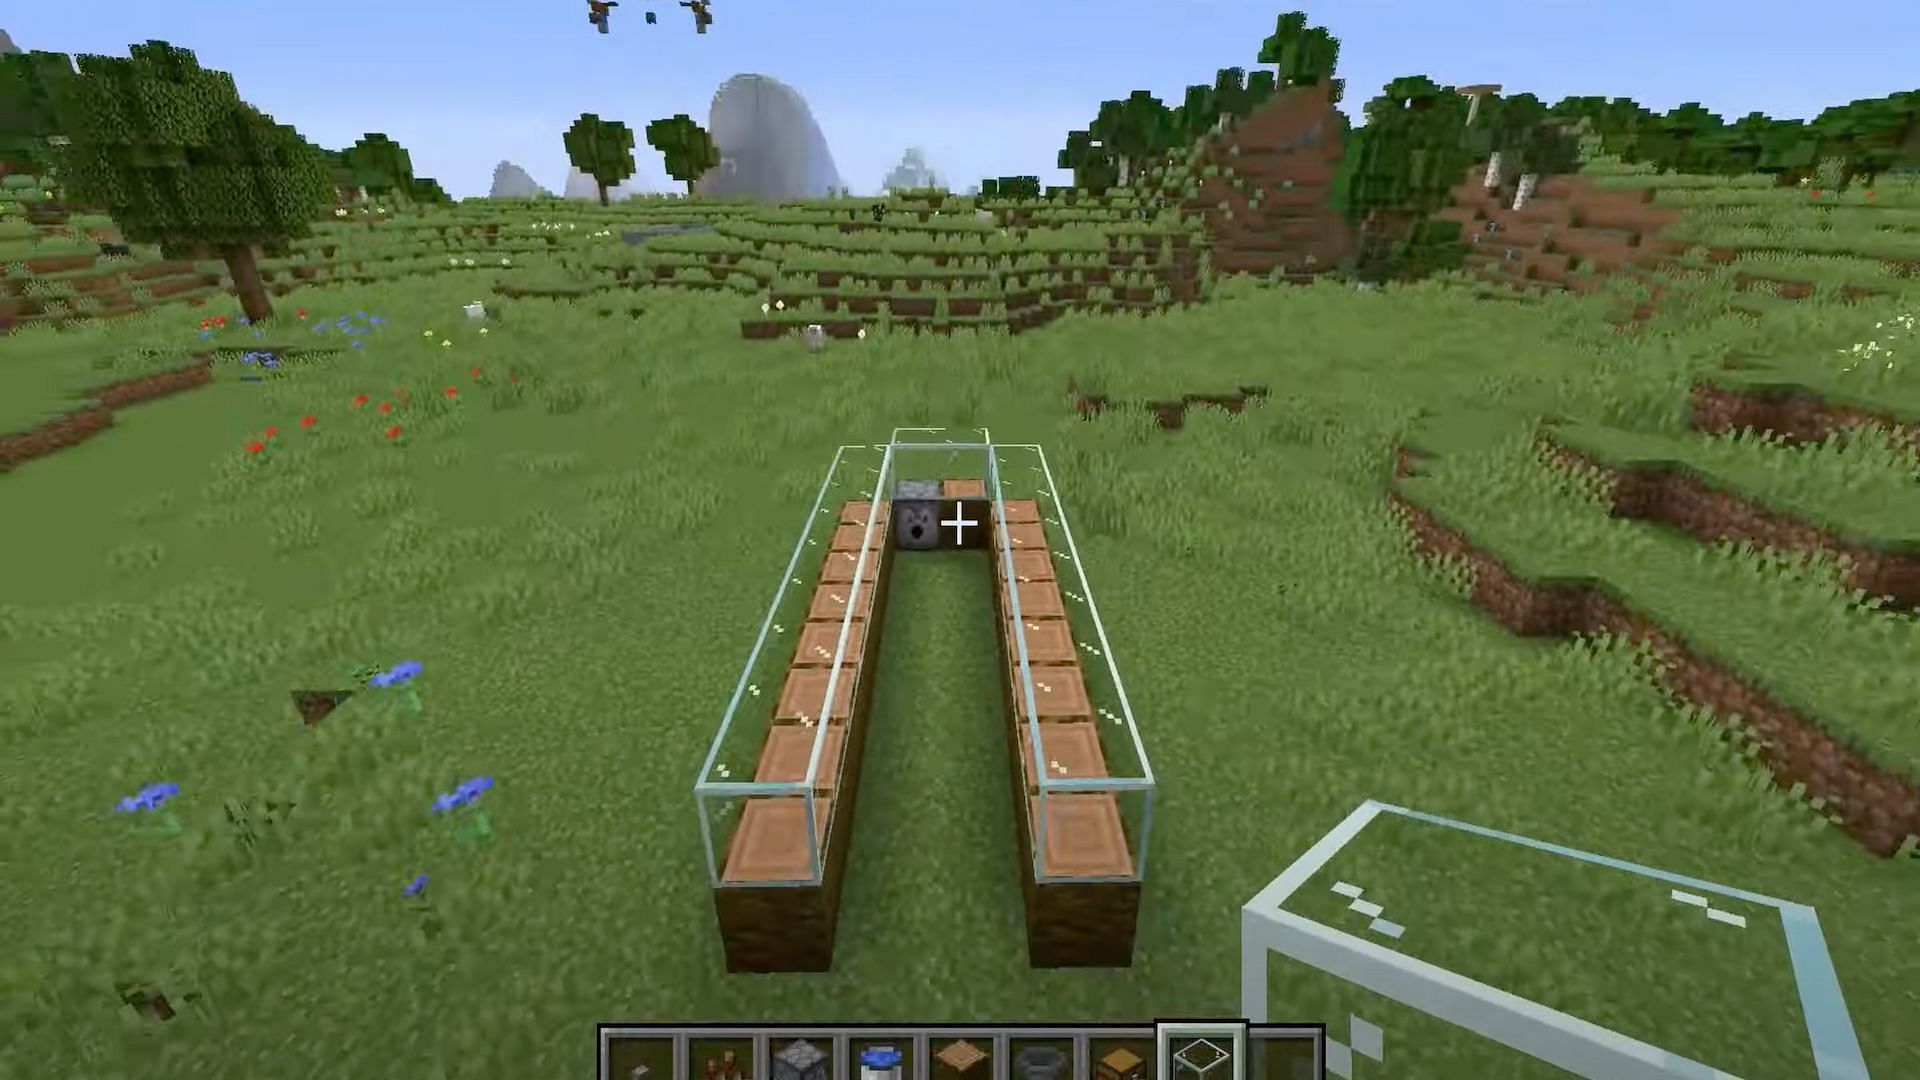
Players should place 1 row of glass blocks on top of all the blocks.
Step 4: Put a bucket of water in the dispenser
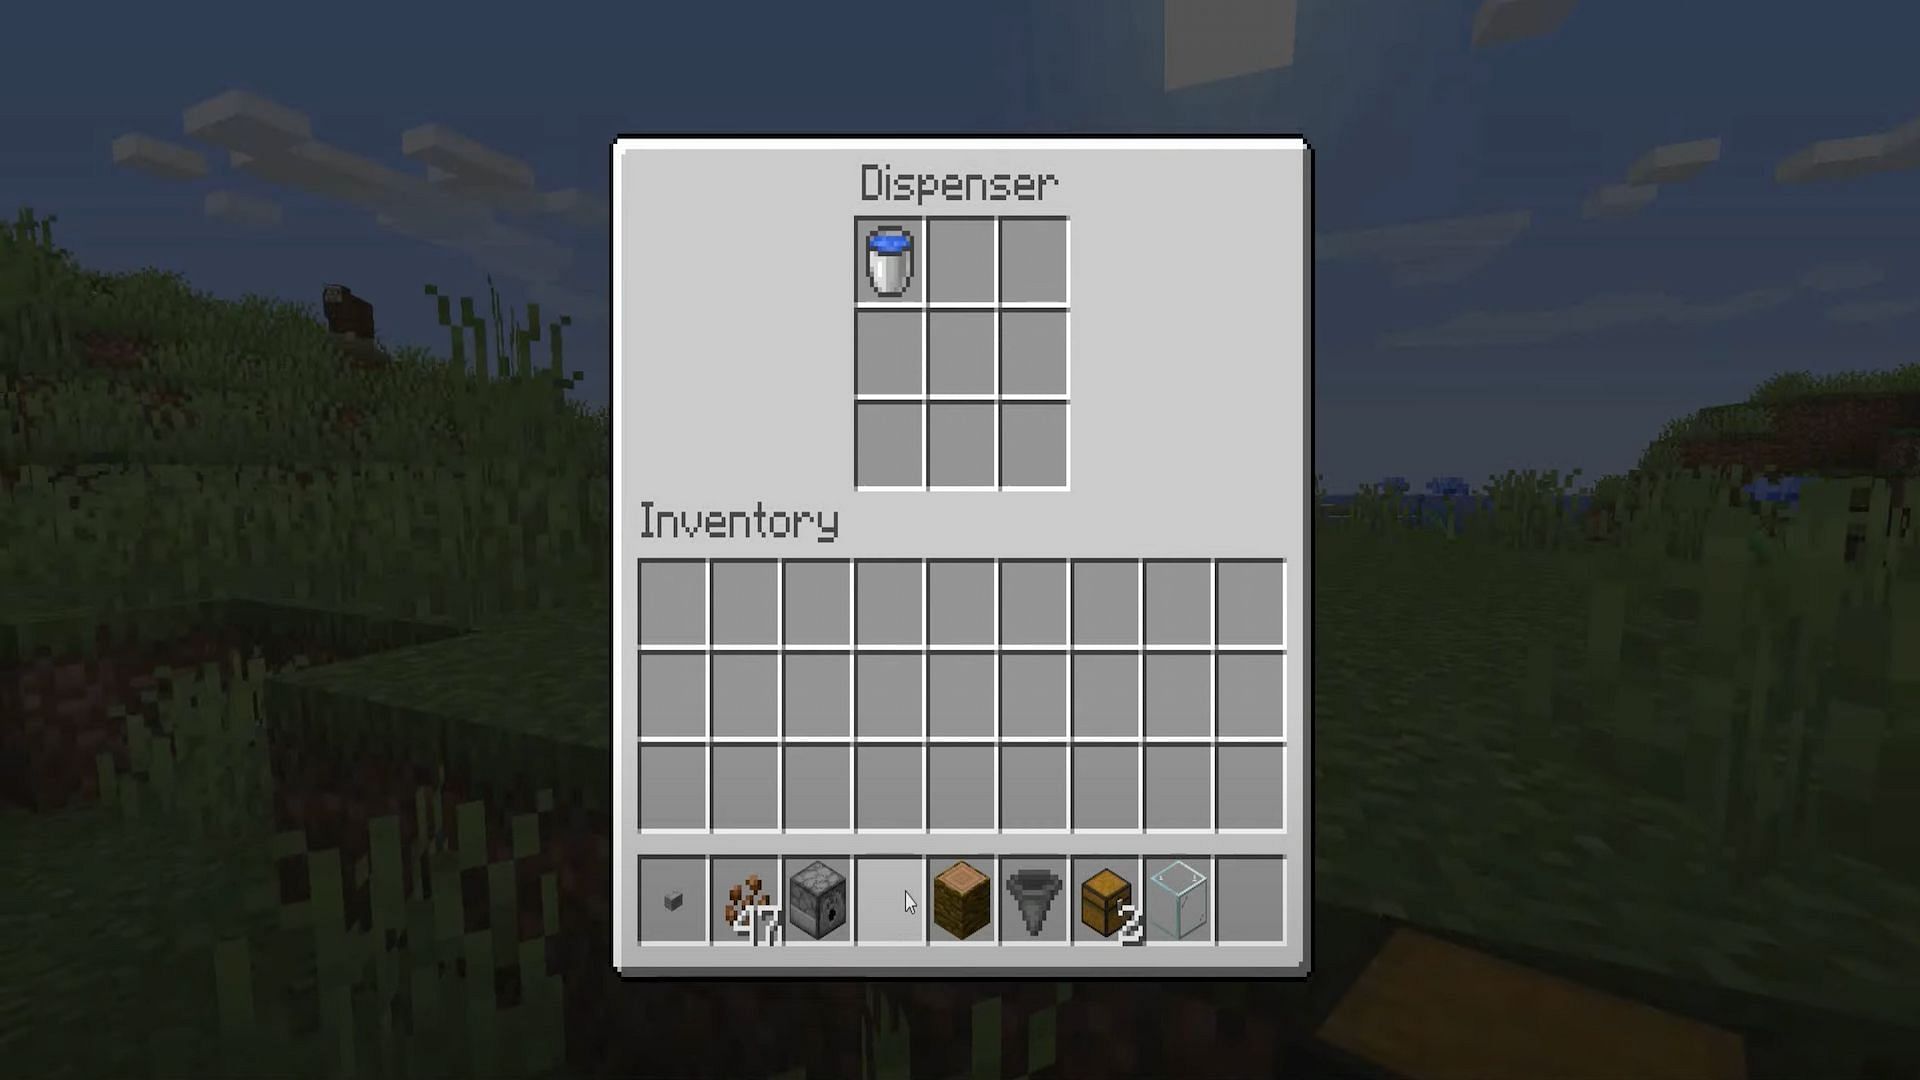
Next, players need to place a bucket of water inside the dispenser. This is how players will harvest their cocoa beans.
Step 5: Place a button on the dispenser
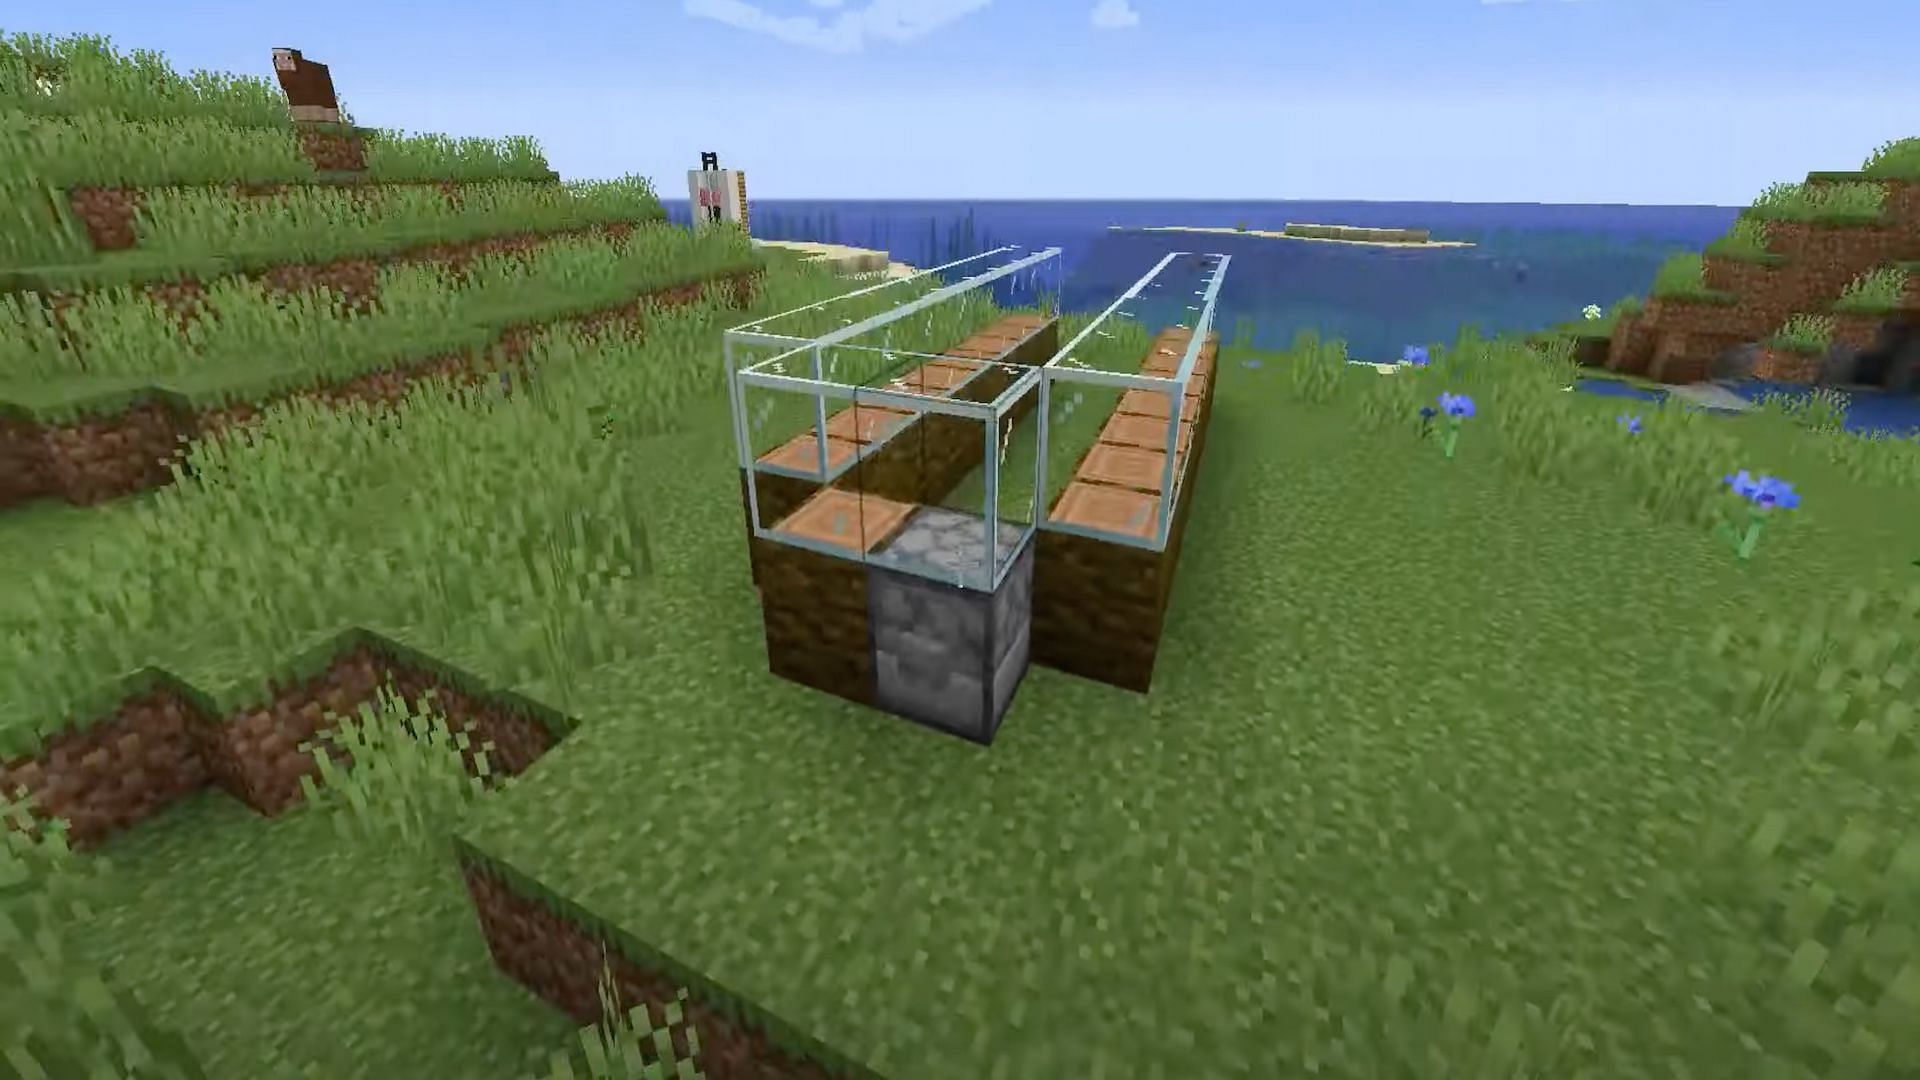
Players can now place a button on the dispenser. This is how the farm will be activated.
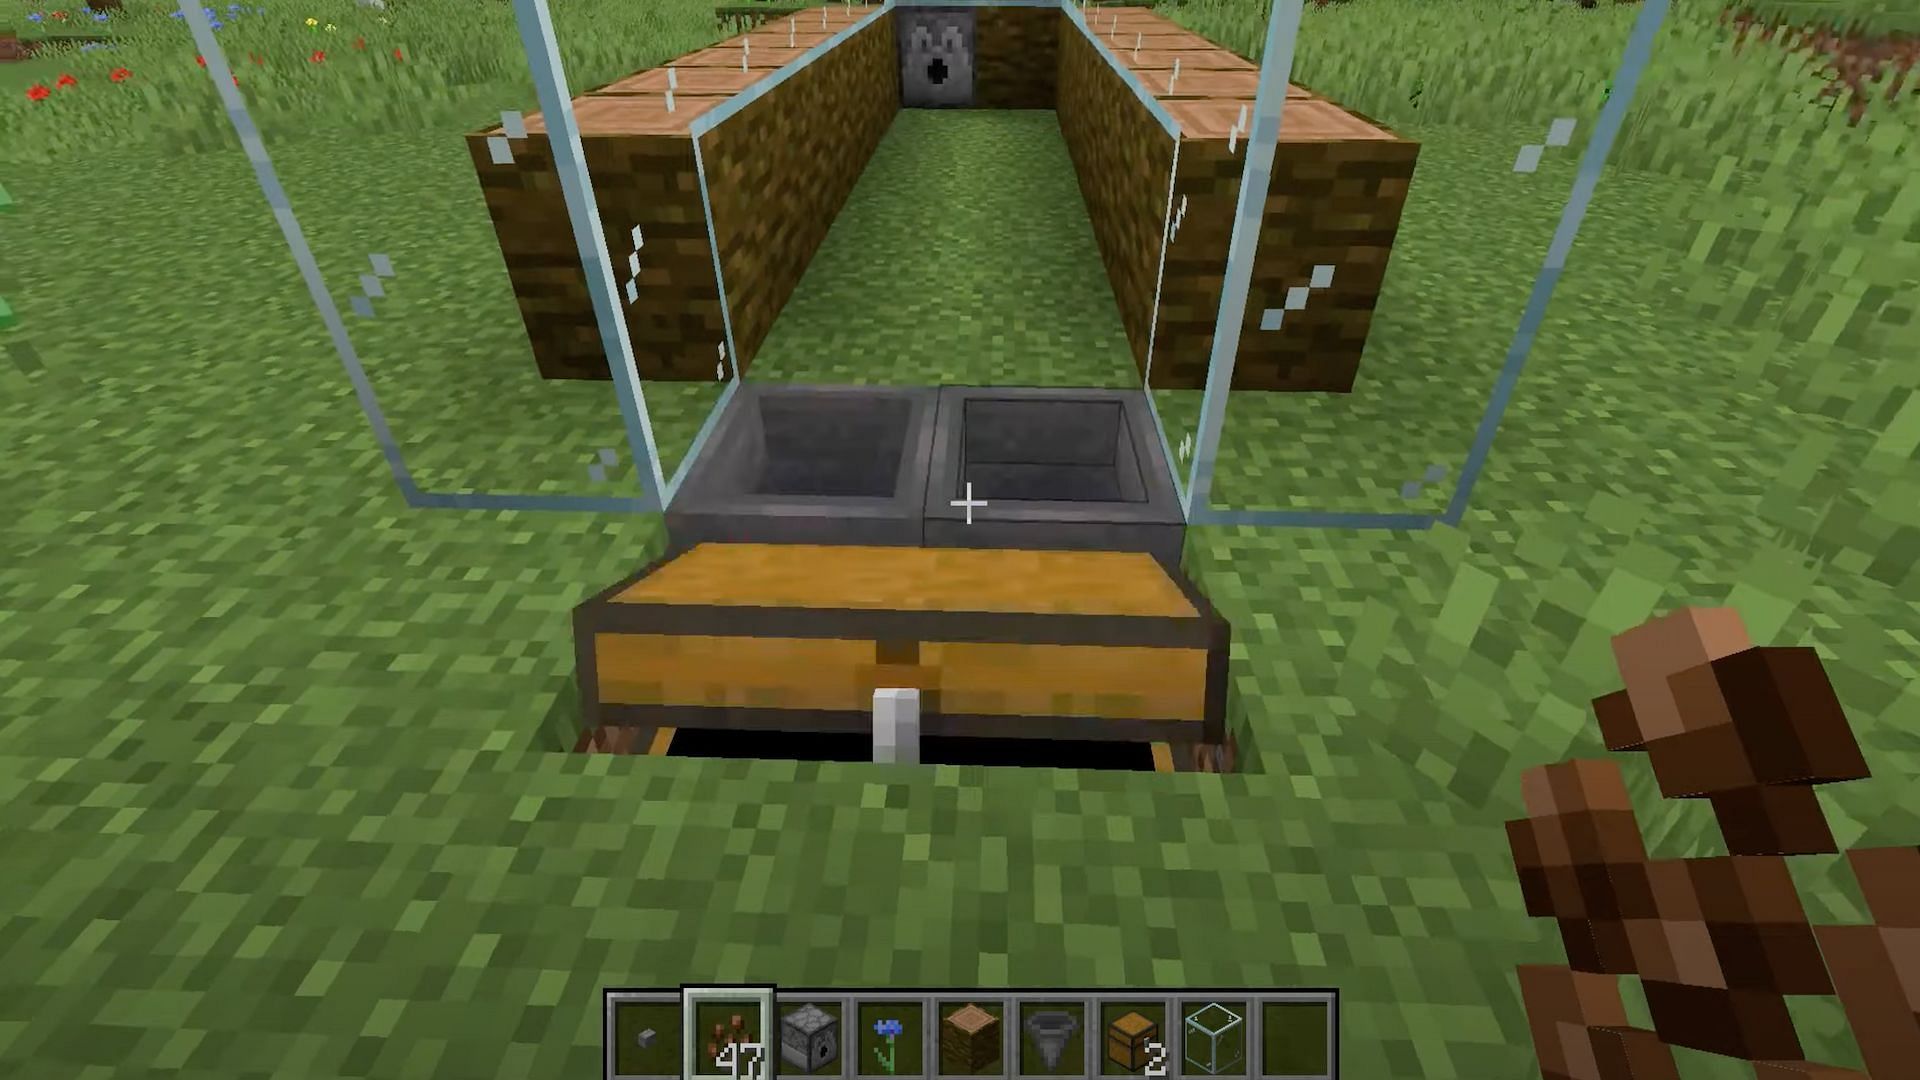
Step 6: Dig four holes in front of the build
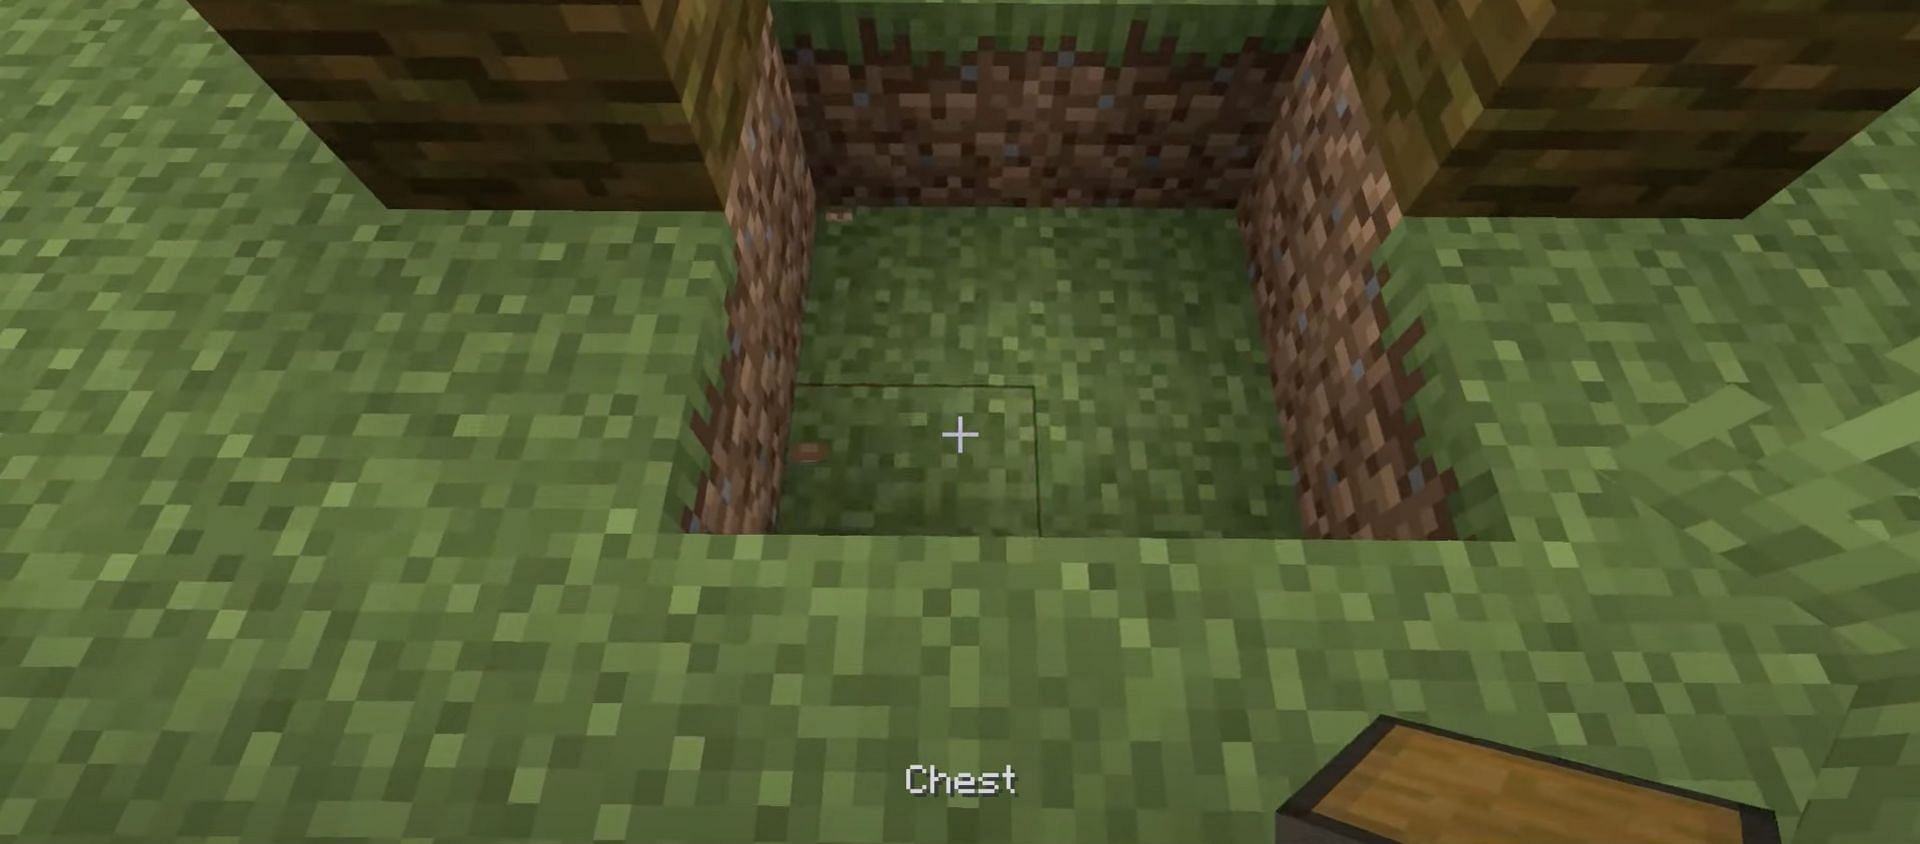
Players will now need to dig out four blocks in front of the two rows of logs. This is where the chests and the hoppers will be placed.
Step 7: Place both chests and both hoppers into the ground
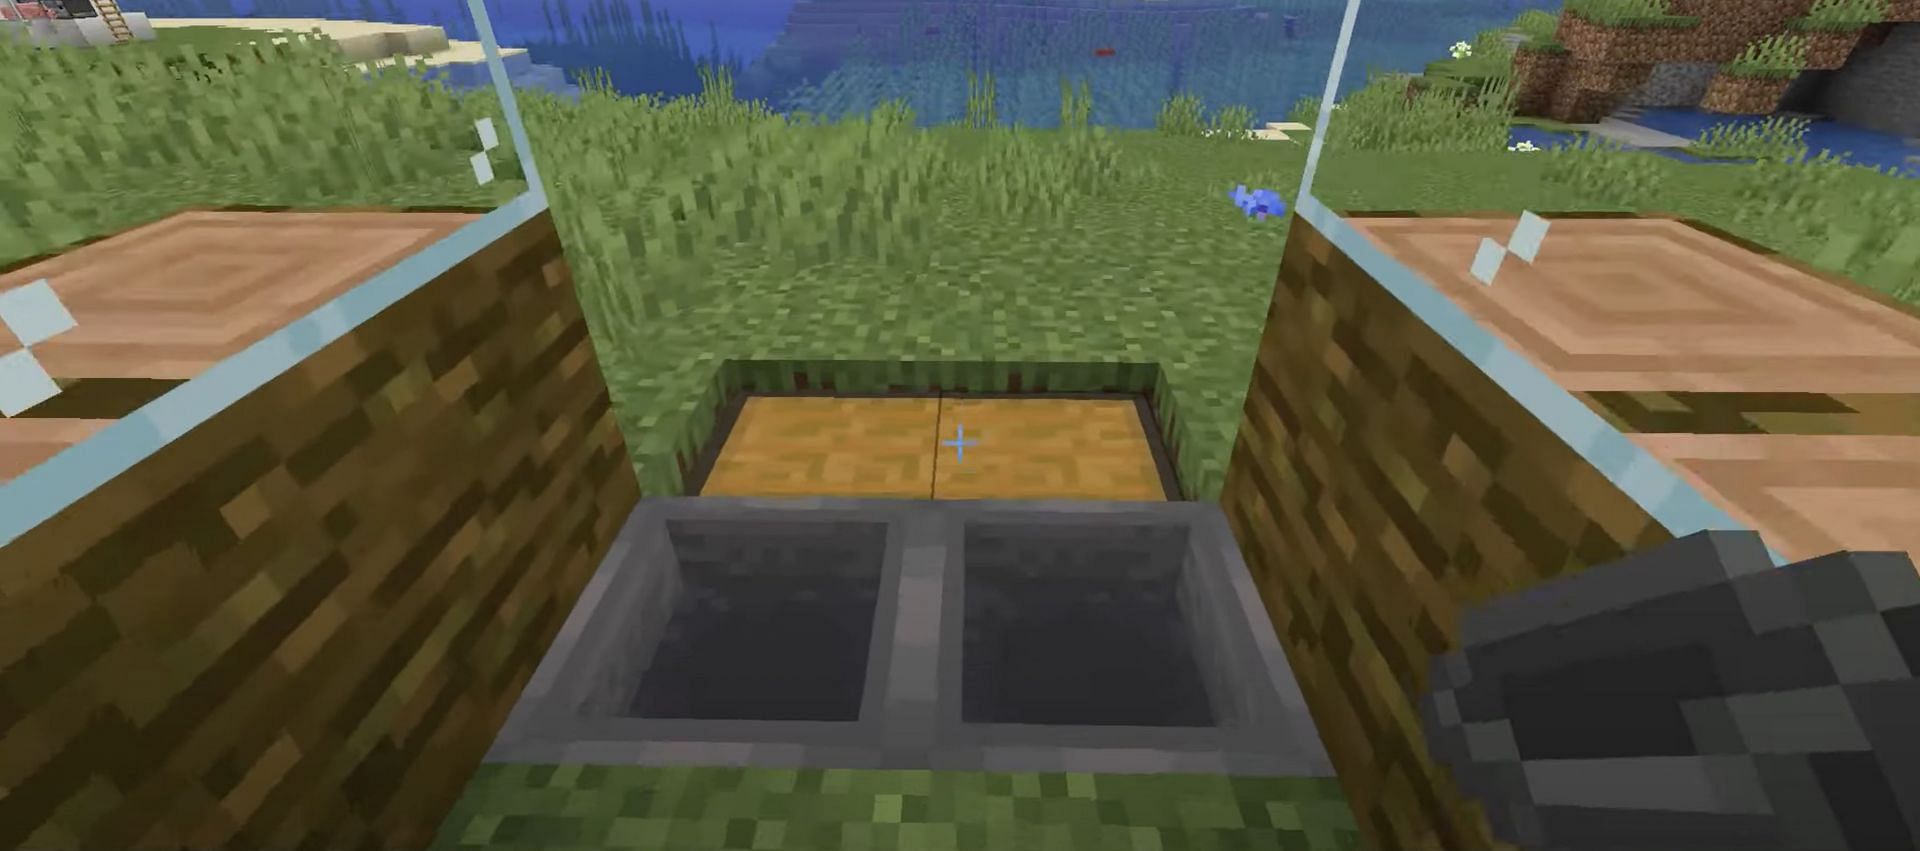
Players need to place both chests into the ground to create a large chest. Then, place both hoppers facing towards the chest so that they will feed the items into the chest.
Step 8: Replace both front logs with glass blocks
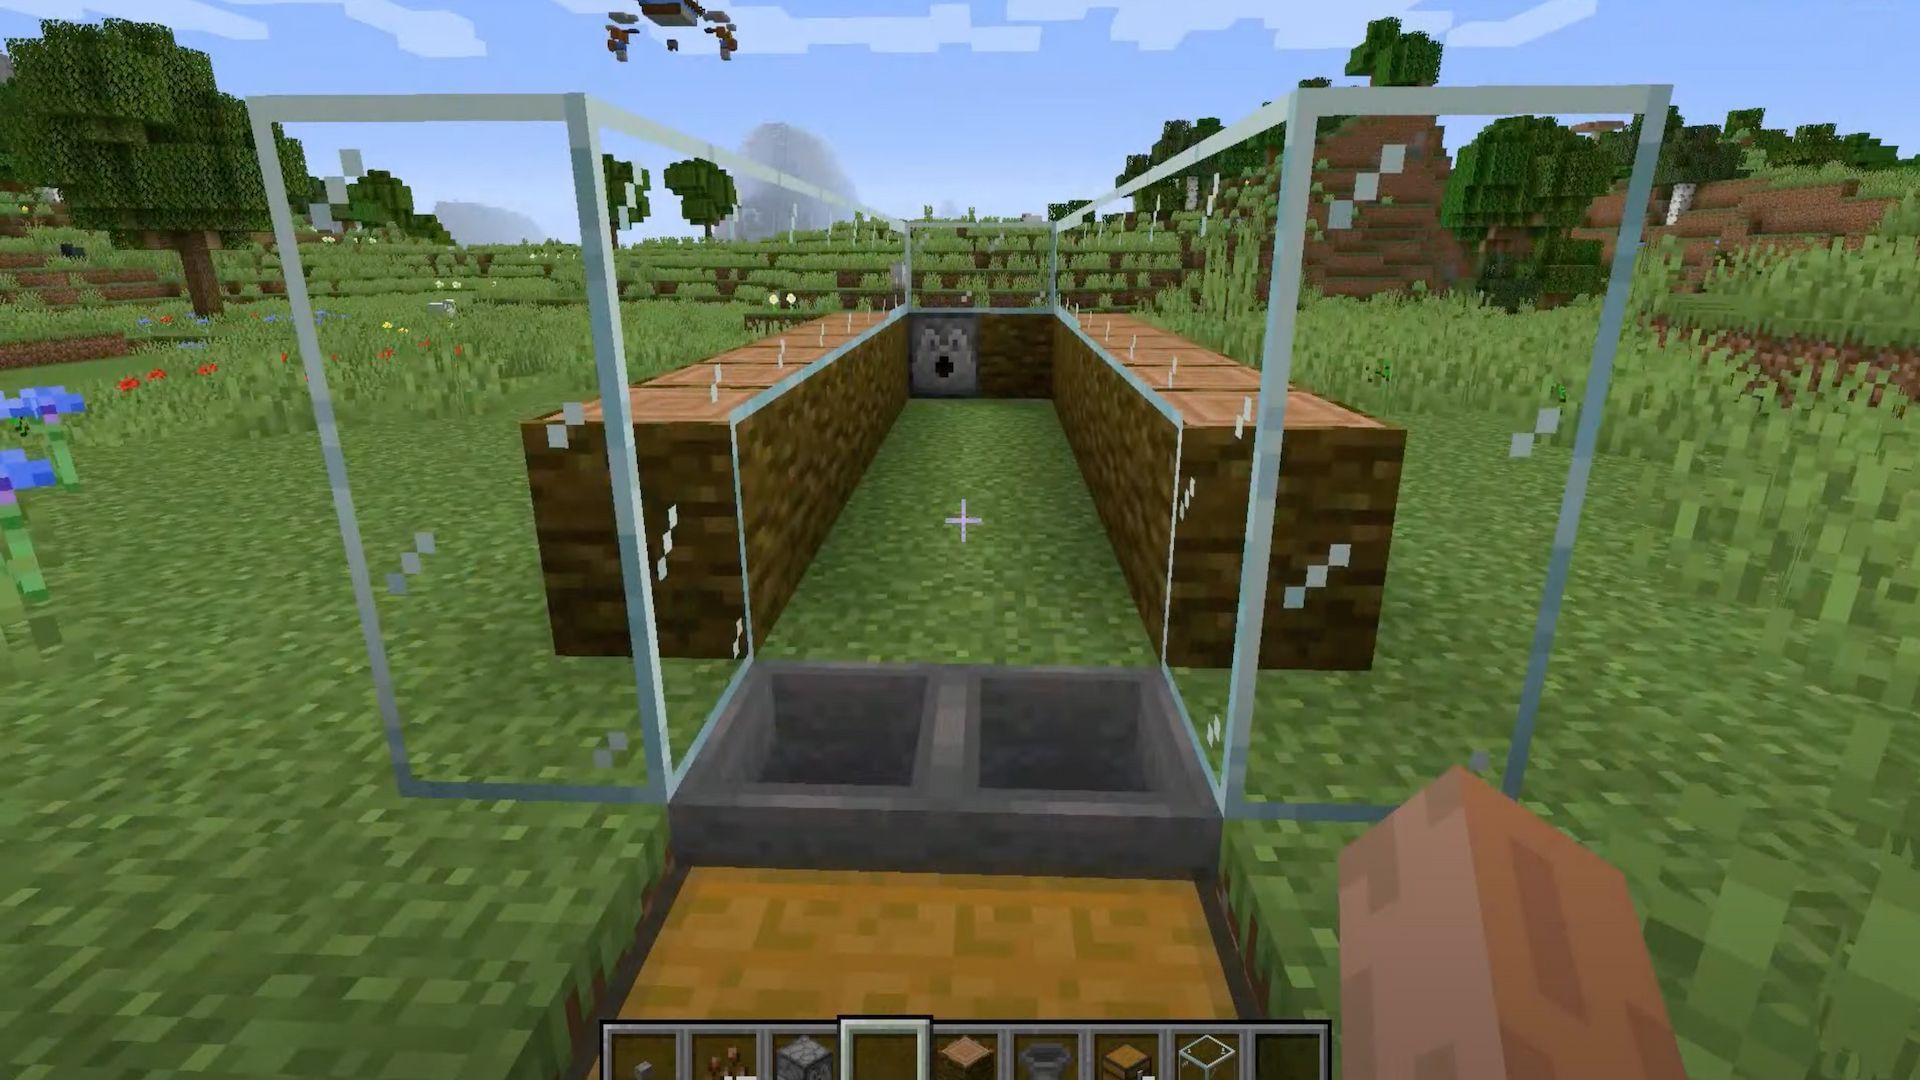
Players can now remove the first two logs in the build (next to where the hoppers are) and place glass blocks in their position. This can make it look a bit nicer, but it is not mandatory.
Step 9: Plant cocoa beans on all the logs
Players now need to plant the cocoa beans on the logs in order to start growing them.
Step 10: Press the button twice
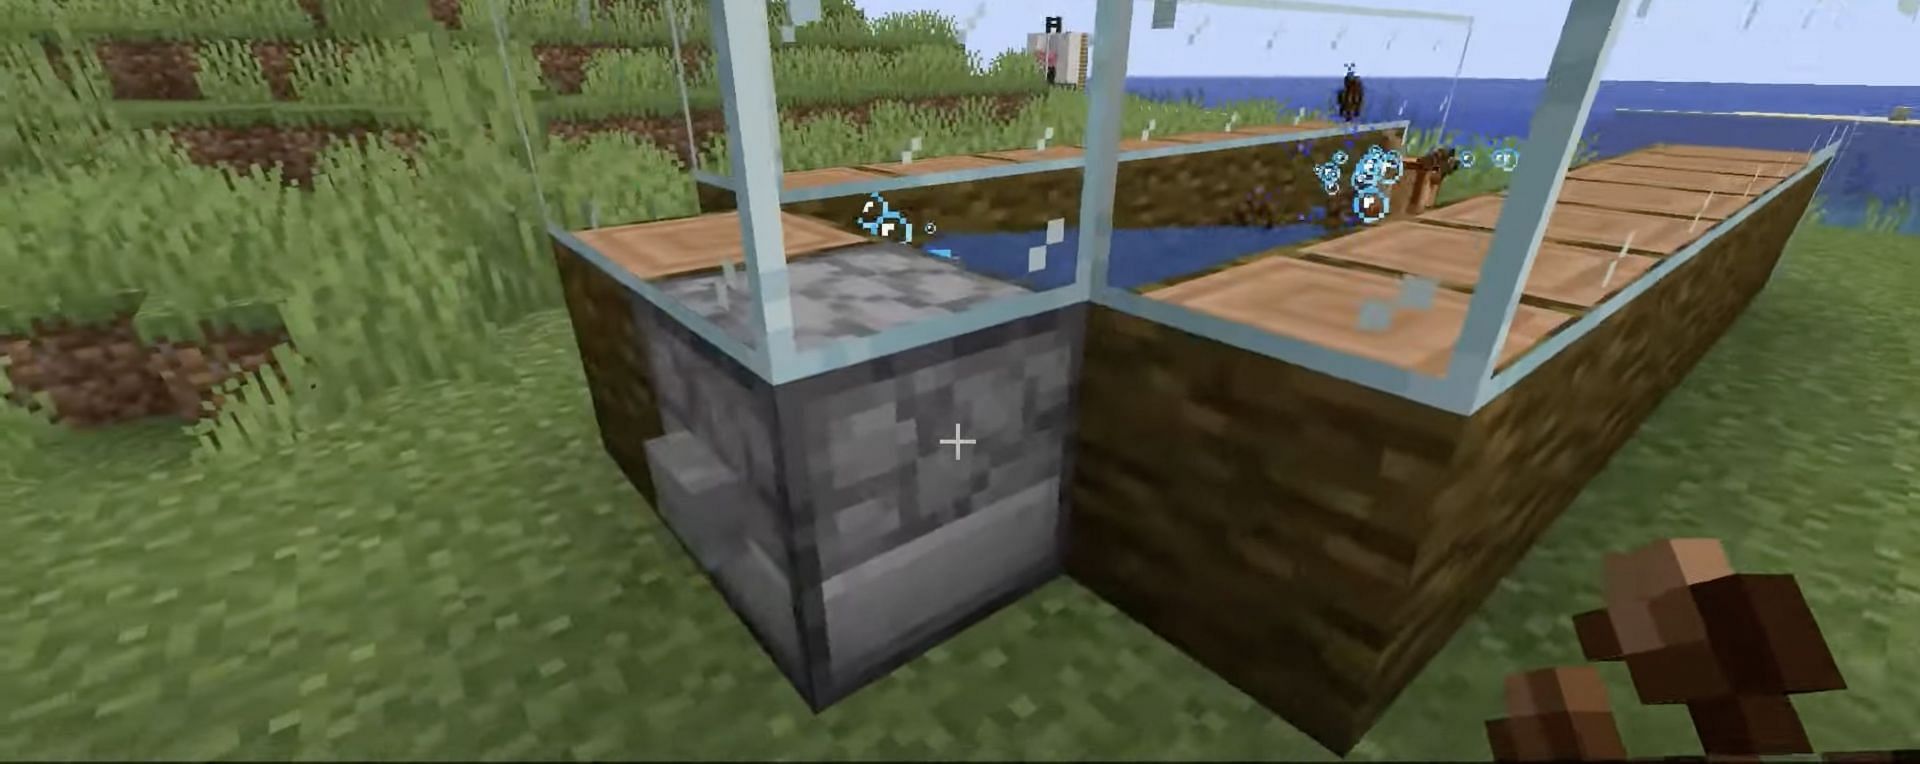
Once the cocoa beans have grown, players will need to press the button once, which will cause the water to wash away the cocoa beans. Then, players need to press it once more to put the water back into the bucket.
Step 11: Collect the beans
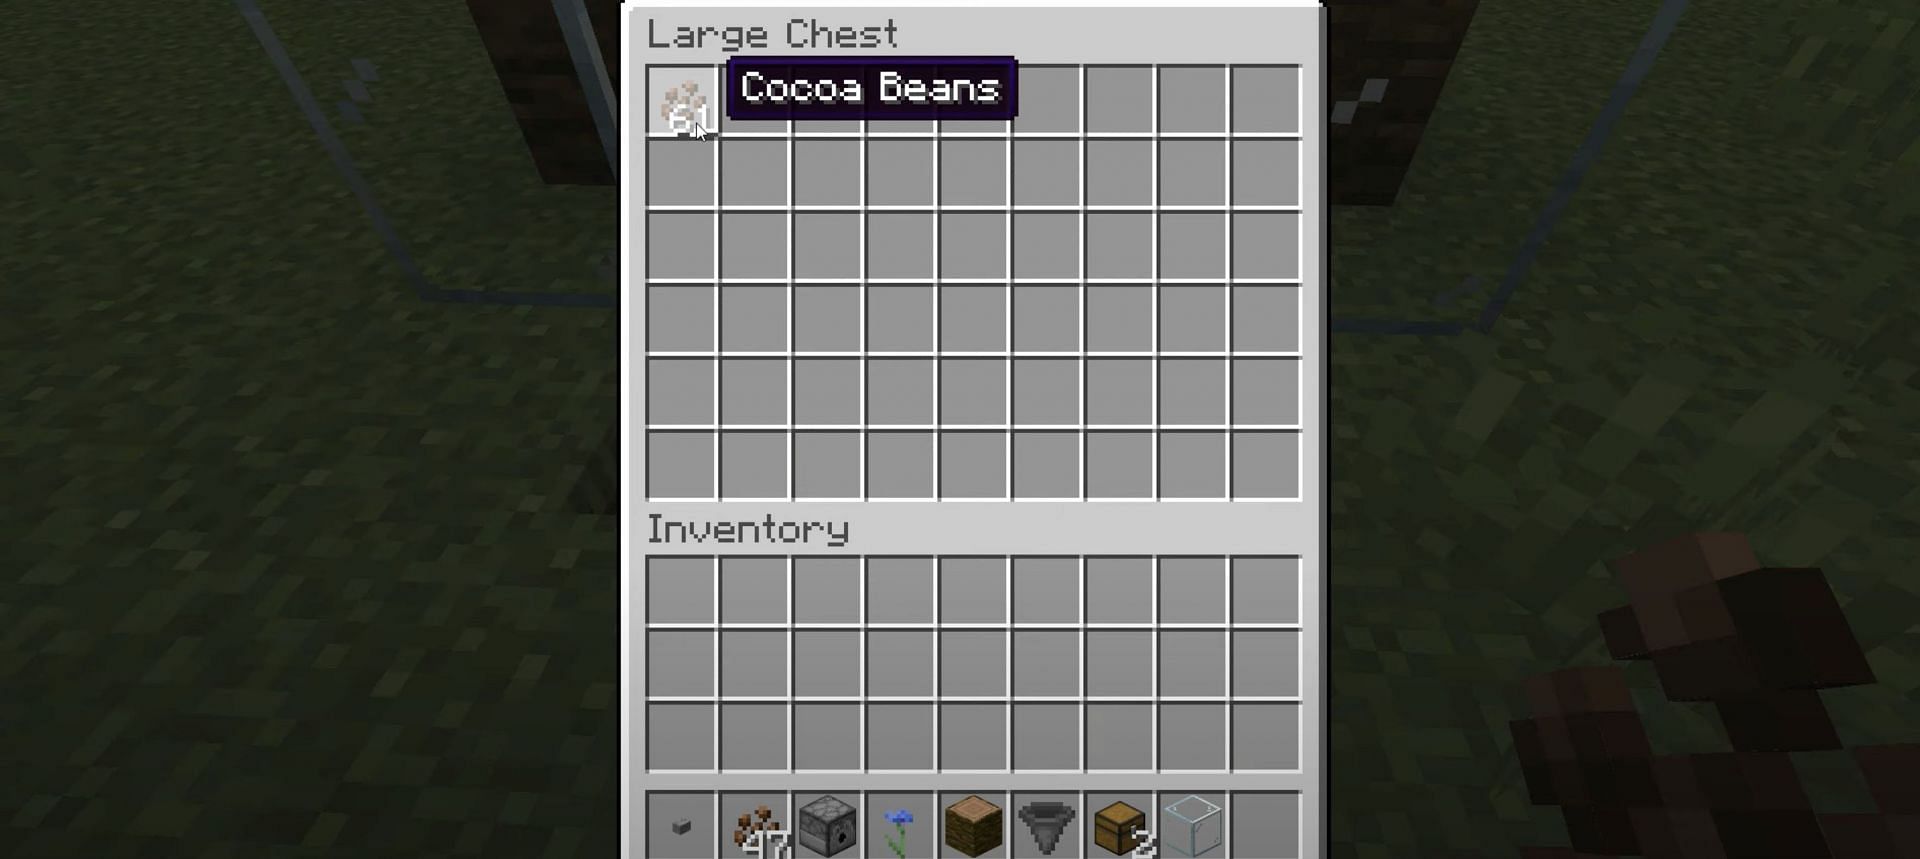
Players can now collect their cocoa beans stored in the chest in front of the build.
Step 12: Replant
Players must replant the cocoa beans and start the process all over again. They can repeat these steps as many times as needed to get the desired amount of cocoa beans.
