
'%20x='0'%20y='0'%20height='100%25'%20width='100%25'%20%0A%20%20%20%20%20%20%20%20%20%20xlink%3Ahref='data:image/jpg;base64,/9j/2wBDAAYEBQYFBAYGBQYHBwYIChAKCgkJChQODwwQFxQYGBcUFhYaHSUfGhsjHBYWICwgIyYnKSopGR8tMC0oMCUoKSj/2wBDAQcHBwoIChMKChMoGhYaKCgoKCgoKCgoKCgoKCgoKCgoKCgoKCgoKCgoKCgoKCgoKCgoKCgoKCgoKCgoKCgoKCj/wgARCAAFAAoDASIAAhEBAxEB/8QAFQABAQAAAAAAAAAAAAAAAAAABAb/2gAIAQEAAAAAJUf/xAAUAQEAAAAAAAAAAAAAAAAAAAAF/9oACAECEAAAAAf/xAAUAQEAAAAAAAAAAAAAAAAAAAAE/9oACAEDEAAAAF//xAAfEAABAwMFAAAAAAAAAAAAAAADAAIEAQYxERQhVJL/2gAIAQEAAT8AtyLIe8ZBzijDVxNQtxinK2b+5J9r/8QAGBEAAwEBAAAAAAAAAAAAAAAAAQIEAwD/2gAIAQIBAT8Apuoz0Ko5Hf/EABcRAAMBAAAAAAAAAAAAAAAAAAECAwD/2gAIAQMBAT8AlGbqCw3/2Q=='%3E%3C/image%3E%3C/svg%3E)
Getting resources is an essential part of Minecraft. Players can create farms to gather resources efficiently. There are three different ways of farming in Minecraft: Automatic, semi-automatic, and manual.
Out of these three, manual farming can be slow and inefficient, whereas automatic and semi-automatic farms require less time and effort. Many players prefer to build wheat farms in their Minecraft first because it can be used to breed cattle, trade with villagers, and finally as food.
Players can craft bread using three pieces of wheat. One bread restores two and a half hunger points in Minecraft. It is a cheap yet excellent source of food early in the game.

Read: How to create an automatic crop farm in Minecraft (2021)
How to build Villager-based automatic wheat farms in Minecraft
In Minecraft, farmers can harvest crops and plant seeds on tilled blocks. Using this mechanism, players can create an automatic wheat farm. Follow this guide to create an automatic wheat farm in Minecraft.
Building the collection system
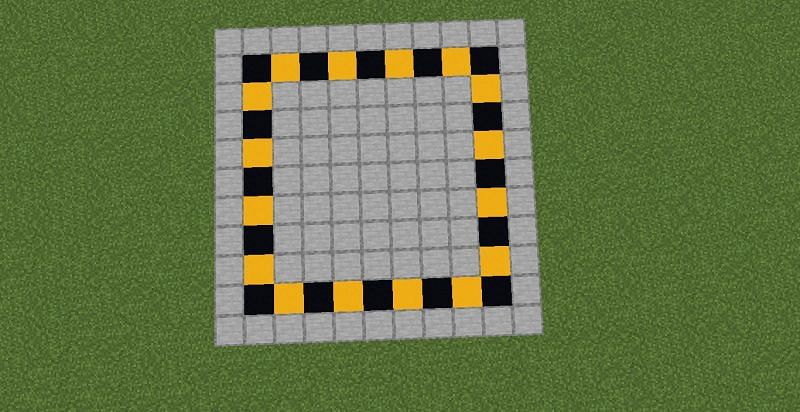
The first step to build this farm is to create a collection system. To build the system, players will need a 9x9 area, as shown in the image. Players can make a hopper minecart system to collect any crop harvested by the farmer.
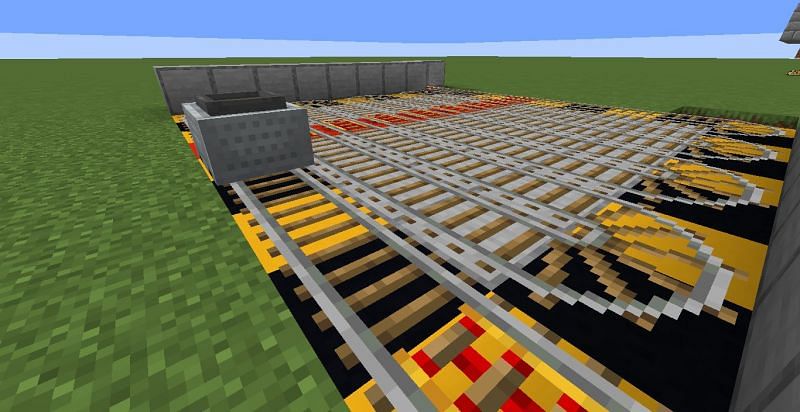
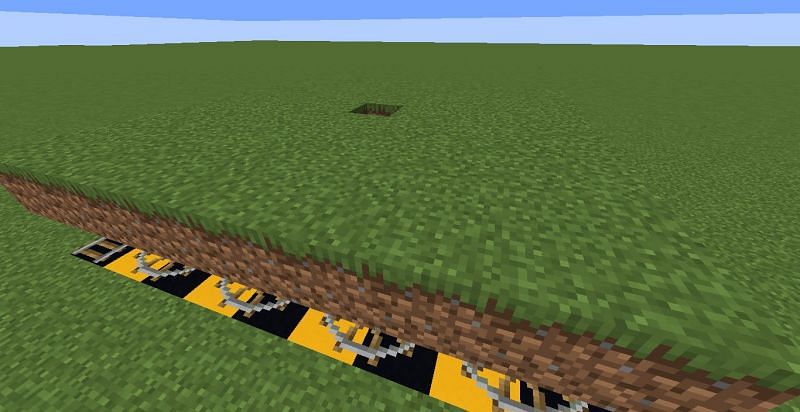
Using some redstone block, regular and powered rails, players can create an automatic hopper cart collection system. It will collect all the wheat harvested by the farmer and drop it into a chest.
Build the farmland
After building the collection mechanism, players have to create a farming area above it. The area should be 9x9 and made up of dirt or grass blocks.
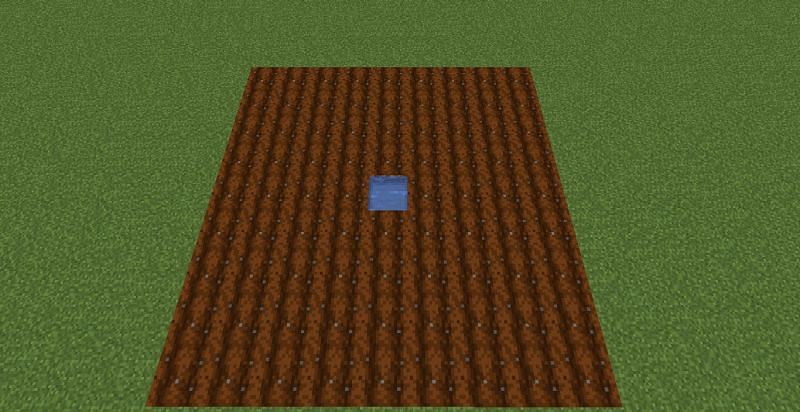
At the center of this land, place a bottom half slab, as shown in the image. Flood this slab using a bucket of water. Now, the nearby dirt blocks are saturated and ready to get tilled. Use a hoe to cultivate the dirt/grass block in the 9x9 area and plant the wheat seeds.
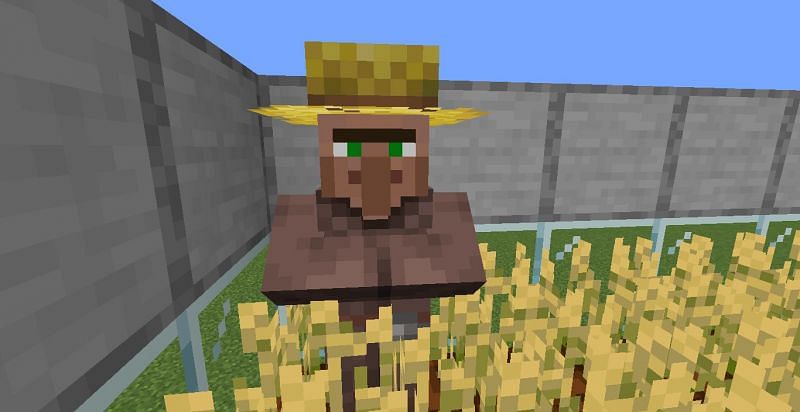
Bring a villager
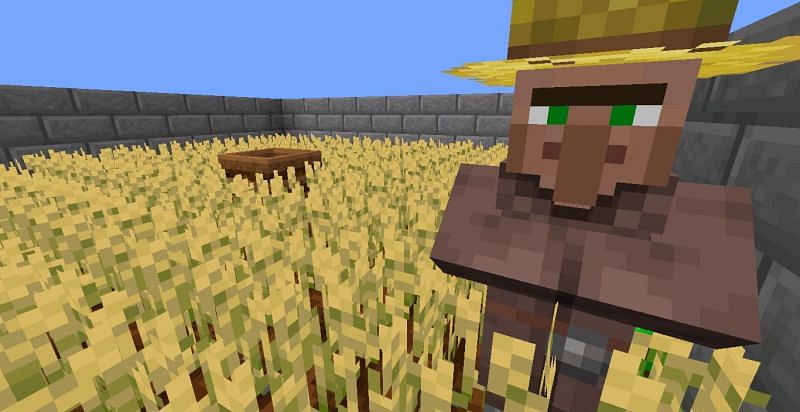
The final step is to bring an unemployed villager and give him the profession of a farmer. Before getting the villager, make a wall around the farmland so that the villager doesn't escape.
Place a composter on the bottom slab in the center of the farm. The villager will take the profession of farmer and is ready to do his job. After wheat has grown, the farmer will harvest the crop and replant the seed.
When his inventory is filled, he will drop the crop on the ground, which gets collected by hopper cart.
Micro wheat farm
A micro wheat farm is a good option for players who don't want a large wheat farm. This farm design by YouTuber REDIZIO only requires a 3x3 area. The only downside to this farm is its high requirement of bone meal.
To make this farm, players will need an observer, a piston, three dispensers, a water bucket, a stair, a few redstone dust, and building blocks. Players can use an autoclicker to make it an automatic farm.
