
'%20x='0'%20y='0'%20height='100%25'%20width='100%25'%20%0A%20%20%20%20%20%20%20%20%20%20xlink%3Ahref='data:image/jpg;base64,/9j/2wBDAAYEBQYFBAYGBQYHBwYIChAKCgkJChQODwwQFxQYGBcUFhYaHSUfGhsjHBYWICwgIyYnKSopGR8tMC0oMCUoKSj/2wBDAQcHBwoIChMKChMoGhYaKCgoKCgoKCgoKCgoKCgoKCgoKCgoKCgoKCgoKCgoKCgoKCgoKCgoKCgoKCgoKCgoKCj/wgARCAAGAAoDASIAAhEBAxEB/8QAFQABAQAAAAAAAAAAAAAAAAAABAf/2gAIAQEAAAAAhr//xAAUAQEAAAAAAAAAAAAAAAAAAAAD/9oACAECEAAAAD//xAAUAQEAAAAAAAAAAAAAAAAAAAAD/9oACAEDEAAAAE//xAAdEAACAQQDAAAAAAAAAAAAAAABAwIAERQhIlOB/9oACAEBAAE/AA2THRUSedrb0KwF9kvY1//EABgRAAIDAAAAAAAAAAAAAAAAAAABAgMi/9oACAECAQE/ALXmJ//EABYRAAMAAAAAAAAAAAAAAAAAAAACQf/aAAgBAwEBPwBaf//Z'%3E%3C/image%3E%3C/svg%3E)
For Minecraft players, experience points, or XP, is one of the main guidelines for progression on their journey. These experience points are earned by players as rewards when they perform an action that contributes to their overall growth within the game. Activities like killing mobs, breeding animals, smelting, and cooking are among the primary activities that award Minecraft players with XP.
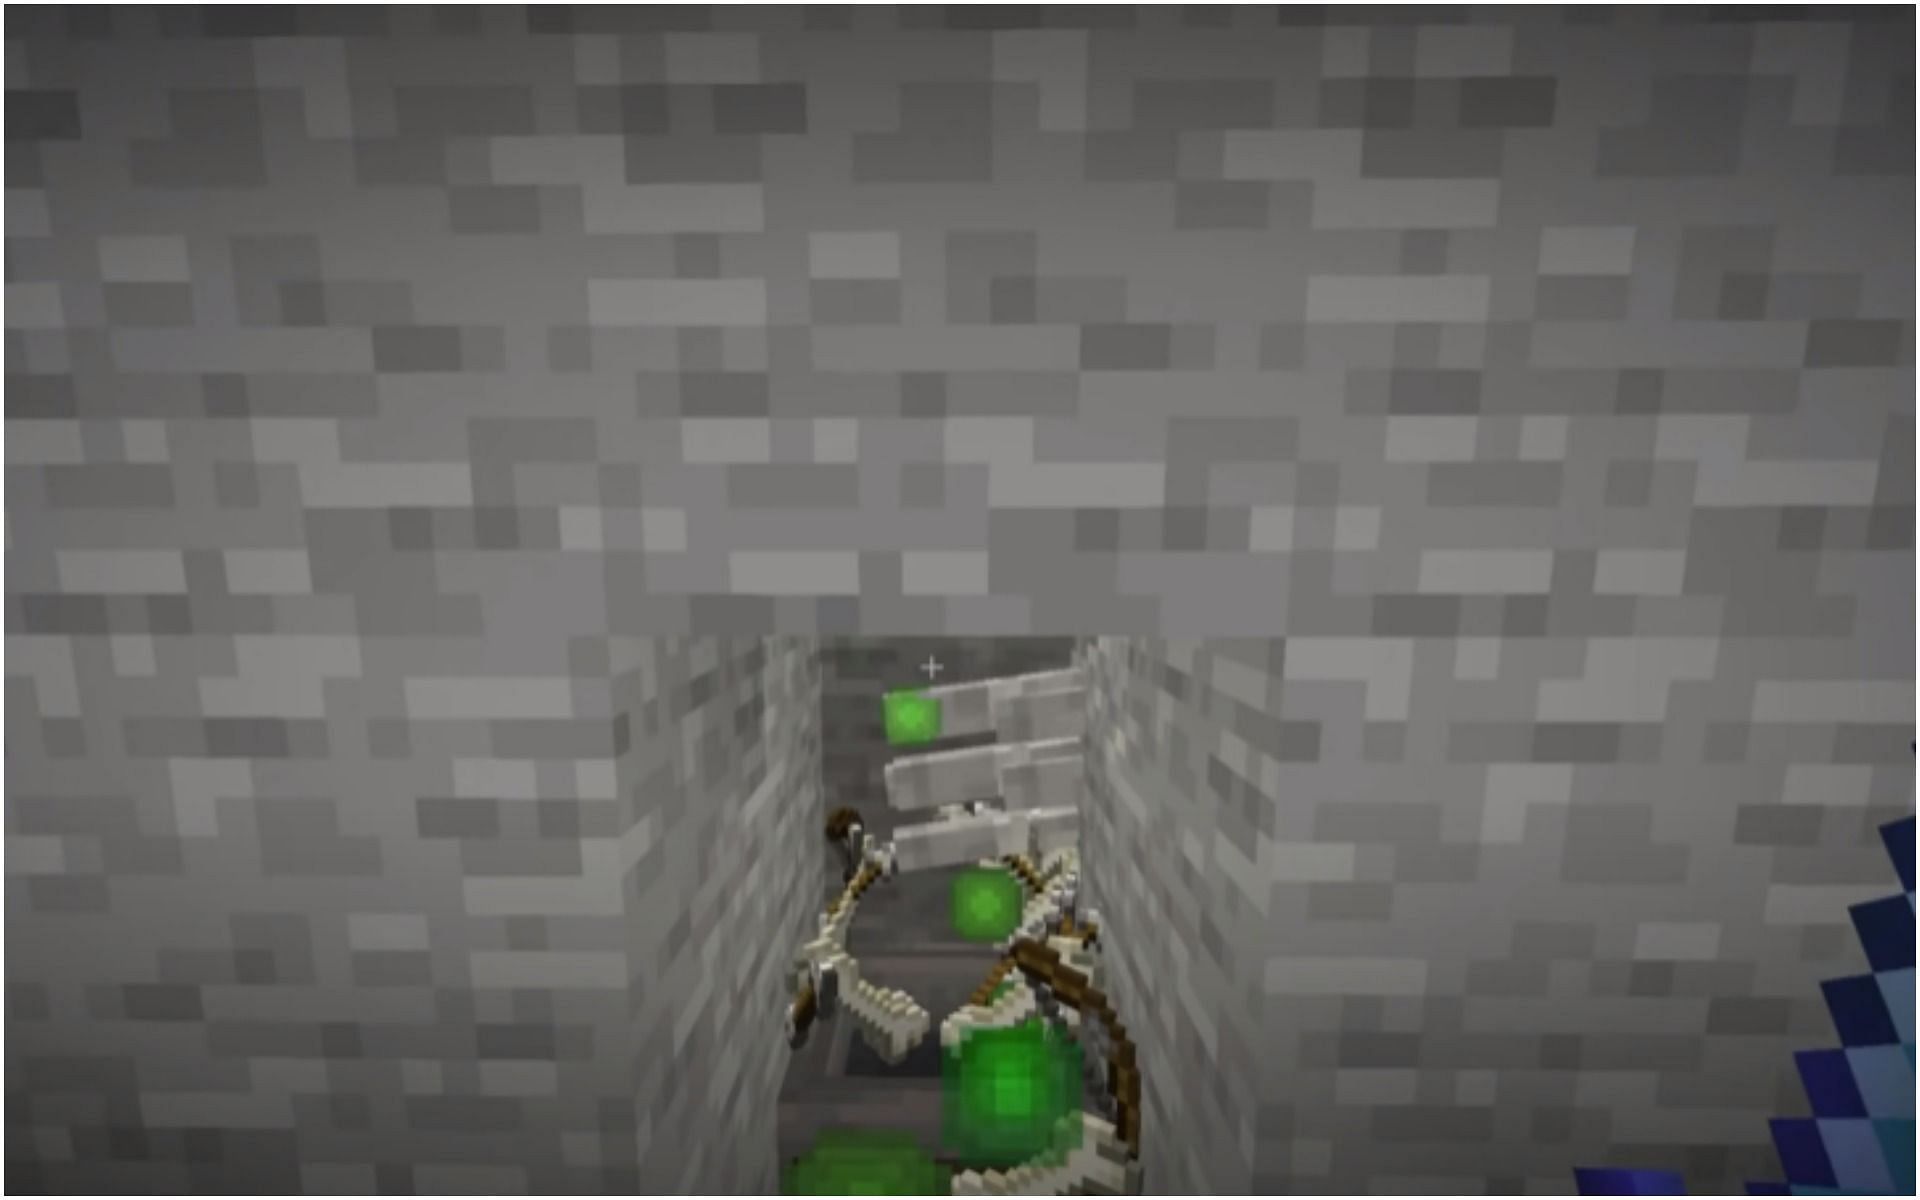
Skeletons are some of the most common mobs in Minecraft. Along with zombies, spiders, and creepers, skeletons are seen wandering in the world when the sun sets, or inside caves and ravines.
The fact that they are commonly found and have a ton of spawners around the world of Minecraft allows players to construct XP farms using them. This article will guide players on how to make their own skeleton XP farm.

Minecraft: Steps to make a skeleton XP farm
The following steps are from the aforementioned video tutorial by Minecraft YouTuber Kmond, and are a guide to one of the simplest and easiest skeleton experience farms for the latest version of Minecraft.
Materials required for the build
- A sword
- Blocks
- Slabs
- 2 Water buckets
- 1 Sign
- Ladders
- Torches or other light sources
- 2 Chests
- 1 Hopper
Step 1: Find a skeleton or zombie spawner
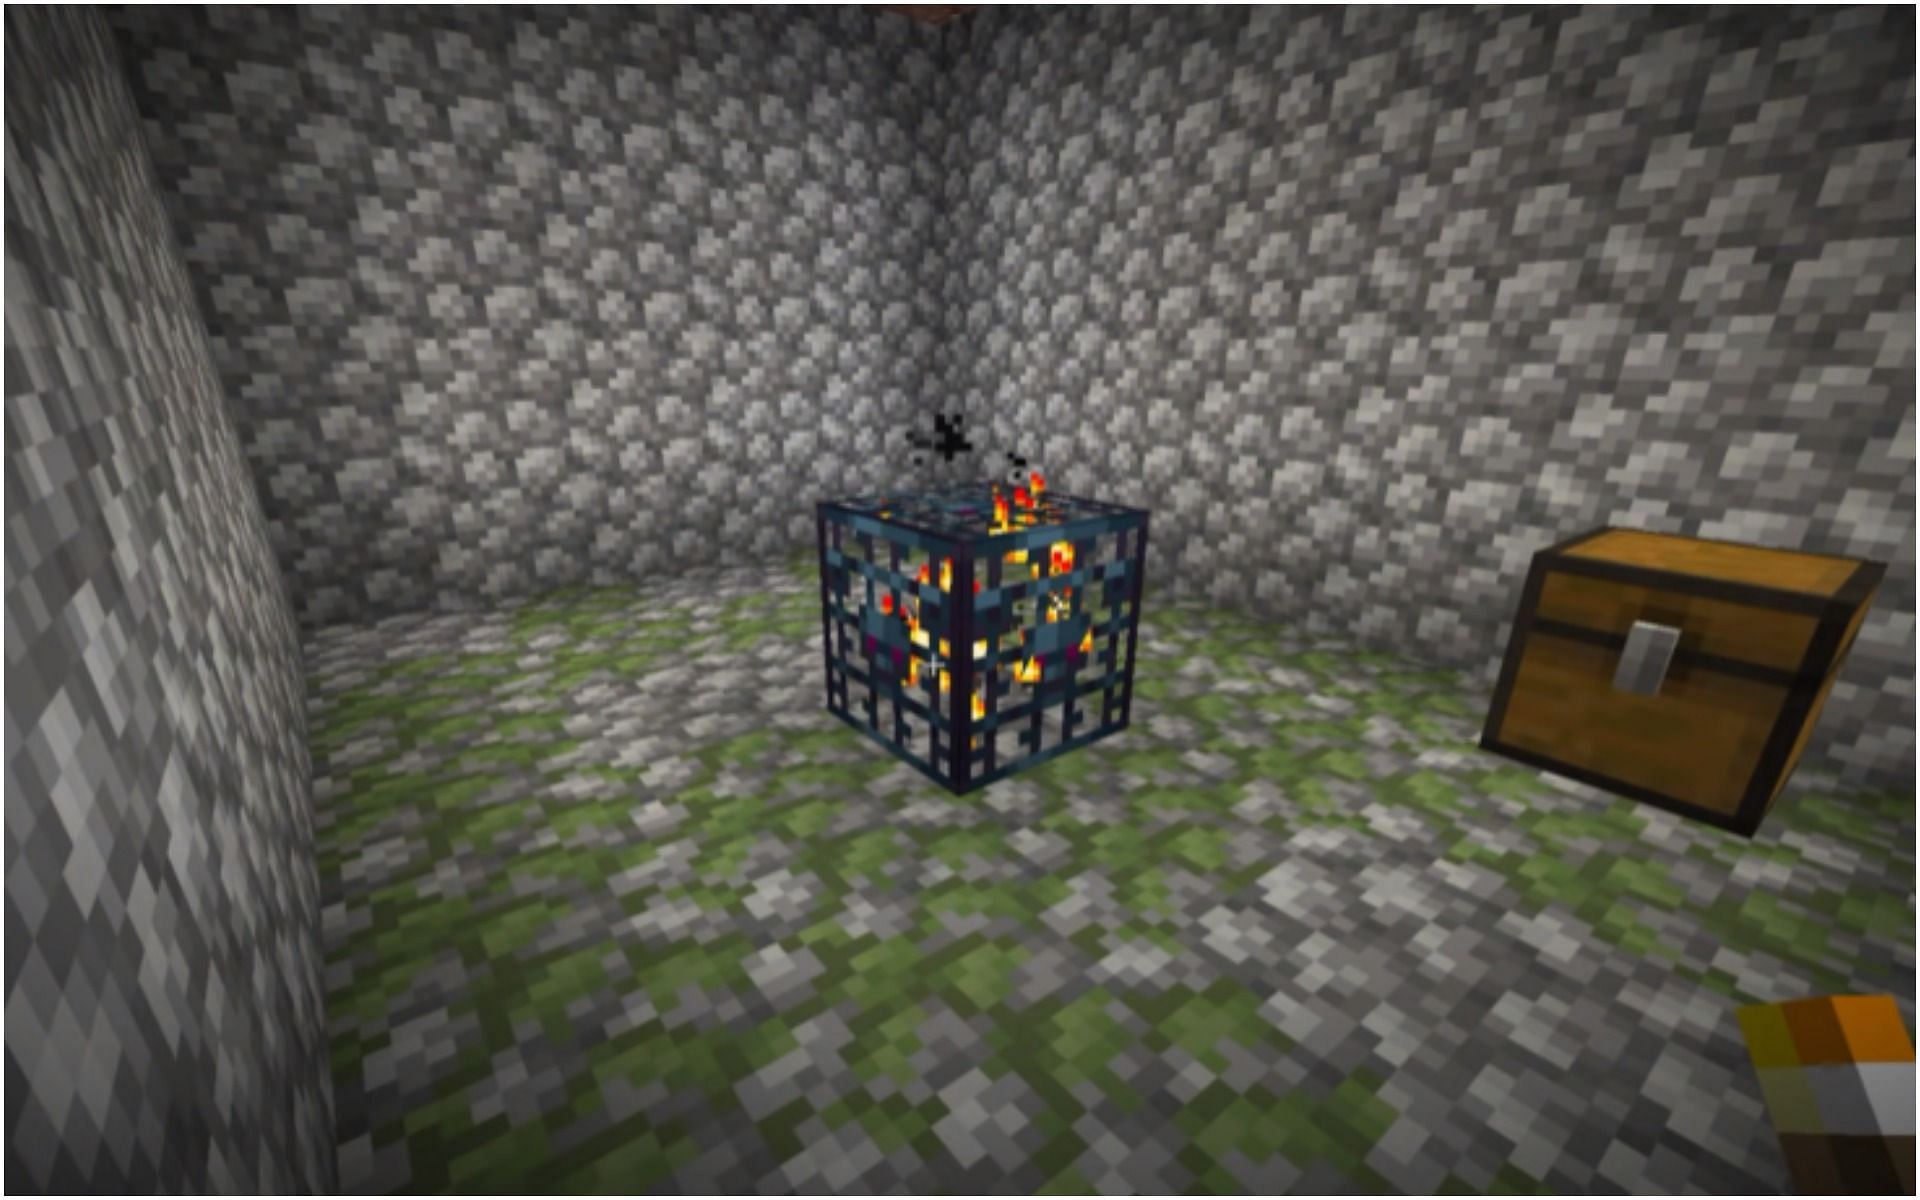
Spawners can be found underground and be identified by blocks of mossy cobblestone around them. Players can even find loot chests in spawner rooms.
Step 2: Place light sources
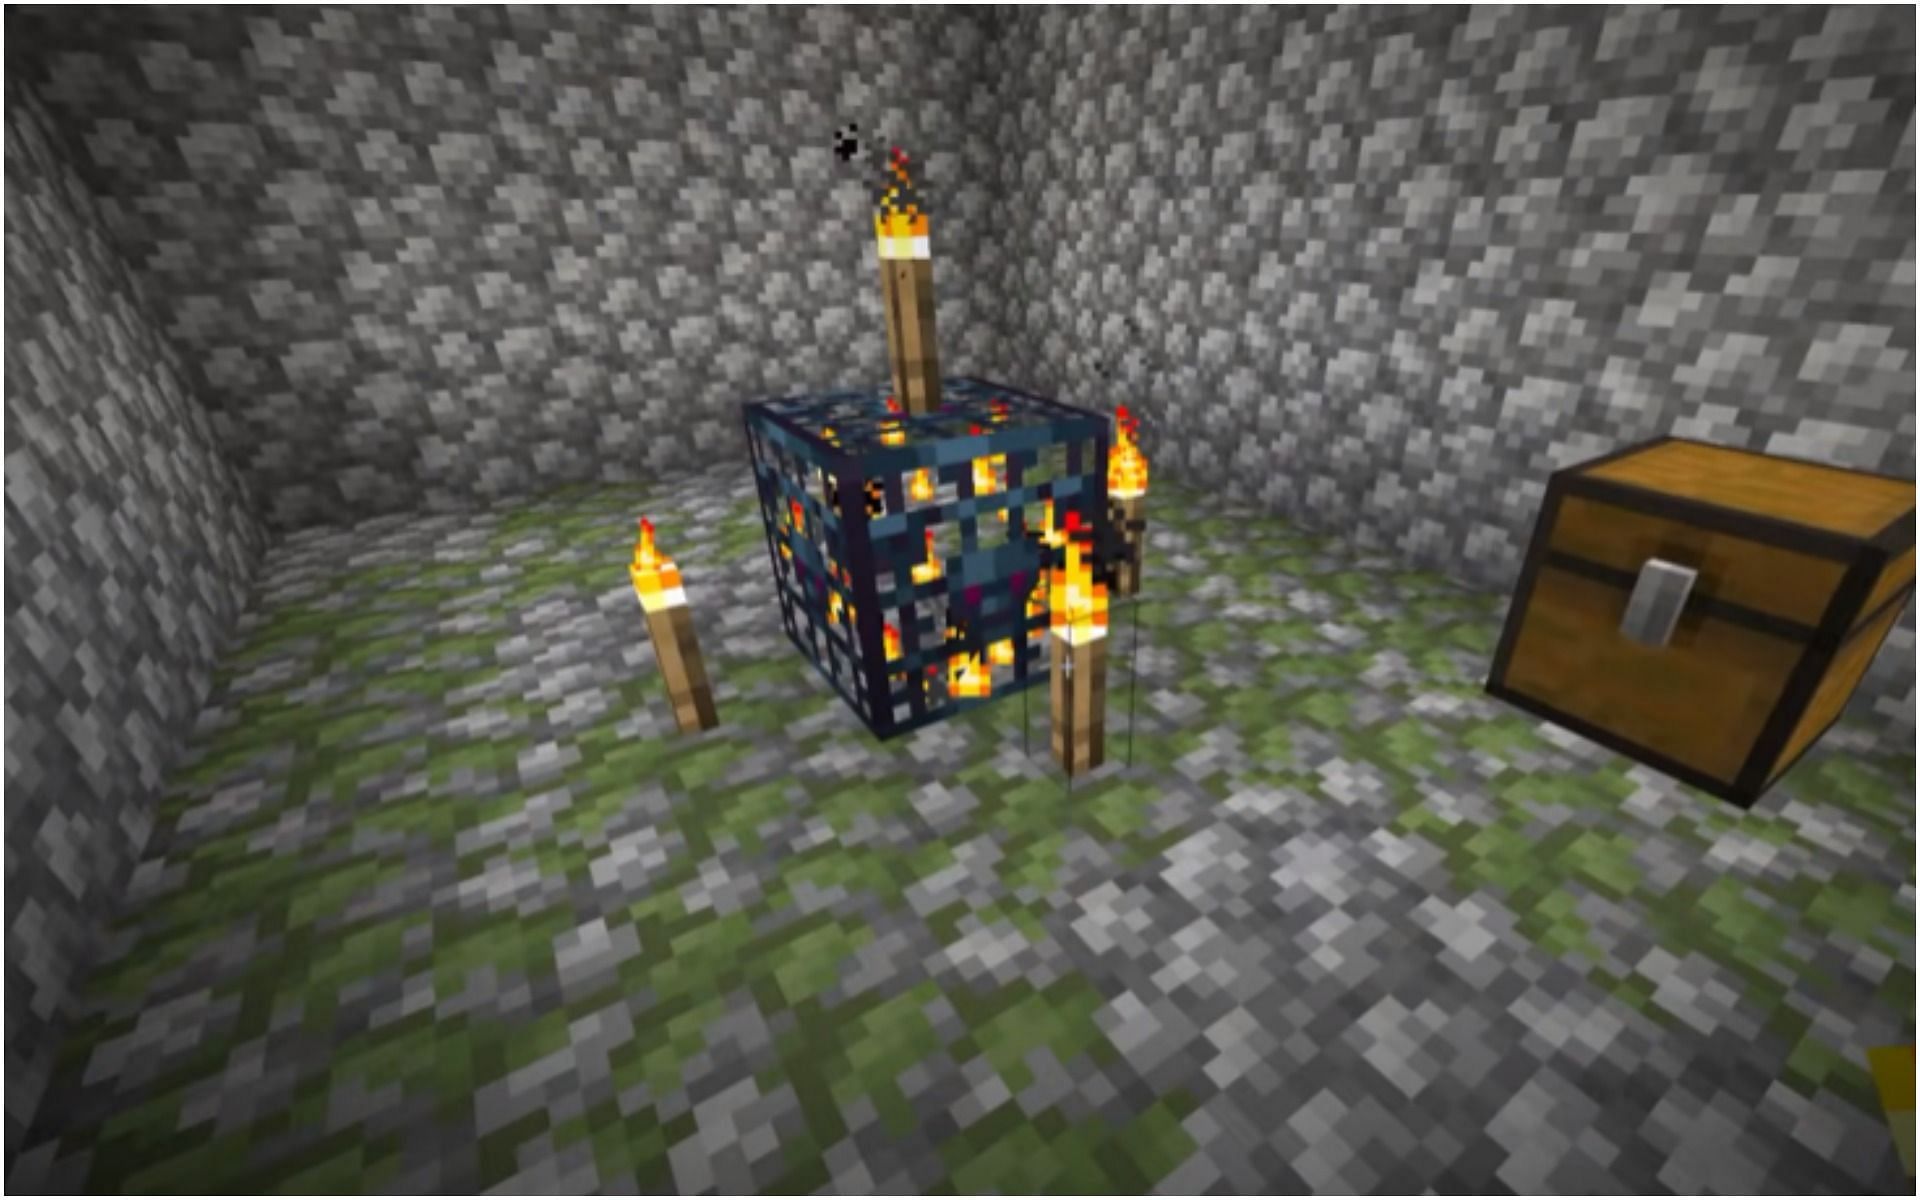
Mobs cannot spawn when an area has a light level of 1 or above. This step ensures the safety of the builder. Players can place torches on the spawner itself, covering it from all sides.
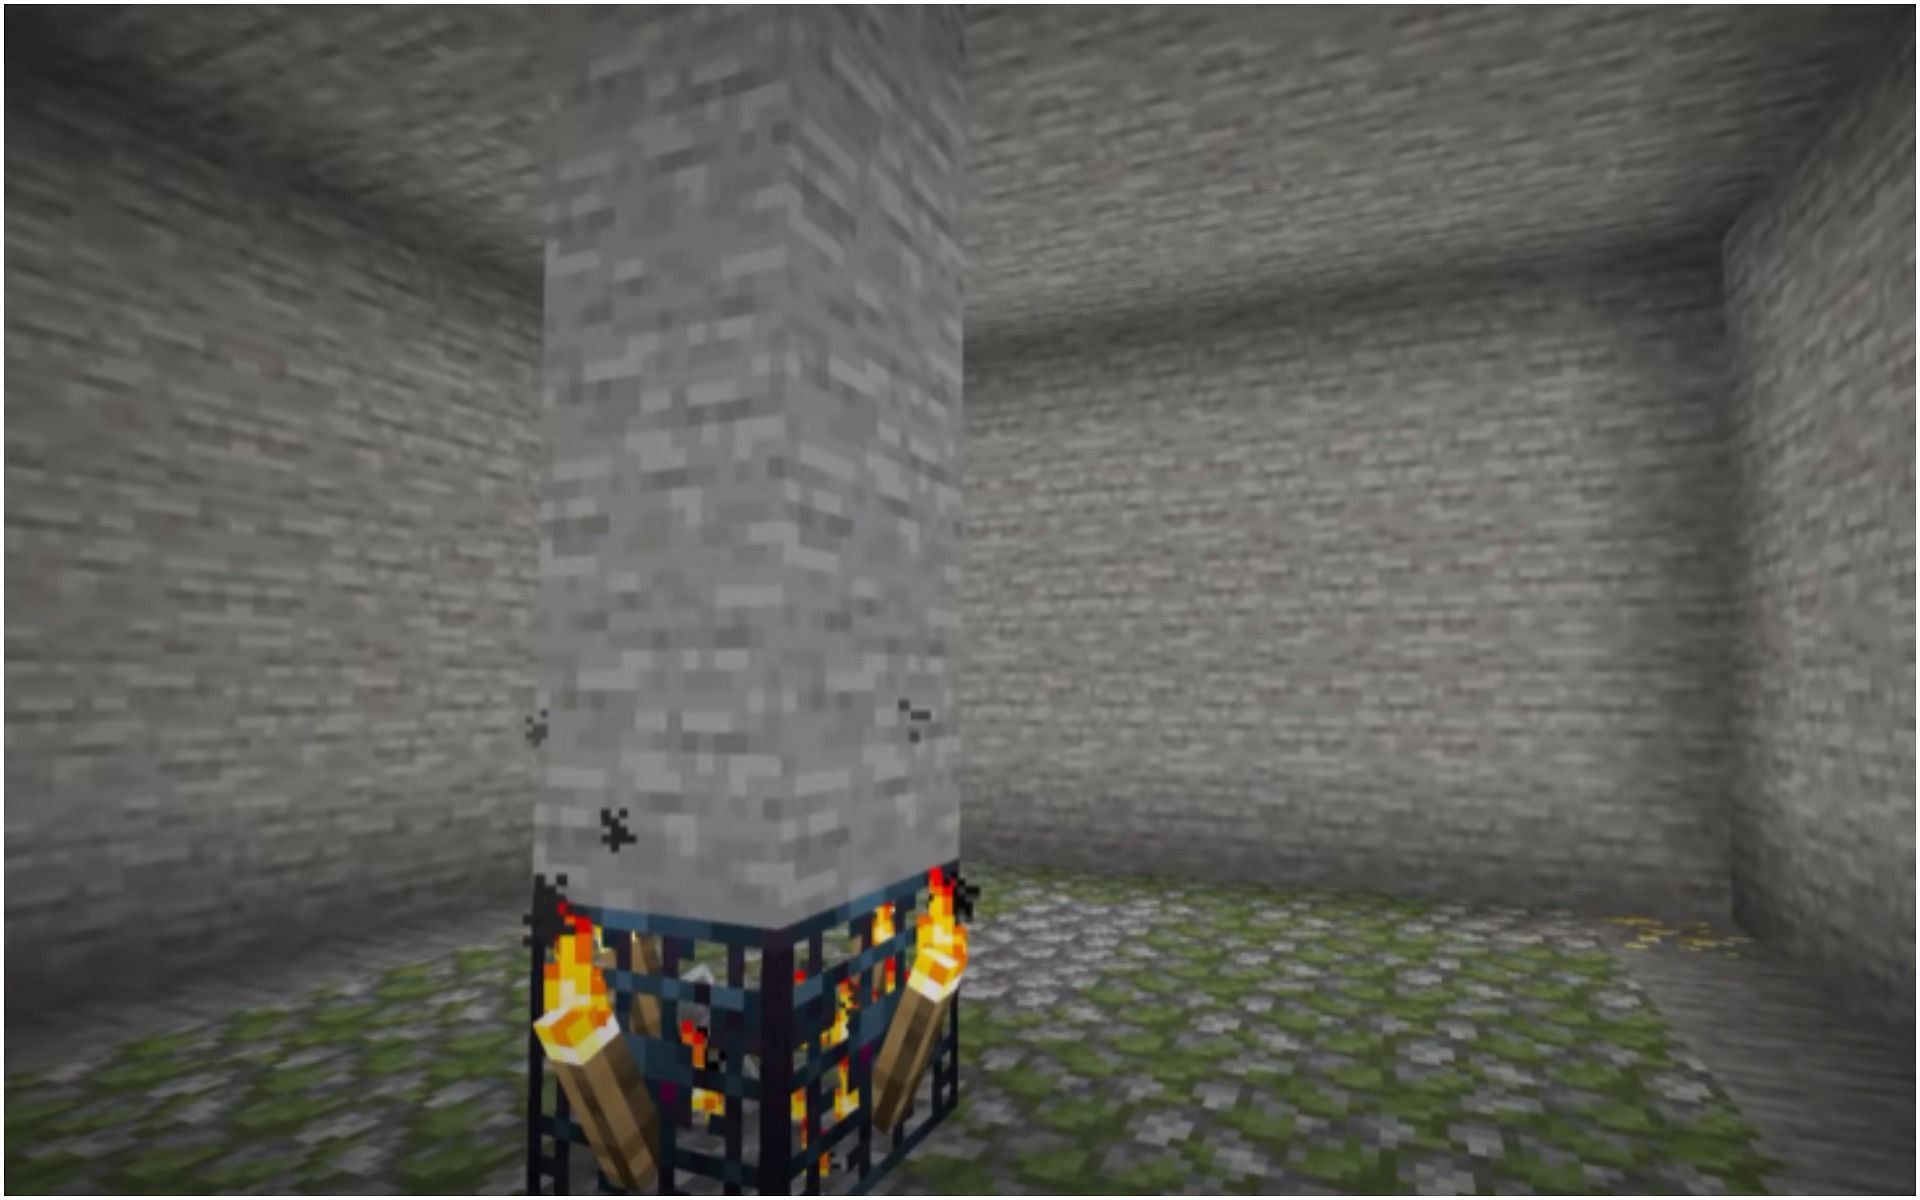
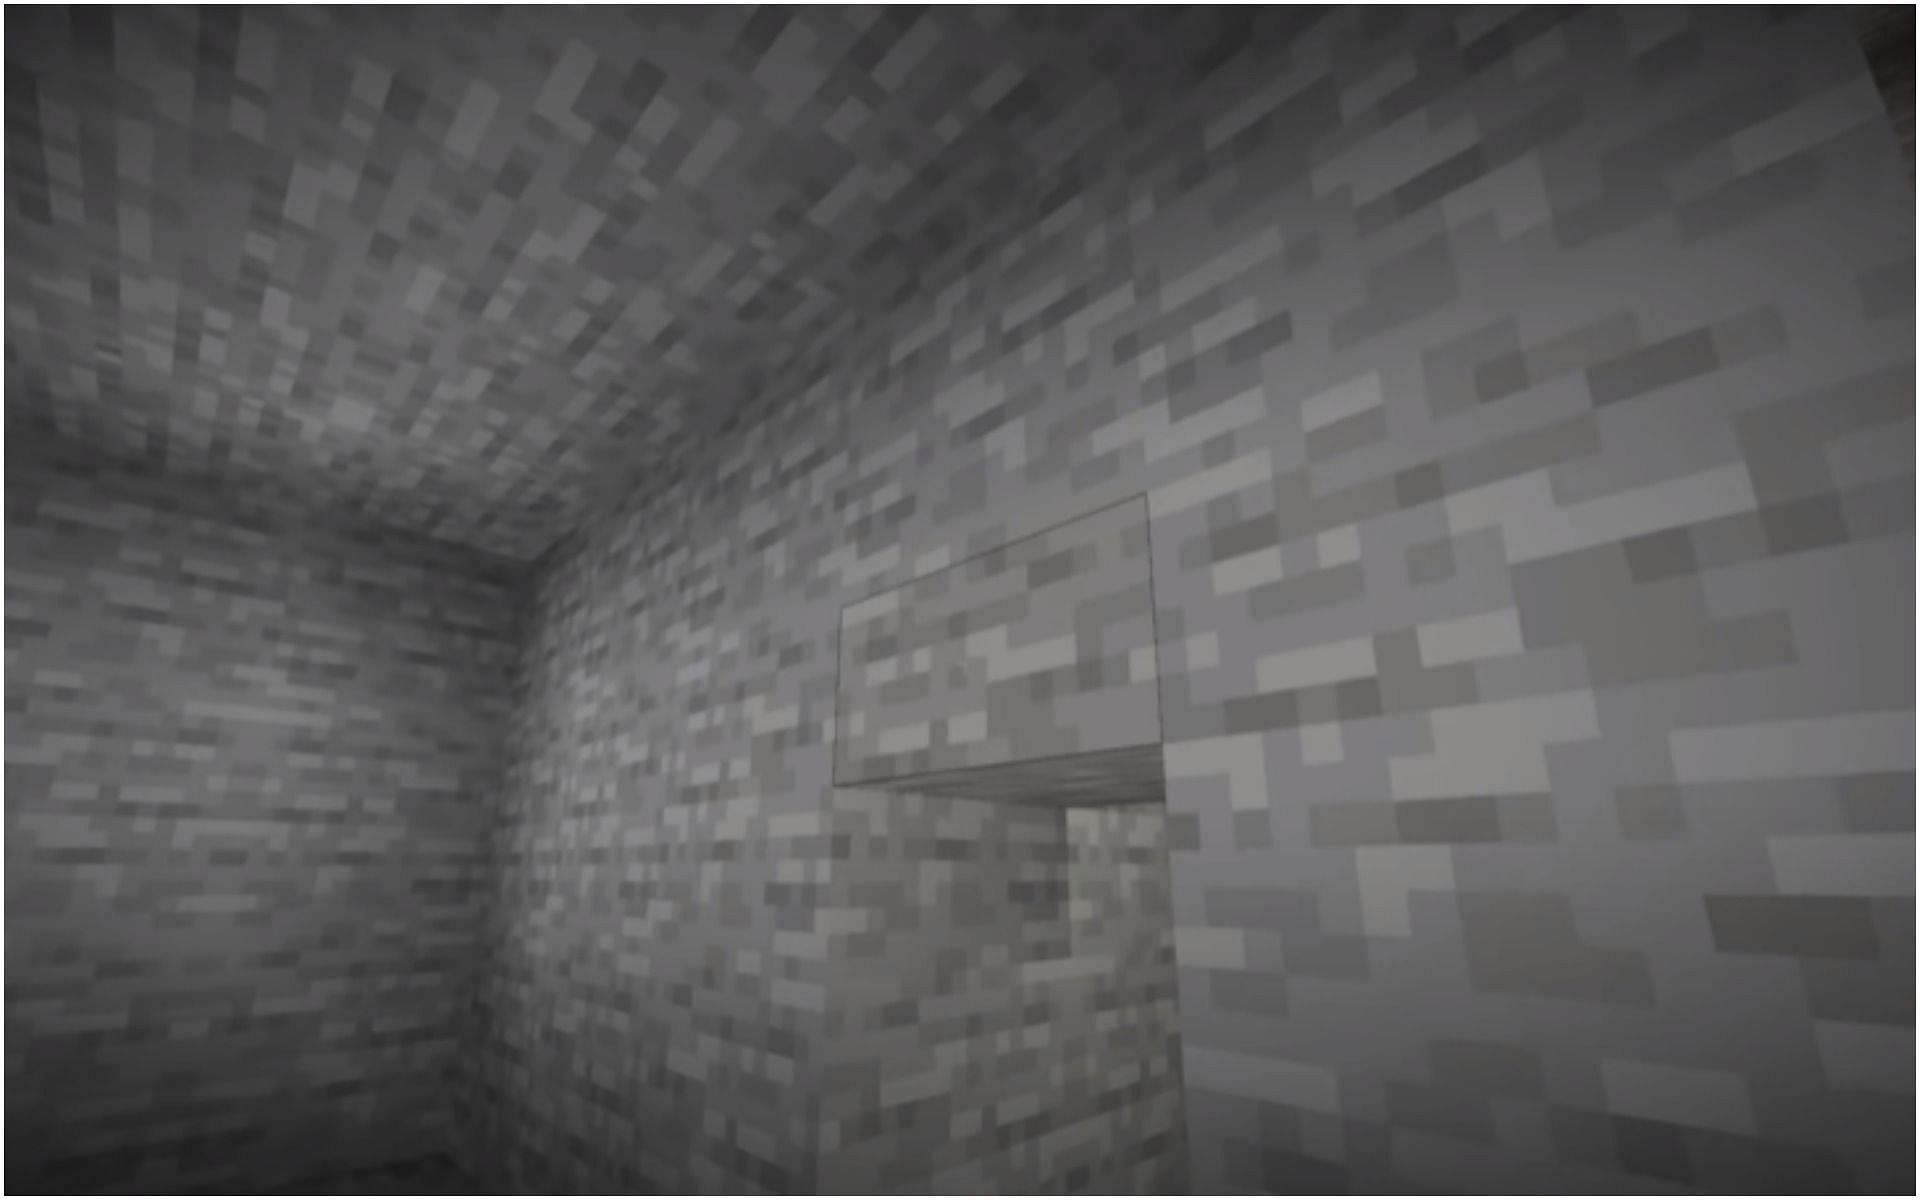
Step 3: Expand the room

Carve a nice, big 9x9 area by mining four blocks from each side of the room. Also, make sure to expand upwards and downwards; four blocks up, and three blocks down.
Step 4: Decorate
Make the place look nice, as it's possible that you’re going to spend a ton of time in here. Clean up random blocks and make every block the same or similar.
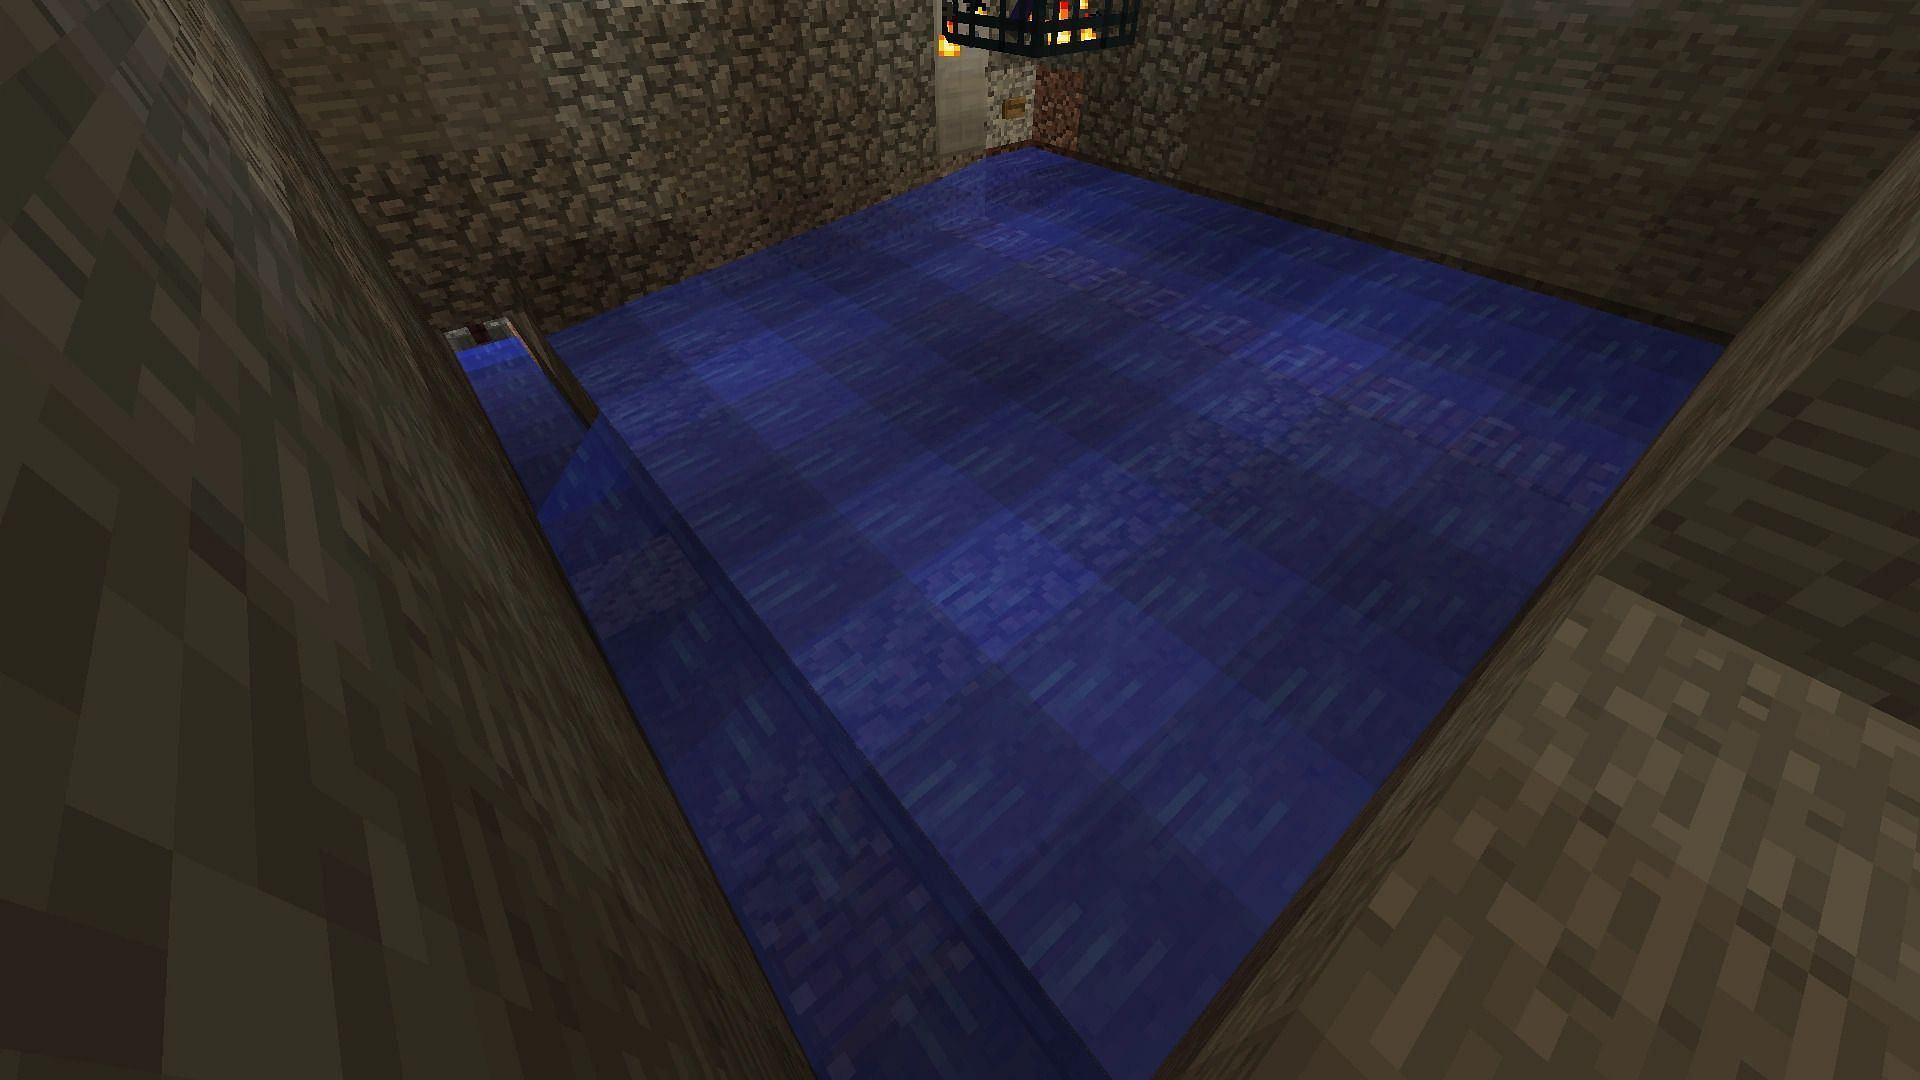
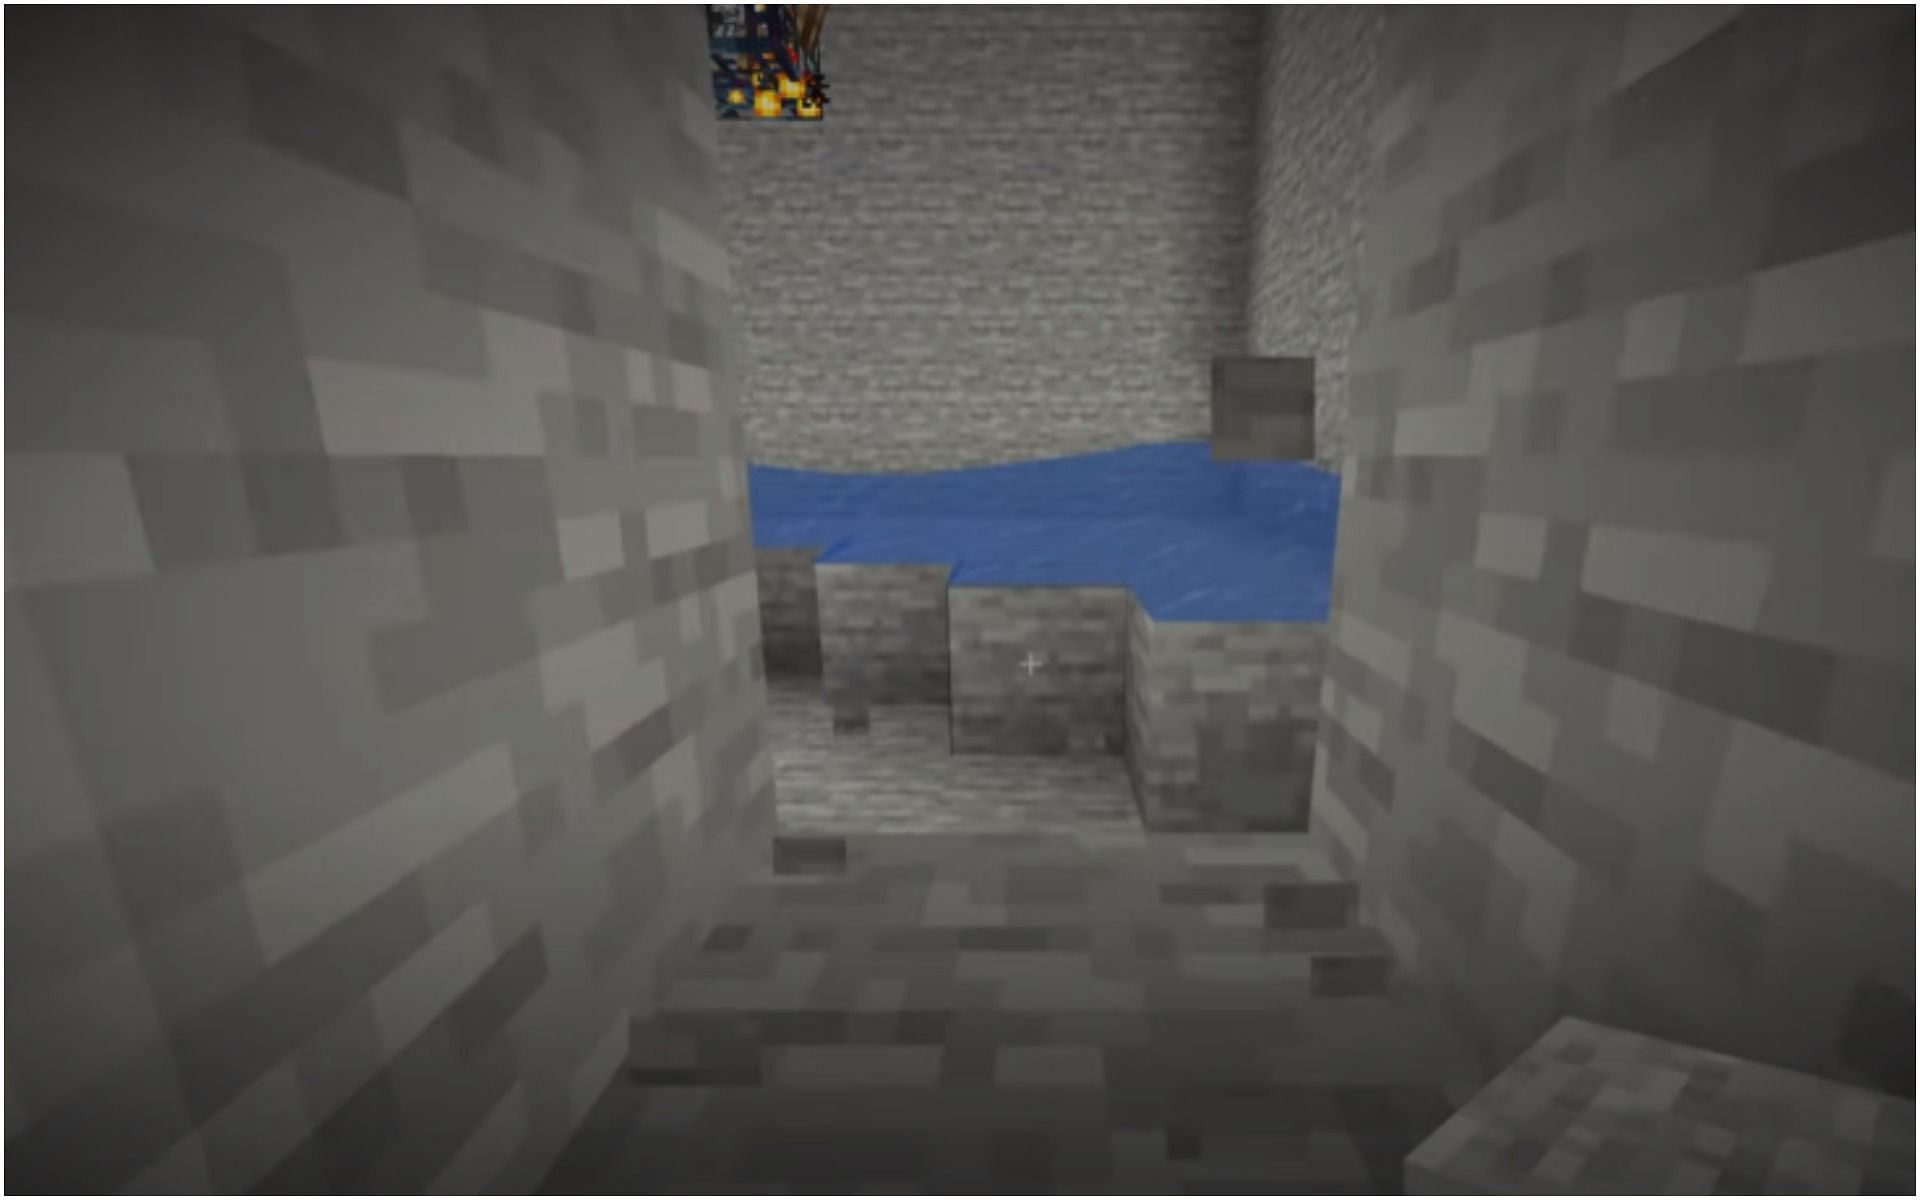
Step 5: Place two buckets of water in one of the wall’s corners
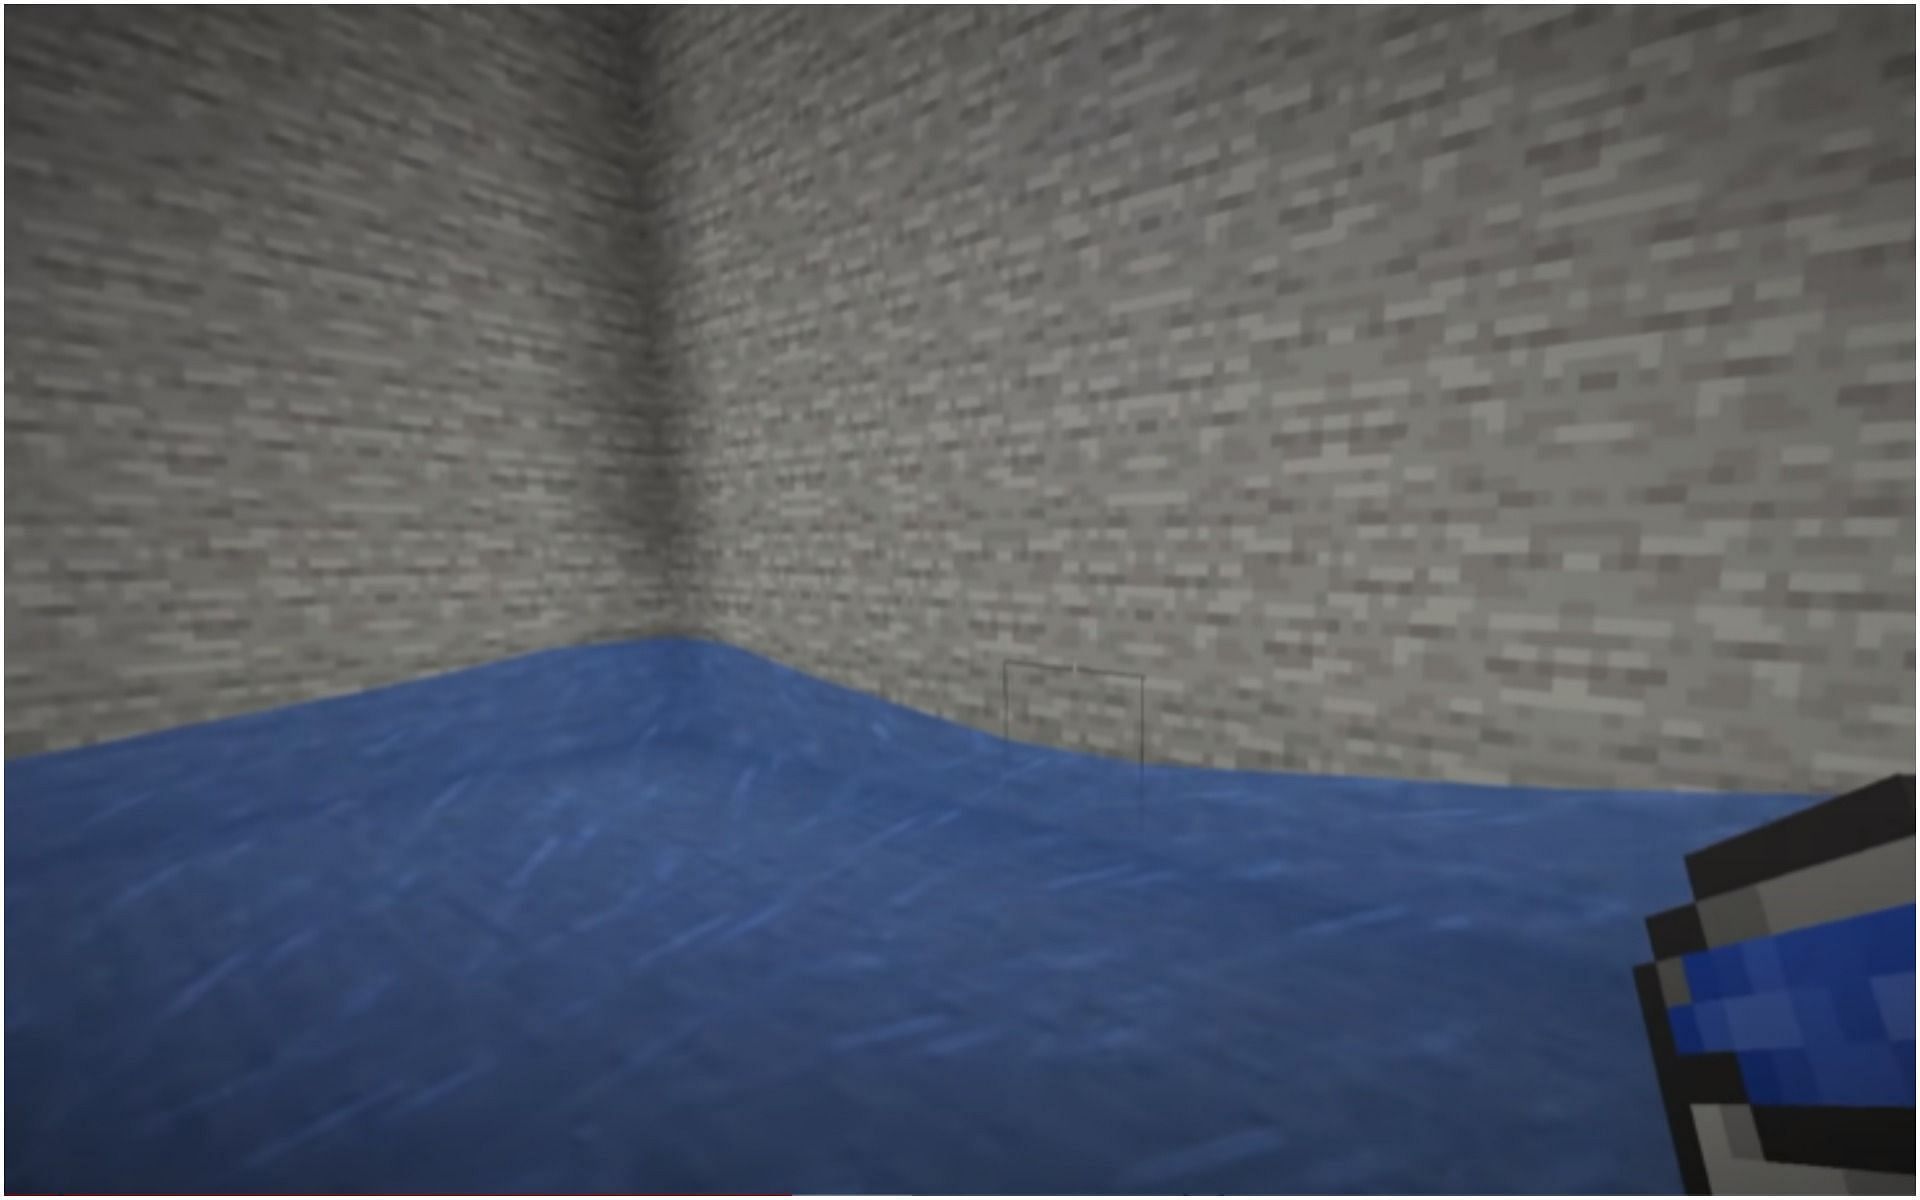
Water plays a pivotal role in this setup. It pushes the newly spawned skeletons towards the “kill box.”
Step 6: Clear the blocks the water is not touching
Step 7: Dig two blocks forward and down as shown in the tutorial
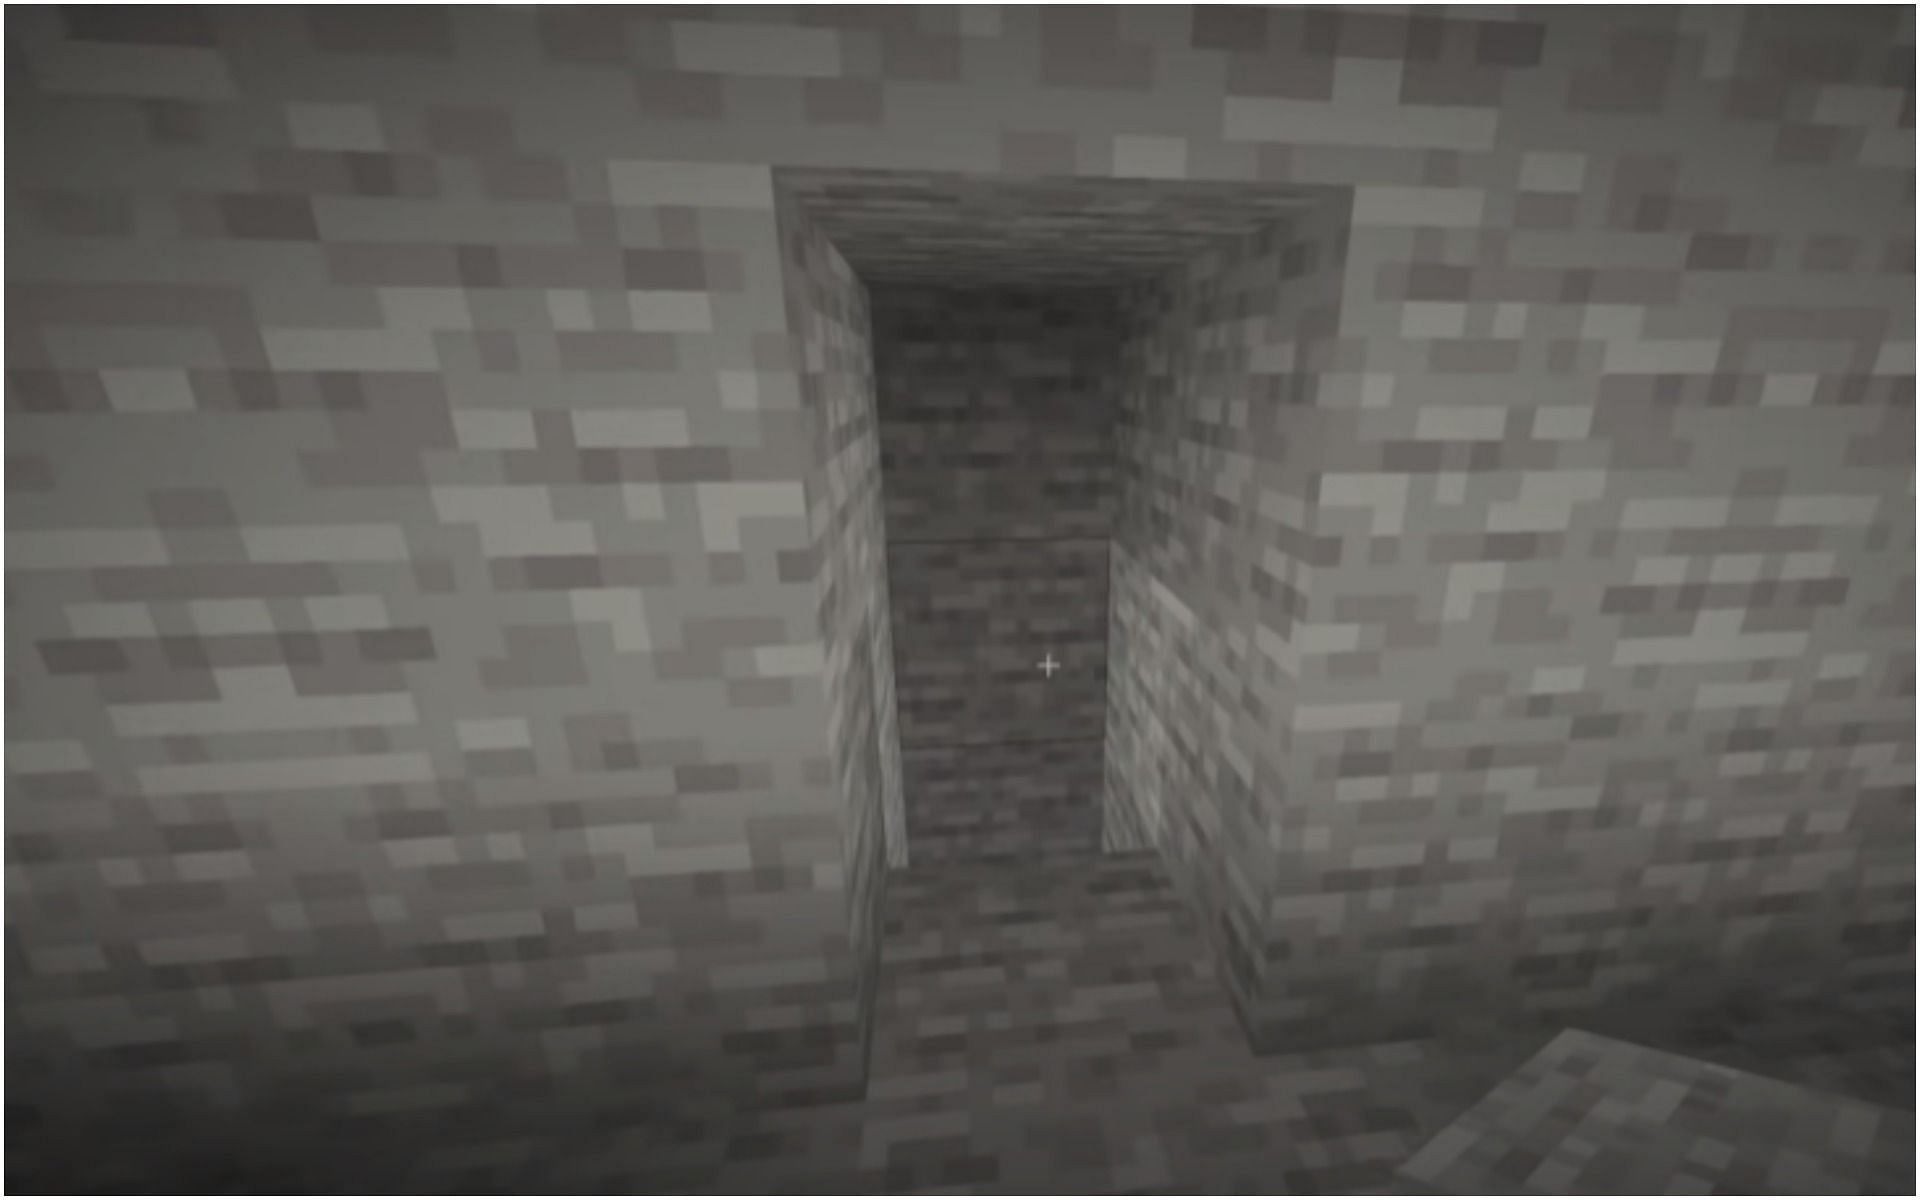
Step 8: Expand the newly dug cavity

This room can be as big as the player wants it to be. However, players must make sure that this room is properly lit up so no mobs can spawn in here. This room is where the player kills the spawning skeletons and collects their XP.
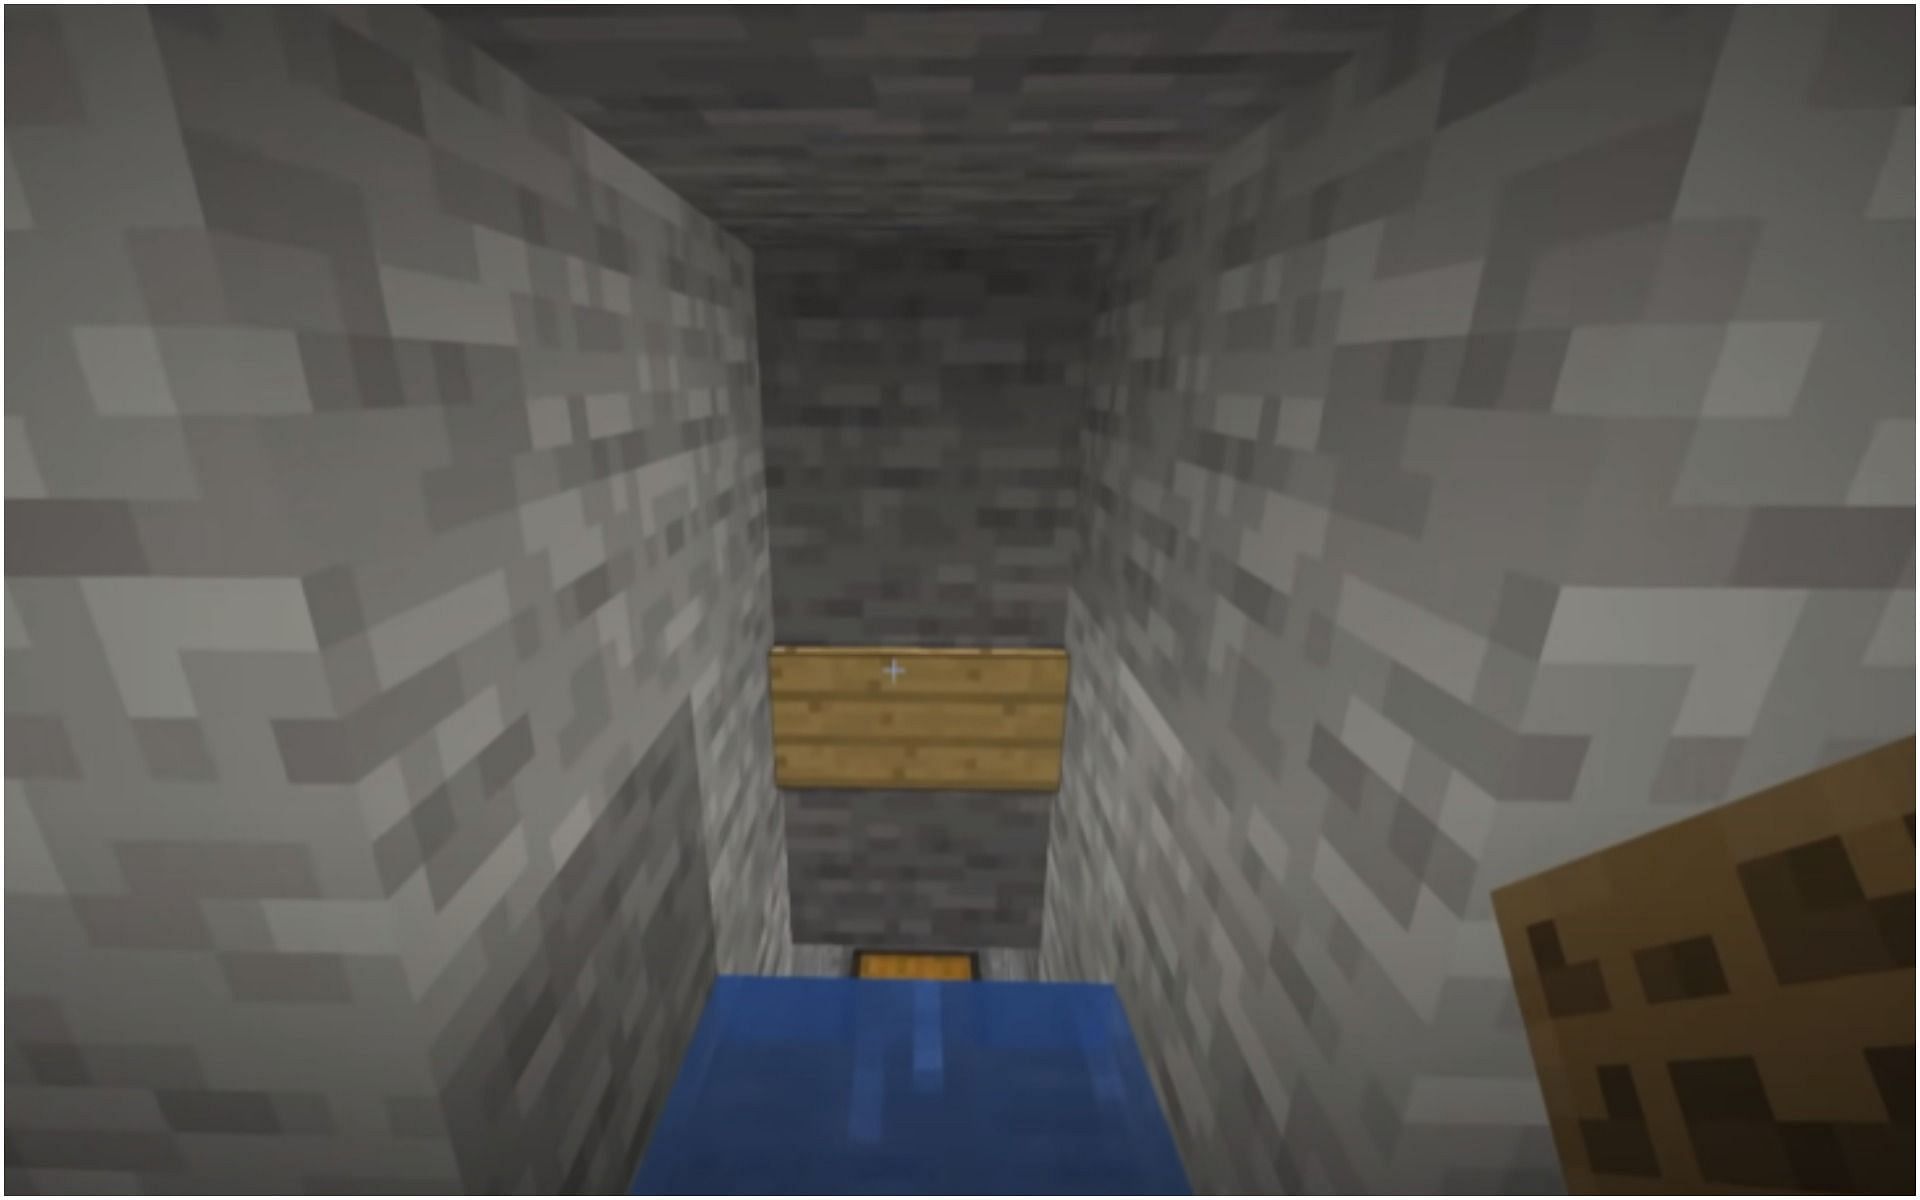
Step 9: Dig one block down and place a chest and a hopper
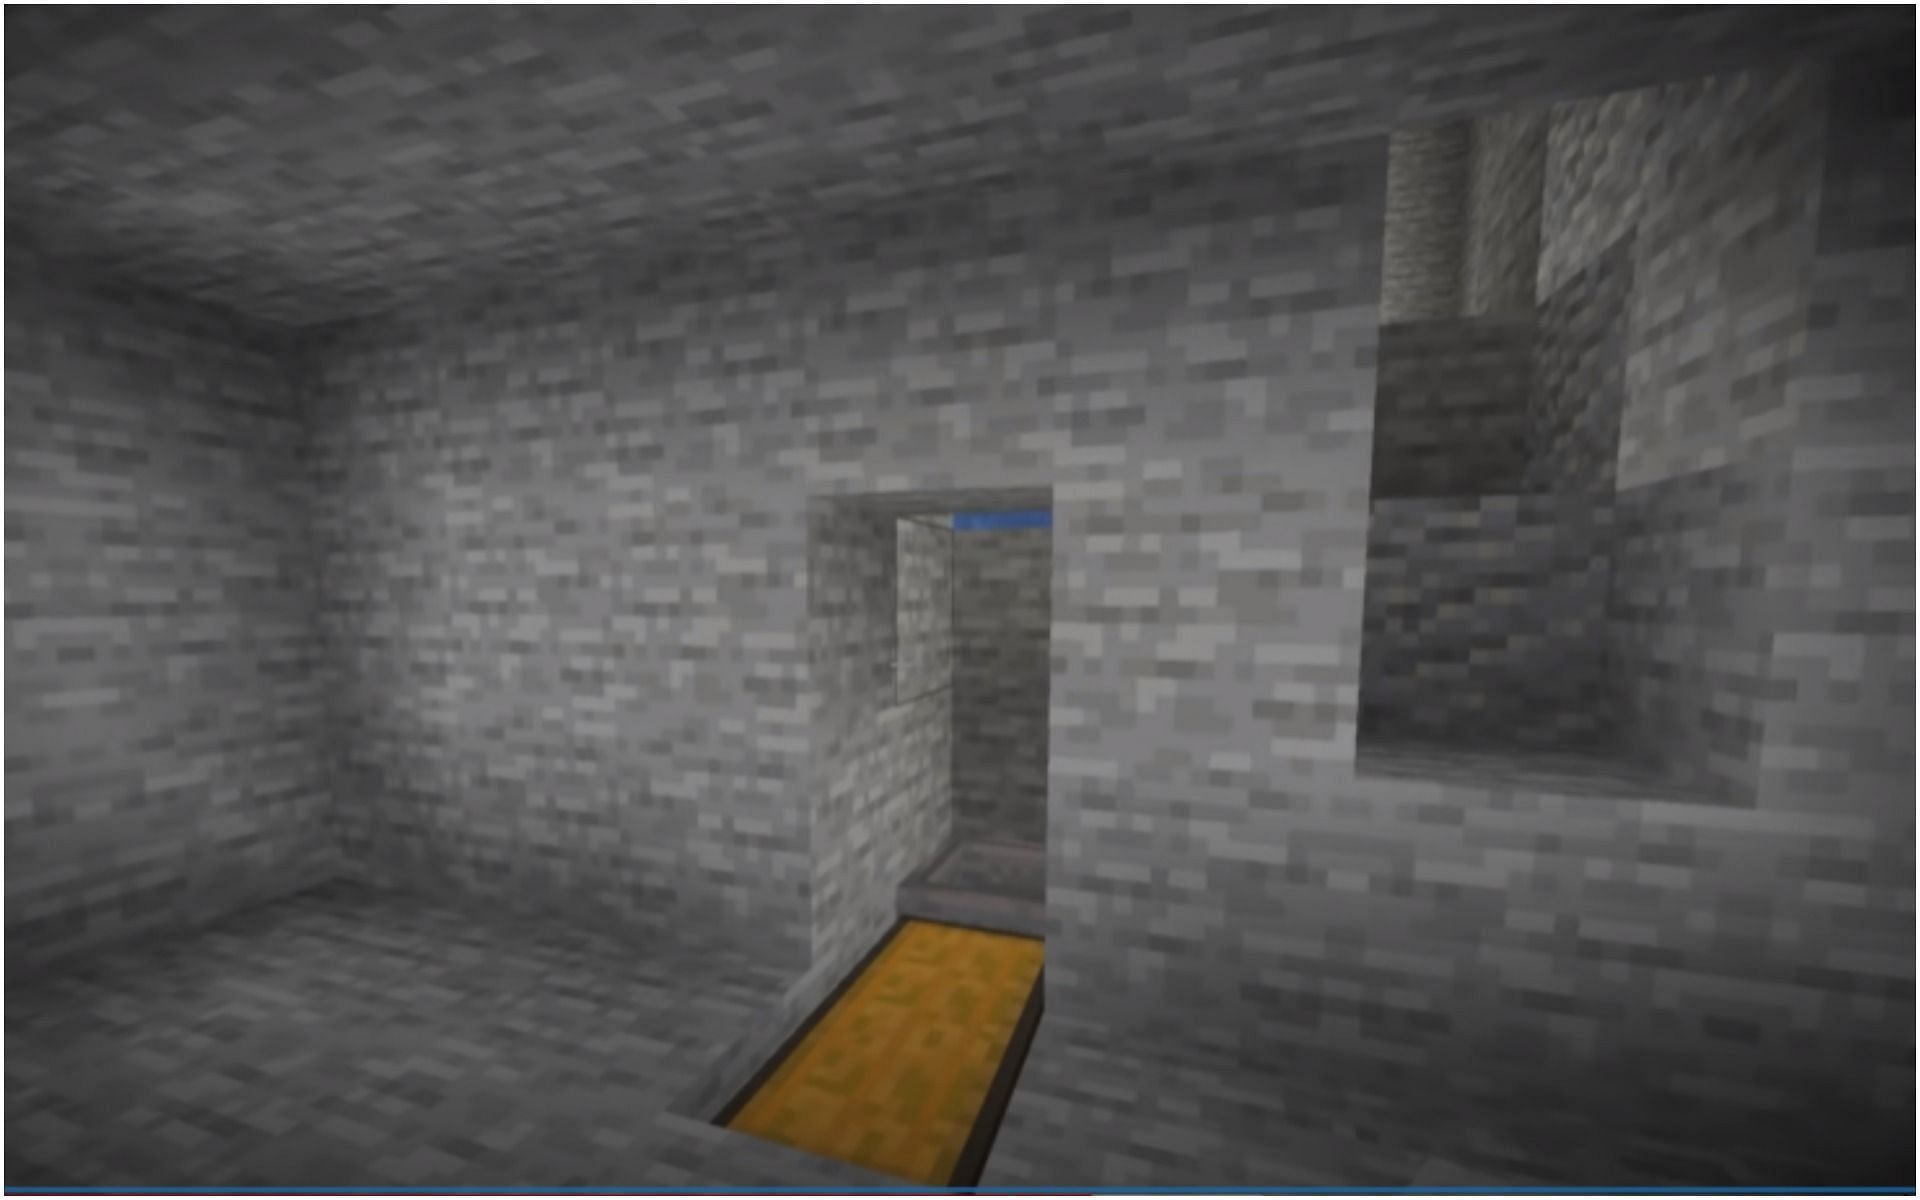
Players must connect the chest and hopper.
Step 10: Place a slab above the chest
This will block the skeletons’ vision, thereby preventing them from shooting the player.
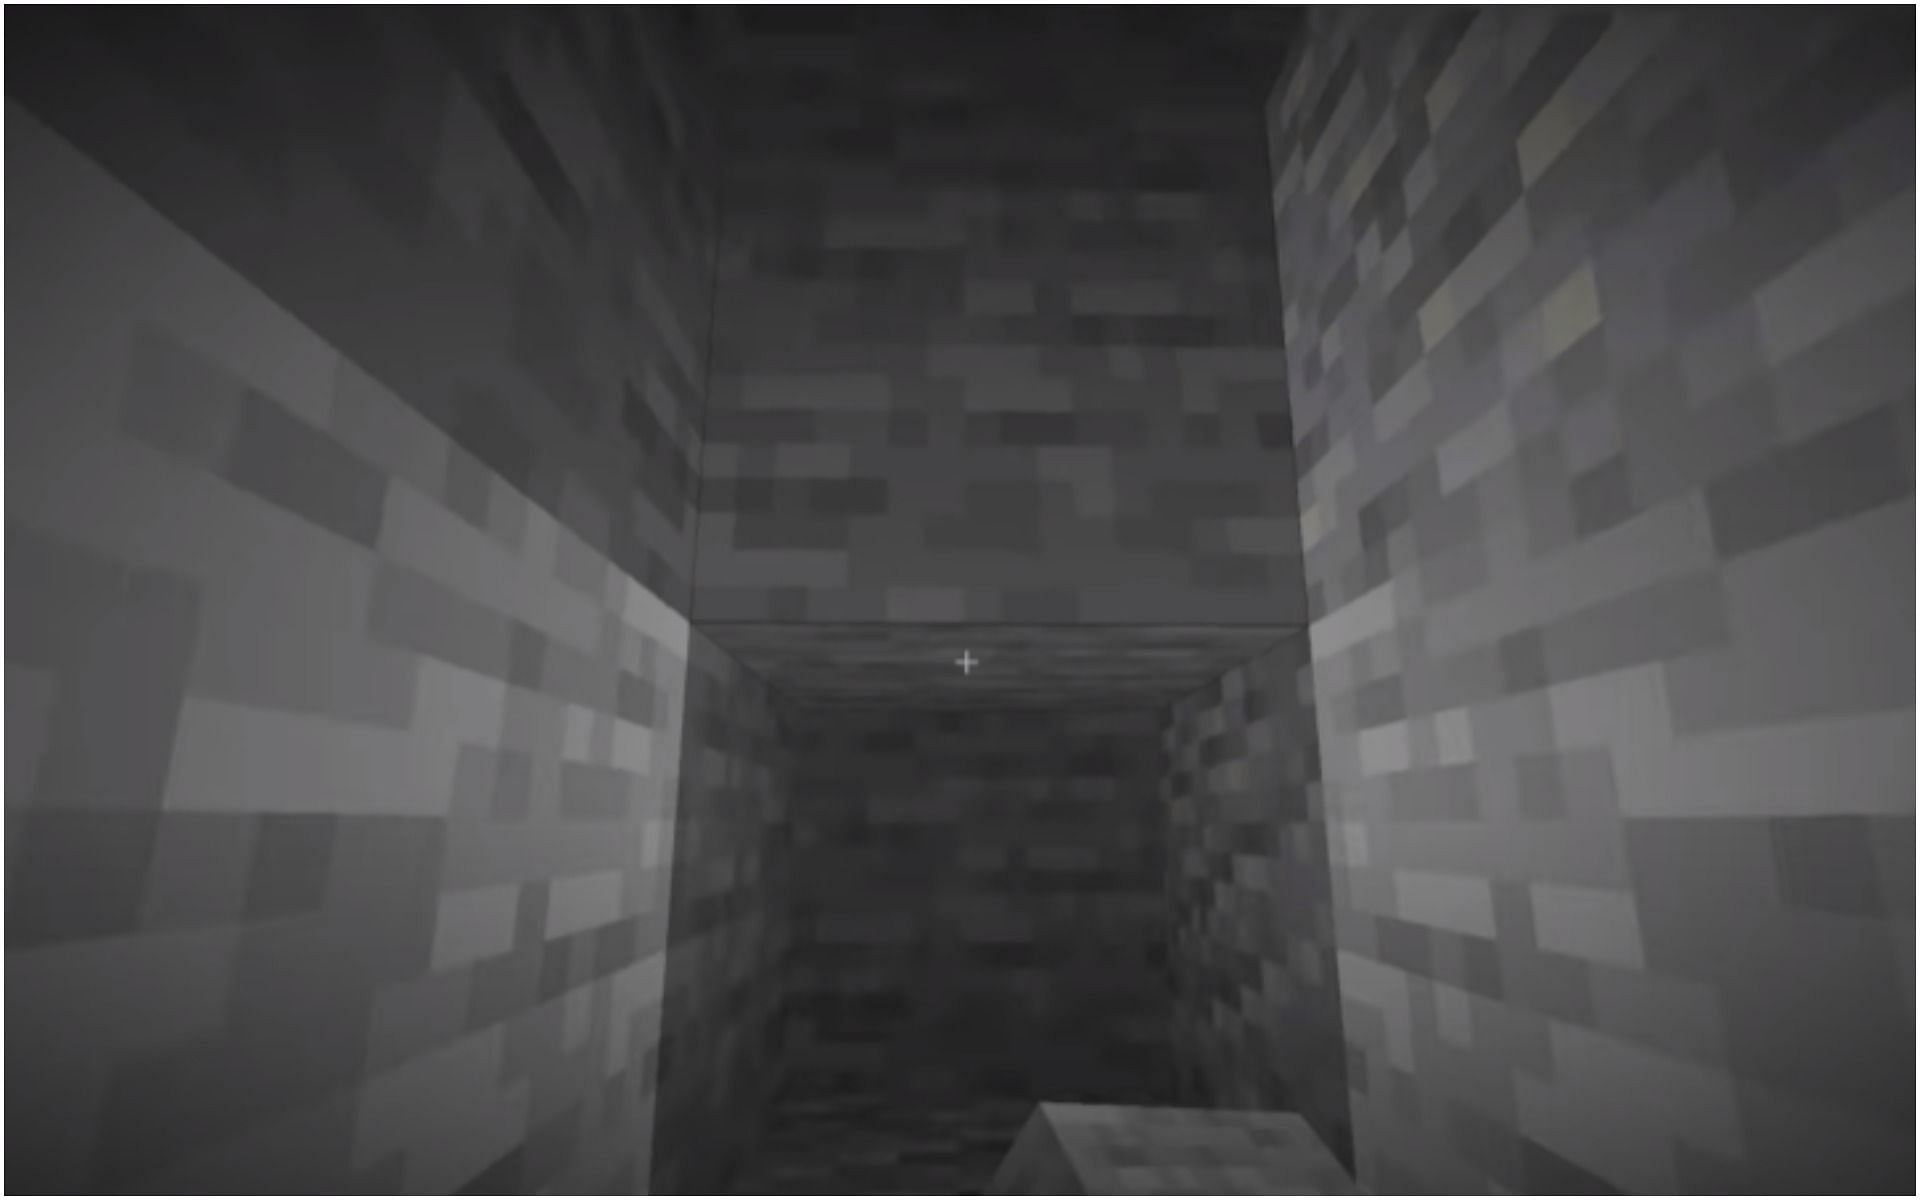
Step 11: Dig up to the spawner room
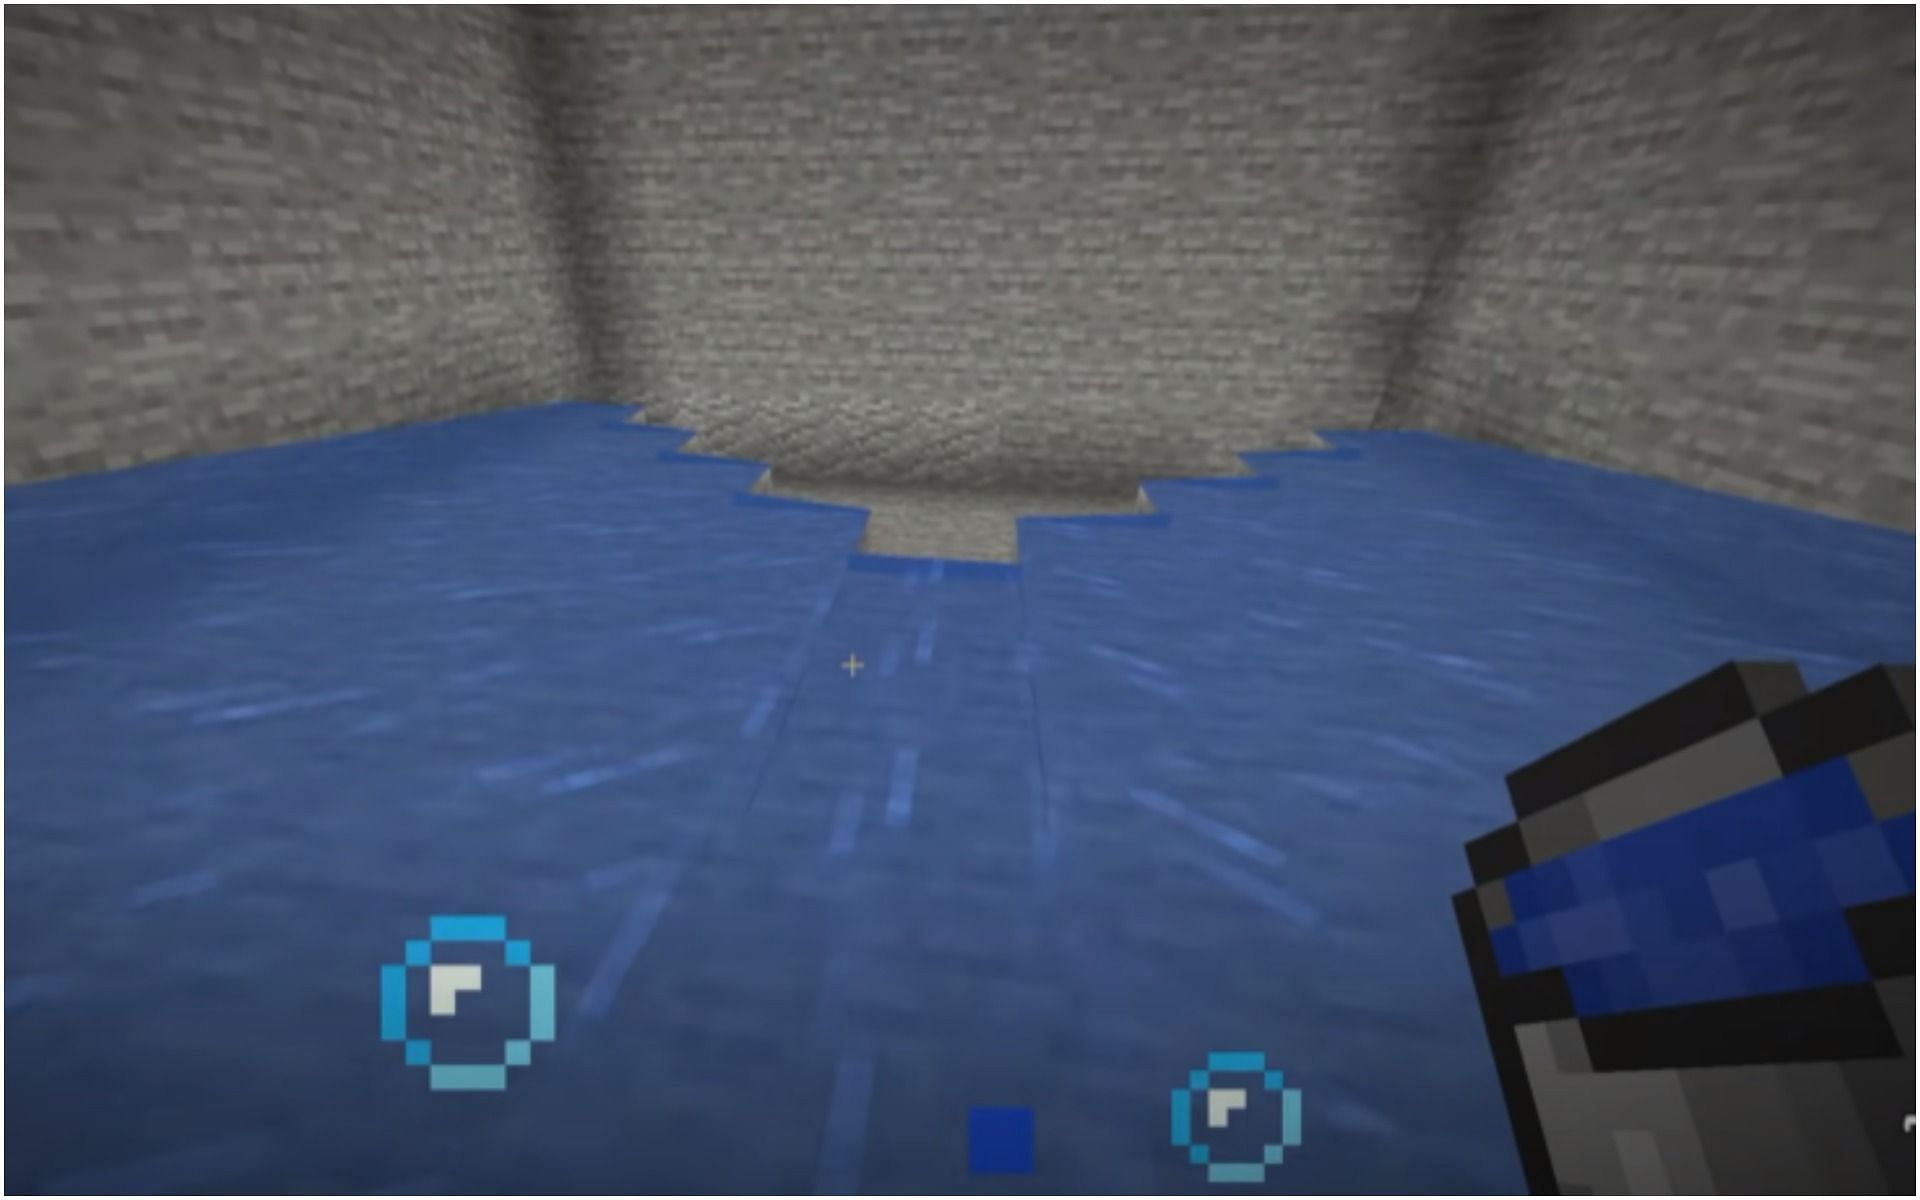
Step 12: Clear the remaining blocks from the floor of the room

Make sure the whole room is filled with water now, leading downwards into the previously dug passageway.
Step 13: Place a sign
The sign will ensure that the water goes straight down.
Step 14: Remove all light sources

Light sources must be removed from the spawner room in order to let hostile mobs (in this case, skeletons) spawn into the room.
Step 15: Block the newly dug tunnel
This will leave just one entrance/exit into the spawner room.
Step 16: Enjoy the new and simple XP farm
Spawners like this are commonly built structures across the Minecraft community, and they help ensure that players never run short of experience points. This helps in various activities such as enchanting, repairing, and more.
