
'%20x='0'%20y='0'%20height='100%25'%20width='100%25'%20%0A%20%20%20%20%20%20%20%20%20%20xlink%3Ahref='data:image/jpg;base64,/9j/2wBDAAYEBQYFBAYGBQYHBwYIChAKCgkJChQODwwQFxQYGBcUFhYaHSUfGhsjHBYWICwgIyYnKSopGR8tMC0oMCUoKSj/2wBDAQcHBwoIChMKChMoGhYaKCgoKCgoKCgoKCgoKCgoKCgoKCgoKCgoKCgoKCgoKCgoKCgoKCgoKCgoKCgoKCgoKCj/wgARCAAHAAoDASIAAhEBAxEB/8QAFQABAQAAAAAAAAAAAAAAAAAABAb/2gAIAQEAAAAAlh//xAAUAQEAAAAAAAAAAAAAAAAAAAAE/9oACAECEAAAAE//xAAUAQEAAAAAAAAAAAAAAAAAAAAE/9oACAEDEAAAAC//xAAdEAACAgEFAAAAAAAAAAAAAAABAgMEAAUSIXGi/9oACAEBAAE/ALGtVbE0CtAyxsG3ueuMa7RDEA+Tn//EABURAQEAAAAAAAAAAAAAAAAAAAAS/9oACAECAQE/AKf/xAAVEQEBAAAAAAAAAAAAAAAAAAAAEf/aAAgBAwEBPwCP/9k='%3E%3C/image%3E%3C/svg%3E)
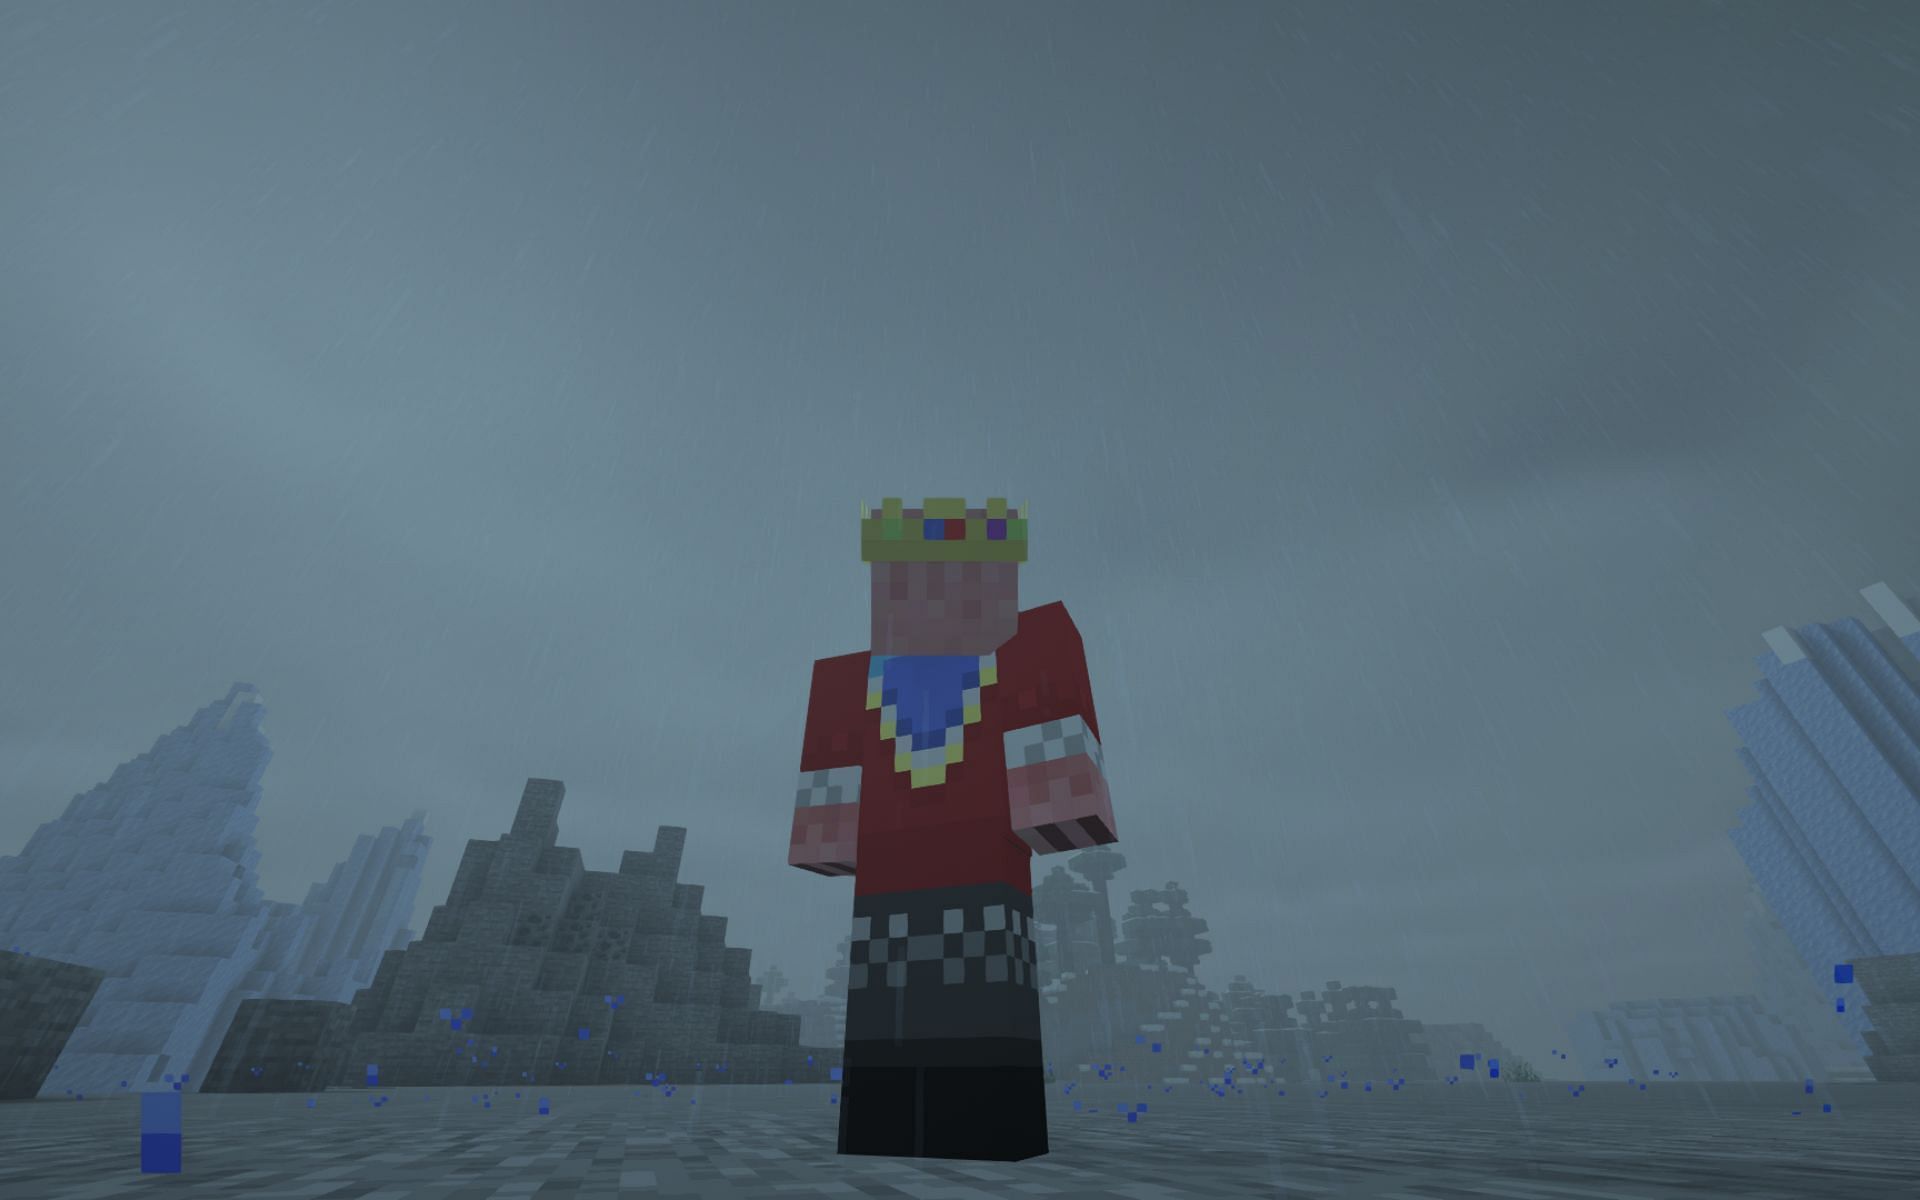
Players can easily change skins in both Java and Bedrock in Minecraft 1.19. Skins are designs that players can use to personalize their in-game characters. Over the years, there have been millions of skins made by players. They are an excellent way to stand out within the game, especially in multiplayer lobbies, where many users play together.
Many newcomers constantly join the popular sandbox game and should be aware of how to change their skins to feel more at home in the game's vast world. Although Bedrock Edition has a much more extensive and convenient skin customization, Java Edition offers loads of skin options available online made by other players.

How to change skin in Minecraft 1.19 Java and Bedrock Edition
Java Edition
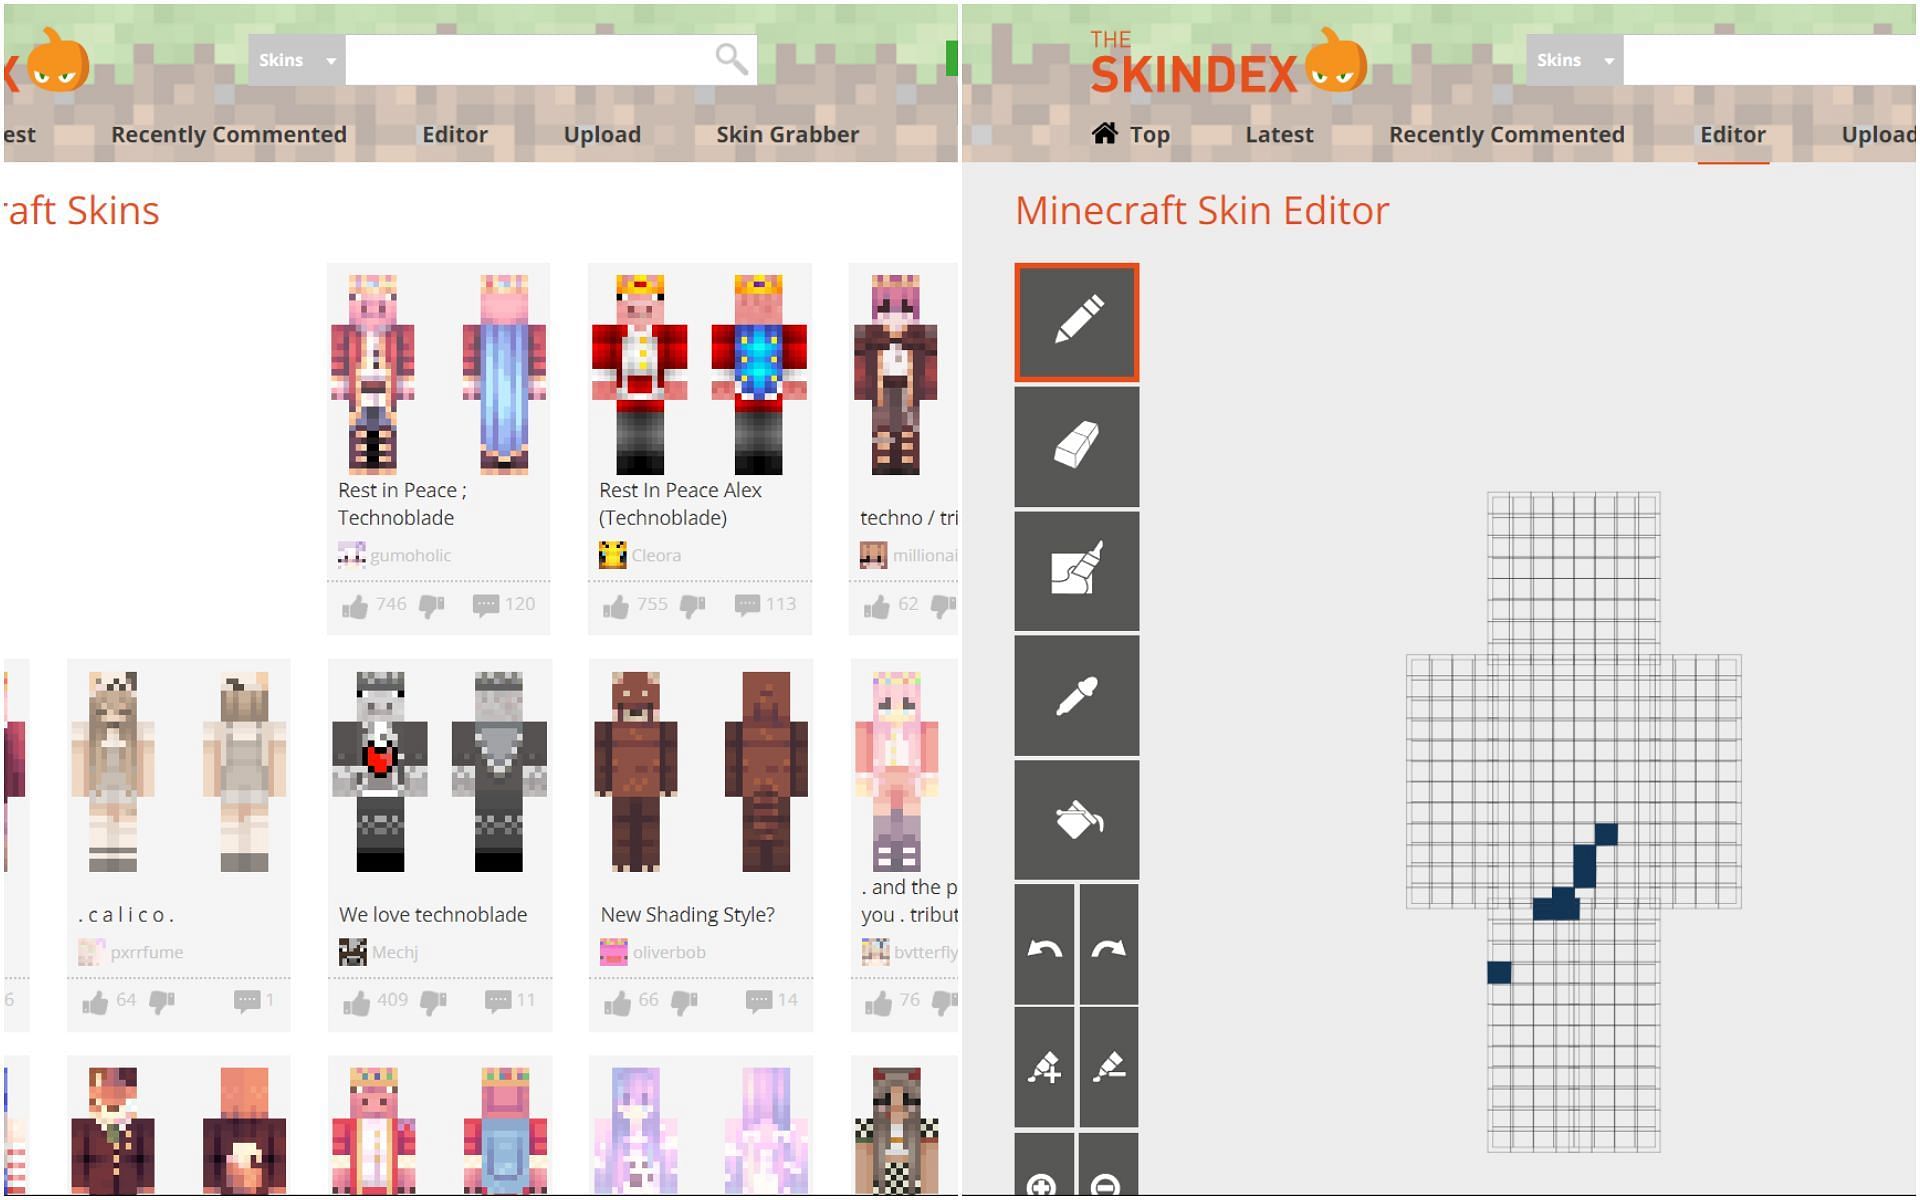
Changing or creating a custom skin in Minecraft 1.19 Java Edition is slightly trickier than in Bedrock Edition. Players must first find or create a new skin online. Several websites offer many skins and other skin maker apps to create new skins, with some of the best being 'Skindex' and 'Novaskin'.
If players don't want to make their own and prefer a ready-made skin, they can choose one from one of the websites' extensive lists. Alternately, they can make one from scratch where they can color each pixel of the skin and create a completely unique design.
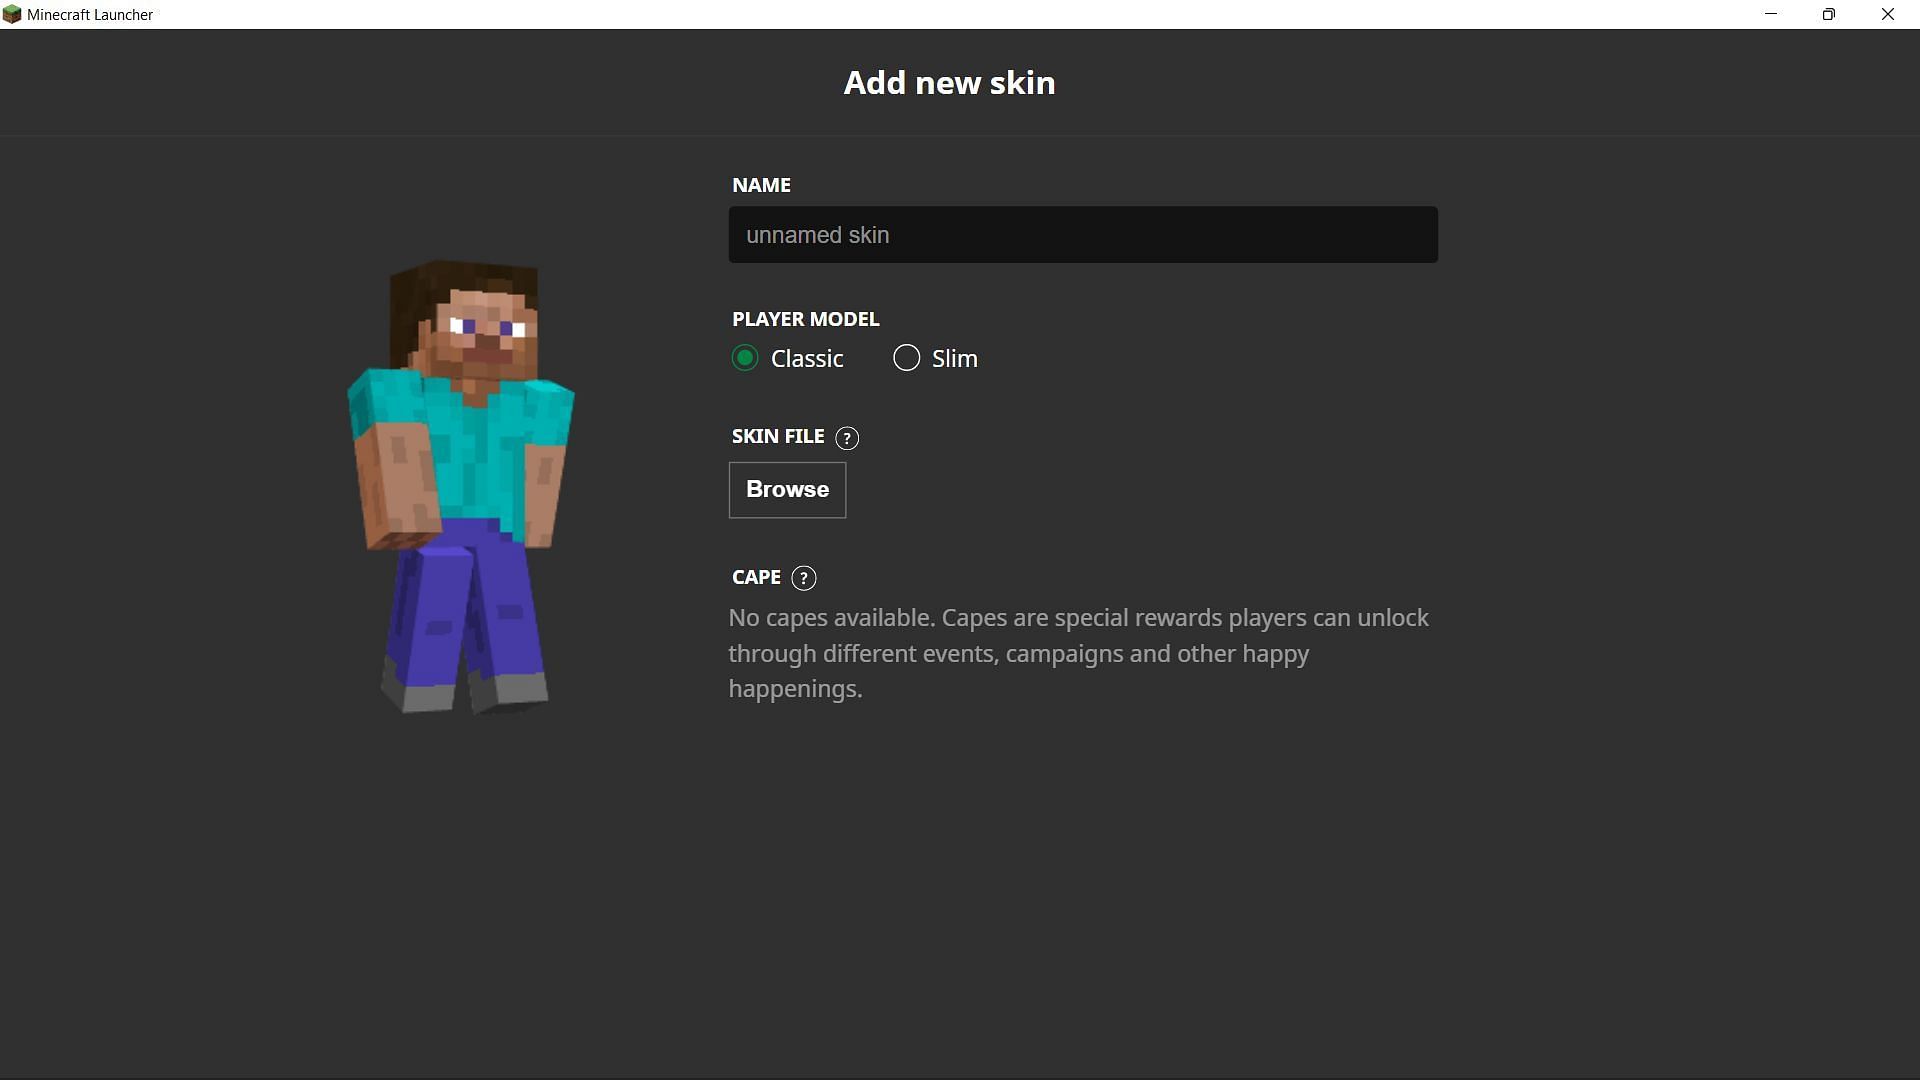
Players can then download the skin as a PNG file. Next, they must open the official game launcher and select the Java Edition. Under the game edition, users must select 'Skins' from the tabs at the top. Here, they will be able to see all the available skins and also add a new one.
If they already have a skin loaded in the launcher, they can simply select it and click the save button on the bottom right to apply it, or click on the new skin button to add the downloaded skin to the launcher.
Once this process is completed, they will be able to see their new skin applied in the game.
Bedrock Edition
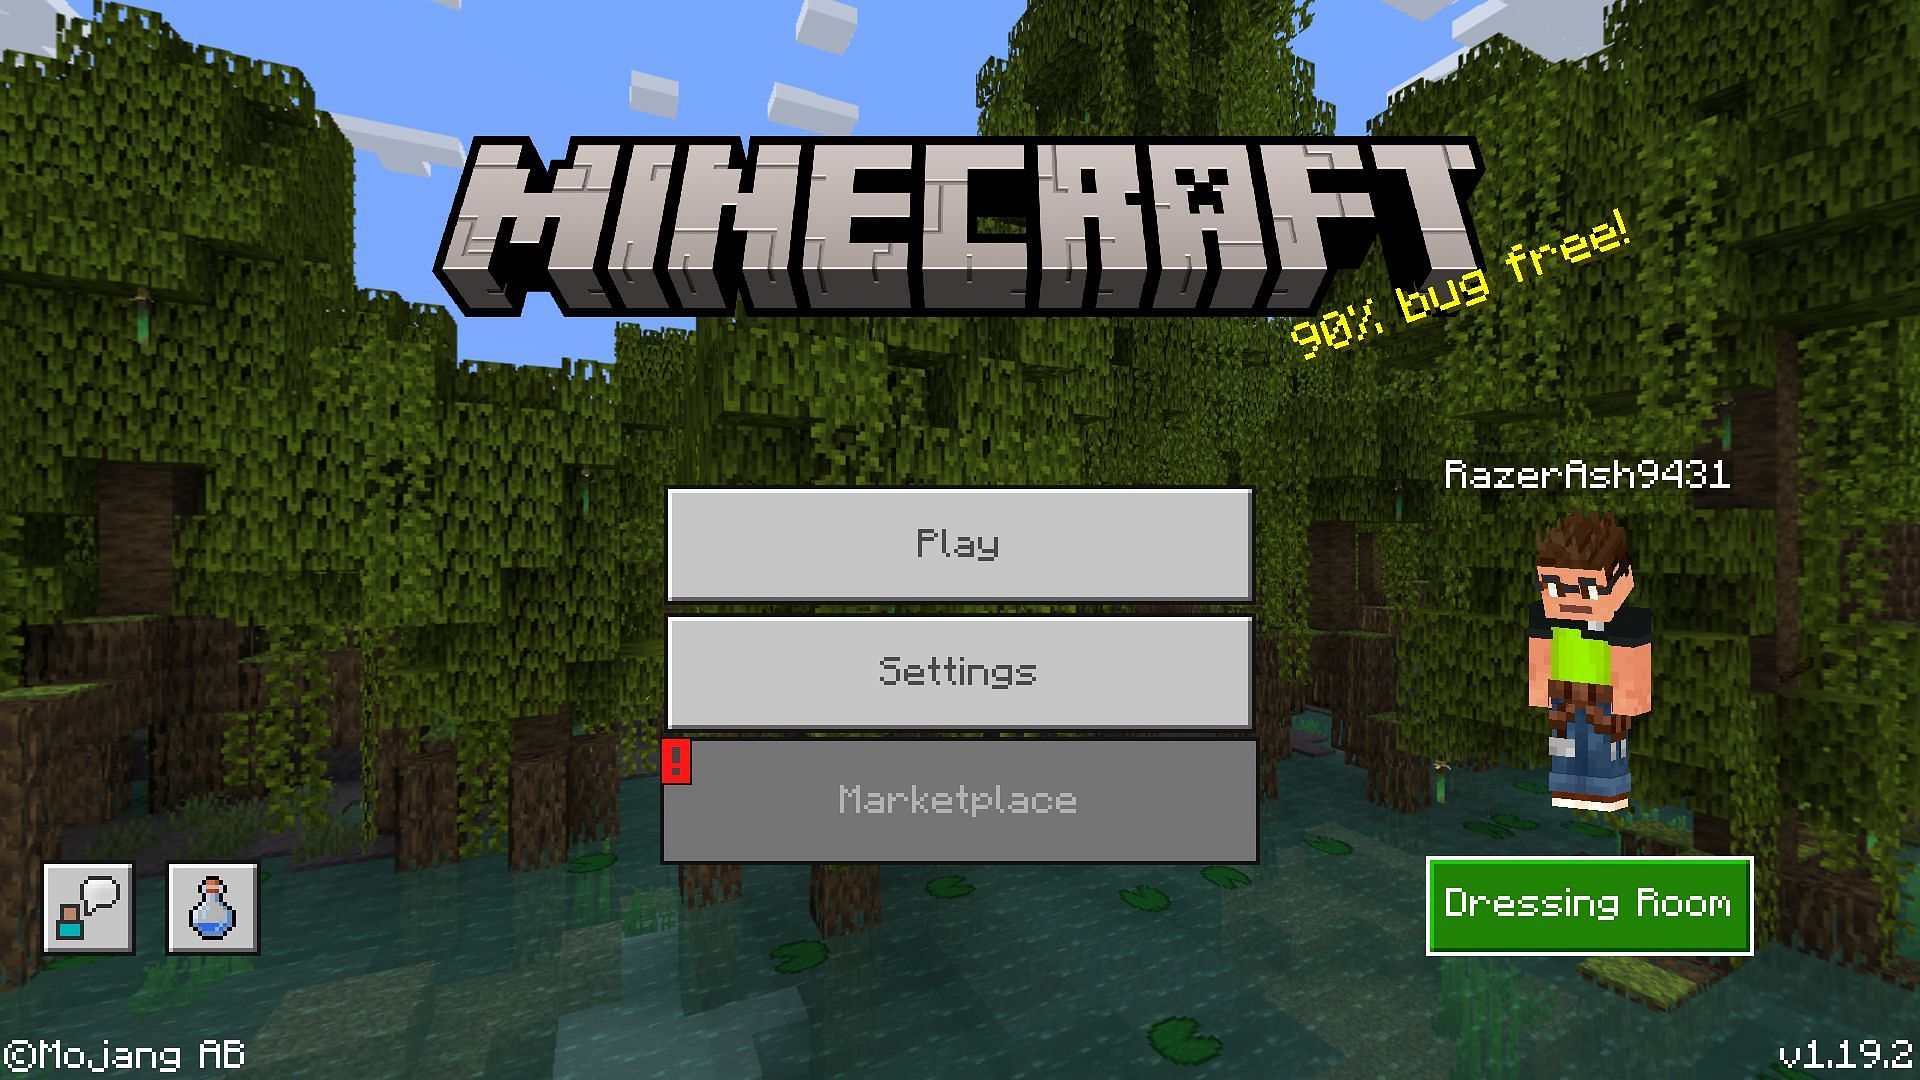
Fortunately, changing or customizing skins in Bedrock Edition is much easier since players can do so from within the game itself. When players are in the main menu, they can click the 'Dressing Room' button below the character and customize, change, or create a brand new skin.
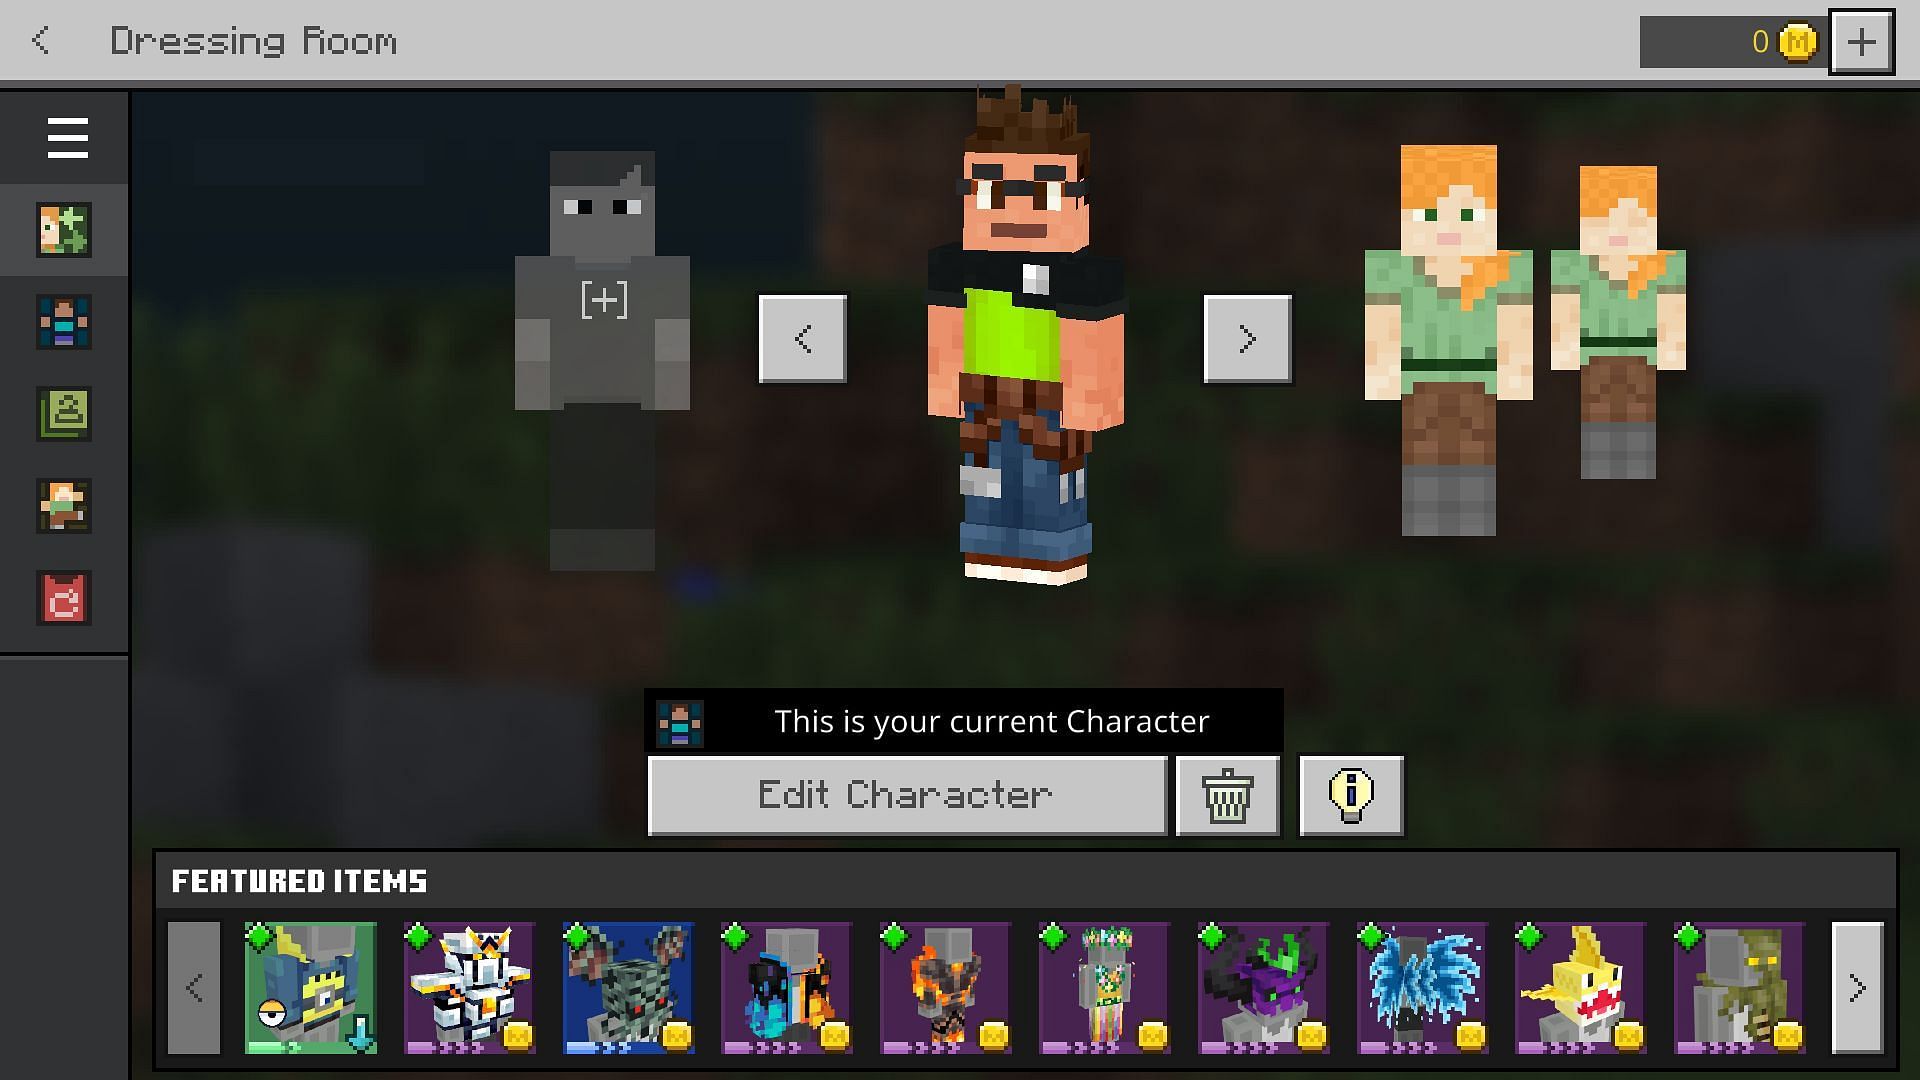
Bedrock Edition gives players a lot of customization options where they can add several accessories to their character such as wings, hats, glasses, shoes, and more. Unlike the Java Edition, these accessories also have a 3D effect on the skin, making it look far more detailed.
When players are done changing the skin, they can simply return to the game and the updated changes will apply onto their skins.
