
'%20x='0'%20y='0'%20height='100%25'%20width='100%25'%20%0A%20%20%20%20%20%20%20%20%20%20xlink%3Ahref='data:image/jpg;base64,/9j/2wBDAAYEBQYFBAYGBQYHBwYIChAKCgkJChQODwwQFxQYGBcUFhYaHSUfGhsjHBYWICwgIyYnKSopGR8tMC0oMCUoKSj/2wBDAQcHBwoIChMKChMoGhYaKCgoKCgoKCgoKCgoKCgoKCgoKCgoKCgoKCgoKCgoKCgoKCgoKCgoKCgoKCgoKCgoKCj/wgARCAAGAAoDASIAAhEBAxEB/8QAFQABAQAAAAAAAAAAAAAAAAAAAgb/2gAIAQEAAAAAm3//xAAUAQEAAAAAAAAAAAAAAAAAAAAE/9oACAECEAAAAC//xAAUAQEAAAAAAAAAAAAAAAAAAAAC/9oACAEDEAAAAD//xAAdEAADAAICAwAAAAAAAAAAAAABAgMABAYTEiIx/9oACAEBAAE/AF3b1gOy13dgWDNdzh5bsSPWhqqp6geXzP/EABgRAAIDAAAAAAAAAAAAAAAAAAABAhEh/9oACAECAQE/AJ7TZ//EABcRAQADAAAAAAAAAAAAAAAAAAEAAjH/2gAIAQMBAT8AbJk//9k='%3E%3C/image%3E%3C/svg%3E)
It hasn't always been this way, but hosting a Minecraft server has gotten much easier than it used to be, and this remains the same for Minecraft 1.18.

Although Microsoft and Mojang allow for players to rent small private servers through Minecraft Realms, some players would rather save the money and use their own hardware. Third-party server hosting sites also allow players to host on high-quality hardware for a subscription fee, but that isn't necessary as long as players have a good computer and a solid internet connection. There are limits, but self-hosting in Minecraft can still be very rewarding.
How to host a server in Minecraft
Setting up a Minecraft server on one's hardware can be confusing for those that aren't knowledgeable with Java or networking, but it's a simpler process than it used to be. Below, Minecraft players can find a step-by-step process for hosting a server on Minecraft Java Edition using their own hardware:
- Download Minecraft's Java Edition server files from Minecraft.net.
- Ensure that Java is fully up-to-date on the desired computer that will host the server.
- Make or choose a folder where the server files will go.
- Copy the downloaded .jar server file to the server folder.
- Copy the file path of your server folder to your clipboard.
- Open a command prompt. Type "cd" without quotations and then paste the file path to the server folder before hitting enter.
- After inputting the directory, type Java -jar "name of your jar file".jar
- Hit enter. An error should appear (failed to load properties and failed to load eula), but this is expected.
- Back in the Minecraft server folder, open eula.txt with your preferred text editor.
- In the eula file, change "eula=false" to "eula=true" and save the file.
- Open the server.properties file in the same folder with a text editor as well. In this file, make note of the "query.port" setting, as this will be needed later for port forwarding.
- You can also set different settings within this file. For example, gamemode can be set to Survival, Creative, etc. Motd sets the daily message for the server. There are also additional settings for PvP and allowing dimensions such as the Nether and End.
- Repeat steps 6 and 7 and the server should now come online.
- As a final note, be certain to forward the port outlined in the "query.port" setting in the server properties file. This is done in different ways depending on the hardware, and players may want to head to a site such as NoIP to figure out how to forward a port on their hardware. Typically, the port number is 25565, but it may be different depending on certain factors.
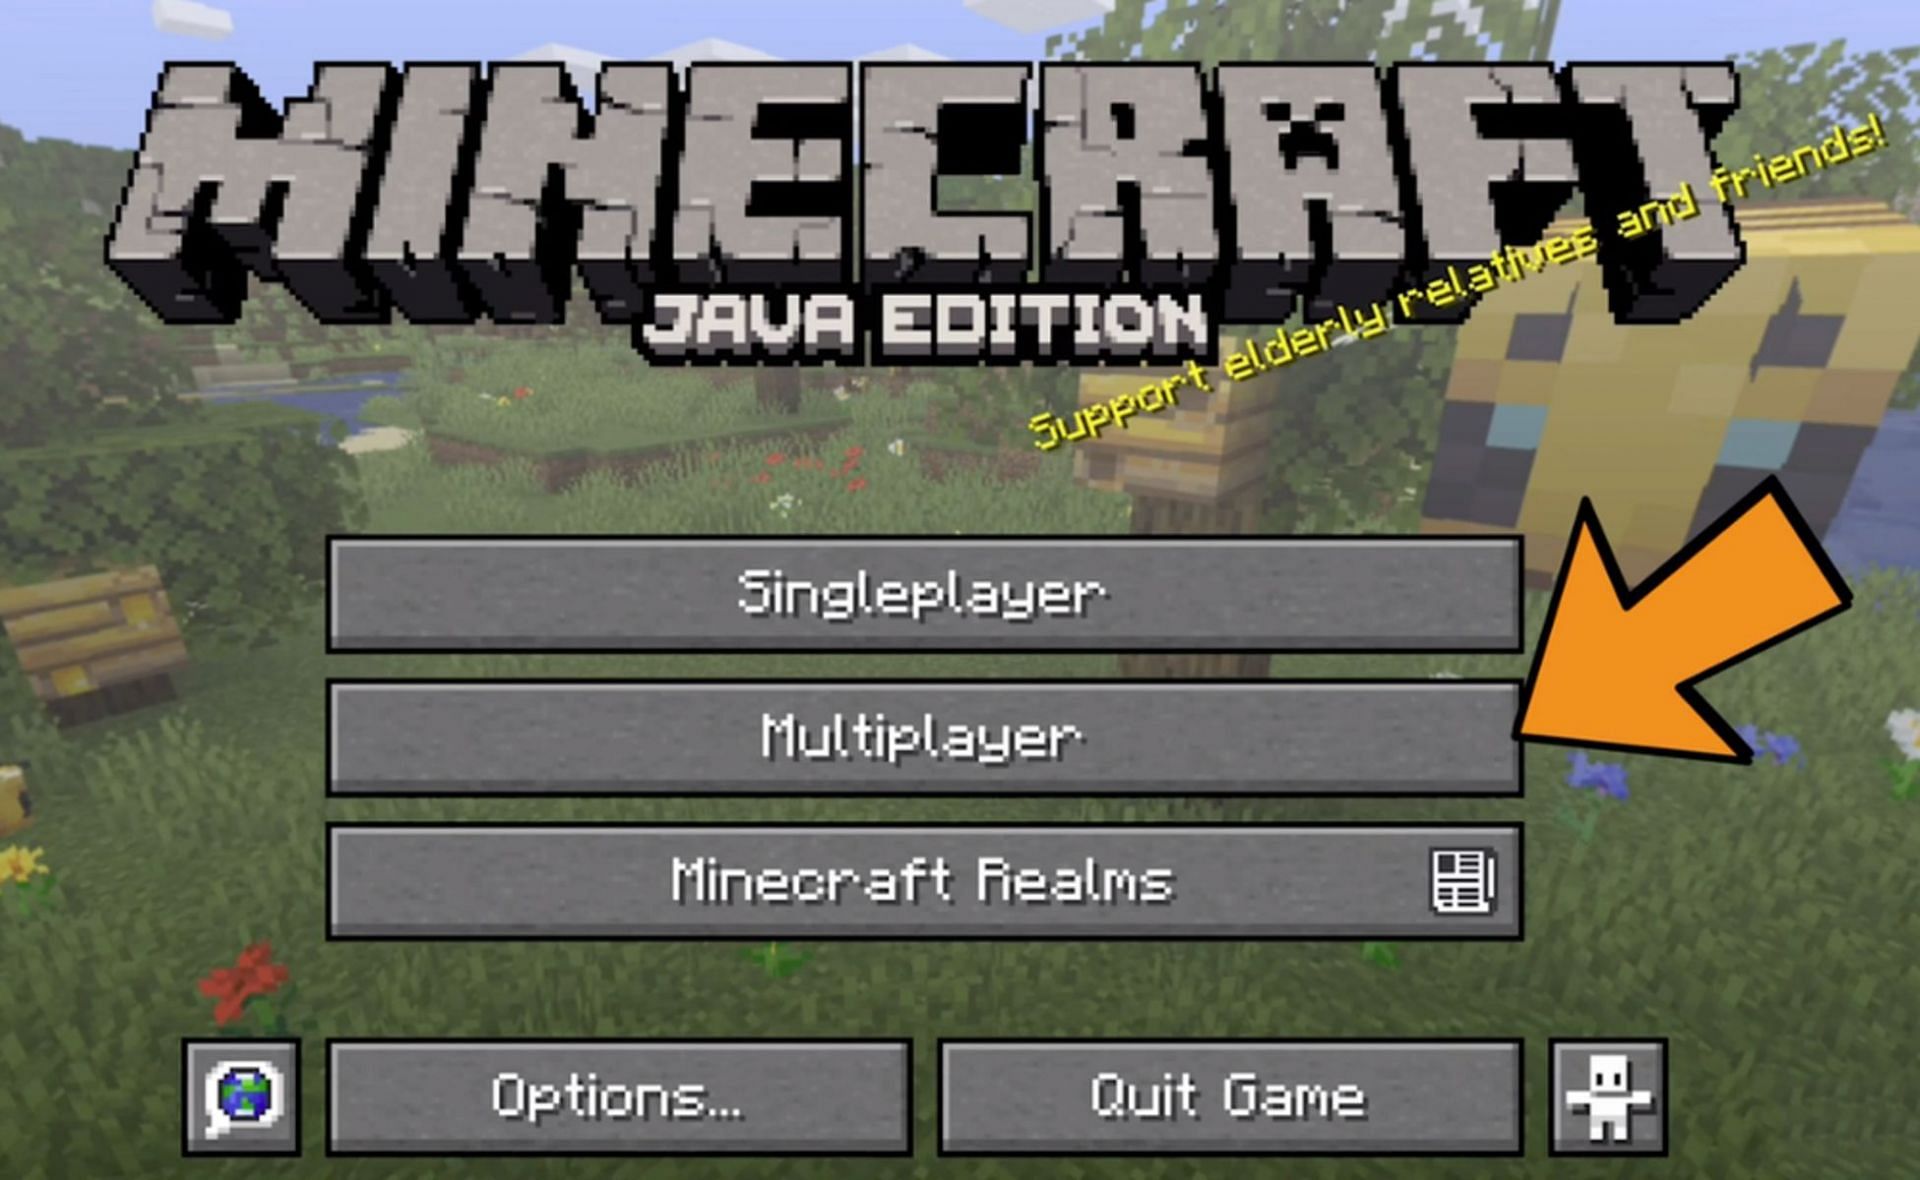
Once players have followed these steps, all that is required for players to hop into the server is to open Minecraft, click multiplayer, then add server, and then input the IP address of the machine hosting the server. If the hosting player doesn't know their IP address, they can head over to What is my IP to get that info. It is highly advised to only give out this information to trusted friends and players, as leaving an IP address out in the open can cause security concerns.
