
'%20x='0'%20y='0'%20height='100%25'%20width='100%25'%20%0A%20%20%20%20%20%20%20%20%20%20xlink%3Ahref='data:image/jpg;base64,/9j/2wBDAAYEBQYFBAYGBQYHBwYIChAKCgkJChQODwwQFxQYGBcUFhYaHSUfGhsjHBYWICwgIyYnKSopGR8tMC0oMCUoKSj/2wBDAQcHBwoIChMKChMoGhYaKCgoKCgoKCgoKCgoKCgoKCgoKCgoKCgoKCgoKCgoKCgoKCgoKCgoKCgoKCgoKCgoKCj/wgARCAAGAAoDASIAAhEBAxEB/8QAFQABAQAAAAAAAAAAAAAAAAAABQb/2gAIAQEAAAAAYvP/xAAUAQEAAAAAAAAAAAAAAAAAAAAF/9oACAECEAAAAGf/xAAUAQEAAAAAAAAAAAAAAAAAAAAF/9oACAEDEAAAADf/xAAeEAACAgICAwAAAAAAAAAAAAACAwEEBhEABRNB0v/aAAgBAQABPwDLe+Cjn2NkYN8FerbaYh72E/HKXYKt00WVp0DliwYKI3qY3z//xAAaEQACAgMAAAAAAAAAAAAAAAABAgARA1HB/9oACAECAQE/AMRt3vfBP//EABgRAAIDAAAAAAAAAAAAAAAAAAACAQMR/9oACAEDAQE/ALYxEP/Z'%3E%3C/image%3E%3C/svg%3E)
Players have many options when it comes to creating their builds in Minecraft. From castles to undersea bases and everything in between, the possibilities for a build are endless in the game. In order for players to get around their bases, there are a few options. To go up and down the levels on their bases, players can use stairs and ladders. Players can also use special elevators to get around.
Players should know that even though elevators take more time to set up initially, they are the best way for players to get to the different levels of their base. They are generally faster, look nicer, and are just more fun to use than stairs. However, it can be a bit overwhelming to get started with building an elevator. This tutorial will show players how to create an easy to build and use multi-floor elevator in Minecraft.

How players can make a multi-floor elevator in Minecraft
There are varying stages of elevators in Minecraft. For starters, there are simple redstone elevators that can move blocks up and down with pistons. There are slime elevators that can go long distances. There are even elevators that use water to go up and down. The elevator explained in this guide uses a tutorial by YouTuber Fed X Gaming, which showcases a simple piston elevator to get players familiar with building an elevator.
Minecraft players need to complete the following steps to build an elevator:
Step 1) Gather Materials
First, players should gather the materials that they will need for the elevator. The required blocks will depend on how big of an elevator players will need. However, for basic components, players will need:
- Pistons
- Redstone
- Redstone Repeater
- Buttons
- Sand
- The blocks that players want to build their elevator tower out of
Step 2) Build tower
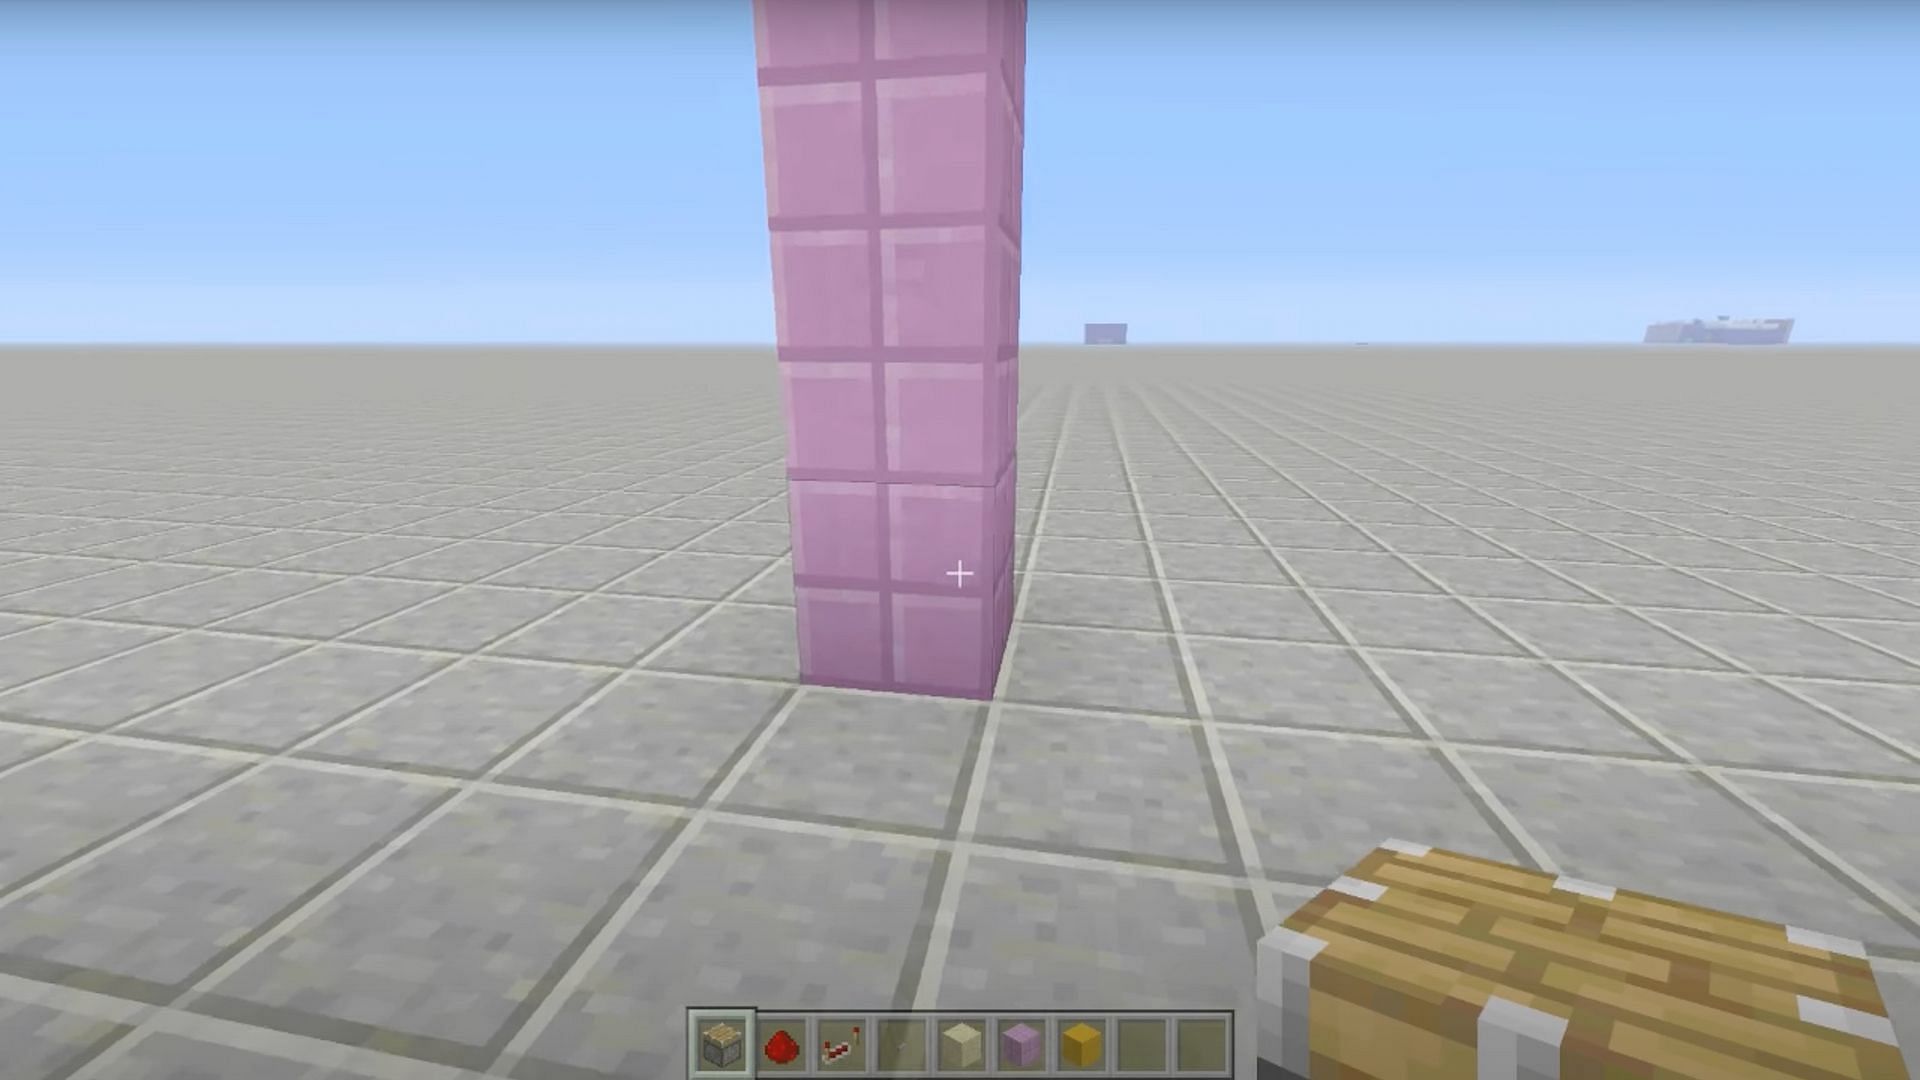
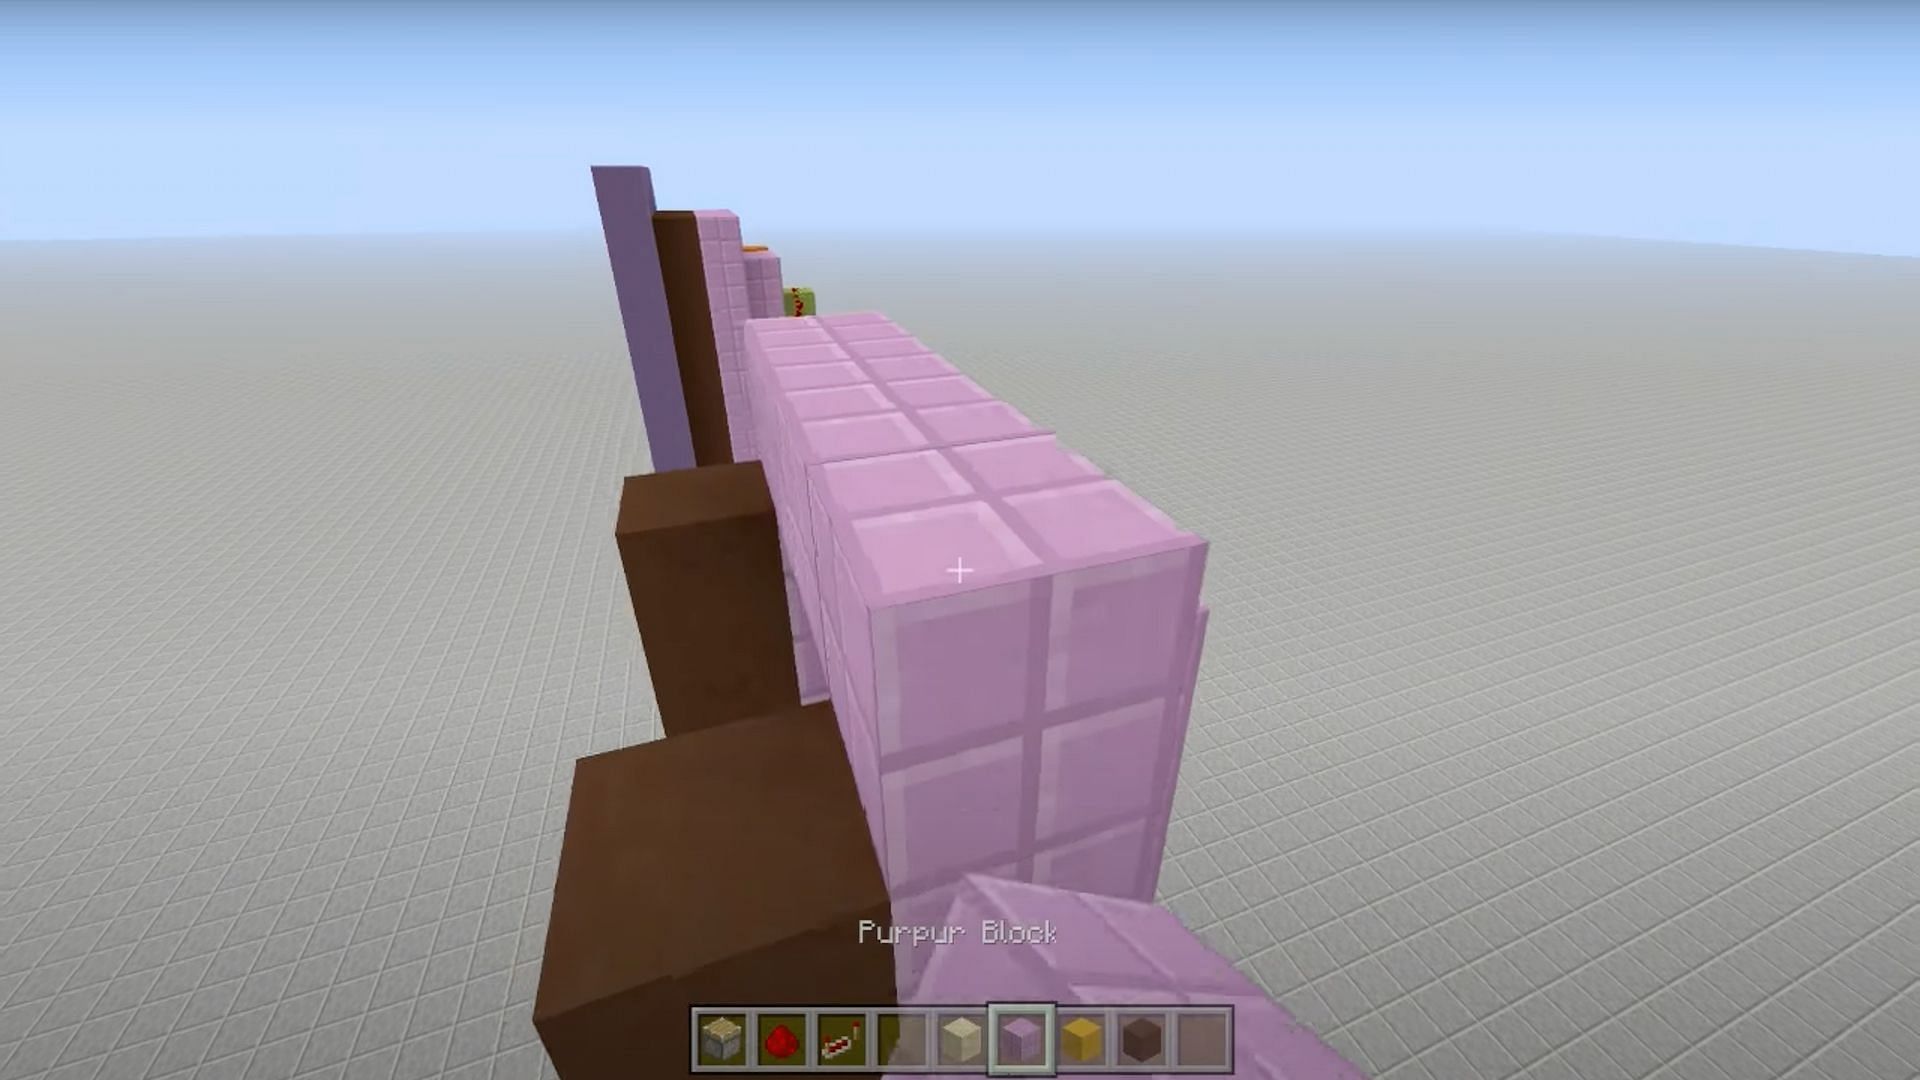
Using the blocks that they have chosen for the elevator, players should build a tower of blocks as tall as they want the elevator to be.
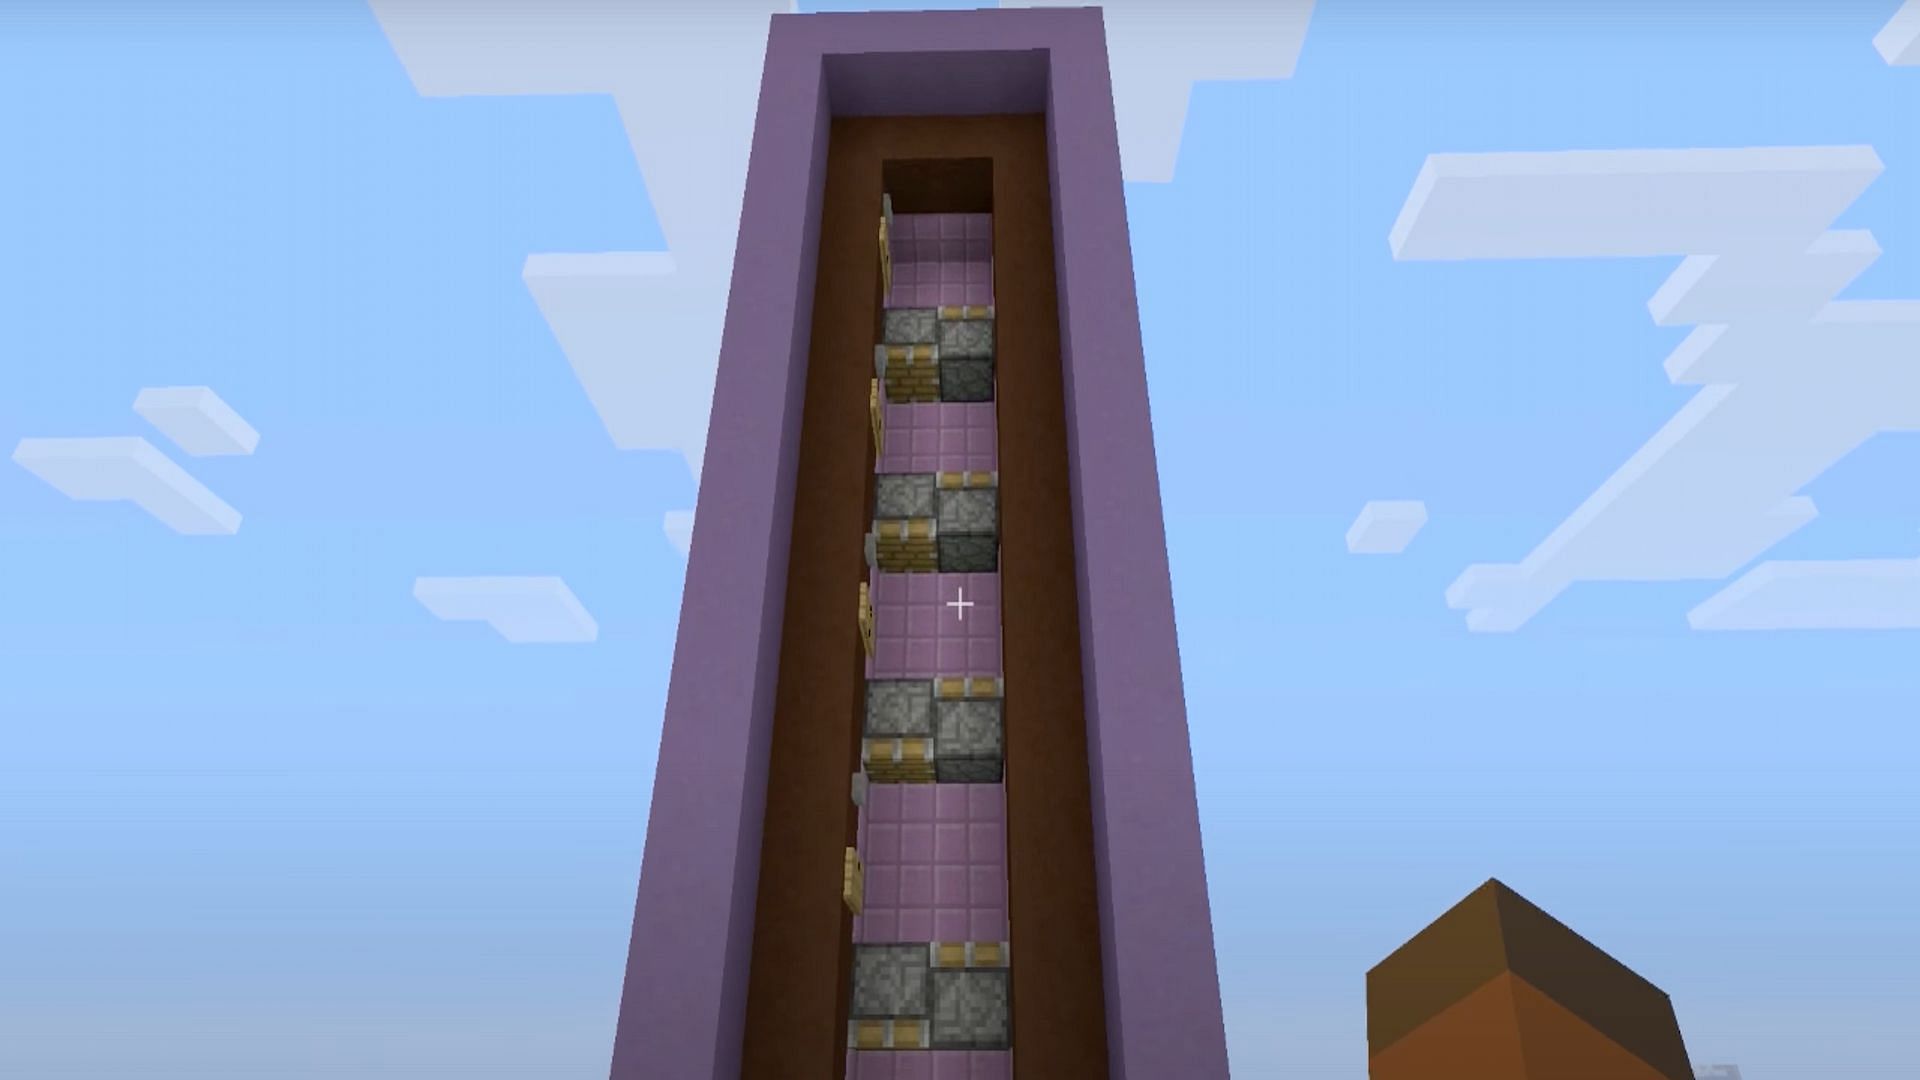
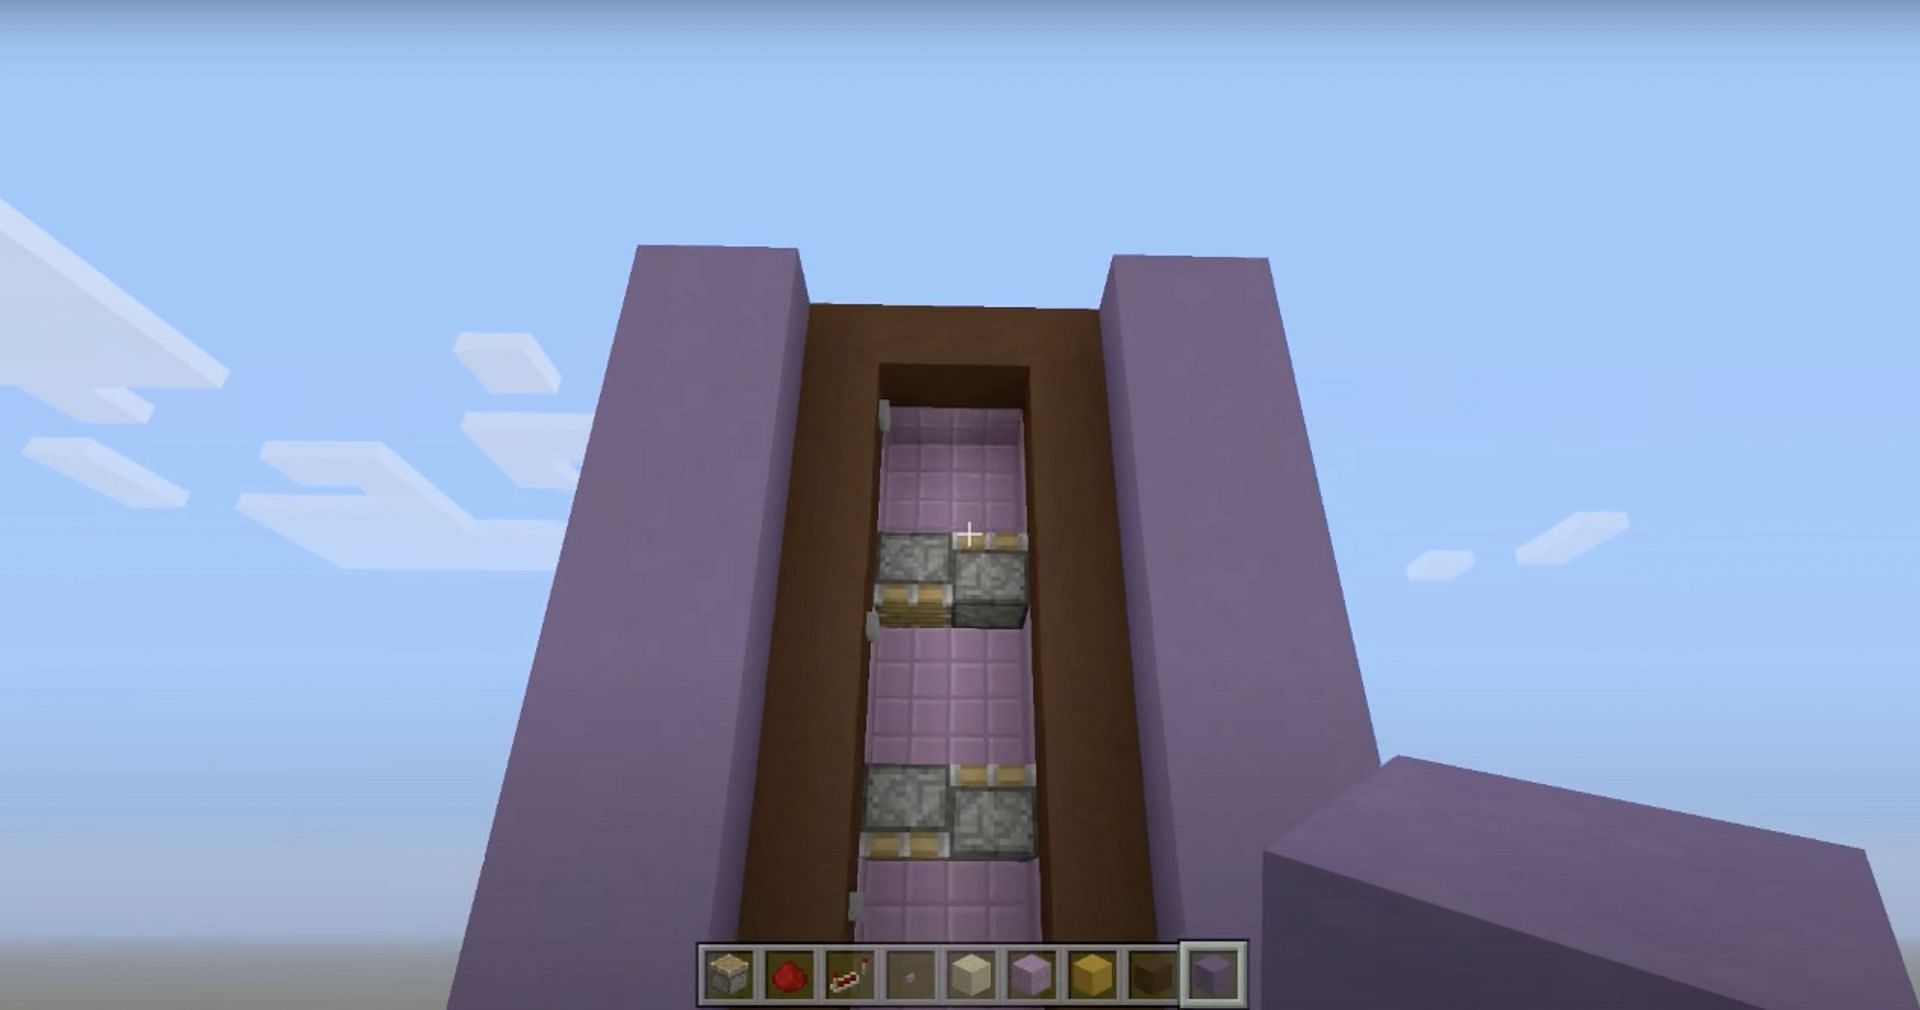
Step 3) Place pistons every 3rd block
Once players have their tower built, they will need to place pistons facing downwards every 3 blocks. So count up to 3 blocks and place a piston facing downwards. Players need to repeat this process until they reach the top of the tower.
Step 4) Place more pistons facing upwards
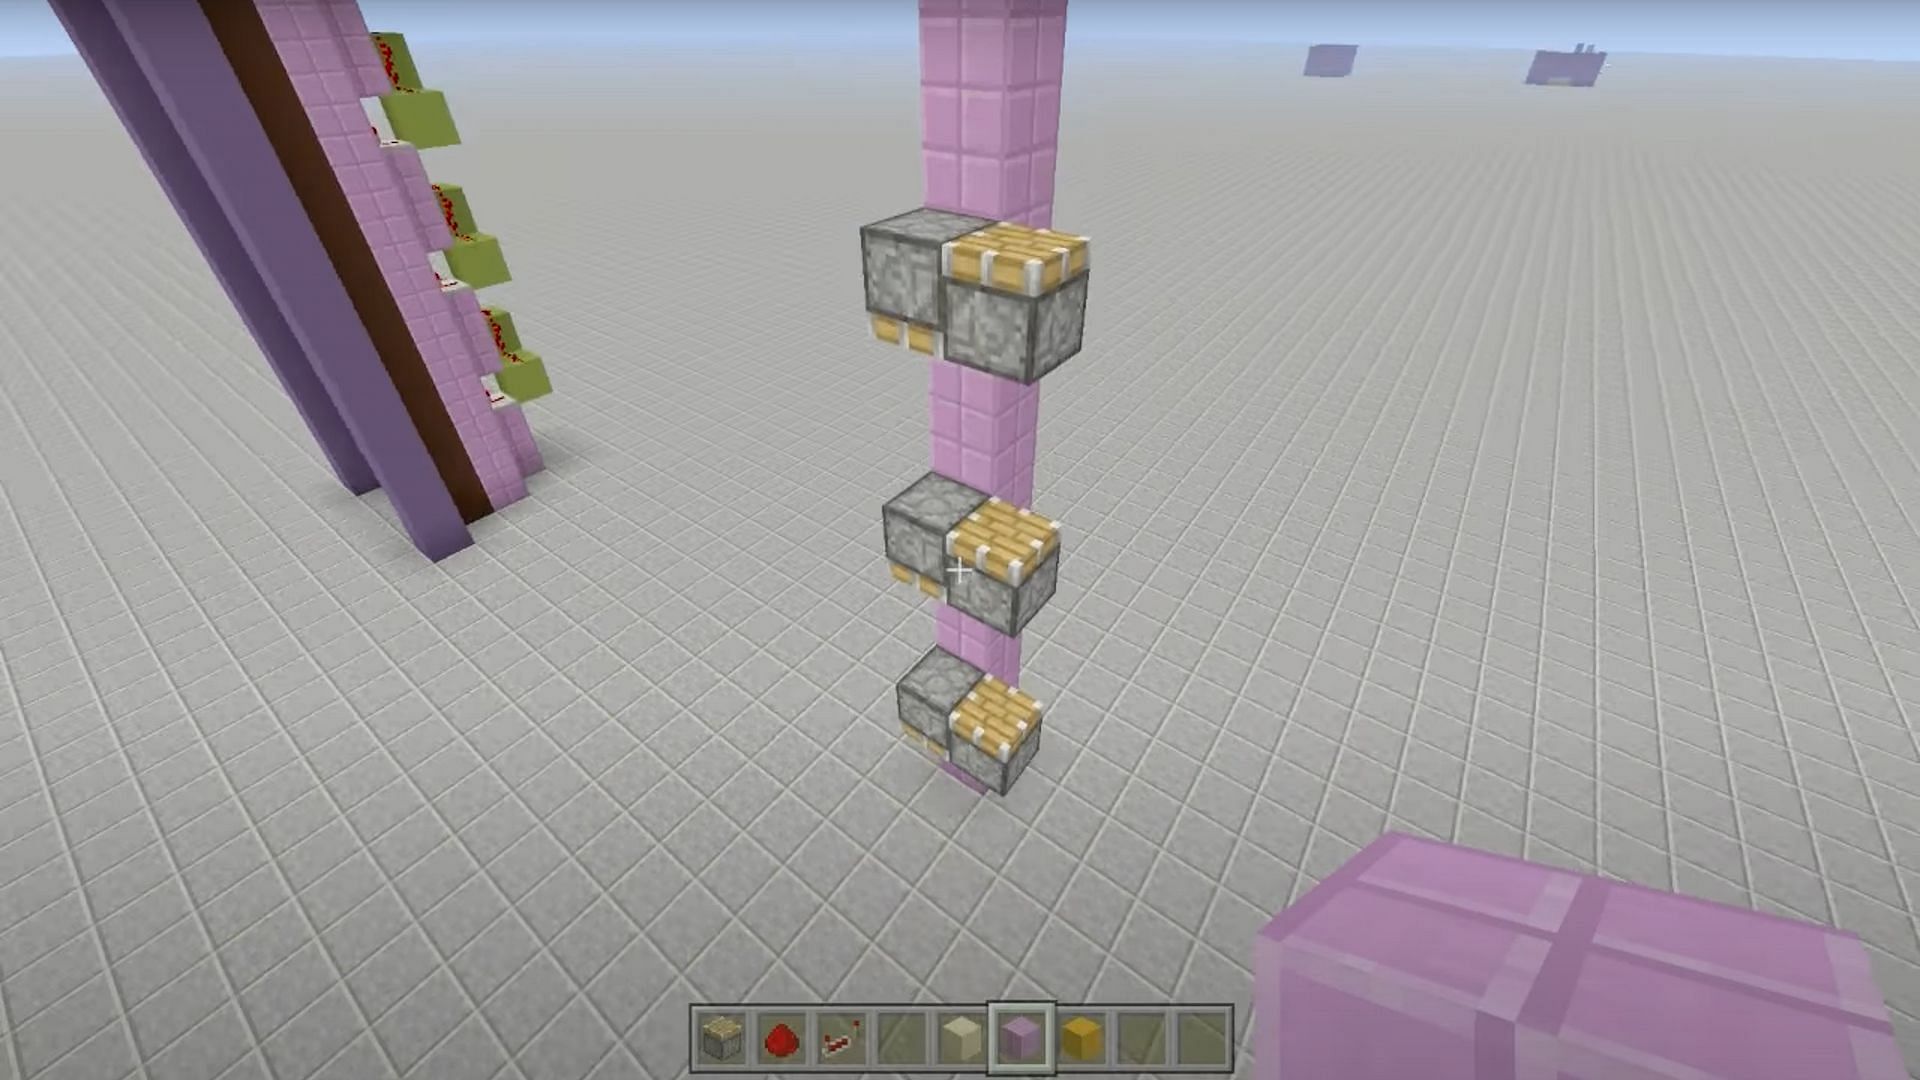
Players now have to place pistons facing upwards that will be attached to the pistons facing downwards. Players should do this along the entire tower.
Step 5) Add another column of the tower
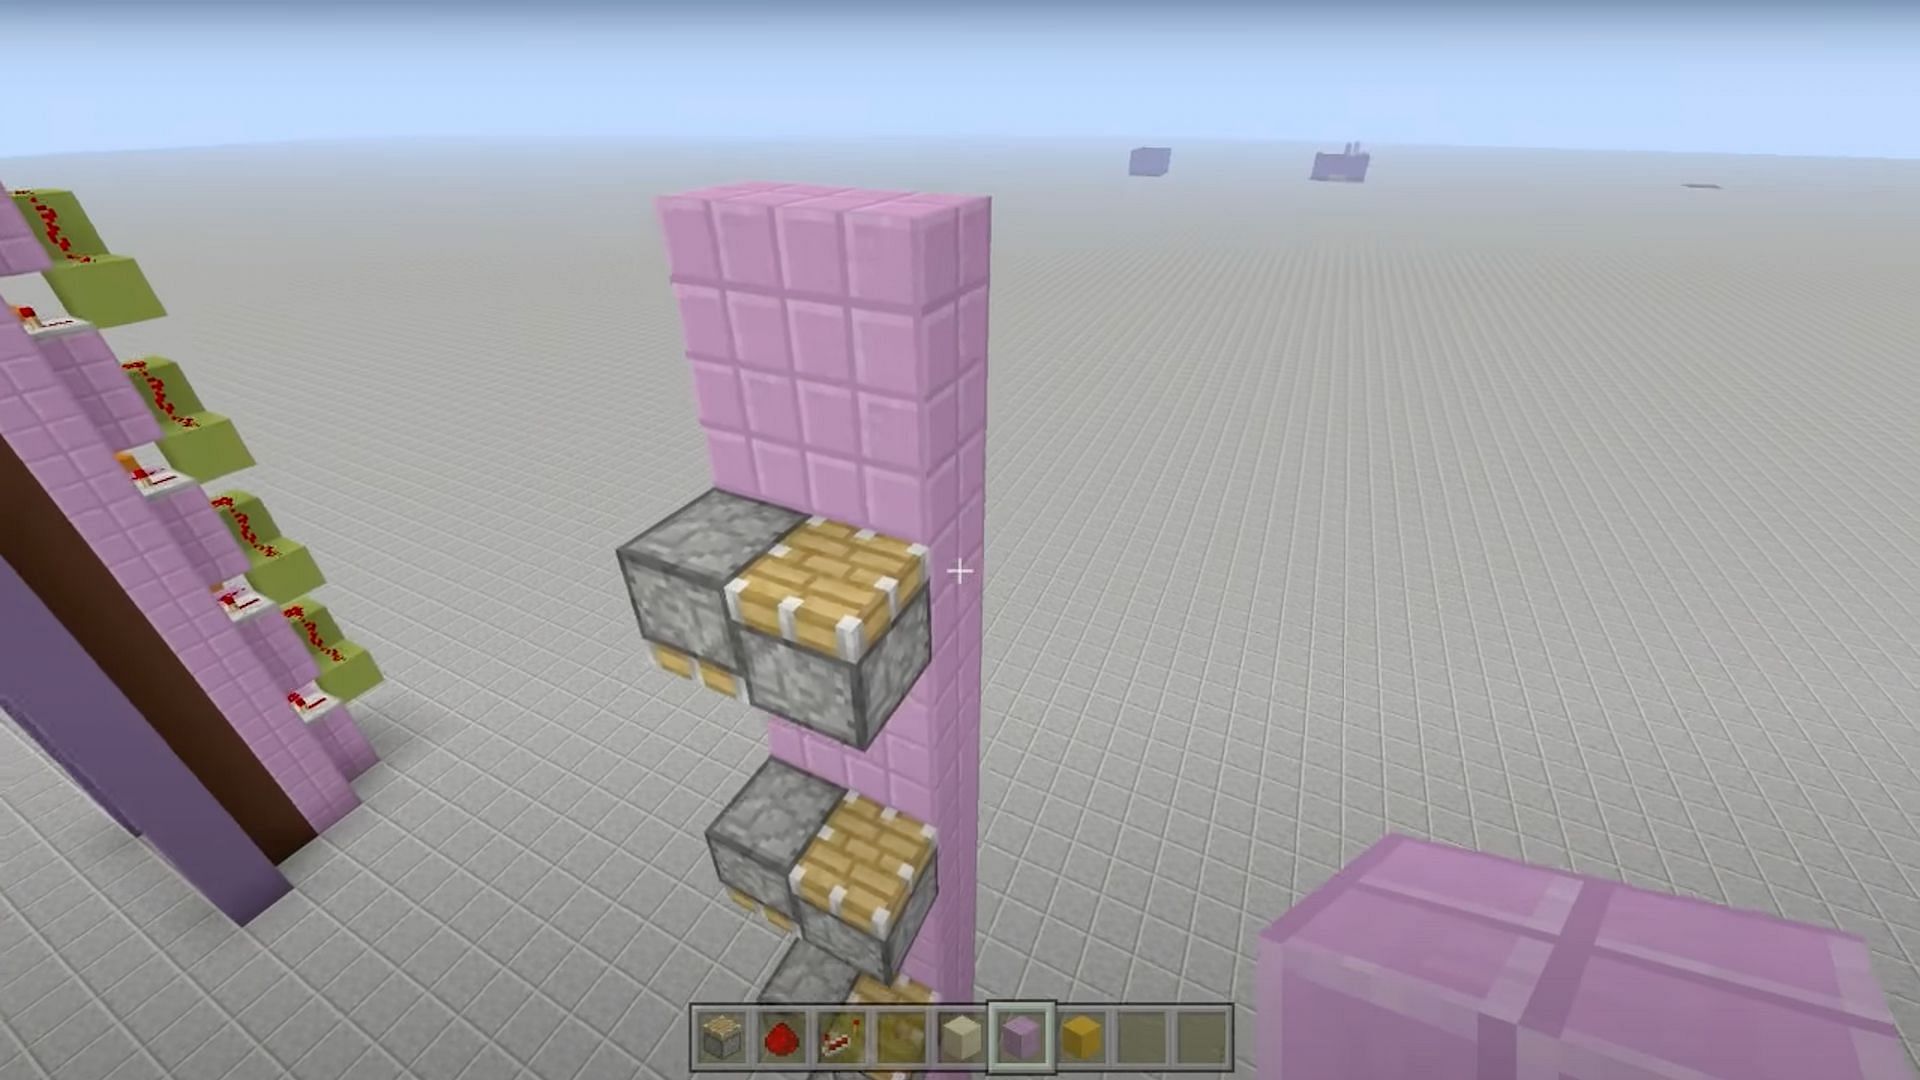
Now, players need to add another row of tower blocks behind the newly placed upwards facing pistons. This will fill out the back wall of the elevator.
Step 6) Add two columns of blocks for walls

For this next step, players can use a color block of their choice. They need to lay down two columns of blocks to form the walls on each side of the pistons. The color is up to the player, and they should match the design they wish to use.
Step 7) Add buttons to the side of the elevator
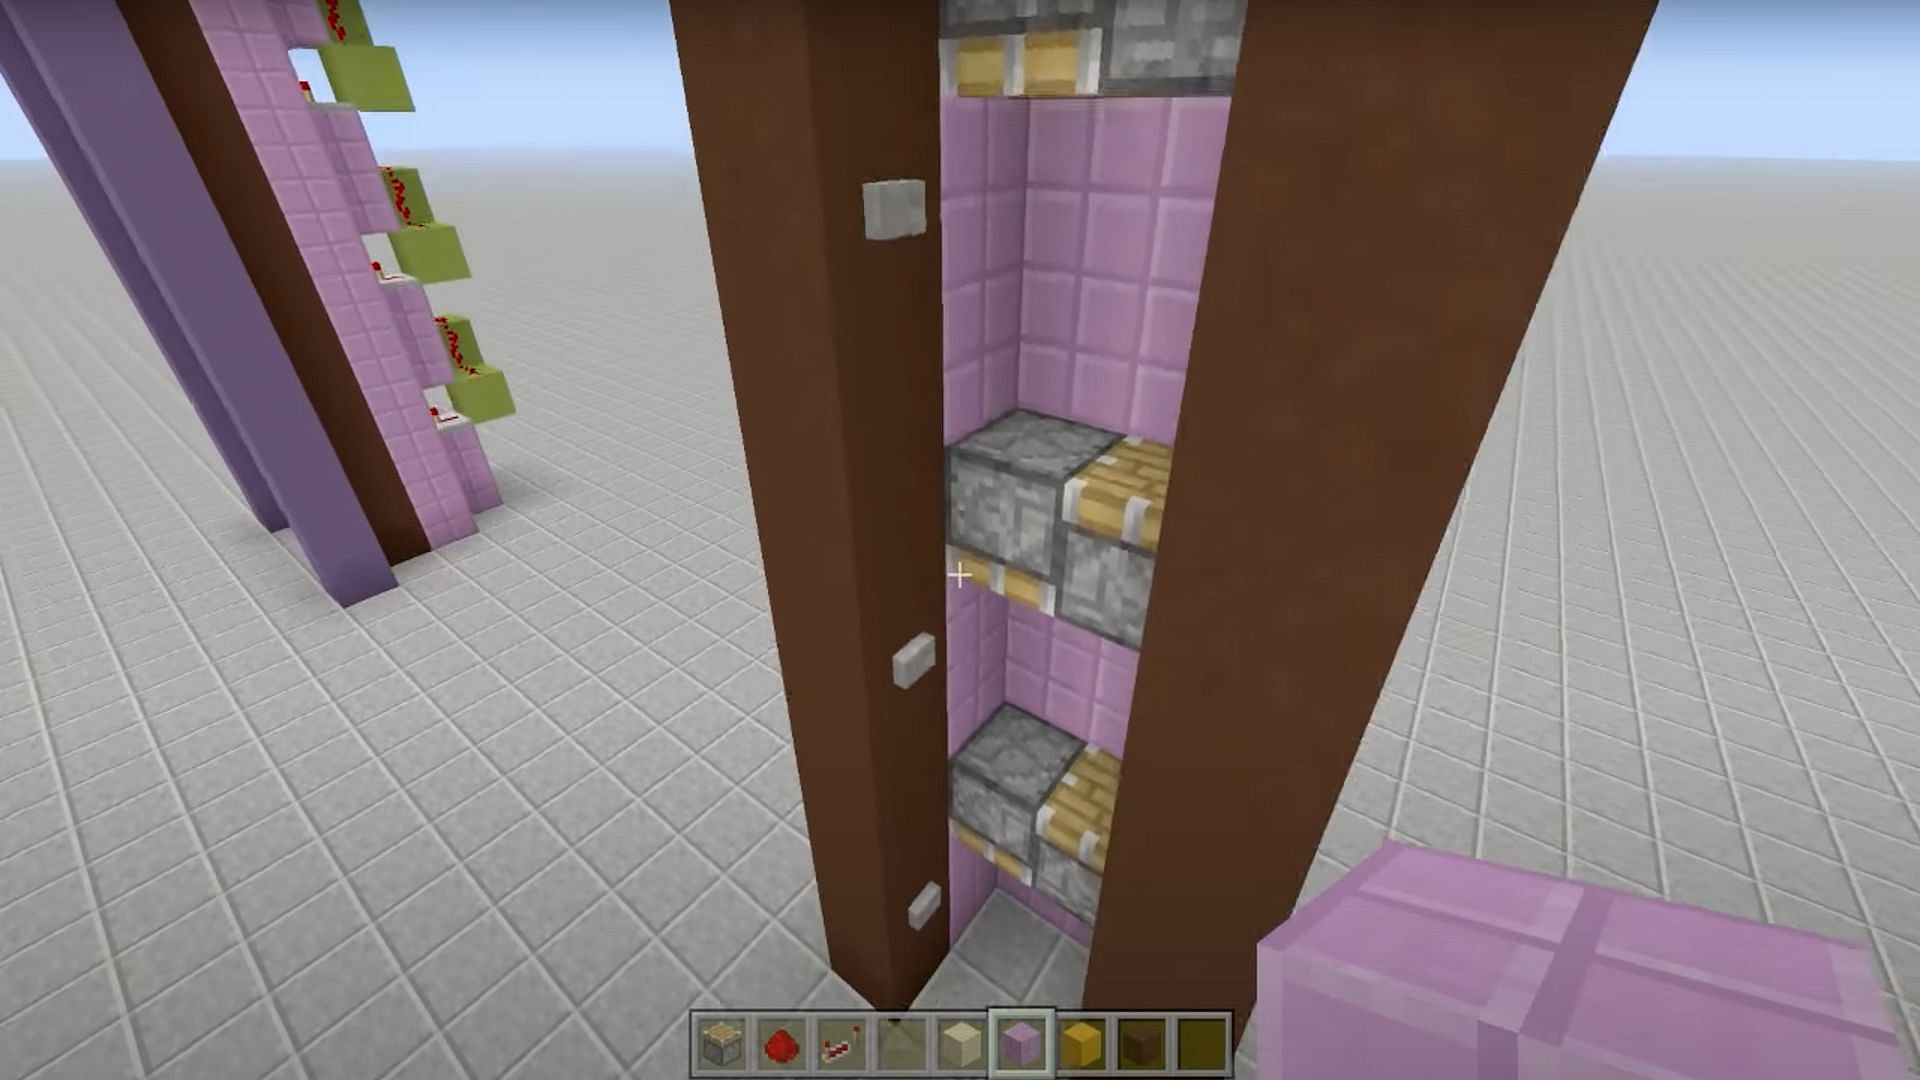
Players now need to place buttons 1 block under each piston on the left side of the elevator. This should continue all the way to the top.
Step 8) Add a roof
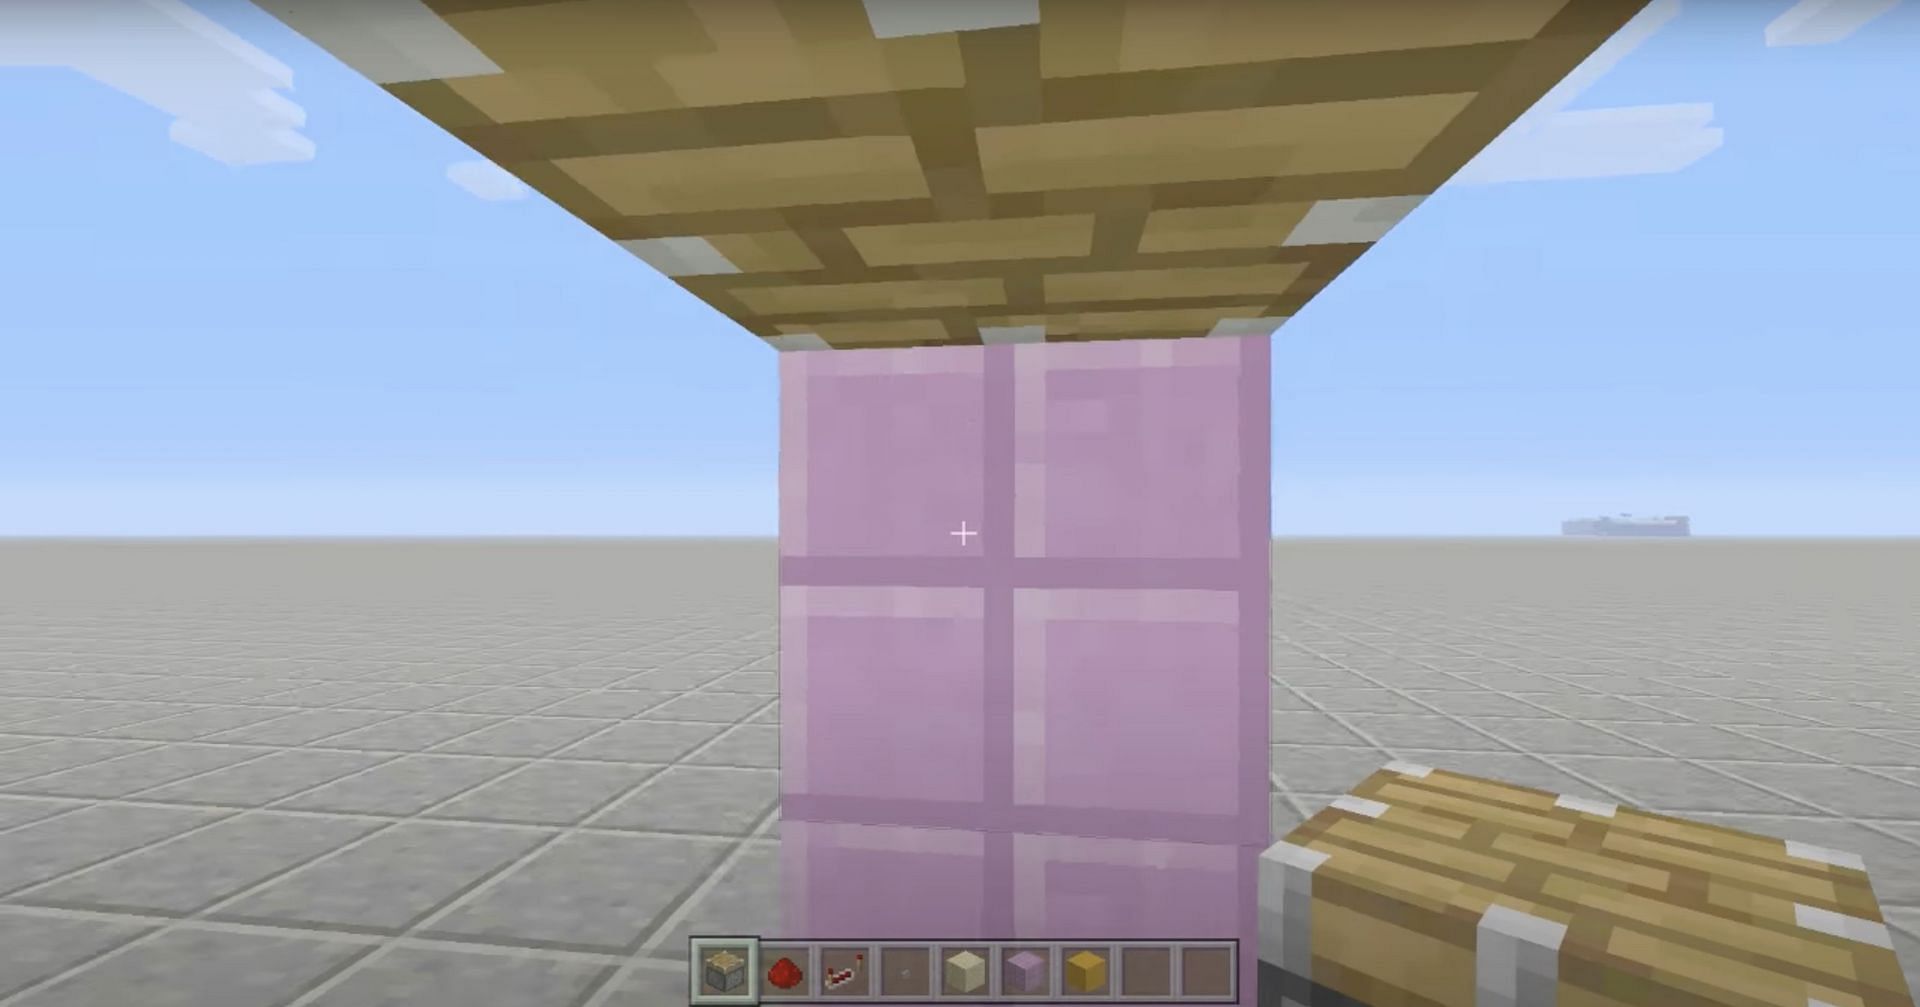
Players need to add 1 row of blocks across the top as a roof. This can be any color or type of block they wish to use for this build.
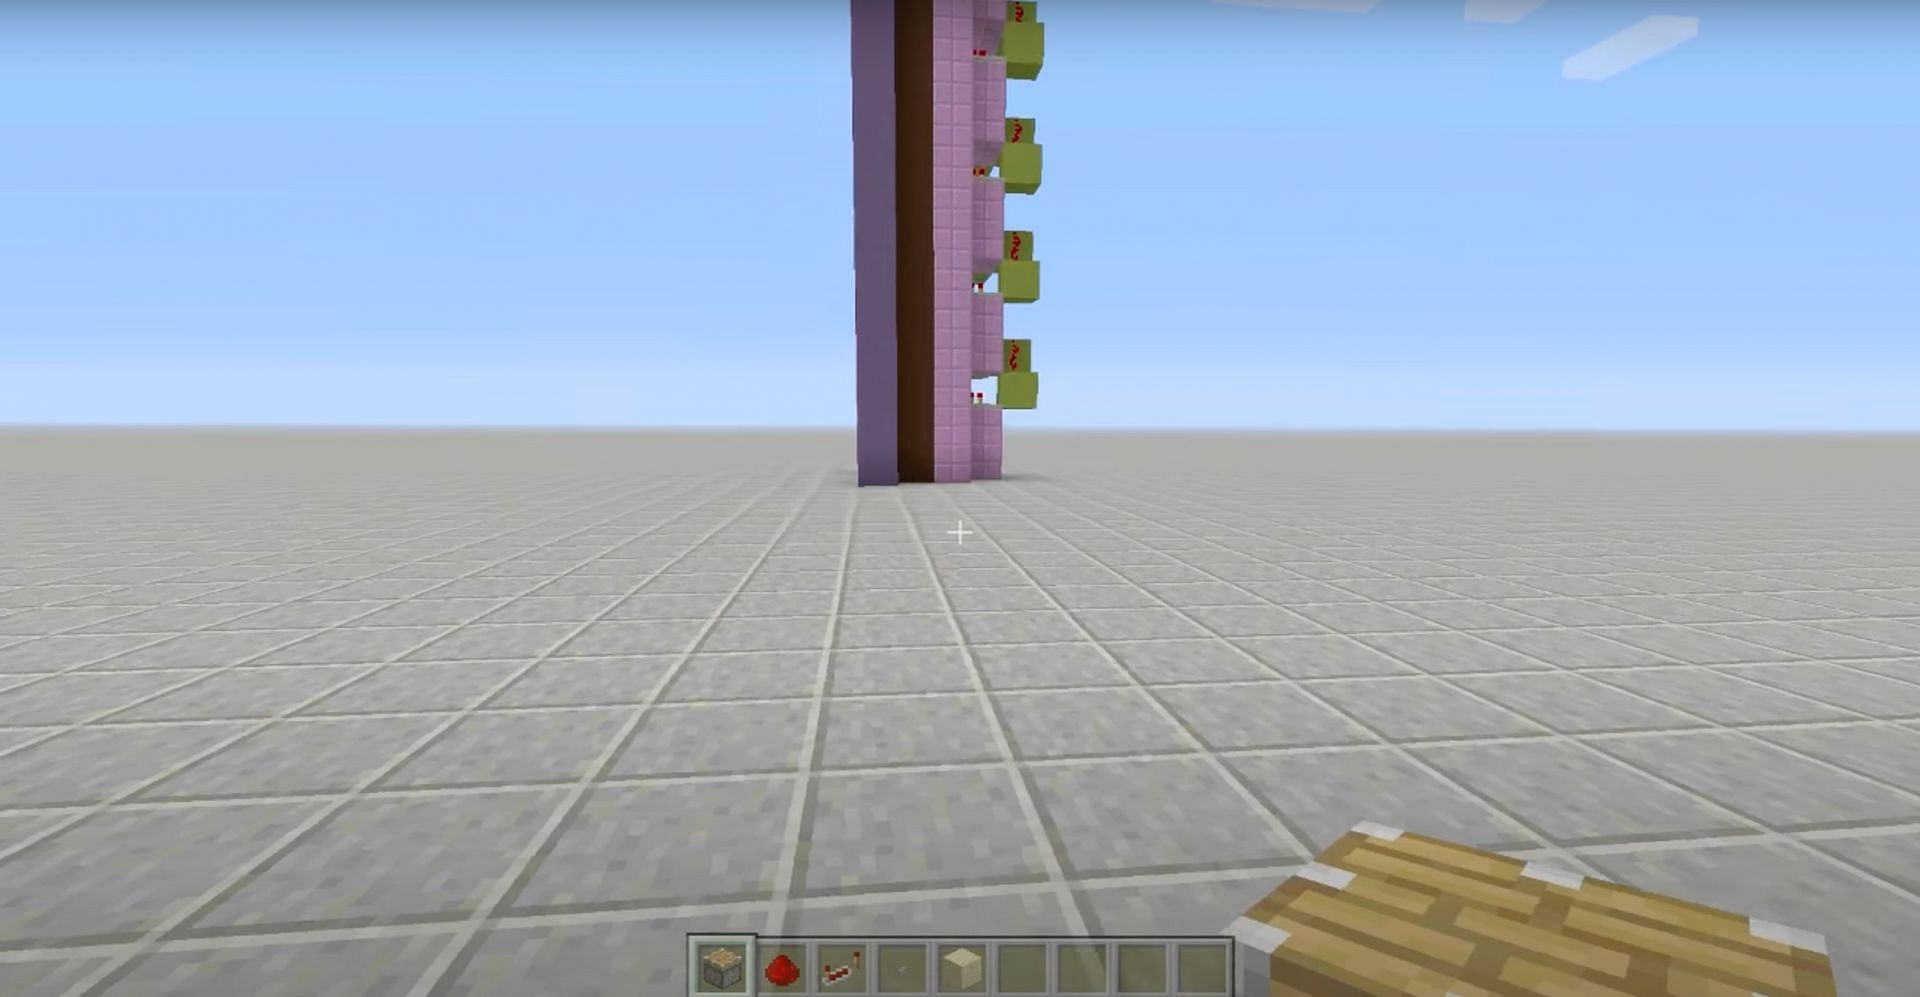
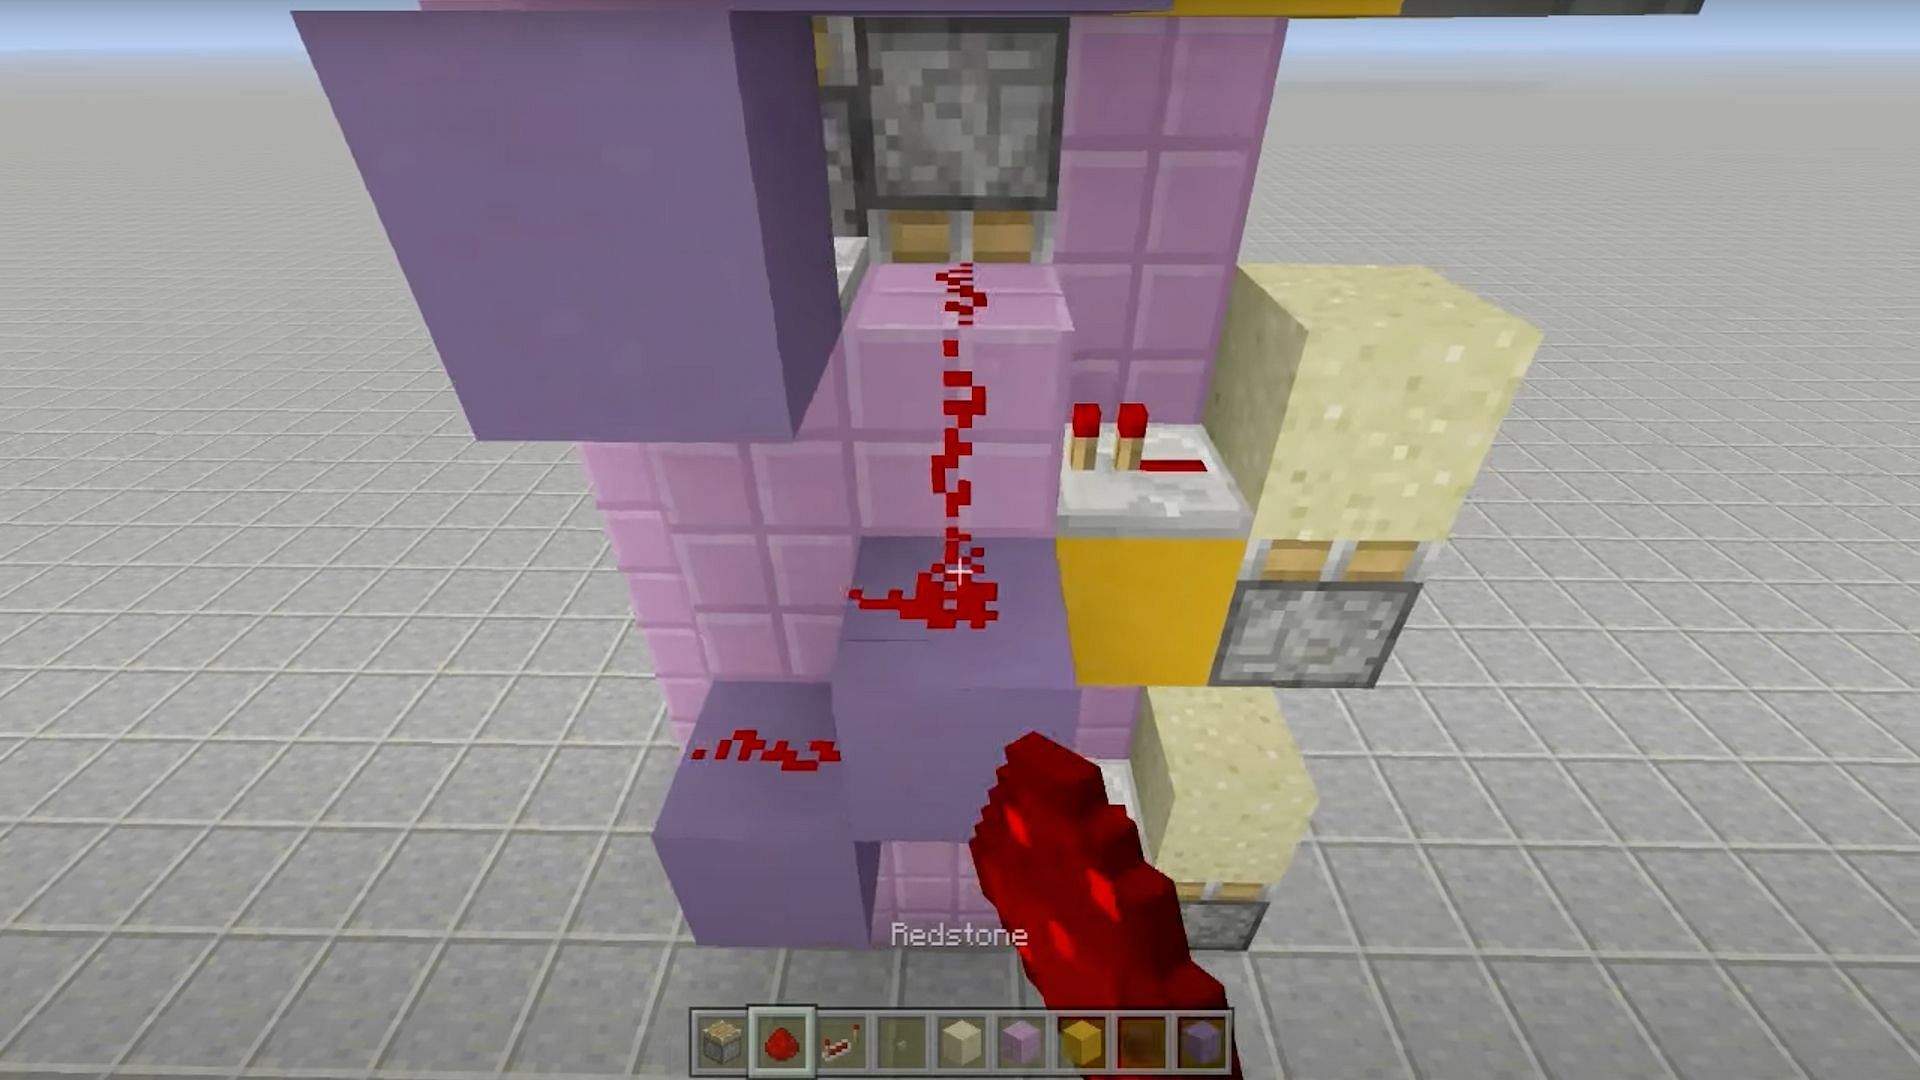
Step 9) Begin redstone build
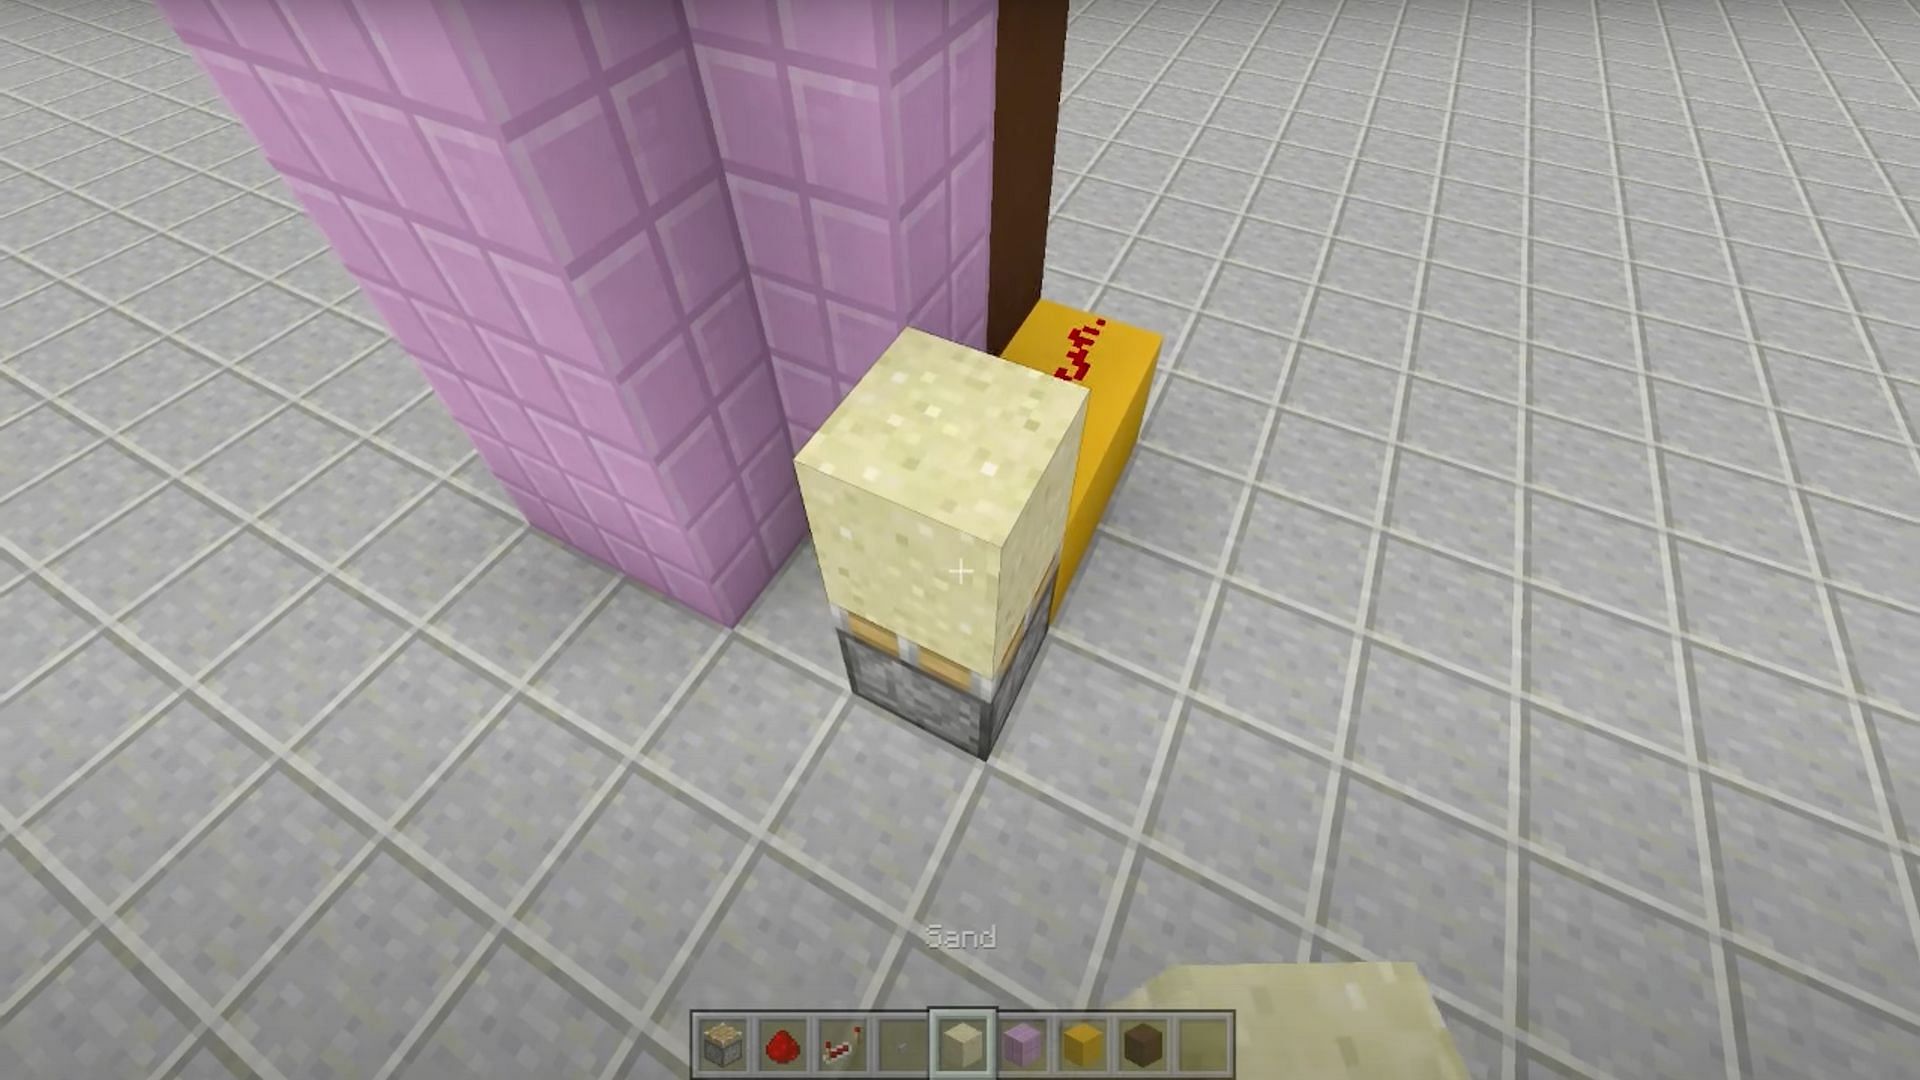
First, players should place 2 blocks of any color on the ground on the outside of the structure (on the side that has the button). After this, players need to place redstone dust on top of both of them. Players need to place down a piston facing upwards next to those two blocks, and place a block of sand on top of it.
Step 10) Finish first layer of redstone build

Next, players need to place a block next to the piston and then place a redstone repeater on a 1 tick delay on top of that. Break the block that is 1 above the block in front of the redstone repeater. Place redstone dust on top of it. This completes the build for the first floor.
Step 11) Repeat steps 9 and 10
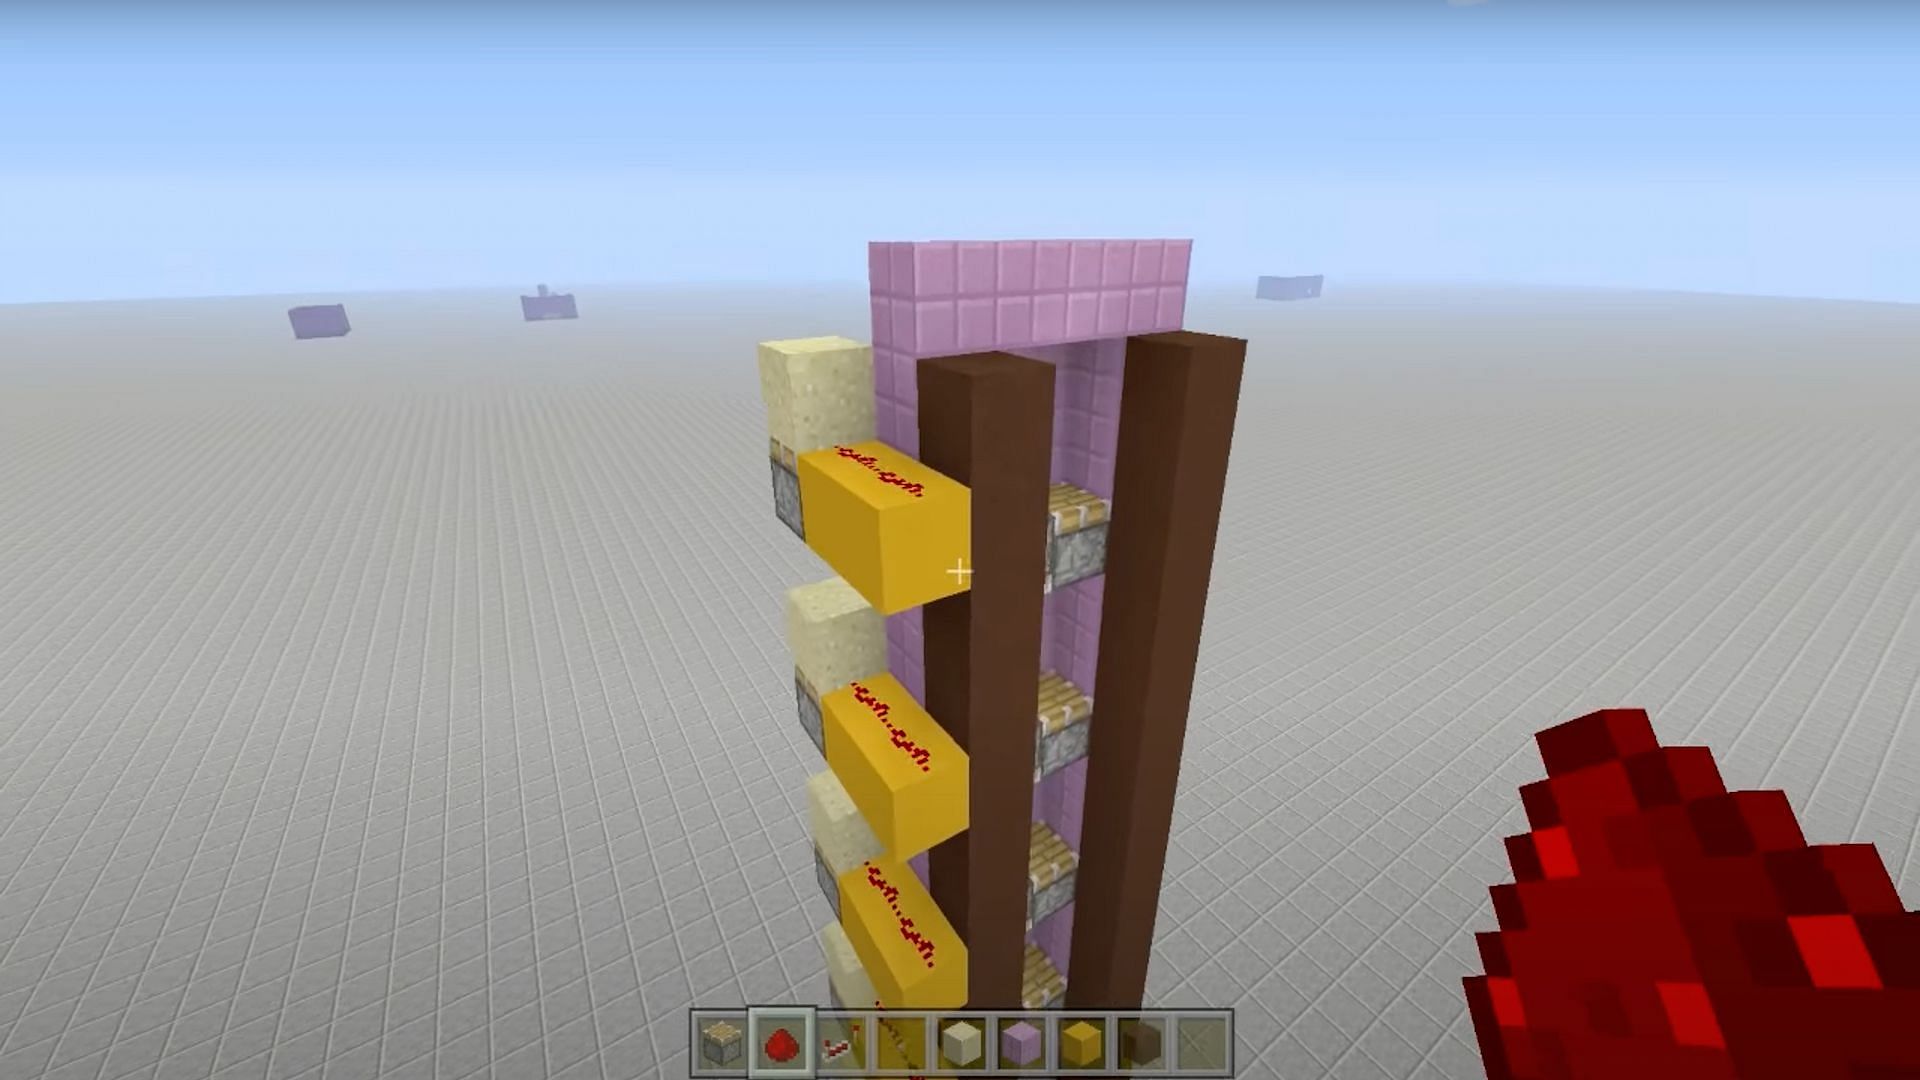
Players should repeat steps 9 and 10 until they reach the top of their tower.
Step 12) Break the block next to every redstone dust on the back
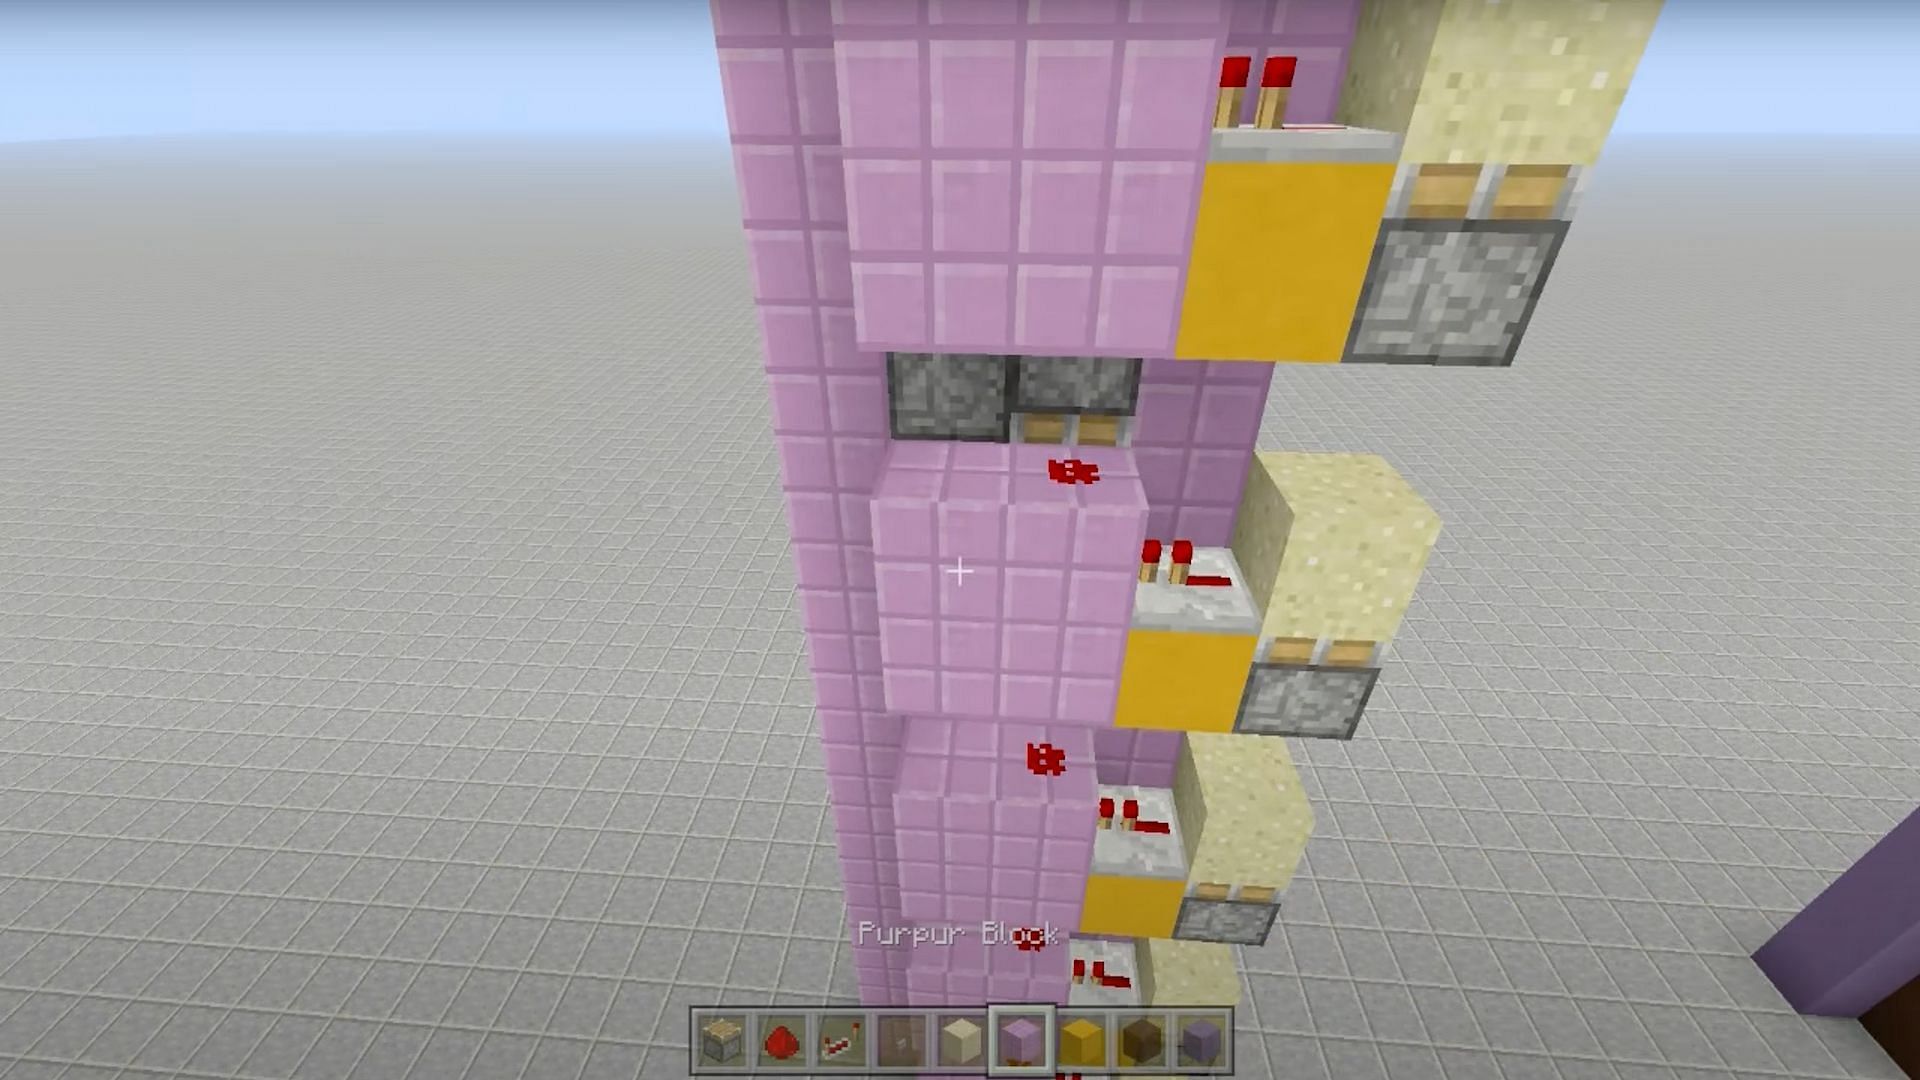
Players should now break each block next to the redstone dust along the back of the structure. This should be repeated for each floor.
Step 13) Place a redstone repeater next to each redstone dust
Players need to place a redstone repeater facing towards the piston on a one tick delay on the block directly next to the redstone dust. This should be repeated for each level.
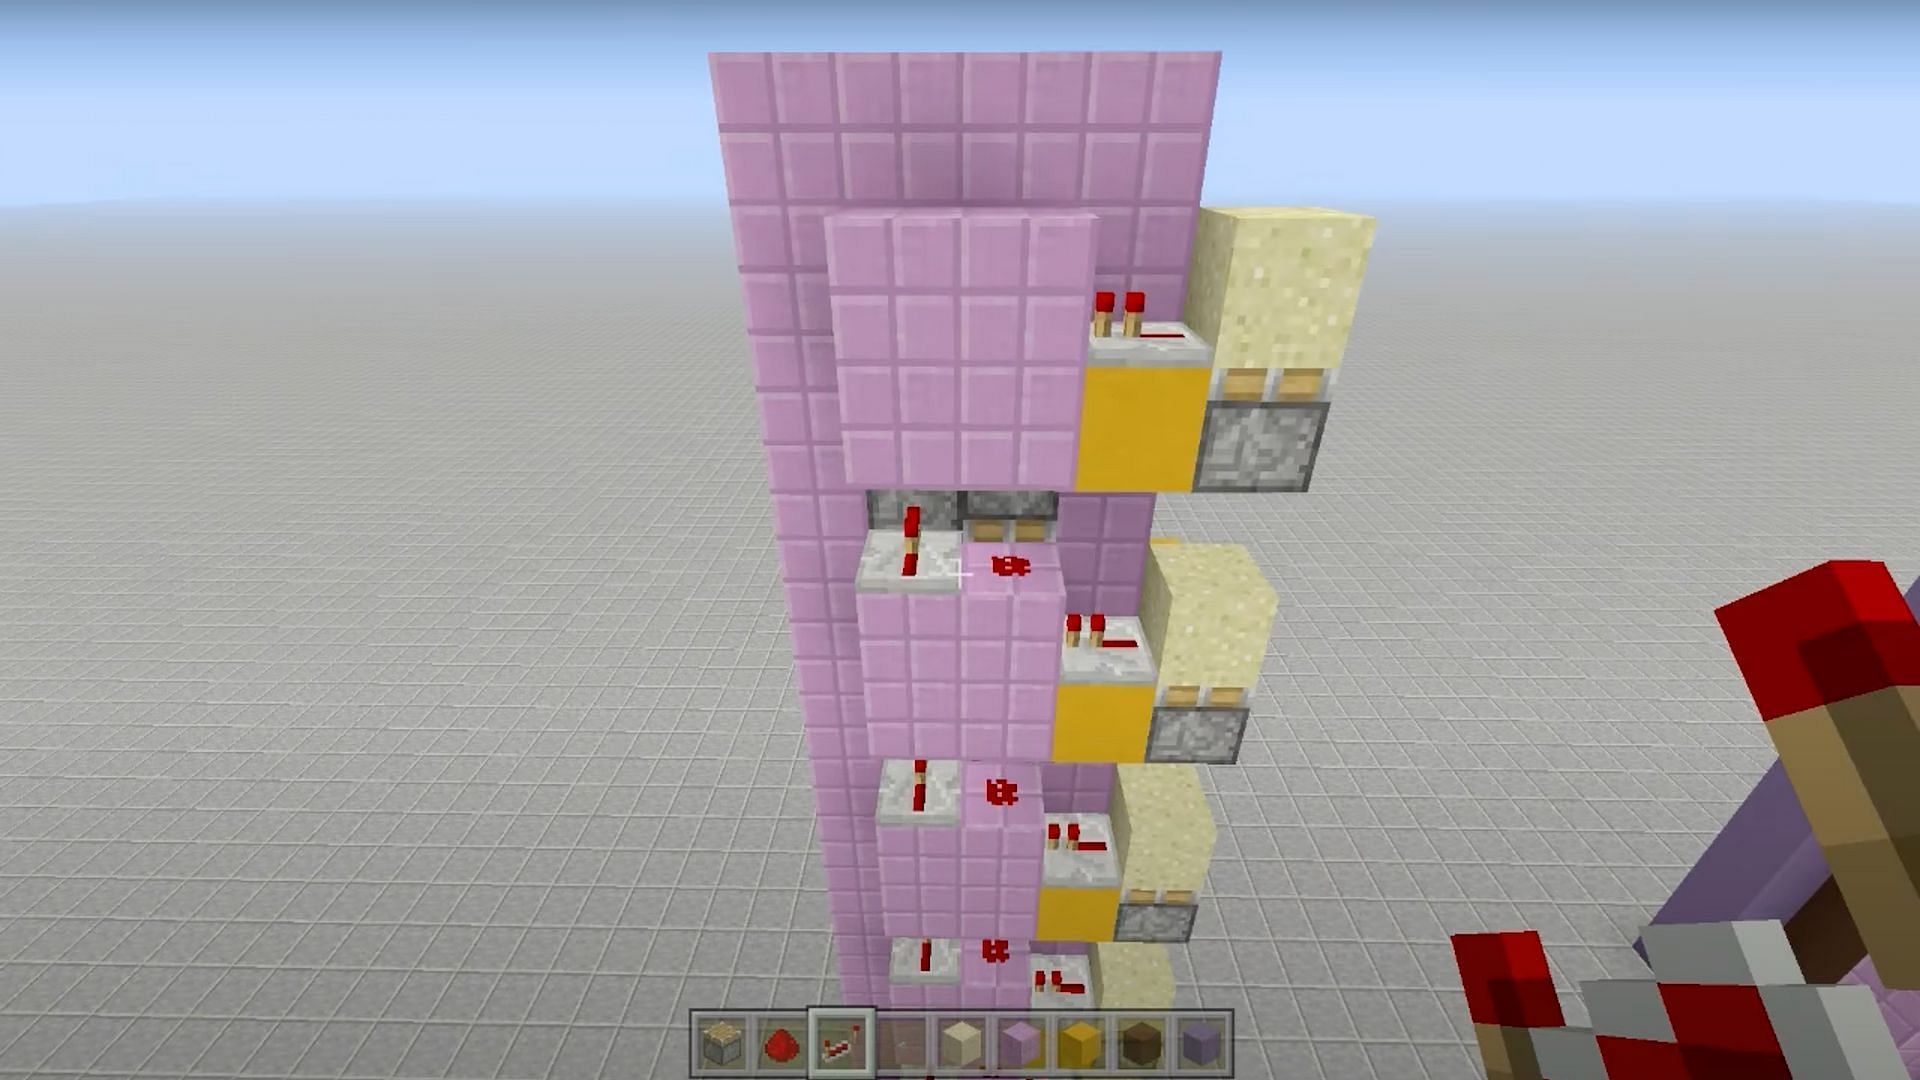
Step 14) Complete the circuit
Next, players should place 1 block on the outside and 1 block in front of the repeater. Then, go down one block and over one block to the left and place another block. Players should then place redstone dust on top of both blocks. This will need to be repeated on each floor of the elevator. Once this is done, the elevator should be ready for use.
Step 15) Finish design and ride the elevator
Once the steps mentioned above are completed, the elevator should be fully functional. To operate the elevator, players need to stand on the left side of the elevator and hit the button to go up. To go down, players need to stand on the right side of the elevator and press the button to go down. The button must be pressed to go up every floor, but this can be done very quickly. Players can also clean up the elevator to make it look good with any blocks they want to use in their design.
