
'%20x='0'%20y='0'%20height='100%25'%20width='100%25'%20%0A%20%20%20%20%20%20%20%20%20%20xlink%3Ahref='data:image/jpg;base64,/9j/2wBDAAYEBQYFBAYGBQYHBwYIChAKCgkJChQODwwQFxQYGBcUFhYaHSUfGhsjHBYWICwgIyYnKSopGR8tMC0oMCUoKSj/2wBDAQcHBwoIChMKChMoGhYaKCgoKCgoKCgoKCgoKCgoKCgoKCgoKCgoKCgoKCgoKCgoKCgoKCgoKCgoKCgoKCgoKCj/wgARCAAGAAoDASIAAhEBAxEB/8QAFAABAAAAAAAAAAAAAAAAAAAABf/aAAgBAQAAAABhf//EABQBAQAAAAAAAAAAAAAAAAAAAAT/2gAIAQIQAAAAL//EABQBAQAAAAAAAAAAAAAAAAAAAAP/2gAIAQMQAAAAP//EACEQAAICAQIHAAAAAAAAAAAAAAECAwQFAAYREiEiMTNS/9oACAEBAAE/AIrG7swbhO57tdzEfXJ2Mzn55ei8NY7I7khx9WKS1UldIlVncMSxA8nX/8QAGREAAQUAAAAAAAAAAAAAAAAAAAECAxIh/9oACAECAQE/AJUs7T//xAAYEQACAwAAAAAAAAAAAAAAAAABAwAEEf/aAAgBAwEBPwCswlY2f//Z'%3E%3C/image%3E%3C/svg%3E)
Modding is quite common in Minecraft. Mods make the game more enjoyable, sometimes adding new mobs, items and weapons to the game or changing the game’s mechanics.
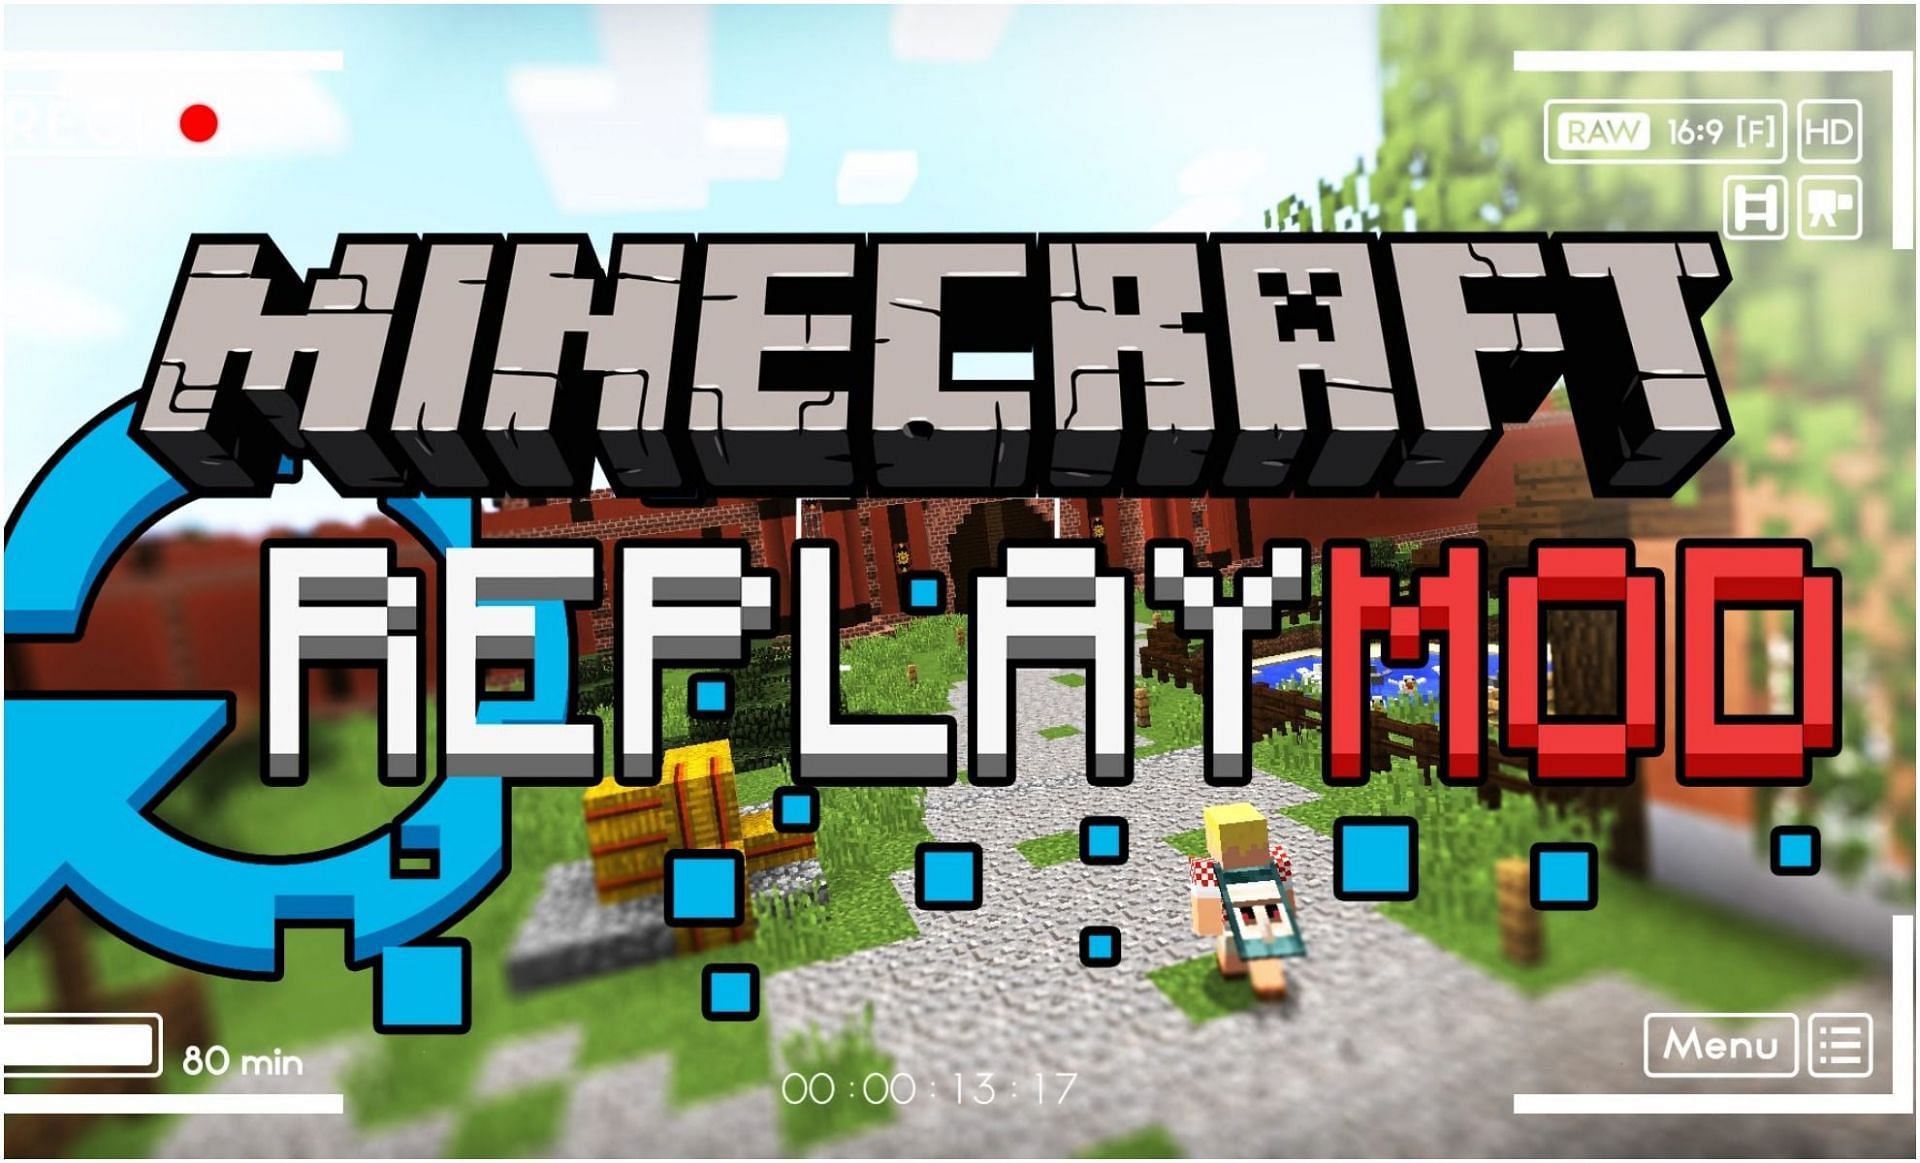
While most mods improve existing features or add new mechanics to the game, some mods serve as tools for players to document and customize their Minecraft experience. The replay mod is one such mod. In this article, players can learn everything they need to know about the replay mod in Minecraft.

Replay mod in Minecraft: Everything players need to know
The replay mod serves as an editing tool for Minecraft. It lets players record and edit their Minecraft experience. It also allows them to add exciting and amusing features to these clips, like zooming, panning, letterboxes, etc. It includes many distinct settings, which control all aspects of a recorded clip, from bitrate to resolution. Players can also freely move the camera to view and record from any angle necessary.
The Replay mod works like any other editing software. Once a clip has been edited, it needs to be rendered for the player to use in videos, montages, or a standalone clip to upload on YouTube.
Basic usage
Opening up the replay mod, players are greeted with two bars at the top of their screens. The one on top is for the speed of the video, and the one below is the timeline for the video. The initial screen includes options to move the video forward or backward, take small clips from within the video by setting keyframes, and add effects like zooming in while rotating.

Tip: The player/editor’s game field of view is recommended to be lowered to help with rendering. Also, players using shaders are advised to disable them while editing with the replay mod.
Keybinds
Using this mod, players can set up custom keybinds for different features and effects of the mod. For example, the default keybind for rotating the screen is ‘L.’ Therefore, pressing L rotates the screen. This can be done with every other effect in the game.
Shaders
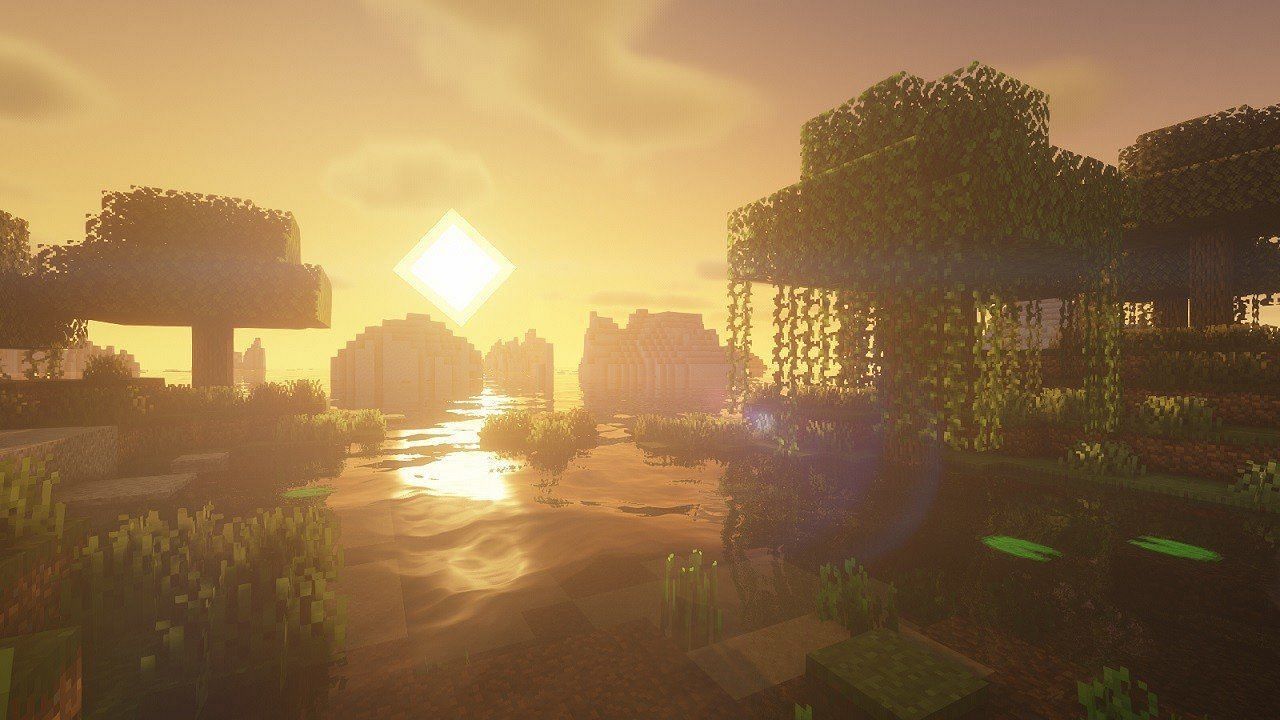
Once the player has finished editing their clip, they can choose whether they want to add shaders or not. Shaders make the game look great. Therefore, if the player’s PC can handle it, adding shaders for a beautiful clip is advisable. Shaders can be chosen from the “Shaders” option in Video settings.
Rendering
Once the editing and application of the shader is complete, the clip is ready to be rendered. On this screen, players can change and customize various options for their clip, like its bitrate, resolution, encoding, framerate, etc. Clicking the “Render” button will start the rendering process, and after a short preview, the rendered clip will be saved in the “Replay videos” folder.
The replay mod is a highly effective tool for Minecraft that can help players relive, record, modify, edit, and share their treasured Minecraft memories with other people. It is easy to navigate and convenient to use.
