

'%20x='0'%20y='0'%20height='100%25'%20width='100%25'%20%0A%20%20%20%20%20%20%20%20%20%20xlink%3Ahref='data:image/jpg;base64,/9j/2wBDAAYEBQYFBAYGBQYHBwYIChAKCgkJChQODwwQFxQYGBcUFhYaHSUfGhsjHBYWICwgIyYnKSopGR8tMC0oMCUoKSj/2wBDAQcHBwoIChMKChMoGhYaKCgoKCgoKCgoKCgoKCgoKCgoKCgoKCgoKCgoKCgoKCgoKCgoKCgoKCgoKCgoKCgoKCj/wgARCAAGAAoDASIAAhEBAxEB/8QAFQABAQAAAAAAAAAAAAAAAAAABQf/2gAIAQEAAAAAgSX/xAAUAQEAAAAAAAAAAAAAAAAAAAAC/9oACAECEAAAAB//xAAUAQEAAAAAAAAAAAAAAAAAAAAD/9oACAEDEAAAAE//xAAcEAEAAQUBAQAAAAAAAAAAAAACAwABBBEhMTL/2gAIAQEAAT8AwMlhzQStyP5sl32pMXUisFo75X//xAAWEQEBAQAAAAAAAAAAAAAAAAABACL/2gAIAQIBAT8AXV//xAAXEQEAAwAAAAAAAAAAAAAAAAABABES/9oACAEDAQE/AKMk/9k='%3E%3C/image%3E%3C/svg%3E)
Minecraft 1.19 The Wild Update added many new and exciting features, despite its controversies surrounding fireflies and revamped birch forests. These updates include but are not limited to mangrove swamps, the allay, mud blocks, frogs, frog lights, and ancient cities.
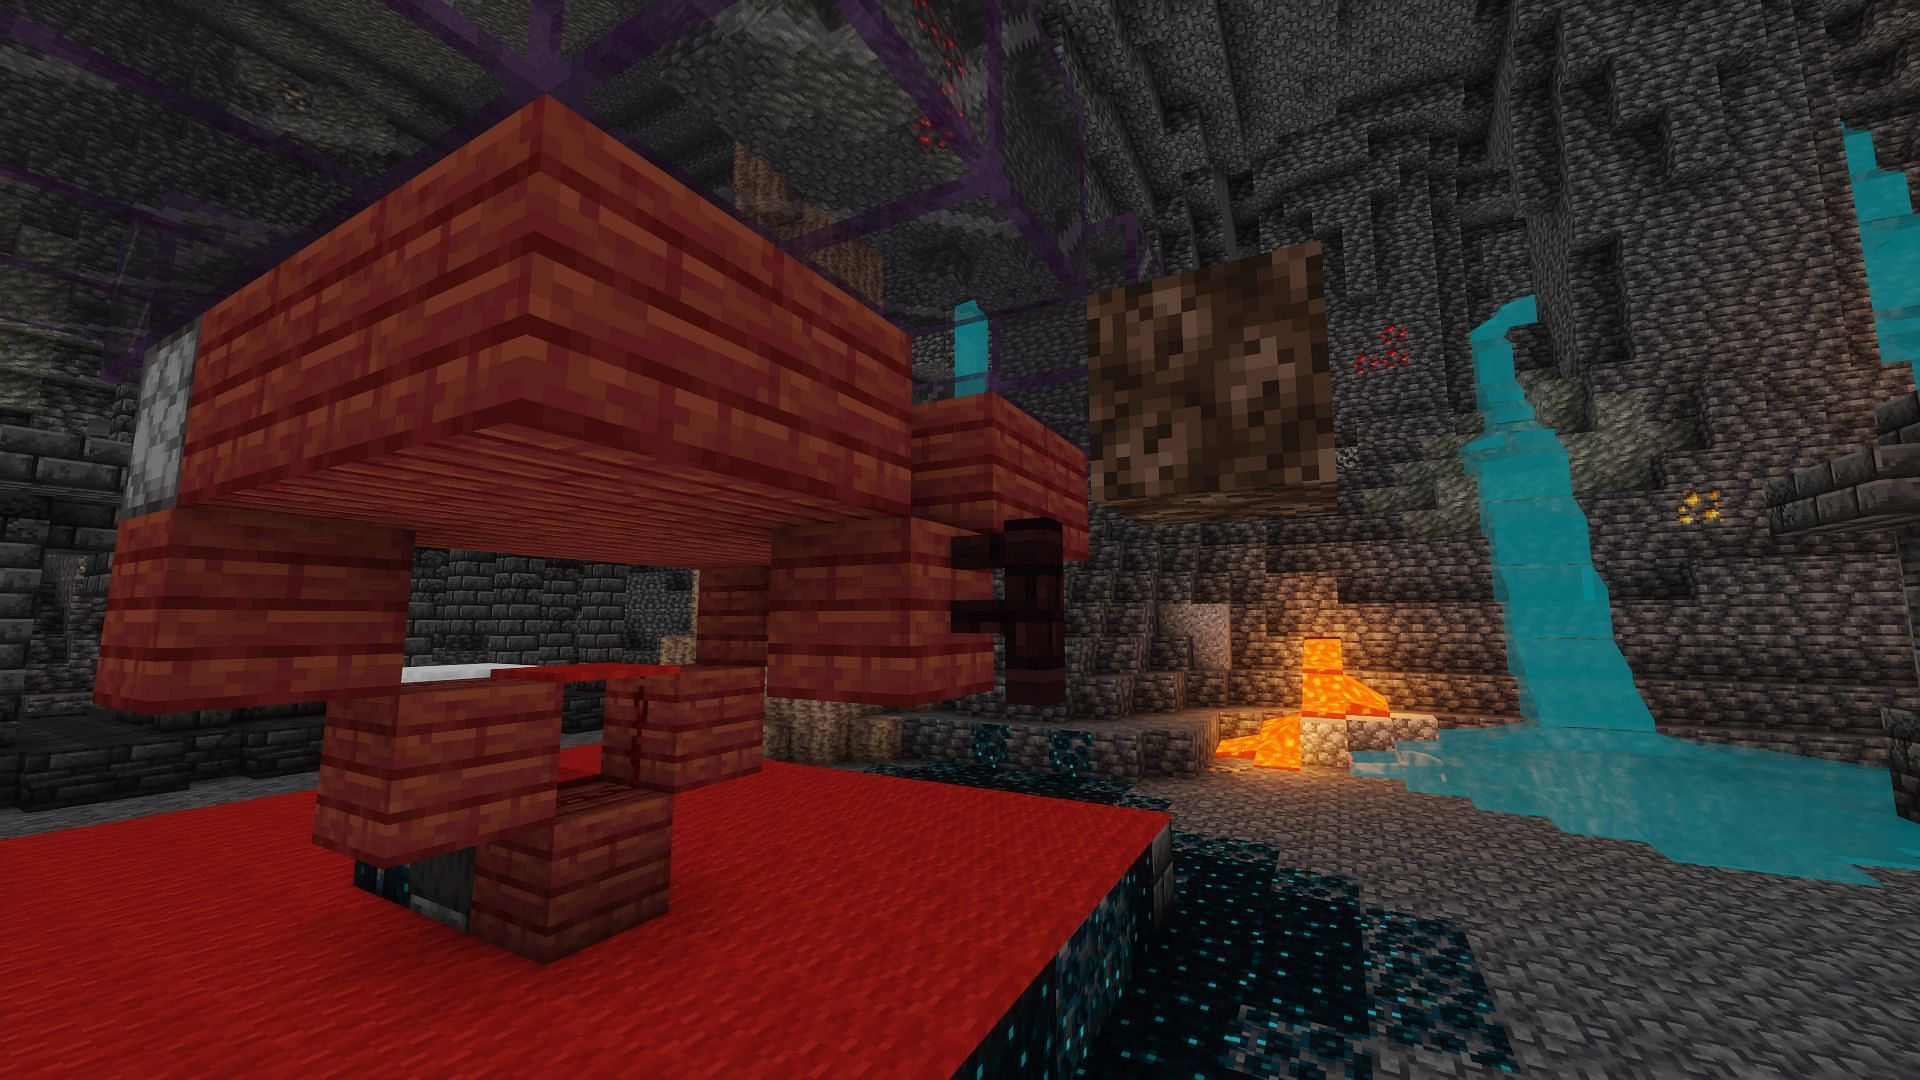
However, the most exciting addition from 1.19 is the Warden. This force of nature is designed to be so difficult to kill that Minecraft players have to avoid it.
While this mob does not have a unique drop, it does drop sculk catalysts, which can be used to spread sculk. However, despite the power of the Warden, users have figured out multiple ways to farm it, with the simplest Java method detailed below.

Simple warden farm for Minecraft Java 1.19
Prep work and materials
The Warden can only be spawned by naturally generated Sculk Shriekers. Even if gamers use silk touch to collect one and then replace it exactly where it spawned, it will lose the ability to summon a Warden.
This means that players have a bit of prep work to do before they can build a Warden farm.
The first thing needed is finding a deep dark biome that contains the requisite sculk shrieker. Once they find a suitable spot to build the farm, users should surround the sculk shrieker they will build around with wool so that it is not activated while they build.
Then, gamers should cover or break all other nearby sculk shriekers, along with all sculk sensors, to ensure they can build in total peace.
Lastly, Minecraft players should check underneath the sculk shrieker for caves and fill in anything they find for a few blocks. This should ensure that the Warden cannot spawn in the area below, outside the farm.
They will need two dispensers, three redstone, one observer, one hopper, at least one chest, around a stack of temporary blocks, at least three stacks of solid blocks, and half a stack of carpet just to be on the safe side.
Building farm itself

Step 1: The first thing users should do is create an 11 by 11 square carpet surrounding the sculk shrieker. This will spawn proof the floor and cause the Wardens to generate in the farm. It is easily done by placing five carpets in each direction out from the shrieker and then filling in the square.
Step 2: Next, gamers must pick a side of the shrieker to break the adjacent two carpets. Then they need to place an observer facing the shrieker, with a solid block behind it.

Step 3: Players should add two more solid blocks to the left and right of the block behind the observer. They have to be floating above the carpet. Users must continue the V shape by placing another block diagonally above these two blocks, using a temporary block to place them.
Step 4: They can place a redstone atop the solid block behind the observer and a redstone block on top of each of the adjacent diagonal blocks.
Step 5: Gamers must place a carpet on top of the observer and the redstone behind the observer. This will spawn proof the two blocks.

Step 6: Place an upwards-facing dispenser on top of the two highest blocks in the V shape.
Step 7: Using the two dispensers as the corner of the longer side, build a five-by-four platform. Leave a one-block gap on the opposite long side, in the middle of the side.
Step 8: Build up a wall around the platform. Use a temporary block to avoid having the edges be filled, and use another temporary block to avoid filling in the corners of the walls. Leave a gap in the wall in the same place as the platform.
Step 9: Using a temporary block, place a solid block beneath the gap in the platform and then put a fence on this solid block.
Step 10: Using temporary blocks, place a soul sand diagonally above the newly placed fence, and then build the walls down to meet the top of the fence near the gap.
Step 11: Spawn proof the tops of the walls with carpet. This will keep Wardens from spawning in an area they cannot be pushed by water.

Step 12: Use a temporary block to place a fence gate in the gap in the wall. Then, place a fence gate on top of this first fence gate, and top this fence gate tower with a third and final fence gate. Open all of these fence gates.
Step 13: Using temporary blocks, build up a small tube of solid blocks around the soul sand. There should be six blocks in total, each side being two blocks tall. The final layer of this tube is different. Players need to build up the left and right sides one more block.
Then create a second smaller cubby of solid blocks around the outer block. Then build up the fourth layer like the original two layers, and place a block on the top fence gate.
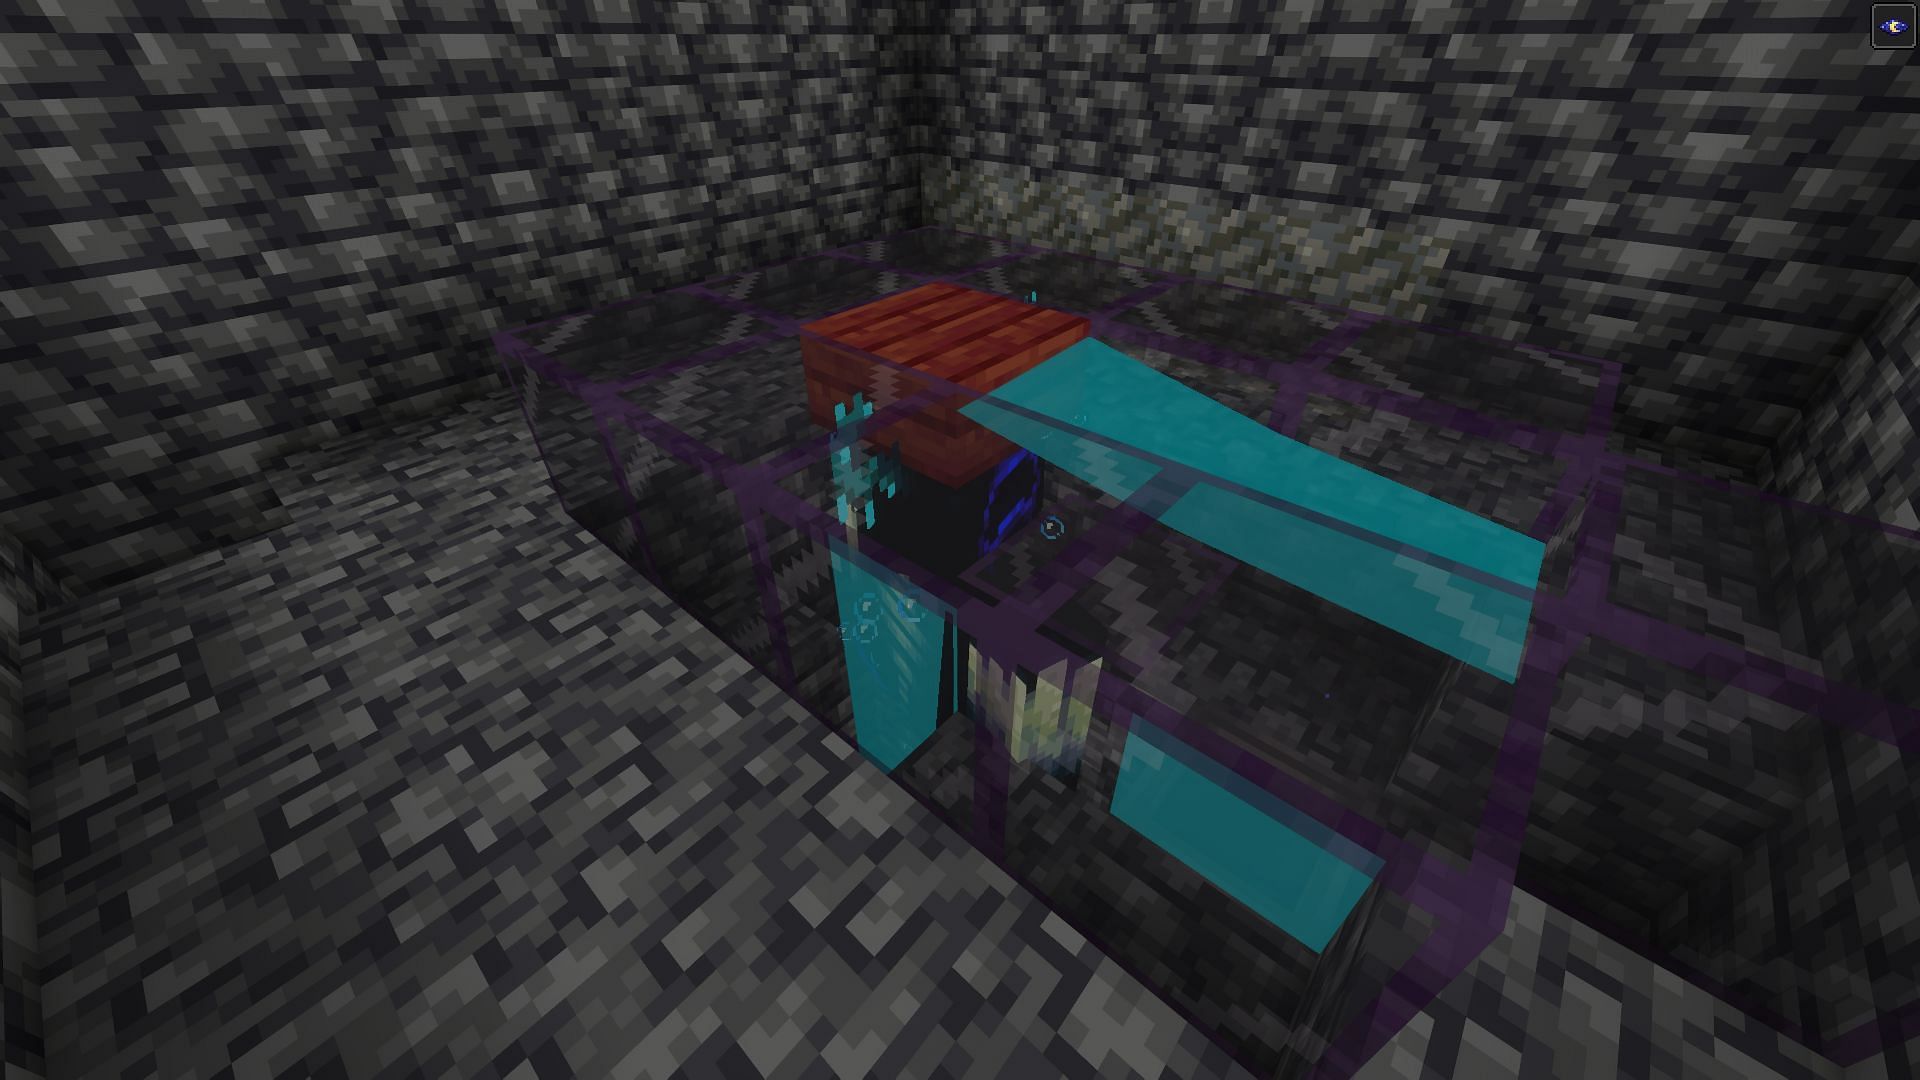
Step 14: Now that there is the shell of a tube, build it up 20 blocks from the last placed layer. Once at the top, add another slightly larger layer. This includes using a chest and hopper as part of the floor. See the image above for how this top layer needs to be constructed.
Step 15: Place a temporary block inside the top of the tube and a water source block on it. Then break the temporary block and swim down.
Step 16: Once at the bottom, begin placing kelp, swimming back up to convert the water into source blocks. Then break the kelp after reaching the top. This will turn the tube into a water elevator.
Step 17: Place a slab on the top half of the source block on the top of the tube, waterlogging it, but still causing water to flow onto the top of the hopper.
Step 18: Cover the blocks at the bottom of the tube with carpet to prevent spawns. Then place water source blocks on top of the two dispensers. Place empty buckets into the dispensers. Then add ladders along the tube so the chest above can be accessed.
This Minecraft farm is done. Break the wool and stand atop the shrieker to cause wardens to spawn. Turn the farm off by replacing the wool on top of the shrieker. The wool on the sides of the shrieker does not matter and does not need to be replaced.
Note: This article is subjective and reflects the author’s opinion.
