
'%20x='0'%20y='0'%20height='100%25'%20width='100%25'%20%0A%20%20%20%20%20%20%20%20%20%20xlink%3Ahref='data:image/jpg;base64,/9j/4AAQSkZJRgABAQAAAQABAAD/2wCEAAMDAwMDAwQEBAQFBQUFBQcHBgYHBwsICQgJCAsRCwwLCwwLEQ8SDw4PEg8bFRMTFRsfGhkaHyYiIiYwLTA+PlQBAwMDAwMDBAQEBAUFBQUFBwcGBgcHCwgJCAkICxELDAsLDAsRDxIPDg8SDxsVExMVGx8aGRofJiIiJjAtMD4+VP/AABEIAAUACgMBIgACEQEDEQH/xABiAAEBAQAAAAAAAAAAAAAAAAAABAgQAAICAQUBAQAAAAAAAAAAAAECAwQABQYREiExQQEBAQAAAAAAAAAAAAAAAAAABAURAAIBBAMBAAAAAAAAAAAAAAECAwAEESEFEhNB/9oADAMBAAIRAxEAPwDK2xtyavpyWKsNhlGpMY5JAzBwASQOefVH4Mlff12s7QtVSVoyUMjSv2cr52Pv04xkm7zJyDKzNjxVtMRvsR8pcLtHboE0Mmv/2Q=='%3E%3C/image%3E%3C/svg%3E)
Though Minecraft Java Edition can be downloaded and installed using Mojang's official launcher, the same can be achieved via custom launchers. These are frequently employed by people who dabble in mods as well as resource packs and want a program to easily manage these additional features. Fortunately, there is something called Technic Launcher, which particularly focuses on modpacks.
Since Minecraft is a sandbox game, it can be modified in any way possible. Hence, its highly active community has created thousands of mods. Over the years, people have even made modpacks, which are essentially hundreds of extensions that work together to create a completely new experience in Minecraft. With that in mind, here are a few simple steps to download the Technic Launcher and use it.

Steps to download and install Technic Launcher for Minecraft
1) Search for Technic Launcher
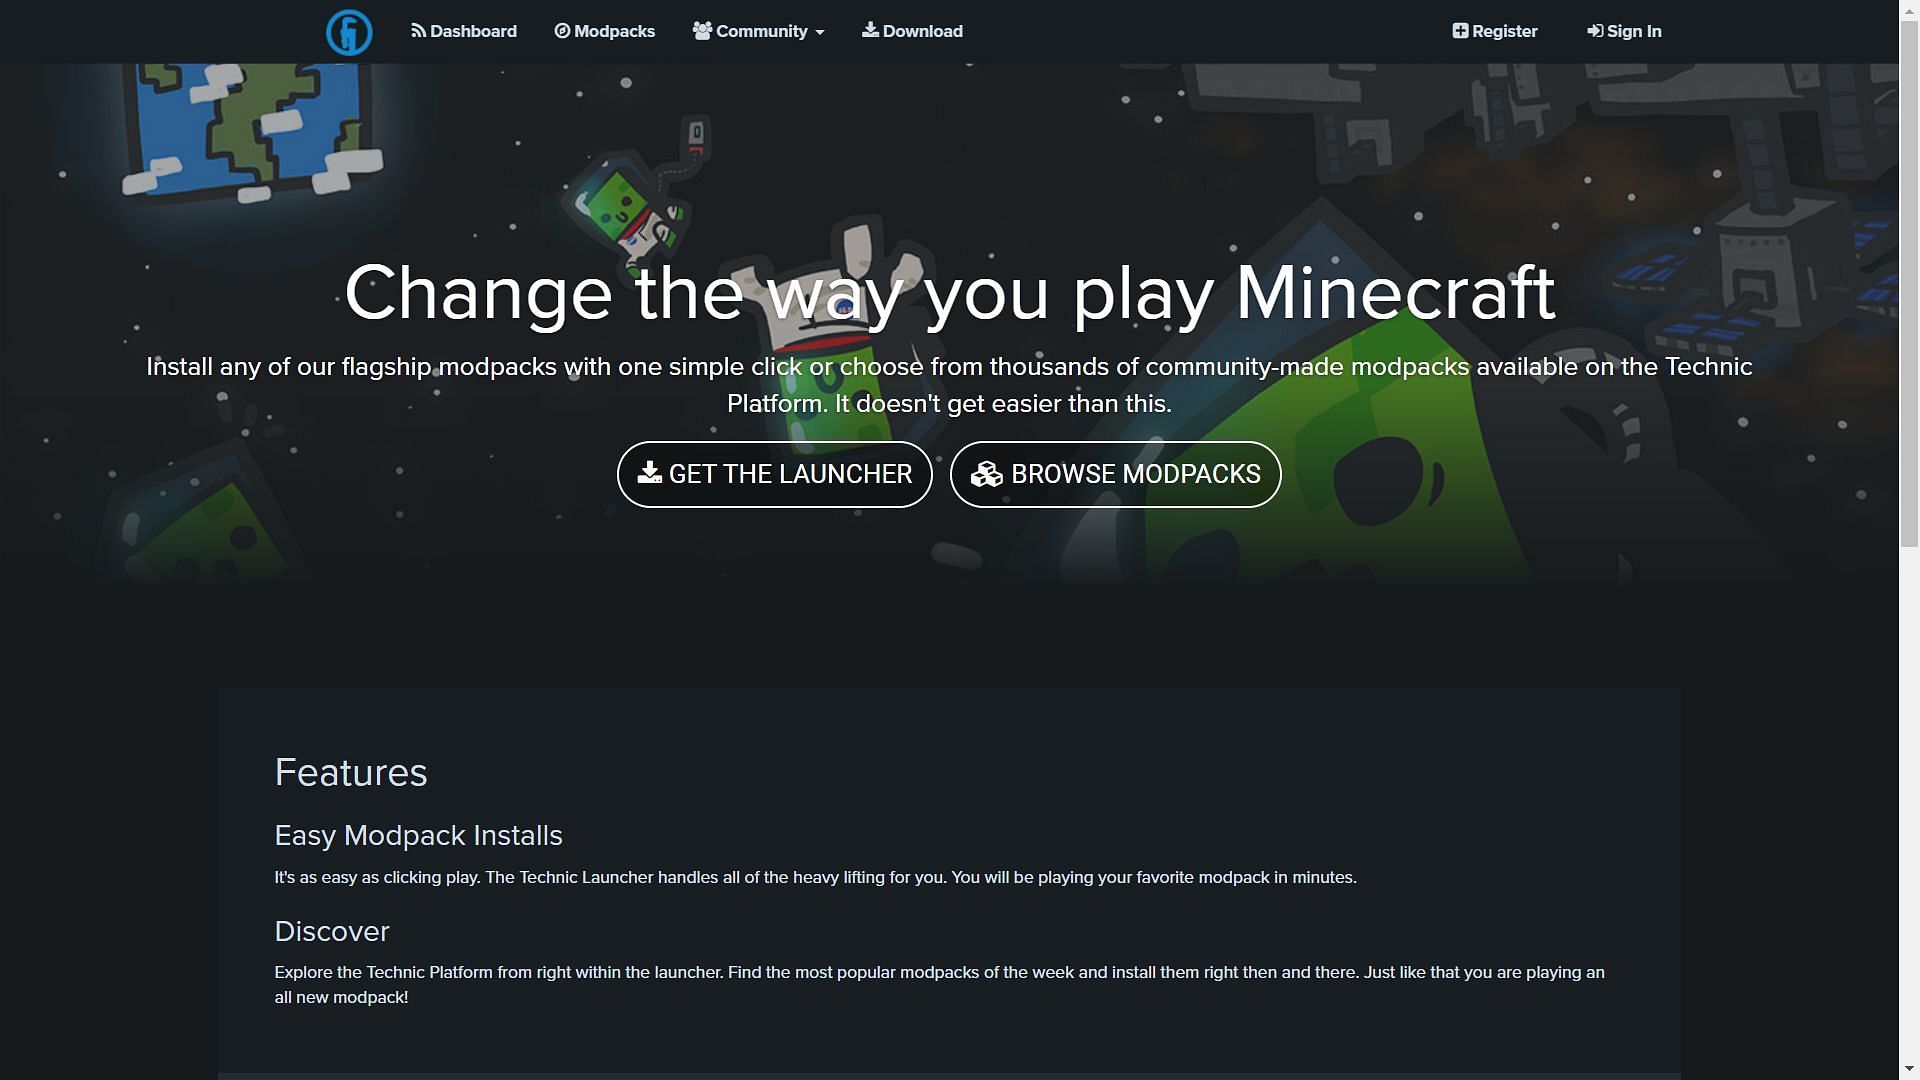
First, you can simply search for the launcher's name and the game together to find the official website of the former. Technic's website should look something like the picture provided above. Simply click on the Get the Launcher button.
The website will load for a while and open a screen similar to the one above. Scroll down to find the Download buttons for Windows, Linux, and macOS. Since the Java Edition is available on all three operating systems, Technic's launcher is also available for them.
2) Install the Technic Launcher
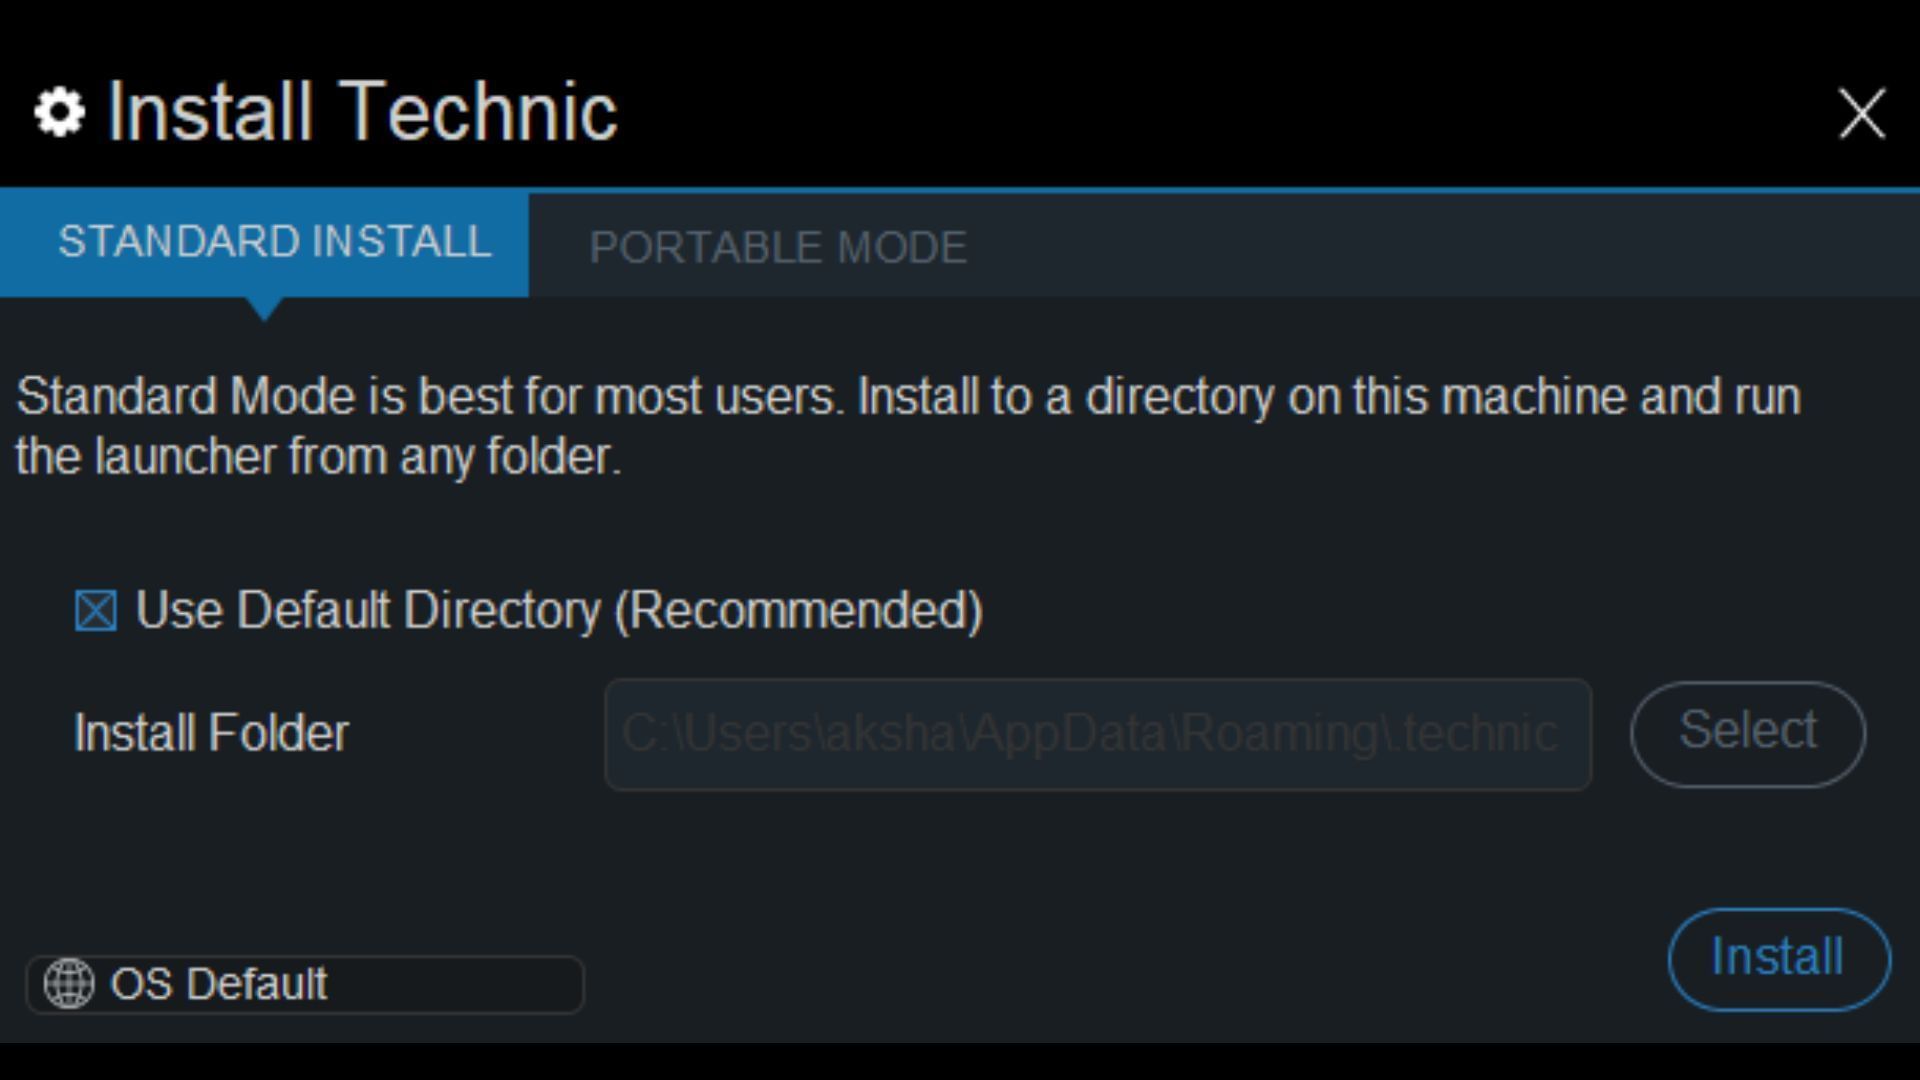
This process is simple enough. Simply open the downloaded file and hit Install. The software will automatically detect the game's folder and install itself inside the same. Though there is an option to opt for a custom installation, you must stick to the standard one's tab.
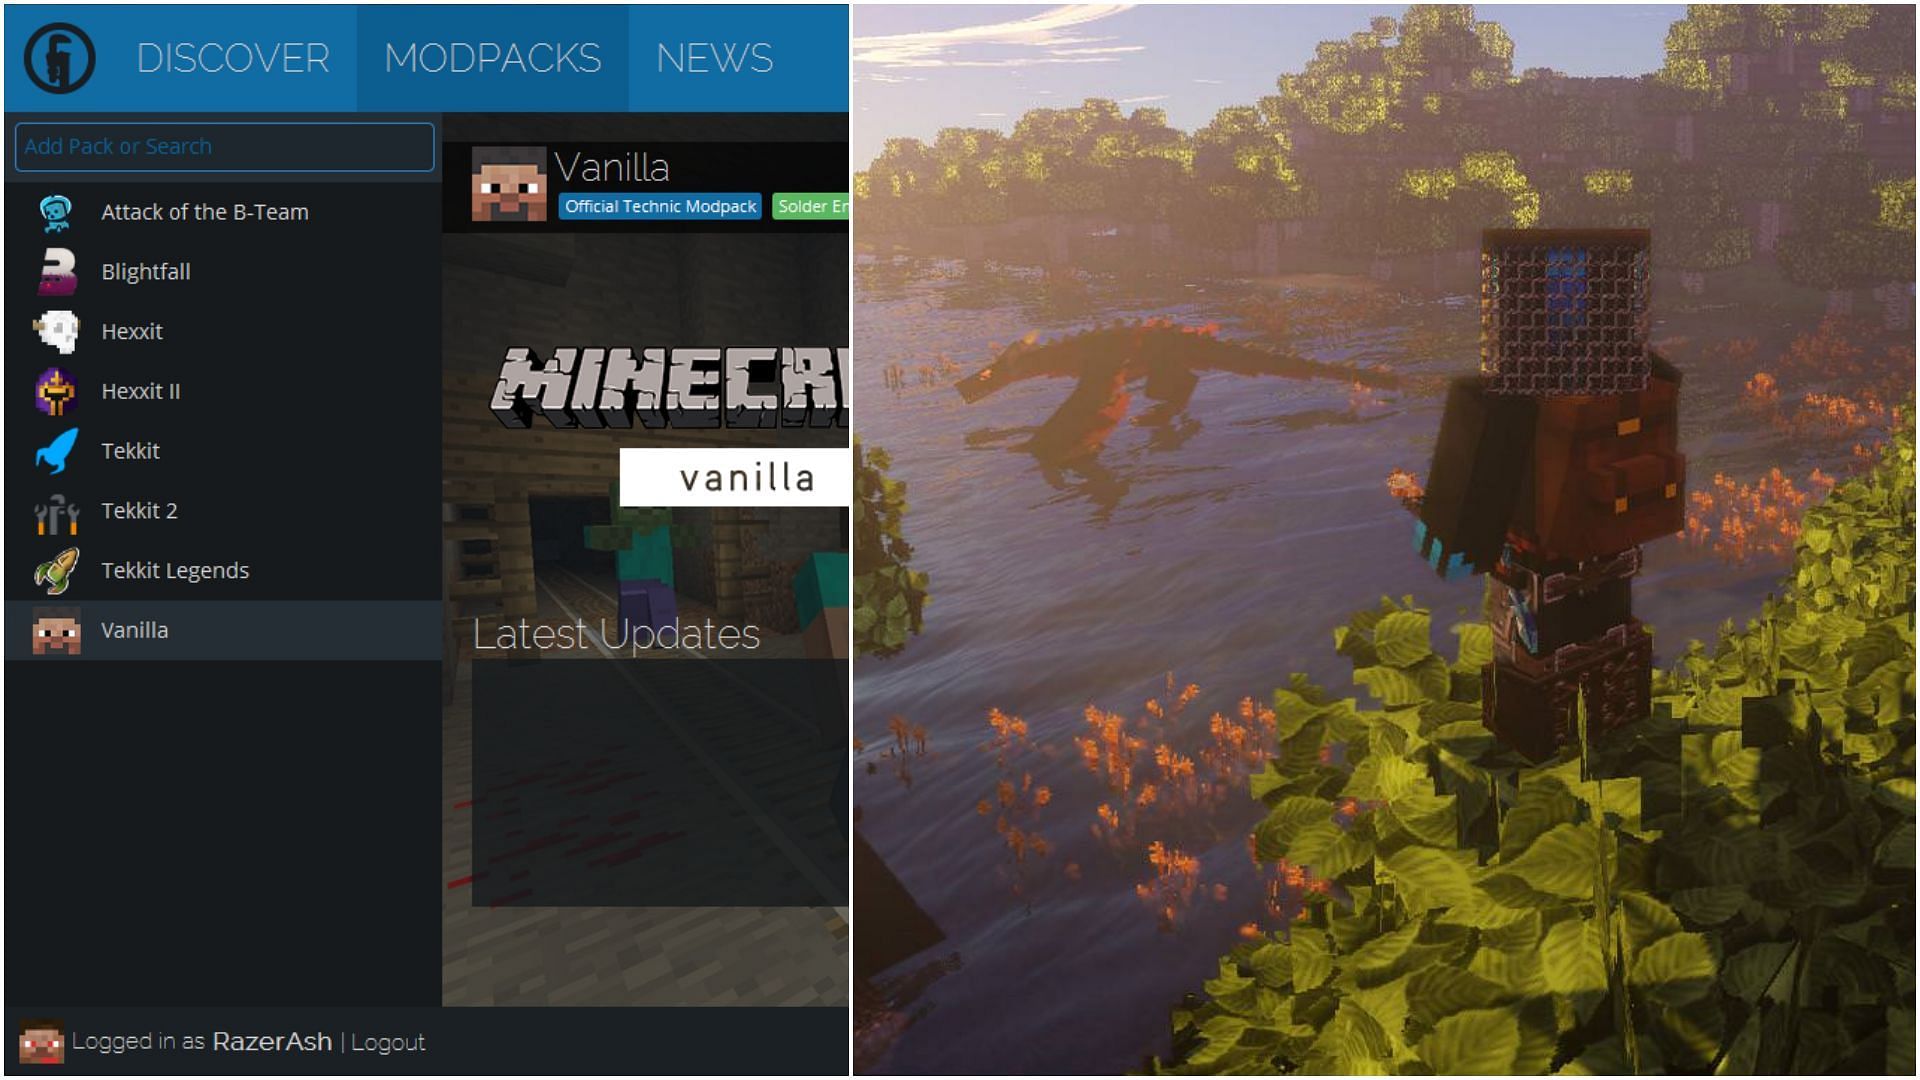
3) Explore modpacks or simply install vanilla version
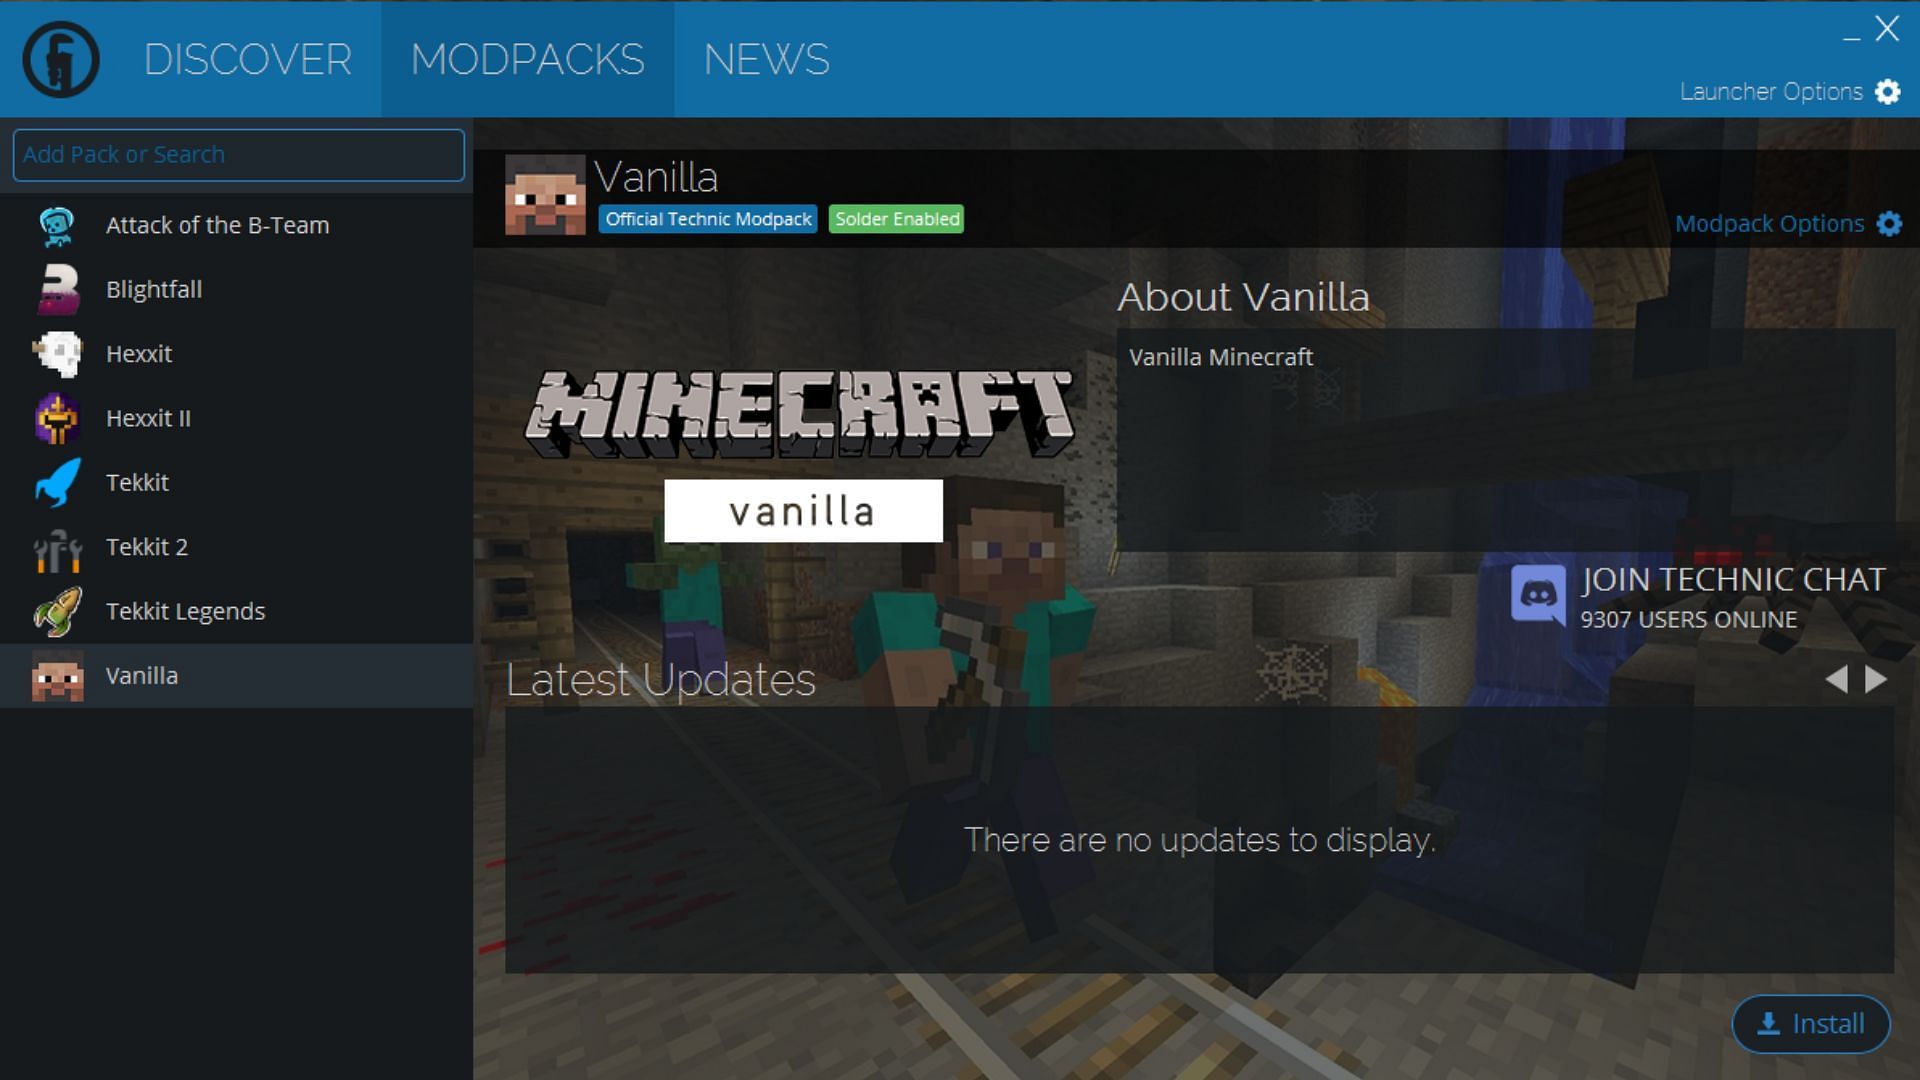
Once the launcher has been completely downloaded and installed, you will need to either log in to the program using your Microsoft account or your Mojang profile. Subsequently, the main launcher will open. From here, you can either search for and install any modpack that is available on the Technic program.
Installing modpacks through this launcher is extremely easy since players only have to press the Install button, and the offering will do all the rest itself. Of course, the time it takes to get such a pack ready for use will depend on how fast your internet and disk speeds are.
Before launching any modpack, however, you must always check the launch options located at the top-right corner of Technic's program. Here, you must increase or decrease the RAM usage under the Java settings tab. This is important since heavy modpacks like RLCraft will need much more RAM than regular ones. By default, the RAM allocated for such offerings is 1 GB, which is clearly not enough.
