
'%20x='0'%20y='0'%20height='100%25'%20width='100%25'%20%0A%20%20%20%20%20%20%20%20%20%20xlink%3Ahref='data:image/jpg;base64,/9j/2wBDAAYEBQYFBAYGBQYHBwYIChAKCgkJChQODwwQFxQYGBcUFhYaHSUfGhsjHBYWICwgIyYnKSopGR8tMC0oMCUoKSj/2wBDAQcHBwoIChMKChMoGhYaKCgoKCgoKCgoKCgoKCgoKCgoKCgoKCgoKCgoKCgoKCgoKCgoKCgoKCgoKCgoKCgoKCj/wgARCAAGAAoDASIAAhEBAxEB/8QAFQABAQAAAAAAAAAAAAAAAAAABAf/2gAIAQEAAAAAjw//xAAUAQEAAAAAAAAAAAAAAAAAAAAF/9oACAECEAAAADv/xAAUAQEAAAAAAAAAAAAAAAAAAAAF/9oACAEDEAAAAF//xAAfEAACAgEEAwAAAAAAAAAAAAABAgMEAAURITESFCL/2gAIAQEAAT8Al0+KxVhe/ZsvIwDkRBVHI63z0PHhLEwUdfWf/8QAFxEBAQEBAAAAAAAAAAAAAAAAAQIAA//aAAgBAgEBPwCe10qu/8QAGBEBAAMBAAAAAAAAAAAAAAAAAQACAxH/2gAIAQMBAT8AthmBwn//2Q=='%3E%3C/image%3E%3C/svg%3E)
Smelting items is one of the most important parts of Minecraft. Players need to smelt down iron and gold to make components for many of the game’s farms. Some of these vital components are things like powered rails and hoppers, which are ironically used in the construction of the super smelter.
However, manually smelting items by filling up furnaces one at a time can be quite monotonous and annoying. This is where super smelters, or systems that automatically fill a row of furnaces with both items to smelt and fuel, can prove to be quite convenient.

How to make a simple, super smelter in Minecraft
Materials
This design of this super smelter is almost as simple as it gets. A handful of materials, including a lot of iron, will be needed, making this more of a farm for the mid-game.
The full list of materials needed is:
- 48 hoppers
- 36 powered rails
- 16 furnaces
- 13 building blocks
- 5 chests
- 4 rails
- 3 levers
- 2 minecart hoppers.
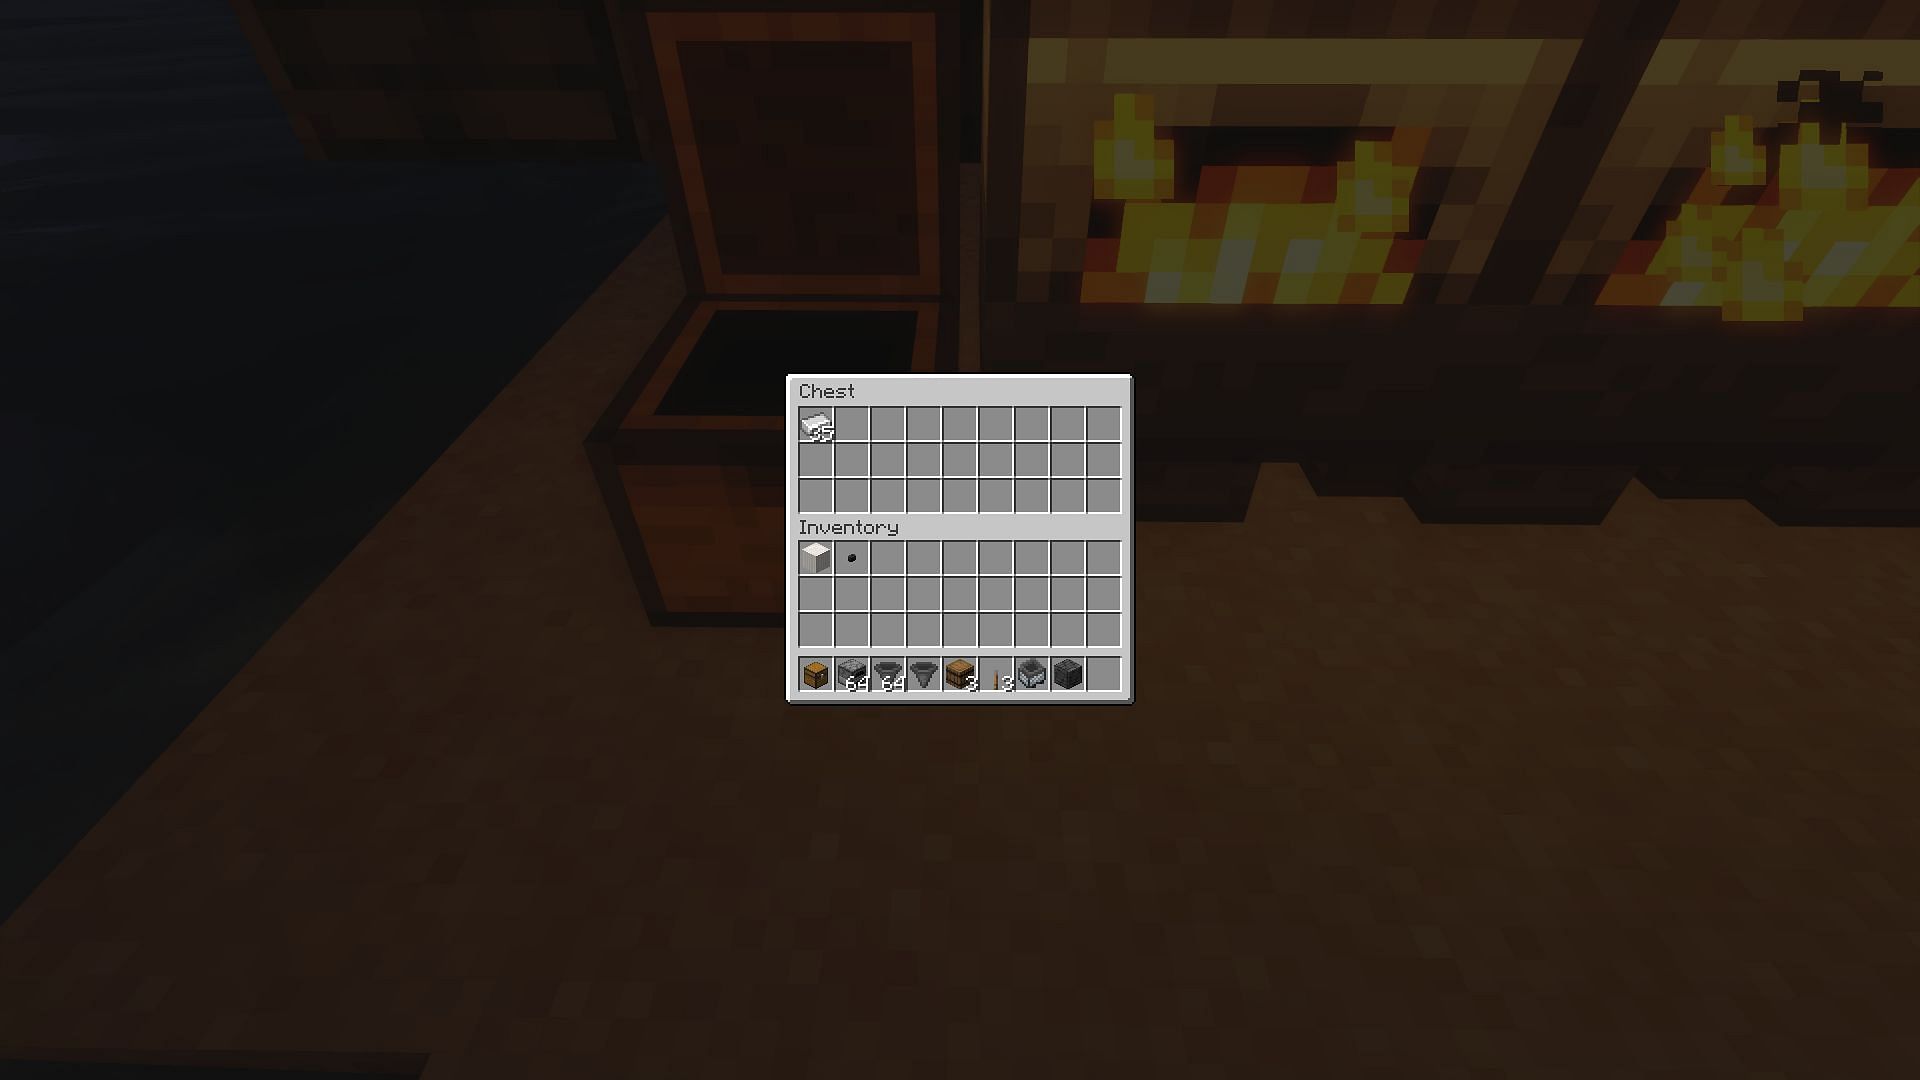
1) Output chest
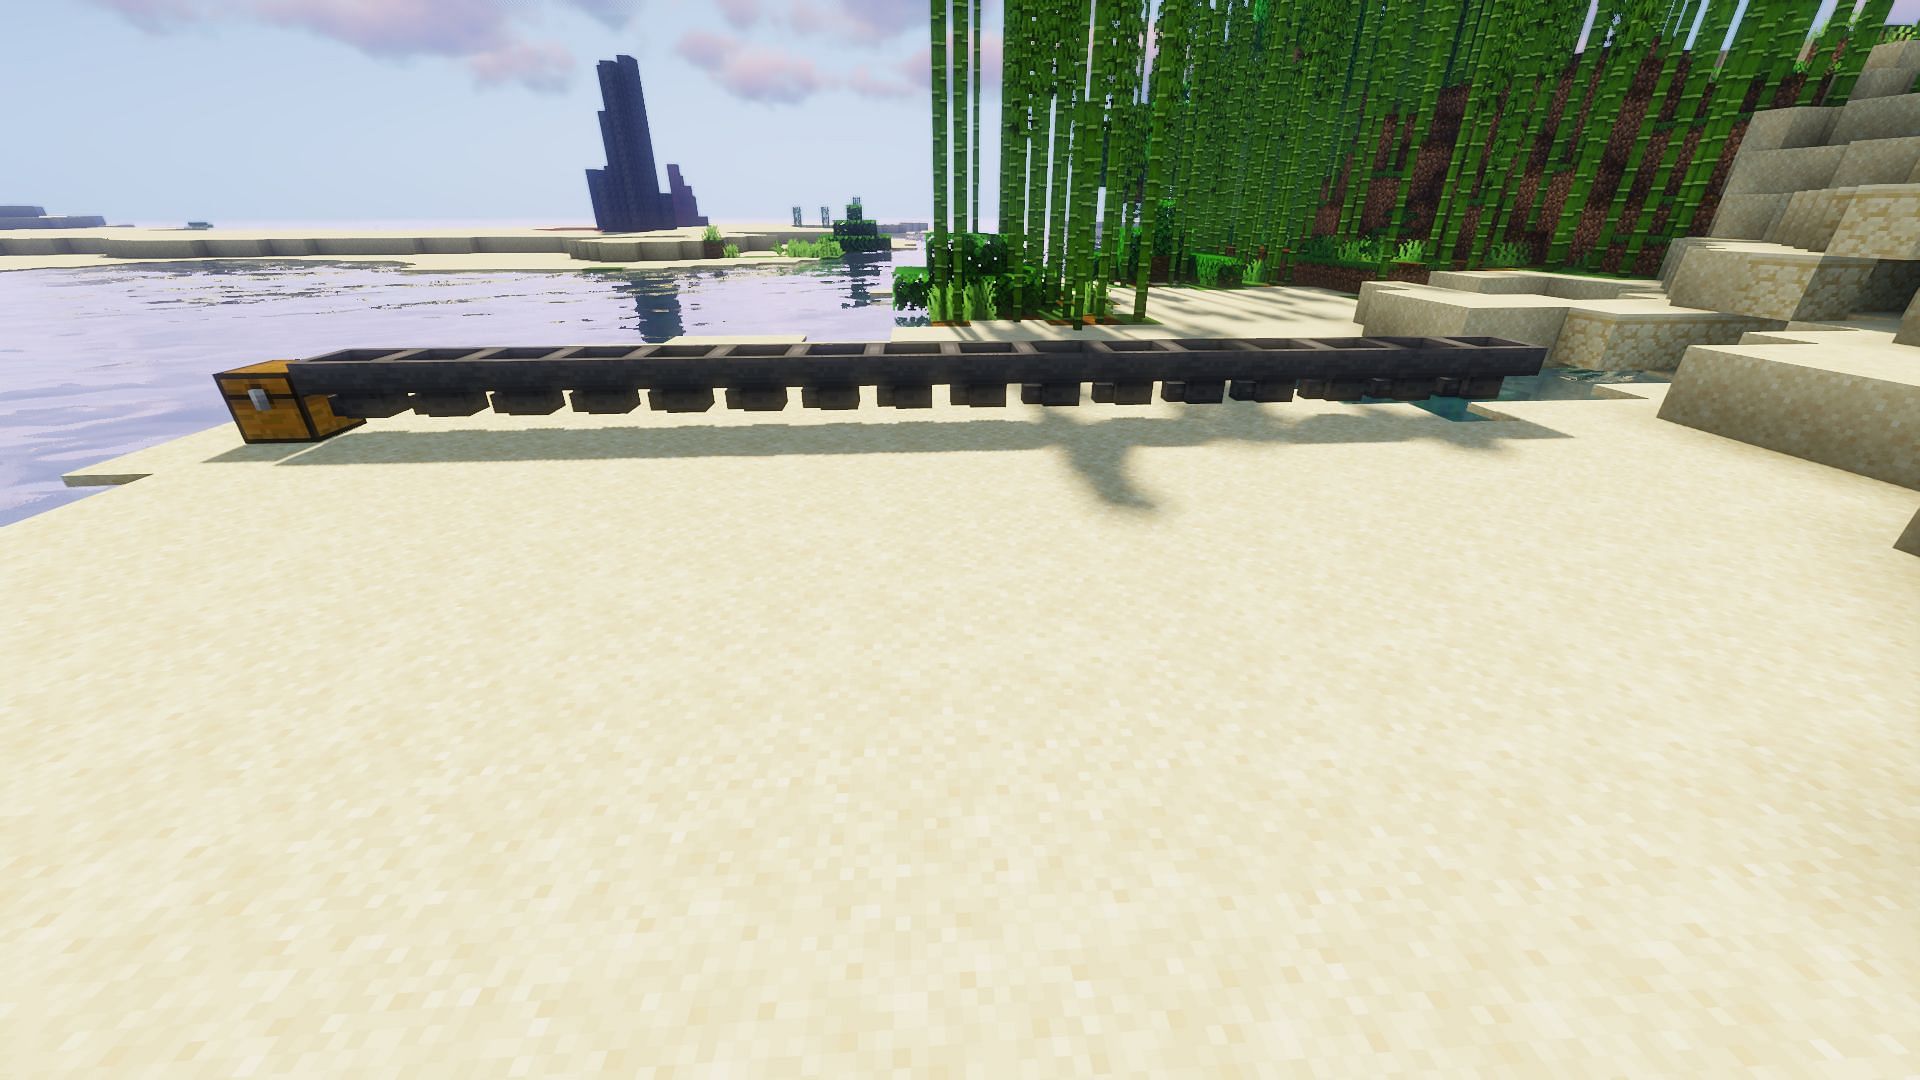
The first thing to do is make the output system. This is done by placing a single or double chest and then adding a row of hoppers that are 16 blocks long, all connected in a row and flowing into one another.
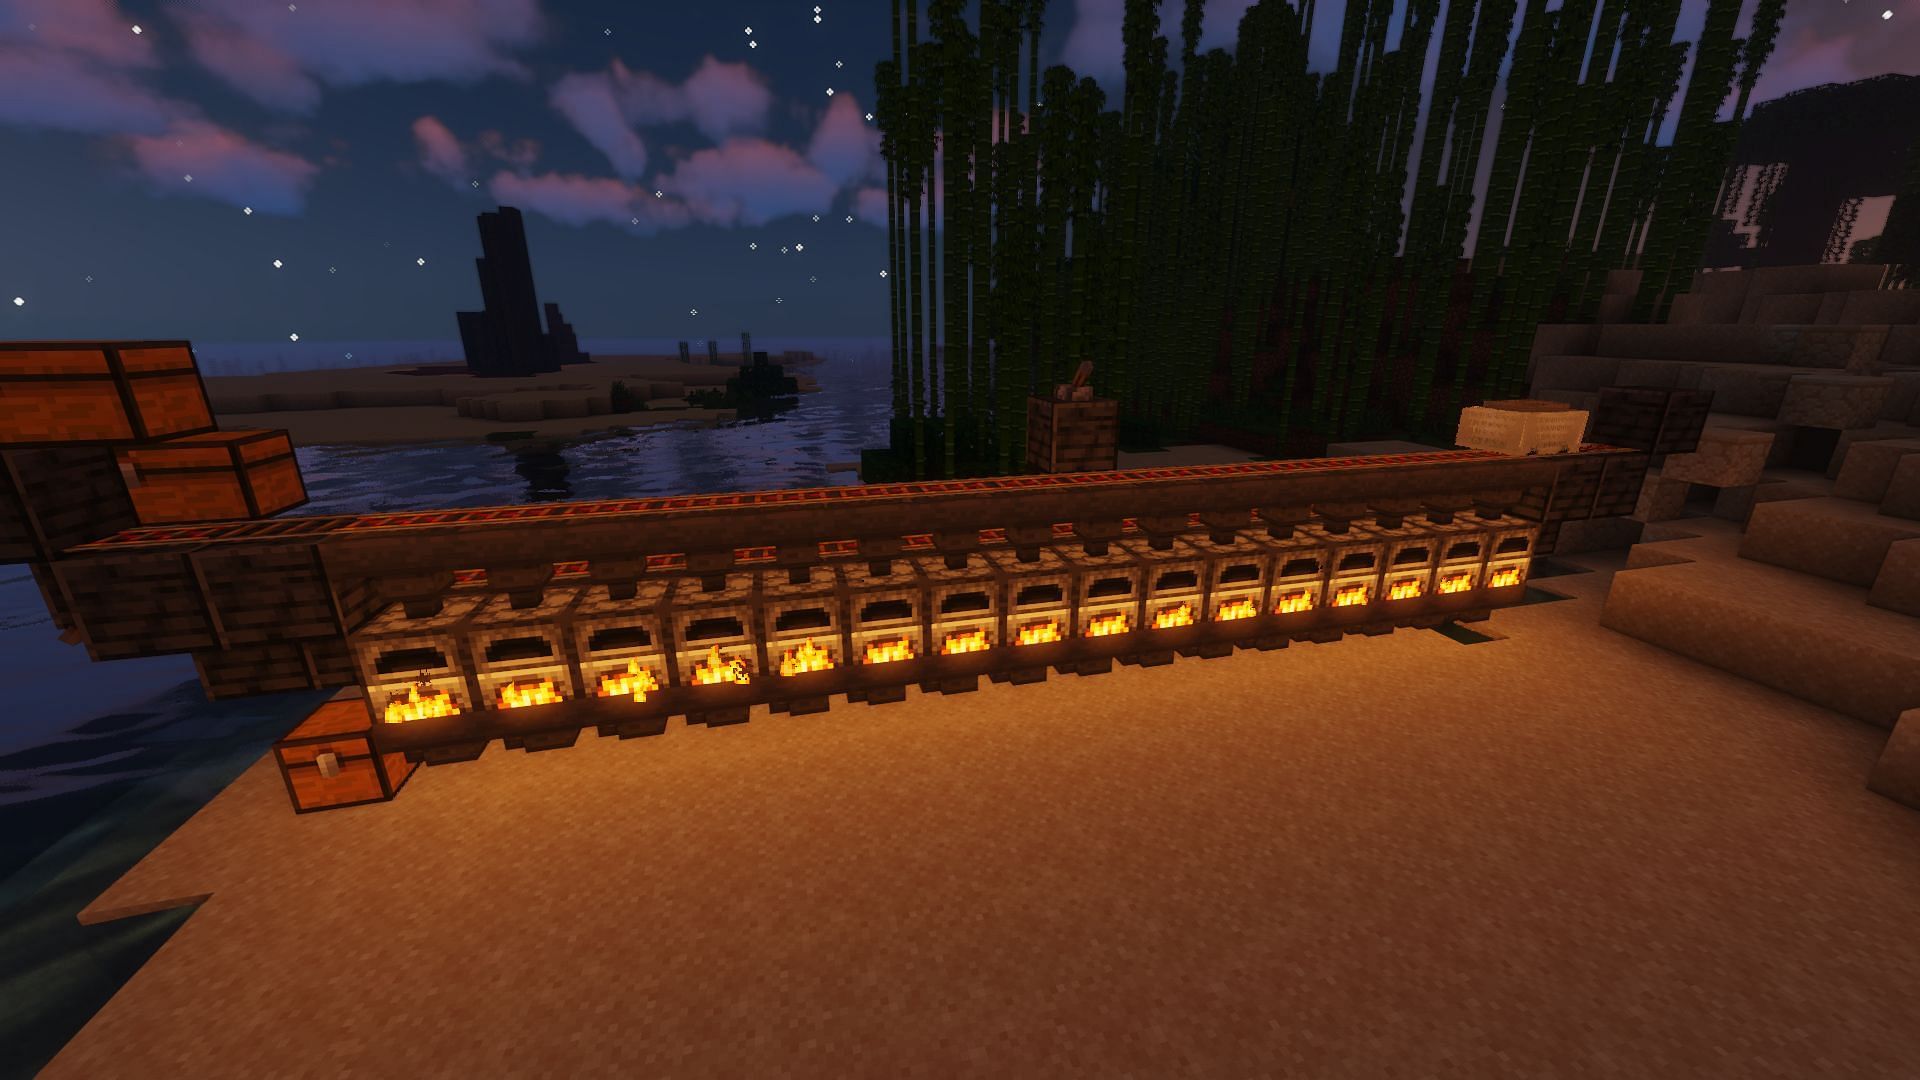
2) Furnaces
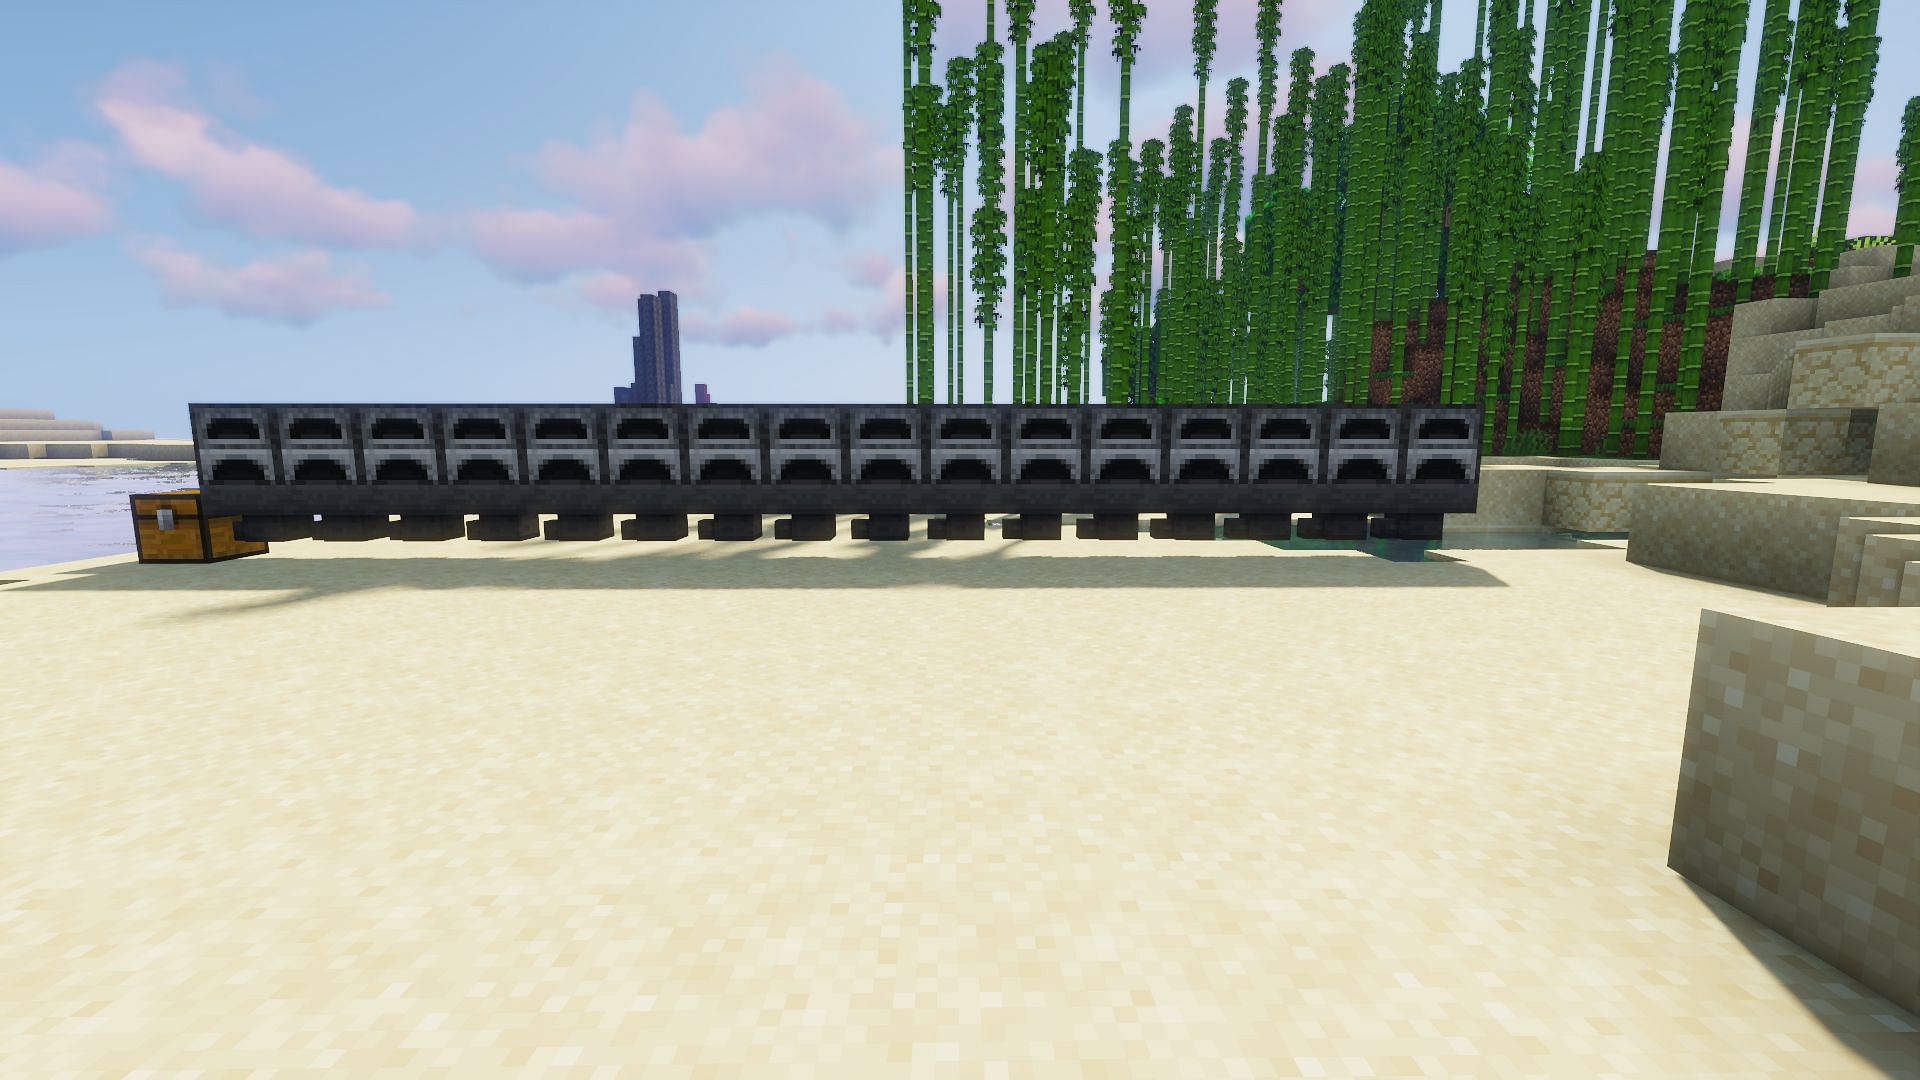
Now that the row of output hoppers has been placed and connected to the final output chest, a furnace must be placed on top of each hopper. Any smelted items from these furnaces will move down into the hoppers and then be transferred through the hopper chain into the output chest.
3) Input Hoppers
Now that the output system and furnaces have been added, the hoppers that will place items into the furnace to either smelt or be used as fuel need to be added. Place a hopper on top of each furnace flowing down into it, with a hopper behind each furnace moving into it.
4) Add railway corners
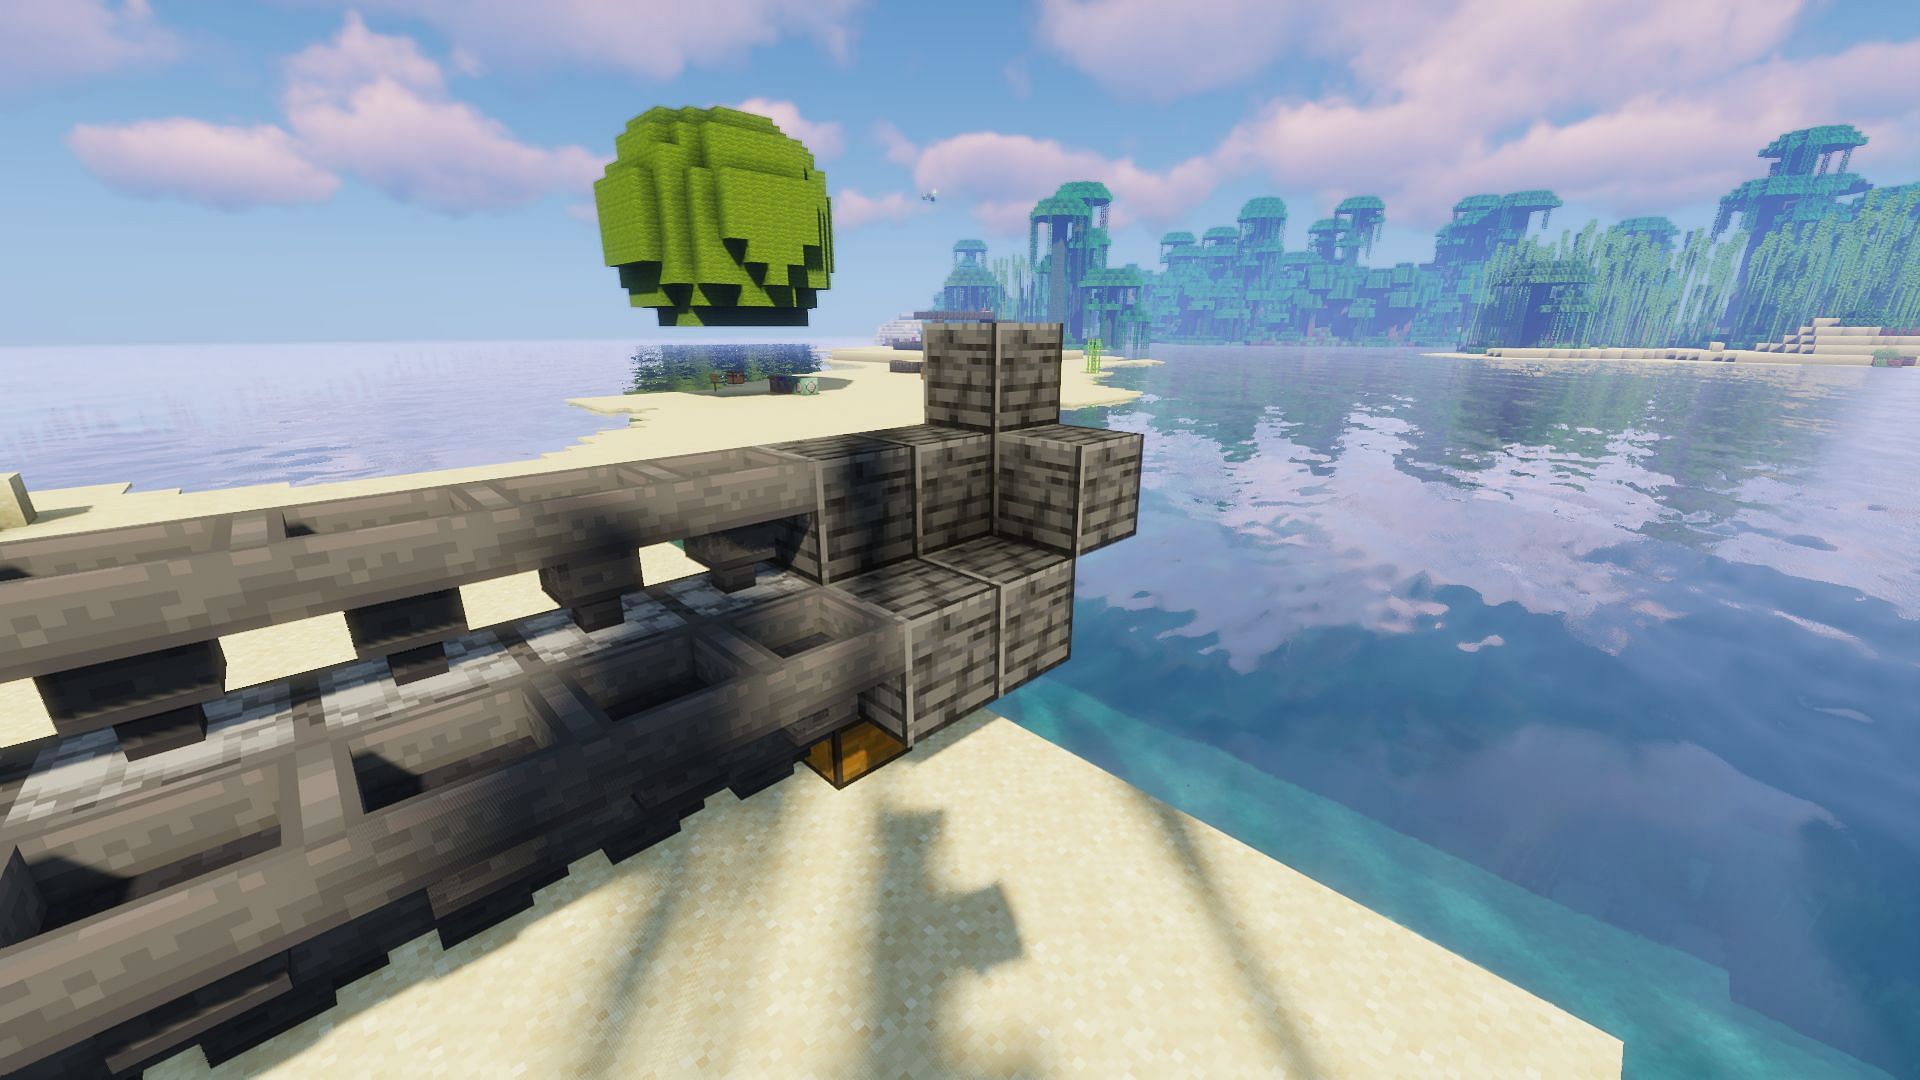
Now the solid block corners that will cause the minecart hoppers to move back and forth need to be created. At the end of each of the input hopper rows, place three blocks, with a fourth one on top of the last block, creating an L shape. Then break the corner blocks. This should use 12 blocks total after the corners have been broken.
5) Rails
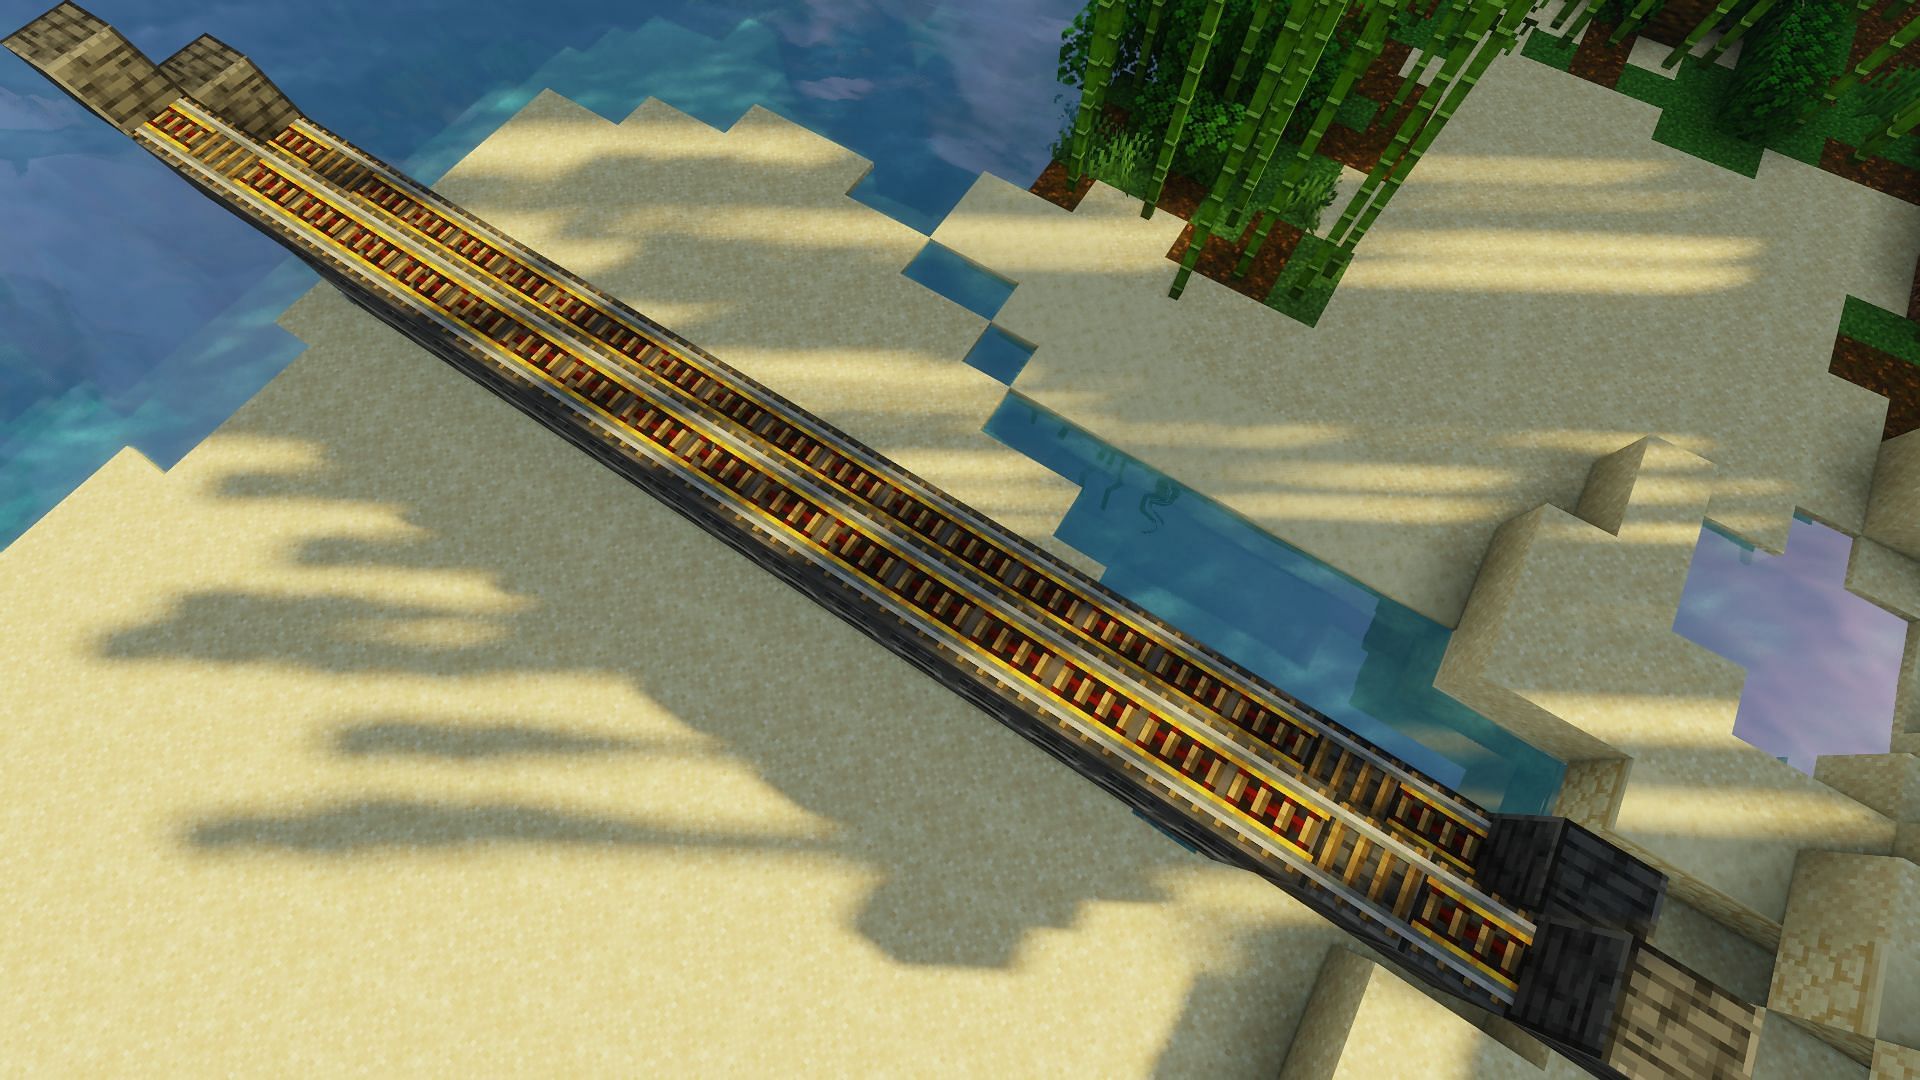
The rails that the minecarts will move on must now be added. These two chains look identical to each other. Each rail consists of powered rails against the edge of each L, followed by a normal rail that leads into powered rails all the way down, connecting the regular rails.
6) Railway inputs

On the side of the super smelter that is closest to the output chest, place double chests overhanding the L corners above the railway lines. The minecart hoppers will collect items from these chests when moving underneath them, passing fuel and items into the furnaces to burn.
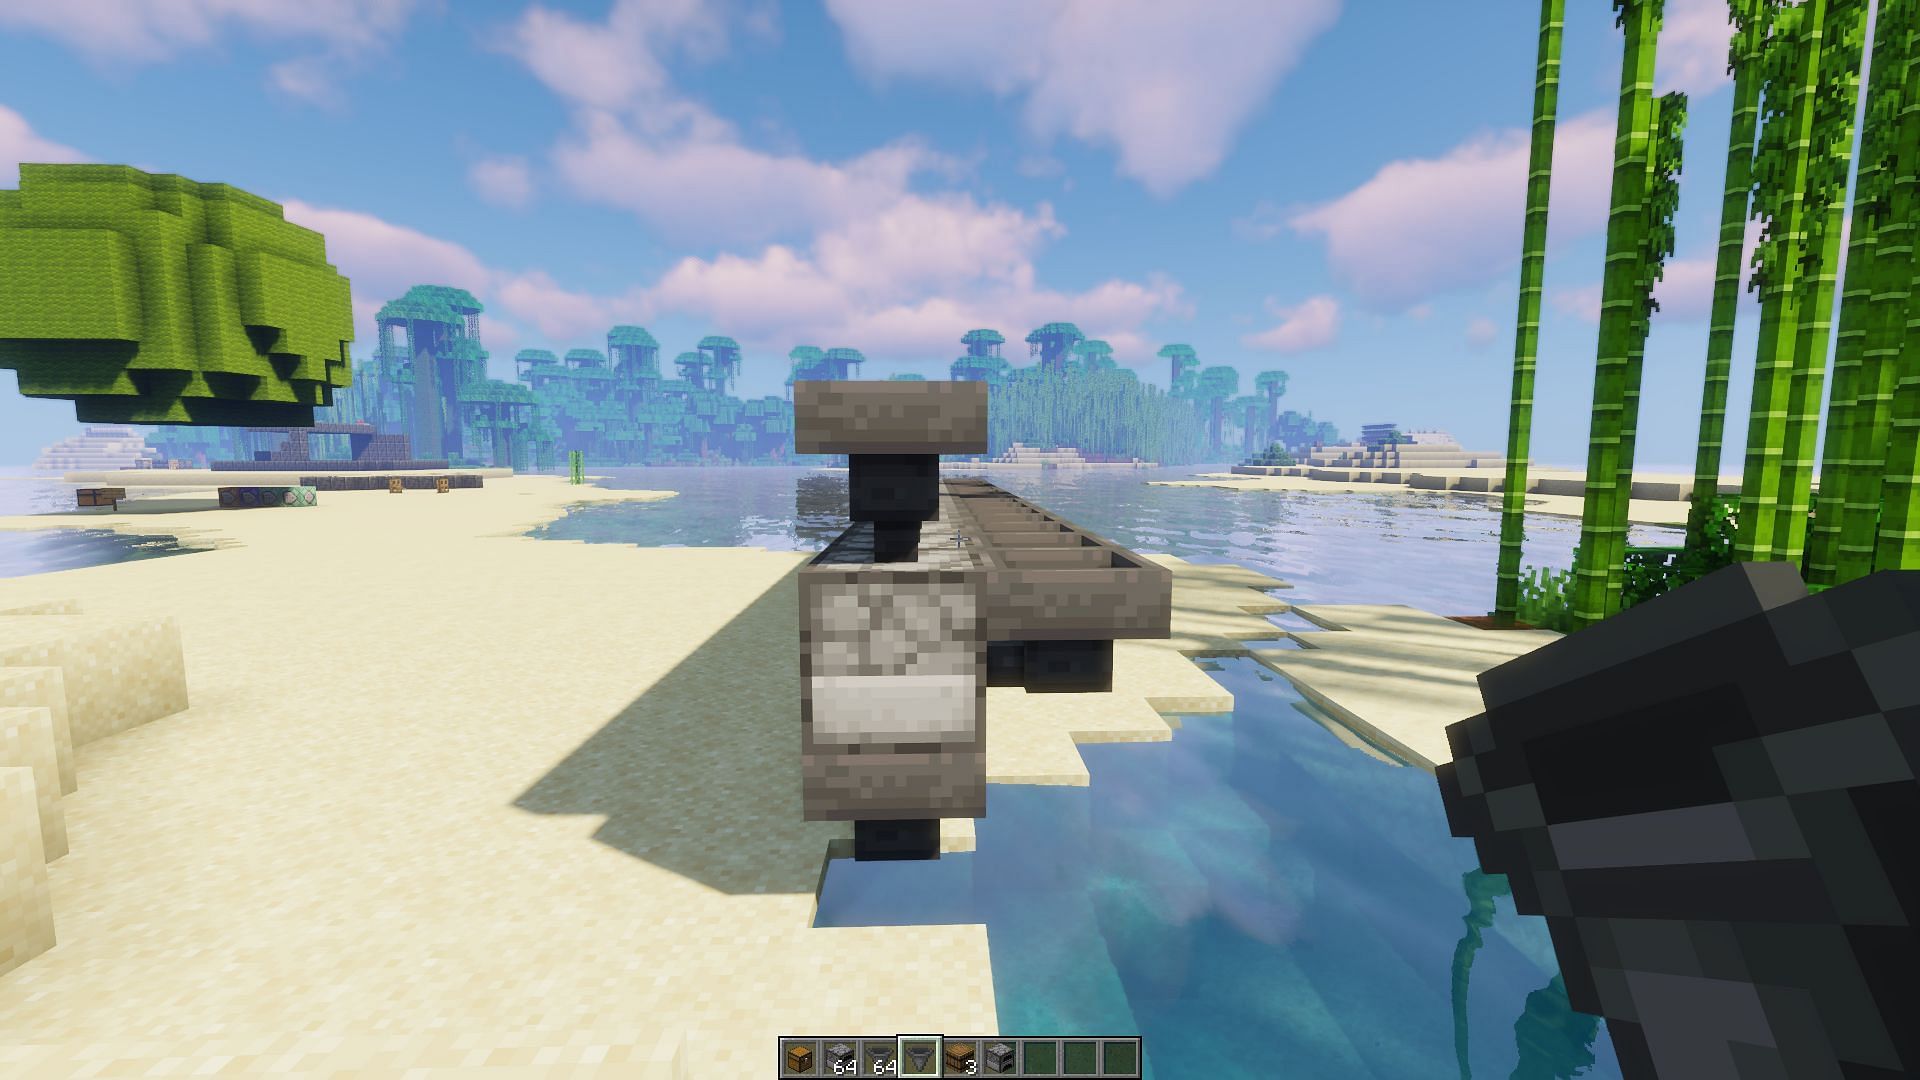
7) The last block and power
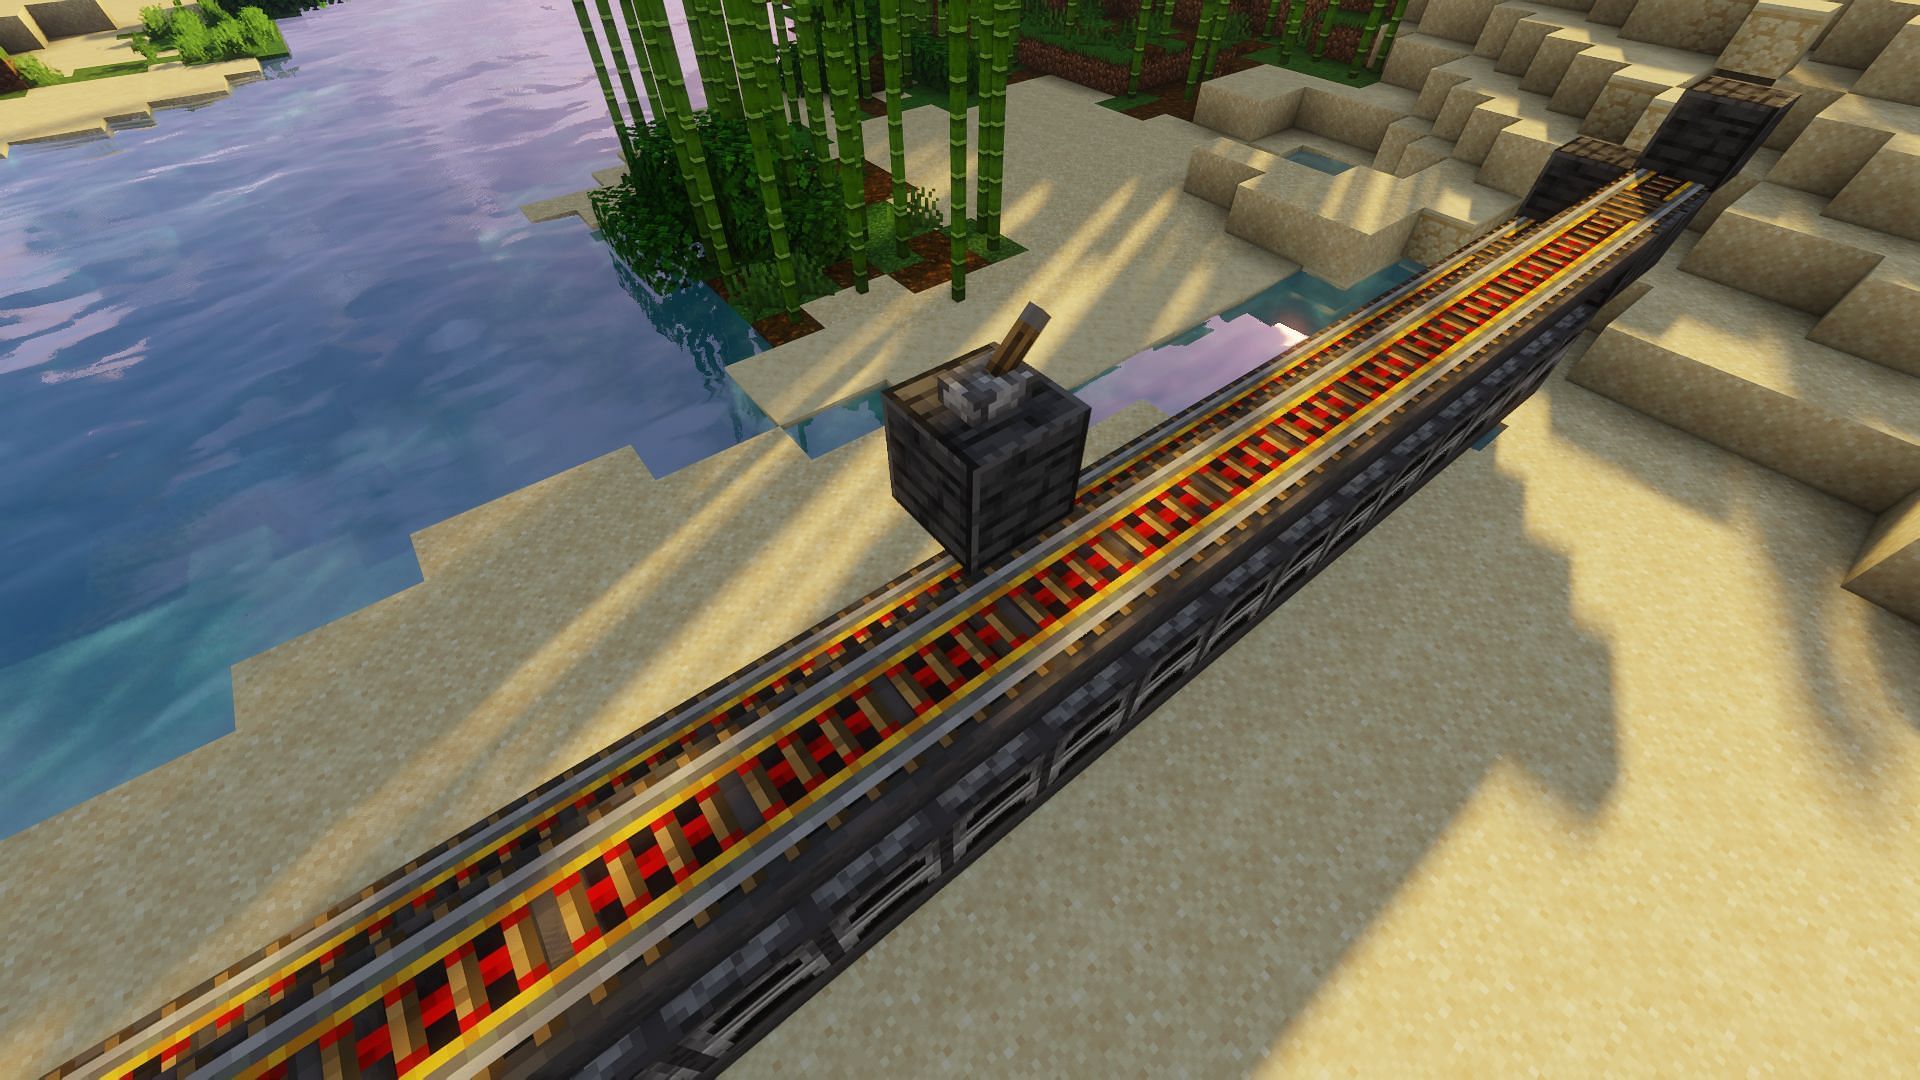
Place one more solid block roughly halfway down the lower railway line. This will cause it to float in the air above the powered rails. Then, place a lever on it and flip the switch. This will cause both rows of rails to become powered.
Place a lever on each of the sides of the L block areas. These two levers will cause the two powered rails on each side of the smelter to become powered.
8) Add minecarts
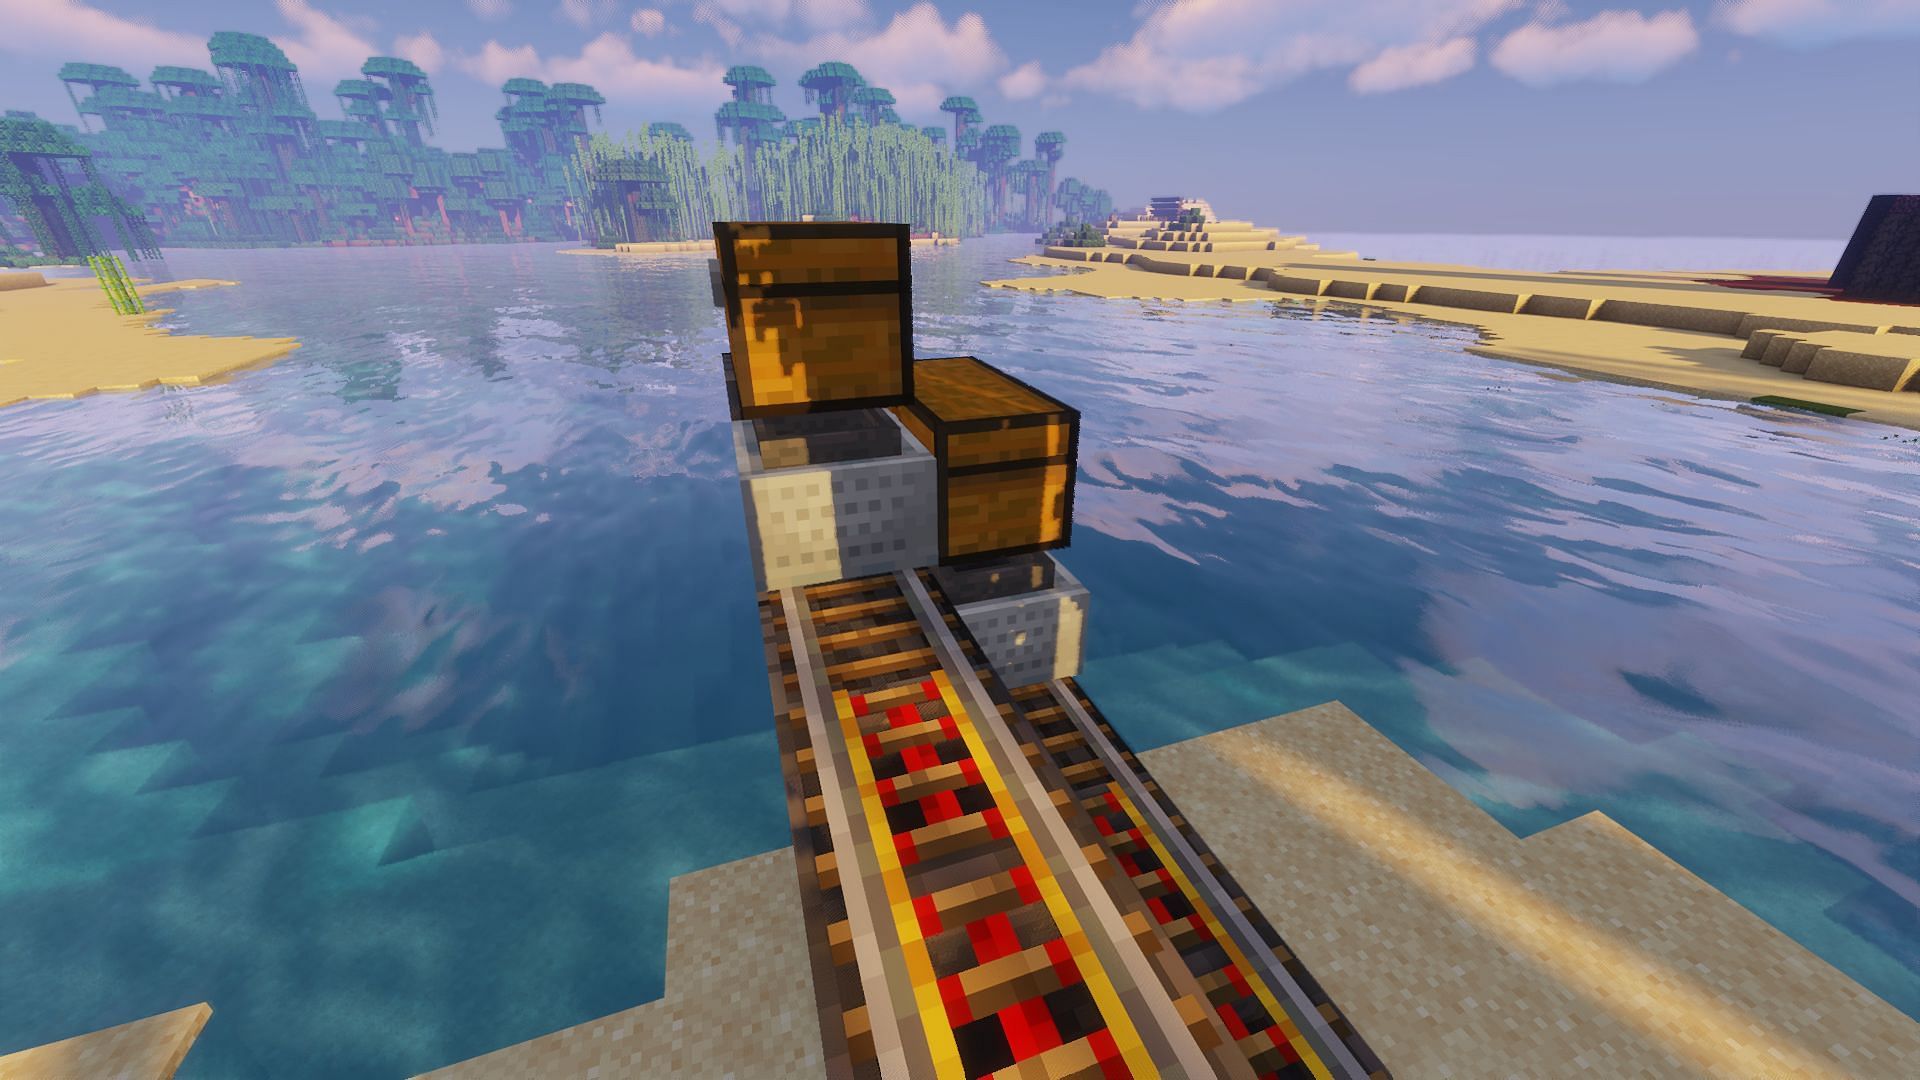
Add minecarts with hoppers underneath each of the double chests. These will move when the rails below are powered on, pulling items from the chests above and moving them into the furnaces.
9) Put items in and go
Place fuel in the lower double chest and the items to smelt in the upper double chest. Let the minecarts fill up for a few seconds, and then flip the lever to power the rails underneath them. This will cause them to begin moving and filling up furnaces. If the smelter needs to be turned off, simply flip this lever at the start of the smelter, and the unpowered rail will stop the cart.
Obsessed with Crosswords, Wordle, and other word games? Take our quick survey and let us get to know you better!
