
'%20x='0'%20y='0'%20height='100%25'%20width='100%25'%20%0A%20%20%20%20%20%20%20%20%20%20xlink%3Ahref='data:image/jpg;base64,/9j/2wBDAAYEBQYFBAYGBQYHBwYIChAKCgkJChQODwwQFxQYGBcUFhYaHSUfGhsjHBYWICwgIyYnKSopGR8tMC0oMCUoKSj/2wBDAQcHBwoIChMKChMoGhYaKCgoKCgoKCgoKCgoKCgoKCgoKCgoKCgoKCgoKCgoKCgoKCgoKCgoKCgoKCgoKCgoKCj/wgARCAAGAAoDASIAAhEBAxEB/8QAFgABAQEAAAAAAAAAAAAAAAAAAAEE/8QAFAEBAAAAAAAAAAAAAAAAAAAAA//aAAwDAQACEAMQAAAA1UY//8QAHhAAAQQCAwEAAAAAAAAAAAAAAgEDBAUGEQAhI1L/2gAIAQEAAT8AusdvHMcvJ97NhSKMW/KO0hC55dNoutdIJfS8Yyi+cYbNqYINkKKIqO9Jz//EABgRAAMBAQAAAAAAAAAAAAAAAAECAwAR/9oACAECAQE/AKUZX6Dv/8QAFxEBAQEBAAAAAAAAAAAAAAAAAQIAA//aAAgBAwEBPwCecVAJv//Z'%3E%3C/image%3E%3C/svg%3E)
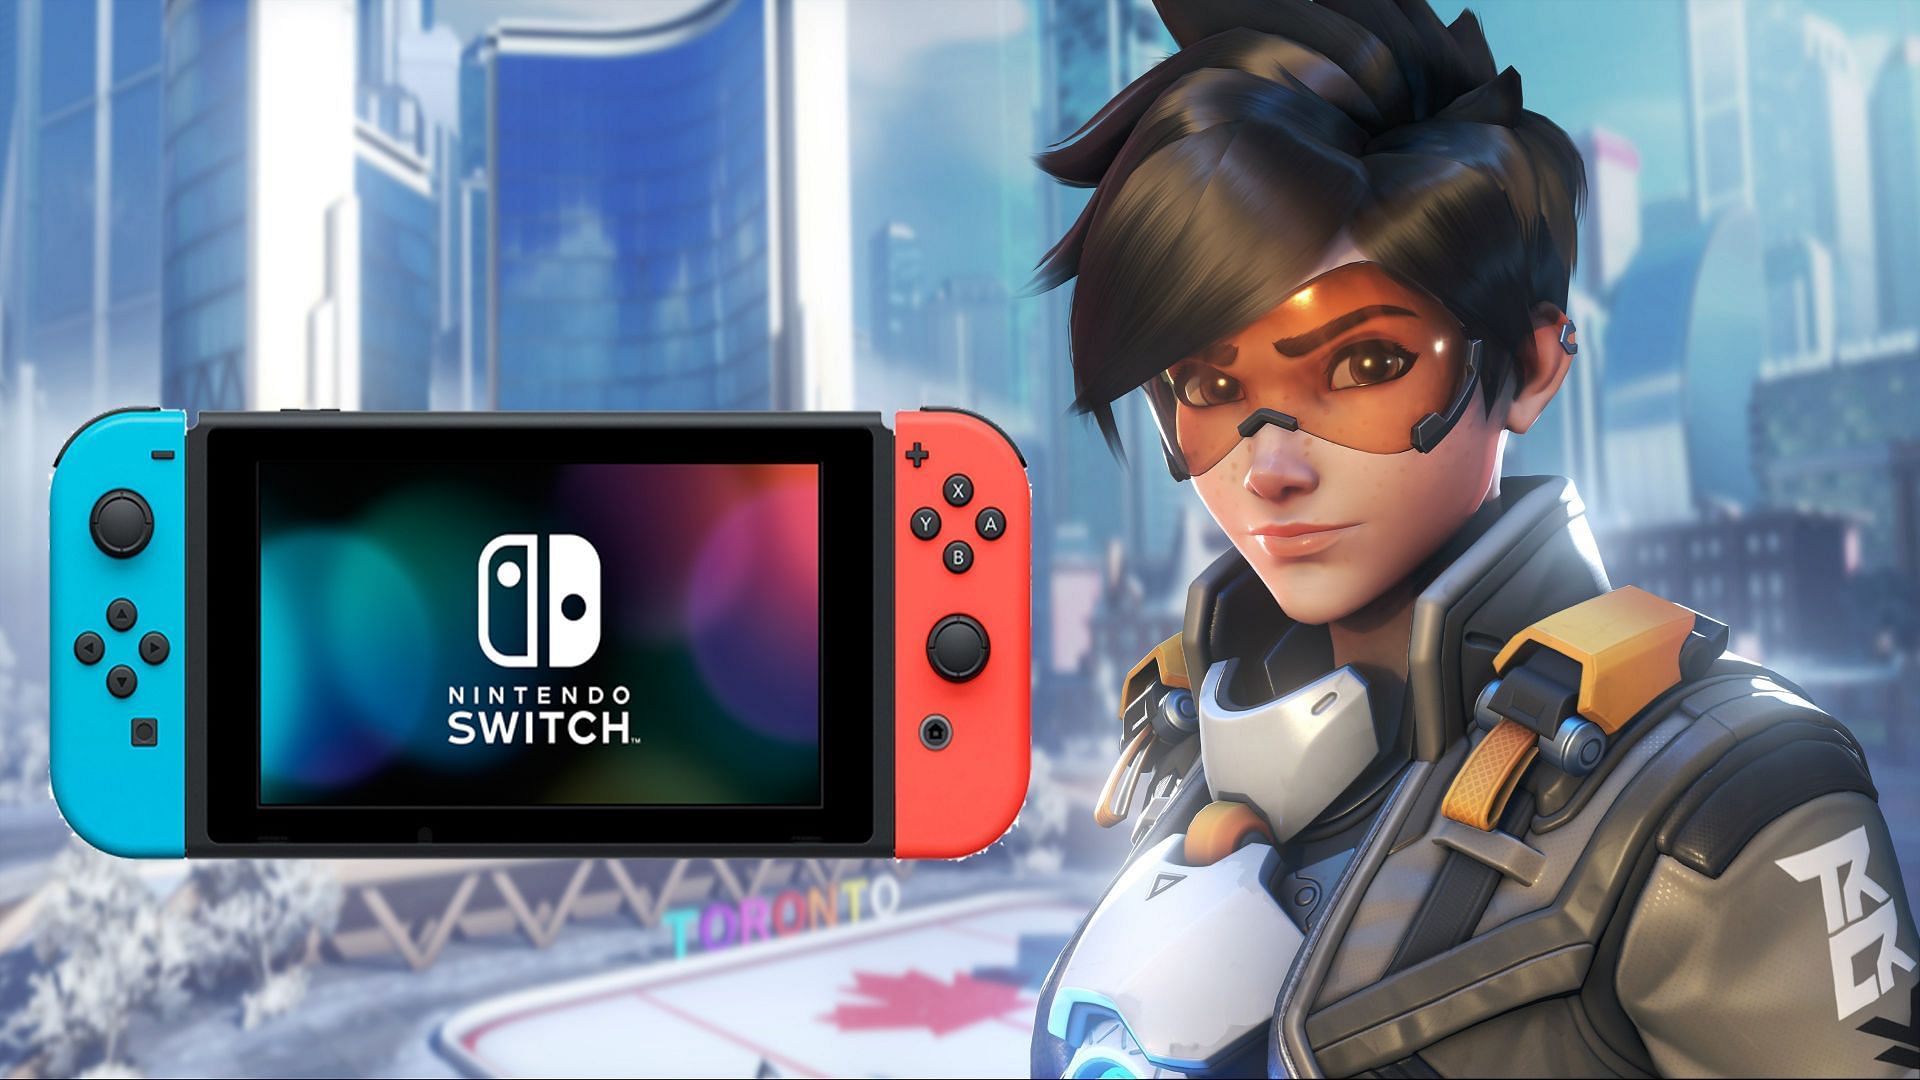
Overwatch 2 is available on Nintendo Switch along with PC, Xbox, and PlayStation, allowing users to carry around the action of Blizzard's latest shooter with them. Being a handheld gaming console, it has its limitations with multiplayer titles such as Overwatch 2, whose intense fast-paced combat truly tests players' aiming and tracking abilities.
Moreover, since cross-play is supported in the game, it means owners of the Switch can match up against players on PC as well. As expected, the mouse and keyboard setup gives PC users a significant advantage over Switch users playing with a controller. This is why it becomes crucial to have the right settings to keep things as fair as possible against opponent players.
This article takes a closer look at the best controller settings that Nintendo Switch owners should use in Overwatch 2.
Looking for Crossword hints & solutions? Check out latest NYT Mini Crossword Answers, LA Times Crossword Answers, and Atlantic Crossword Answers
Tweaks and settings that Nintendo Overwatch 2 players can benefit from
Before making the necessary changes to your controller settings, there are a few other settings that need to be tweaked. To do this, head over to the 'Accessibility' tab in your game's Options menu. From there, set the Camera shake to 'Reduced', HUD shake to 'Off', and Reduce Menu Movement to 'Off'.
These changes will provide you with a far better and more pleasant gaming experience than the default options. If users aren't playing in the docked mode, then the Reduced Shake option helps significantly by allowing users to keep track of what is going on in the game. However, it is recommended to play in docked mode for more consistent performance and better visibility.
Once all the above settings have been changed, tweak your Switch controller settings to the following:
- Horizontal Sensitivity: 55 (configure as needed)
- Vertical Sensitivity: 45 (configure as needed)
- Aim Assist Strength: 100 (you can choose any value between 95 and 100)
- Aim Assist Window Size: 80
- Aim Assist Legacy Mode: Off
- Aim Assist Ease In: 15 (set this between 10 to 20)
- Aim Smoothing: 0
- Aim Ease In: 30 (set this between 20 to 30)
- Invert Vertical Look: Off
- Invert Horizontal Look: Off
- Vibration: Off (Keep this off. Vibrating controllers are distracting during a match and can lead to a poor competitive experience. However, for single-player titles, it is recommended to keep it turned 'On' for greater immersion.)
- Switch Movement and Look Sticks: Off
- Legacy Sticks: Off
- Aim Technique: Linear Ramp (This comes down to personal preference. Linear Ramping is preferred for aiming at lower sensitivities, Exponential Ramp is ideal for higher sensitivities, and Dual-Zone is for players who want the best of both worlds.)
If you are going to be playing Overwatch 2 on the Switch with motion controllers, then you should change your Gyro settings to the following:
- Gyro Aiming: On
- Gyro Aiming Aim Assist: On
- Gyro option Presets: Custom
- Invert Gyro-Aiming Pitch Axis: Off
- Invert Gyro-Aiming YAW Axis: On
- Invert Gyro-Aiming Roll Axis: Off
- Gyro-Aiming Pitch Axis Sensitivity: 8
- Gyro-Aiming YAW Axis Sensitivity: 0
- Gyro-Aiming ROLL Axis Sensitivity: 12
- Disable Gyro While Using Stick: On
All Heroes in Overwatch 2 have different playstyles; hence, it is recommended to use different sensitivity profiles depending on the Hero. For precision Heroes such as Ana, go with slightly lower sensitivity. Meanwhile, for Heroes like Tracer, it is recommended to go with slightly higher sensitivity values.
This controller guide aims to help newcomers to the game get started with the best possible shooting experience and serves as a starting point. As you progress through Overwatch 2, tweak these settings to match your preferred playstyle.

Are you stuck on today's Wordle? Our Wordle Solver will help you find the answer.