
'%20x='0'%20y='0'%20height='100%25'%20width='100%25'%20%0A%20%20%20%20%20%20%20%20%20%20xlink%3Ahref='data:image/jpg;base64,/9j/2wBDAAYEBQYFBAYGBQYHBwYIChAKCgkJChQODwwQFxQYGBcUFhYaHSUfGhsjHBYWICwgIyYnKSopGR8tMC0oMCUoKSj/2wBDAQcHBwoIChMKChMoGhYaKCgoKCgoKCgoKCgoKCgoKCgoKCgoKCgoKCgoKCgoKCgoKCgoKCgoKCgoKCgoKCgoKCj/wgARCAAHAAoDASIAAhEBAxEB/8QAFQABAQAAAAAAAAAAAAAAAAAABgf/2gAIAQEAAAAAl57/xAAUAQEAAAAAAAAAAAAAAAAAAAAB/9oACAECEAAAAH//xAAUAQEAAAAAAAAAAAAAAAAAAAAF/9oACAEDEAAAAEv/xAAfEAACAQMFAQAAAAAAAAAAAAABAgQDBREAEhMkQTH/2gAIAQEAAT8AtvVt8iPxJJ5wr0lYncHP3B8wc6ezzazGq85KbudxQA4UnzX/xAAVEQEBAAAAAAAAAAAAAAAAAAAAAf/aAAgBAgEBPwCP/8QAFhEBAQEAAAAAAAAAAAAAAAAAAQAC/9oACAEDAQE/ANgt/9k='%3E%3C/image%3E%3C/svg%3E)
Experiment No. Z-57 is giving a lot of Metroid Dread players some serious headaches.
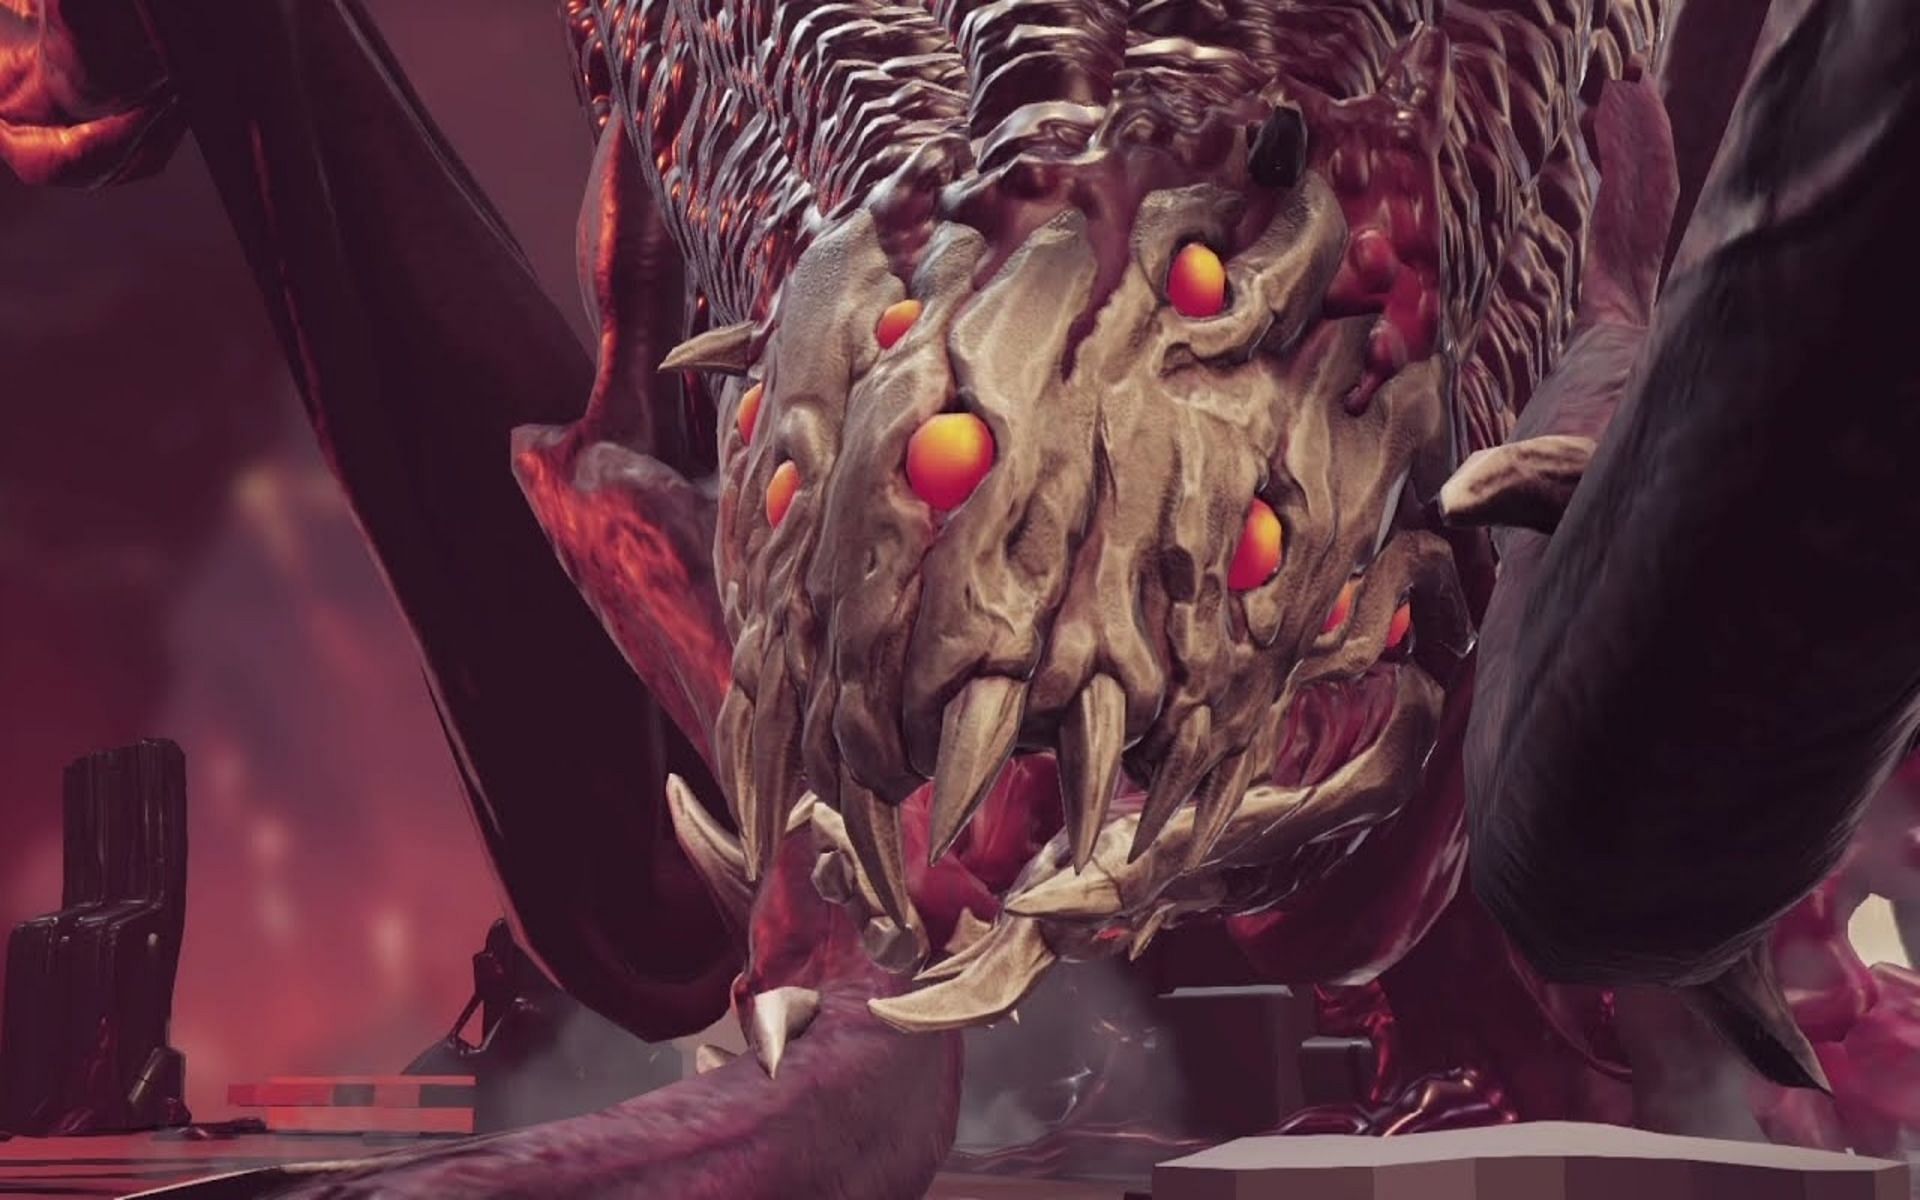
Metroid as a franchise is known for difficult boss battles. Experiment No. Z-57, though, might be the most exhausting to fight. Players can spot this enemy being worked on in the Dairon sector earlier in Metroid Dread.
This creepy monster interferes with the magma flow of ZDR, making the entire planet freeze. It’s when Samus investigates that she finds this ugly abomination.
Looking for Crossword hints & solutions? Check out latest NYT Mini Crossword Answers, LA Times Crossword Answers, and Atlantic Crossword Answers
Gameplan for one of the toughest bosses in Metroid Dread
At first glance, it may seem like Experiment No. Z-57’s attacks are unavoidable. If players know how these attacks work, though, they can use some simple steps to avoid taking damage.
There are a total of five things this Metroid Dread boss can do to Samus. Those attacks are as follows:
- Shoots a beam cannon at Samus that sweeps across the room
- Swipes at Samus, first with one arm, and then the other
- Shoots a diagonal beam cannon that decends on one side of the room
- Blows wind at Samus while shooting projectiles at various heights
- Releases a circular vacuum that follows Samus around the room
To deal with the beam cannon that sweeps across the room, the player must pay attention to the floor. When the beam connects, it leaves toxic residue that will damage Samus if she stands on it. Every time this move is used, though, there will be one part of the floor left clean.
The spot will change location every time. The best way to reach it, though, is by using the Flash Shift. Players can wait for Experiment No. Z-57 to pause shooting and immediately flash over to the safe spot.
The swipes that this Metroid boss uses are easily dodged with the Spin Jump. Later in the fight, though, Experiment No. Z-57 will do a third swipe with both hands, covering the bottom half of the room.
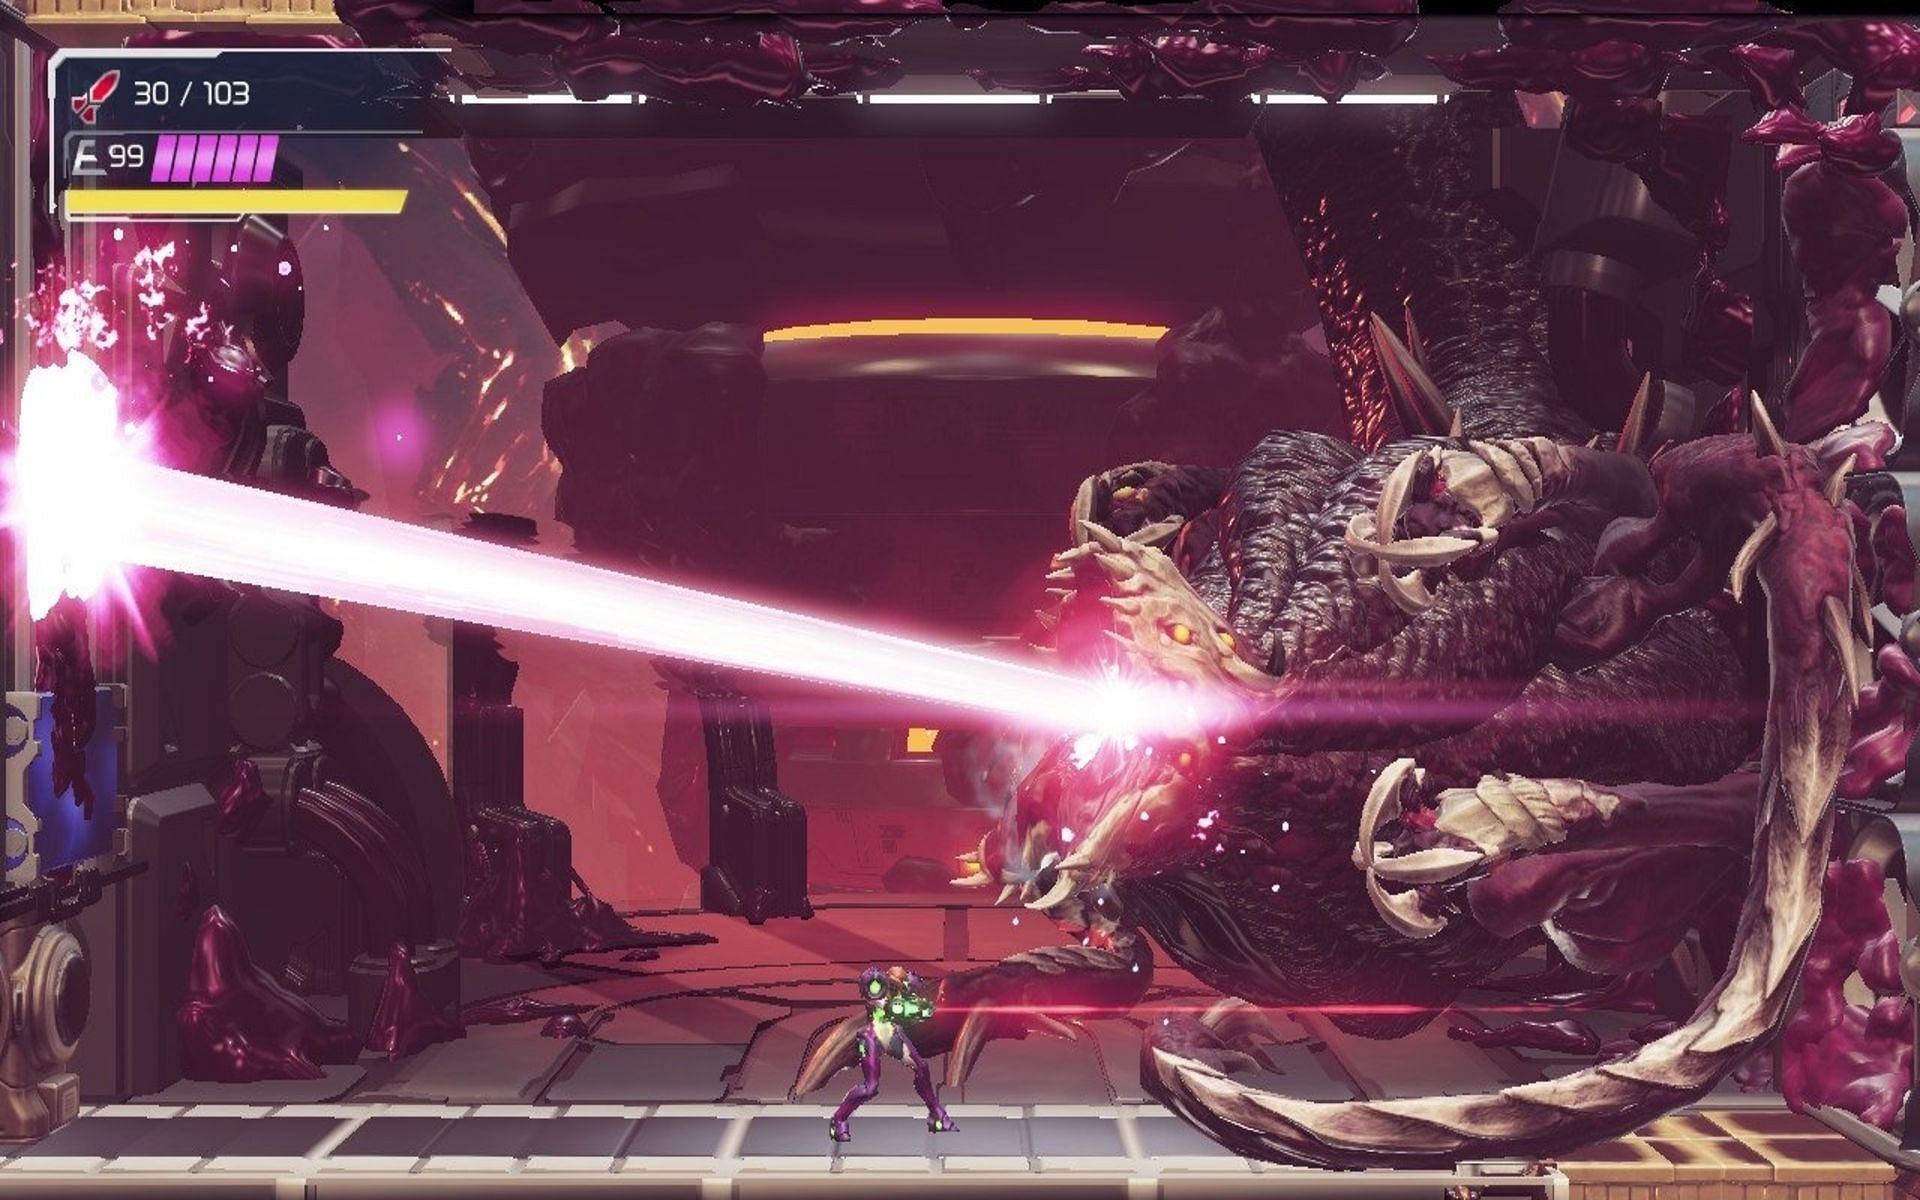
The beam cannon that this monstrosity shoots from is easy to avoid. Simply standing right underneath its mouth leaves Samus immune to the entire beam. Right afterwards, though, there is a small opportunity to use a melee counter.
Players should try to counter this every time, doing so leads to a separate phase where Samus can unload missiles into this Metroid enemy without retaliation.
When this boss initiates the wind current and shoots waves at Samus, players simply have to be accurate with their Spin Jumps. One full hop will clear the height of two waves. The rest needs to be Spin Jumped over.
The vacuum attack can easily be avoided by staying mobile. There are targets that the player needs to hit with the charge beam here, though. These are on the boss’ feet, which grab ahold of the walls of the room during this attack.
The best way to go about this is to jump while charging the beam and then releasing midair while aiming for one of the feet.
Finally, one of the best tools Metroid Dread players get are their missiles; Spam them as much as possible. There are brief periods where Samus can even charge up a Storm Missile on this grotesque creature.

Are you stuck on today's Wordle? Our Wordle Solver will help you find the answer.