
'%20x='0'%20y='0'%20height='100%25'%20width='100%25'%20%0A%20%20%20%20%20%20%20%20%20%20xlink%3Ahref='data:image/jpg;base64,/9j/2wBDAAYEBQYFBAYGBQYHBwYIChAKCgkJChQODwwQFxQYGBcUFhYaHSUfGhsjHBYWICwgIyYnKSopGR8tMC0oMCUoKSj/2wBDAQcHBwoIChMKChMoGhYaKCgoKCgoKCgoKCgoKCgoKCgoKCgoKCgoKCgoKCgoKCgoKCgoKCgoKCgoKCgoKCgoKCj/wgARCAAGAAoDASIAAhEBAxEB/8QAFgABAQEAAAAAAAAAAAAAAAAAAAUG/8QAFQEBAQAAAAAAAAAAAAAAAAAAAgX/2gAMAwEAAhADEAAAAM3FBS//xAAhEAACAQMDBQAAAAAAAAAAAAABAwIABAUGERITISIxQf/aAAgBAQABPwDA5JdrpzI2Js0snchoLGDmfIEDufW1L08p8IukxokwcyOqftf/xAAYEQACAwAAAAAAAAAAAAAAAAAAAwQRIv/aAAgBAgEBPwCNpjLP/8QAFxEBAQEBAAAAAAAAAAAAAAAAAgEAA//aAAgBAwEBPwB8jALN/9k='%3E%3C/image%3E%3C/svg%3E)
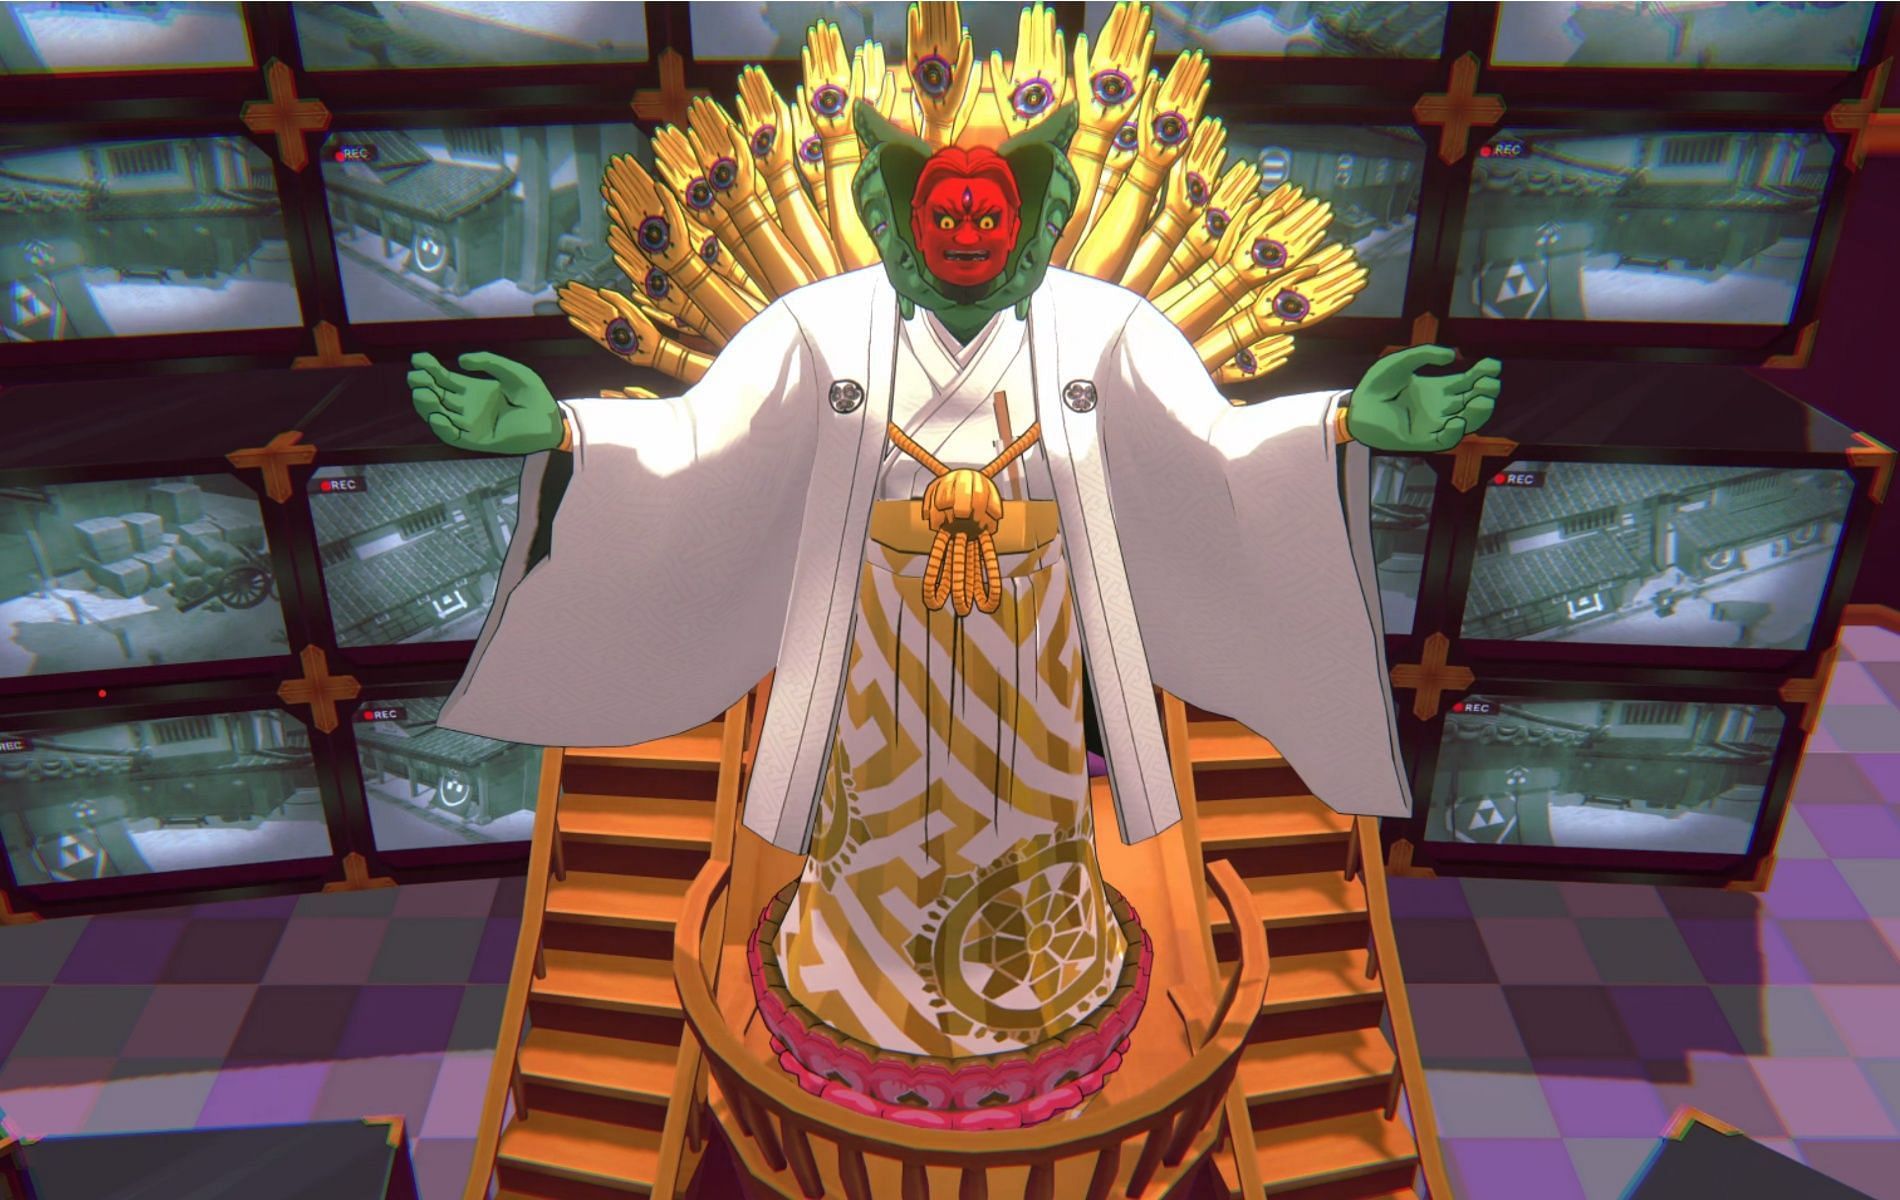
Yoshiki is the main boss of Kingdom 2 in Persona 5 Tactica, and much like Marie, he too has three phases to his fight. However, he is a lot more challenging to beat. Hence, it’s not all that surprising why there are players who are stuck in the encounter and are finding it a bit difficult to overcome Toshiro’s cognition of his own father.
One of the bigger challenges in the Yoshiki boss fight is to maintain SP. This is because, for all three phases of the fight, you will be forced to use the same three Phantom Thieves that you start the encounter with.
So if you are looking to 3-star the mission without having any of your units getting knocked out, SP management is a must. Today’s Persona 5 Tactica guide will therefore go over some tips and tricks to make the Yoshiki boss fight significantly easier.
Looking for Crossword hints & solutions? Check out latest NYT Mini Crossword Answers, LA Times Crossword Answers, and Atlantic Crossword Answers
How to beat Yoshiki in Persona 5 Tactica
Here are some things you can do to easily beat Yoshiki in Persona 5 Tactica:
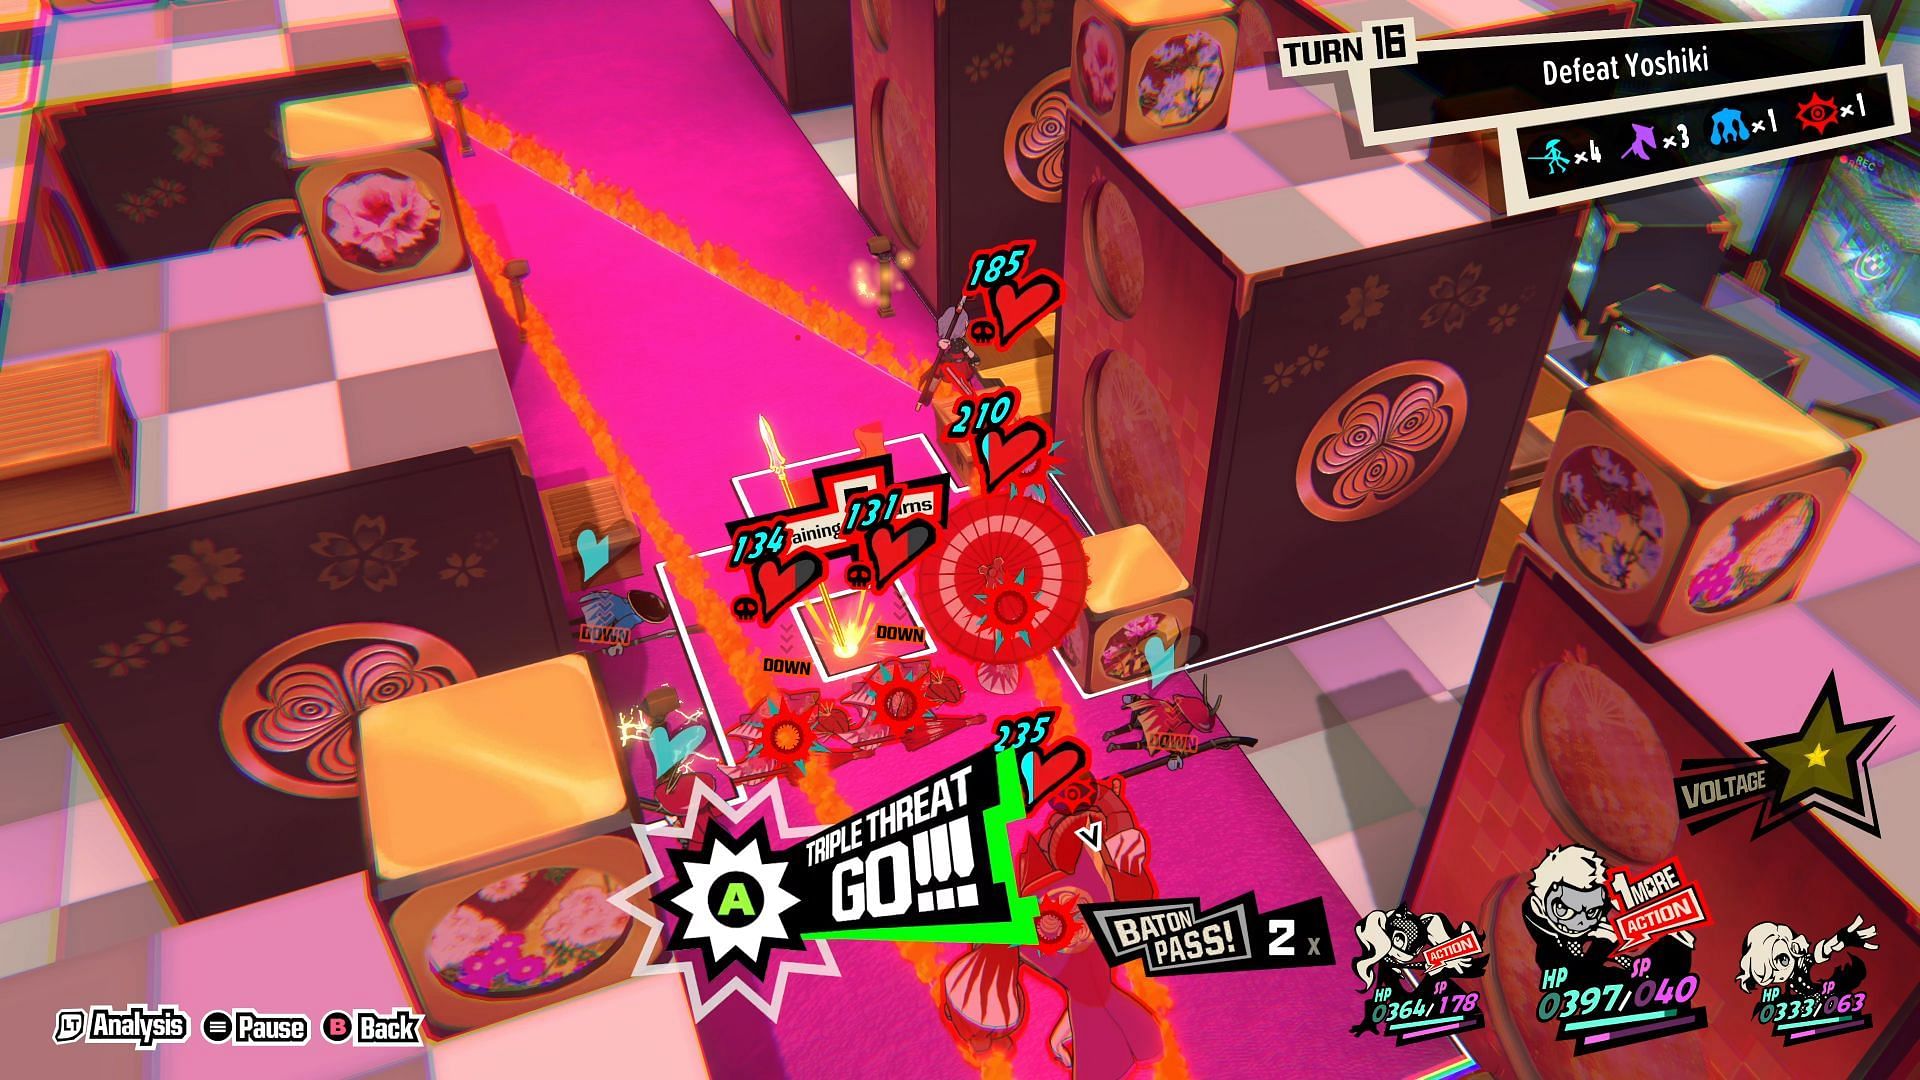
Yoshiki Phase 1
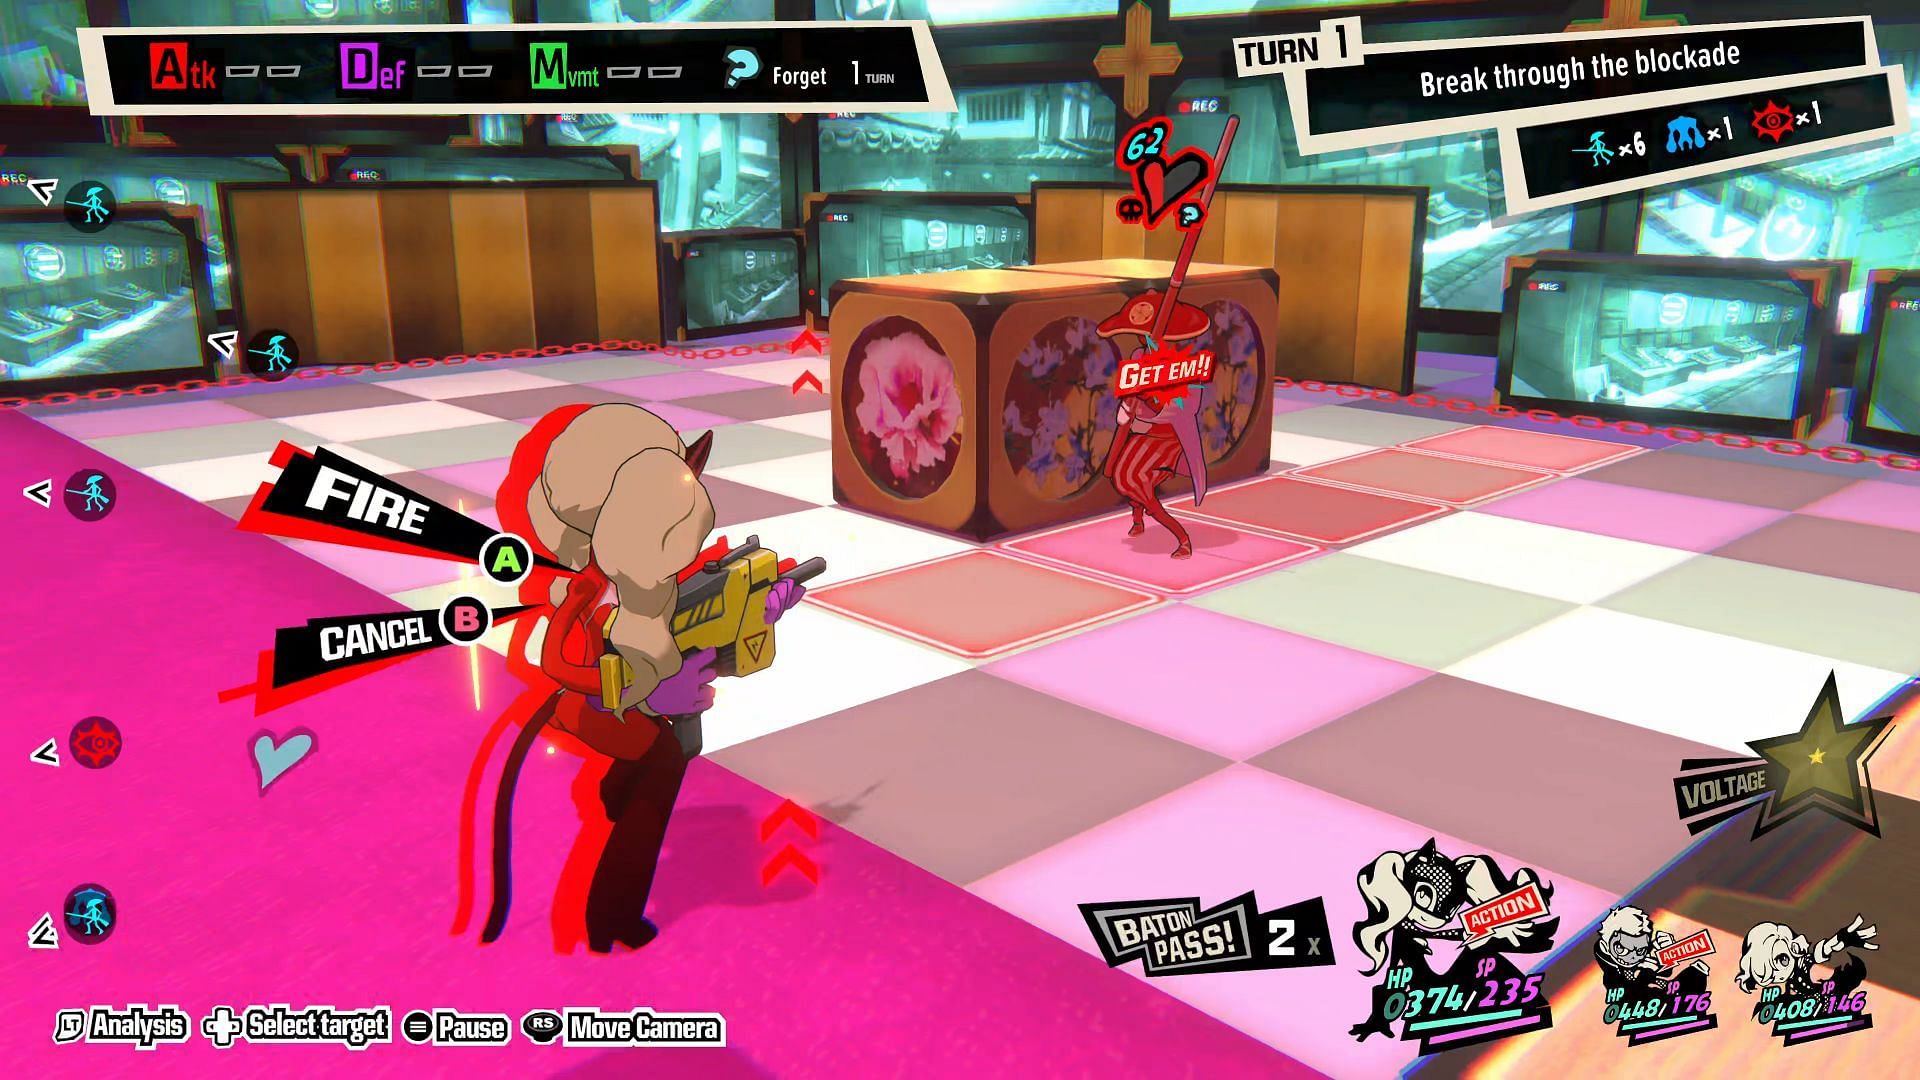
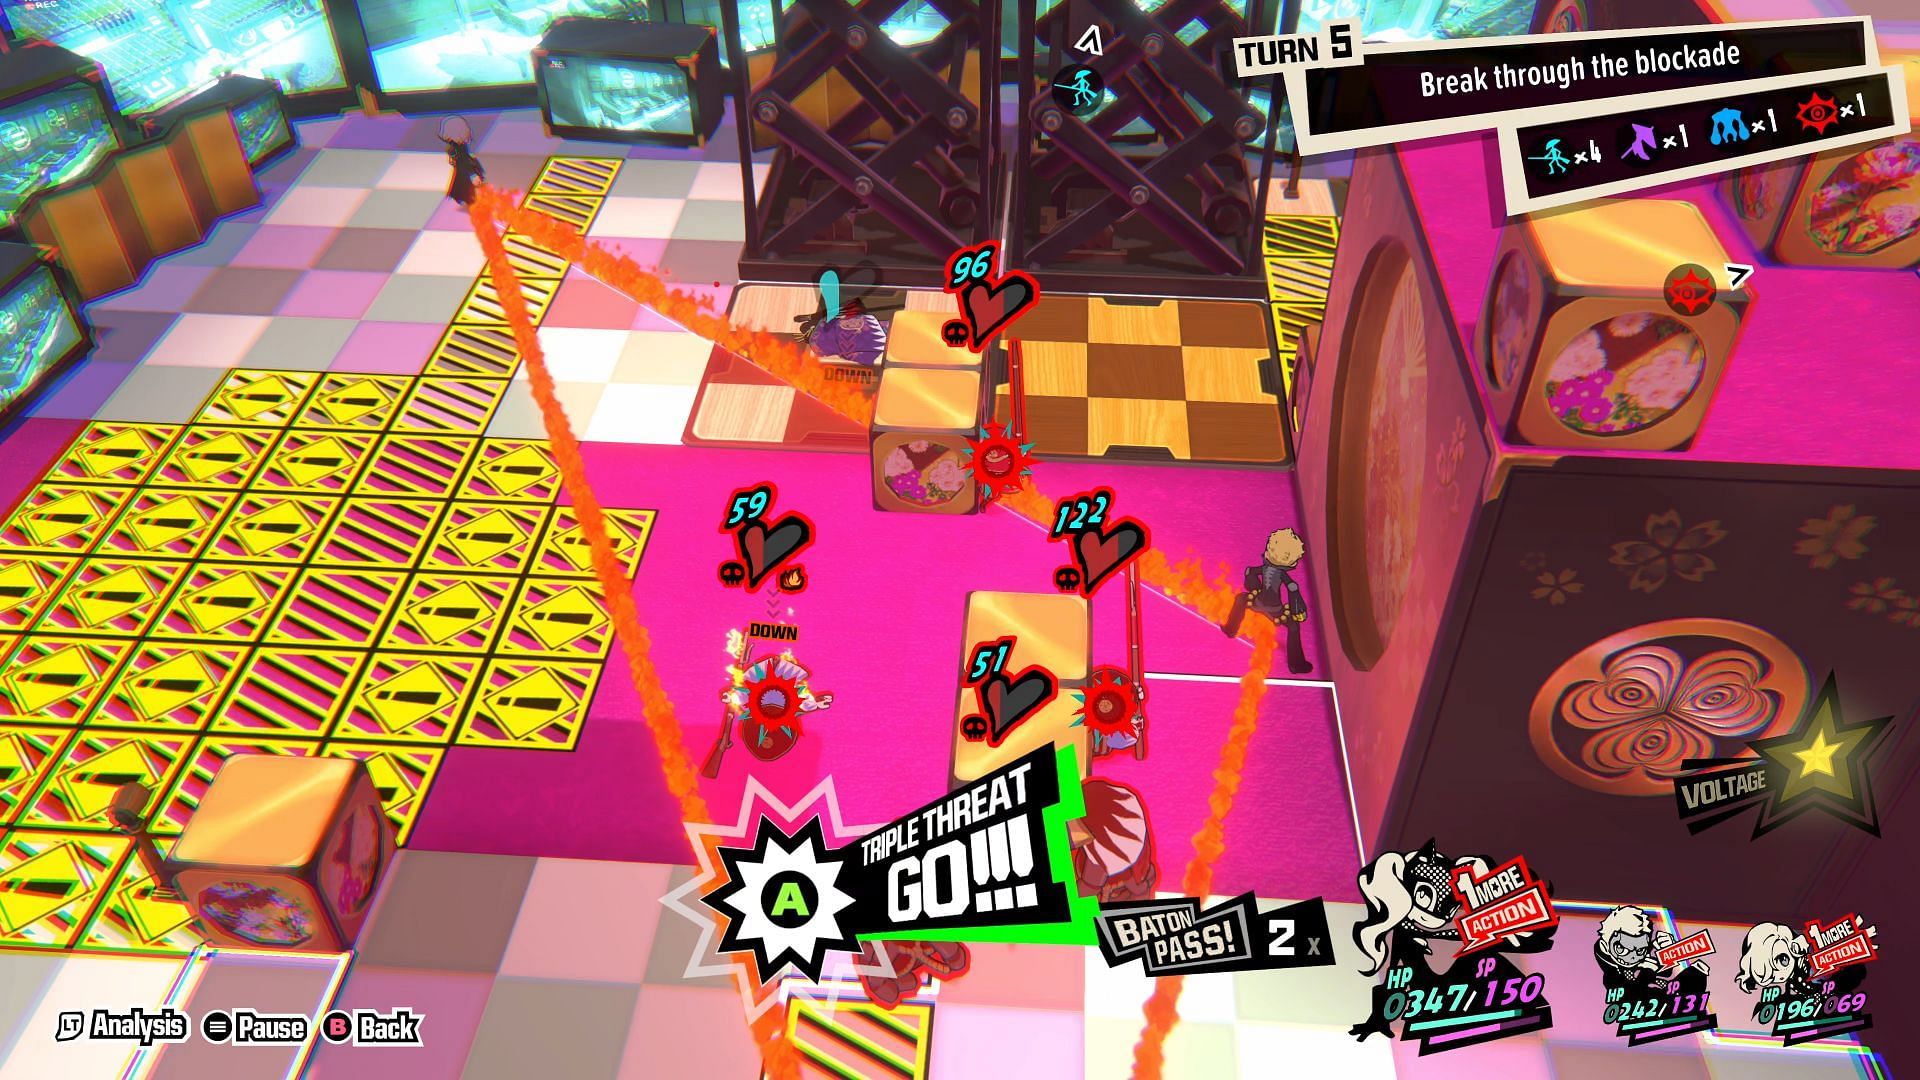
When Phase 1 begins, try conserving your SP in the fight as much as possible. You will find a lot of vulnerable musketeers all over the arena, especially along the elevated platforms. Yyou can exploit their weakness to keep extending your One More, and use the opportunity to get one of your units to the lift in front and get them to the elevated platform.
Once one of your units is up, you can then use the Follow-up mechanic to melee attack the musketeers out of the platform. This will then make the units below shoot them, providing the attack unit with a One More.
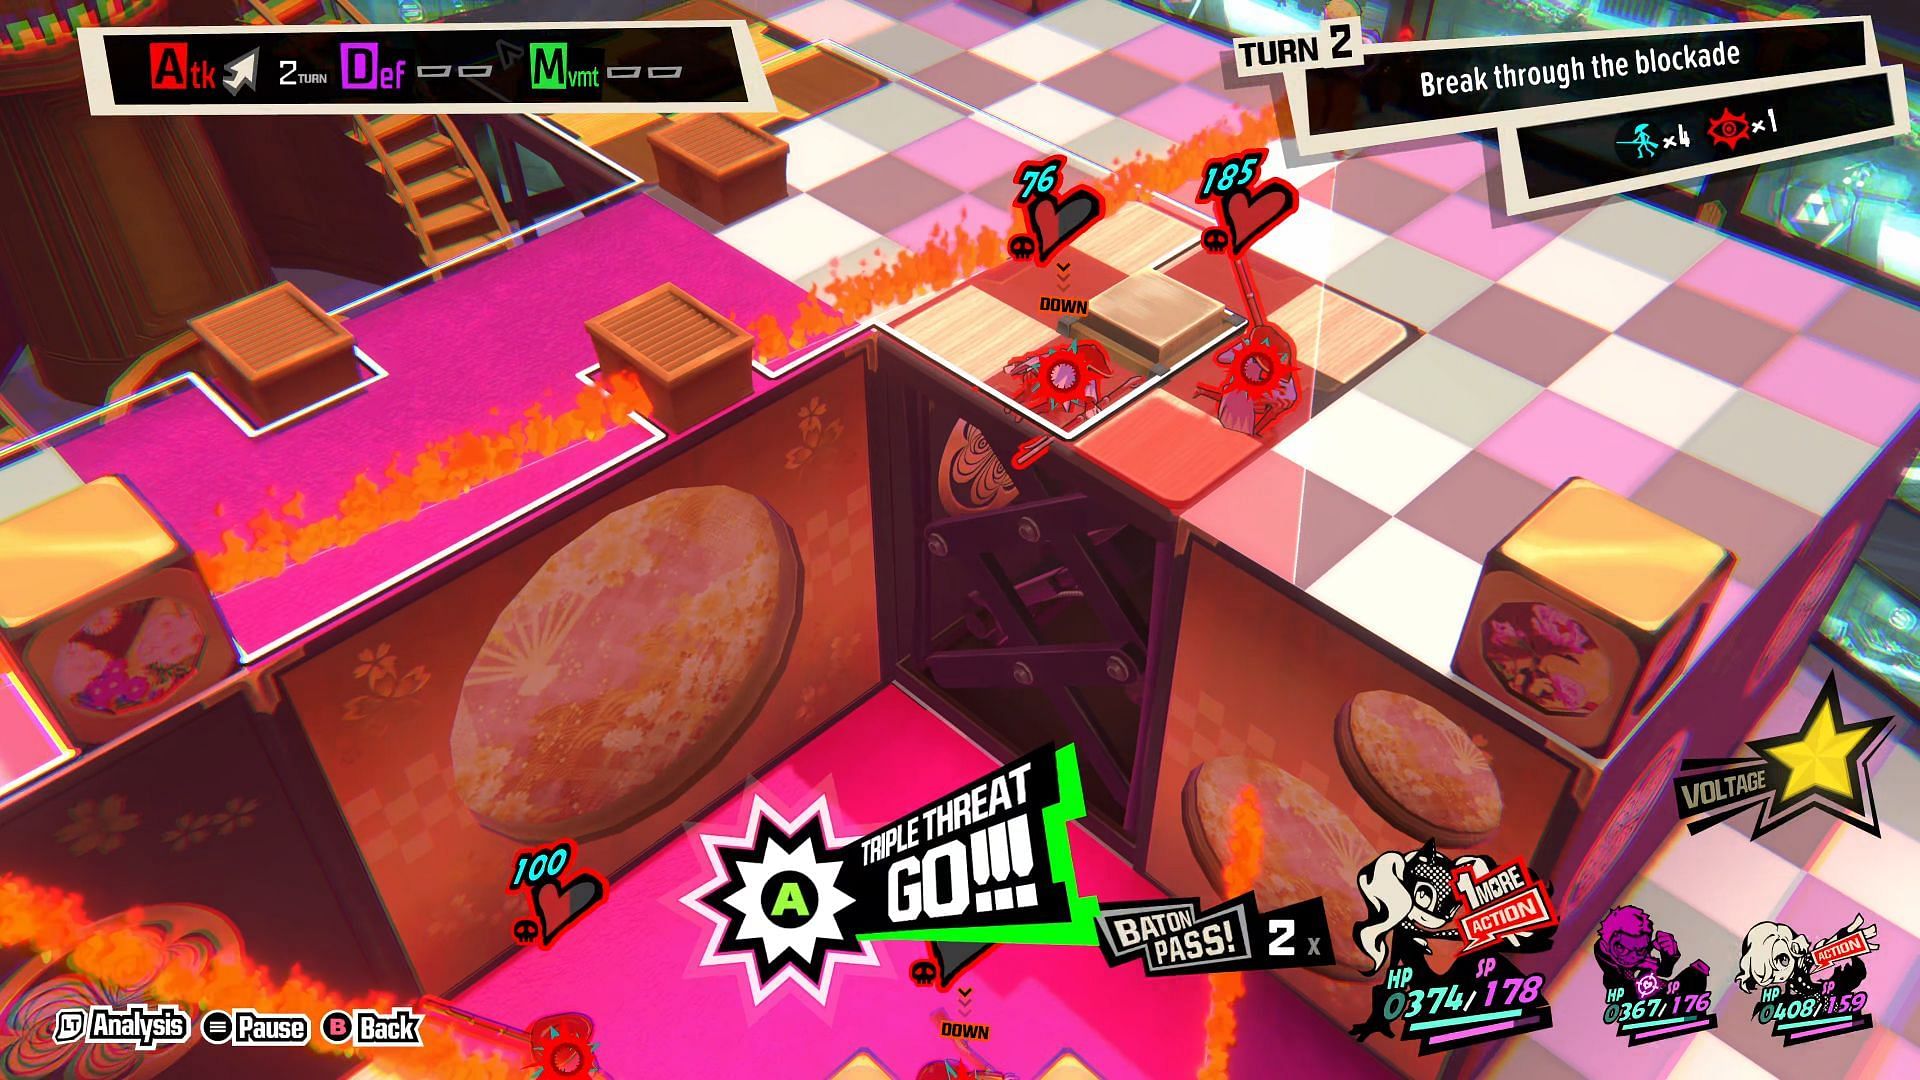
By extending your One More, you can cover a larger distance with your units and increase the area of the Triple Threat. Once you have all the enemies inside the area, you can trigger it and take all of them out in one fell swoop.
During Yoshiki’s Phase 1, watch out for “Sending My Love” and “Karmic Retribution” attacks. The former is unavoidable, and Yoshiki will put a target marker on one of your units. This will send a flying kiss to them in the next turn, which hits for a fair bit of damage and even knock your units back.

Karmic Retribution, on the other hand, marks a large area. In the following turn, Yoshiki will plunge a giant finger onto it and deal a massive area of effect damage.
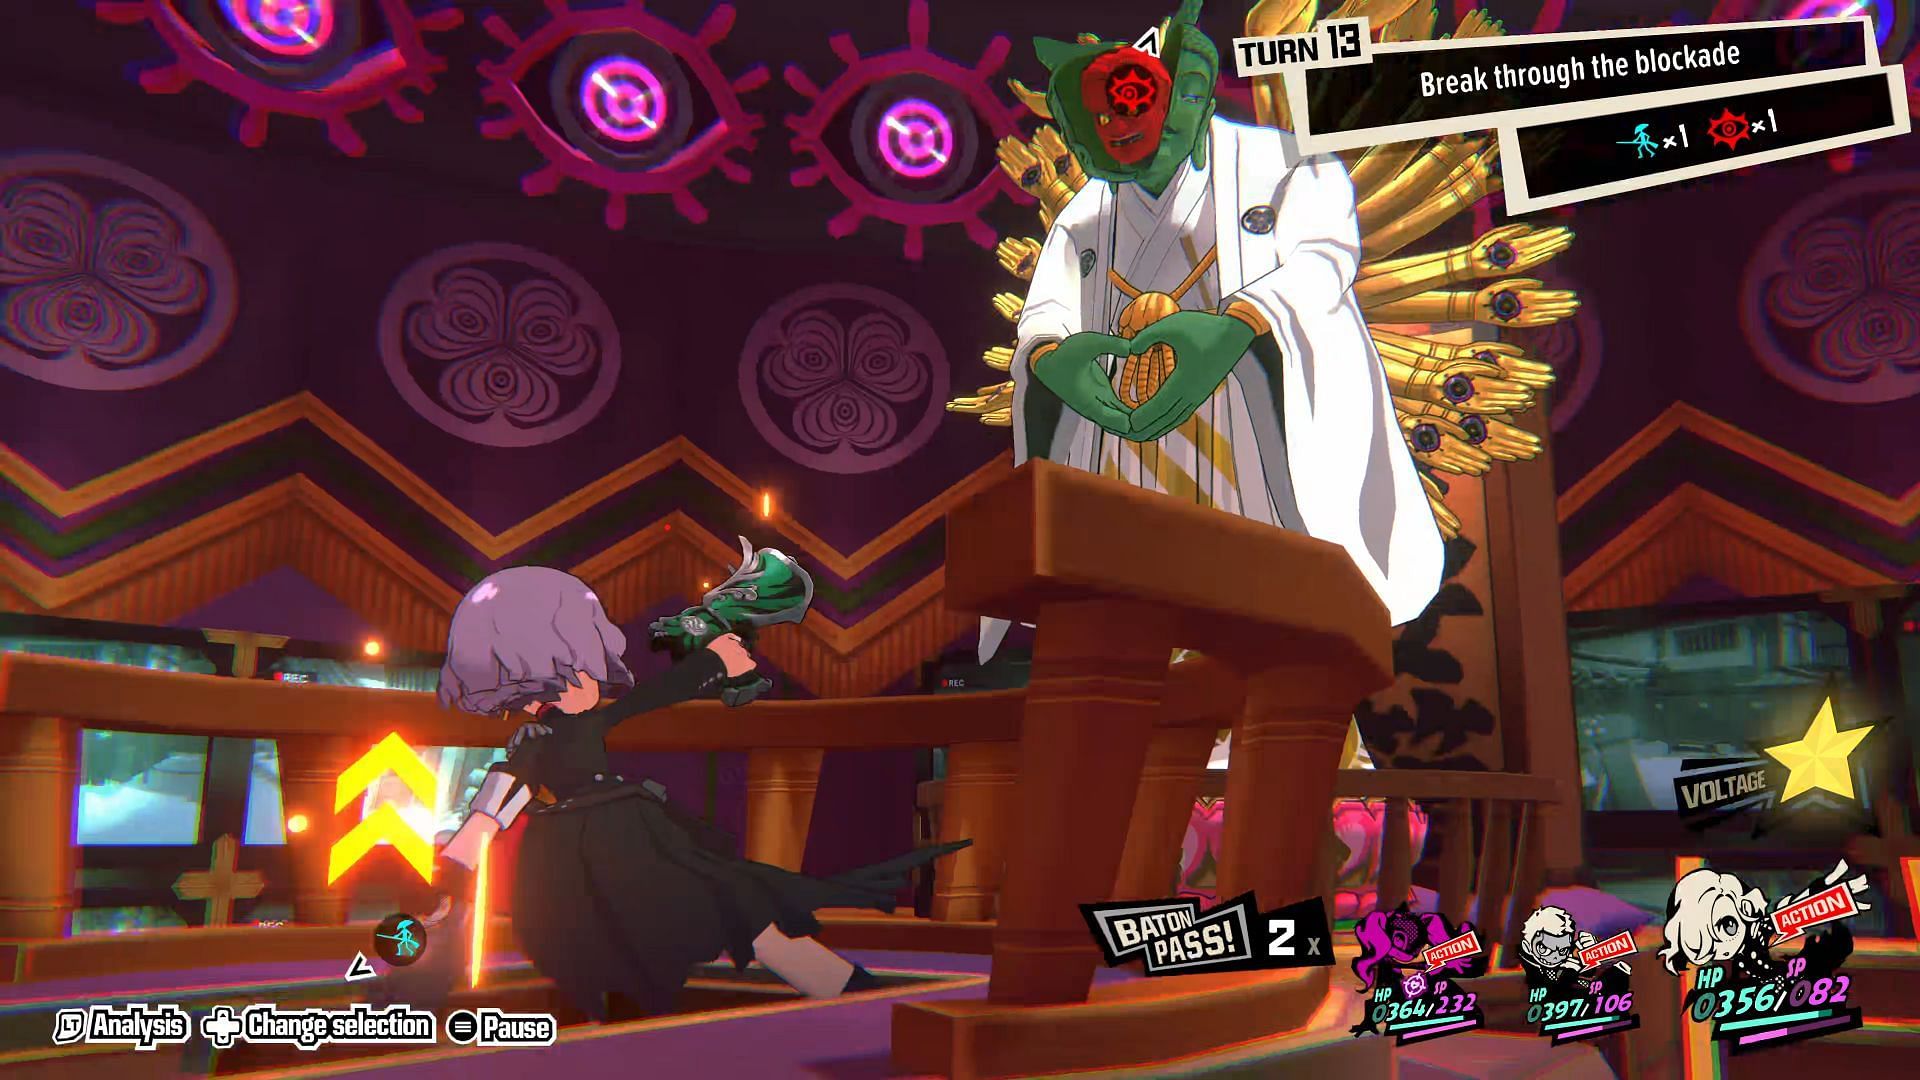
The goal of Phase 1 is to reach Yoshiki and just shoot him once.
Yoshiki Phase 2
Be wary of the cameras in Phase 2 because every time you step in their line of vision, Yoshiki will spawn new enemies and automatically hit you with a “Sending My Love” attack.
Much like with Phase 1, in this phase you will need to make the most of the lifts while heading towards the elevated platforms all around.
You will have a lot of vulnerable enemies around. You can exploit these to increase the range of your Triple Threat and take a good number of them out in one go.
Hence, when Phase 2 starts, look for ways that can help your units cover more distance. Once you have them in place, trigger a Triple Threat that can take out multiple of them in one go.
Now using the lifts, make your way up to the elevated platforms. However, watch out for Yoshiki’s White Gem of Light. During this attack, he will shoot one of your units with a white laser, dealing a fair bit of damage to them.
Using the lifts, make your way to Yoshiki again and shoot him to shart the next phase.
Yoshiki Phase 3
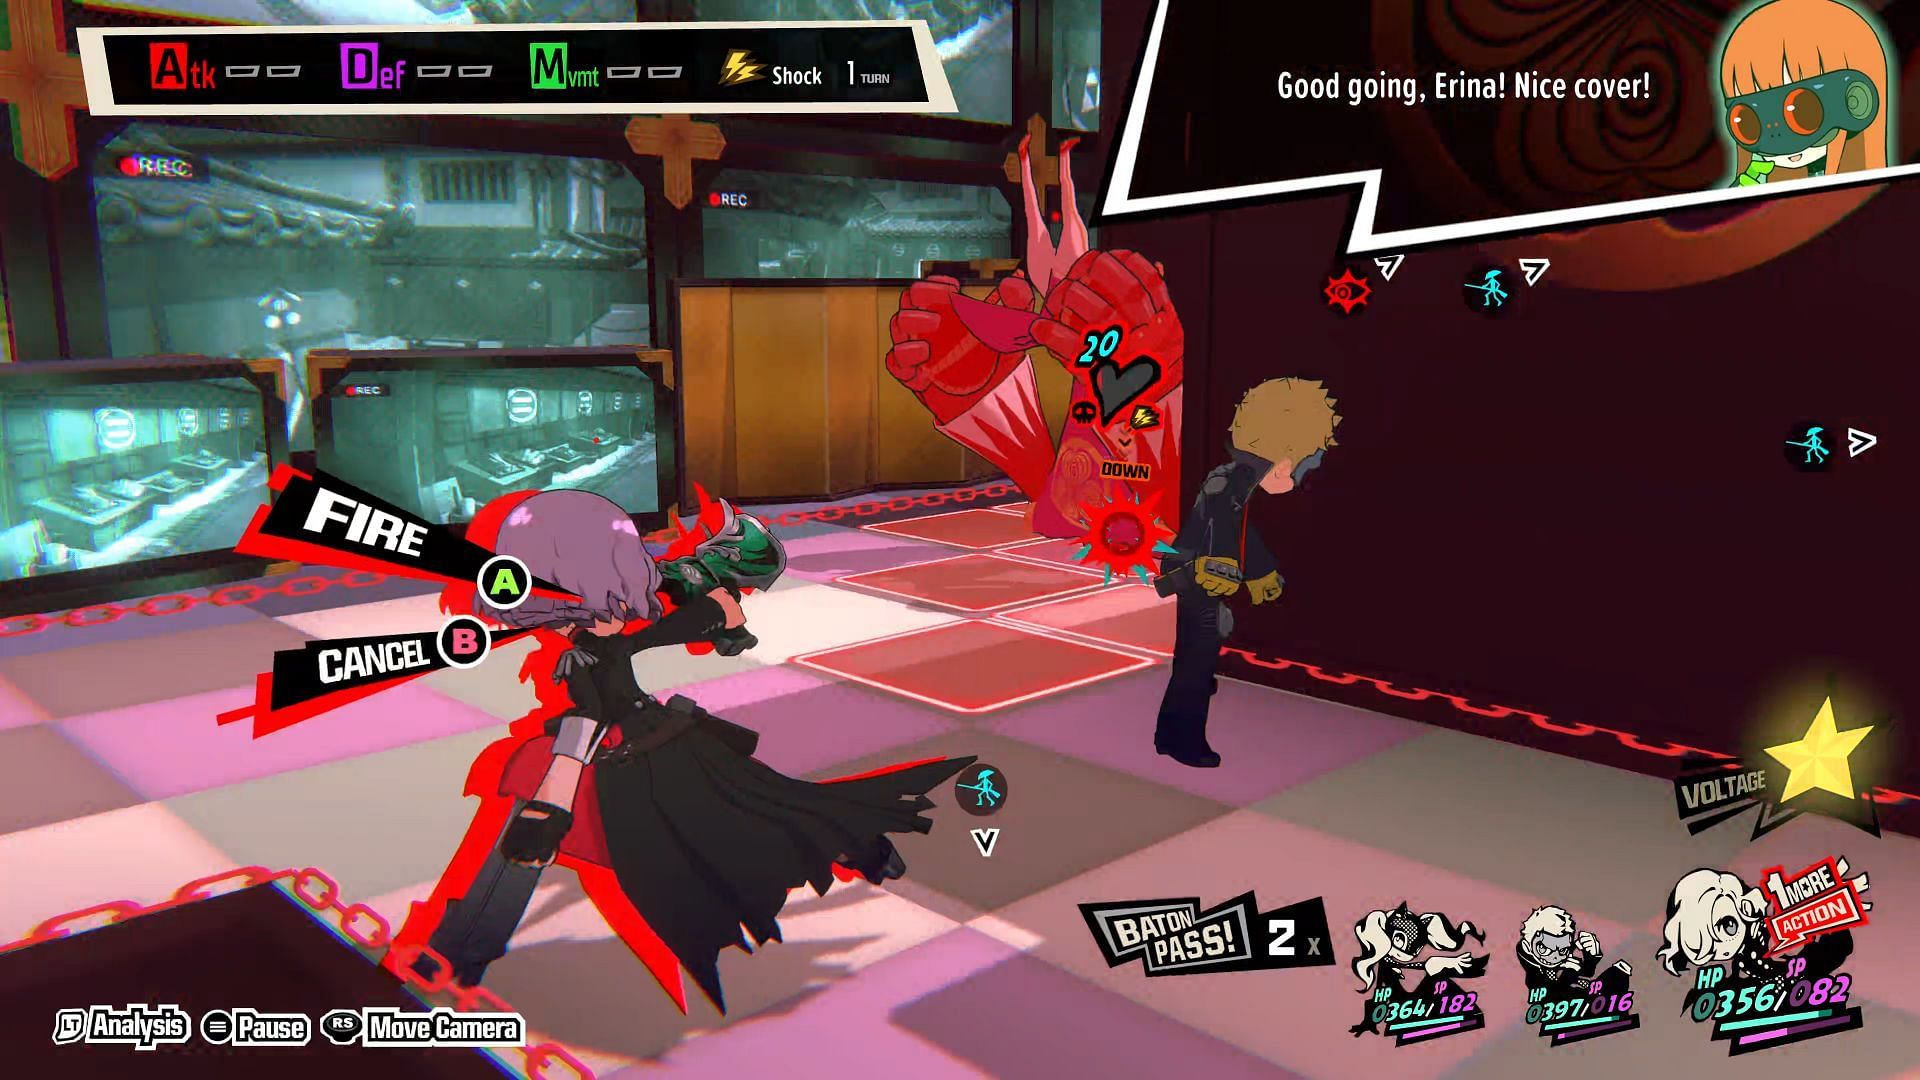
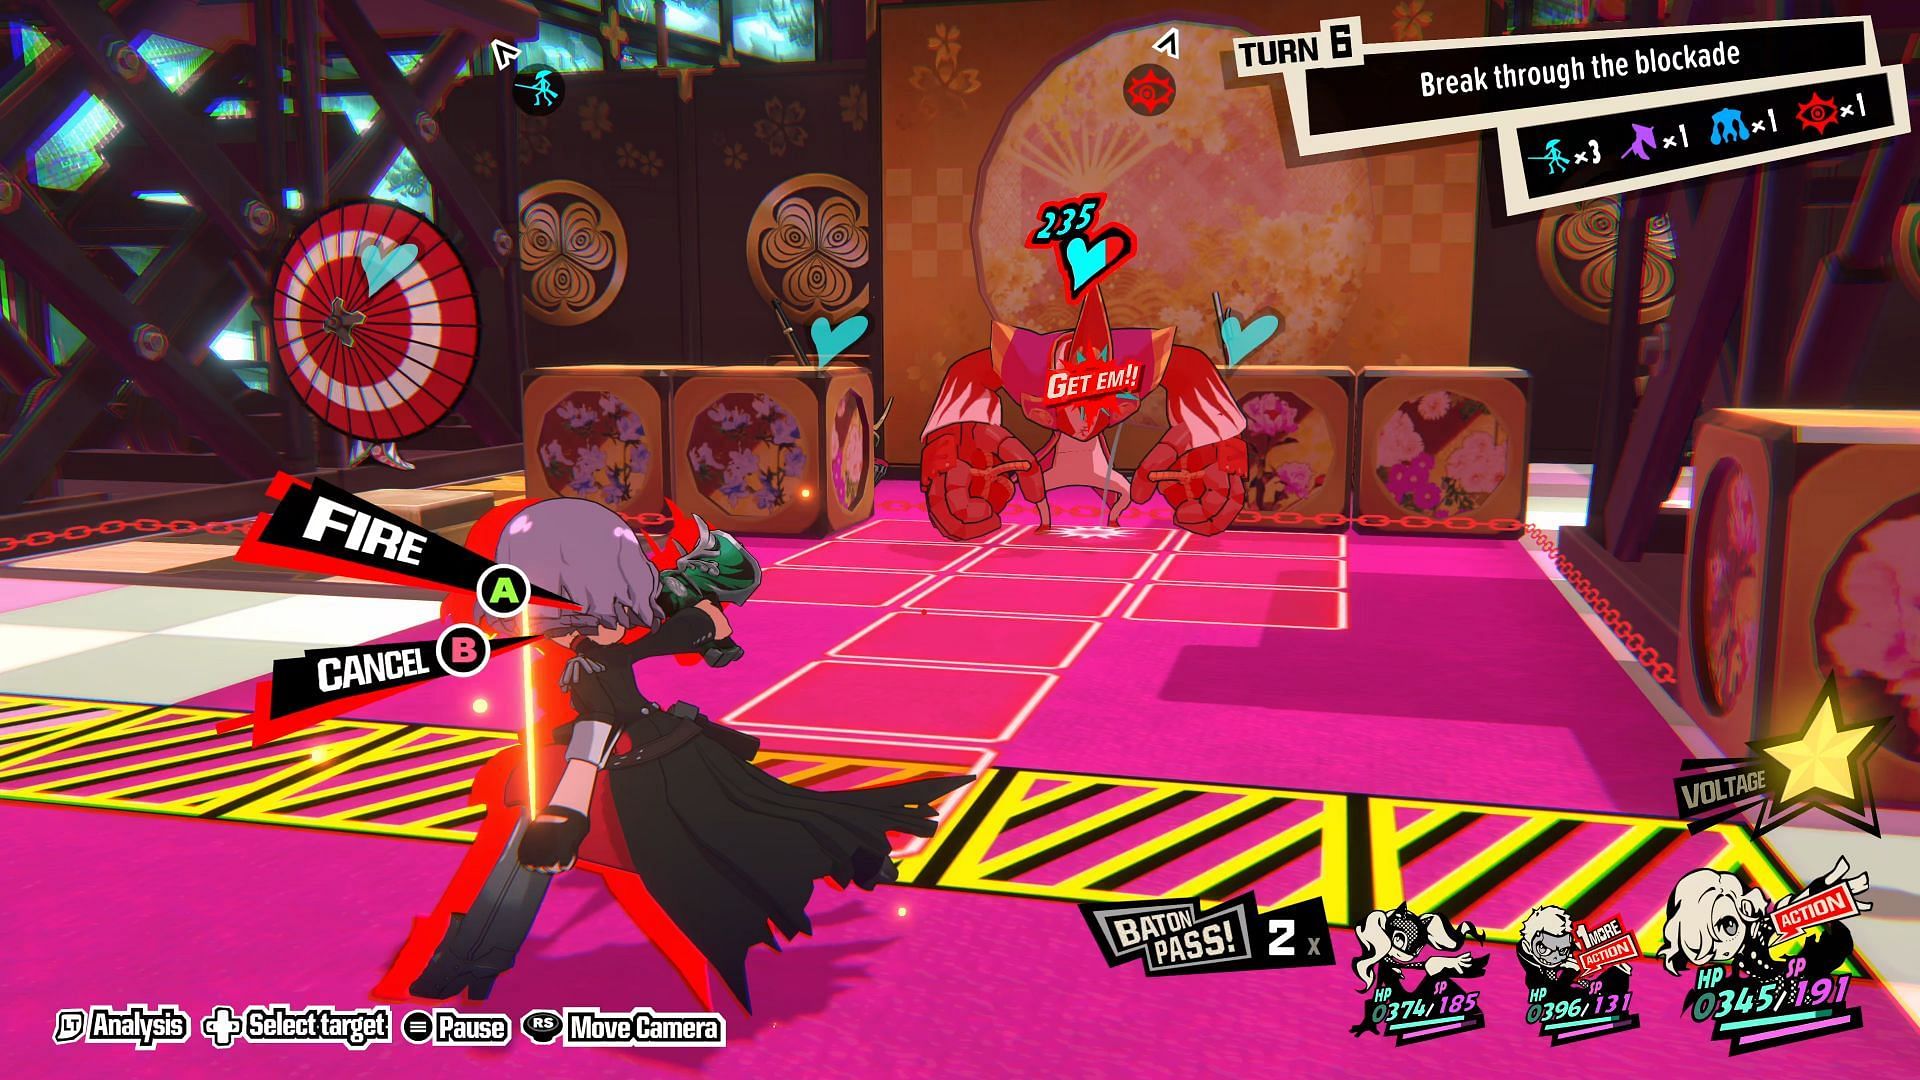
Phase 3 is comparatively much easier to complete, and when it starts you will first need to take out the initial musketeer on the raised platform to the right and then the melee brute enemy to the left.
As you continue to exploit their weakness, you will need to take out three more musketeers and keep adding a One More to one of your units to help them cover more distance.
One musketeer on the platforms will also allow you to do a Follow Up, which will further extend the One More and allow them to cover more distance.
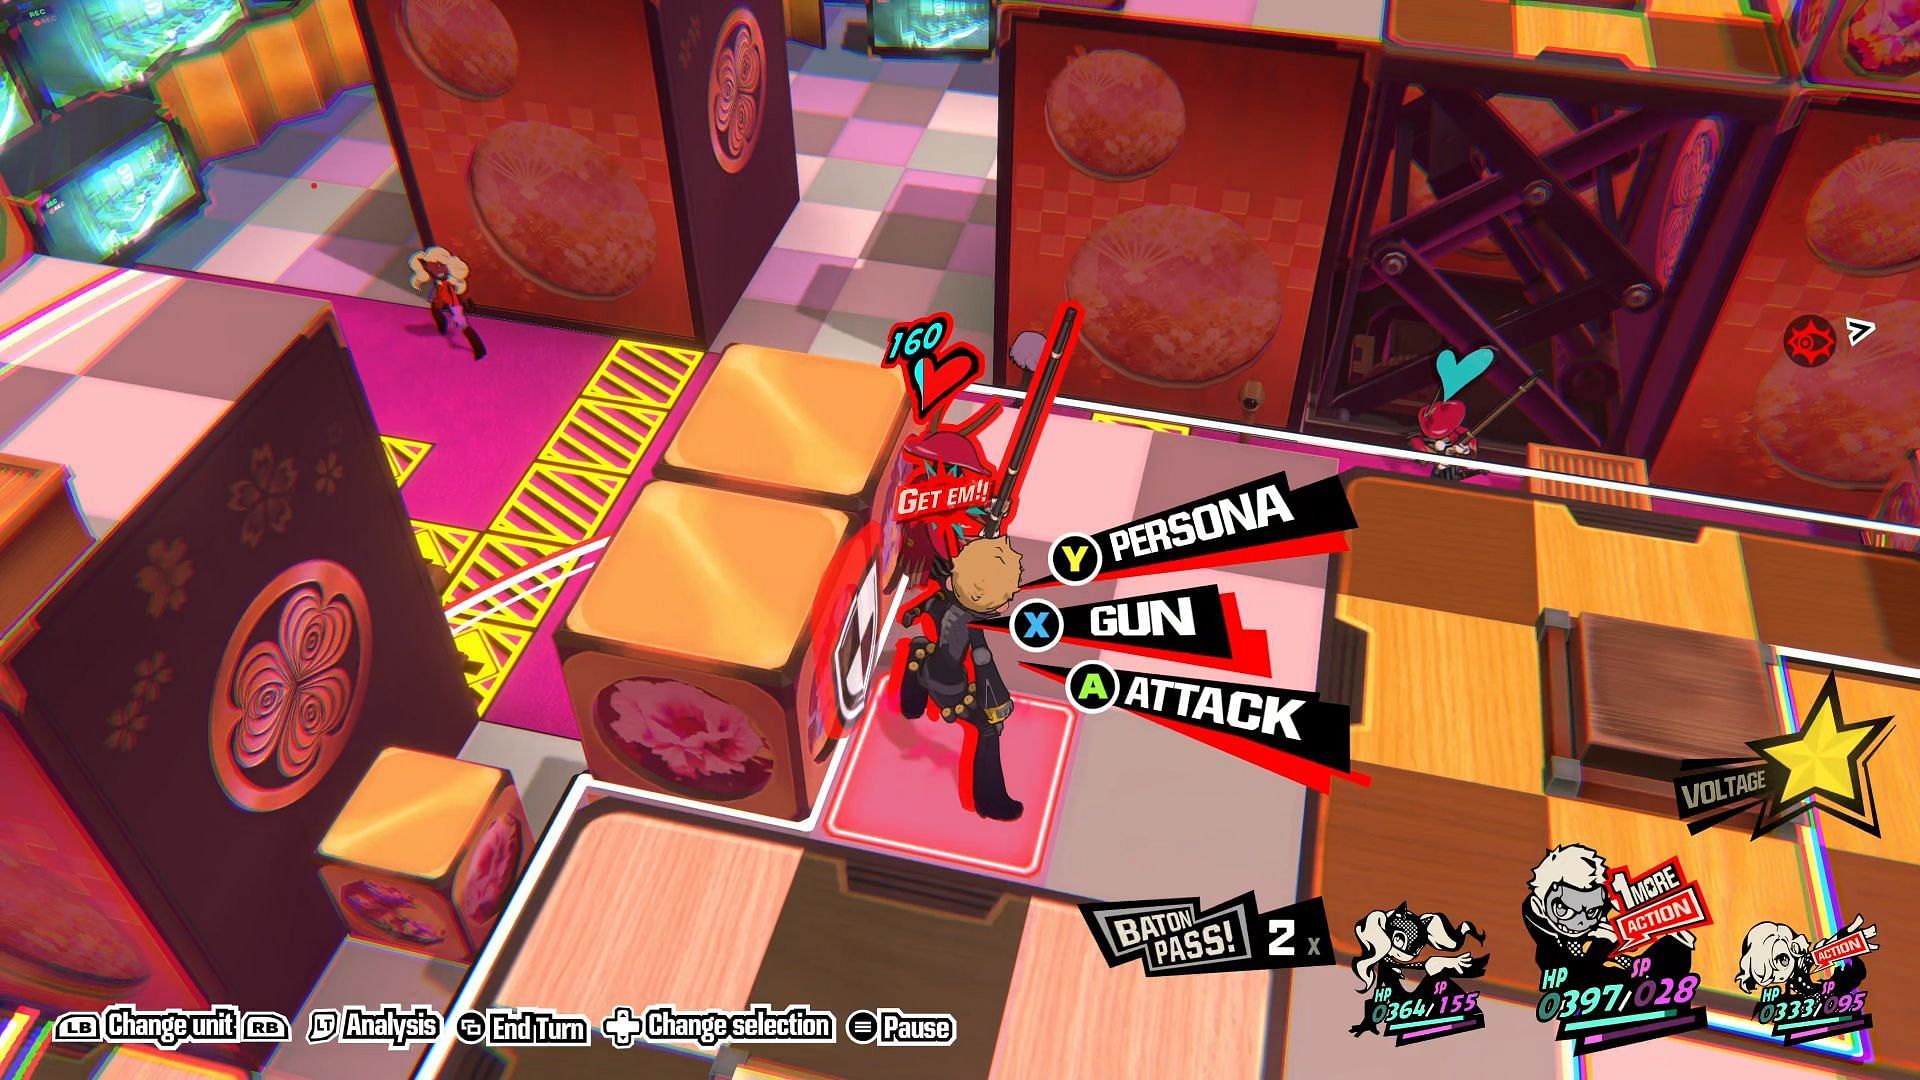
After taking out the initial round of enemies, Yoshiki will once again spawn more of them near the lift that leads up to him.
You can now either choose to take them all out with a Triple Threat or just ignore them and use the unit One More to activate the lift, reach Yoshiki, and shoot him.
You do not need to take out all the enemies to defeat Yoshiki in Persona 5 Tactica, you just need to reach him and shoot him with a gun. This will then trigger a cutscene and automatically lead the Phantom Thieves onto Kingdom 3.
Yoshiki can be a much more difficult fight if you are not managing the SP of your units properly.

Are you stuck on today's Wordle? Our Wordle Solver will help you find the answer.