
'%20x='0'%20y='0'%20height='100%25'%20width='100%25'%20%0A%20%20%20%20%20%20%20%20%20%20xlink%3Ahref='data:image/jpg;base64,/9j/2wBDAAYEBQYFBAYGBQYHBwYIChAKCgkJChQODwwQFxQYGBcUFhYaHSUfGhsjHBYWICwgIyYnKSopGR8tMC0oMCUoKSj/2wBDAQcHBwoIChMKChMoGhYaKCgoKCgoKCgoKCgoKCgoKCgoKCgoKCgoKCgoKCgoKCgoKCgoKCgoKCgoKCgoKCgoKCj/wgARCAAGAAoDASIAAhEBAxEB/8QAFgABAQEAAAAAAAAAAAAAAAAAAAMG/8QAFQEBAQAAAAAAAAAAAAAAAAAABAX/2gAMAwEAAhADEAAAAMZYlv8A/8QAIRAAAgIBAgcAAAAAAAAAAAAAAQIDBAAREhUWRVKRktH/2gAIAQEAAT8A49LHWqm8jW9kksrF31LBmDBF7R5znGoei1/YfM//xAAZEQABBQAAAAAAAAAAAAAAAAABAAIDBDH/2gAIAQIBAT8AZYkA1f/EABgRAAIDAAAAAAAAAAAAAAAAAAIRAAED/9oACAEDAQE/ADyCySn/2Q=='%3E%3C/image%3E%3C/svg%3E)
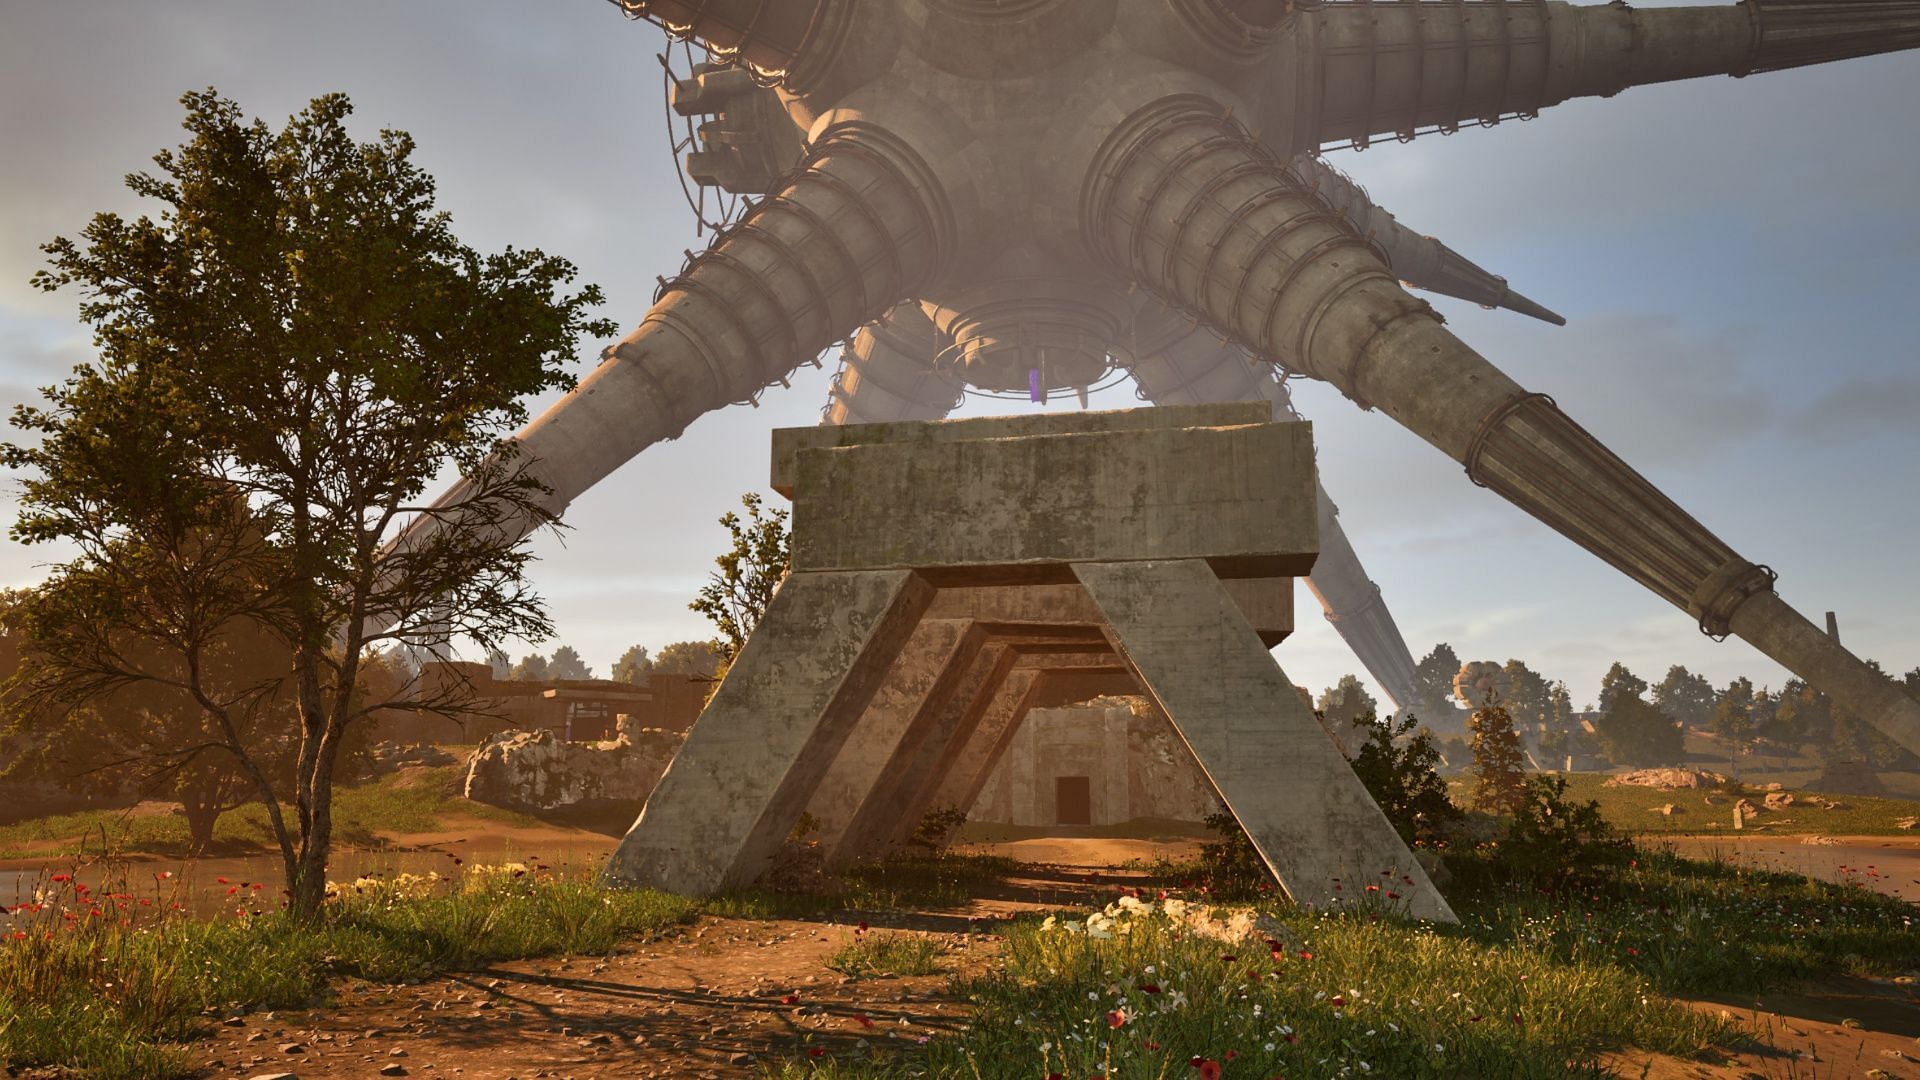
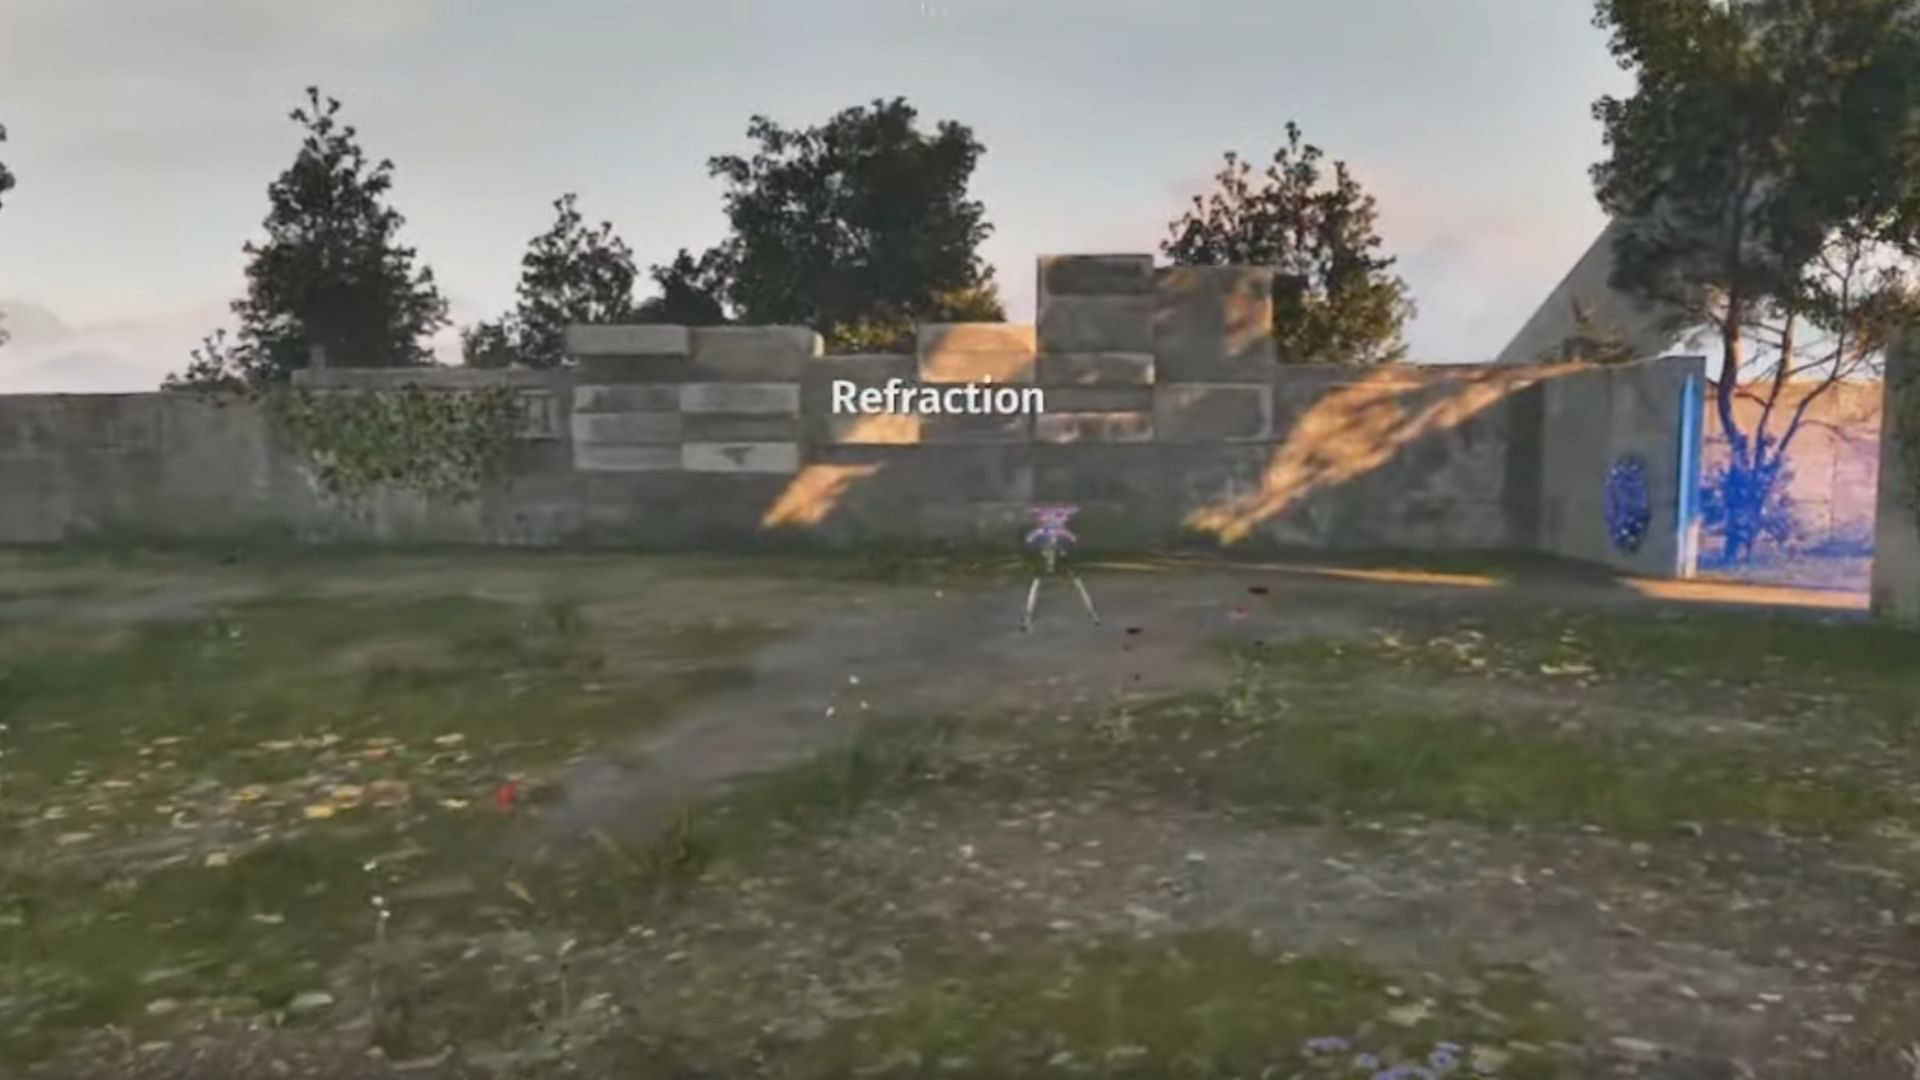
Refraction, a challenging puzzle in The Talos Principle 2, is situated in the Eastern Wetlands region. This area can be accessed during the main campaign playthrough and features a total of eight distinct puzzle types. In each puzzle within the Eastern Wetlands region, the common objective is to engage with a central device. Successfully interacting with the main device leads to the completion of the puzzles.
Engaging with the main device poses a challenge due to the presence of the blue laser barriers. Effectively utilizing the tools and activating the colorful switches is crucial to clear the way for the central device.
This guide offers helpful tips to successfully navigate the Refraction puzzle in The Talos Principle 2.
Looking for Crossword hints & solutions? Check out latest NYT Mini Crossword Answers, LA Times Crossword Answers, and Atlantic Crossword Answers
How to solve the Refraction puzzle in The Talos Principle 2
Upon entering the Eastern Wetlands, your initial task involves solving a sequence of puzzles, namely Inversion, Energy Maintenance, and There and Back Again. Once these challenges are successfully completed, you will unlock the Refraction puzzle.
Similar to other puzzles in The Talos Principle 2, Refraction introduces helpful tools like inverters and colorful switches. Your objective is to activate the switches using the inverters, thereby clearing the path for the main device.
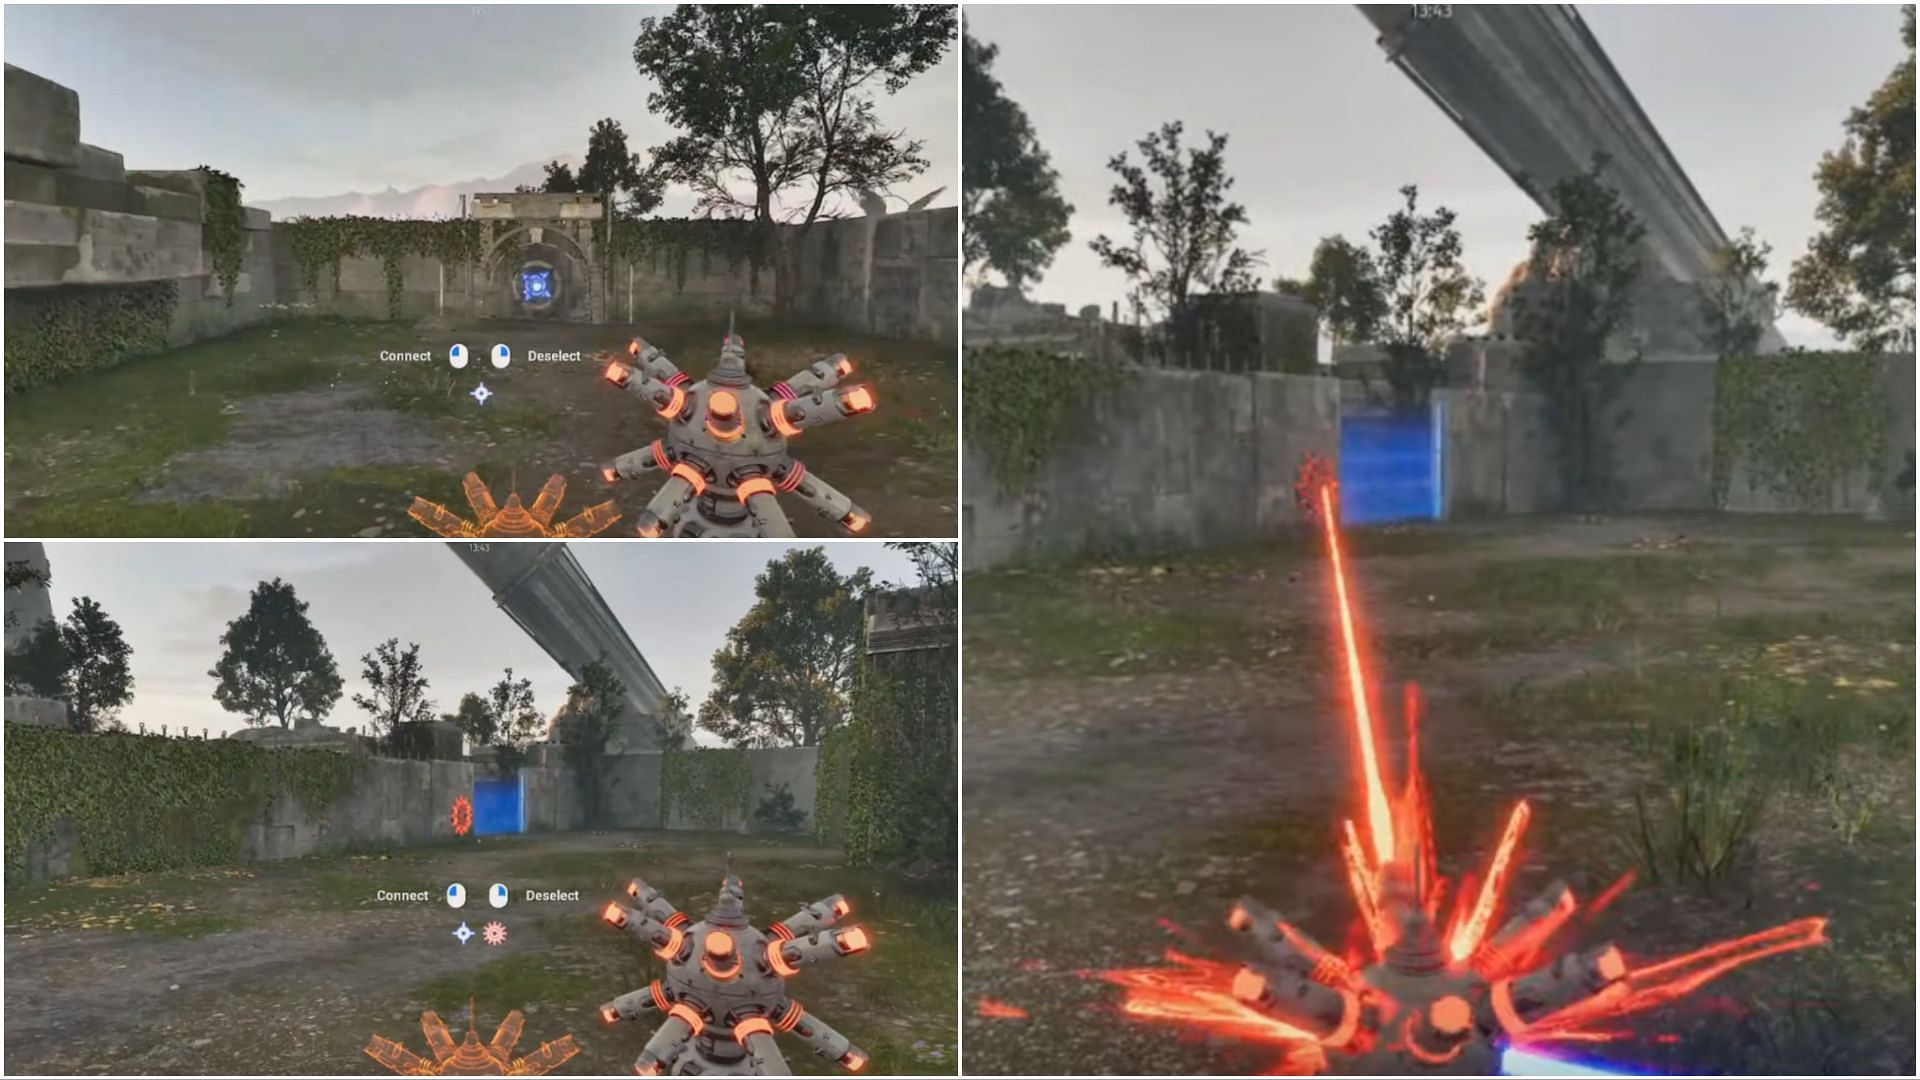
Start the Refraction puzzle by picking up the inverter. Then, make a left turn, where you'll find a blue switch. Choose the switch while holding the inverter. After that, turn left again, and you'll encounter a blue laser barrier, and near it is a red switch.
Select the red switch, keeping the inverter in hand. Follow the image above to correctly position the inverter. This will, in turn, deactivate the blue laser barrier and unlock the path.
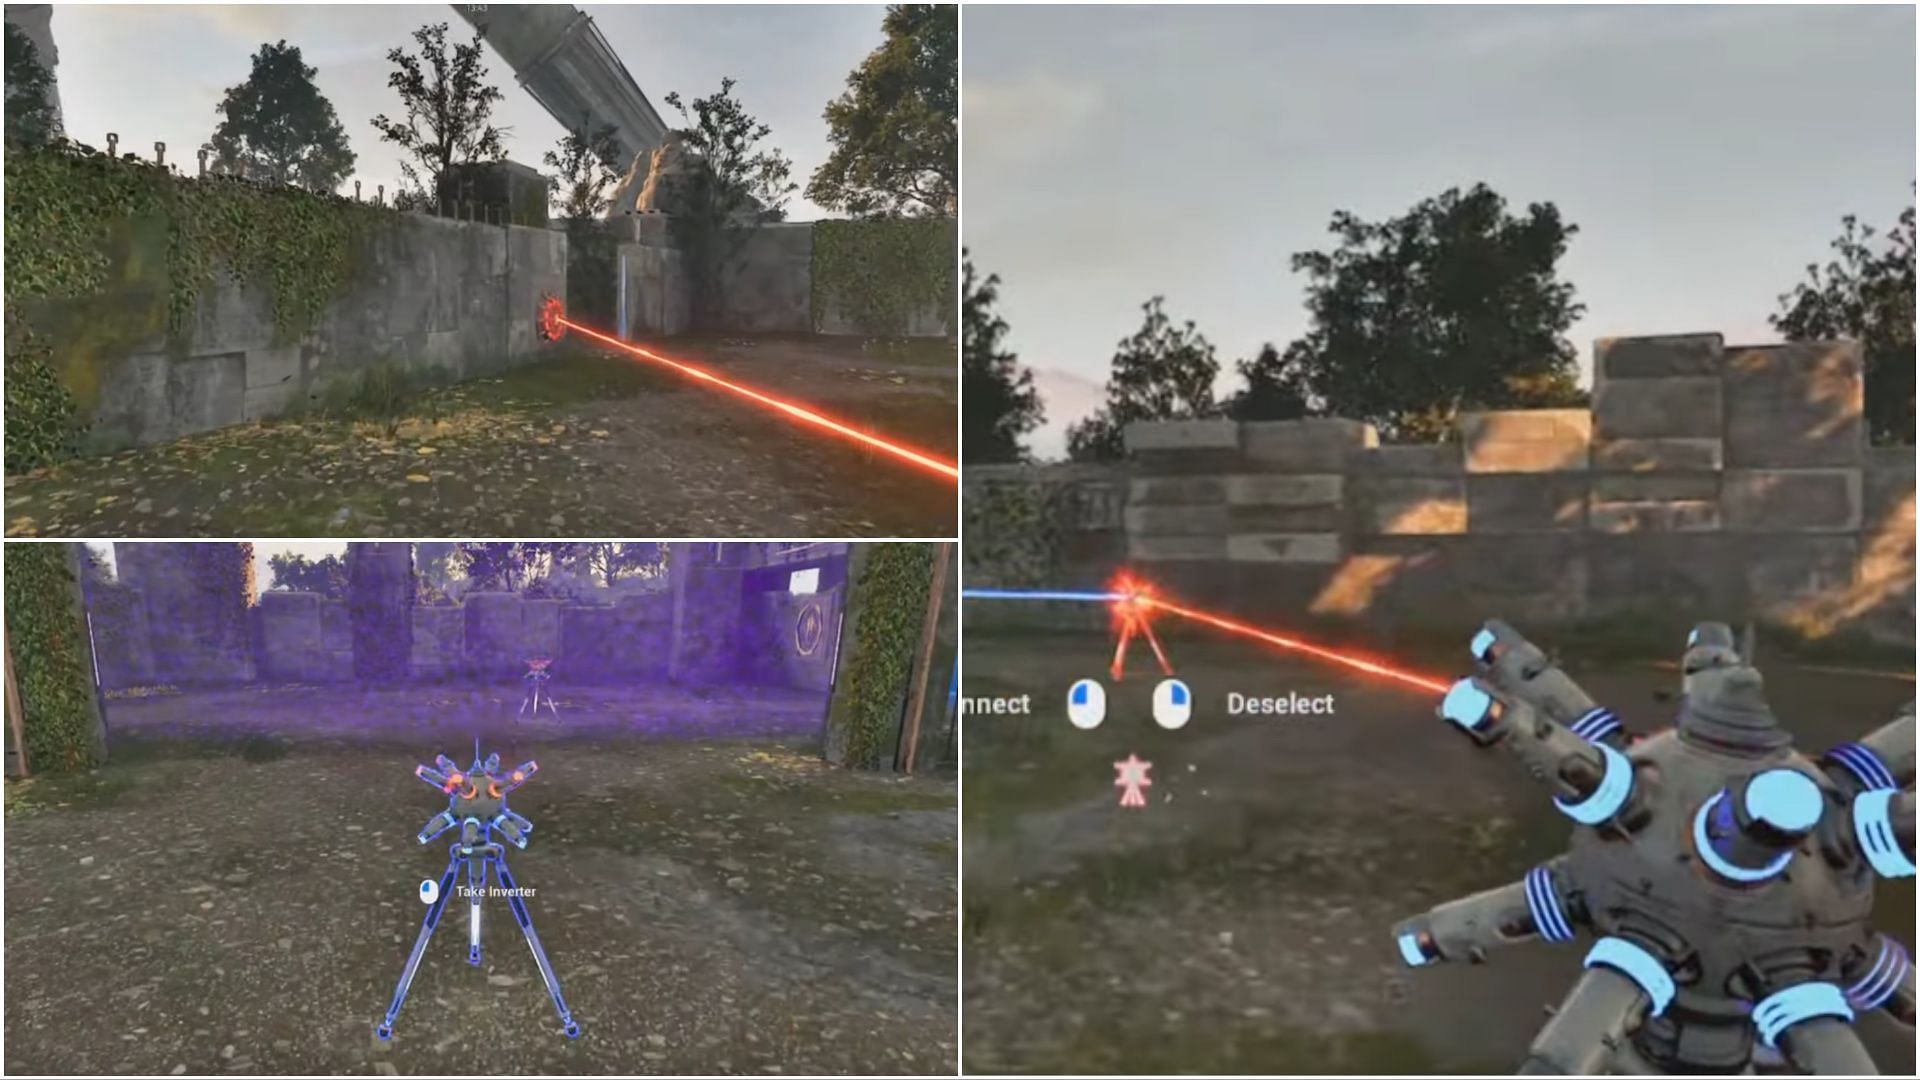
Navigate to that area, turn left, and discover another inverter. Grab it, return it to the previous inverter, and select it. Use the image above for guidance.
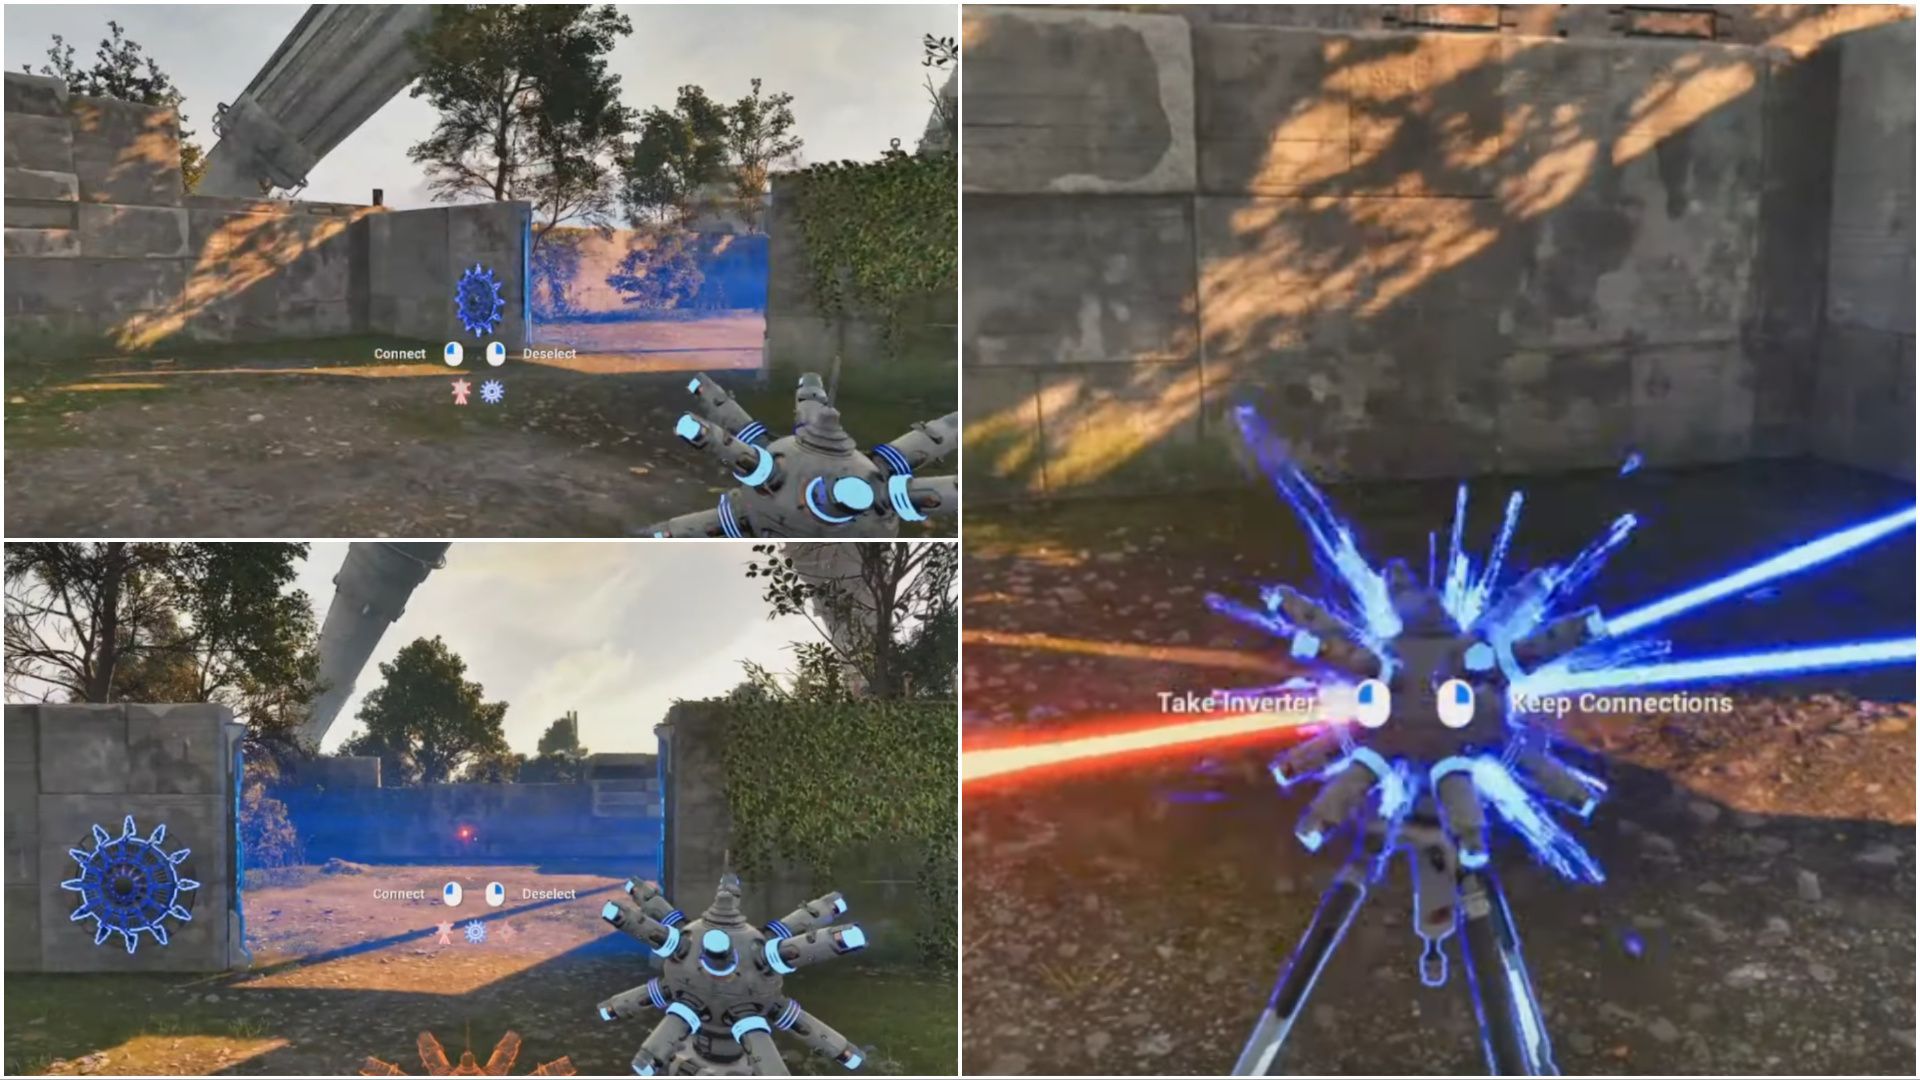
Turn right, and you'll encounter another blue laser barrier beside a blue switch. Select the switch, and then proceed near the blue laser barrier. Here, you will find a red switch. Select this switch while holding the inverter and position the latter according to the image above.
Double back and retrieve the initial inverter you used in the puzzle. Then, select the inverter in front of you, turn right, and activate the red switch. Following that, select the inverter near the primary device area. Head towards the main device area, pick up the inverter, turn right, and choose the blue switch. Now, place the inverter on the ground, successfully aligning all lasers and clearing the path for the main device.

Are you stuck on today's Wordle? Our Wordle Solver will help you find the answer.