
'%20x='0'%20y='0'%20height='100%25'%20width='100%25'%20%0A%20%20%20%20%20%20%20%20%20%20xlink%3Ahref='data:image/jpg;base64,/9j/2wBDAAYEBQYFBAYGBQYHBwYIChAKCgkJChQODwwQFxQYGBcUFhYaHSUfGhsjHBYWICwgIyYnKSopGR8tMC0oMCUoKSj/2wBDAQcHBwoIChMKChMoGhYaKCgoKCgoKCgoKCgoKCgoKCgoKCgoKCgoKCgoKCgoKCgoKCgoKCgoKCgoKCgoKCgoKCj/wgARCAAGAAoDASIAAhEBAxEB/8QAFQABAQAAAAAAAAAAAAAAAAAAAAb/xAAUAQEAAAAAAAAAAAAAAAAAAAAE/9oADAMBAAIQAxAAAAC9mQpv/8QAHRAAAwEAAwADAAAAAAAAAAAAAQIDBAAFESFRsf/aAAgBAQABPwAN1FcOXNHLHFdEmHsnXQsWAX5Hj/vNXRpbTaqVKq7lgAiqACfoDwc//8QAFREBAQAAAAAAAAAAAAAAAAAAAgD/2gAIAQIBAT8ADV//xAAYEQEAAwEAAAAAAAAAAAAAAAABAAIDEf/aAAgBAwEBPwDSoh2f/9k='%3E%3C/image%3E%3C/svg%3E)
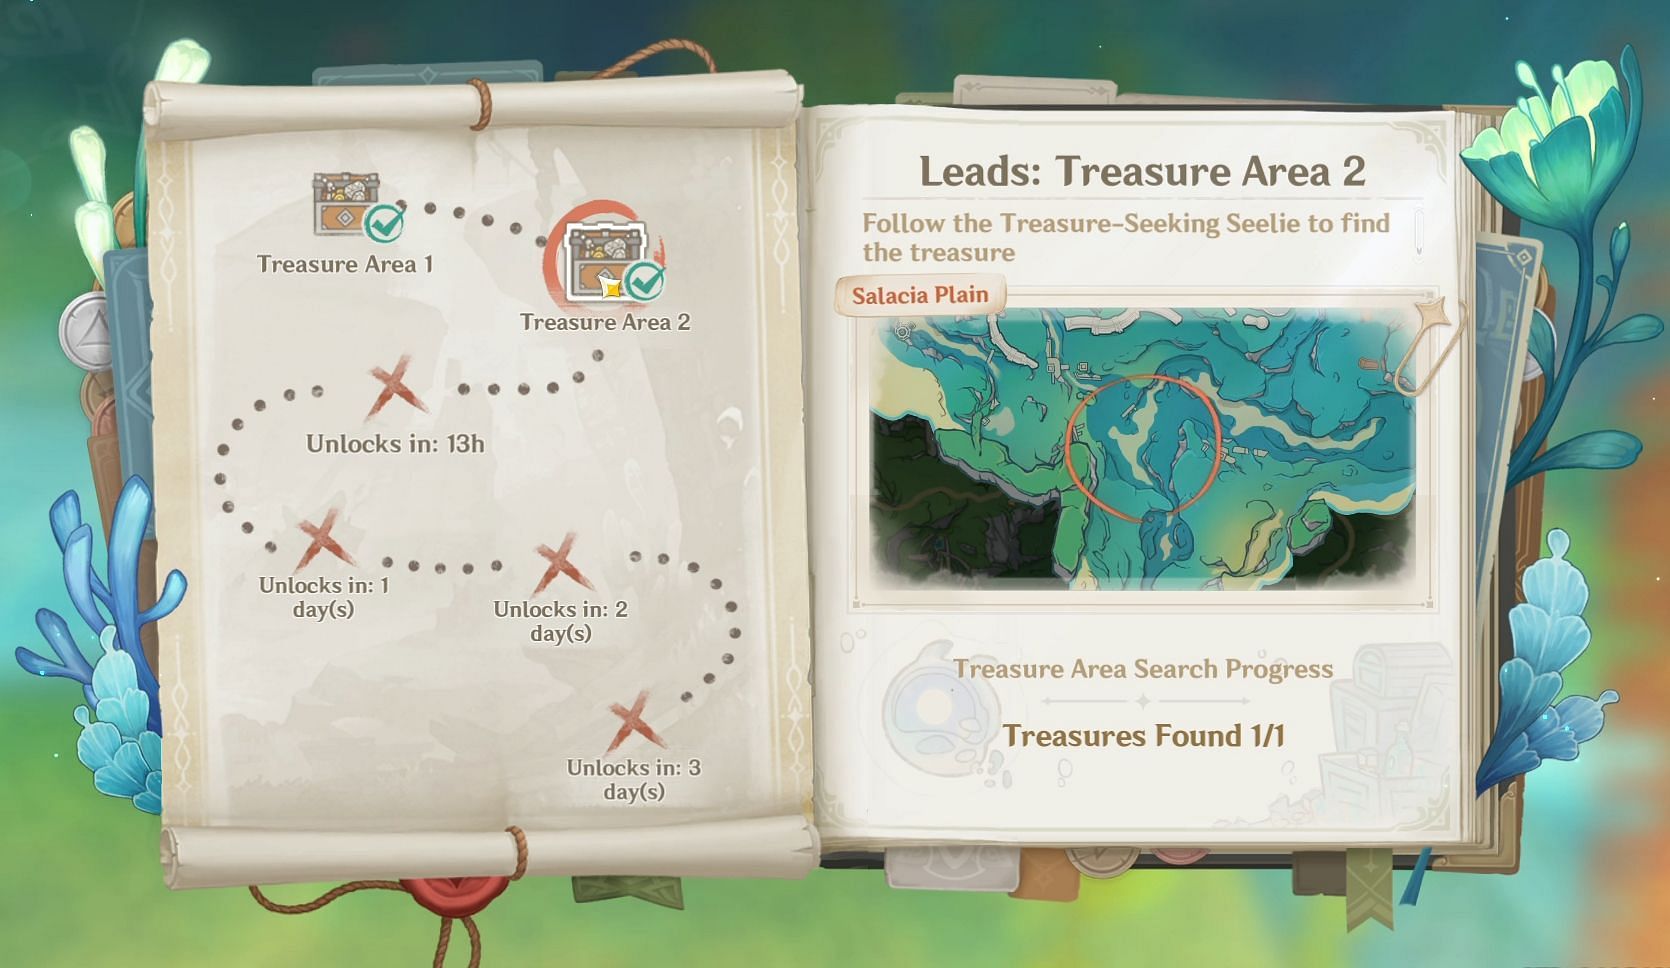
The Treasure Area 2 of Genshin Impact 4.3's Lost Riches event is now available. This time, the chest is located in the Salacia Plain, an underwater region in Fontaine. Unlike the first Treasure Area, the second area only has one treasure and three energy emissions, protected by Mist Bubbles. To absorb the energy, you must approach the bubbles and complete a few challenges, such as bursting Pufferfruit and defeating enemies.
This article will guide you on how to find the chest in Treasure Area 2 in Genshin Impact 4.3's Lost Riches event.
Genshin Impact 4.3: Lost Riches Treasure Area 2 (Salacia Plain) Guide
Looking for Crossword hints & solutions? Check out latest NYT Mini Crossword Answers, LA Times Crossword Answers, and Atlantic Crossword Answers
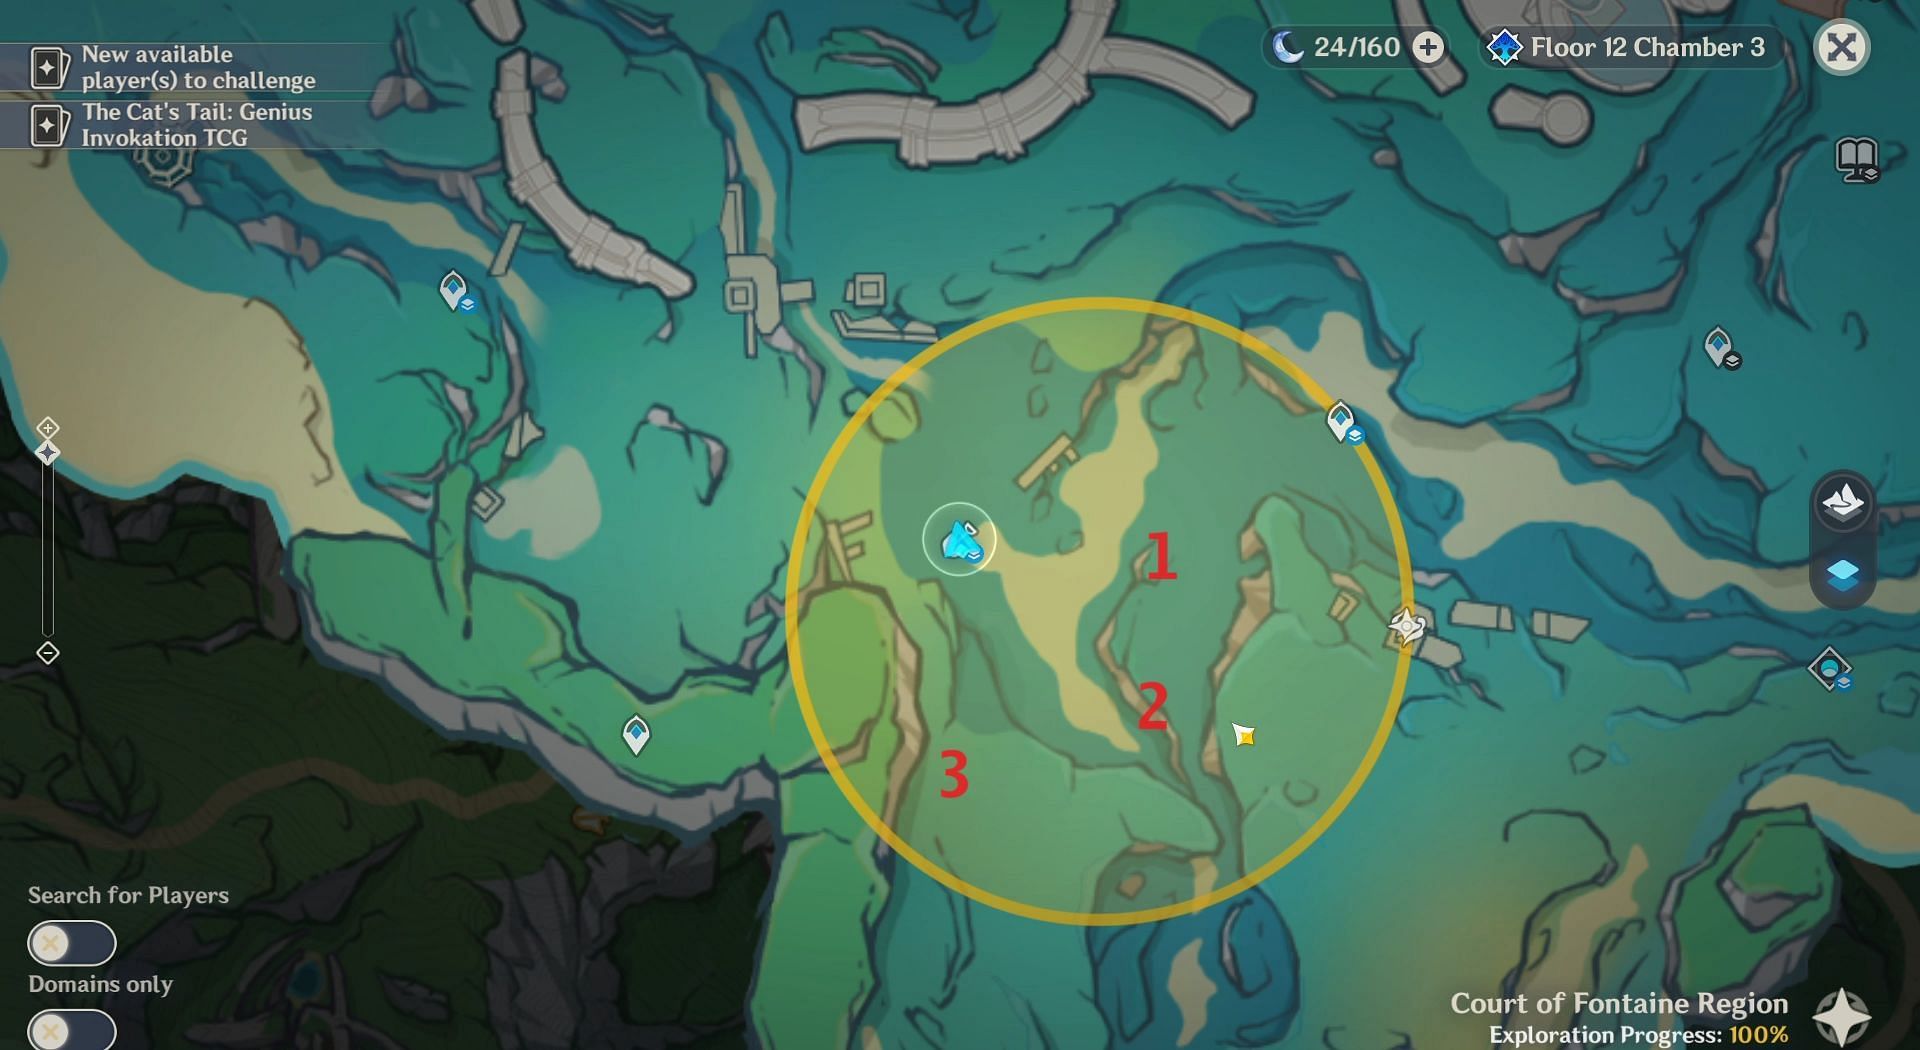
Use the nearby teleport waypoint in Salacia Plain to reach the second Treasure Area. As mentioned earlier, the energy emissions are protected by Mist Bubbles, and you can burst them by completing some challenges.
Energy Emission location 1
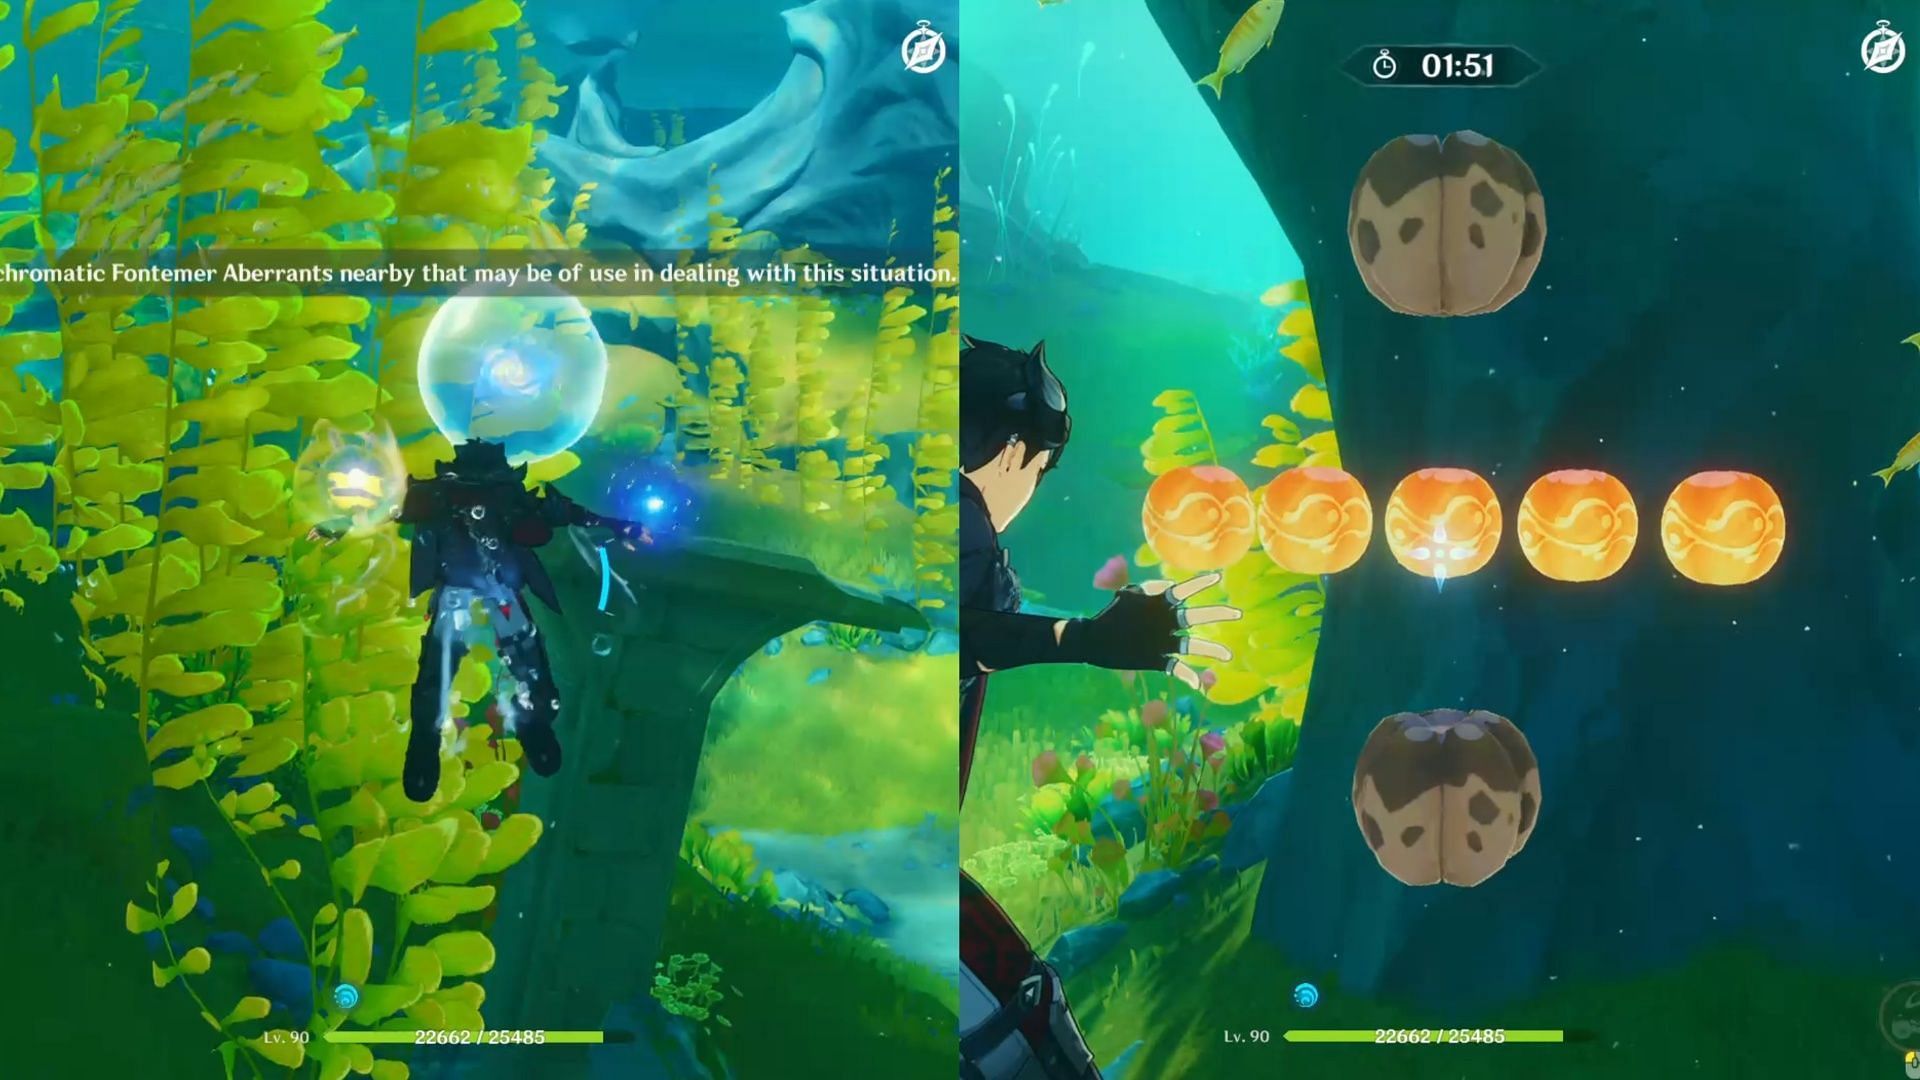
Remember to equip the Treasure-Seeking Seelie before you start. The first Energy Emission can be found on top of the broken pillar located southwest of the teleport waypoint. Copy the nearby Xenochromatic Hunter's Ray's ability and approach the Mist Bubble to start the Pufferfruit challenge.
To complete the challenge, you must burst all the Pufferfruits (yellow). Try to avoid hitting Dirty Fruits (brown) because it will reset the challenge.
Energy Emission location 2
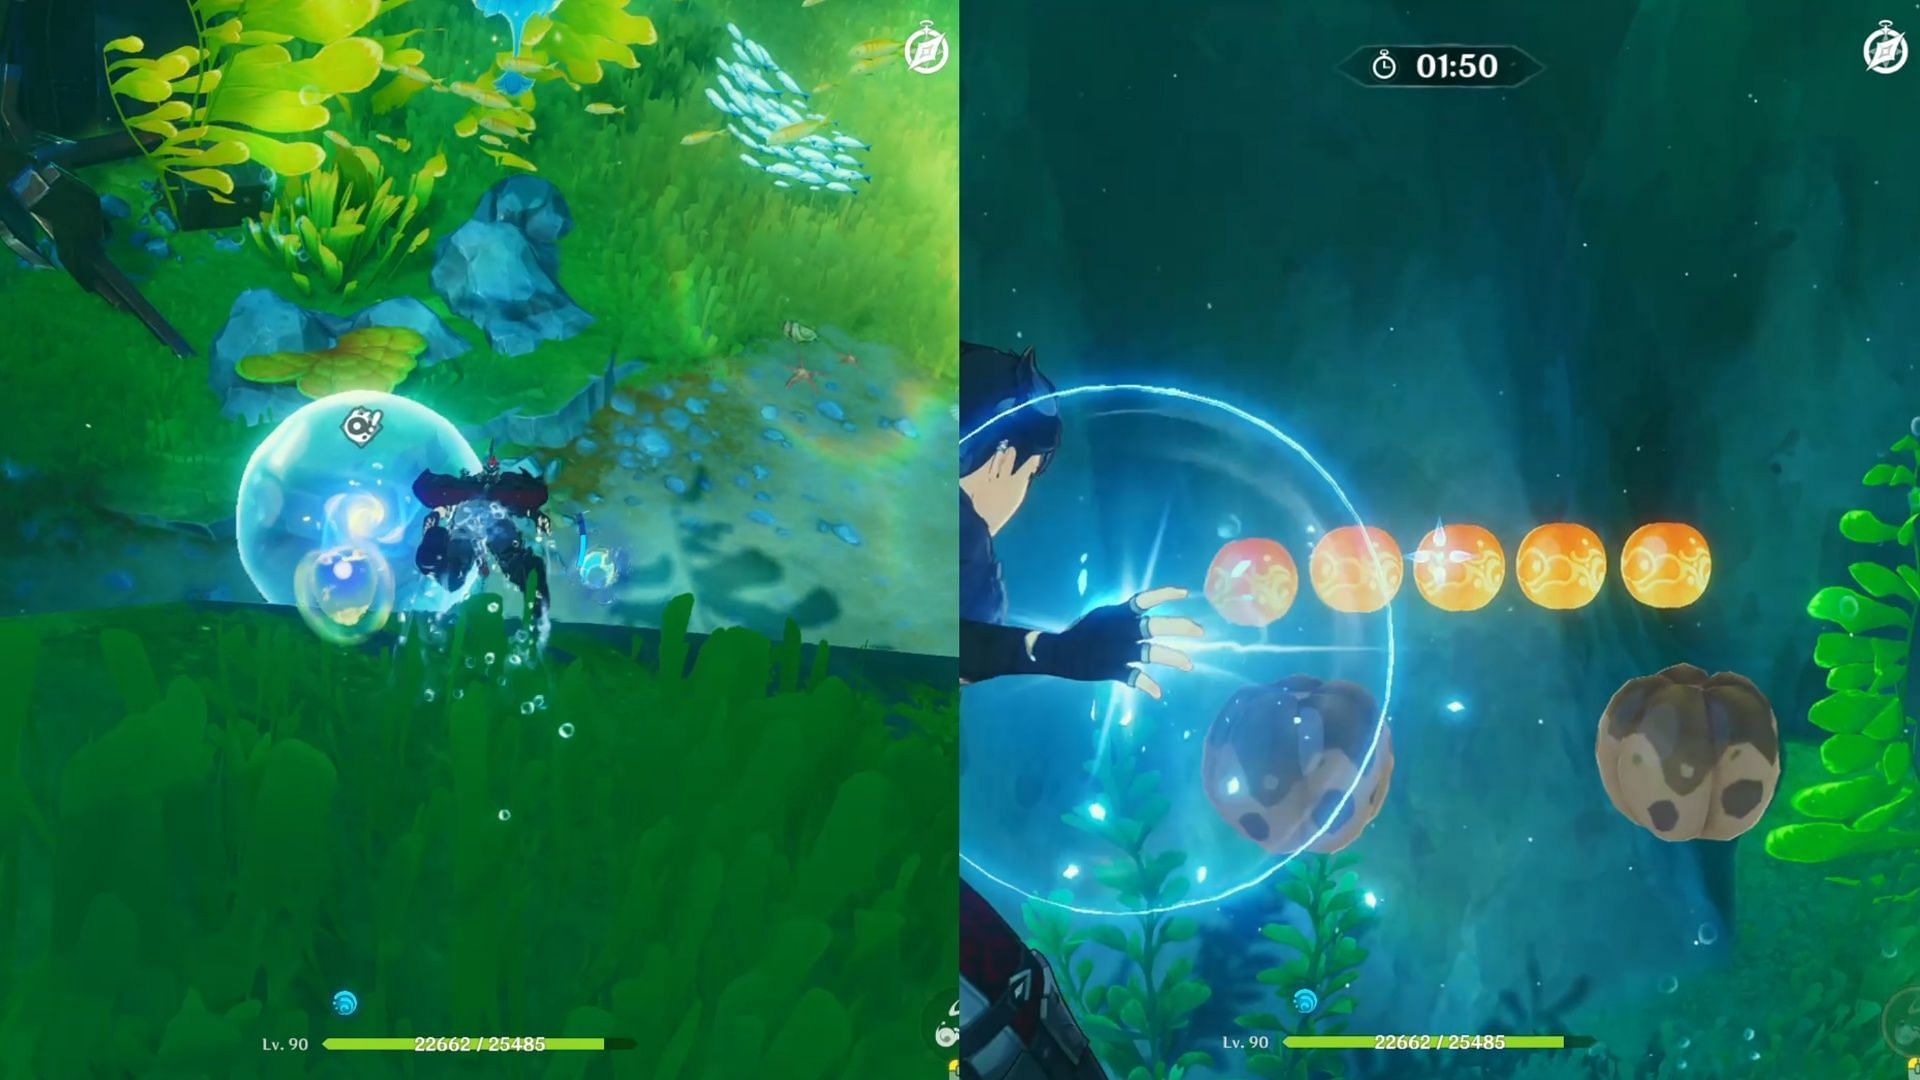
Head southwest from your previous location to find the second Energy Emission near a sunken ship. Approach the Mist Bubble to start the challenge. Once again, burst the Pufferfruits (yellow) while avoiding the Dirty Fruits (brown).
Energy Emission location 3

After absorbing the second energy orb, head west to find the third Energy Emission. Get close to the Mist Bubble and start the final challenge of the second Treasure Area in Genshin Impact's Lost Riches event. This time, you need to defeat a few Fontemer Aberrants. Use the Xenochromatic Hunter's Ray's ability to kill them.
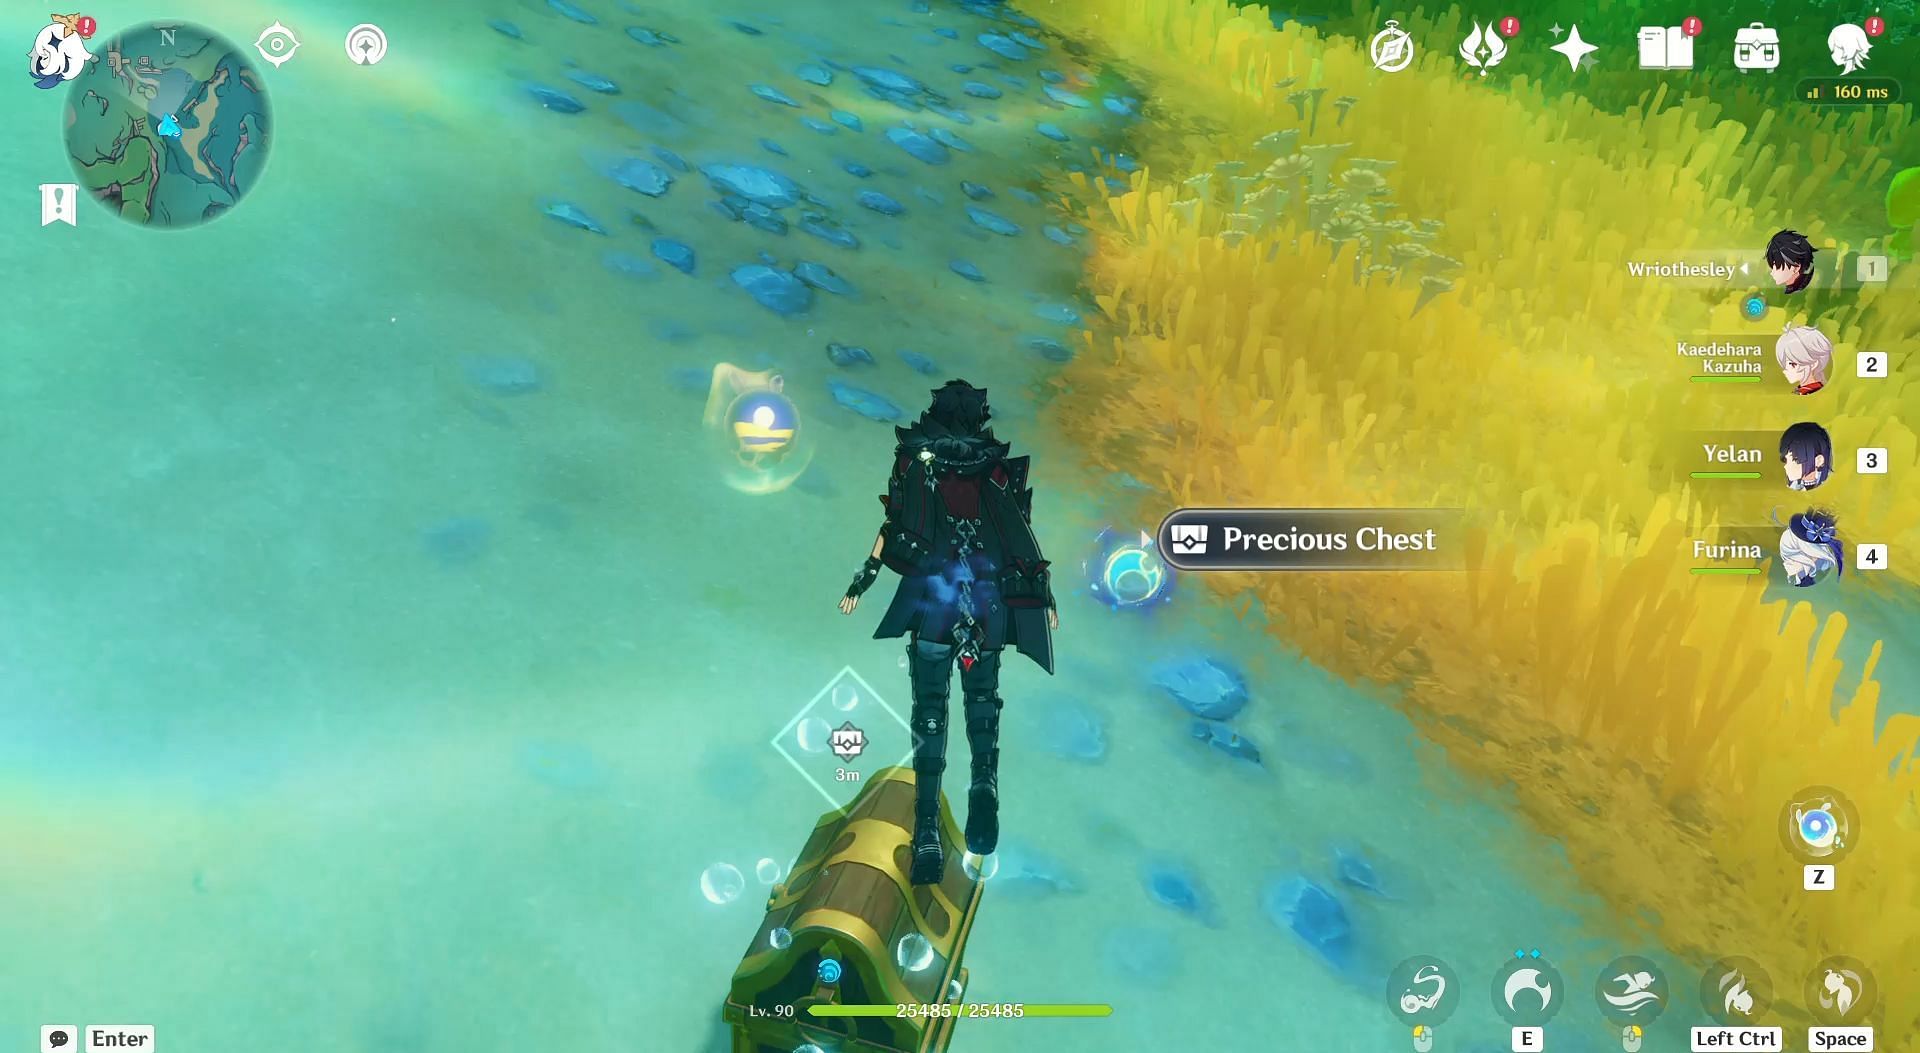
Once the Treasure-Seeking Seelie has regained its vitality by absorbing all the energy, it will mark the location of the treasure chest in the area. Follow the map and dig in the marked spot to get a Precious Chest. Opening it will give you 20 Primogems, 90 Ancient Iron Coins, and 50,000 Mora.
This concludes the Genshin Impact 4.3 Lost Richest Treasure Area 2 guide.

Are you stuck on today's Wordle? Our Wordle Solver will help you find the answer.