
'%20x='0'%20y='0'%20height='100%25'%20width='100%25'%20%0A%20%20%20%20%20%20%20%20%20%20xlink%3Ahref='data:image/jpg;base64,/9j/2wBDAAYEBQYFBAYGBQYHBwYIChAKCgkJChQODwwQFxQYGBcUFhYaHSUfGhsjHBYWICwgIyYnKSopGR8tMC0oMCUoKSj/2wBDAQcHBwoIChMKChMoGhYaKCgoKCgoKCgoKCgoKCgoKCgoKCgoKCgoKCgoKCgoKCgoKCgoKCgoKCgoKCgoKCgoKCj/wgARCAAGAAoDASIAAhEBAxEB/8QAFgABAQEAAAAAAAAAAAAAAAAAAAUG/8QAFQEBAQAAAAAAAAAAAAAAAAAABAX/2gAMAwEAAhADEAAAAMrSJ6f/xAAgEAABBAEEAwAAAAAAAAAAAAABAgMEBQAGERITIoPS/9oACAEBAAE/AKindf1TZMyDHFbHWGG0IR5hXXy5YdLwAduwn0j6z//EABcRAAMBAAAAAAAAAAAAAAAAAAABAiH/2gAIAQIBAT8Ap6f/xAAVEQEBAAAAAAAAAAAAAAAAAAABAP/aAAgBAwEBPwAC/9k='%3E%3C/image%3E%3C/svg%3E)
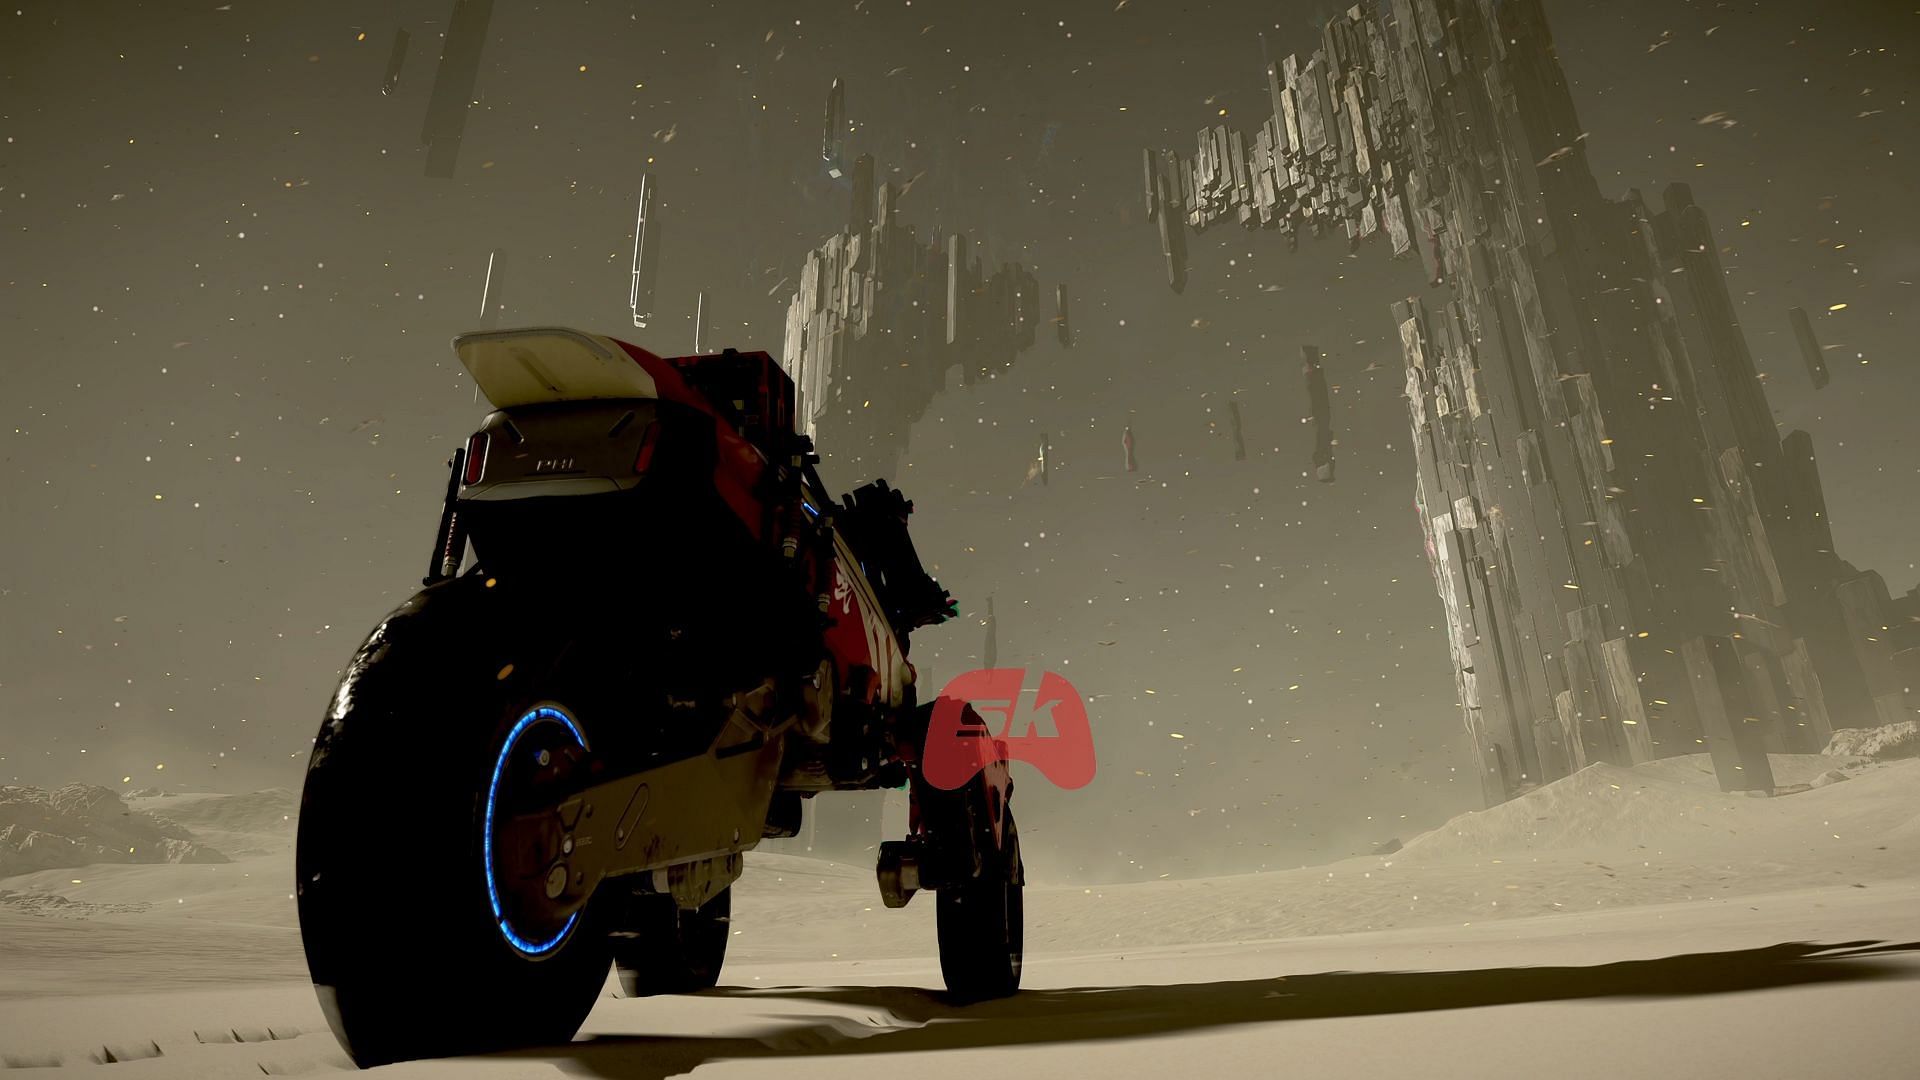
Taking photos in Death Stranding 2 goes beyond simply snapping pretty landscapes; it’s a comprehensive system filled with customization options. Like increasing your base level, this feature exposes deeper facets of gameplay and means of expression. Everything from character poses to lighting can be changed, and the in-game Photo Mode allows you to manipulate every frame.
Here’s a breakdown of how to take photos in Death Stranding 2, and what each setting does in the game.
How to enter Photo mode and take photos in Death Stranding 2
Photo mode controls
Looking for Crossword hints & solutions? Check out latest NYT Mini Crossword Answers, LA Times Crossword Answers, and Atlantic Crossword Answers
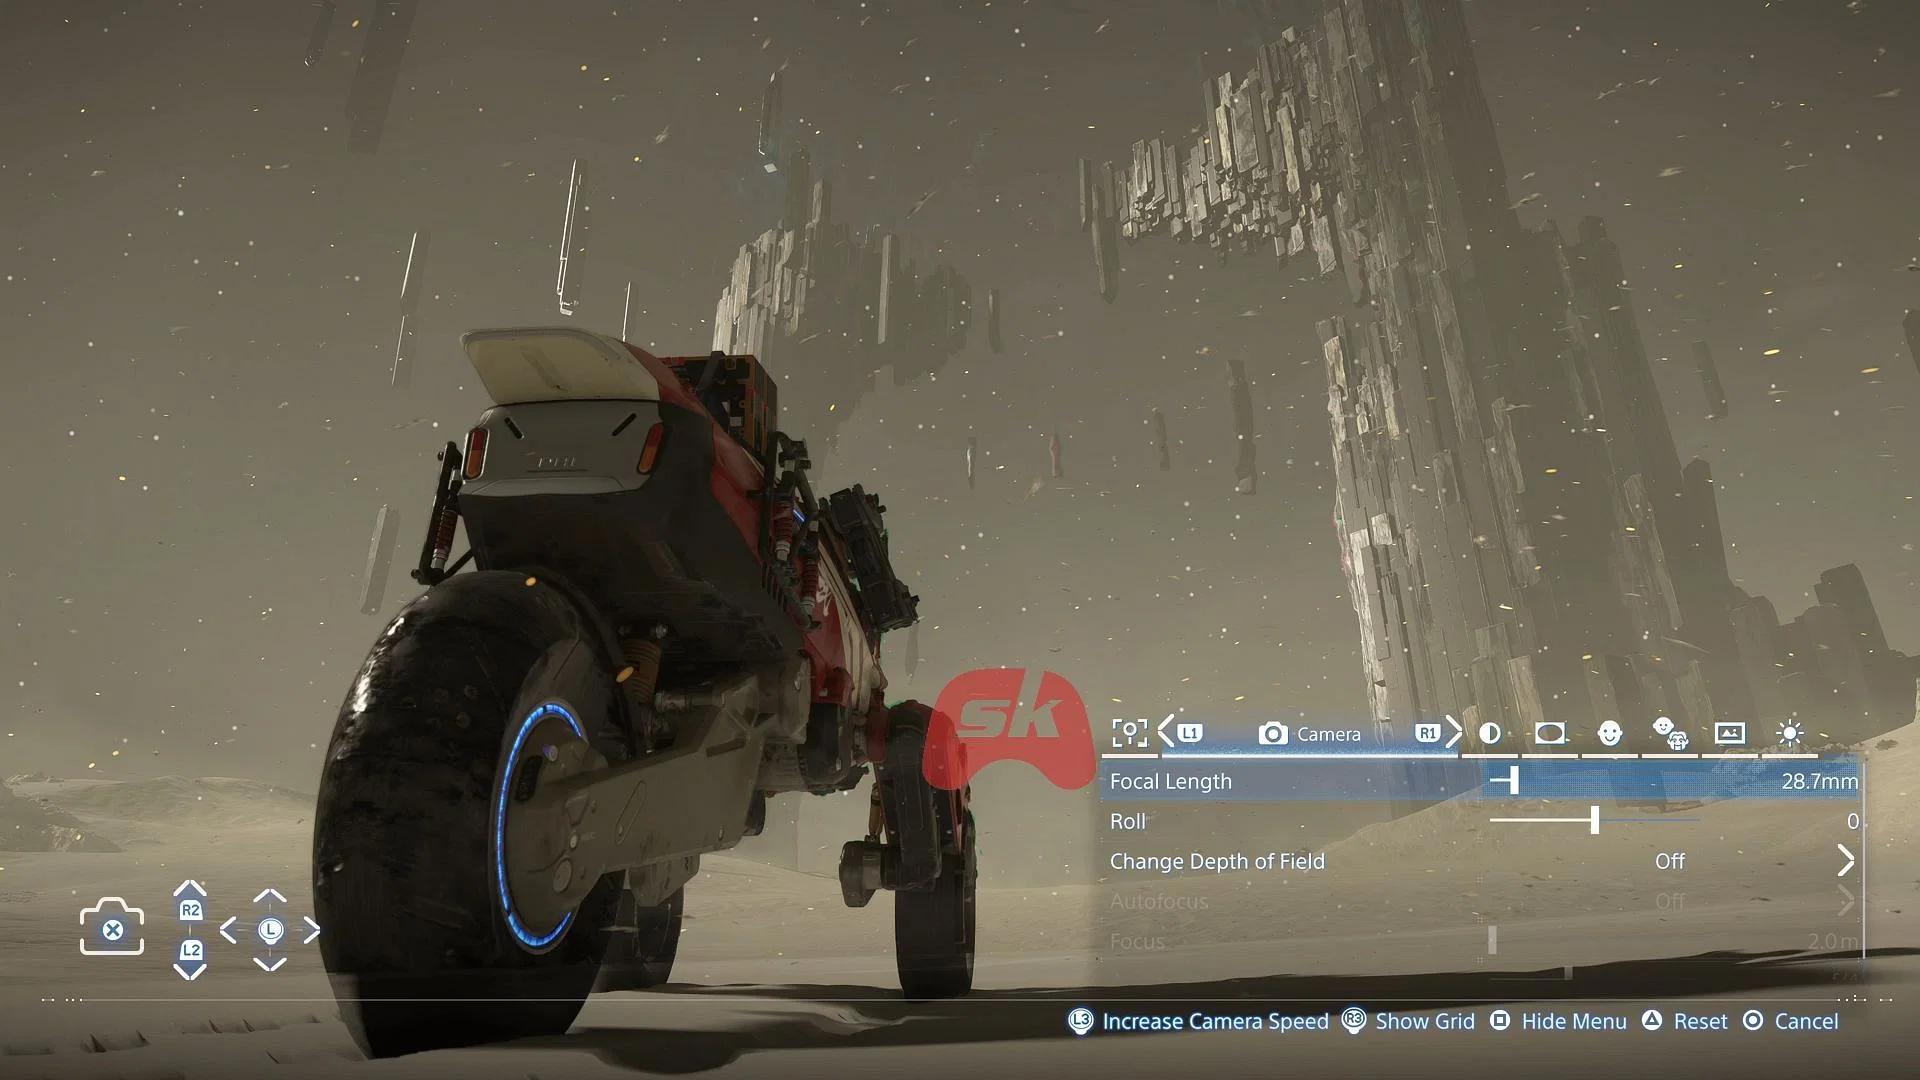
DS2's Photo mode includes everything you should need to get some richly detailed, well-lit images, and you can even change character poses, lighting, and camera filters to get the desired effect. To activate the photo mode, simply press the left side of the Touchpad on your controller. Once inside, here’s how the controls work:
- X – Take the photo
- L2 / R2 – Move the camera up or down
- Left Stick – Move the camera around freely
- L3 – Increase the camera’s movement speed
- R3 – Shows grid
- Square – Hide the Photo Mode settings menu
- Triangle – Reset all settings to default
- Circle – Exit Photo Mode without saving
- L1 / R1 – Cycle through different setting tabs
You’ve got full control to zoom, adjust angles, tweak the depth of field, and get that perfect shot before locking it in. However, be careful: the right side of the Touchpad triggers Sam to shout. If you accidentally do that in a BT area, it might cause issues. So always double-check which side you're pressing before taking a picture.
Also read: How to save game in Death Stranding 2
Every Photo mode setting in Death Stranding 2
Below is a detailed breakdown of every category and option you can adjust while using Death Stranding 2's Photo mode:
Game
- Show UI
- Show Signs
- Show Odradek Scan
Camera
- Focal Length
- Roll
- Change Depth of Field
- Autofocus
- Focus
- Aperture
Brightness/Filter
- Exposure
- Contrast
- Color Filters
- Filter Type
- Filter Strength
- Noise
Lens Effect
- Vignette
- Vignette Size
- Vignette Strength
- Lens Distortion
- Chromatic Aberration
Sam
- Show Sam
- Sam’s Expression
- Sam’s Eyeline
- Turn Sam's Face Toward Camera
- Turn Sam's Body Toward Camera
- Tilt Weight
- Detailed Tilt Settings
- Face & Body Tilt (Vertical)
- Face & Body Tilt (Horizontal)
Lou and Dollman
- Lou’s Pose
- Lou’s Expression
- Lou’s Eyeline
- BB Pod Light
- Dollman’s Pose
- Dollman's Expression
- Dollman's Eyeline
Frame
- Frame
- Logo
- Logo Color
- Logo Position Horizontal
- Logo Position Vertical
- Logo Rotation
Light
- Light
- On/Off
- Show Shadows
- Intensity
- Hue
- Saturation
- Spread
- Softness
Once everything’s set, you can hide the menu with Square, check the framing, and press X to take photos in Death Stranding 2. That’s it. The game saves your photo, and you can go back to exploring or snapping more as you continue your journey.
That concludes our guide on taking photos in Death Stranding 2.
Check out: How to check map in Death Stranding 2

Are you stuck on today's Wordle? Our Wordle Solver will help you find the answer.