
'%20x='0'%20y='0'%20height='100%25'%20width='100%25'%20%0A%20%20%20%20%20%20%20%20%20%20xlink%3Ahref='data:image/jpg;base64,/9j/2wBDAAYEBQYFBAYGBQYHBwYIChAKCgkJChQODwwQFxQYGBcUFhYaHSUfGhsjHBYWICwgIyYnKSopGR8tMC0oMCUoKSj/2wBDAQcHBwoIChMKChMoGhYaKCgoKCgoKCgoKCgoKCgoKCgoKCgoKCgoKCgoKCgoKCgoKCgoKCgoKCgoKCgoKCgoKCj/wgARCAAGAAoDASIAAhEBAxEB/8QAFgABAQEAAAAAAAAAAAAAAAAAAAUH/8QAFQEBAQAAAAAAAAAAAAAAAAAABAX/2gAMAwEAAhADEAAAALmbgr//xAAhEAACAQMDBQAAAAAAAAAAAAABAwIEBQYAERIUISIxQf/aAAgBAQABPwDBMpu1XiF4WGw3QvzEh2ZEjTF3pTJLRXUkExPGEekgdh8HrX//xAAXEQEAAwAAAAAAAAAAAAAAAAABAAIh/9oACAECAQE/AGy4z//EABcRAQADAAAAAAAAAAAAAAAAAAEAAiH/2gAIAQMBAT8AqBpP/9k='%3E%3C/image%3E%3C/svg%3E)
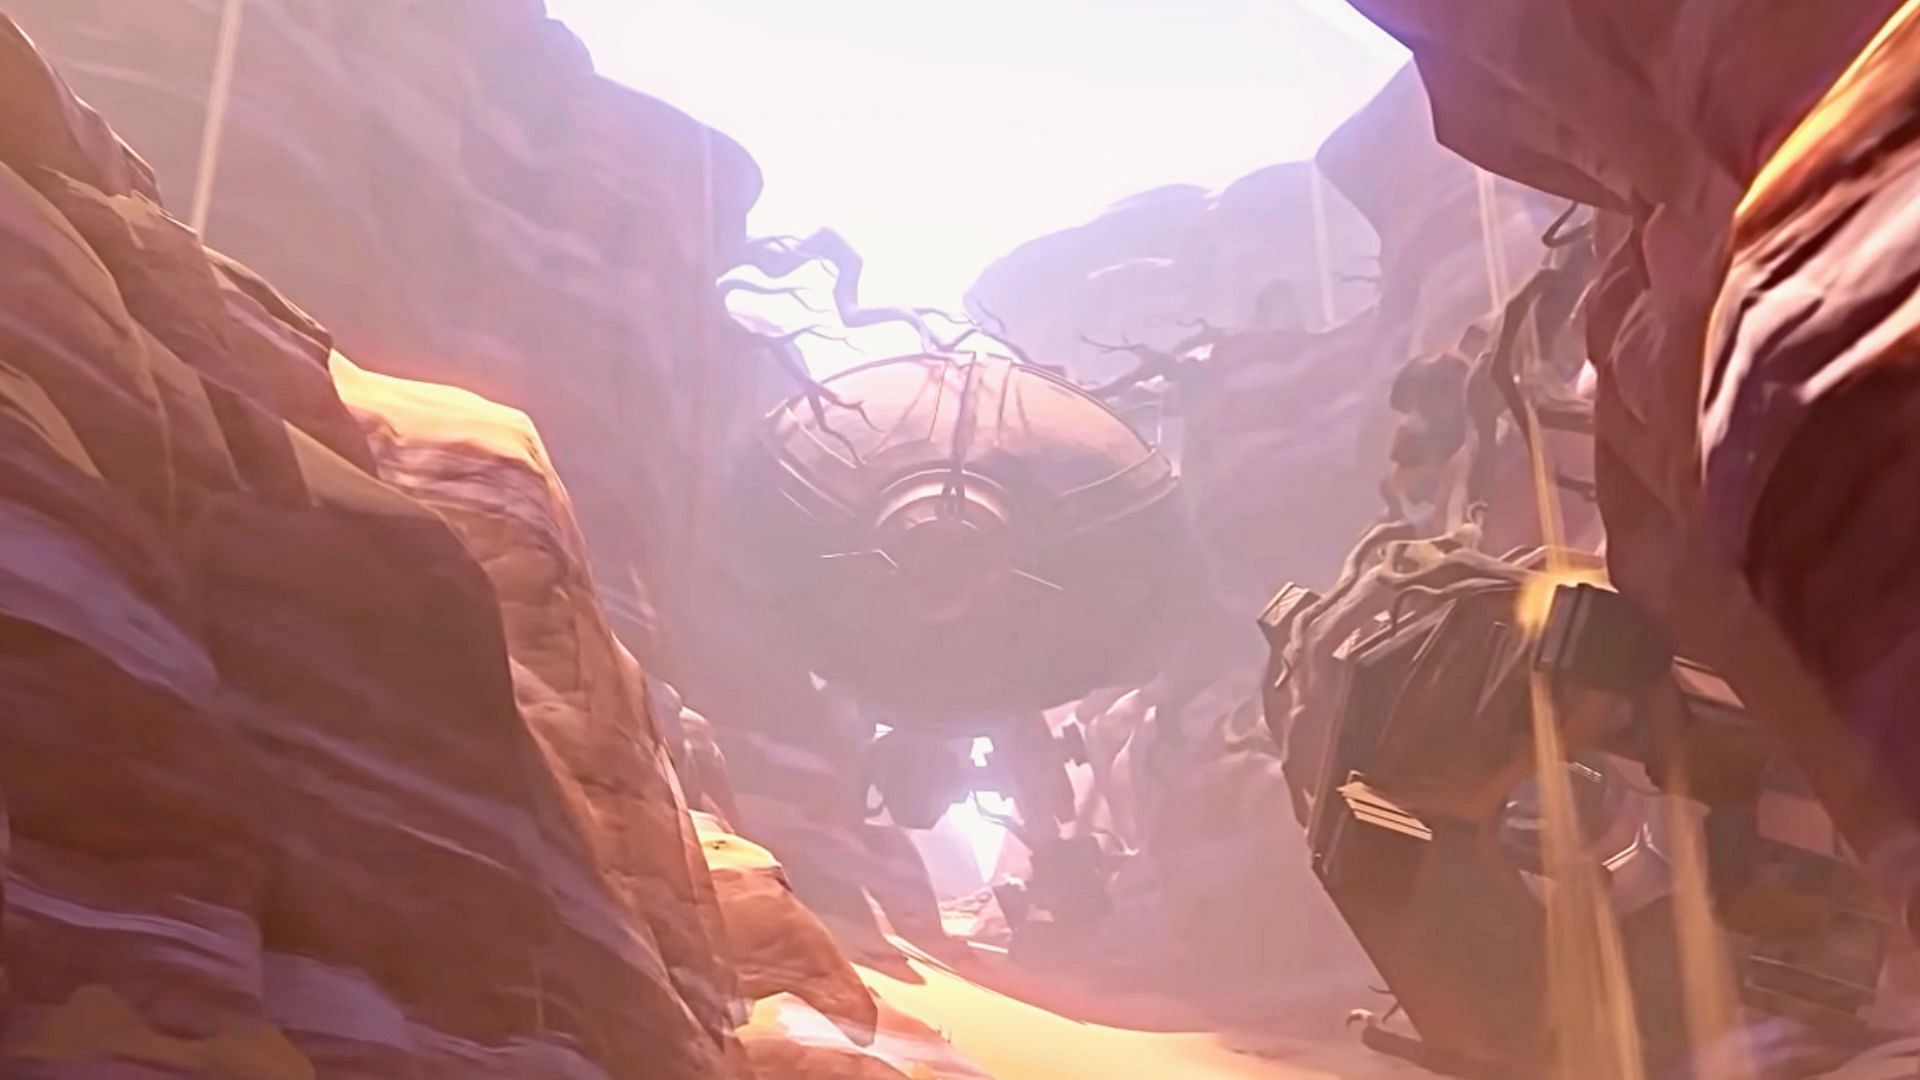
Genshin Impact players will discover a Ruin Golem as they explore Sumeru's desert area. Unlike the one in the Devantaka Mountains, this machine tends to shoot missiles when players are in sight.
Luckily, there is a way to unlock and operate the Ruin Golem, but players will first have to initiate a World Quest in order to do so. The quest is called Afratus' Dilemma, where players will obtain 50 Primogems for completion. Players can also unlock two achievements during it alongside additional Primogems.
This article is basically a guide. It will discuss how to unlock the desert Ruin Golem through the aforementioned World Quest and operate it in Genshin Impact.
Looking for Crossword hints & solutions? Check out latest NYT Mini Crossword Answers, LA Times Crossword Answers, and Atlantic Crossword Answers
Genshin Impact 3.1: Guide to unlocking Ruin Golem located in Sumeru desert
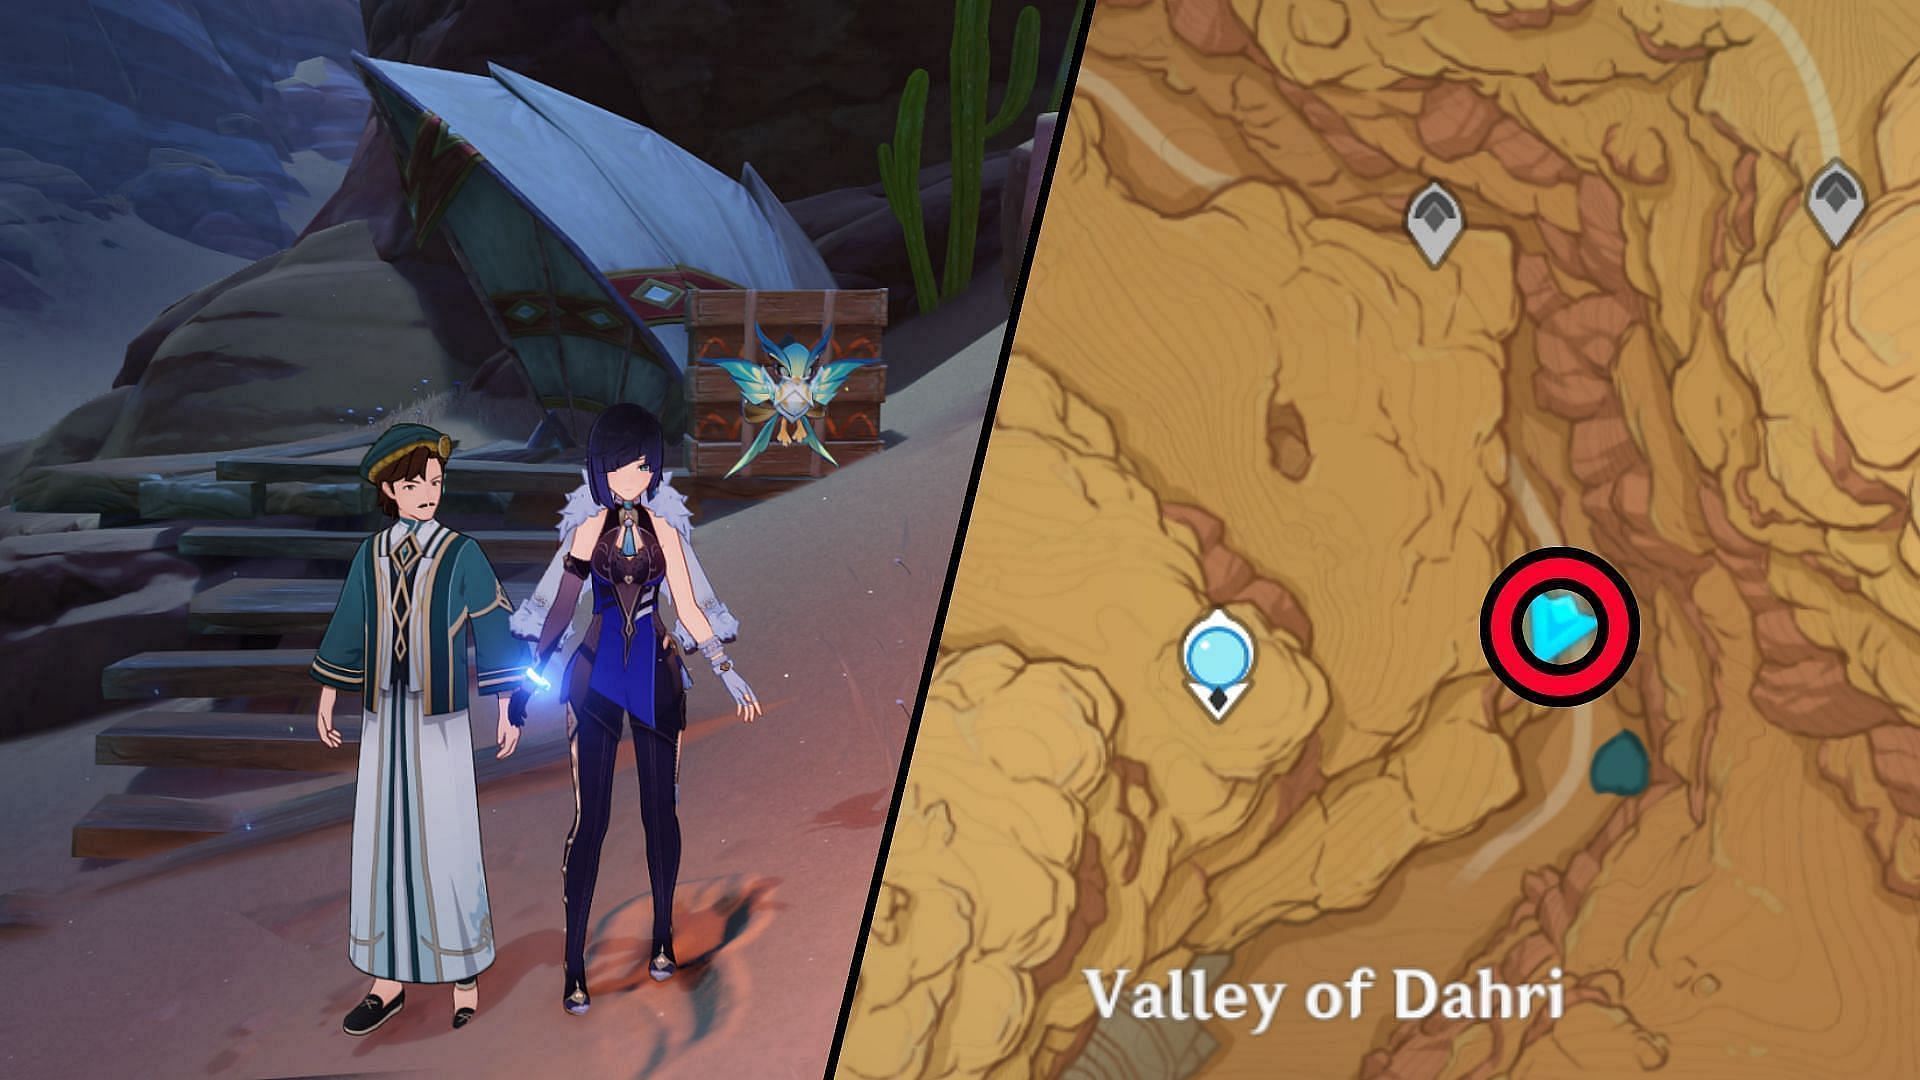
There is no pre-requisite to start the Afratus' Dilemma World Quest in the Genshin Impact 3.1 update. You can simply teleport to the Statue of the Seven in the Valley of Dahri and head east to the location marked in the picture above. Start the World Quest by interacting with the Sumeru researcher.
Once the quest has been triggered, continue to move toward the yellow marker to find a way to enter the Ruin Golem. The machine will keep shooting missiles at you the entire time. Therefore, it is recommended to use a shield character to tank the damage or keep dodging.
Subsequently, you will need to find a cave that will lead inside the Ruin Golem. Use elemental sight to spot strange rocks and destroy them to locate an entrance. Else, you can find a Seelie nearby and follow it to find the right path.
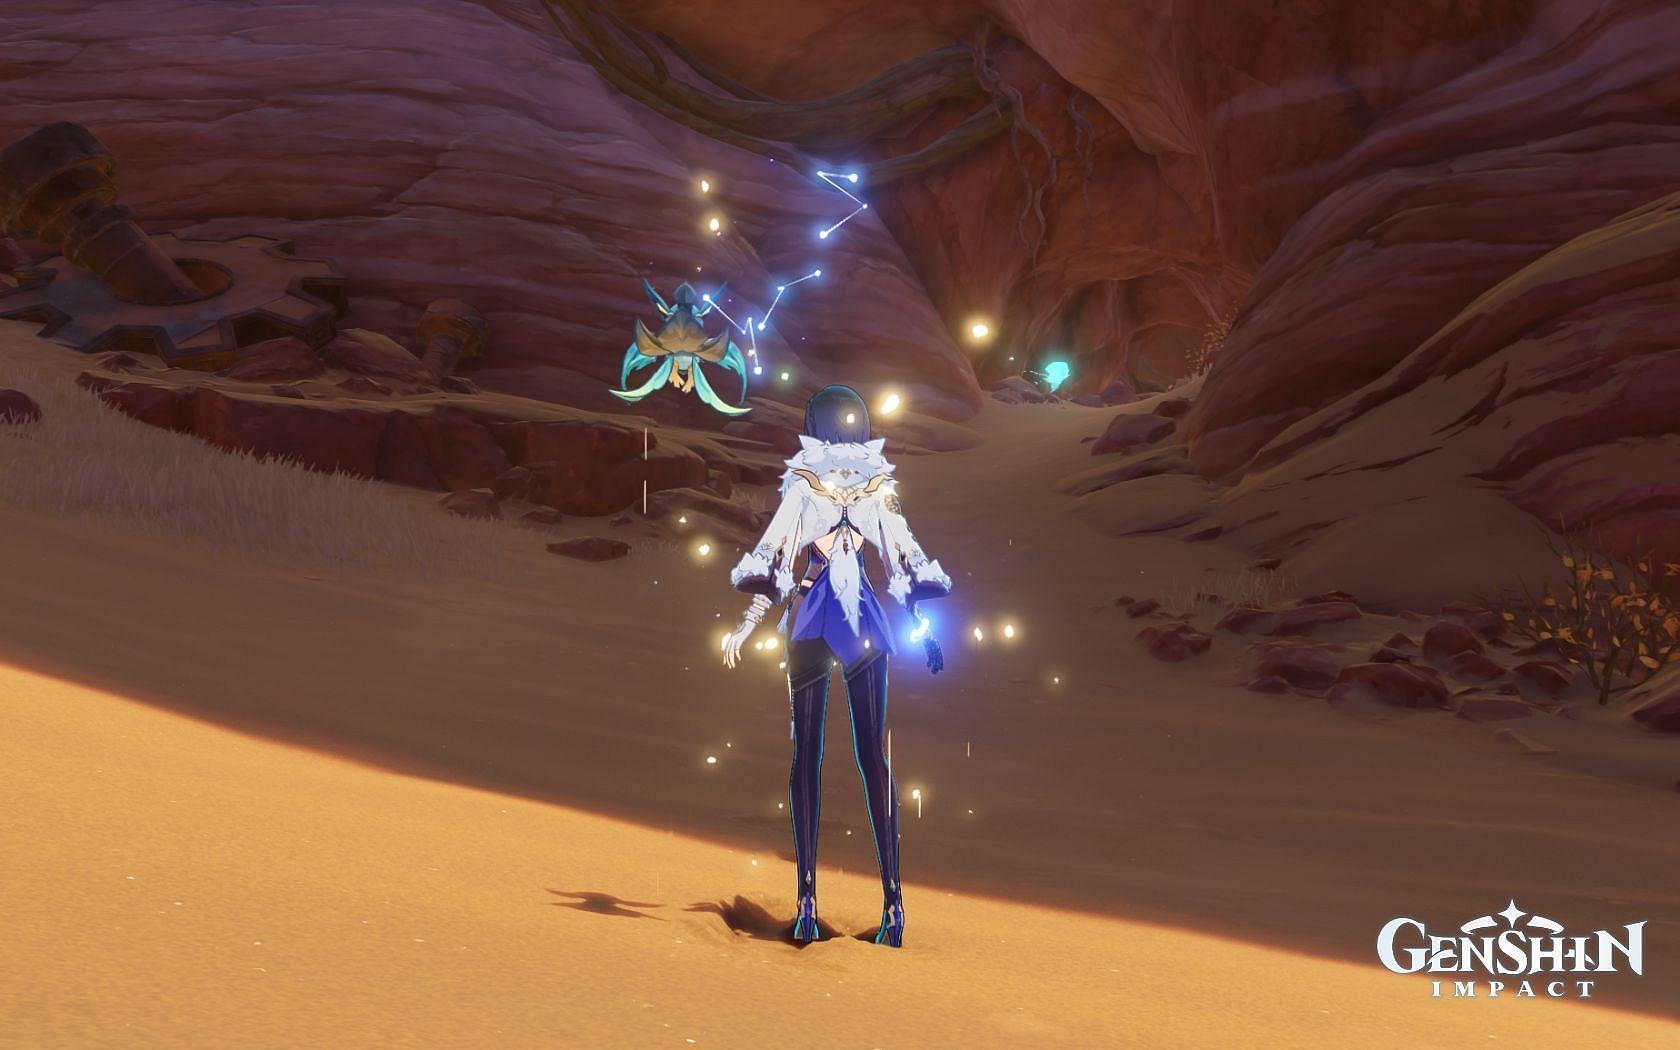
Once you have discovered the entrance, you can choose to leave the Seelie behind and progress farther into the cave or continue to follow it to claim a common chest.
Keep exploring to find the entrance
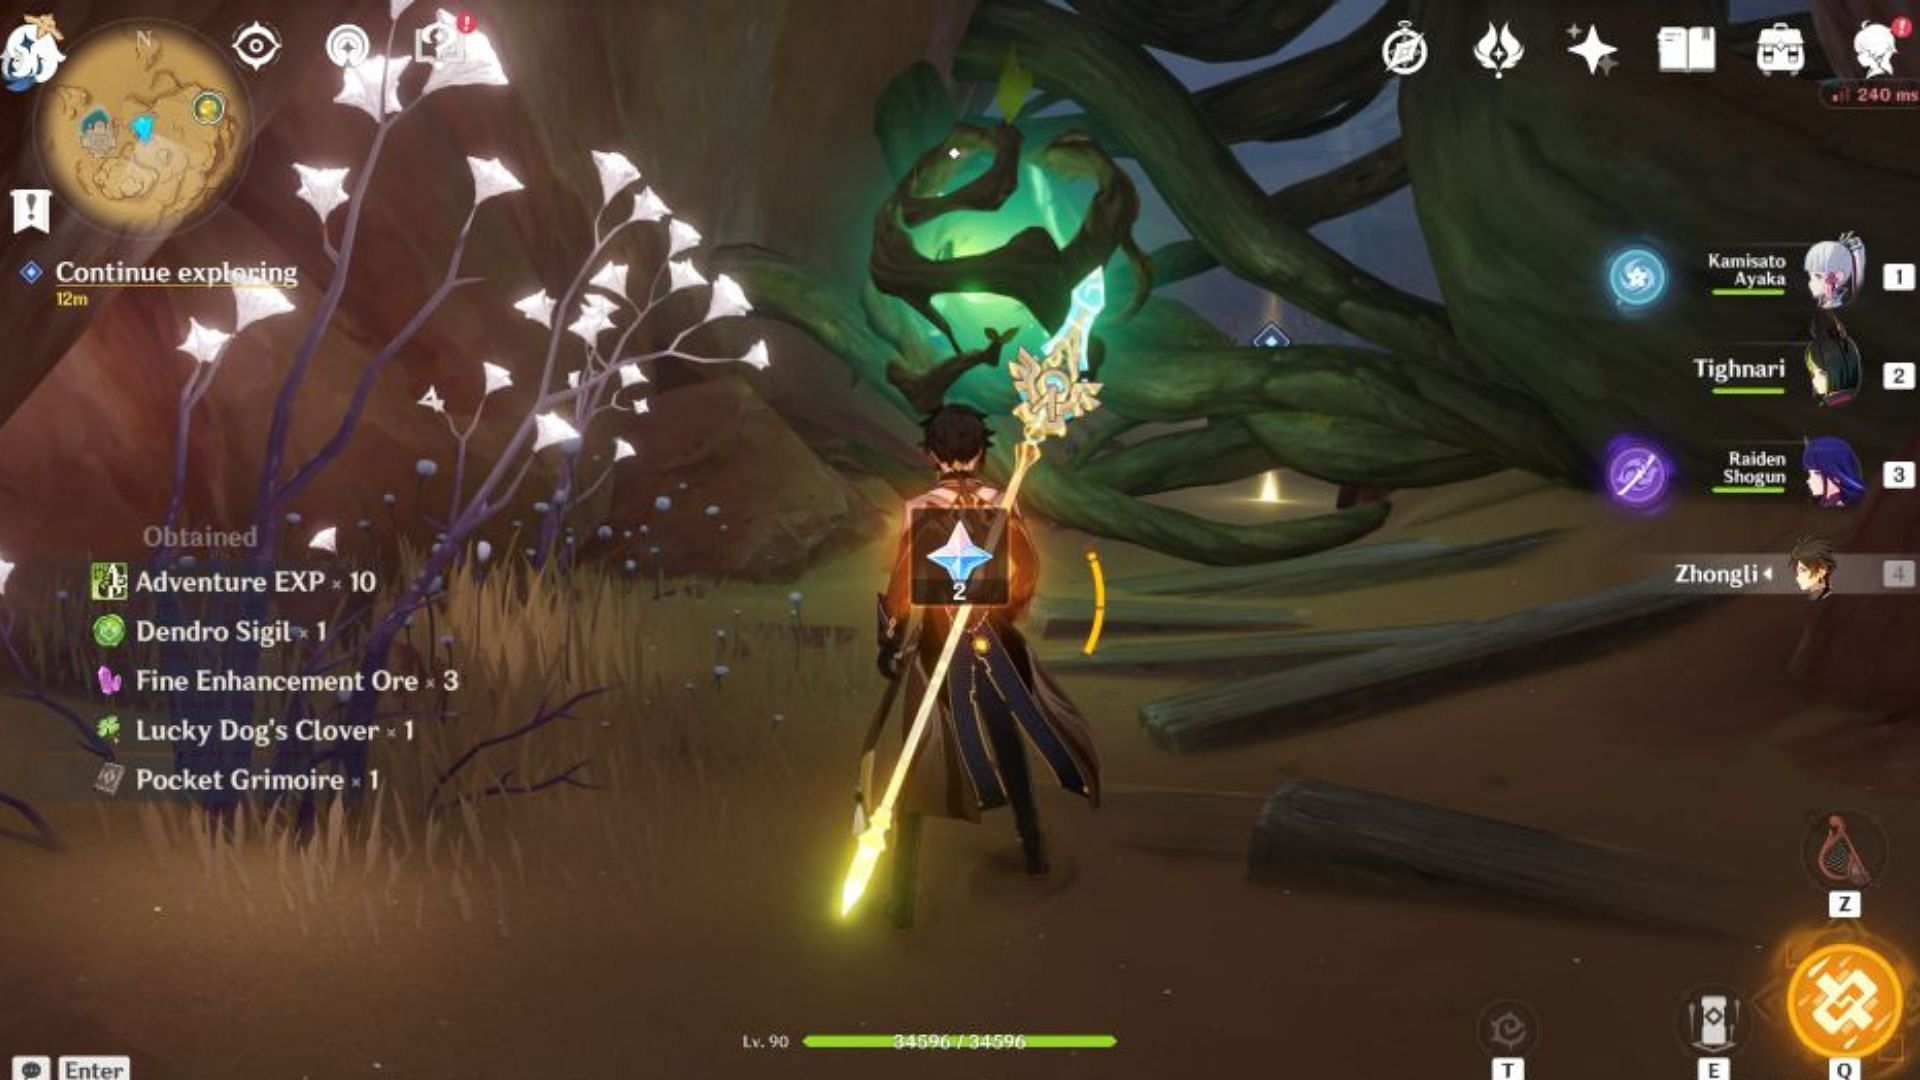
Inside the passage, you will find vines have sealed the path leading ahead. Hit the Suda Flow in the middle to destroy the vines and continue moving forward.
Going farther down the passage will present a cave-like structure where you can use the Four-Leaf sigils to traverse around quickly. While exploring the area, you will find treasure chests and a hidden teleport waypoint that you can unlock.
Break three Suda Flow to enter cockpit
The entrance to the Ruin Golem will be sealed, but you can simply destroy the Suda Flow to solve the problem. Once inside, the new objective will be to reach the cockpit and turn off Ruin Golem.
However, access to the cockpit has been restricted using the Suda Flow. You will now have to find three of these seals and break them. The first seal can be found at the top level behind a gate across the bridge on the northwest side of the cockpit. Break the Suda Flow to unlock the gate and destroy the remaining Suda Flow behind it. Once you do that, the seal will be undone.
Then, move across the bridge towards the southeast and enter the open gate. You will find the second seal here. There will be Suda Flow on the left and right sides of the entrance, and you must break all of it. Doing so will remove the vines from the elevator shaft, allowing you to access the lowest level.
Jump down to the bottom floor and destroy all the Suda Flow here to break the third seal. This will trigger a small cutscene, unlocking the entrance to the cockpit. Use the wind current or the Four-Leaf Sigils to access the cockpit. You will now be able to interact with the terminal inside to operate the Ruin Golem.

Are you stuck on today's Wordle? Our Wordle Solver will help you find the answer.