
'%20x='0'%20y='0'%20height='100%25'%20width='100%25'%20%0A%20%20%20%20%20%20%20%20%20%20xlink%3Ahref='data:image/jpg;base64,/9j/2wBDAAYEBQYFBAYGBQYHBwYIChAKCgkJChQODwwQFxQYGBcUFhYaHSUfGhsjHBYWICwgIyYnKSopGR8tMC0oMCUoKSj/2wBDAQcHBwoIChMKChMoGhYaKCgoKCgoKCgoKCgoKCgoKCgoKCgoKCgoKCgoKCgoKCgoKCgoKCgoKCgoKCgoKCgoKCj/wgARCAAGAAoDASIAAhEBAxEB/8QAFQABAQAAAAAAAAAAAAAAAAAAAAT/xAAVAQEBAAAAAAAAAAAAAAAAAAAEBf/aAAwDAQACEAMQAAAAmsJL/wD/xAAgEAABBAEEAwAAAAAAAAAAAAACAQMEEQAFBhIxISQy/9oACAEBAAE/ANA3jMgsxRjNtjCFCadYr7JCtSvu8PfE3mXoxS898yTP/8QAFxEAAwEAAAAAAAAAAAAAAAAAAAECMv/aAAgBAgEBPwCMo//EABYRAAMAAAAAAAAAAAAAAAAAAAACMf/aAAgBAwEBPwBqf//Z'%3E%3C/image%3E%3C/svg%3E)
The Talos Principle 2 presents a diverse array of distinctive puzzles that immerse you in manipulating laser barriers. While each puzzle equips you with valuable assisting tools, comprehending their functionality can significantly enhance your ability to solve puzzles effortlessly.
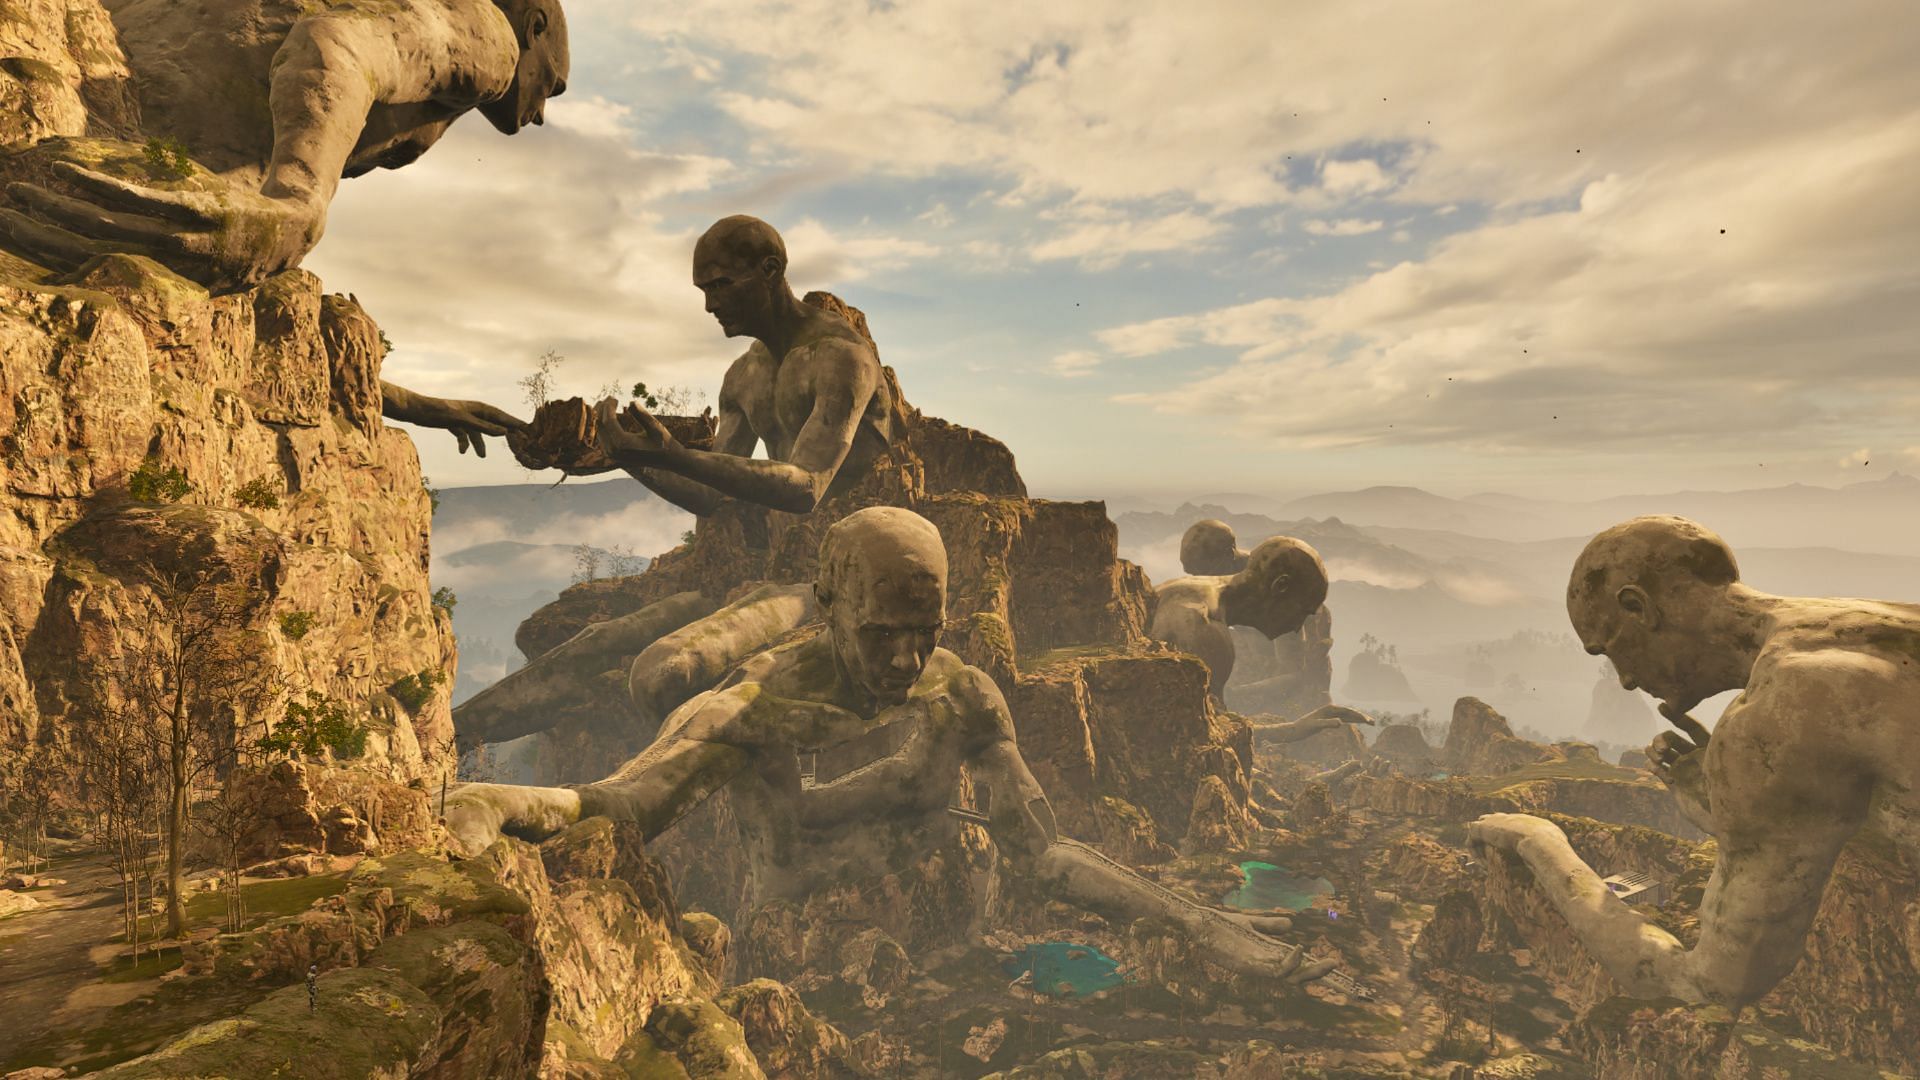
Within The Talos Principle 2, a captivating narrative unfolds as you traverse various regions, such as the Wooded Plateau. This area features eight puzzle types, including one called the Backup. This puzzle's simplicity varies depending on how adeptly you employ the provided tools.
This article aims to provide effective strategies for solving The Talos Principle 2's Backup puzzle.
Looking for Crossword hints & solutions? Check out latest NYT Mini Crossword Answers, LA Times Crossword Answers, and Atlantic Crossword Answers
How to easily solve the Backup puzzle in The Talos Principle 2
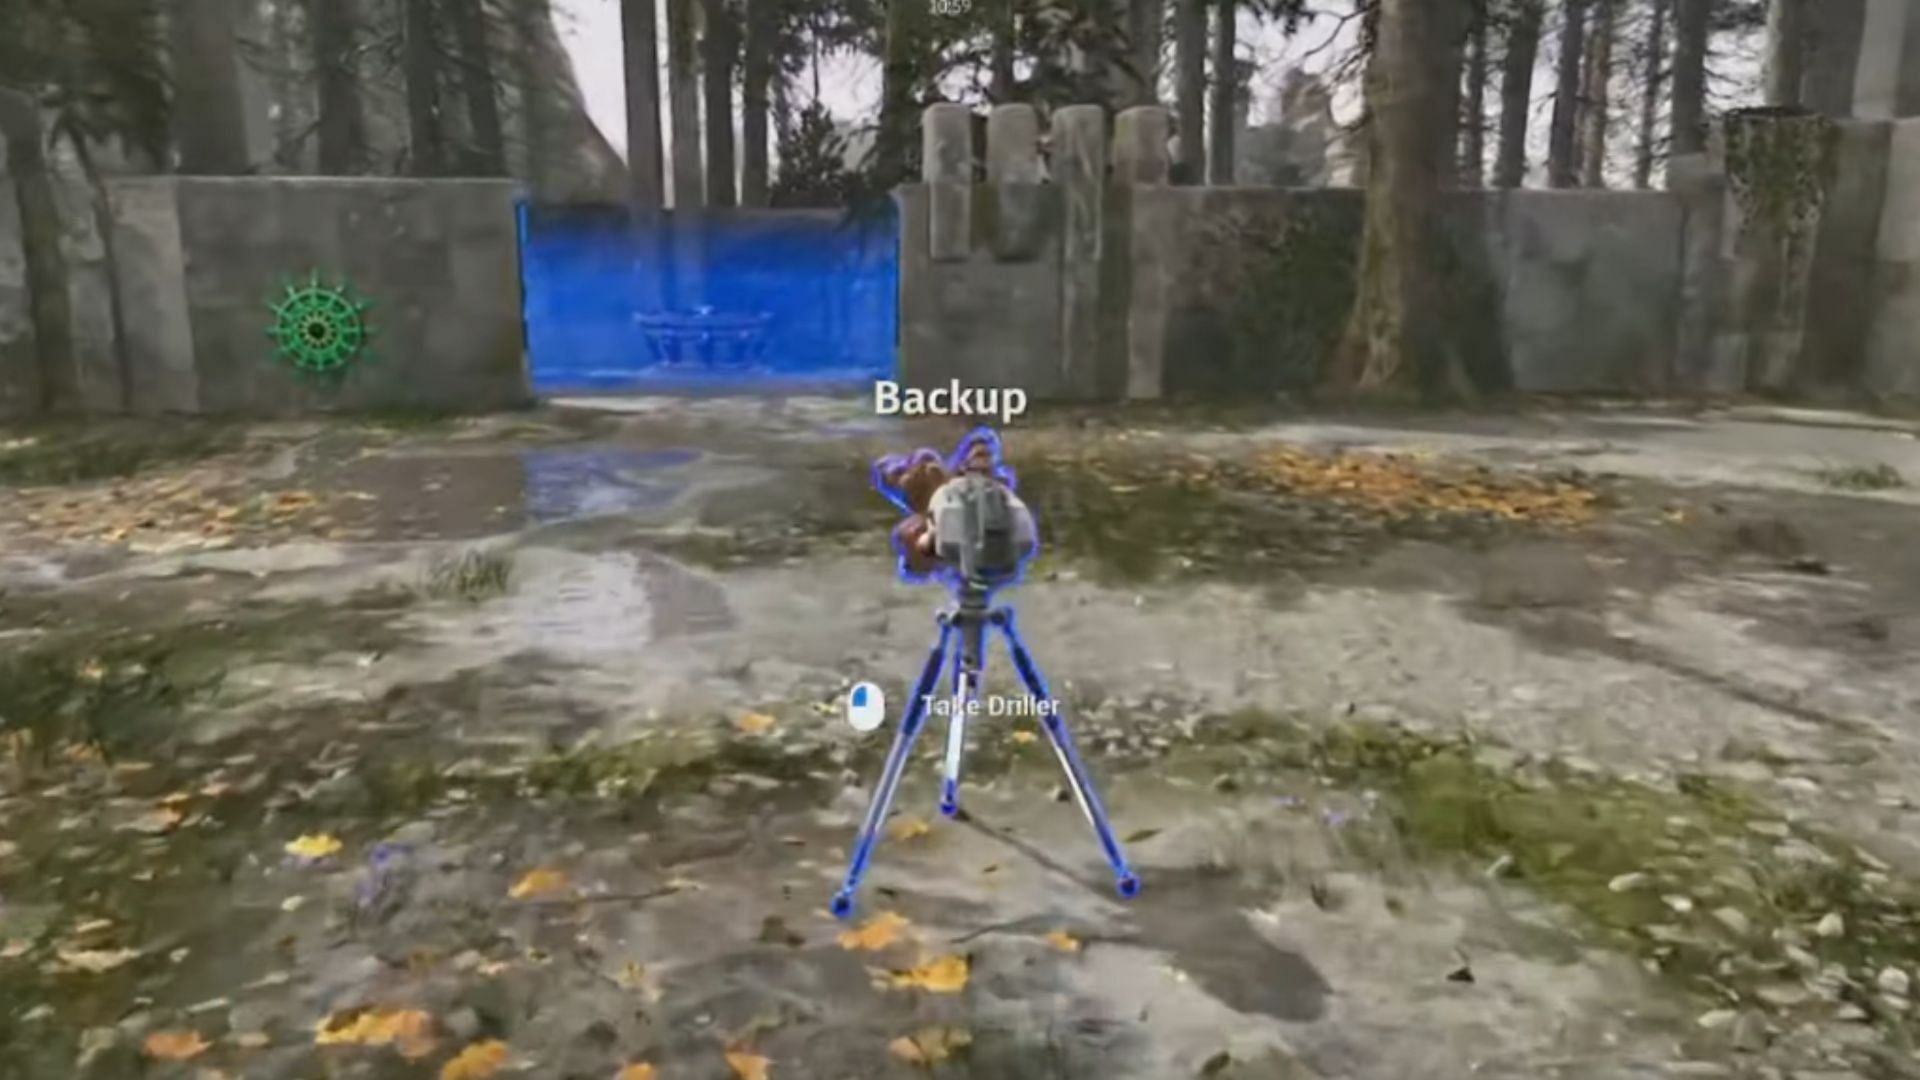
During the main campaign of The Talos Principle 2, you will arrive at the Wooded Plateau. Here, you'll encounter two puzzles called Quantum Tunneling and Mutual Aid. Upon solving these puzzles, you'll unlock entry to a new area, where you'll face another puzzle titled Backup.
Like other puzzles in The Talos Principle 2, the primary goal remains interacting with the central device. However, in this particular puzzle, you must navigate through blue laser barriers using inventive tools like the driller, connector, RGB converter, and various switches.
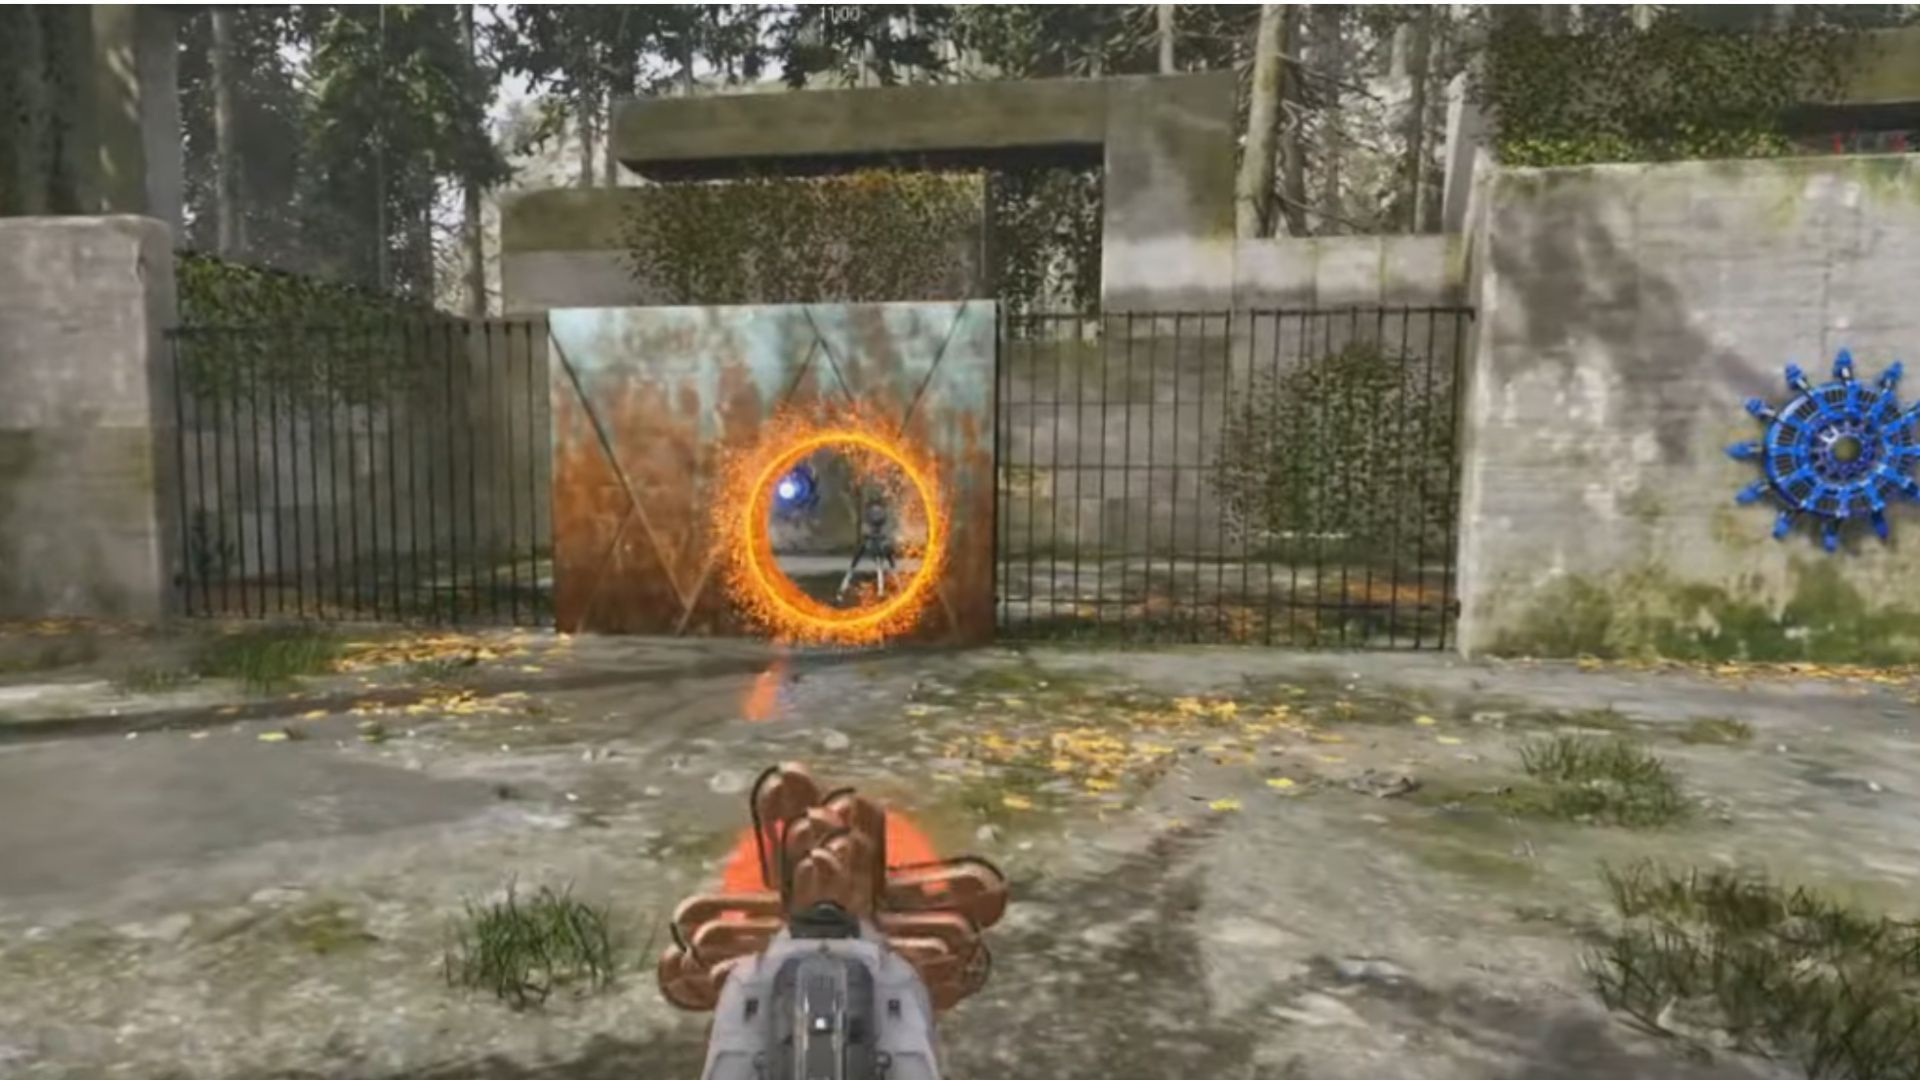
Start the puzzle by taking the driller and then turn to your right, where you'll encounter a rusted iron wall. Utilize the driller to create a hole in the wall, revealing a connector and a blue switch. Refer to the above image for guidance.
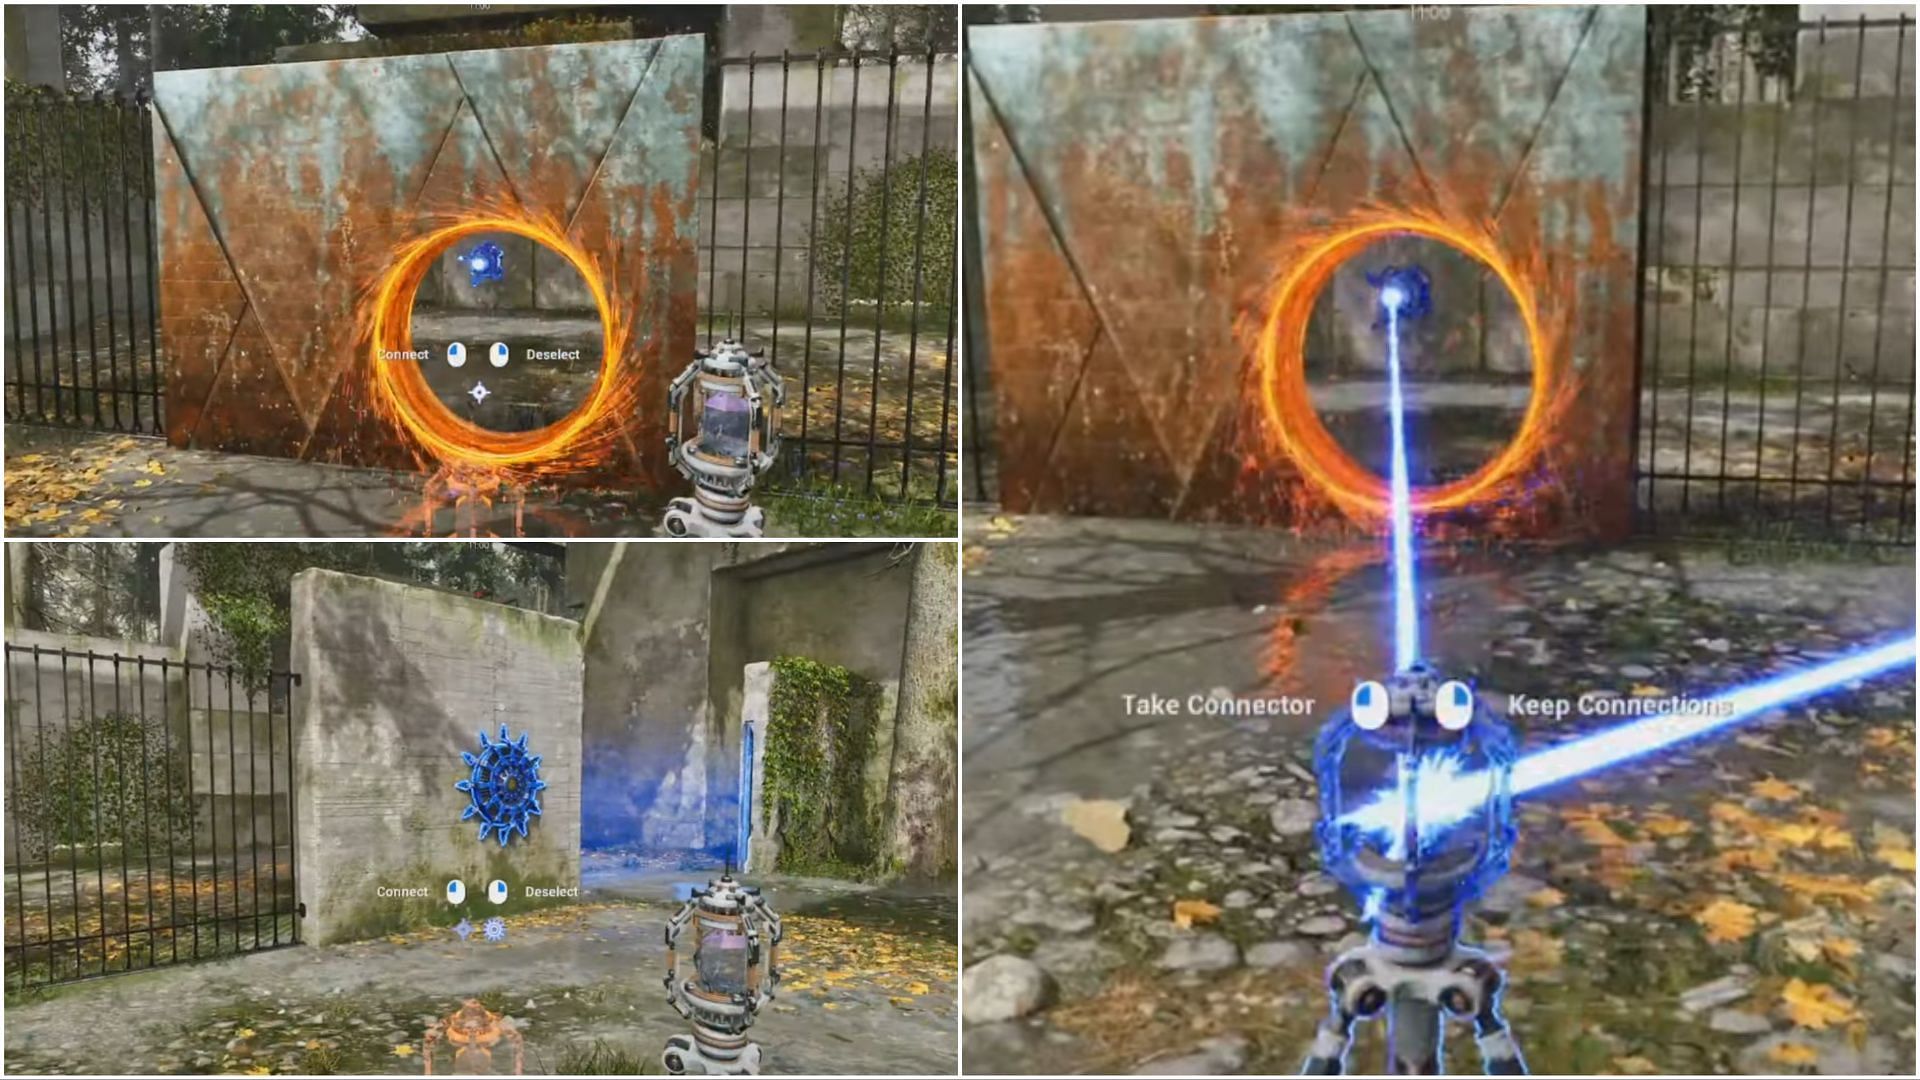
Proceed to collect the connector, select the nearby blue switch, turn right to select another blue switch, and place the connector according to the above image.
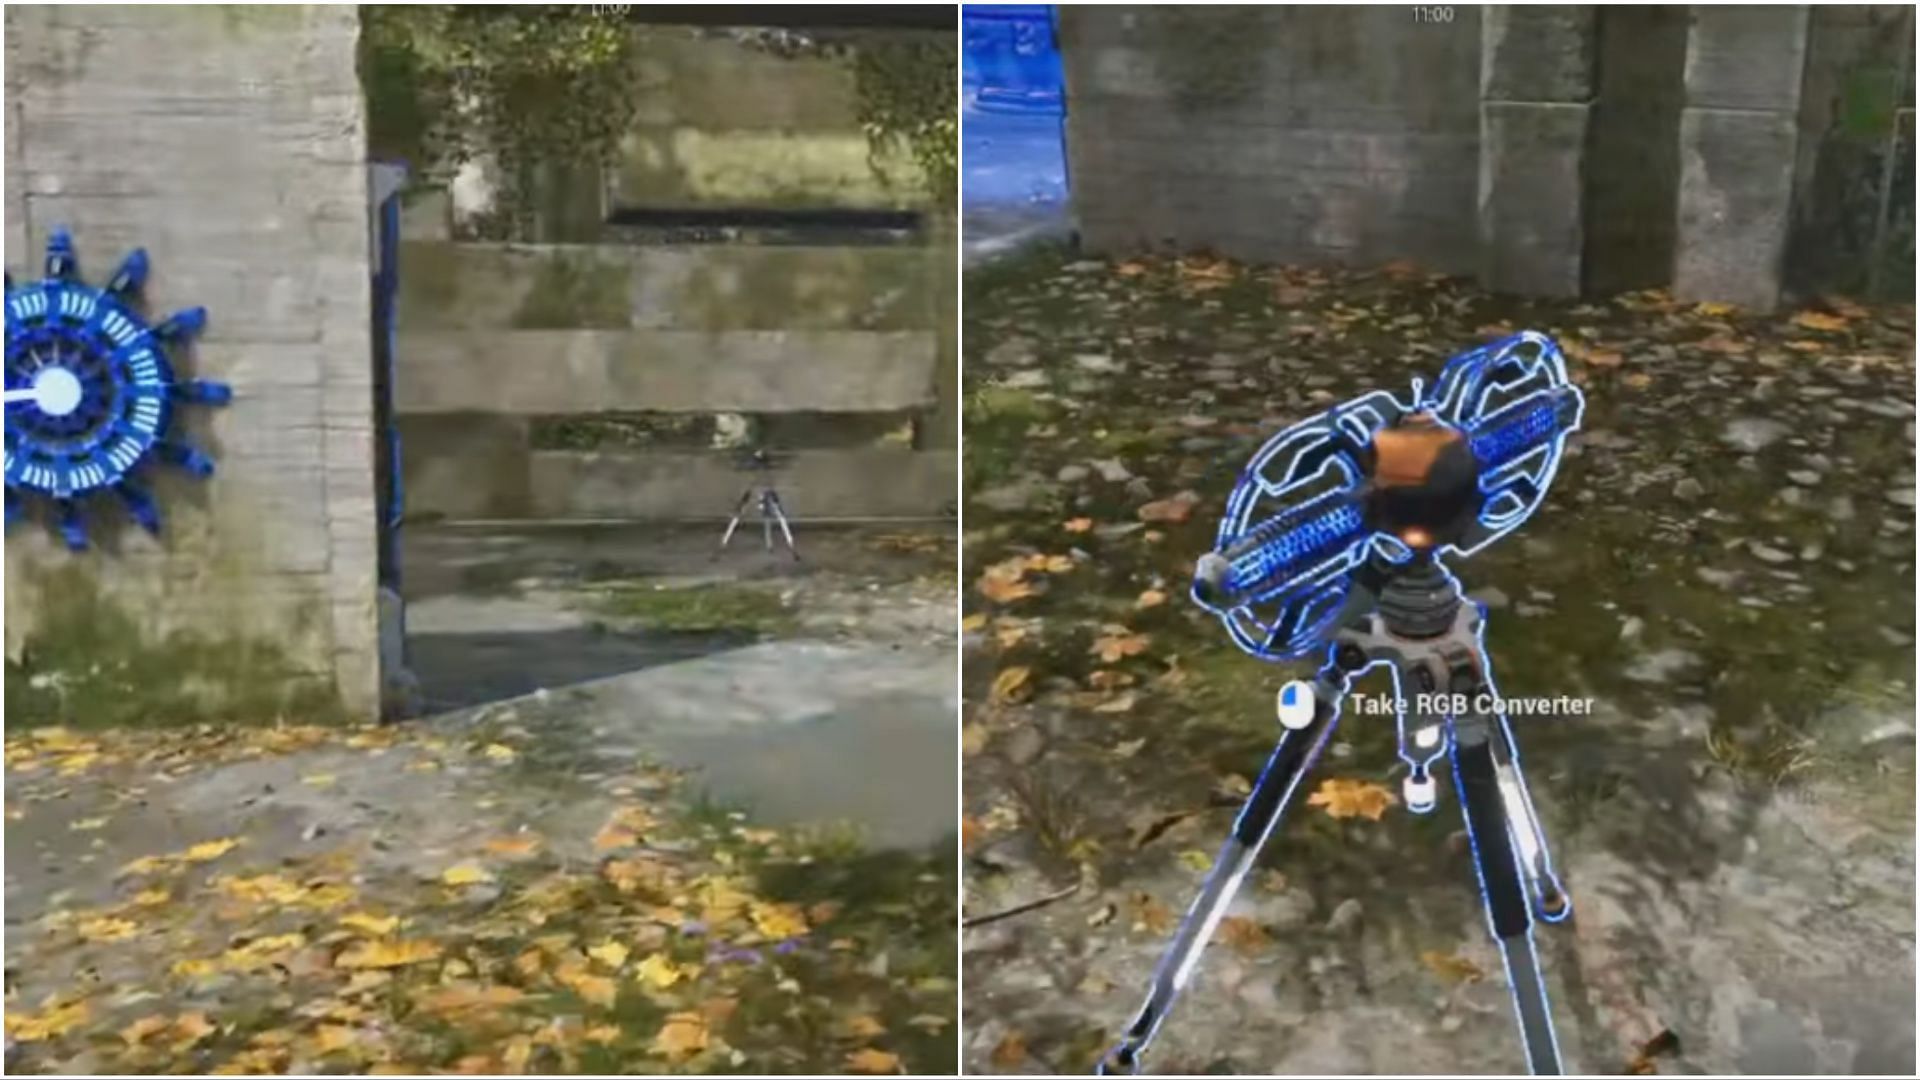
Subsequently, turn right, advance toward the blue switch, and locate the RGB converter. Take it, turn around, and proceed straight to place it according to the image.
Pick up the connector, turn around, and position it precisely as directed in the image. After that, retrieve the driller, and behind you to the right side, create a hole in the rusted iron wall. Through this opening, you can identify a red switch.
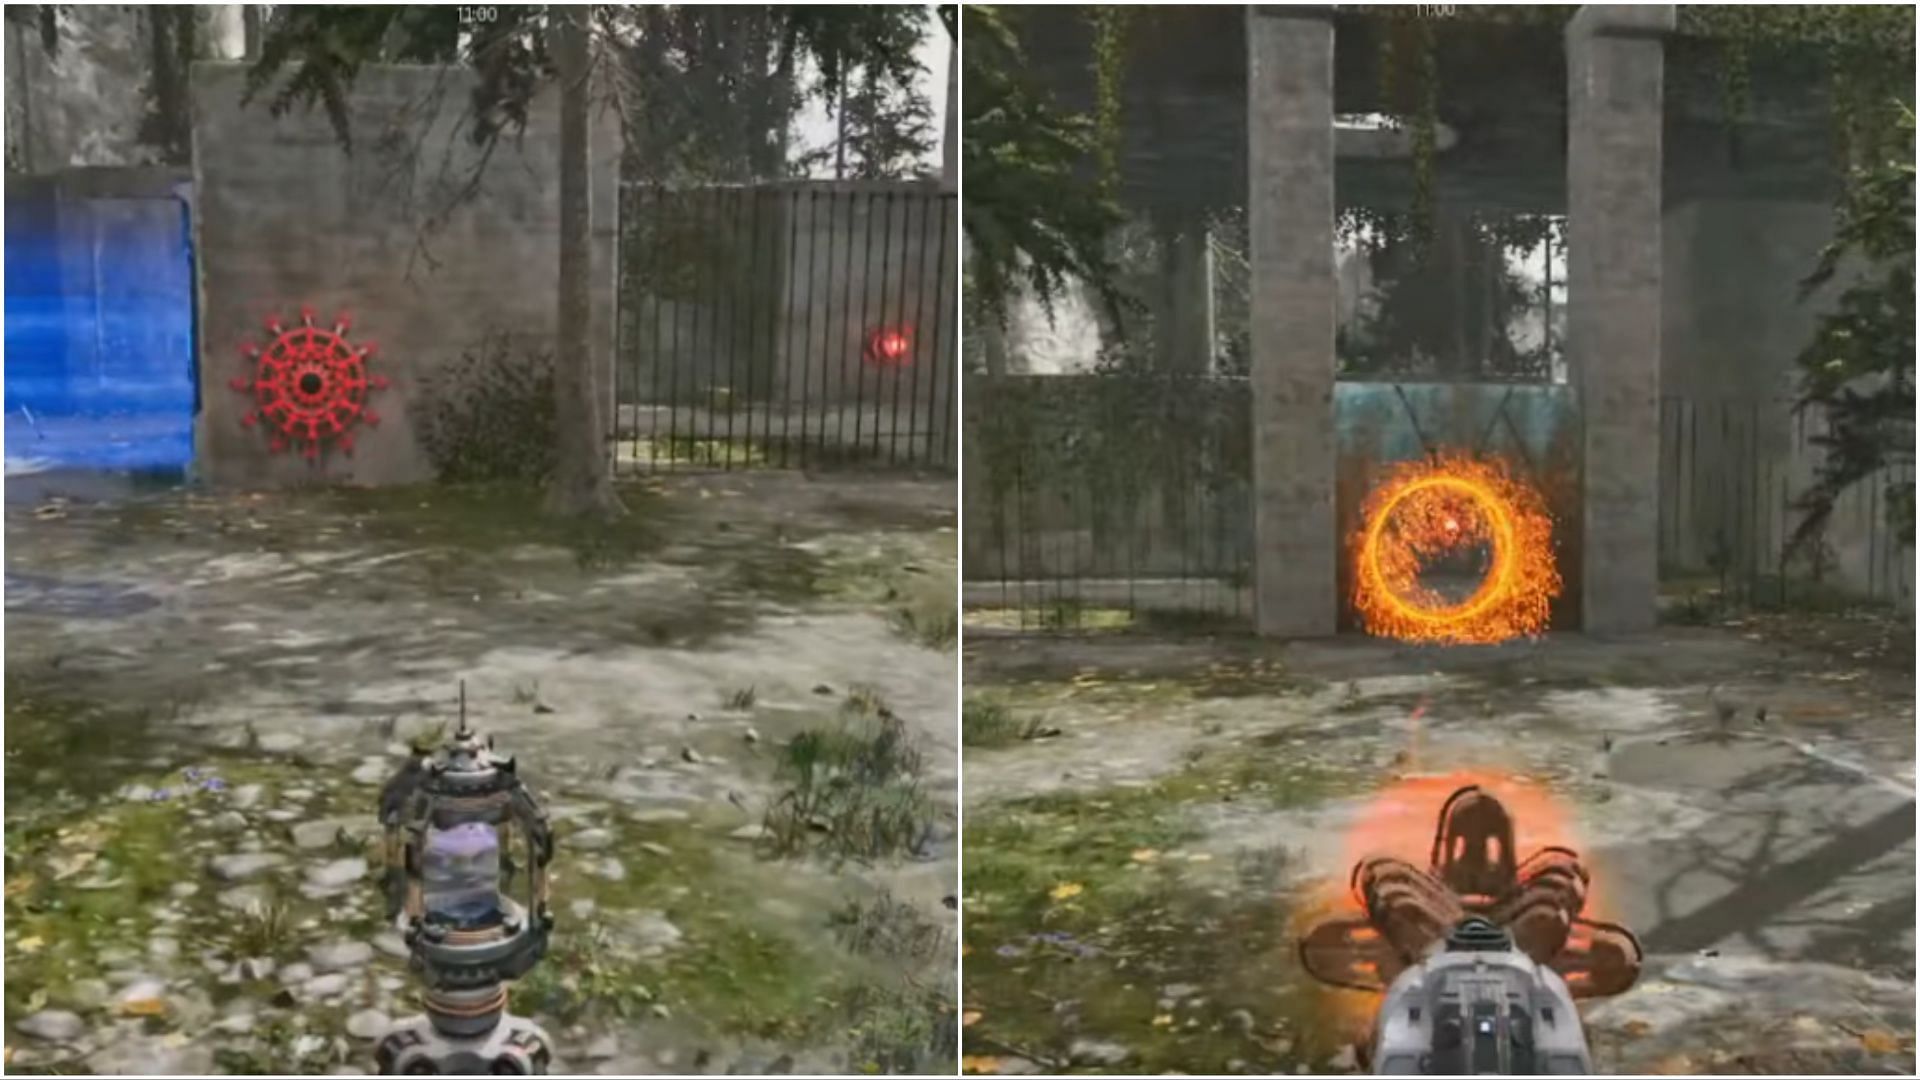
Pick up the connector and choose the red switch; you will find another red switch to your left; select it as well. Just next to it, you'll find a connector behind a blue barrier; select that, too.
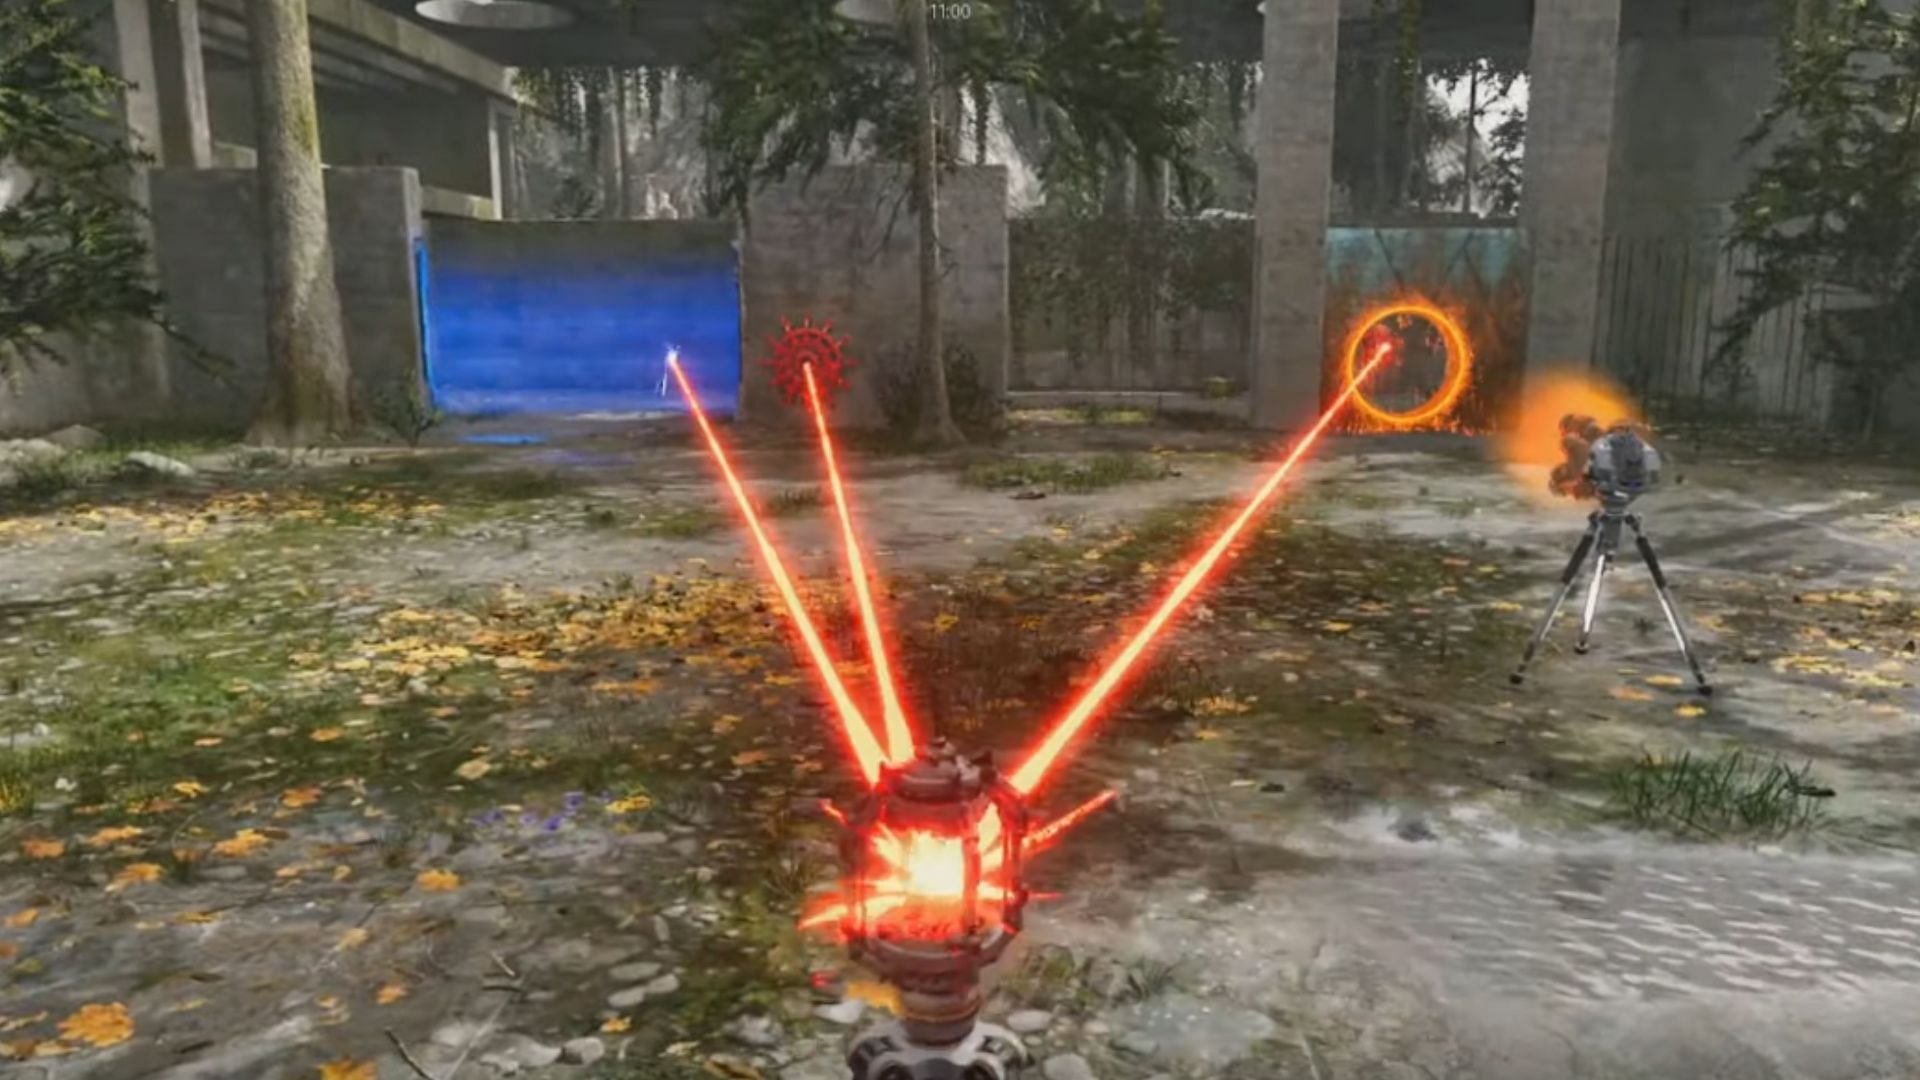
Place the connector on the ground, aligning it with the lasers activated by the selected switches. Move forward, pick up the connector behind the blue barrier, and engage the red switch in front of you, keeping it in its original position.
Now, use the driller to create a hole in the rusted iron wall where you initially obtained the connector. Retrieve the RGB converter, select the blue switch created with the driller, turn back, and choose the connector, followed by the green switch on the right side. Place the RGB converter on the ground, clearing the path for the main device. Interact with the main device to complete the puzzle.
By following the steps above, you can solve the Backup puzzle in The Talos Principle 2.

Are you stuck on today's Wordle? Our Wordle Solver will help you find the answer.