'%20x='0'%20y='0'%20height='100%25'%20width='100%25'%20%0A%20%20%20%20%20%20%20%20%20%20xlink%3Ahref='data:image/jpg;base64,/9j/2wBDAAYEBQYFBAYGBQYHBwYIChAKCgkJChQODwwQFxQYGBcUFhYaHSUfGhsjHBYWICwgIyYnKSopGR8tMC0oMCUoKSj/2wBDAQcHBwoIChMKChMoGhYaKCgoKCgoKCgoKCgoKCgoKCgoKCgoKCgoKCgoKCgoKCgoKCgoKCgoKCgoKCgoKCgoKCj/wgARCAAGAAoDASIAAhEBAxEB/8QAFQABAQAAAAAAAAAAAAAAAAAAAAb/xAAVAQEBAAAAAAAAAAAAAAAAAAAFBv/aAAwDAQACEAMQAAAAp64iGv/EAB8QAAICAgIDAQAAAAAAAAAAAAECAwUEEQAiEhRBUv/aAAgBAQABPwC6iucY2EVlZ+9XCCbMVm2kydSuh46/XK+WdcDGVpiGESg9QfnP/8QAGxEBAAEFAQAAAAAAAAAAAAAAAQMAAgURFGH/2gAIAQIBAT8AysjzRXgbfCv/xAAZEQACAwEAAAAAAAAAAAAAAAABAgAEE1H/2gAIAQMBAT8AqINXHJ//2Q=='%3E%3C/image%3E%3C/svg%3E)
Minecraft ranks among the most played games on the planet. It can run even on the most basic PCs from a decade ago while offering limitless in-game possibilities. However, certain in-game settings like memory allocation can destroy the experience even on some of the best PCs boasting a Core i9 and an RTX 4090.
Luckily, this can be easily fixed on virtually any launcher you are playing — from the Java edition to TLauncher. However, the process isn't always as simple as tweaking just one setting.
In this guide, we will list the steps to help you fix low memory issues and significantly improve performance in the video game.
Allocating more RAM in Minecraft is a simple process
Since players use multiple launchers to play the game, the steps vary. Thus, we will list the process for the most popular launchers, such as the default Java version, TLauncher, CurseForge, and ATLauncher.
Java default launcher
The default Java launcher is arguably one of the best options for playing Mojang's sandbox game. Changing the memory allocation can be intimidating, but it is simple if you follow these steps:
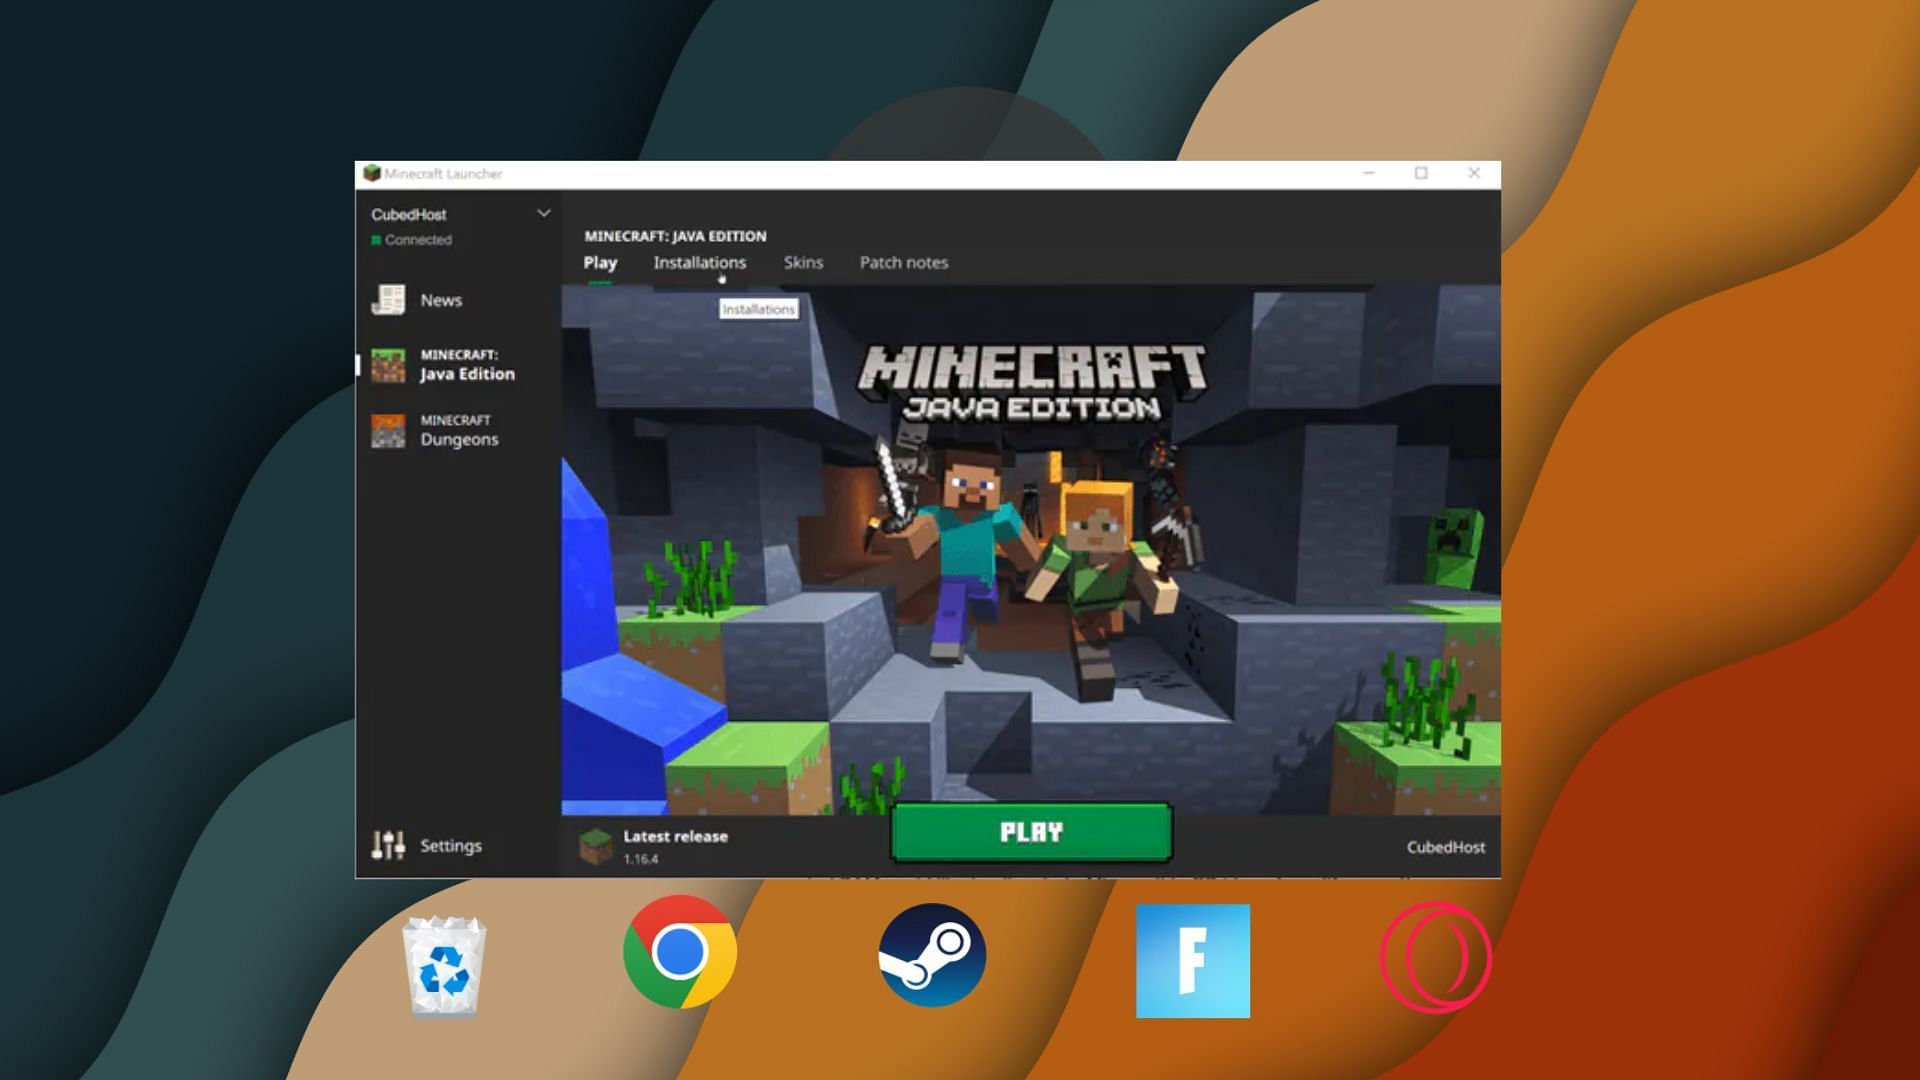
Step 1. Launch the Java launcher, then head to Minecraft: Java Edition. Next, go to the installation tab.

Step 2. Click the three dots next to the play button and then hit Edit. A new window will pop up.
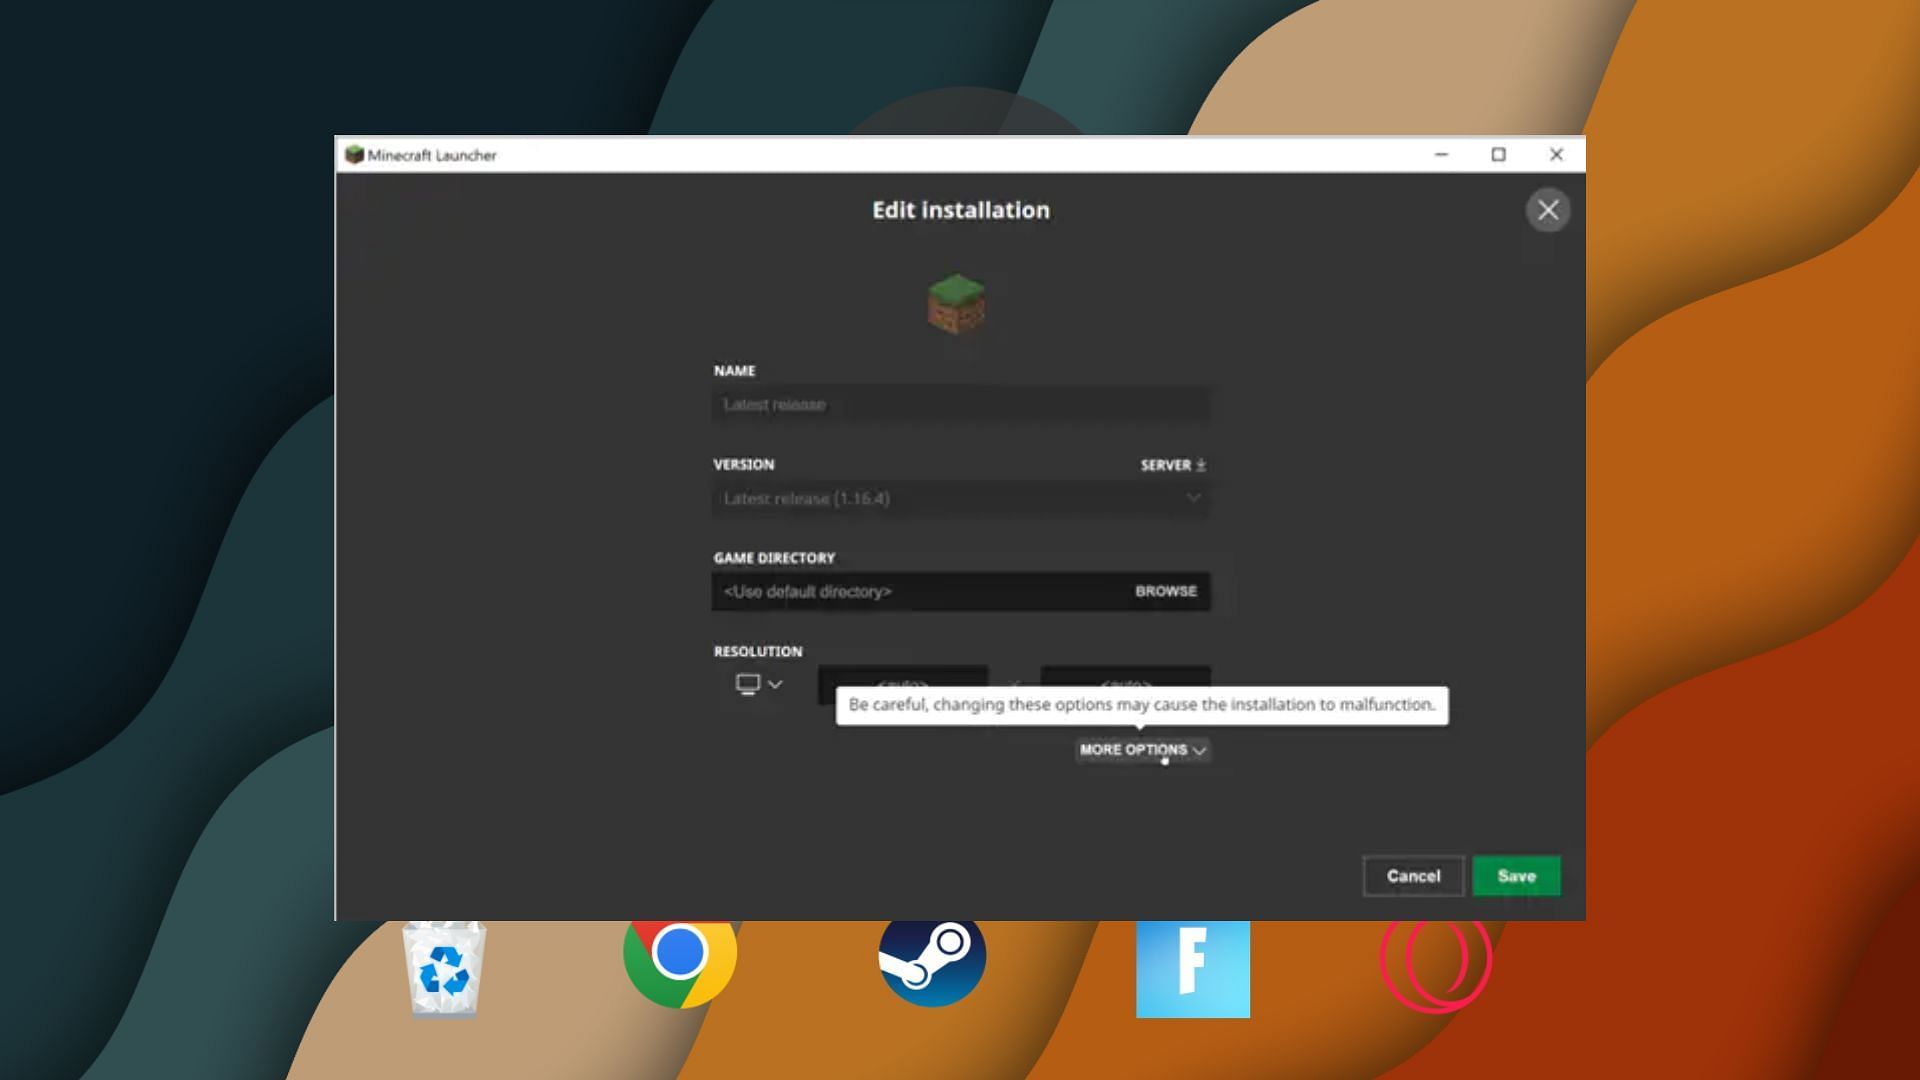
Step 3. From this window, click the More Options button at the bottom, as shown in the image above.
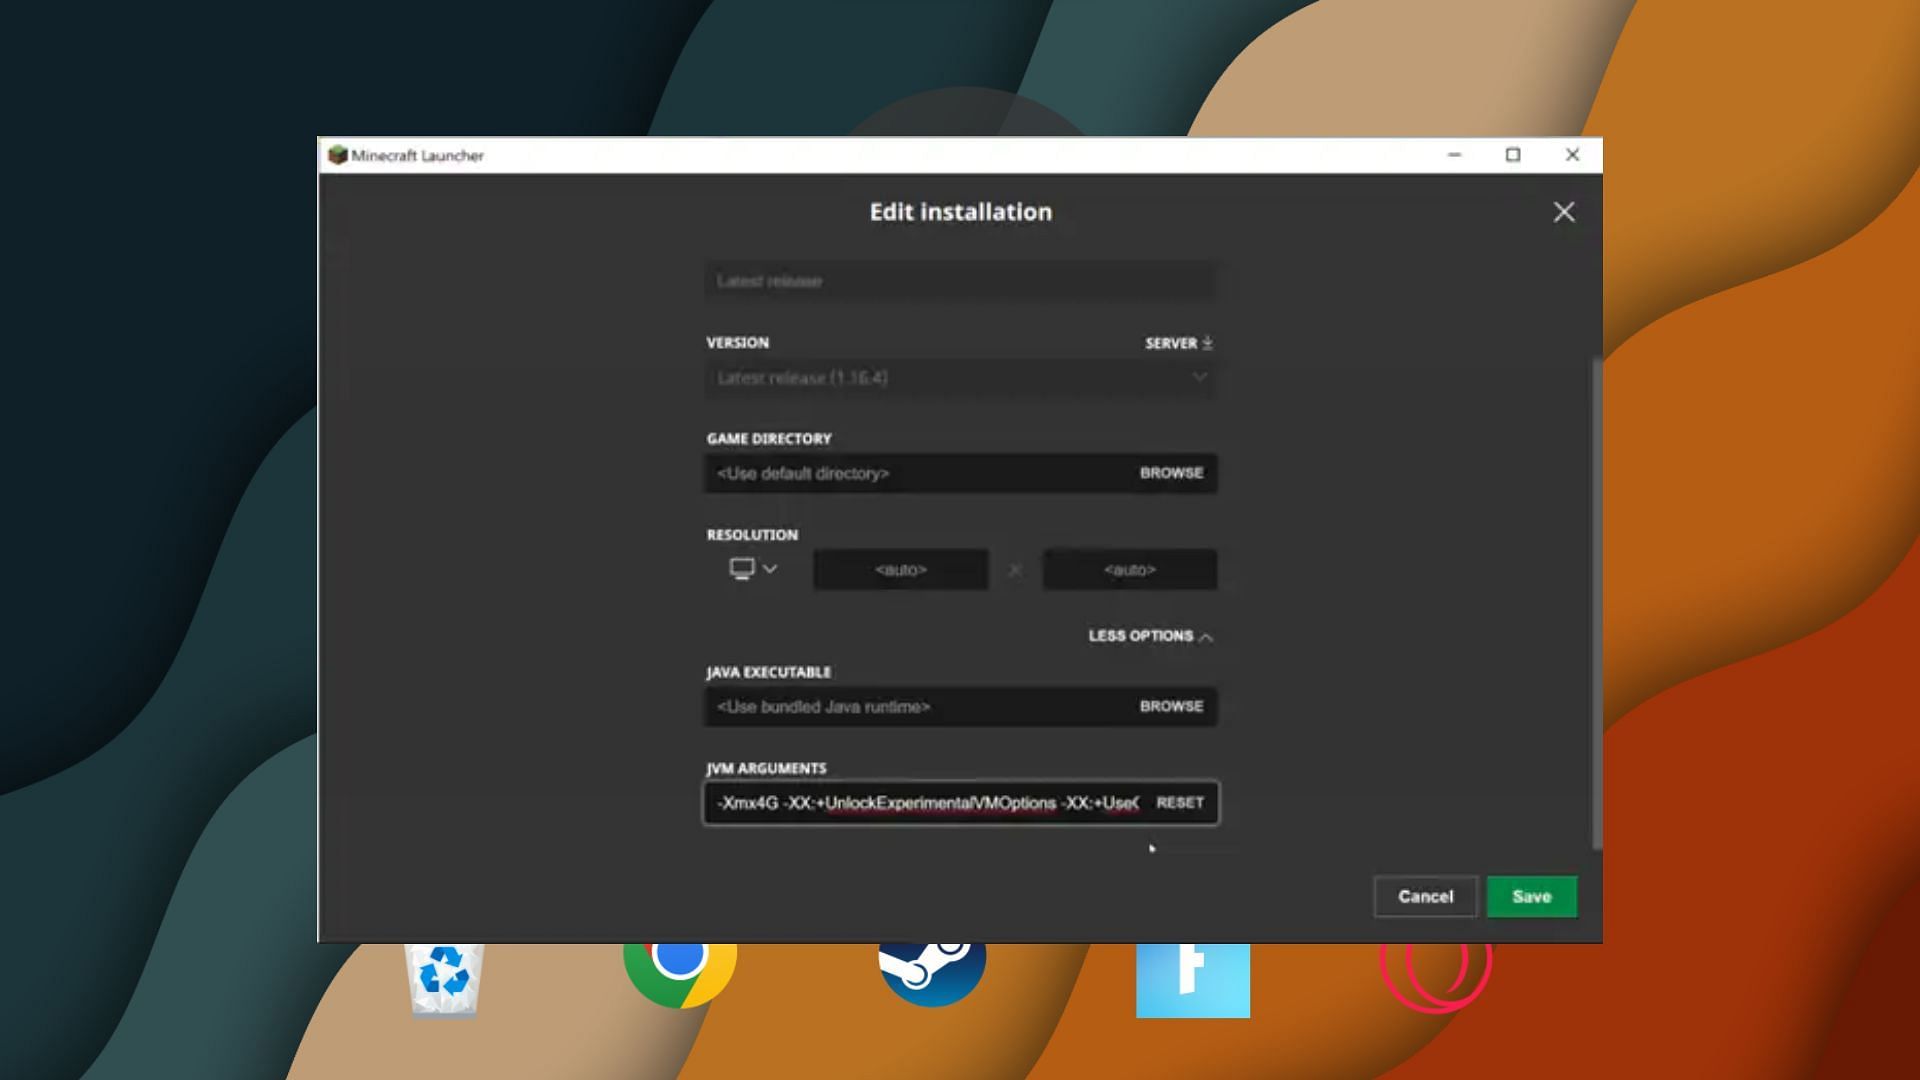
Step 4. In the new window, you need to edit the JSW Comments field. Search for any parameter of the format "2G" or "4G" or more. This means the game is set to use 2 or 4 GB of memory. Change it to a value of your preference.
Step 5. Hit the Save button and launch Minecraft: Java Edition. The game should run with the reset memory values.
TLauncher
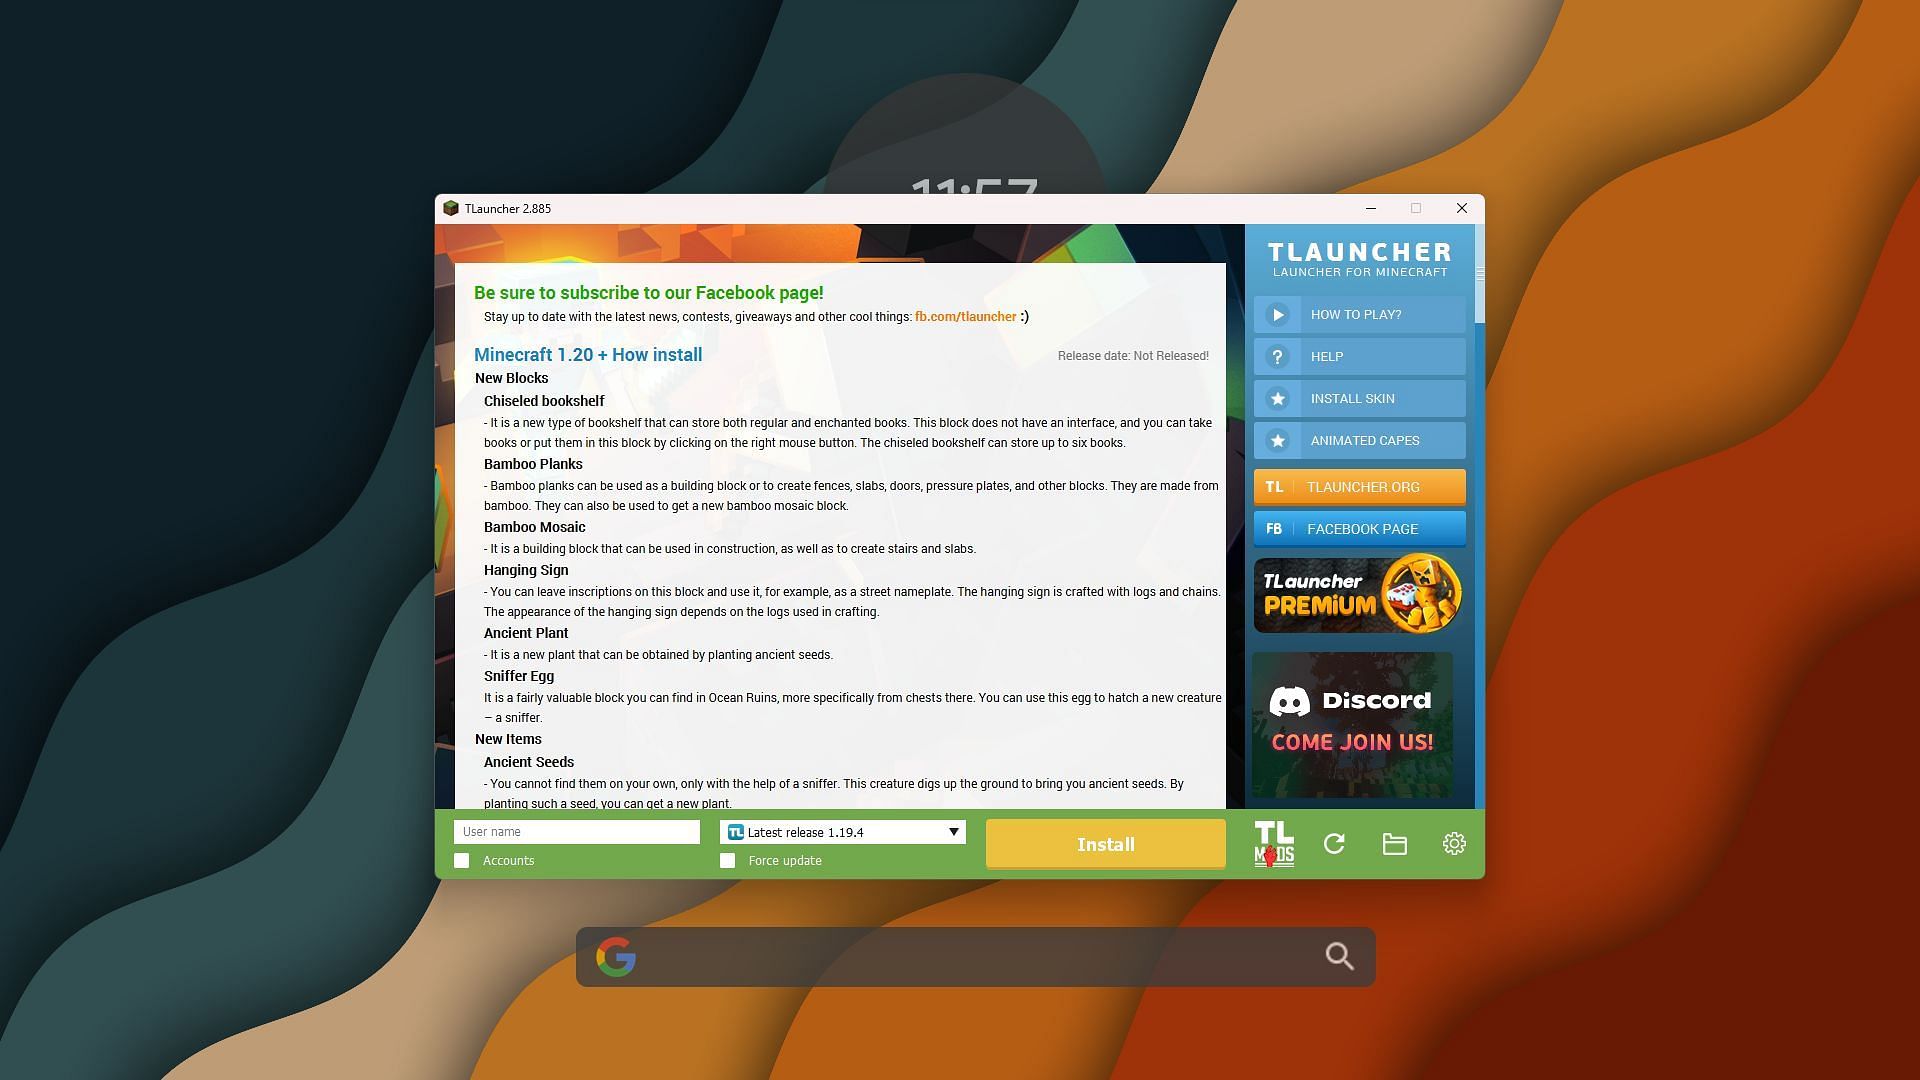
TLauncher is among the most popular launchers out there. It is lightweight and easy to use. The following steps will help you alter the memory allocation:
Step 1. Launch TLauncher. Click on the little cog icon in the lower right corner. This should open up the settings window.
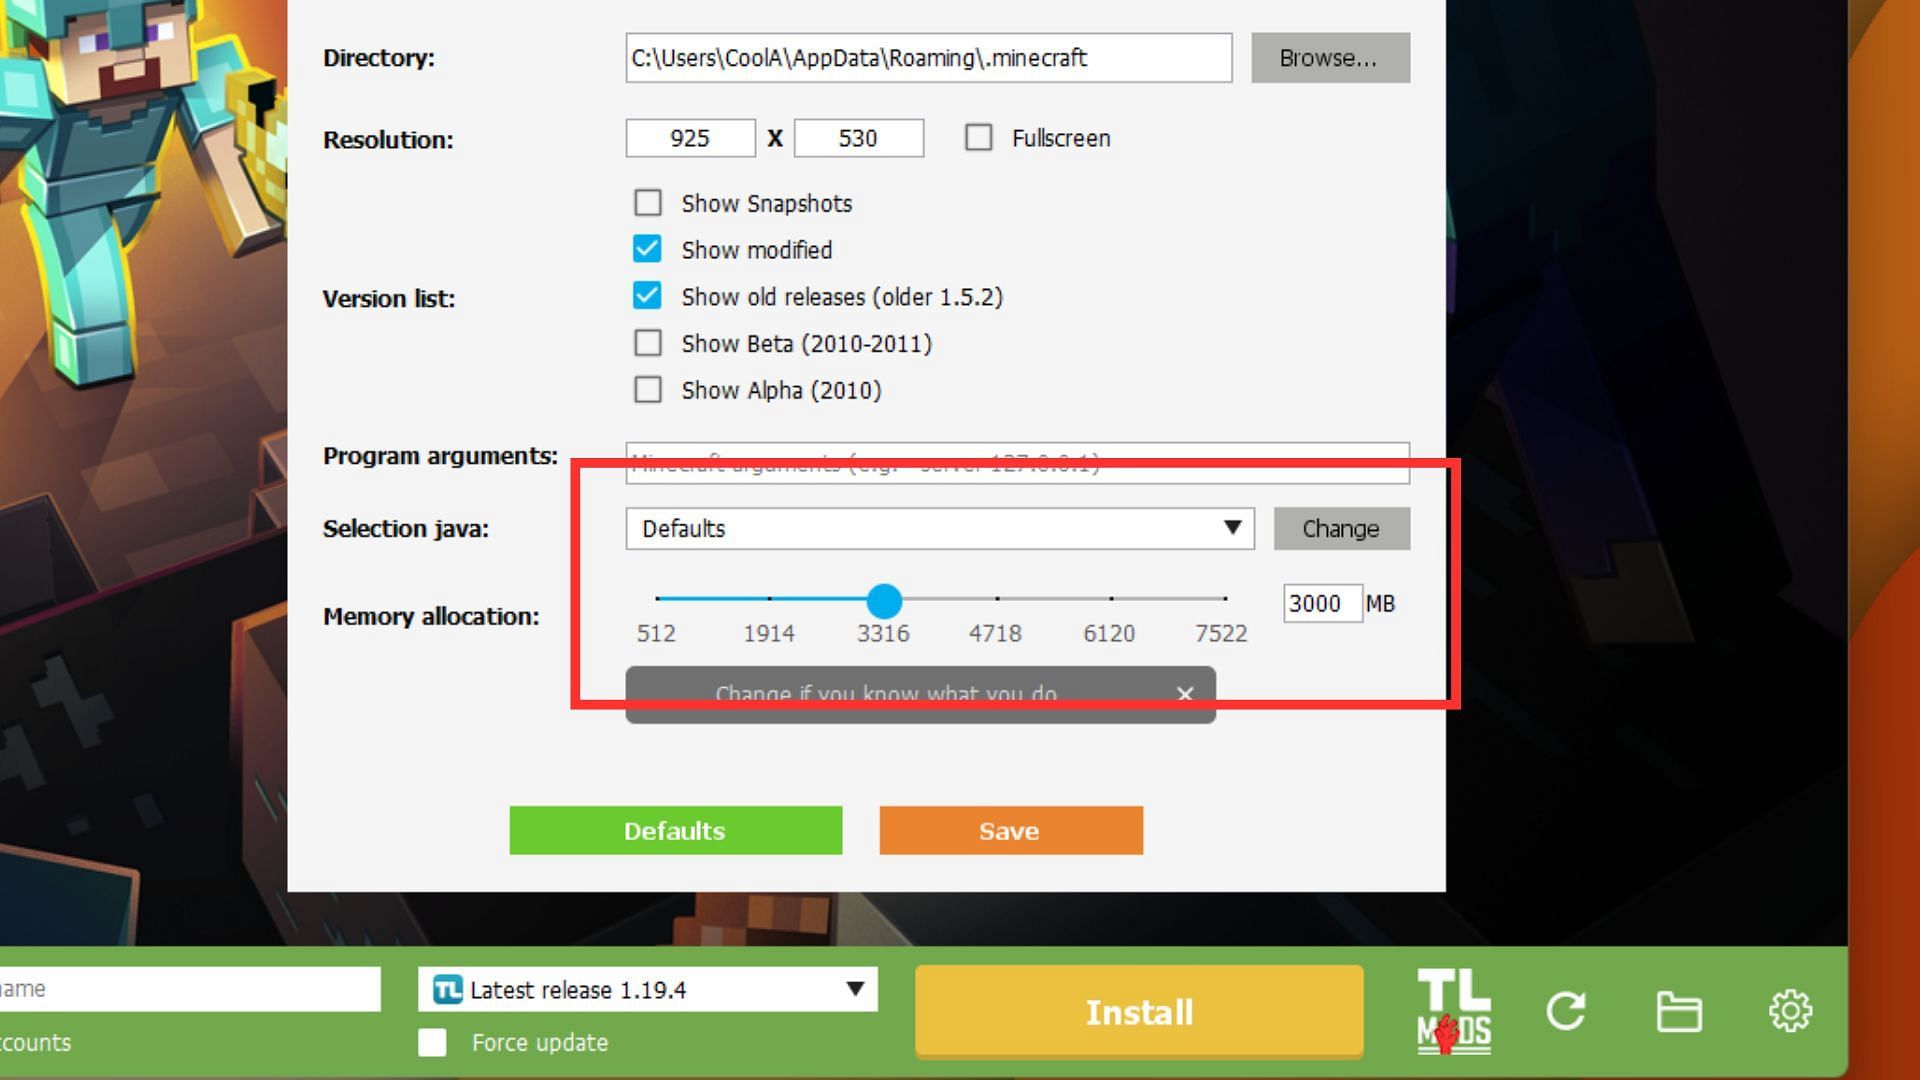
Step 2. From here, the process is straightforward. Use the slider in the Memory allocation field towards the button and adjust the amount of RAM the game should use.
Step 3. Hit Save and launch Minecraft.
ATLauncher
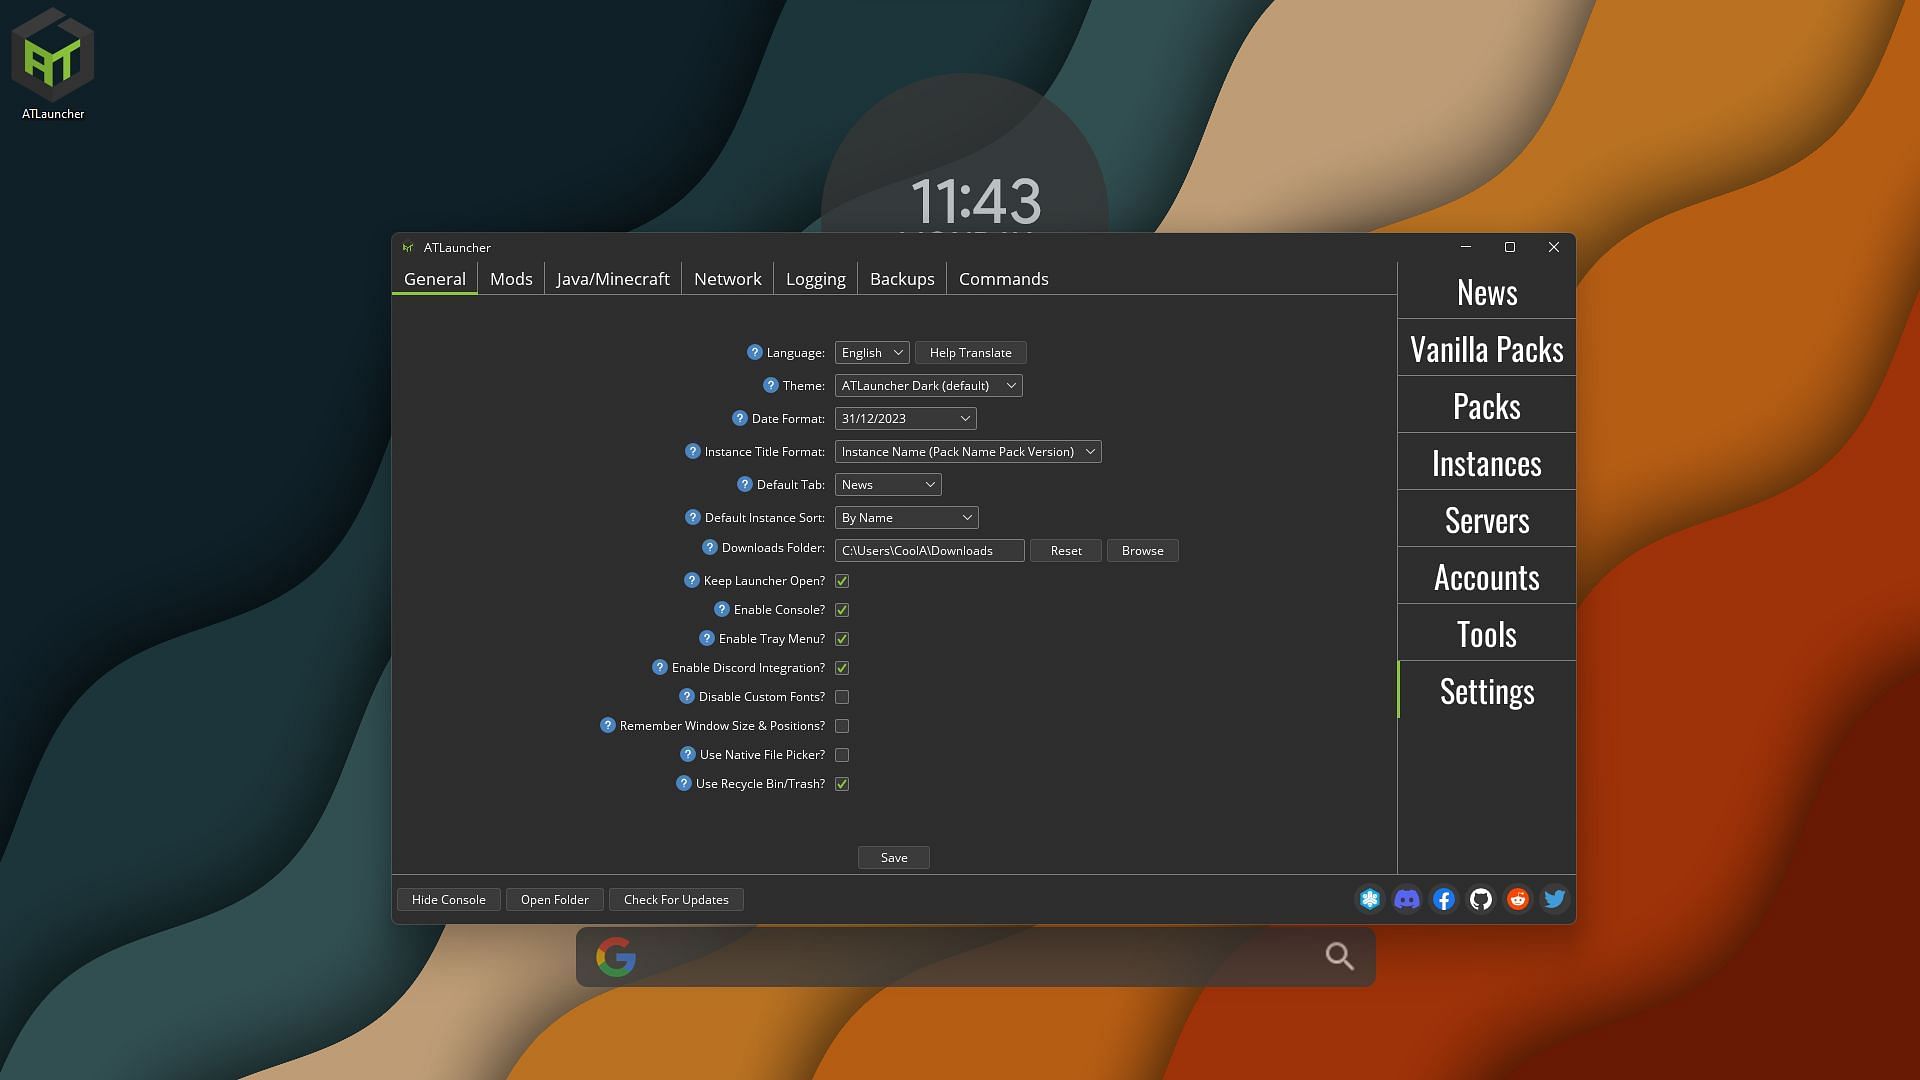
ATLauncher is another common option among gamers. Like TLauncher, it also has an easy-to-use interface that players can use to alter memory allocation quickly. Follow these steps:
Step 1. Launch ATLauncher, then go to the Settings tab.
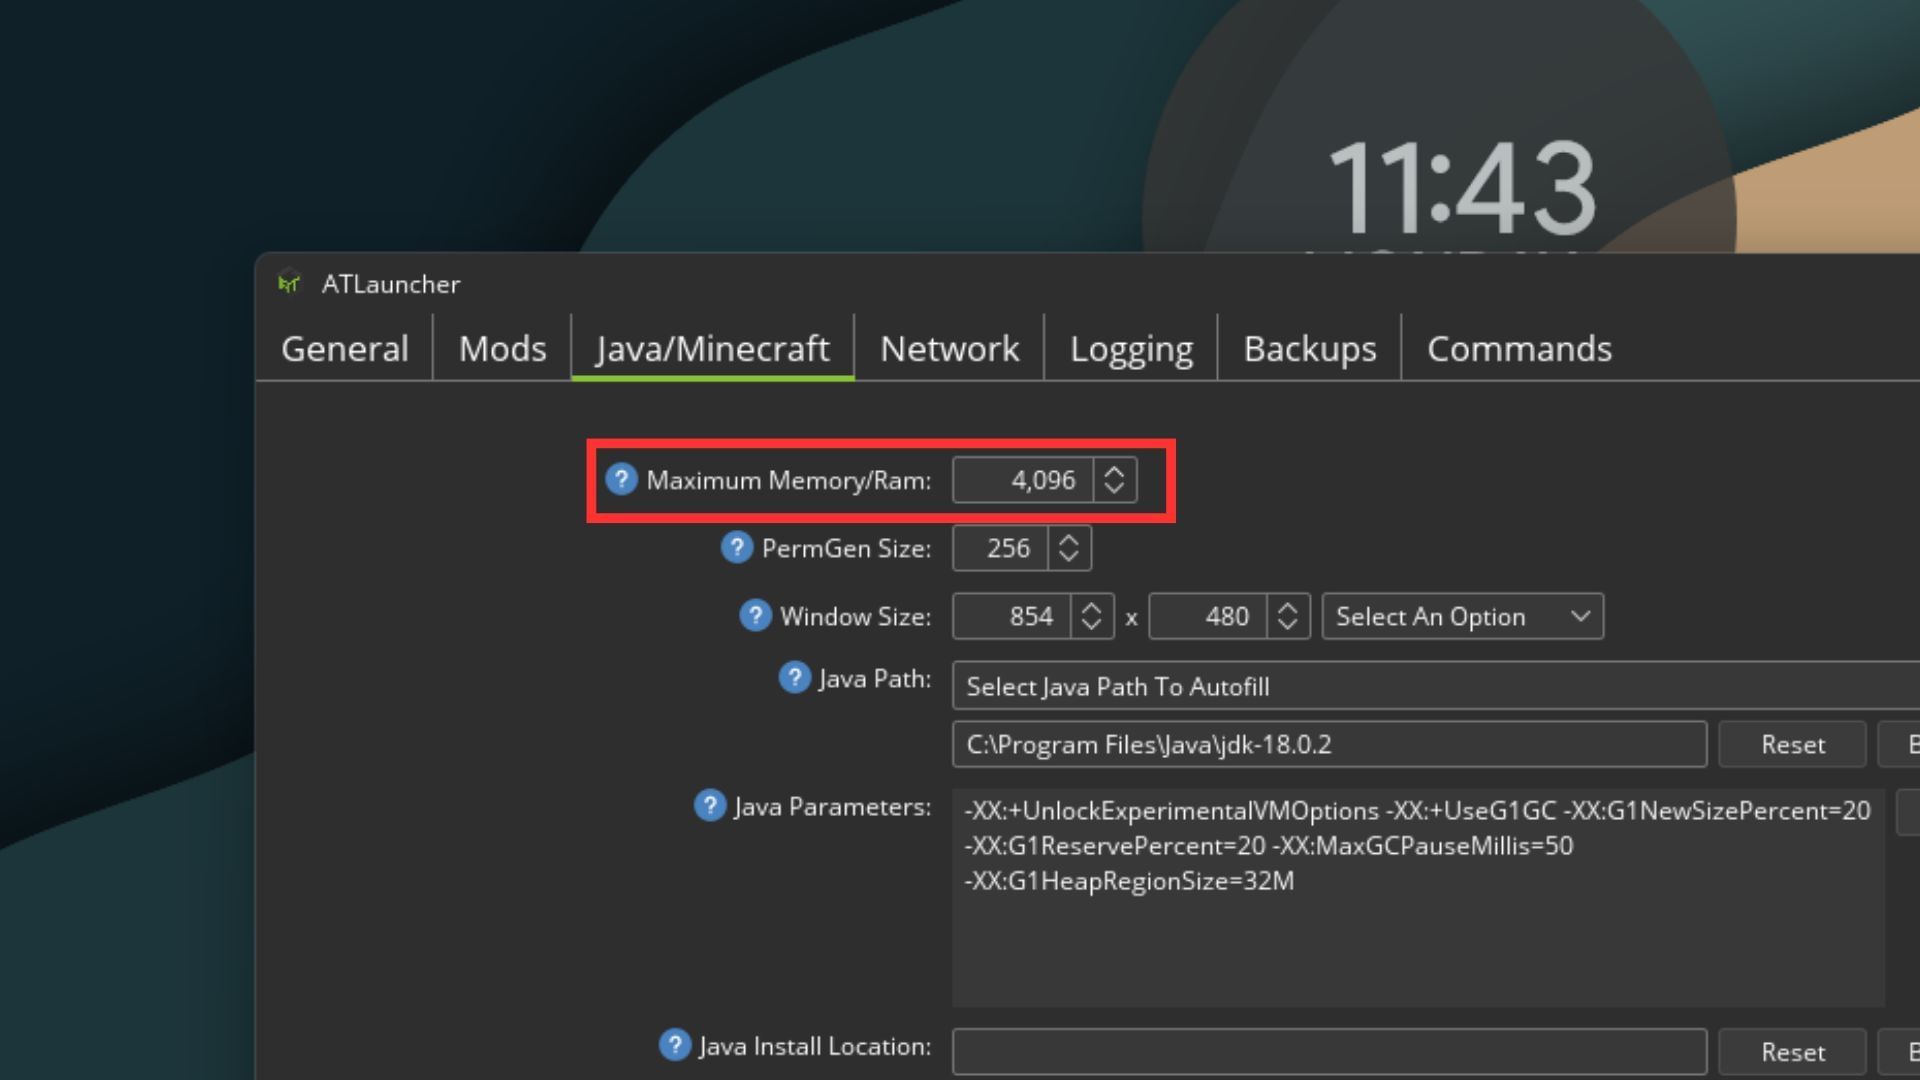
Step 2. Go to the Java/Minecraft tab from the new window that opens. The first option, "Maximum Memory/RAM," can be altered by using the two arrows beside it to change the memory allocation (in megabytes).
Step 3. Hit the Save button and launch the game.
CurseForge
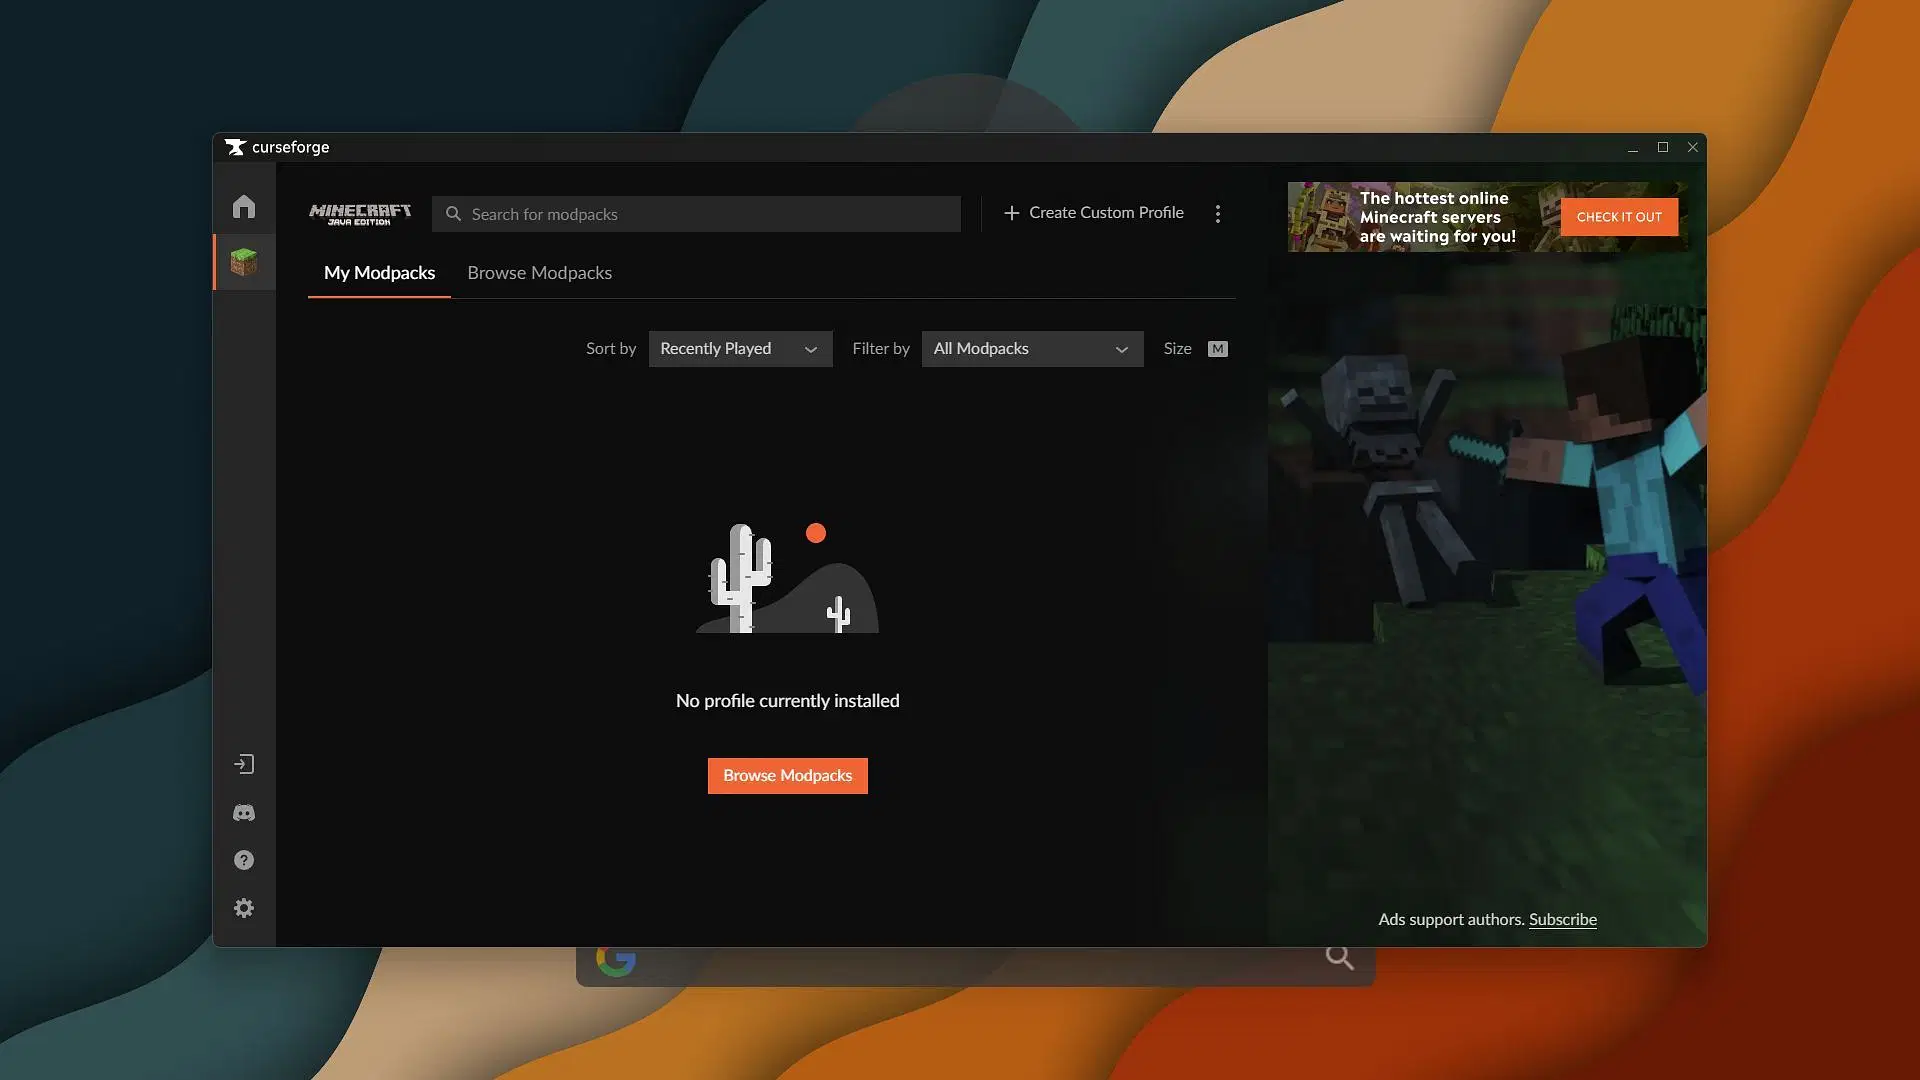
Players on the CurseForge launcher can follow these steps to increase or decrease memory allocation:
Step 1. From the CurseForge home screen, click on the little cog icon in the lower left corner. This will open the settings menu.
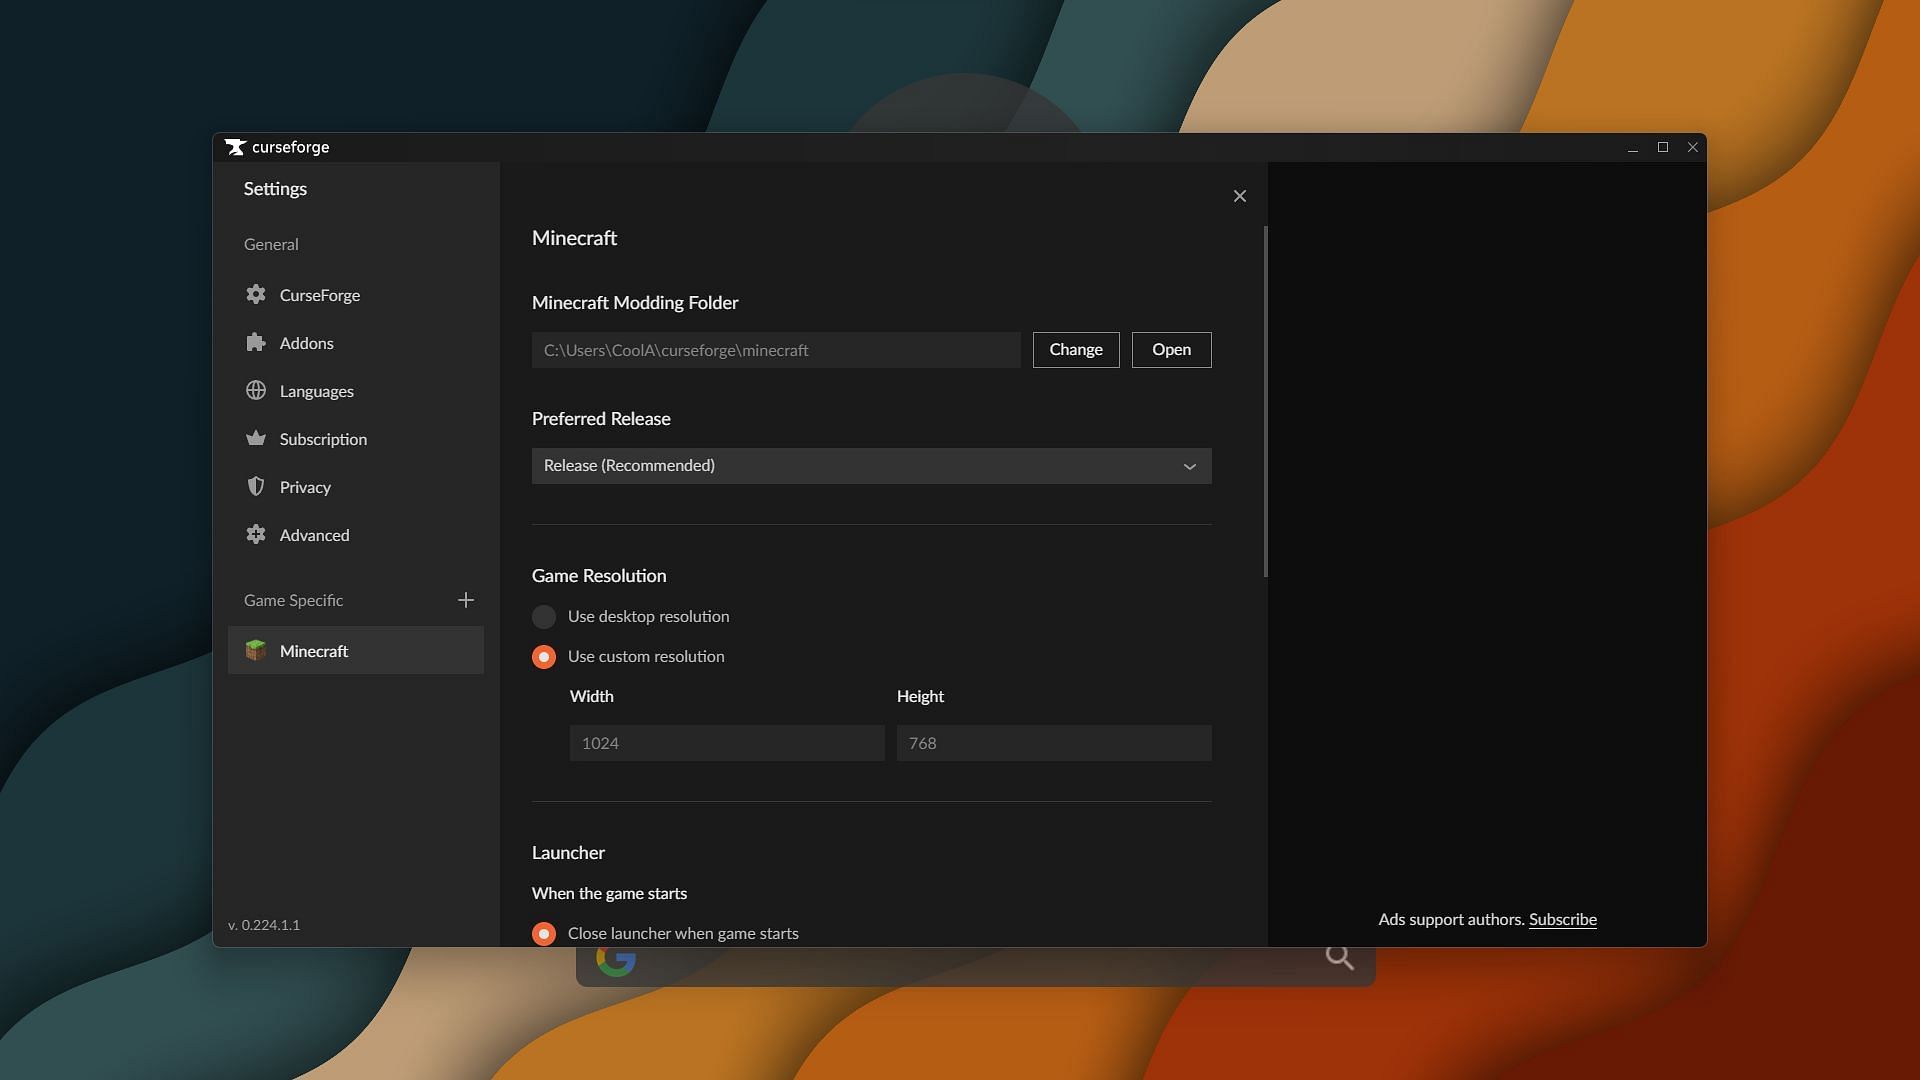
Step 2. Head to the Minecraft-specific settings from the menu. If you don't have Minecraft added, install the game and Java from the home screen first.
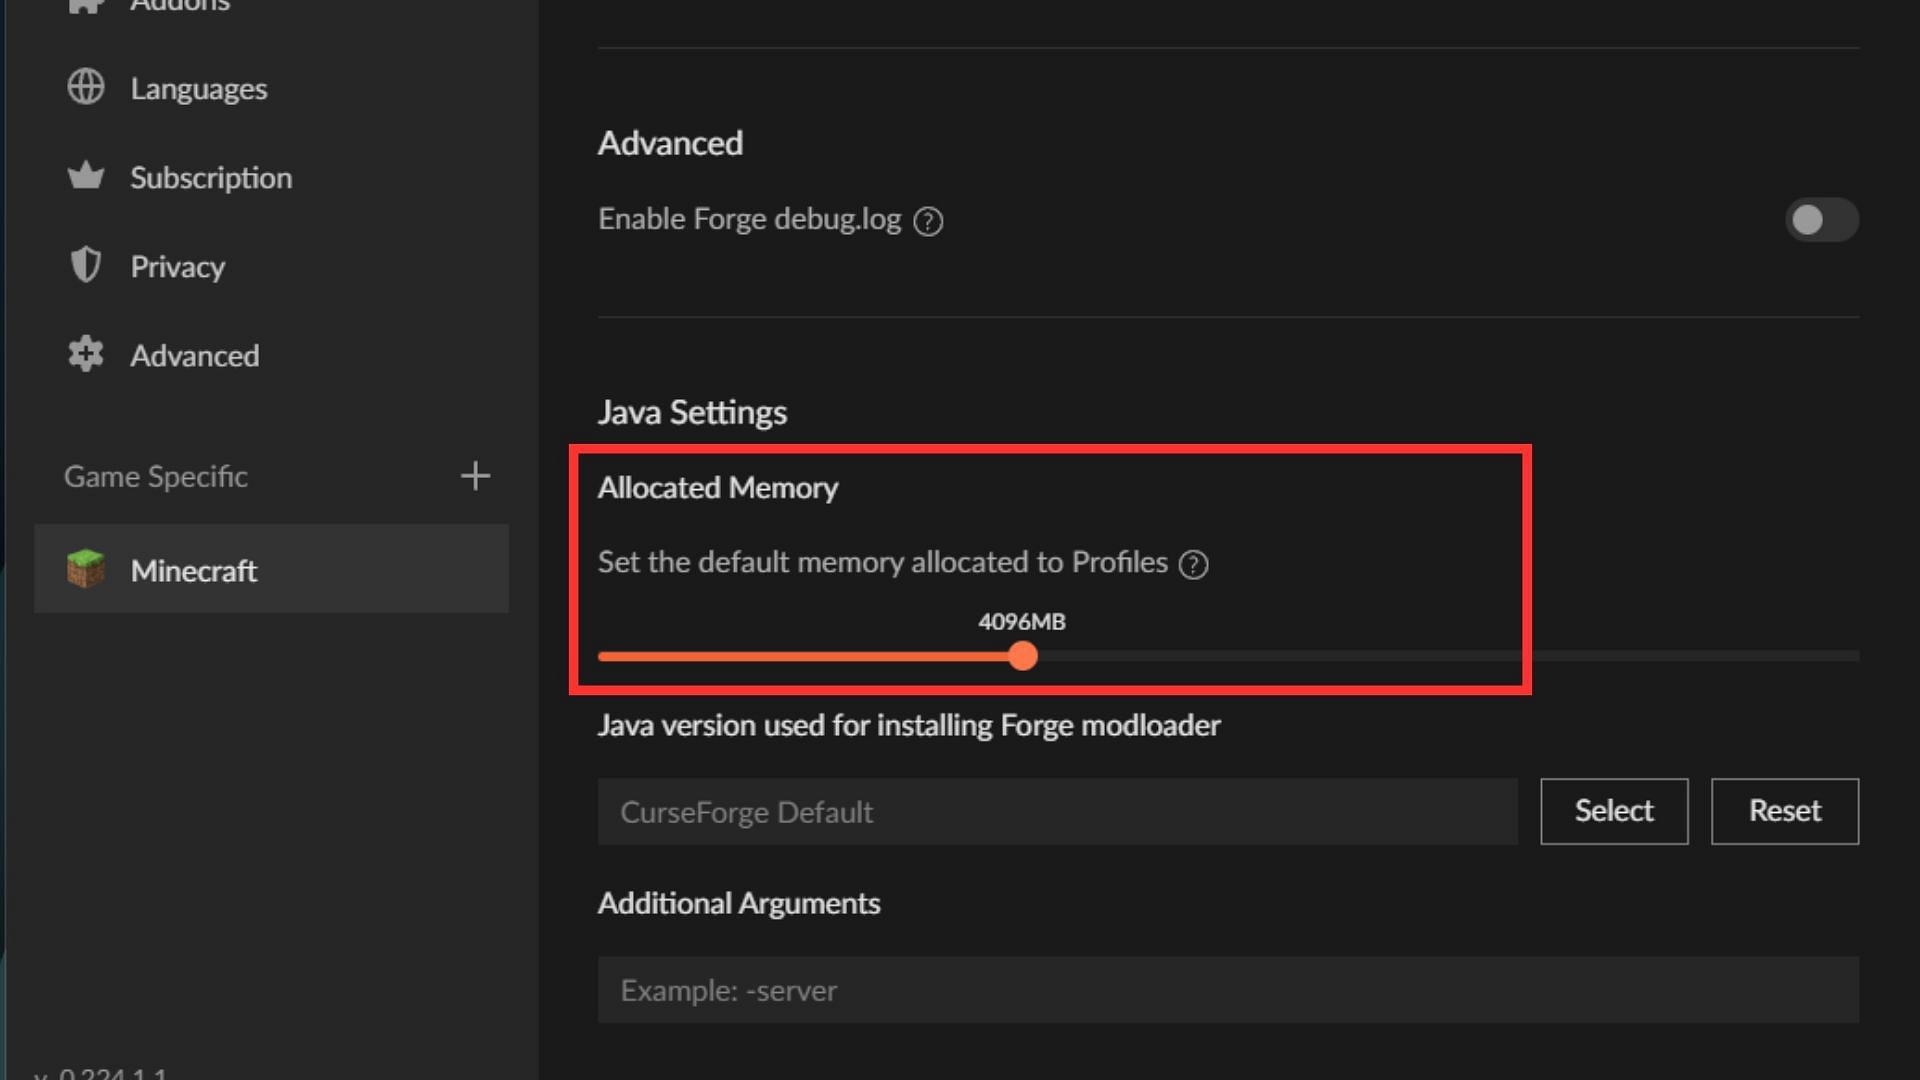
Step 3. Scroll down to the Java Settings section. The first field here is Allocated Memory. You can now use the slider to adjust the amount of RAM you would like the game to use.
Adjusting memory allocation in Minecraft is a simple process. We hope this guide helped you fine-tune the game's memory settings for improved performance.