
'%20x='0'%20y='0'%20height='100%25'%20width='100%25'%20%0A%20%20%20%20%20%20%20%20%20%20xlink%3Ahref='data:image/jpg;base64,/9j/2wBDAAYEBQYFBAYGBQYHBwYIChAKCgkJChQODwwQFxQYGBcUFhYaHSUfGhsjHBYWICwgIyYnKSopGR8tMC0oMCUoKSj/2wBDAQcHBwoIChMKChMoGhYaKCgoKCgoKCgoKCgoKCgoKCgoKCgoKCgoKCgoKCgoKCgoKCgoKCgoKCgoKCgoKCgoKCj/wgARCAAGAAoDASIAAhEBAxEB/8QAFQABAQAAAAAAAAAAAAAAAAAABgf/2gAIAQEAAAAABVf/xAAUAQEAAAAAAAAAAAAAAAAAAAAB/9oACAECEAAAAD//xAAUAQEAAAAAAAAAAAAAAAAAAAAC/9oACAEDEAAAAF//xAAdEAACAgIDAQAAAAAAAAAAAAABAgMEBQYAETEh/9oACAEBAAE/ANnya1Y6+PjM5YSSoZGYfW795rtqvX1/GQtXZmjqxISG96Qc/8QAFhEAAwAAAAAAAAAAAAAAAAAAAAIh/9oACAECAQE/AEp//8QAFREBAQAAAAAAAAAAAAAAAAAAAAL/2gAIAQMBAT8Ap//Z'%3E%3C/image%3E%3C/svg%3E)
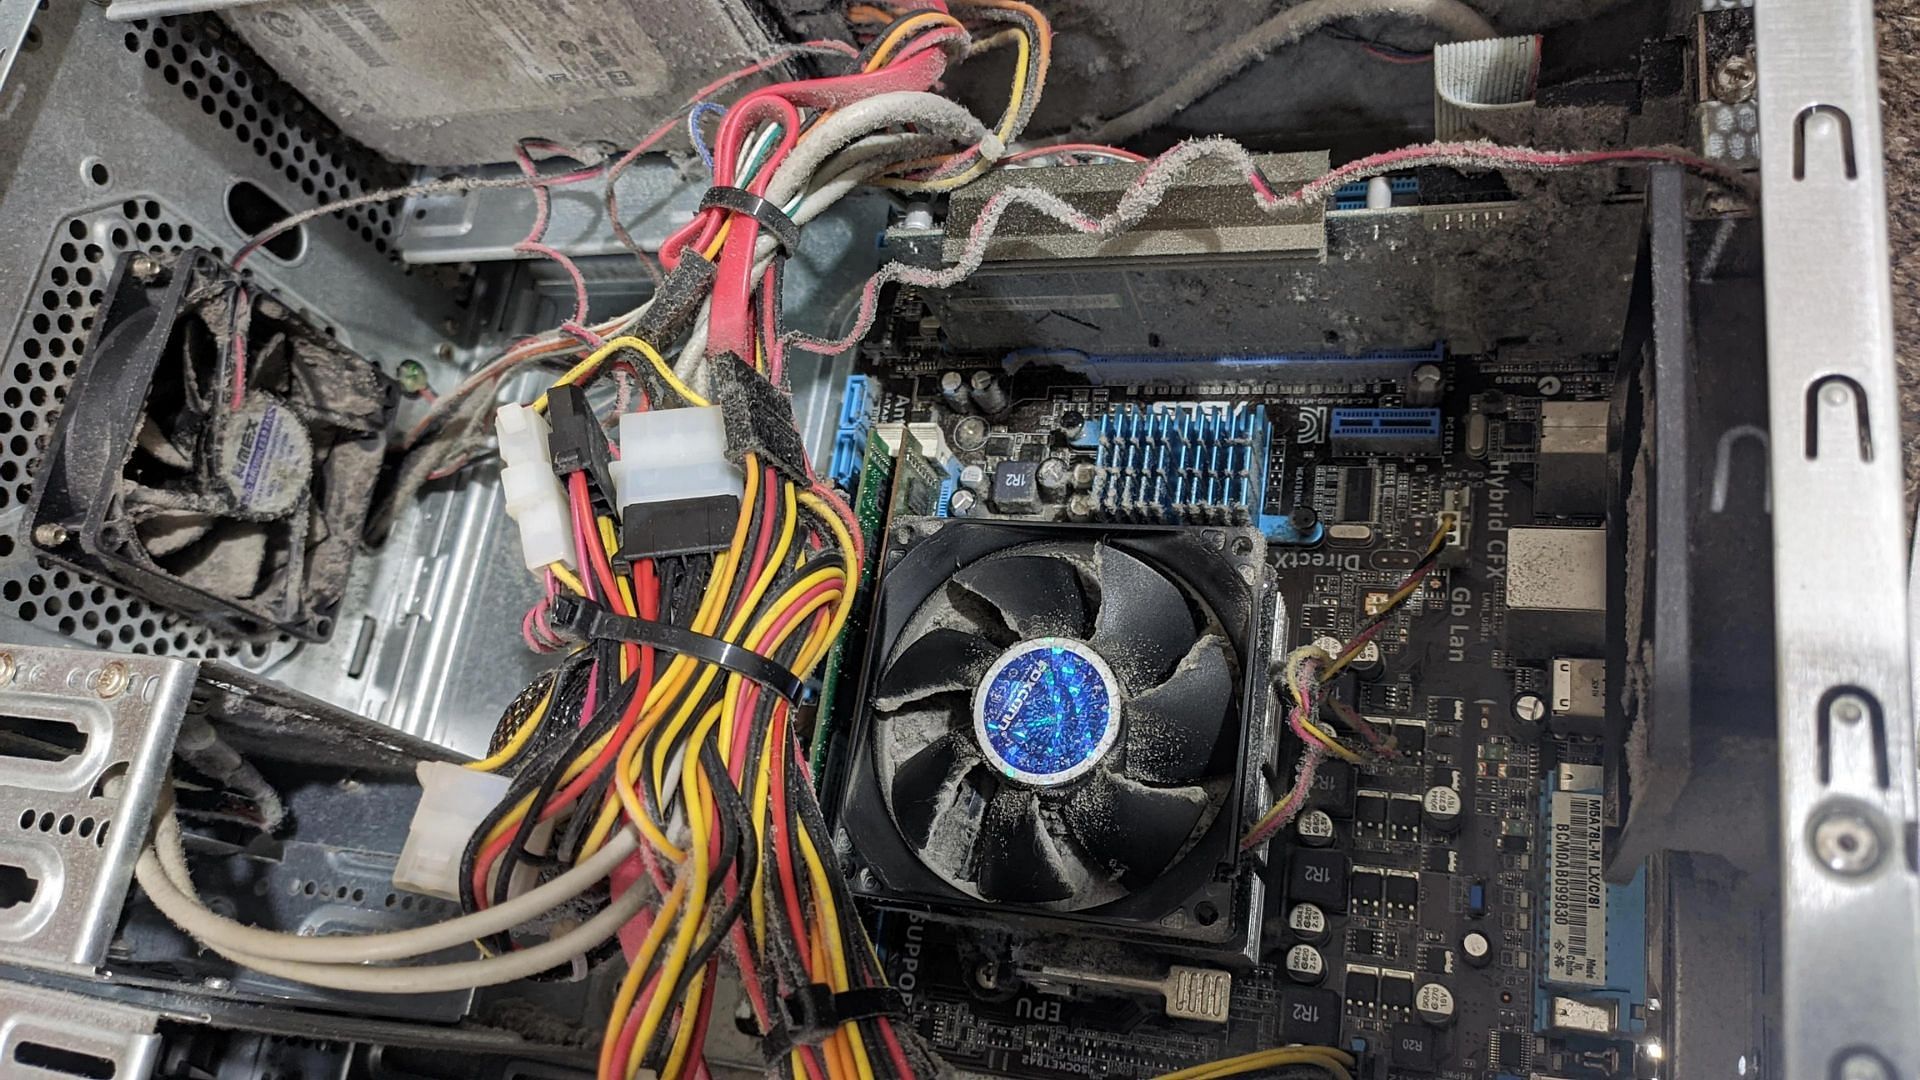
Dust is a major problem when it comes to keeping PC thermals in check. You might have invested a large amount building your computer by choosing the absolute bleeding edge computer hardware, but if you don’t routinely maintain it, the chances for your PC’s performance going down over time get increasingly higher.
The build-up of dust in a PC cabinet is a catalyst for poor thermal performance. It can get into your CPU cooler, GPU fans and inside I/O. This leads to thermal inefficiency, leading to more heat generation. Therefore, it’s vital to clean your PC every two or three weeks.
A clean, dust-free computer means increased longevity. You wouldn’t surely want your precious gear to succumb to something like dust, would you? To help you figure out the cleaning part, we’ve listed a few tips and tricks you can use.
Detailed procedure about how to thoroughly clean your PC cabinet
Pre-requisites
Before starting the procedure, ensure that you have these things at hand:
- Isopropyl alcohol (no gel-based sanitizers).
- A blower.
- A can of compressed air.
- A cleaning brush with soft bristles.
- Matching screw driver.
- Microfiber cleaning cloths and ear buds.
Keeping everything ready before the procedure will ensure efficient and thorough cleaning. This can be of major help, especially for people who are not used to the process. With that out of the way, let's take a look at the procedure itself:
1) Remove screws and wiring
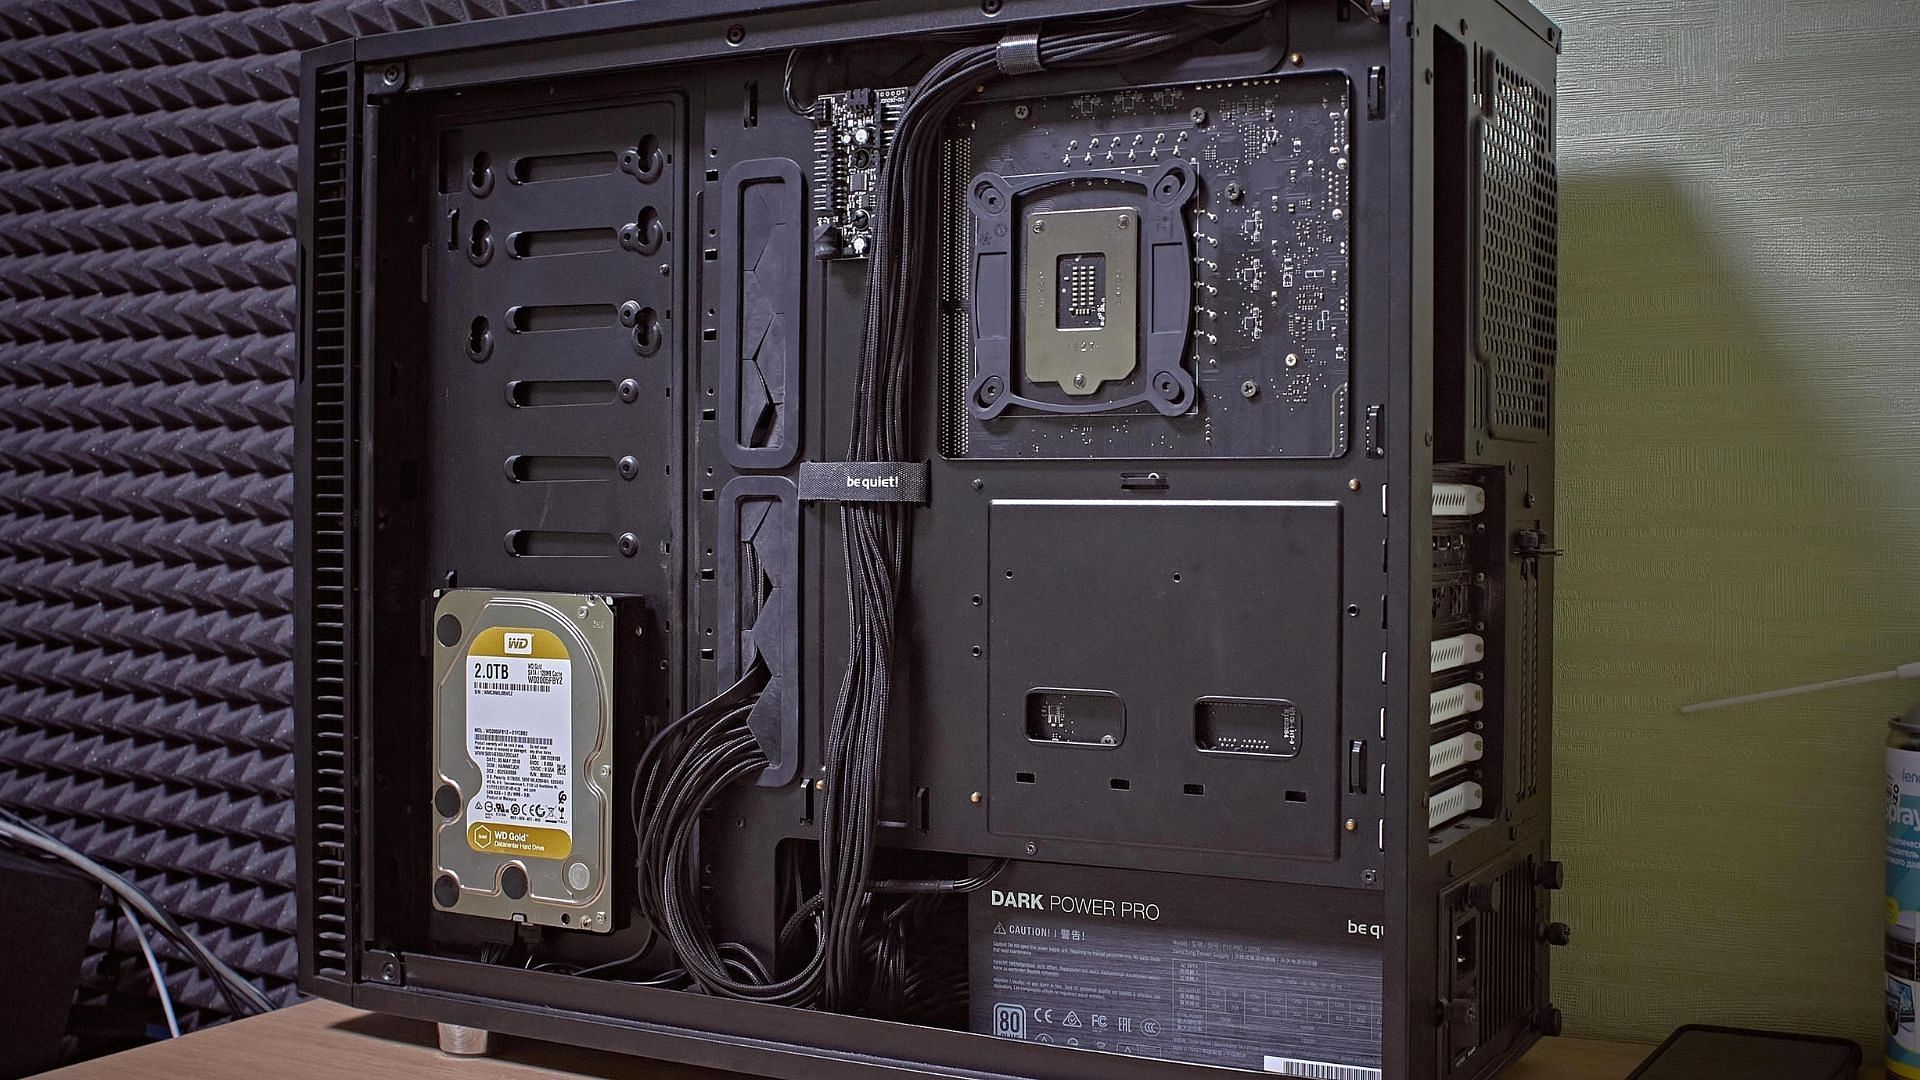
You don’t have to disassemble your entire PC build to remove dust. Just removing the side panel by unscrewing it and removing the cables connected to the back of your cabinet is going to be enough.
Make sure to keep the screws safe so you do not lose them later. Since most of the screws used in cabinets nowadays are fairly tiny, they can get lost quite easily. We also recommend unplugging the fans from the motherboard if you have overclocked your CPU and/or are using an external CPU cooler.
2) Move to an open area and blow air into the cabinet
To avoid creating a mess in your personal surroundings, try moving the cabinet outside your home, maybe to a balcony or your terrace. This way, any dust that is blown out, won’t make your room dirty.
Once you’re in an outside environment, start your blower and blow air in a recurring pattern - an up and down motion. After a few minutes, most of the dust build-up on major surfaces should be reduced.
3) Clean the sensitive surfaces
Once you’ve blown out a major chunk of dust, you will notice that some of interior surfaces like cooler fans, inside of the GPU, and motherboard still hold some gunk. To target this, use a compressed air can with a long nozzle. This way, you can deep clean every component by spraying air inside every nook and cranny of the parts.
Due to moisture and other substances, some dust can cause residue to build-up over time. This is especially noticeable on the interior surfaces of fans. Using isopropyl alcohol and ear buds, carefully wipe off the gunk.
4) Areas you might have missed
A dusty PC is something you can’t win against. Chances are, no matter how much you end up cleaning, you will always miss a spot or two. However, the most common areas people tend to overlook are behind the GPU, in-between RAM sticks, and around capacitors.
Using a soft bristled brush, gently clean the surrounding areas. Remove the GPU and blow compressed air after loosening up the dirt with the brush. Static build-up rarely becomes a concern when doing things this way.
5) Finishing the job
Modern PC cabinets usually have a lot of glossy parts. In fact, the clear side panels of some of the cheaper cabinets are made up of acrylic. So, the chances of getting micro-scratches due to dust are quite high.
We strictly recommend using only a good quality microfiber cloth to clean the same as it lifts the dirt off and does not grind it against the surface. You can also use the same microfiber cloth to wipe the other external surface of your cabinet after spraying it with some isopropyl alcohol.
Note: Do not use a microfiber cloth to clean the insides as it may lead to static build-up. Static can damage your components.
Routine maintenance is the way to go
Ensuring that a routine maintenance system is in place helps in managing clutter, keeps the thermal performance of your PC efficient, and helps promote general cleanliness.
Better longevity for your products translates to more savings and less electronic waste. Small steps like these are a massive in the grander scheme of things. In the meantime, please keep enjoying your products.
