
'%20x='0'%20y='0'%20height='100%25'%20width='100%25'%20%0A%20%20%20%20%20%20%20%20%20%20xlink%3Ahref='data:image/jpg;base64,/9j/2wBDAAYEBQYFBAYGBQYHBwYIChAKCgkJChQODwwQFxQYGBcUFhYaHSUfGhsjHBYWICwgIyYnKSopGR8tMC0oMCUoKSj/2wBDAQcHBwoIChMKChMoGhYaKCgoKCgoKCgoKCgoKCgoKCgoKCgoKCgoKCgoKCgoKCgoKCgoKCgoKCgoKCgoKCgoKCj/wgARCAAGAAoDASIAAhEBAxEB/8QAFgABAQEAAAAAAAAAAAAAAAAAAAUH/8QAFQEBAQAAAAAAAAAAAAAAAAAAAgP/2gAMAwEAAhADEAAAAMmlAv8A/8QAHhAAAgMAAQUAAAAAAAAAAAAAAQIDBAUAERIUMqH/2gAIAQEAAT8AaTMbDms1qjIsKvPGhA9uhHLG1RnsSyri5iK7Fgvig9v3n//EABURAQEAAAAAAAAAAAAAAAAAAAEA/9oACAECAQE/AFQL/8QAFxEAAwEAAAAAAAAAAAAAAAAAAAESAv/aAAgBAwEBPwDLluT/2Q=='%3E%3C/image%3E%3C/svg%3E)
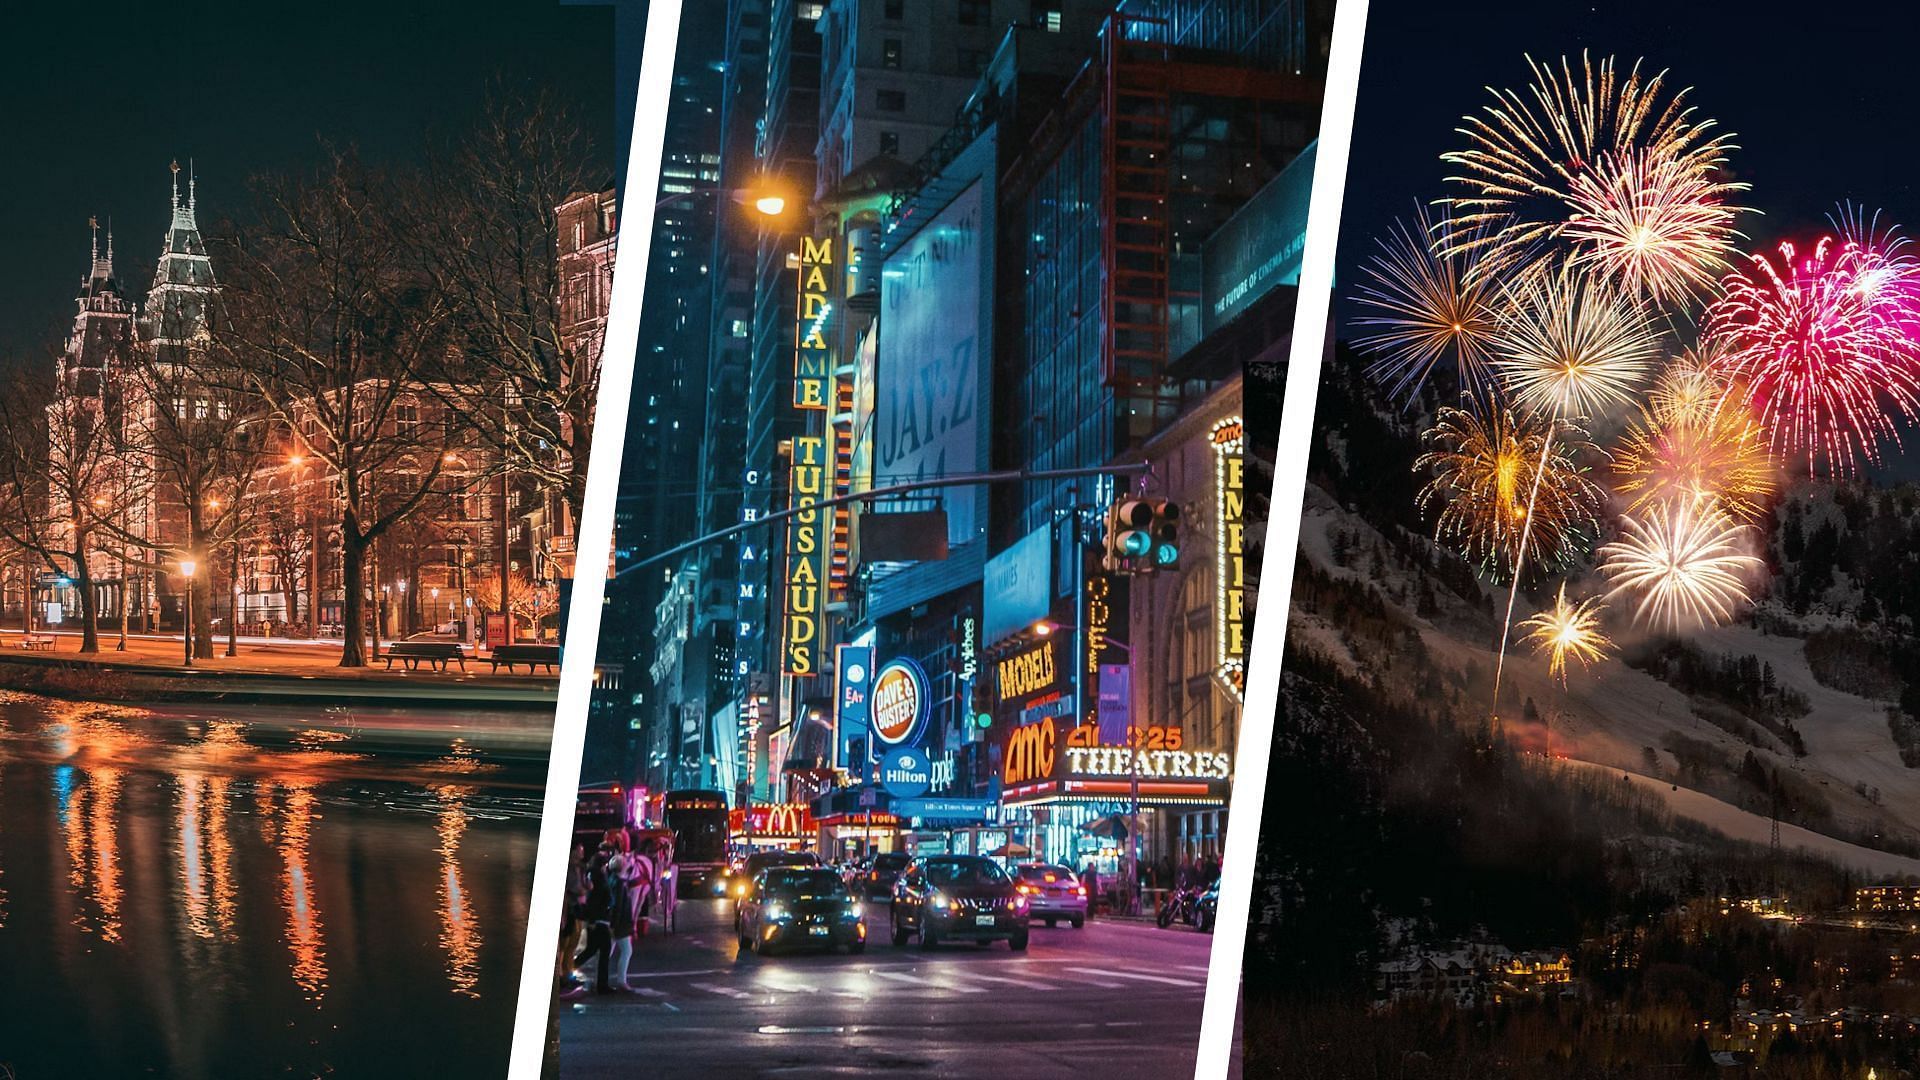
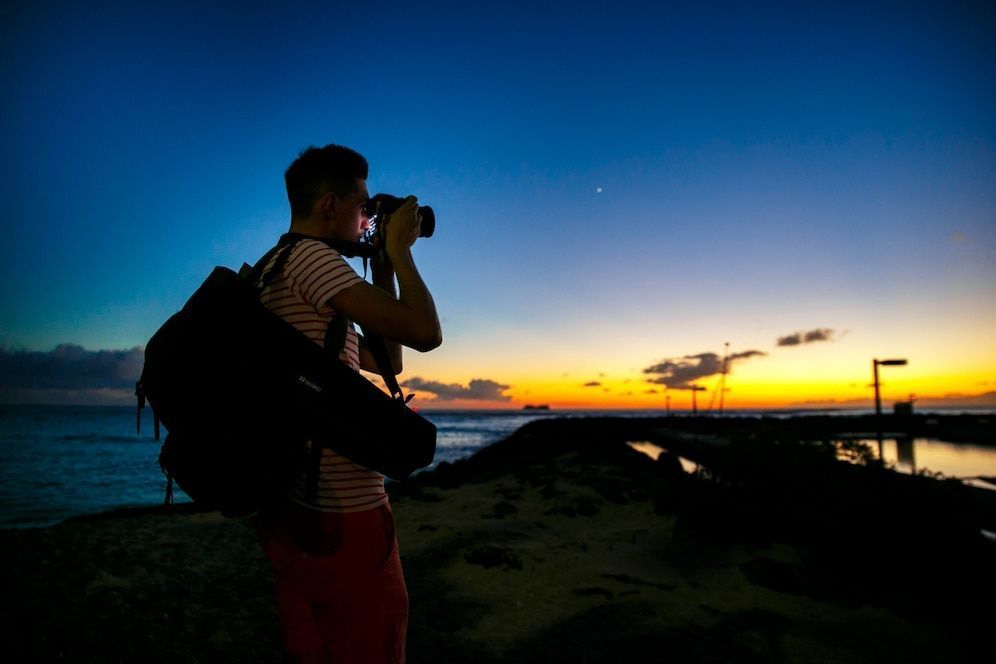
Night photography is typically filled with creativity and a lot of exploration. With modern smartphones and cameras, it's not very difficult to capture a good photo at night, but to truly elevate your night photography, it is essential to know a few tips and tricks to get by. This activity requires a certain level of skill and familiarity to truly capture the night, balancing the dark and bright spots.
This genre of photography often has some rules that people tend to forget. The purpose of this article is to discuss seven practical tips and tricks for night photography to help you master this genre.
Note: This article is subjective and reflects the writer's opinions
Here are 7 tips and tricks for night photography
1) Using manual settings
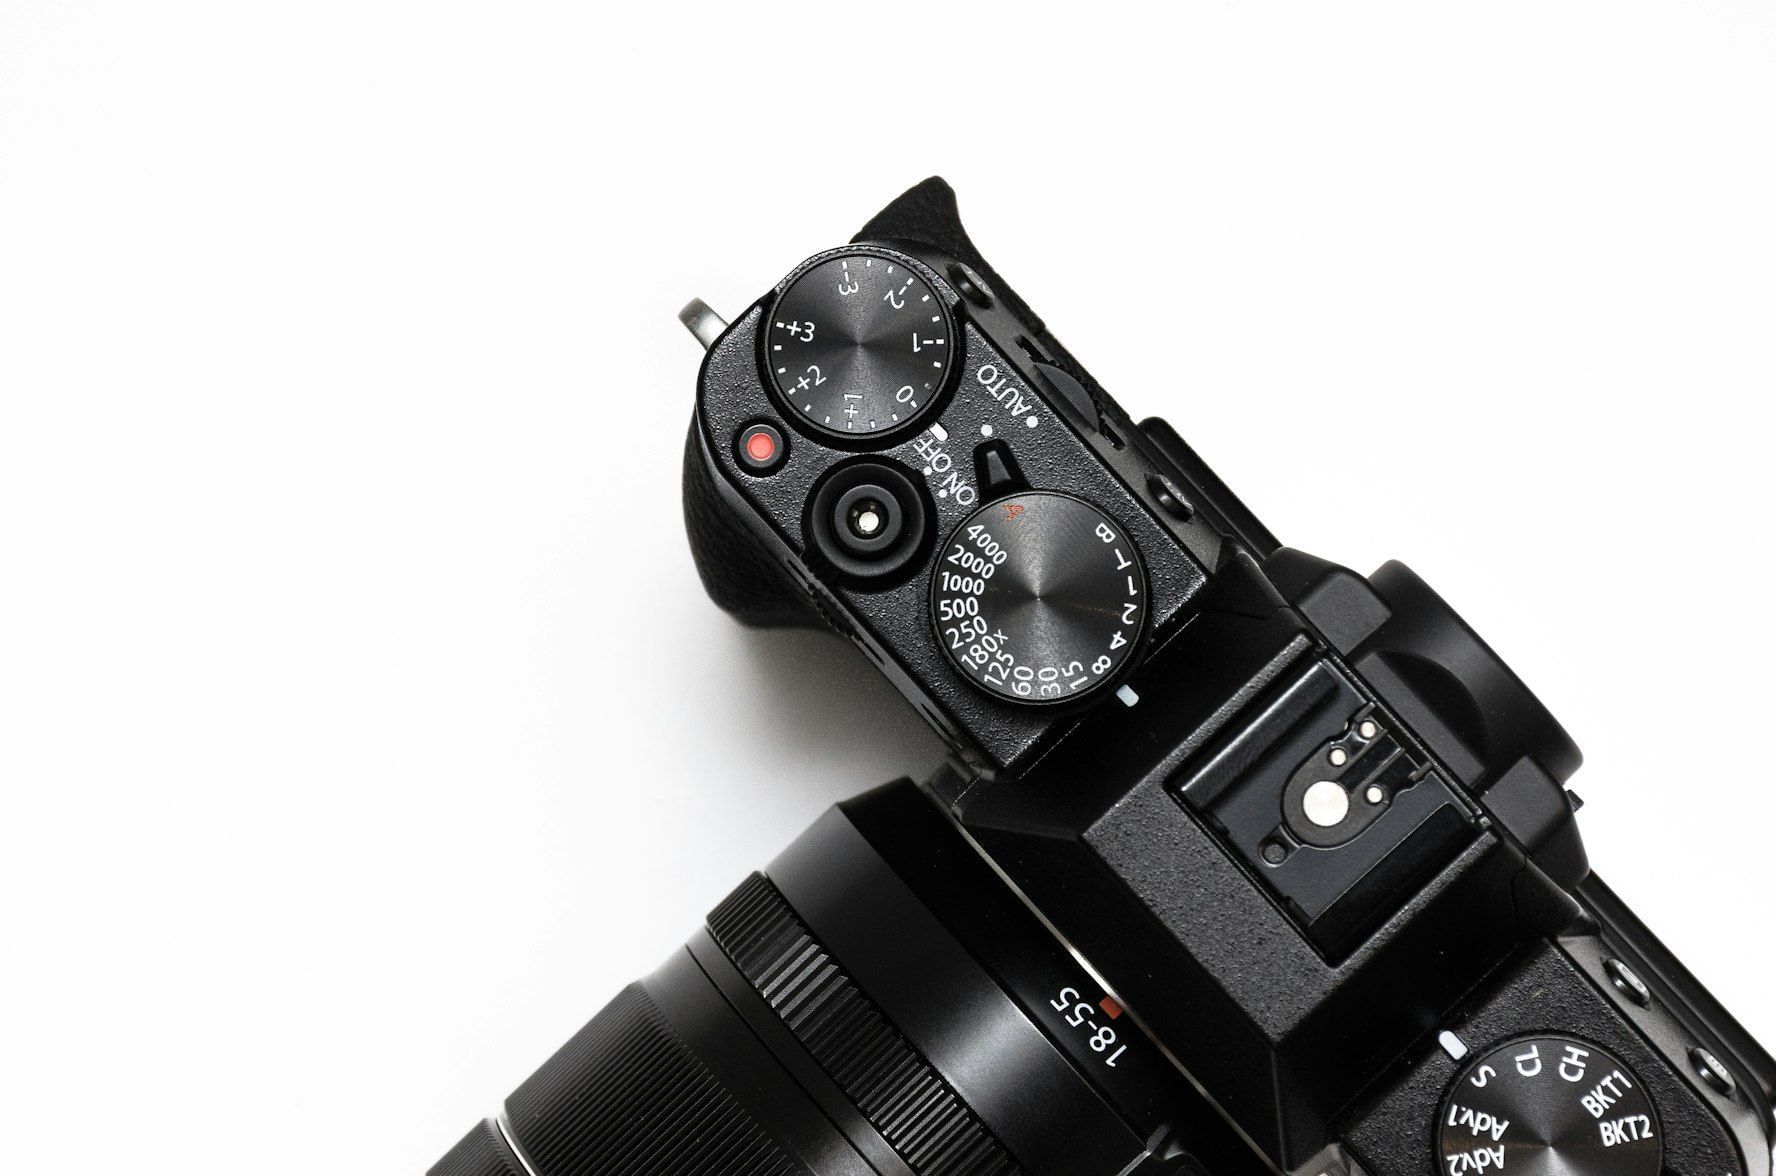
While it may seem intimidating, learning manual settings can be extremely fruitful. It allows you to have complete control over your camera's settings, including aperture, shutter speed, and ISO. This control is crucial for night photography, as it allows you to optimize the settings to capture the best possible image.
Manual settings tend to have a bit of a learning curve, but you can familiarise yourself with the concepts by playing around with settings like ISO, shutter speed, aperture, etc. Practice makes perfect. The goal is to keep trying, and this way, you can eventually master night photography.
2) Tweaking your ISO
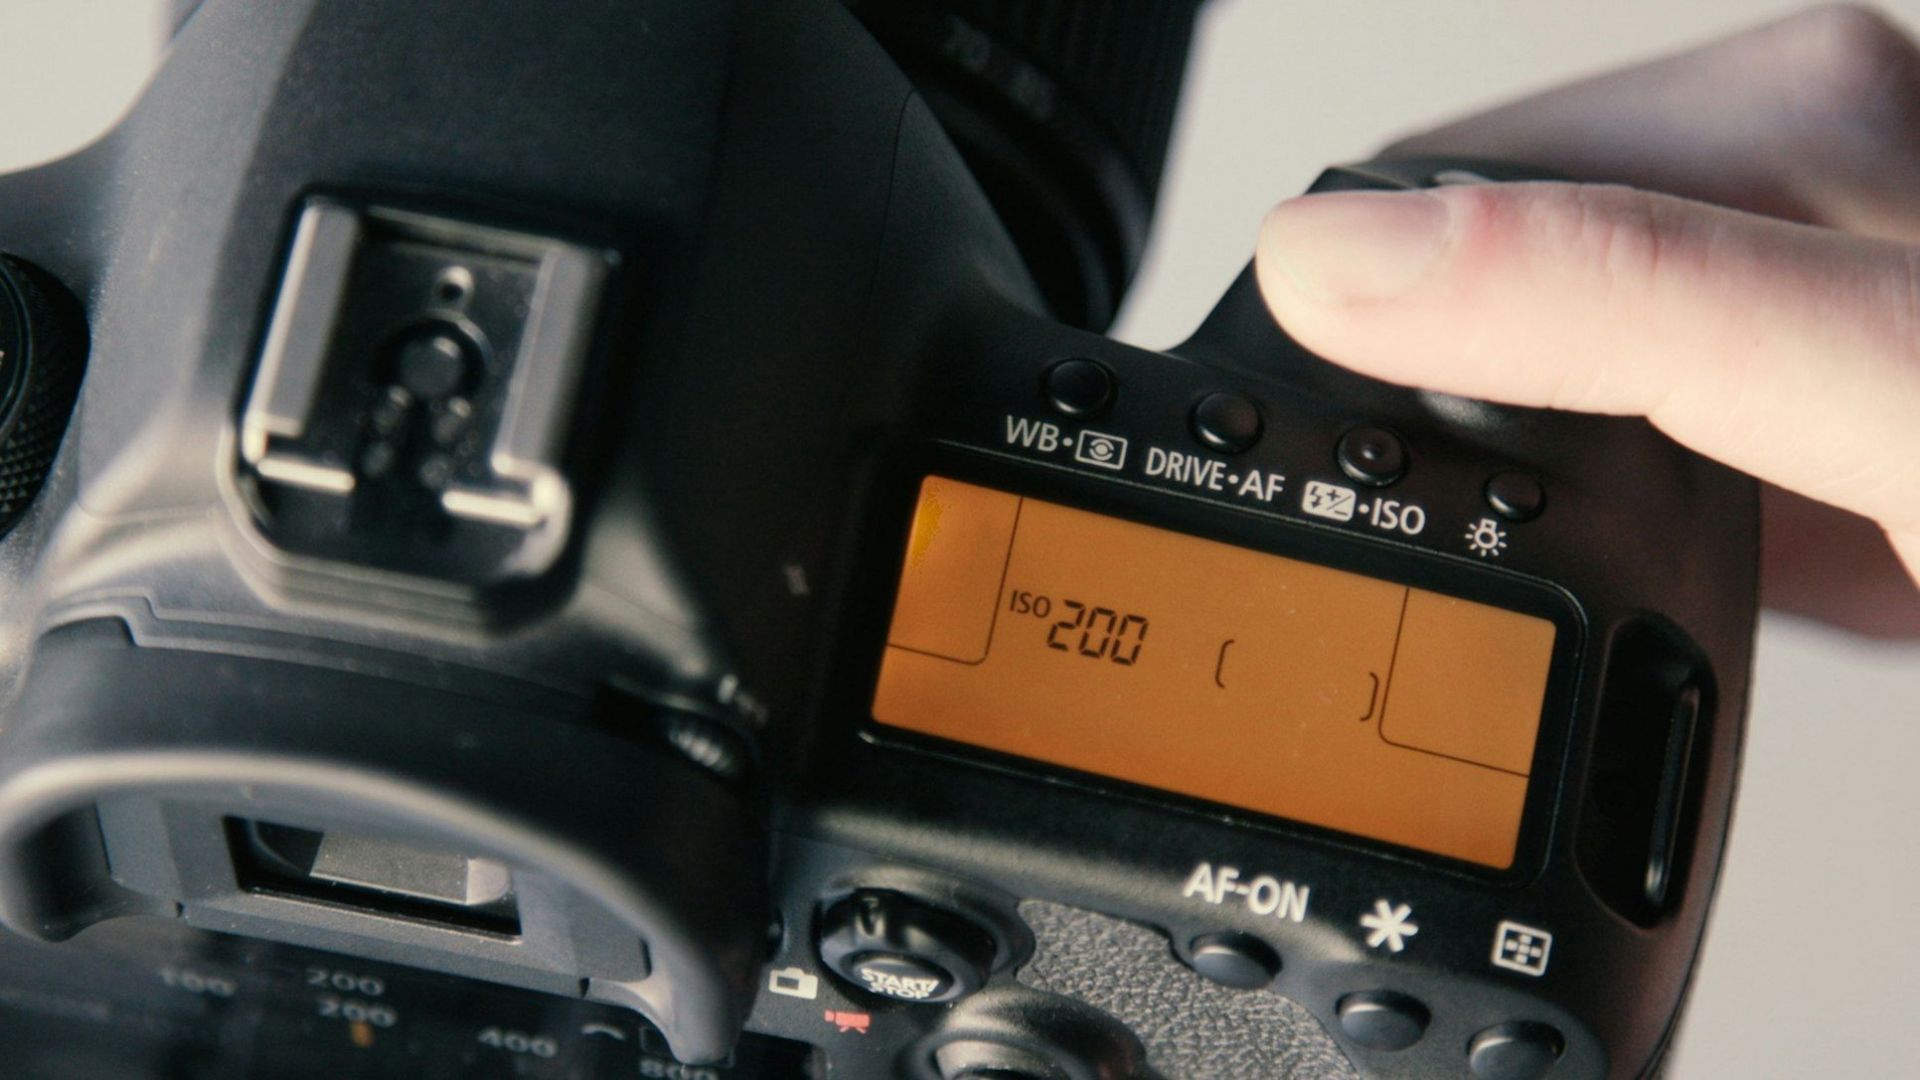
ISO in photography signifies the sensitivity of the camera's image sensor to light. While higher ISOs brighten dark scenes, they introduce unwanted grain or noise. The key lies in finding the sweet spot. For starry nights, lower ISOs (100-400) prioritize detail, while urban landscapes might necessitate higher settings (800-1600) for acceptable noise levels.
Be sure to experiment, and don't be afraid to push the boundaries to achieve your desired aesthetic.
3) Moderating aperture
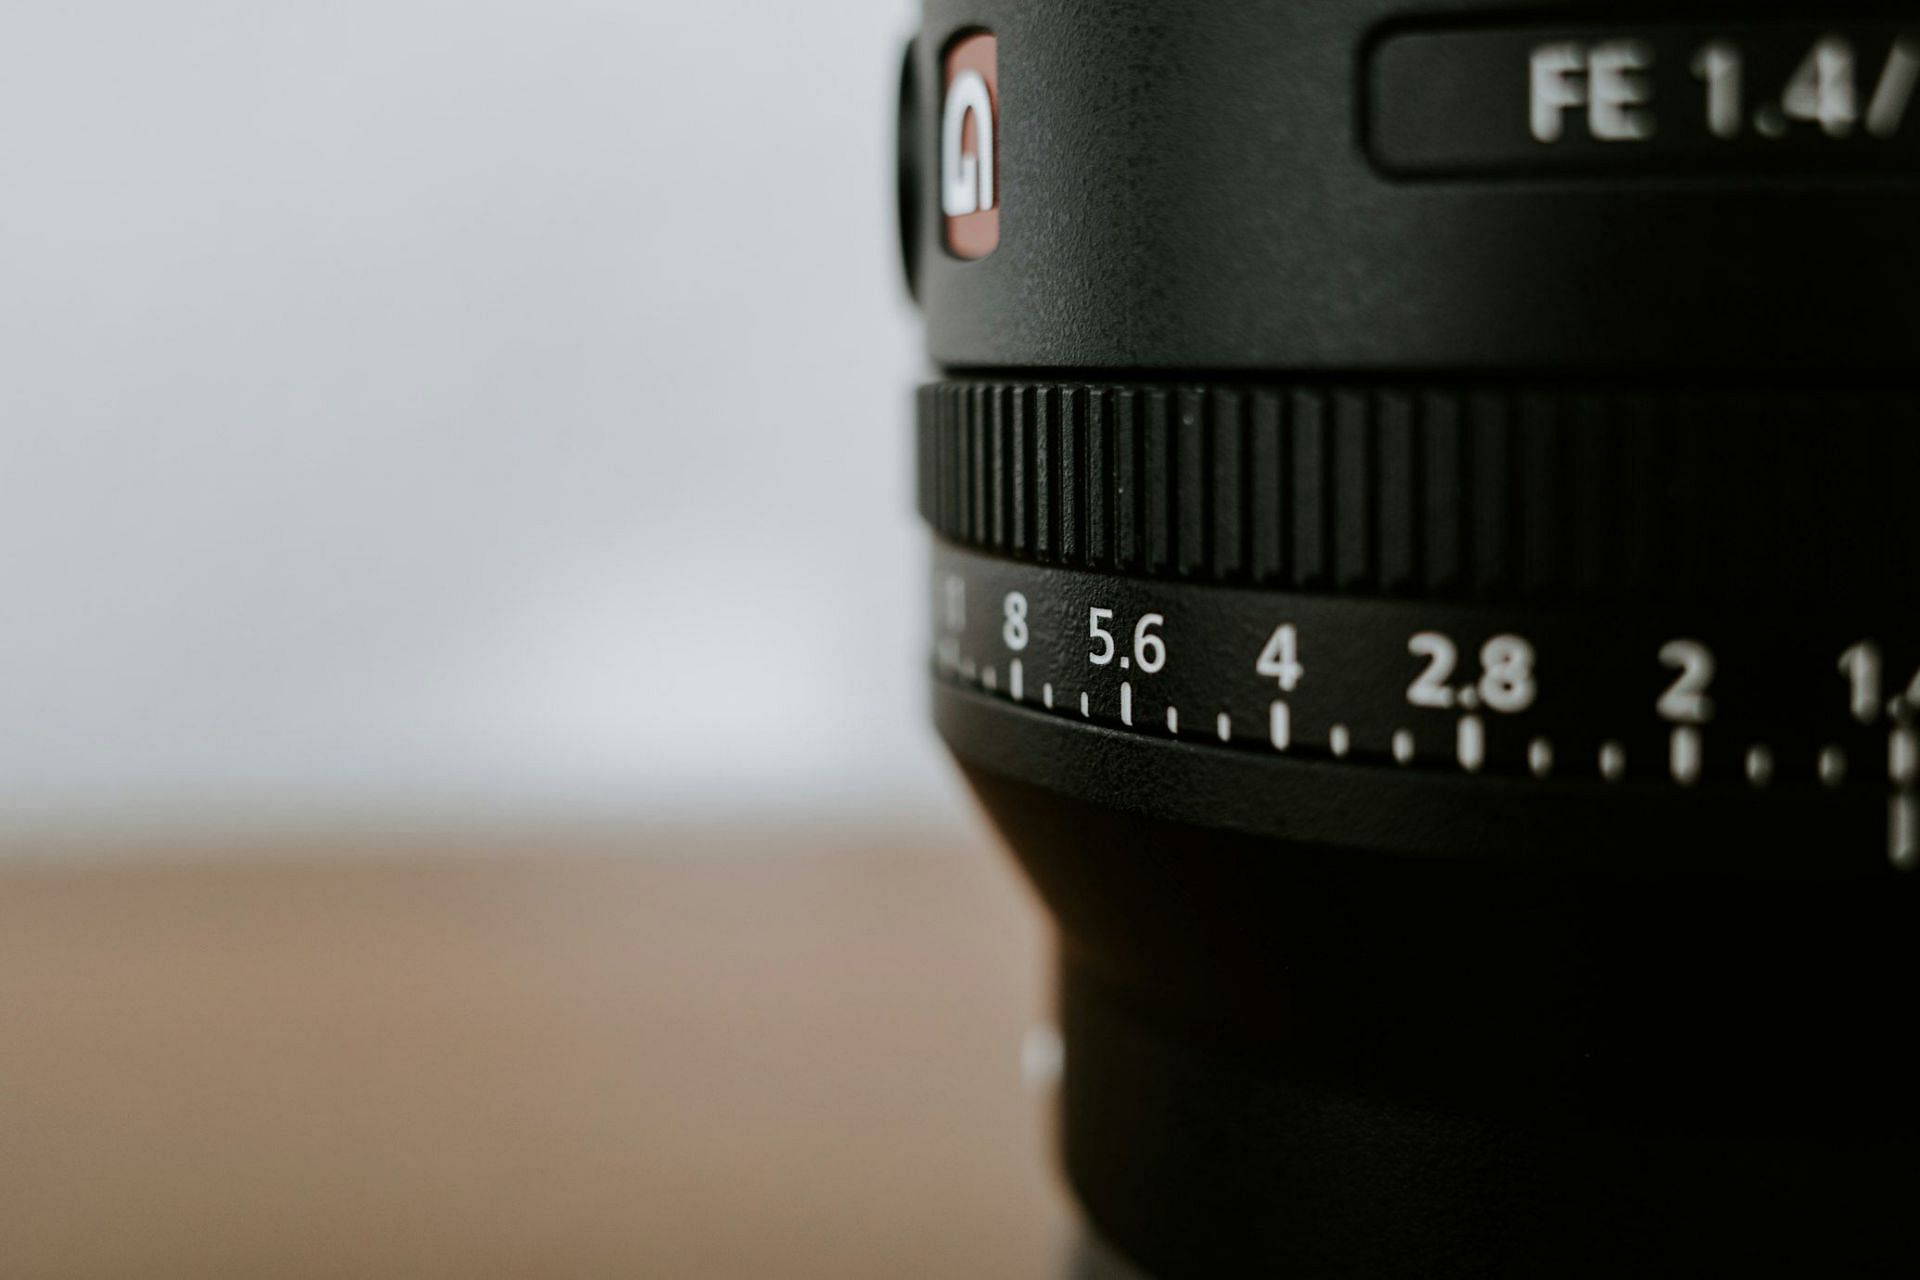
Aperture in photography refers to the amount of light entering the camera. Wider apertures (lower f-stop) will allow more light to enter the camera, enabling faster shutter speeds or lower ISOs. However, this comes at the cost of a shallower depth of field. Similarly, narrower apertures (higher f-stop) will allow less light and offer greater depth but enable slower shutter speeds or higher ISOs.
Finding the balance between sharpness, light gathering, and desired depth of field is crucial for capturing stunning pictures. For night photography, it is generally recommended to use a wide aperture to let in more natural light.
4) Knowing your location
Location scouting is essential in night photography. Understanding your location allows you to plan your shoot and make the most of the available light. Identify potential light sources like neon signs, streetlights, or even moonlight filtering through trees. Utilize these elements to create leading lines, illuminate specific areas, or add depth to your scene.
It's recommended to reach your destination before the sun sets and set up your equipment at a leisurely pace. This approach will also enable you to capture images during the magic hour lighting, which can enhance your understanding of how changes in lighting conditions can affect a particular setting.
5) Using additional equipment
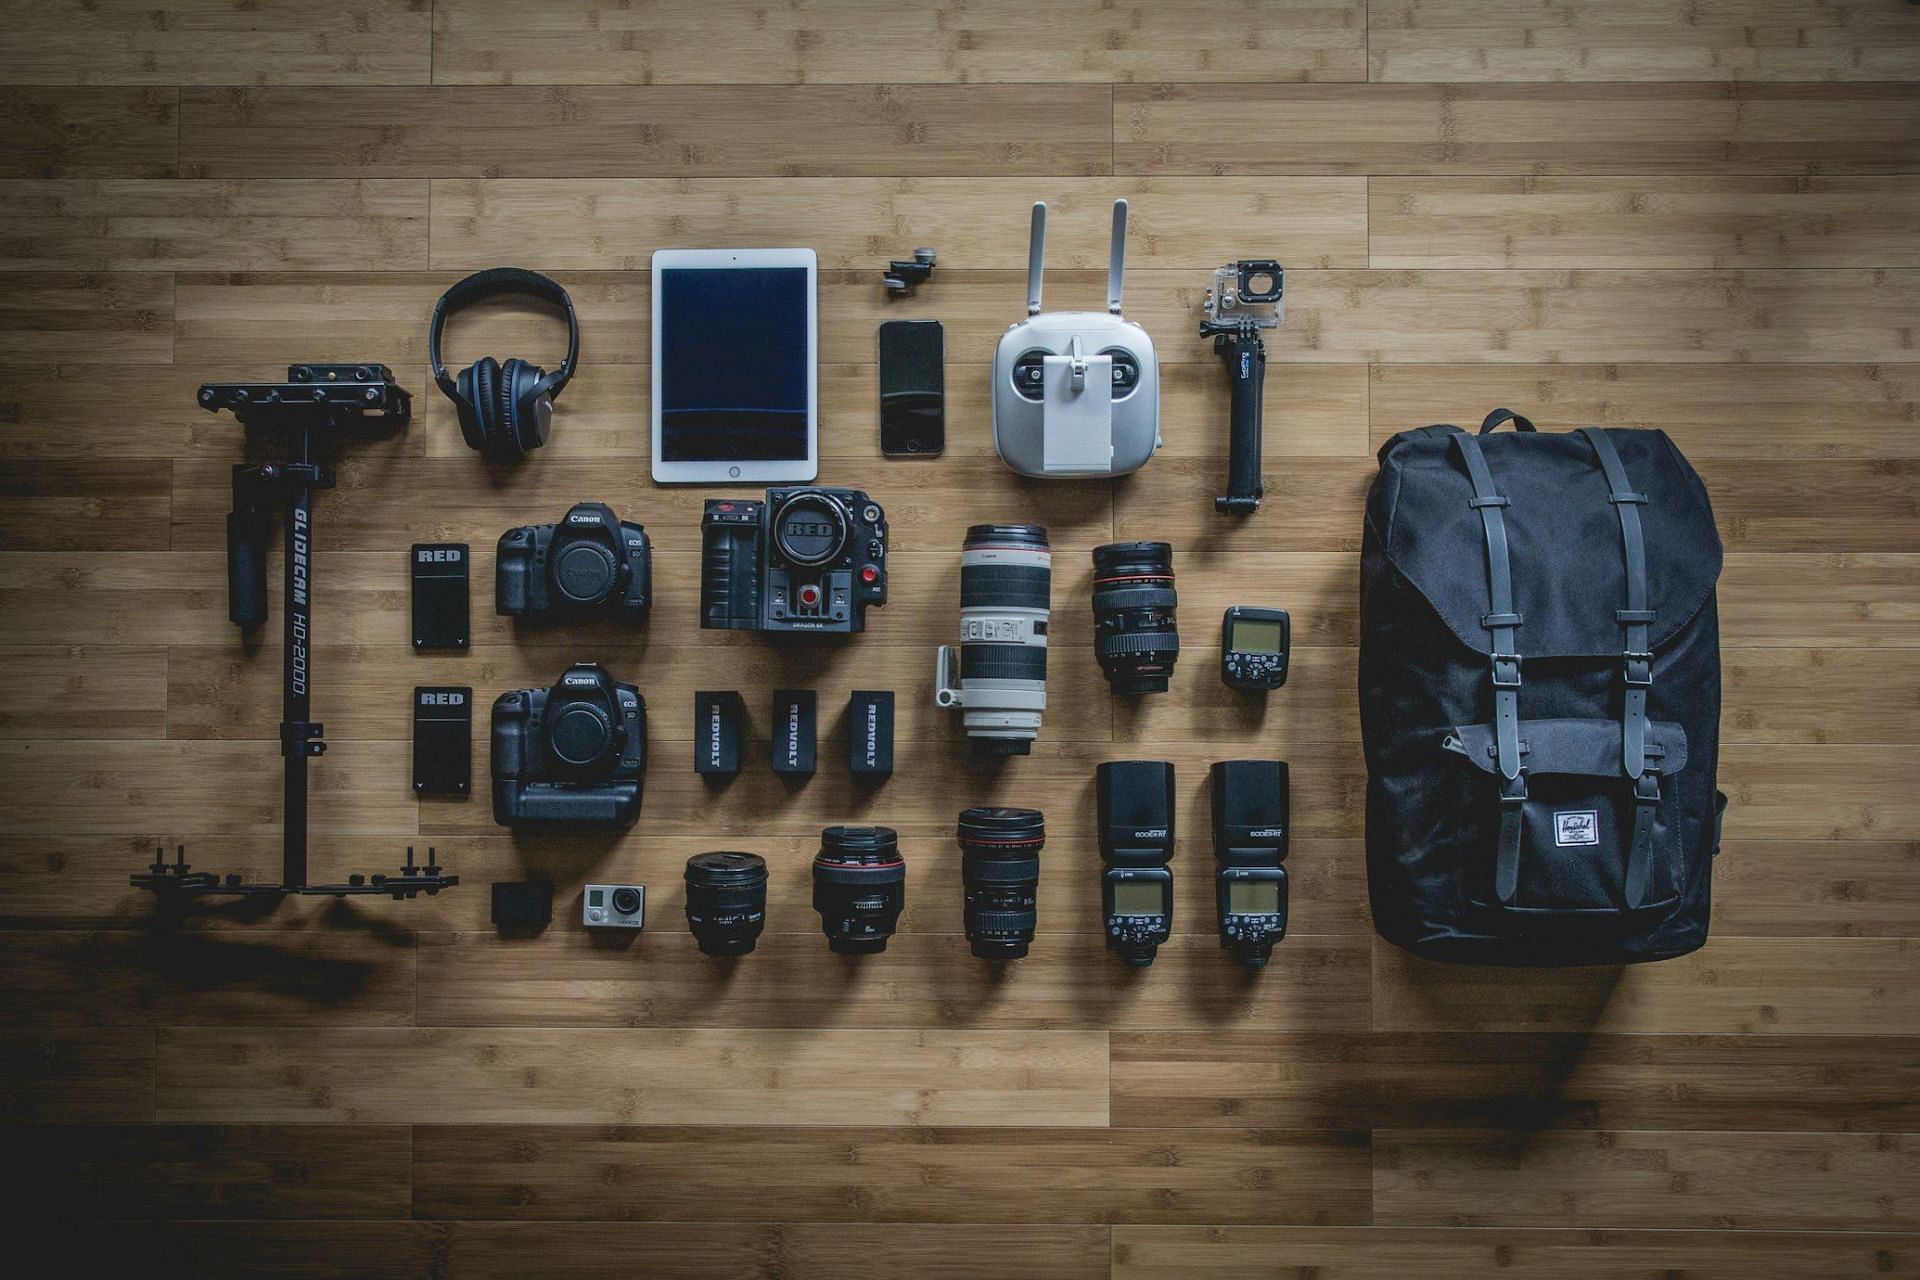
While your camera is essential, additional equipment allows more room for creativity. A sturdy tripod ensures sharp images during long exposures. Remote triggers minimize camera shake, while flashlights or fill lights allow for light painting techniques, adding captivating elements to your scene. Explore lens filters to enhance specific colors or reduce light pollution, and consider portable reflectors for bouncing light onto specific subjects.
6) Editing or tweaking the image for better results

Editing software allows you to refine your night photographs. Adjusting contrast, highlights, and shadows can enhance the drama and detail of your captures. Noise reduction tools can further refine grainy images at higher ISOs. However, remember that over-editing can take away from the natural beauty of the night.
Consider using software like Adobe Lightroom or Photoshop to adjust your images and achieve the desired look.
7) Using the bulb mode
Bulb mode is an exposure setting that can be used when attempting to use a shutter speed of more than 30 seconds. Different cameras have different bulb mode options. Some cameras offer up to 30 minutes, while some stay open until your battery or storage runs out.
This mode is particularly useful for long exposures at night, as it allows you to achieve shutter speeds longer than the standard 30 seconds. To use bulb mode, choose a manual mode or shutter priority, then scroll your selector wheel all the way to the end of the shutter speeds. It is represented by "bulb" or simply the letter "b" on some cameras. Bulb mode is usually used in conjunction with a cable release, which allows you to keep your finger off the shutter button while the exposure is taking place.
Learning night photography is a journey of exploration and experimentation. Embrace the trial-and-error process, learning from each capture. Patience is key, and don't hesitate to experiment with different settings and techniques. With dedication and practice, you will be mastering night photography in no time.
This concludes our article on the five tips and tricks for night photography. We hope you found it helpful and informative. Follow Sportskeeda for more news and updates on tech.
