'%20x='0'%20y='0'%20height='100%25'%20width='100%25'%20%0A%20%20%20%20%20%20%20%20%20%20xlink%3Ahref='data:image/jpg;base64,/9j/2wBDAAYEBQYFBAYGBQYHBwYIChAKCgkJChQODwwQFxQYGBcUFhYaHSUfGhsjHBYWICwgIyYnKSopGR8tMC0oMCUoKSj/2wBDAQcHBwoIChMKChMoGhYaKCgoKCgoKCgoKCgoKCgoKCgoKCgoKCgoKCgoKCgoKCgoKCgoKCgoKCgoKCgoKCgoKCj/wgARCAAHAAoDASIAAhEBAxEB/8QAFgABAQEAAAAAAAAAAAAAAAAAAAUG/8QAFQEBAQAAAAAAAAAAAAAAAAAABAX/2gAMAwEAAhADEAAAAJOhKxf/xAAhEAABAwMEAwAAAAAAAAAAAAACAQMEAAUTBhESIRRCYf/aAAgBAQABPwDRN6jXzVz8COb4y1jNq0wBkjQGJc/bpT+ki03YfObGXgNc6Zd1x7ry7r//xAAYEQACAwAAAAAAAAAAAAAAAAABAgADBP/aAAgBAgEBPwDPaxLz/8QAGBEAAwEBAAAAAAAAAAAAAAAAAQIDABH/2gAIAQMBAT8AvNQF5v/Z'%3E%3C/image%3E%3C/svg%3E)
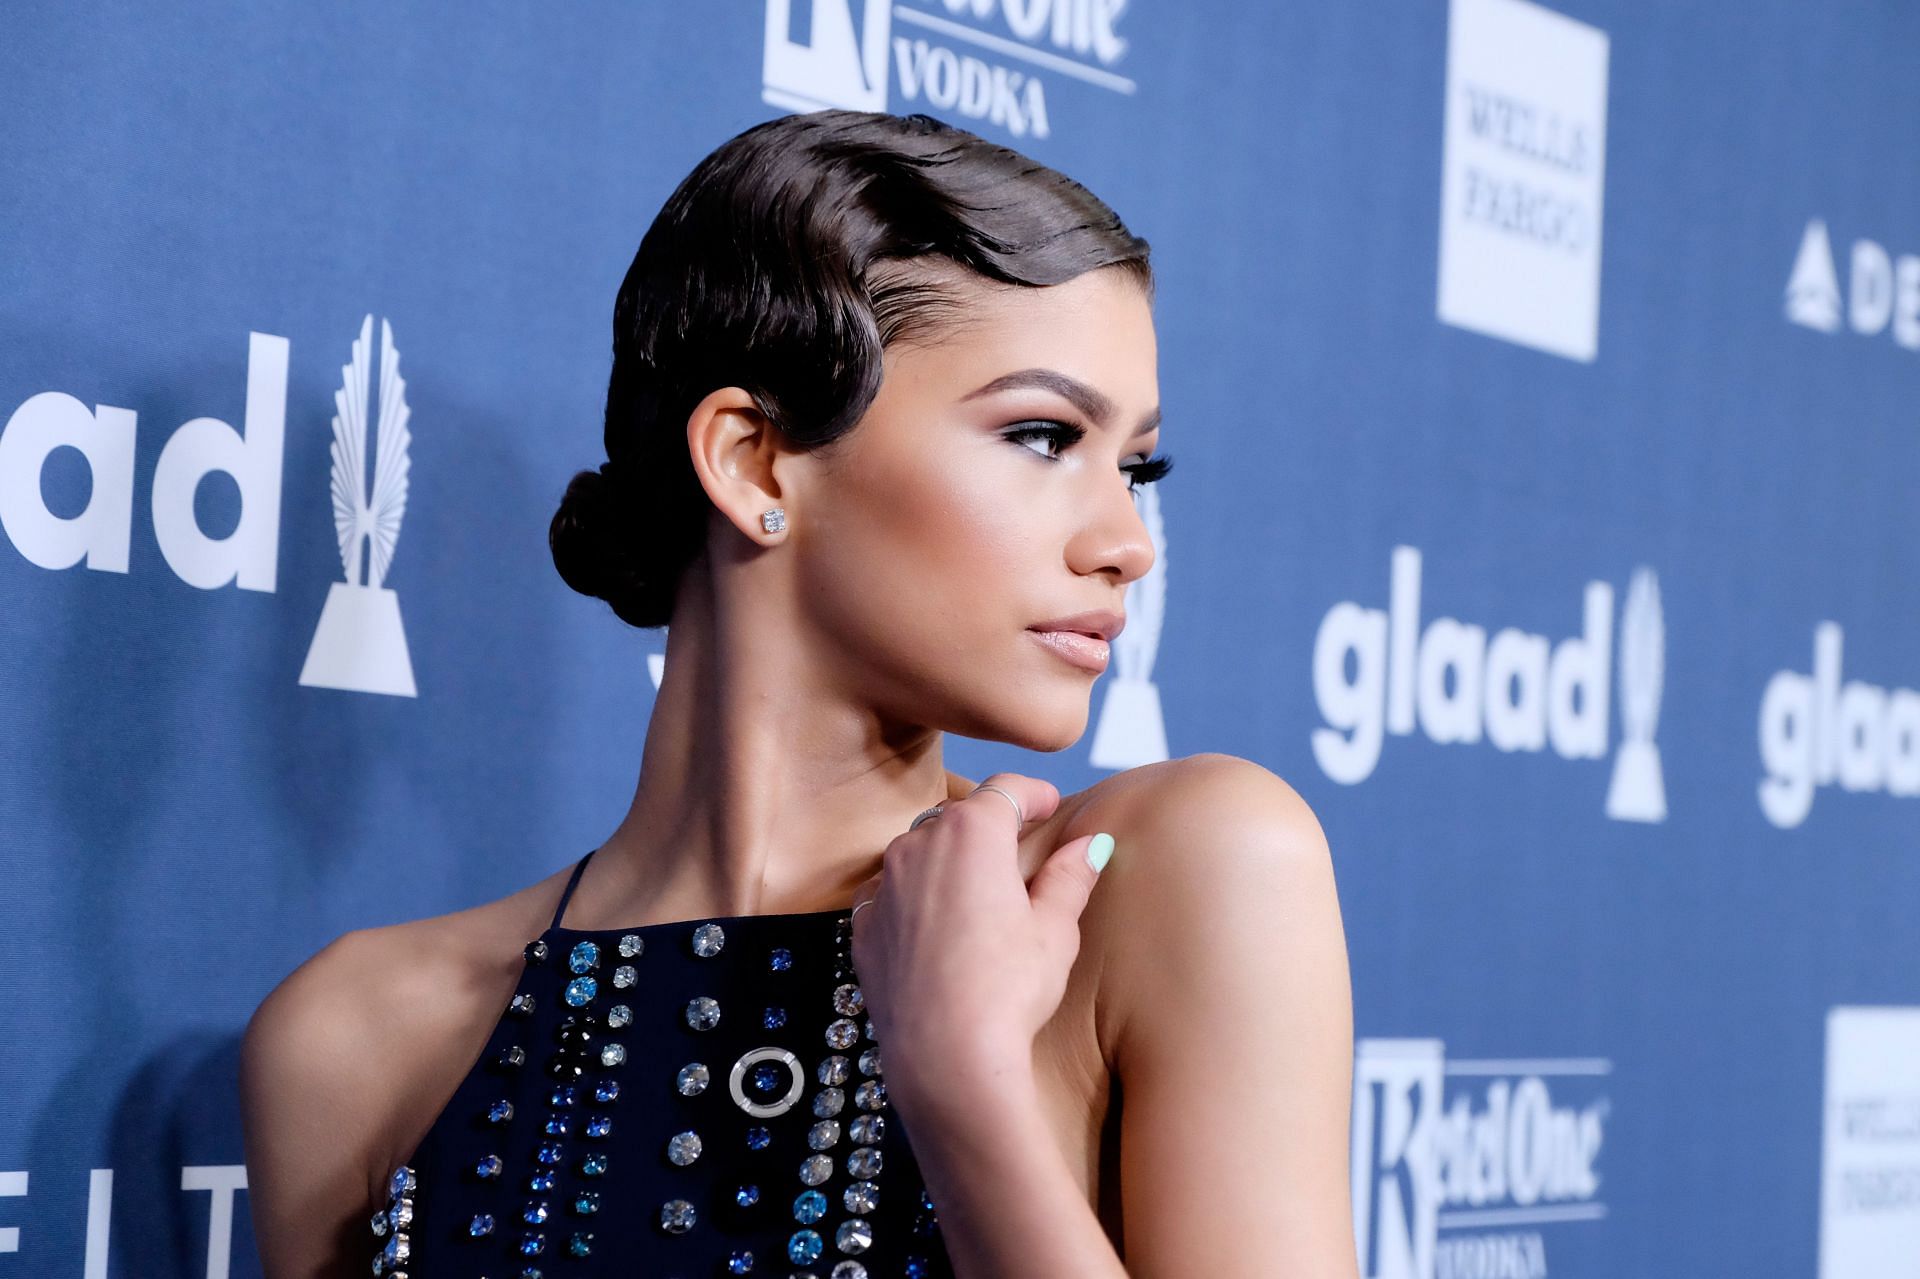
A famous hairstyle trend from the 1920s, the finger wave has reemerged with its timeless and classic Hollywood vibes. The hairstyle features S-shaped waves in the crown area of the head, created by dividing the hair into two sections.
The hairstyle was popular among Black women and resurged in the 90s when artists started sporting them, especially Love Jones fame Nia Long and rapper Missy Eliott. Additionally, celebrities like Zendaya have often sported the trending hairstyle at red-carpet events.
People who have short to medium hair length can easily create this hairstyle while people with longer hair may have minor issues shaping the hair into a wave-like pattern. The hairstyle mostly suits all hair lengths, face types, and hair textures.
Creating the finger wave hairstyle: Steps explored
Before creating finger waves, make sure that the hair is washed. You can begin creating the hairstyle on damp hair, however, it is better to blow dry the hair to avoid damage.
Step 1: Use a hair mousse
The most important product that you need to achieve a finger wave hairdo like Hollywood divas is a hair mousse which is to be applied from the roots to the ends. While a hair gel may hold the hair in place, using a mousse will hold the hair while allowing you to shape the tresses.
Product recommendations for the ideal mousse include the Moroccanoil Volumizing Mousse ($40.50), KRISTIN ESS HAIR Instant Lift Volumizing Mousse ($15), and Virtue Volumizing Hair Mousse for fine hair ($40).
Step 2: Create finger waves
Section the hair from the middle and start creating finger waves on each side. To do so, take a comb and use the index finger to shape the hair in an S-shape. Place the index finger down, use another finger to hold the hair in place, and use the comb to create repeated S-shapes until one gets the desired number of waves.
An easier approach to the same is to make backward-looking C-shapes by using two fingers to secure and pinch the hair into shape.
While the process might come across as complicated when reading the steps, it is easy. Beauty enthusiasts can watch videos by Brian Andrew on the Insider Beauty channel or other DIY hair tutorials that show the process, thus making it easier to follow.
Step 3: Set the hairdo:
Since using a mousse is essential to create an evergreen hairstyle, it is important to use a setting spray to avoid frizz and de-shaping of the hair. Before securing the tresses with a setting spray one can either allow the hair to air-dry or use a blow dryer and then secure the hair with a silk scarf to avoid puffiness if you choose not to go in with a setting hair spray.
Styling the finger waves hairstyle for different hair types
Creating the trending hairstyle is the only hard part as styling depends on the length of the hair and the occasion. Some of the styling ideas to rock a finger wave hairdo include:
Finger waves Updo hairstyle:
After finger waves are created on both sections of the hair, one can tie the hair in a sleek bun or high ponytail for a sleek yet stylish-looking updo.
Long finger waves hairstyle:
People with long tresses can create a wavy effect on their hair to the roots or wear finger waves on both sides and leave the hair open for a Hollywood glam-like hairstyle.
Pixie finger waves hairstyle:
Beauty enthusiasts with a bob or pixie cut can elevate their hairstyle by sporting finger waves throughout or just adding them to the crown area.
The finger wave hairdo is an evergreen Hollywood hairstyle that is often sported by celebrities and can easily be recreated with a rat tail comb, mousse, and setting spray.