
'%20x='0'%20y='0'%20height='100%25'%20width='100%25'%20%0A%20%20%20%20%20%20%20%20%20%20xlink%3Ahref='data:image/jpg;base64,/9j/2wBDAAYEBQYFBAYGBQYHBwYIChAKCgkJChQODwwQFxQYGBcUFhYaHSUfGhsjHBYWICwgIyYnKSopGR8tMC0oMCUoKSj/2wBDAQcHBwoIChMKChMoGhYaKCgoKCgoKCgoKCgoKCgoKCgoKCgoKCgoKCgoKCgoKCgoKCgoKCgoKCgoKCgoKCgoKCj/wgARCAAHAAoDASIAAhEBAxEB/8QAFQABAQAAAAAAAAAAAAAAAAAABQf/2gAIAQEAAAAAlZH/xAAUAQEAAAAAAAAAAAAAAAAAAAAE/9oACAECEAAAAA//xAAUAQEAAAAAAAAAAAAAAAAAAAAE/9oACAEDEAAAAGf/xAAiEAABAwMDBQAAAAAAAAAAAAADAQIEABEhBRITFTFBYdH/2gAIAQEAAT8AHpkUWjSByQyUmXGRrkI3j47eU73yldAeud48+1+V/8QAGBEAAgMAAAAAAAAAAAAAAAAAAQIAAxH/2gAIAQIBAT8ApdiNn//EABgRAAIDAAAAAAAAAAAAAAAAAAARAQIE/9oACAEDAQE/ANSdYR//2Q=='%3E%3C/image%3E%3C/svg%3E)
Genshin Impact players who have the Peculiar Pinion gadget should find the Shirikoro Peak torch puzzle easy.
The hard part is unlocking everything, as those who haven't completed the Tsurumi Island quests will have to wait a few real-life days. One must do part of "Octave of the Maushiro" to receive the Peculiar Pinion. Without this gadget, Genshin Impact players can't do the torch puzzle at Shirikoro Peak.
Genshin Impact Shirikoro Peak torch puzzle guide
There are three torch puzzles to complete. Genshin Impact players are supposed to use the nearby murals to solve them, but this guide will include pictures that list the order for their convenience.
Looking for Crossword hints & solutions? Check out latest NYT Mini Crossword Answers, LA Times Crossword Answers, and Atlantic Crossword Answers
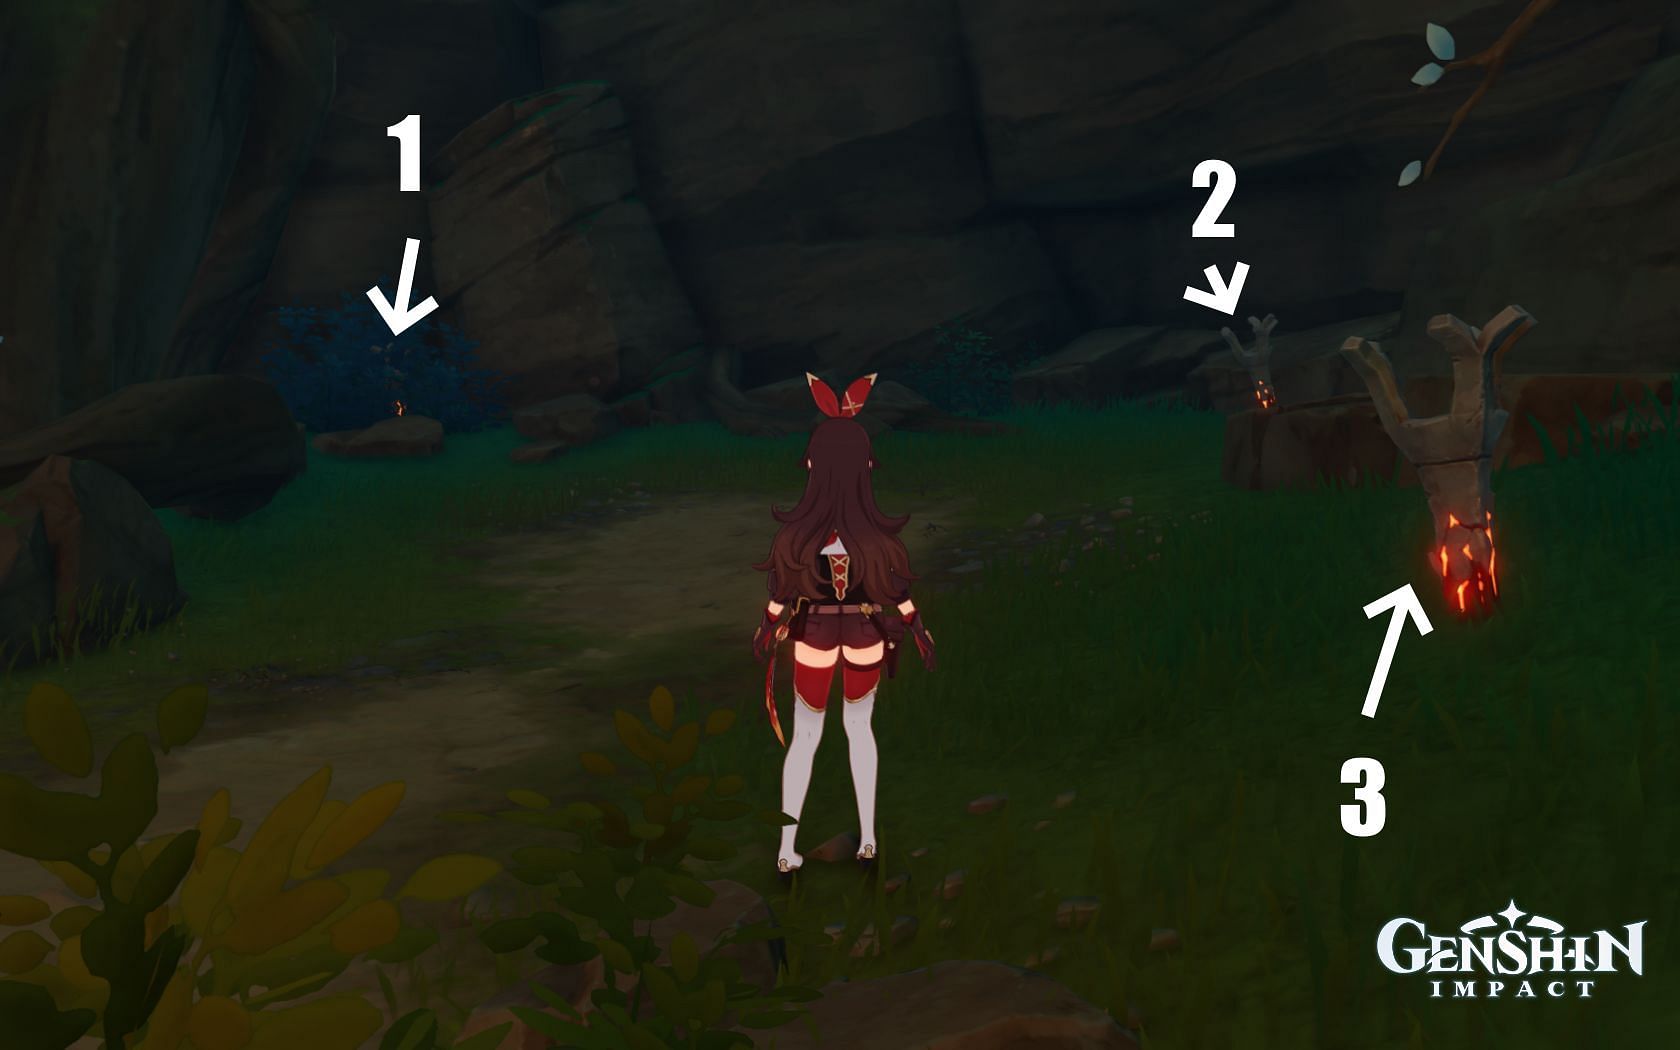
Location 1
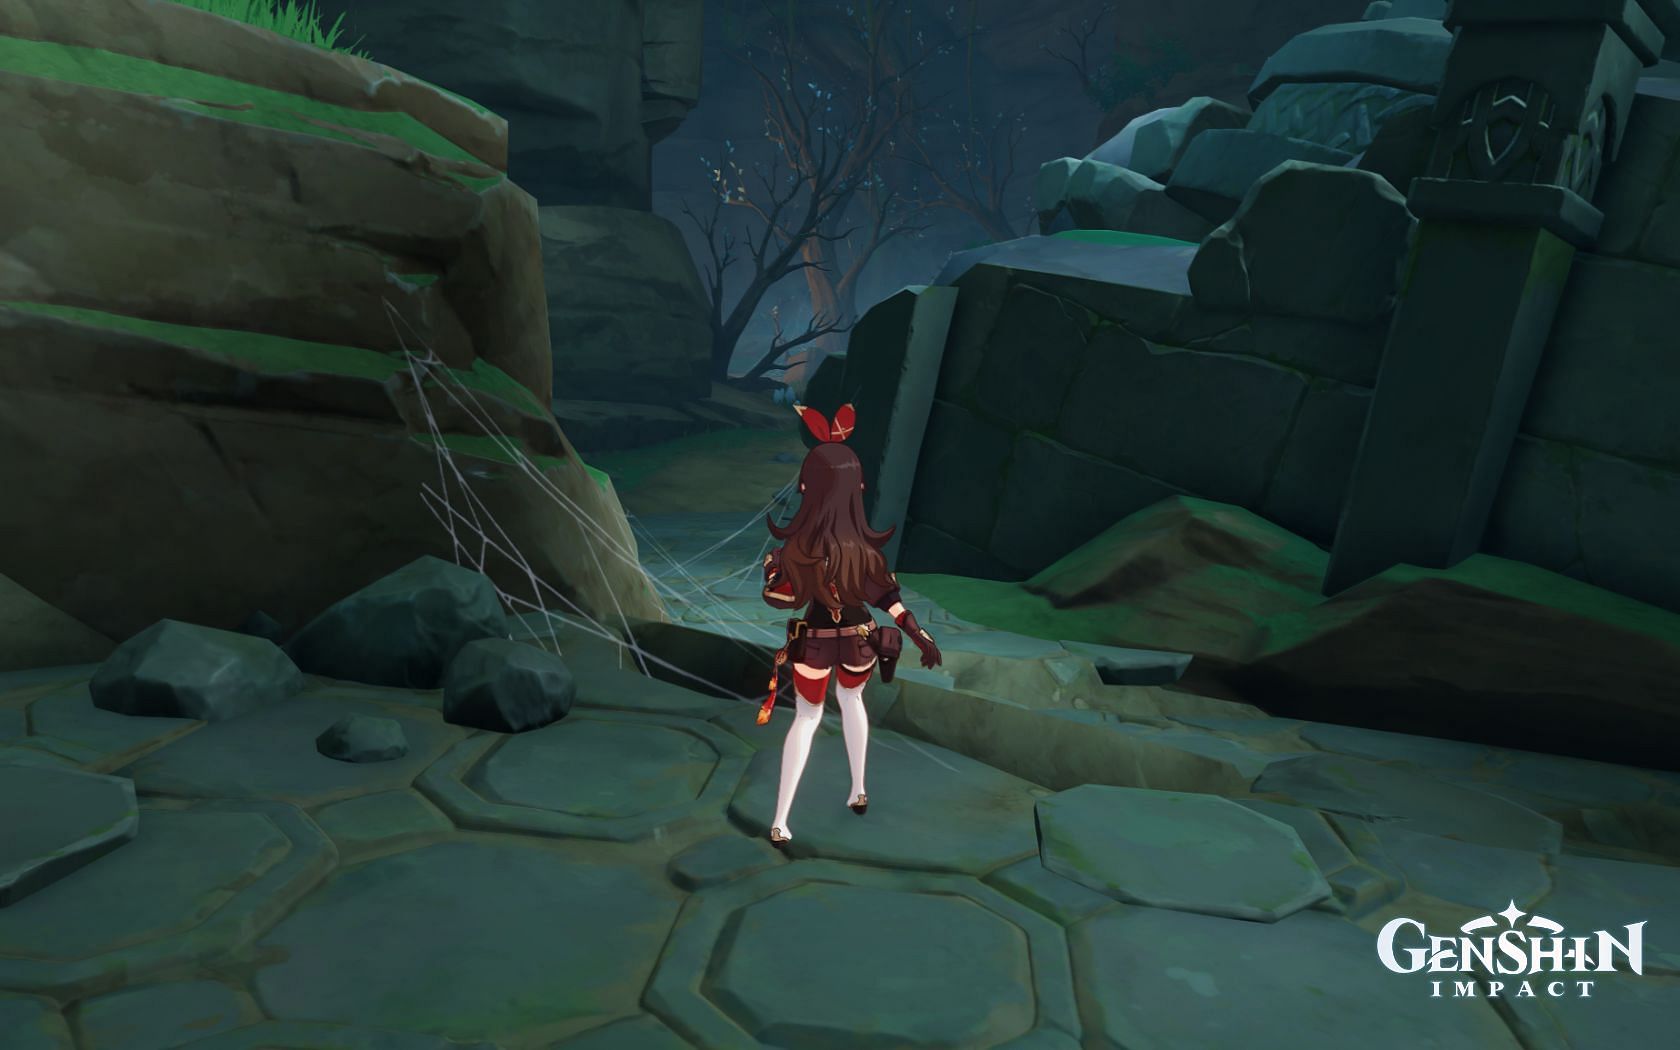
Genshin Impact players must go to the underground section of Shirikoro Peak to do these puzzles. The first puzzle isn't too far from the first Relay Stone room. In this room, go to the left (the northern side).
This same hallway is used for finding a Star Shaped Gem and for the "The Saga of Mr. Forgetful" quest. If the player hasn't opened the wall with the bird marking, they must use the Peculiar Pinion to advance.

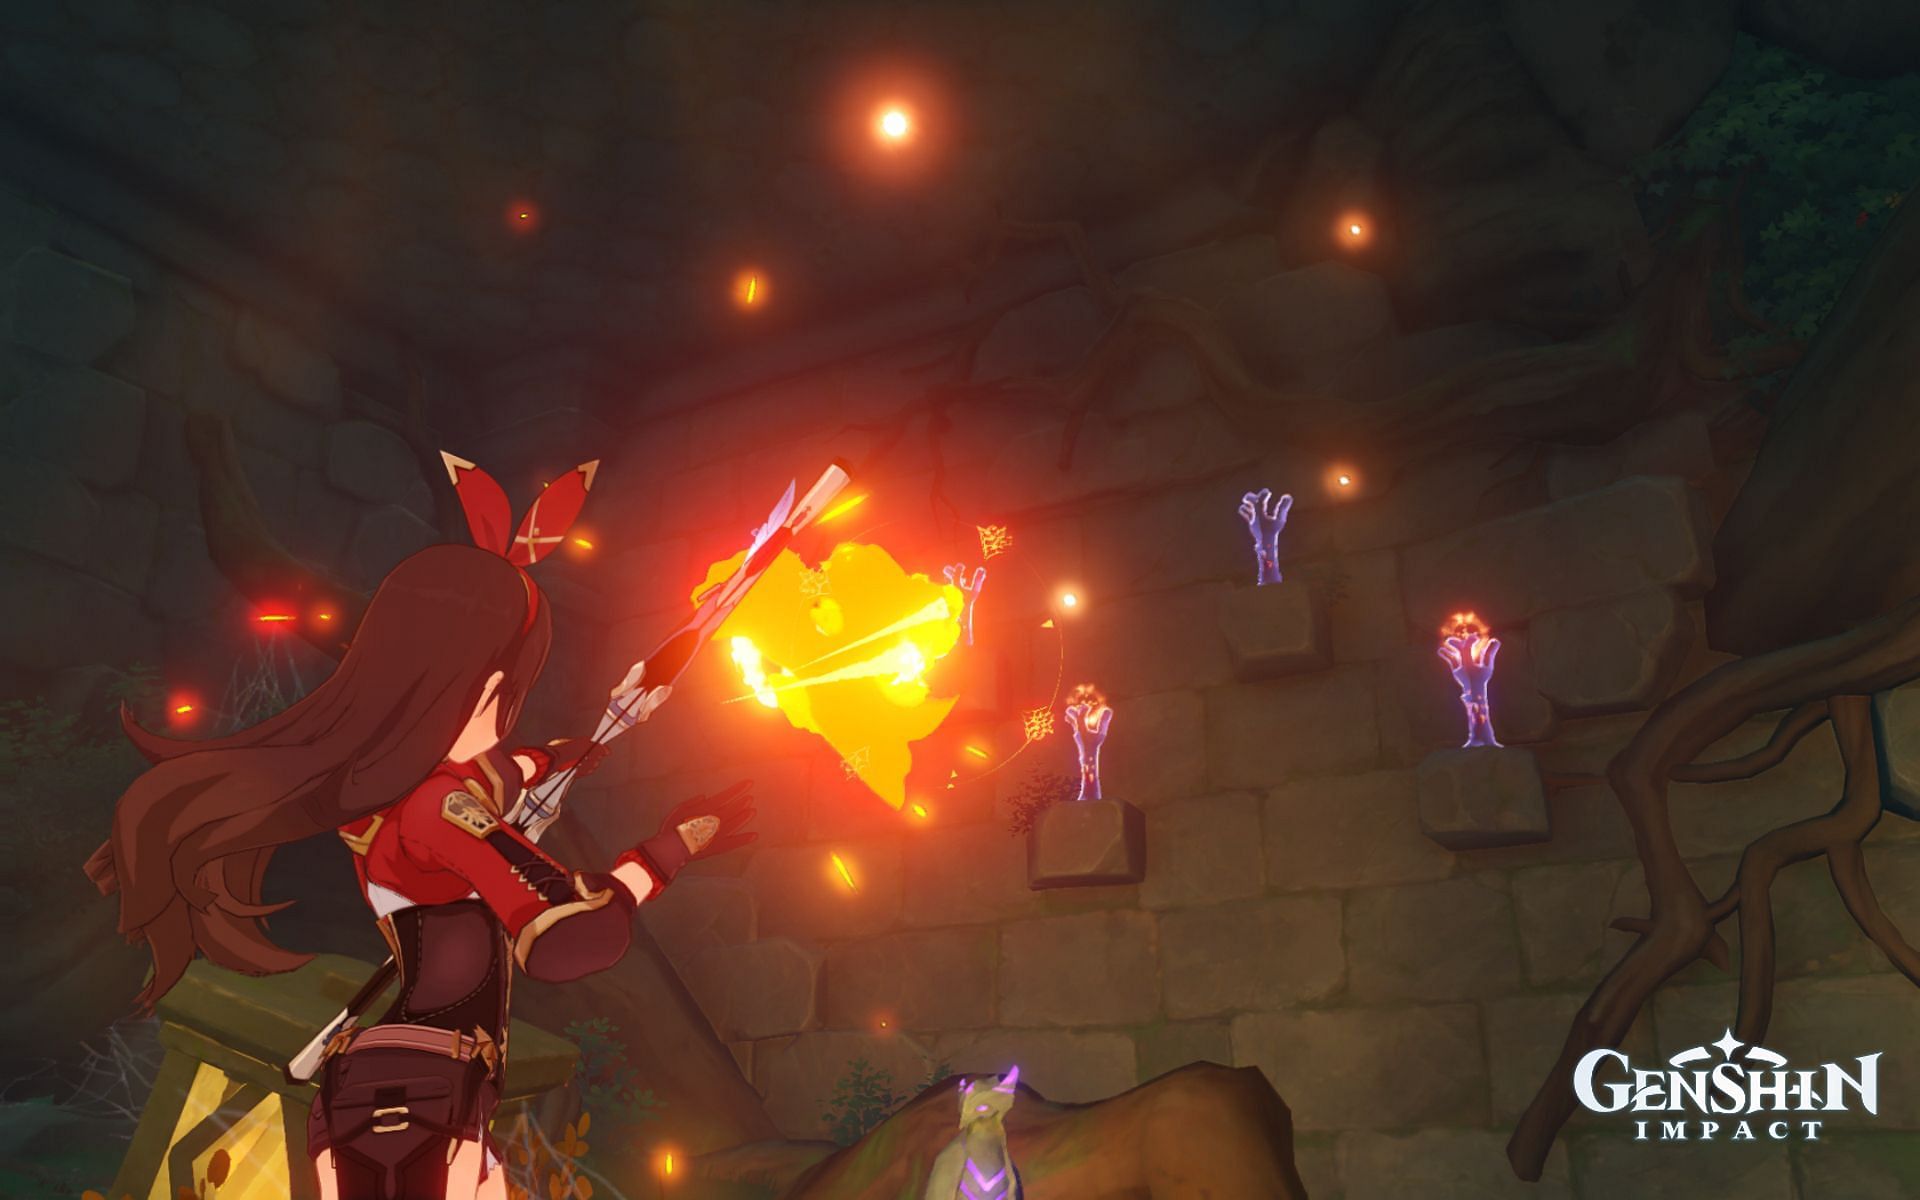
Genshin Impact players must use pyro to light up these torches. Amber is a free unit; hence, she can handle it effortlessly.
Note: Genshin Impact players don't have to light up all torches to complete the puzzle. In this example, they only need to light up four of them in a specific order.
Open the Exquisite Chest, collect the loot, and move on to the next Shirikoro Peak torch puzzle.
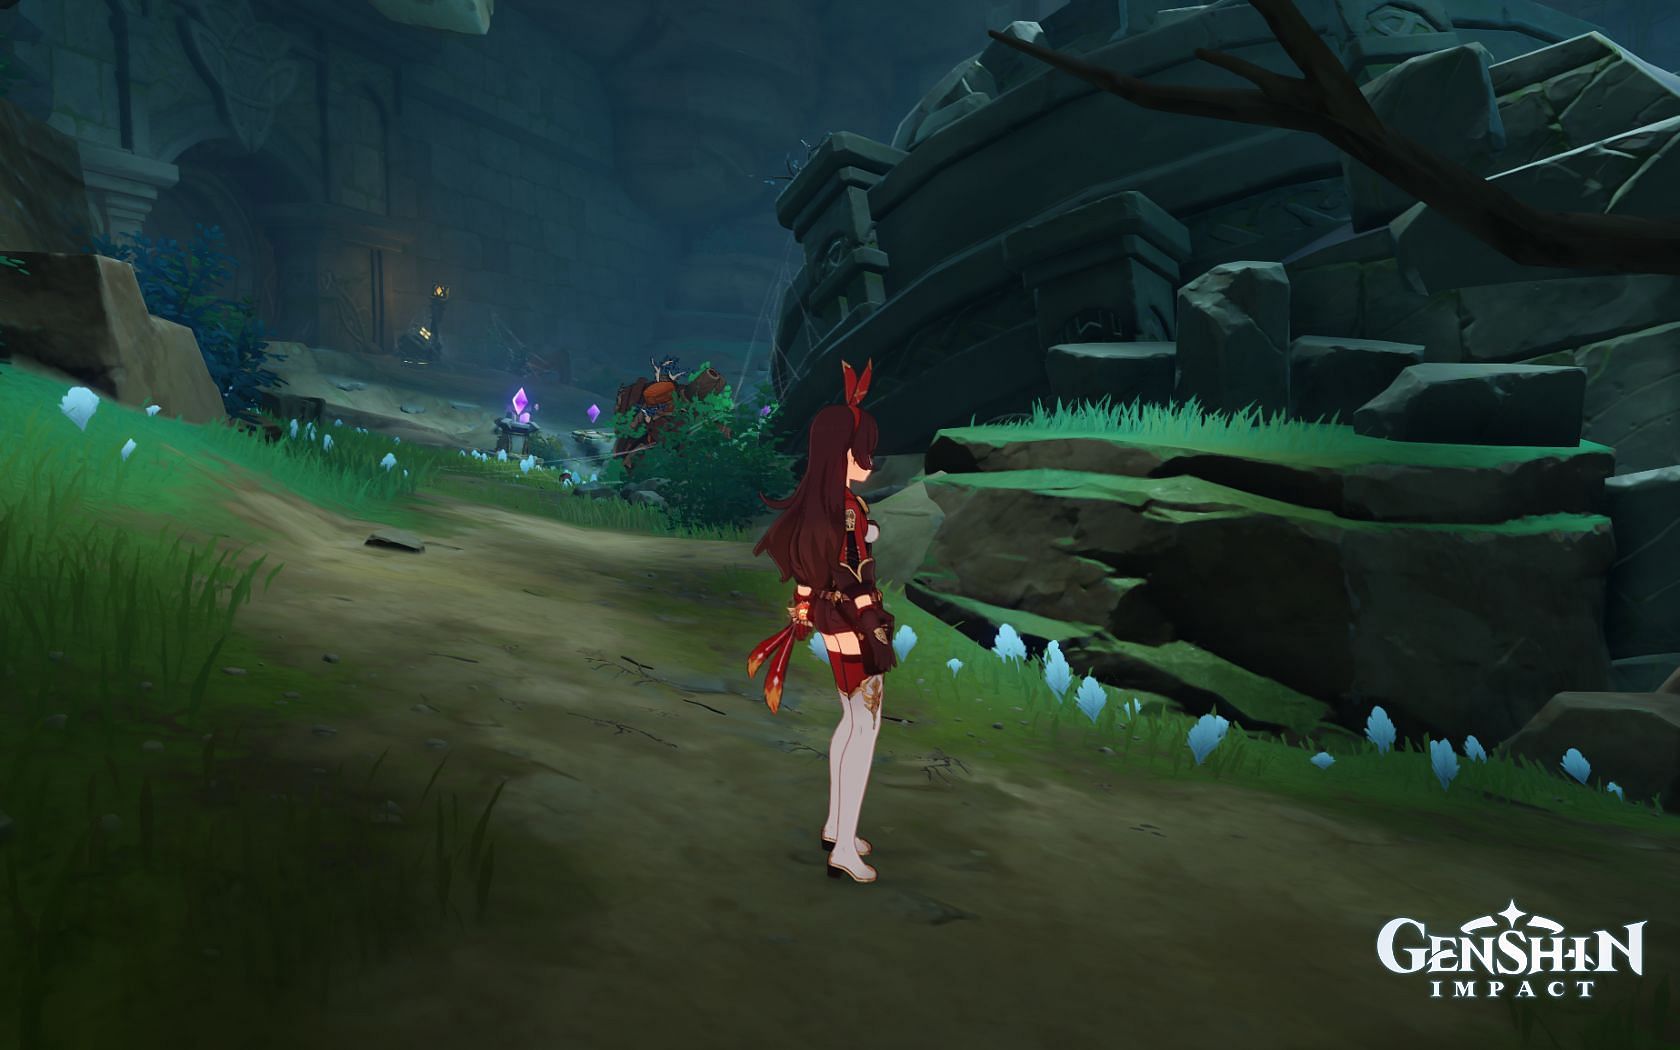
Location 2
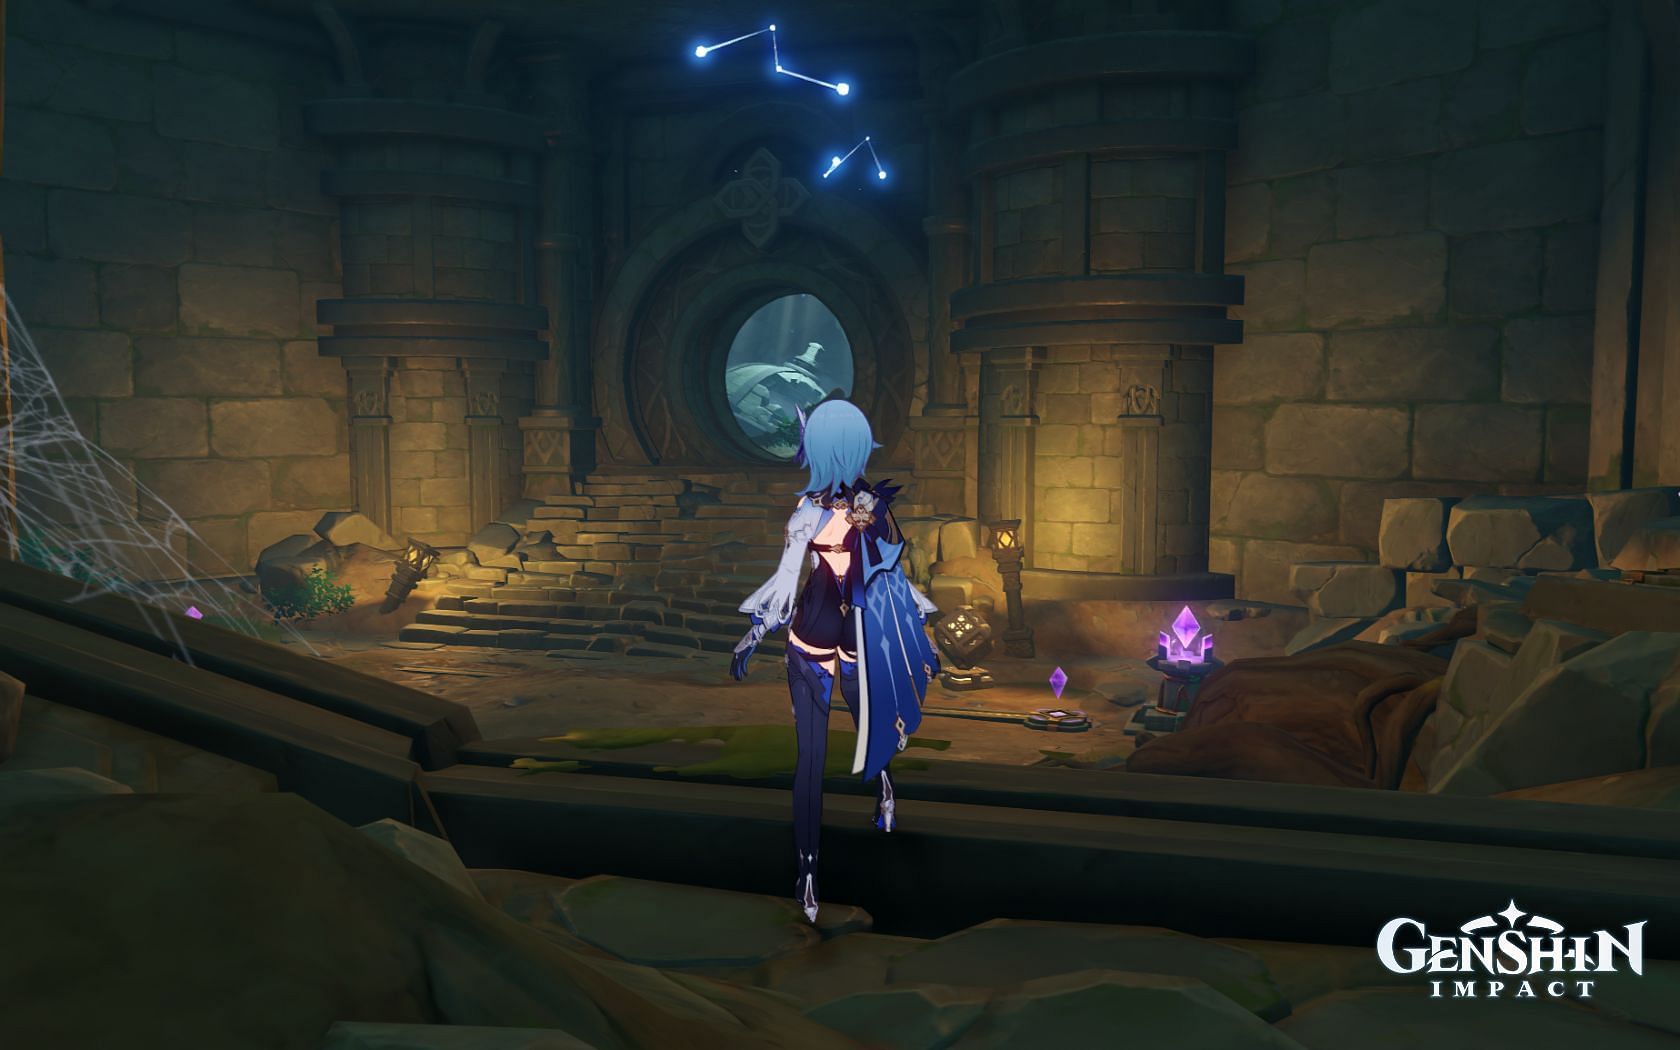
Go back to the first Relay Stone puzzle room. Now go through the circular door and head toward the left side of the new room. Like before, this torch puzzle is near a mural.
This time, Genshin Impact players only need to light up three torches. The solution is easy to remember, as players can shoot from left to right. The first two torches before these three go unused.
Open the Exquisite Chest and collect the loot before moving on to the final Shirikoro Peak torch puzzle.
Location 3
The final Shirikoro Peak torch puzzle will be on the right side of the next room.
There will be a bird statue there. Use the Peculiar Pinion to spawn some torches.
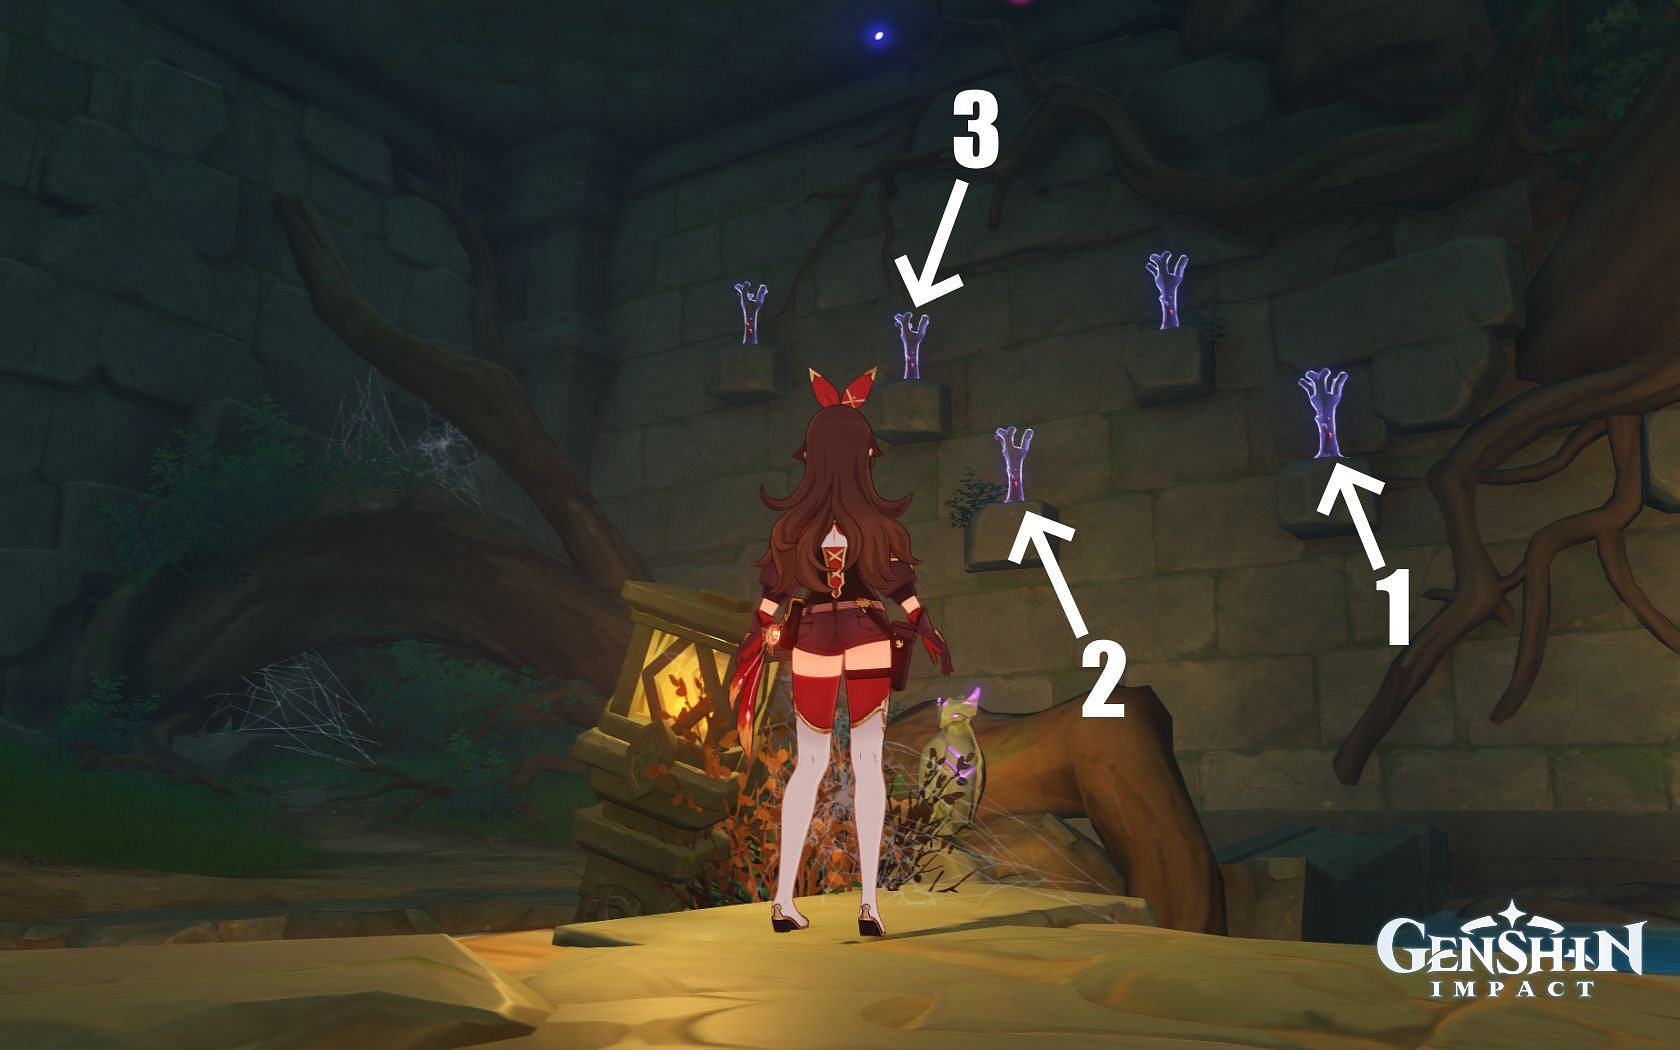
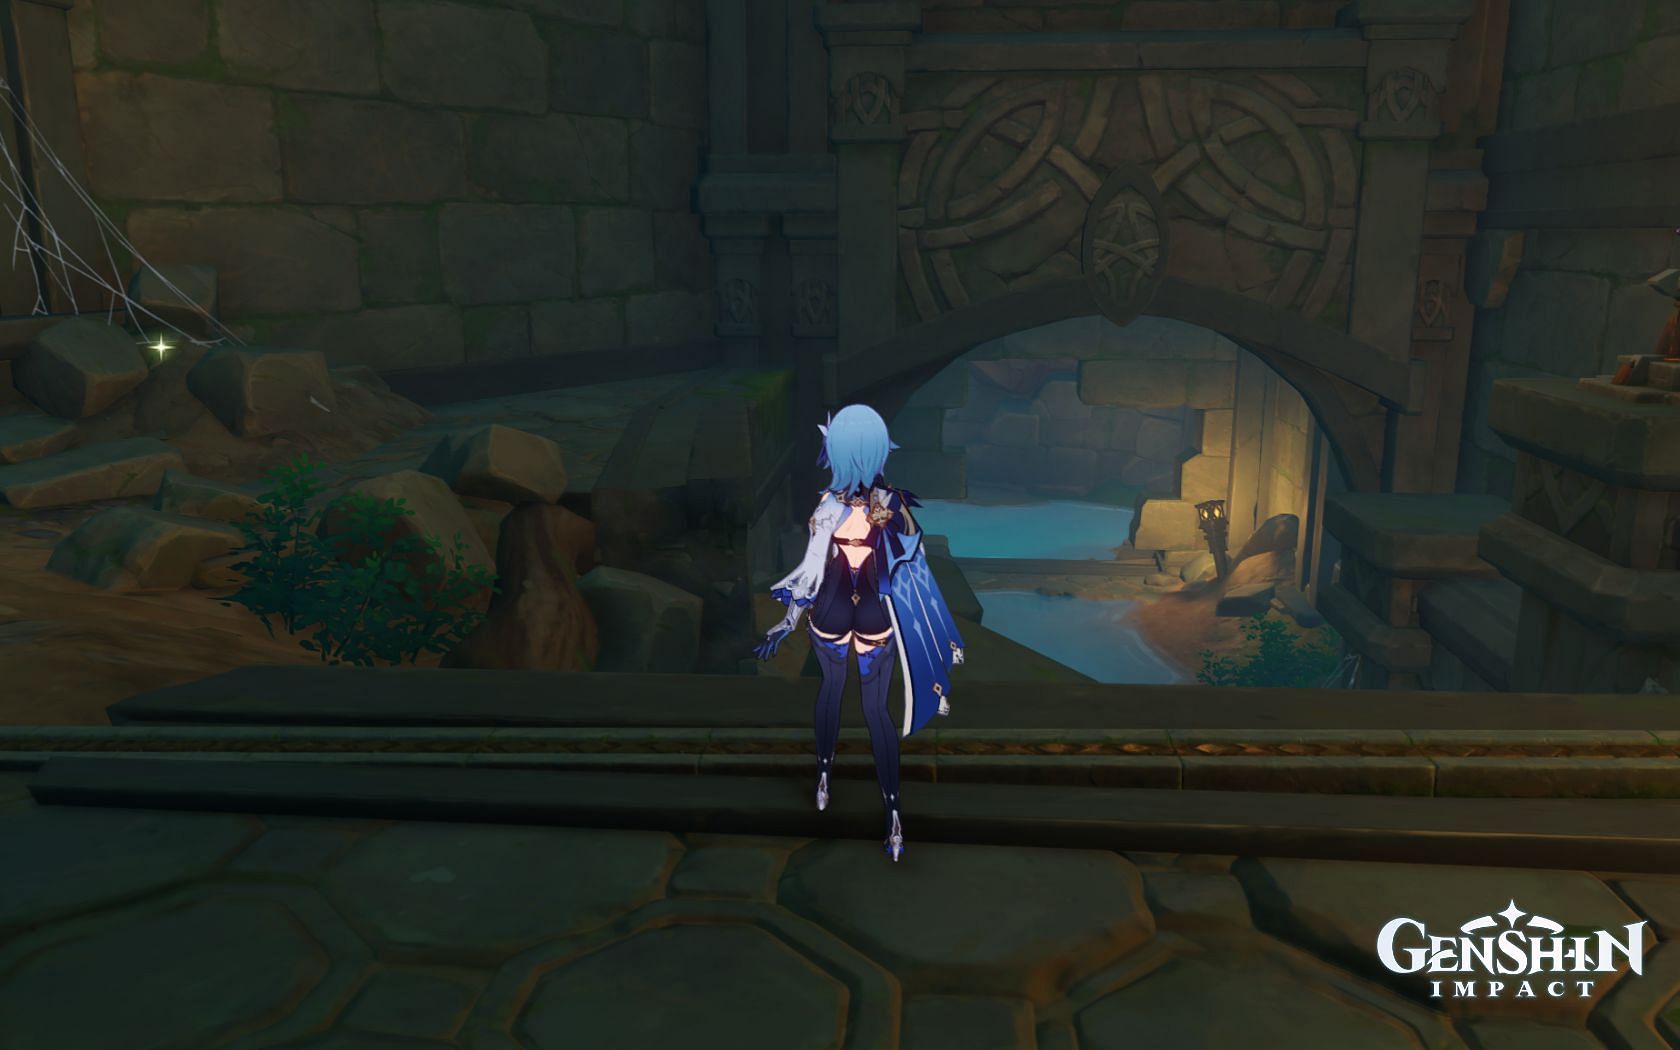
If the player does it correctly, they will receive an achievement known as "Guessing Game." The final Exquisite Chest will also spawn. The camera will focus on another bird statue, so use the Peculiar Pinion to spawn a cube.
Activate it to drain the nearby water. There will be a Ruin Sentinel down there and a Time Trial Challenge. It will include two Ruin Golems and one Ruin Grader in a two-minute time limit. Doing so will unlock a route to a Precious Chest and a route back to one of the earlier rooms.

Are you stuck on today's Wordle? Our Wordle Solver will help you find the answer.