
'%20x='0'%20y='0'%20height='100%25'%20width='100%25'%20%0A%20%20%20%20%20%20%20%20%20%20xlink%3Ahref='data:image/jpg;base64,/9j/4AAQSkZJRgABAQAAAQABAAD/2wCEAAMDAwMDAwQEBAQFBQUFBQcHBgYHBwsICQgJCAsRCwwLCwwLEQ8SDw4PEg8bFRMTFRsfGhkaHyYiIiYwLTA+PlQBAwMDAwMDBAQEBAUFBQUFBwcGBgcHCwgJCAkICxELDAsLDAsRDxIPDg8SDxsVExMVGx8aGRofJiIiJjAtMD4+VP/AABEIAAUACgMBIgACEQEDEQH/xABeAAEBAAAAAAAAAAAAAAAAAAAACBAAAQMFAQEAAAAAAAAAAAAAAwABAgQFERIhEzEBAQEAAAAAAAAAAAAAAAAAAAQFEQACAgMBAQAAAAAAAAAAAAABAgMRAAQhEiL/2gAMAwEAAhEDEQA/AJVNda211YT7scmffcnZb5zl3SUAVEnLMMHkR9nfv2XURN3XKCNlr012aGStaGIu/wAjiqBXOZ//2Q=='%3E%3C/image%3E%3C/svg%3E)
The Legend of Zelda Tears of The Kingdom features several puzzle sections in the form of Shrines. These Shrines are scattered all over the skies and lands of Hyrule and require some serious brainstorming to solve. One such example is the Mogawak Shrine, which is definitely one of the more perplexing Shrines in the game.
Read on to learn more about how to complete the Shrine easily.
Note: Minor spoilers for The Legend of Zelda Tears of The Kingdom will follow. Discretion is advised.
Looking for Crossword hints & solutions? Check out latest NYT Mini Crossword Answers, LA Times Crossword Answers, and Atlantic Crossword Answers
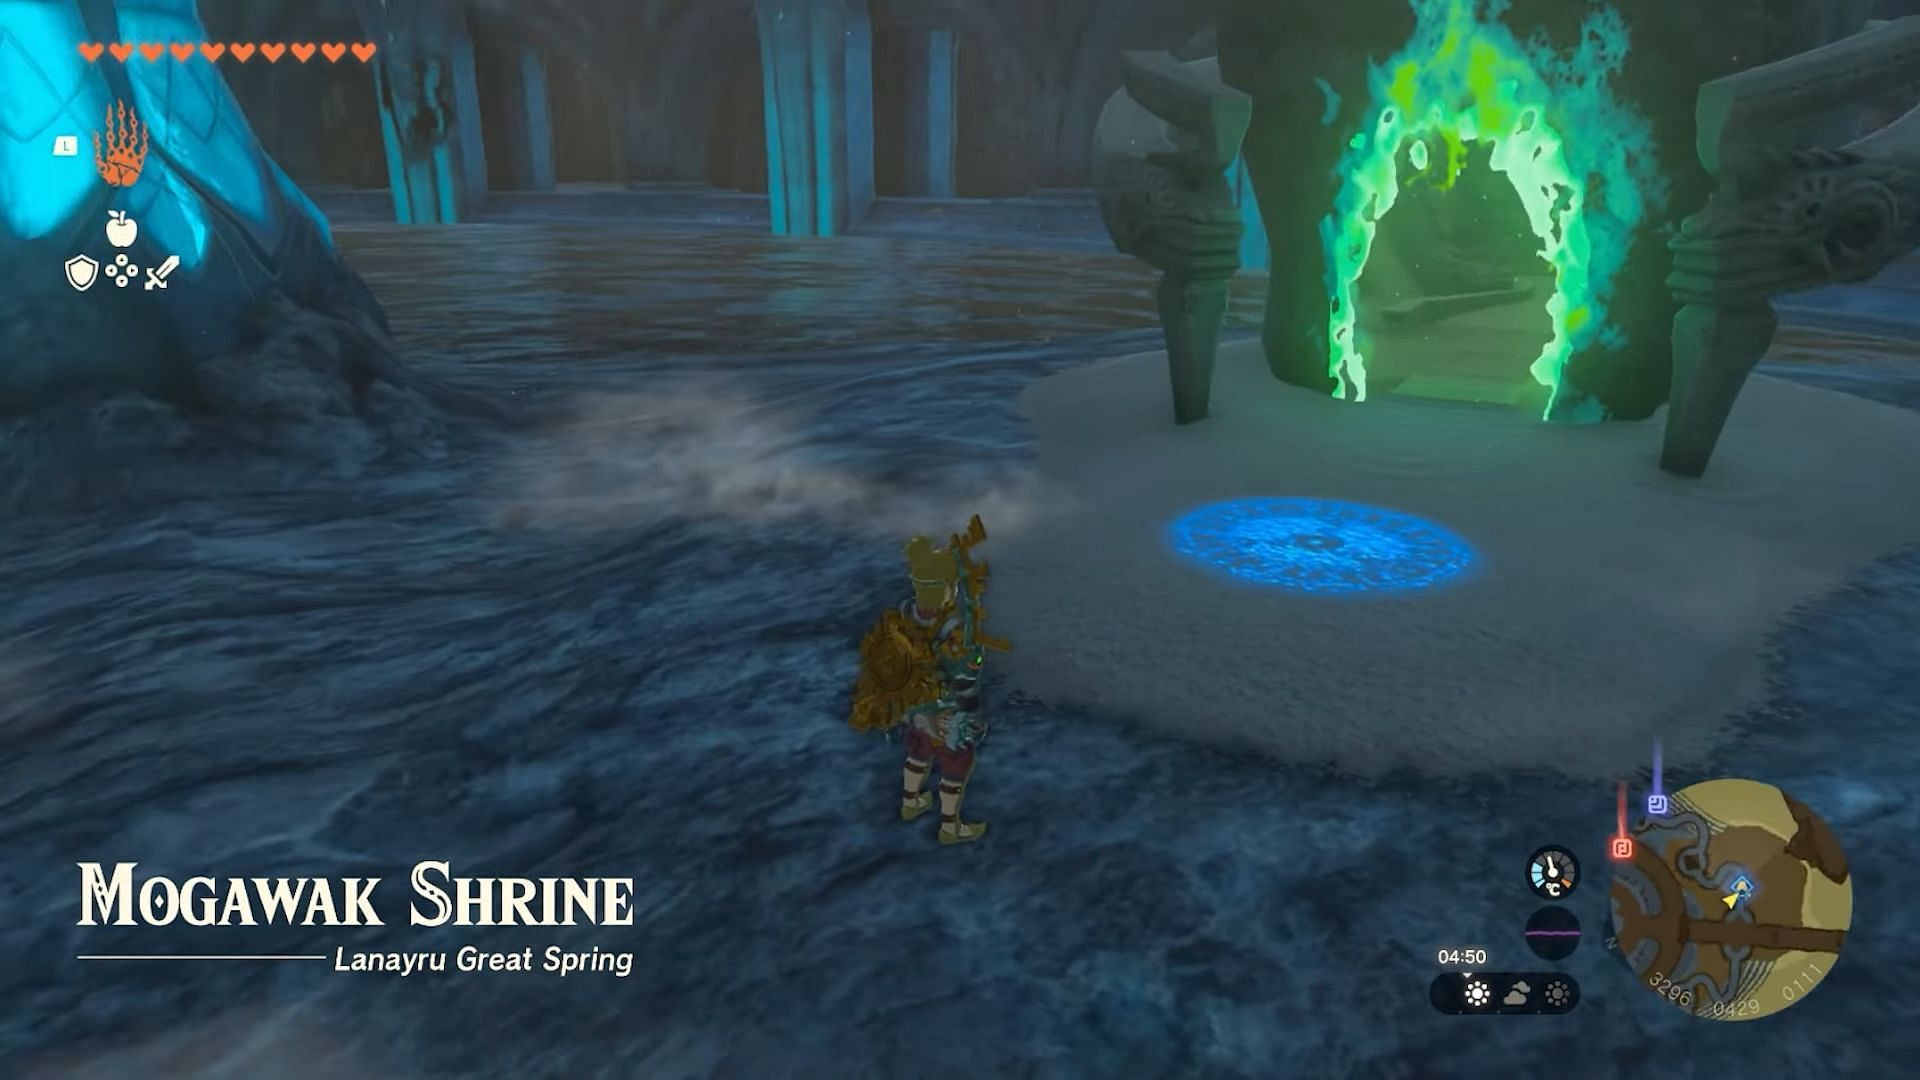
Mogawak Shrine in The Legend of Zelda Tears of The Kingdom requires precise puzzle-solving skills
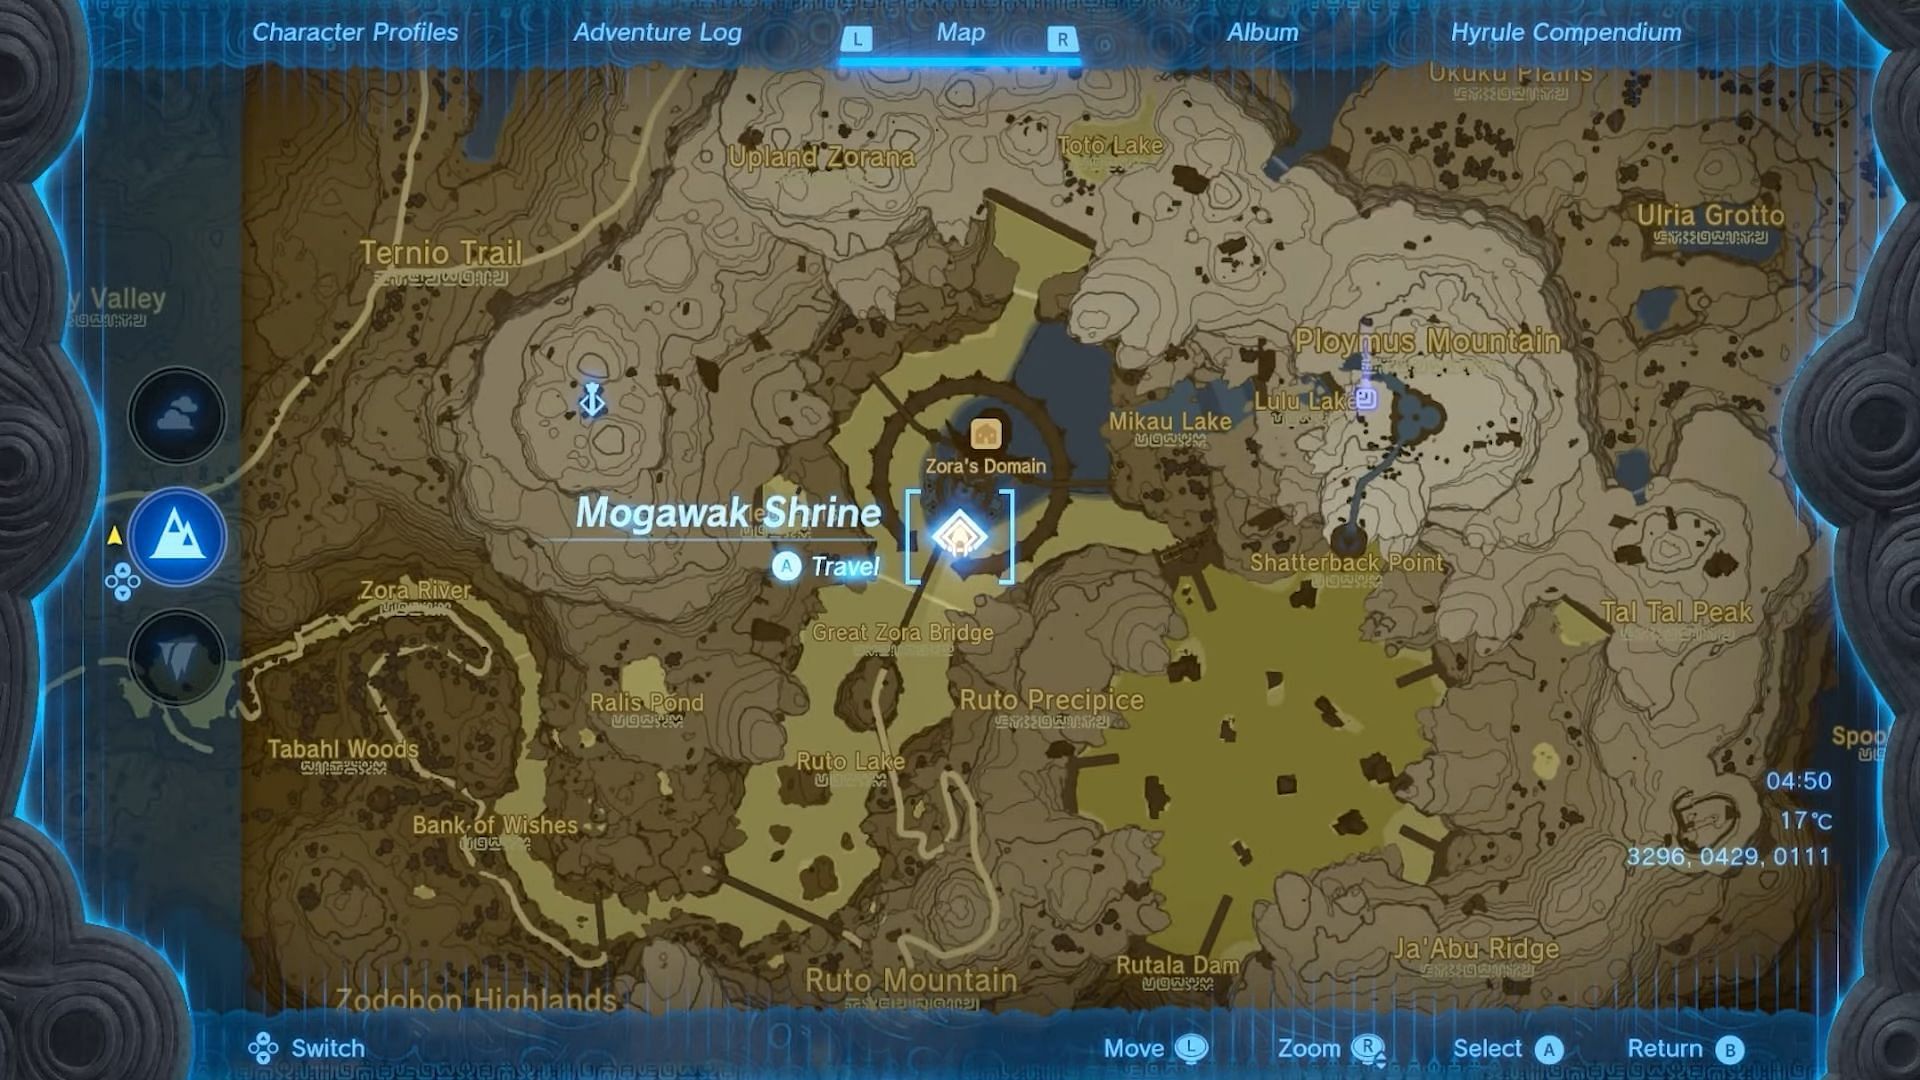
The Mogawak Shrine can be found within Zora’s Domain, right underneath the massive Great Zora Bridge. Players can refer to the screenshot above for reference.
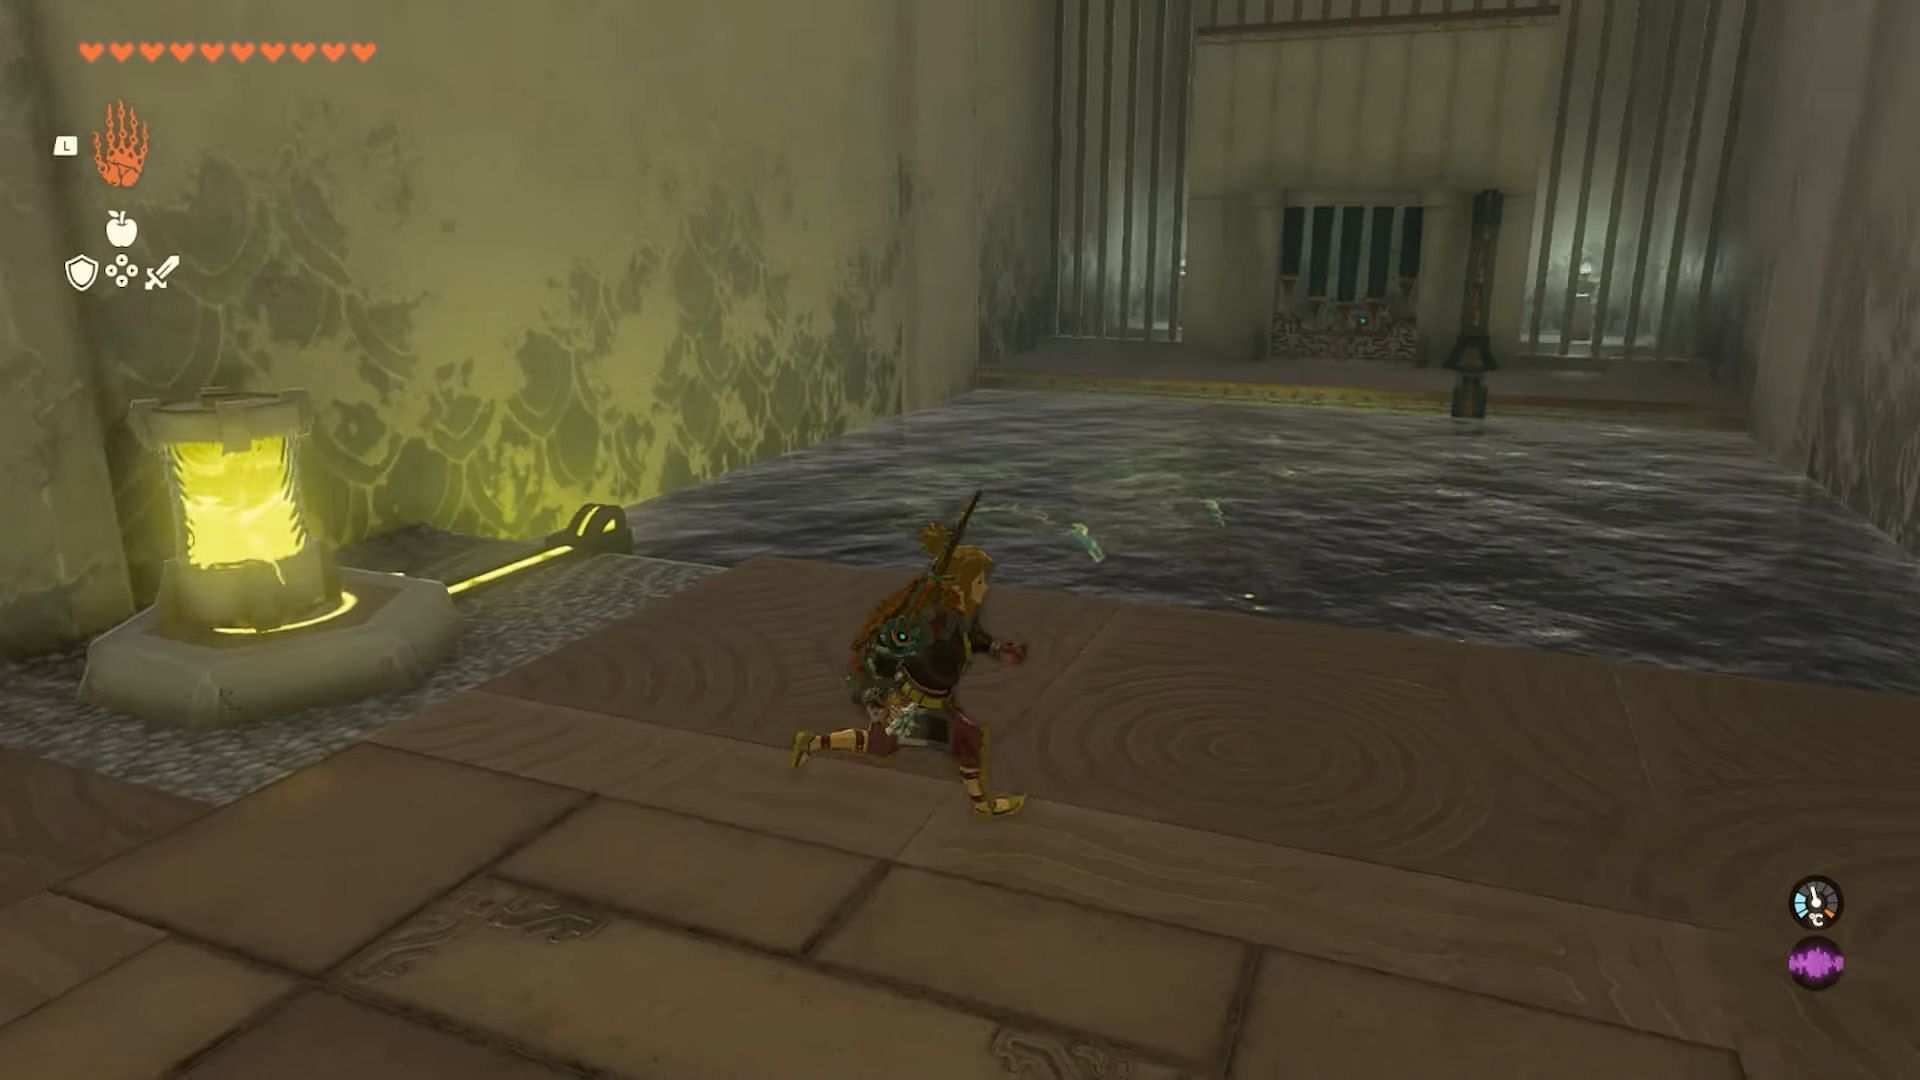
Once within the shrine, players must use the Ultrahand ability to solve various puzzles involving machinery. Refer to our Ultrahand guide for additional tips and tricks.
The full walkthrough of this rather difficult Shrine is as follows:
1. The end goal of the Shrine is to use the various water-powered devices to charge up a battery.
2. Head right into the central area to find a battery-like green cylindrical container lying ahead of the elevator.
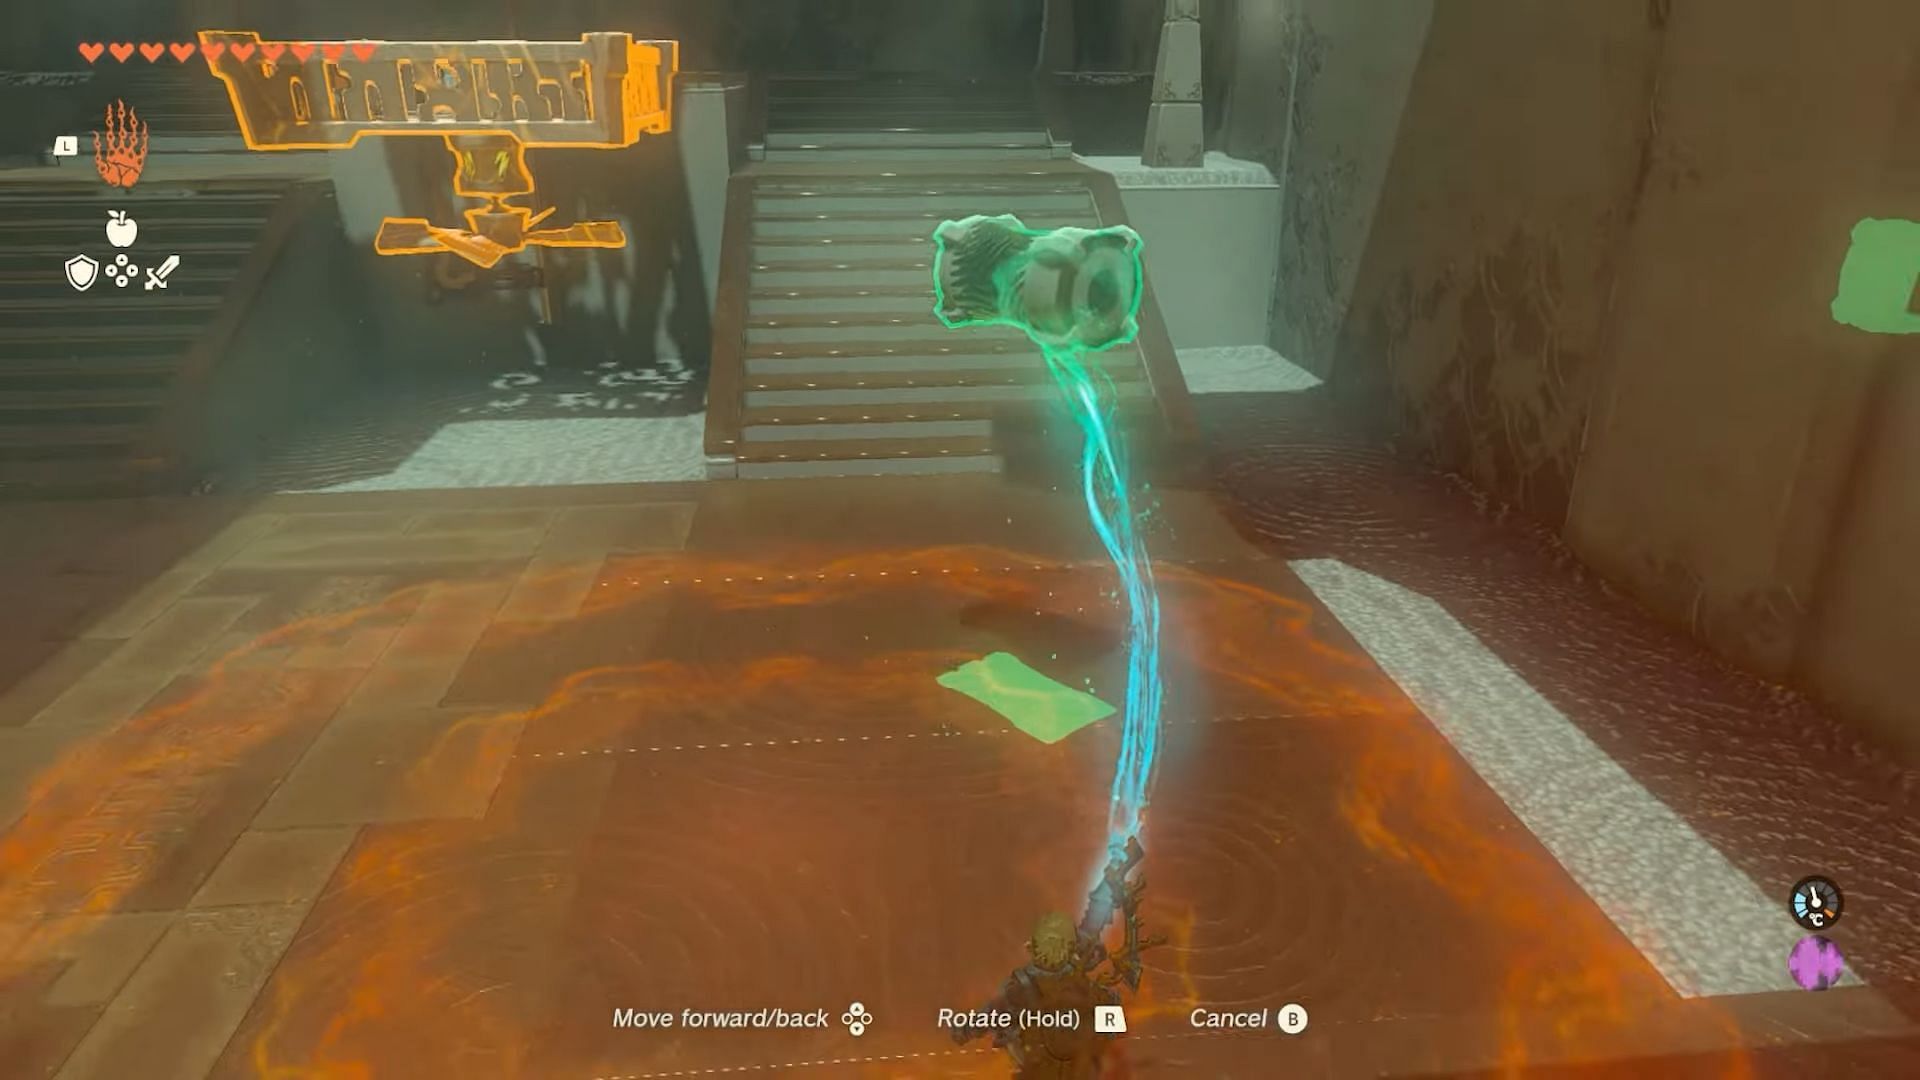
3. Pick it up using the Ultrahand ability and make your way to the right side of the room.
4. Place the battery on the hexagonal metal pad to your right.
5. Next, rotate the water wheel till it is hit by the waterfall, causing it to move. The battery will begin to charge up, indicated by a yellow glow.
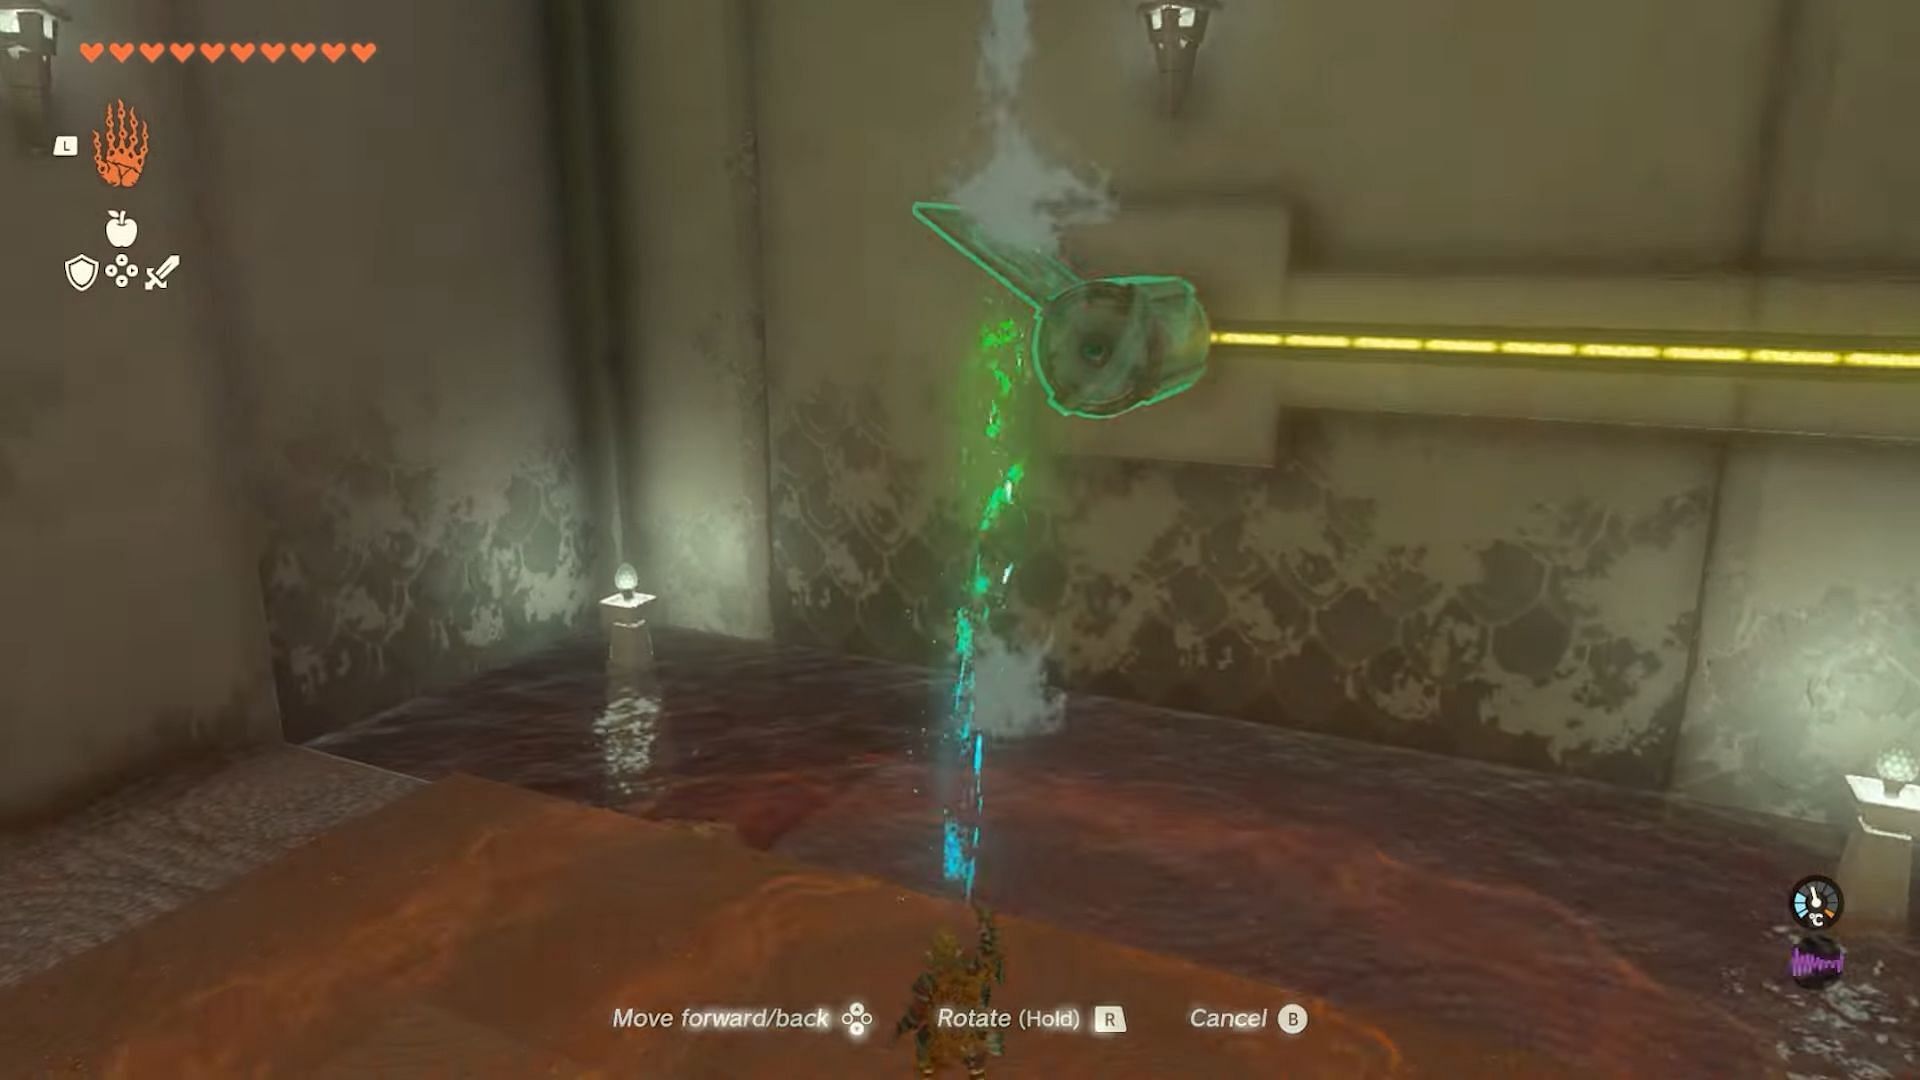
6. Once the battery is completely charged up, drag it to the opposite side of the room.
7. Grab the floorboard in the prior room and use it to connect the two metal balls underneath the water pool.
8. Place the battery on the hexagonal pedestal and swim your way to the unlocked door and open a chest. Be wary of the electrical current.
9. Unlock the chest to obtain an Opal.
10. Carry the depleted battery cell back to the waterfall mechanism and recharge it.
11. Finally, use Ultrahand to carry the battery to the top of the stairs in the central room.

12. Place the battery on the hexagonal pedestal and immediately jump on the elevator.
13. The elevator will take you to the top floor with a deity-like statue you can interact with.
Players can now interact with the statue to obtain a Light of Blessing. Four of these Blessings can be collected against HP or Stamina Wheel upgrades in Tears of The Kingdom. Interacting with the statue will also teleport you back outside, fully restoring your HP.

Are you stuck on today's Wordle? Our Wordle Solver will help you find the answer.