

'%20x='0'%20y='0'%20height='100%25'%20width='100%25'%20%0A%20%20%20%20%20%20%20%20%20%20xlink%3Ahref='data:image/jpg;base64,/9j/4AAQSkZJRgABAQAAAQABAAD/2wCEAAMDAwMDAwQEBAQFBQUFBQcHBgYHBwsICQgJCAsRCwwLCwwLEQ8SDw4PEg8bFRMTFRsfGhkaHyYiIiYwLTA+PlQBAwMDAwMDBAQEBAUFBQUFBwcGBgcHCwgJCAkICxELDAsLDAsRDxIPDg8SDxsVExMVGx8aGRofJiIiJjAtMD4+VP/AABEIAAUACgMBIgACEQEDEQH/xABiAAEBAQAAAAAAAAAAAAAAAAAABwgQAAIBAwMFAAAAAAAAAAAAAAECAwAEEQUGIRITFEFRAQEAAAAAAAAAAAAAAAAAAAAGEQABBAMBAQAAAAAAAAAAAAABAgMEEQAhQQUx/9oADAMBAAIRAxEAPwDId/q9vZaXuK1nsY5z48SwurdooxcL1ngk8es1LV3ZrSKFWcYUADKKTgfTilKPebHZWxakBRNfd8xBJlSA5pxQqxo13P/Z'%3E%3C/image%3E%3C/svg%3E)
Star Wars Jedi Survivor is a great gaming feat, effortlessly mixing an engaging tale with catching gameplay mechanics and a diverse range of content. The title's narrative immerses players in a realm of intrigue, allowing them to take on the power of the Jedi and negotiate dangerous missions. Meanwhile, the gameplay mechanics provide a truly fulfilling experience.
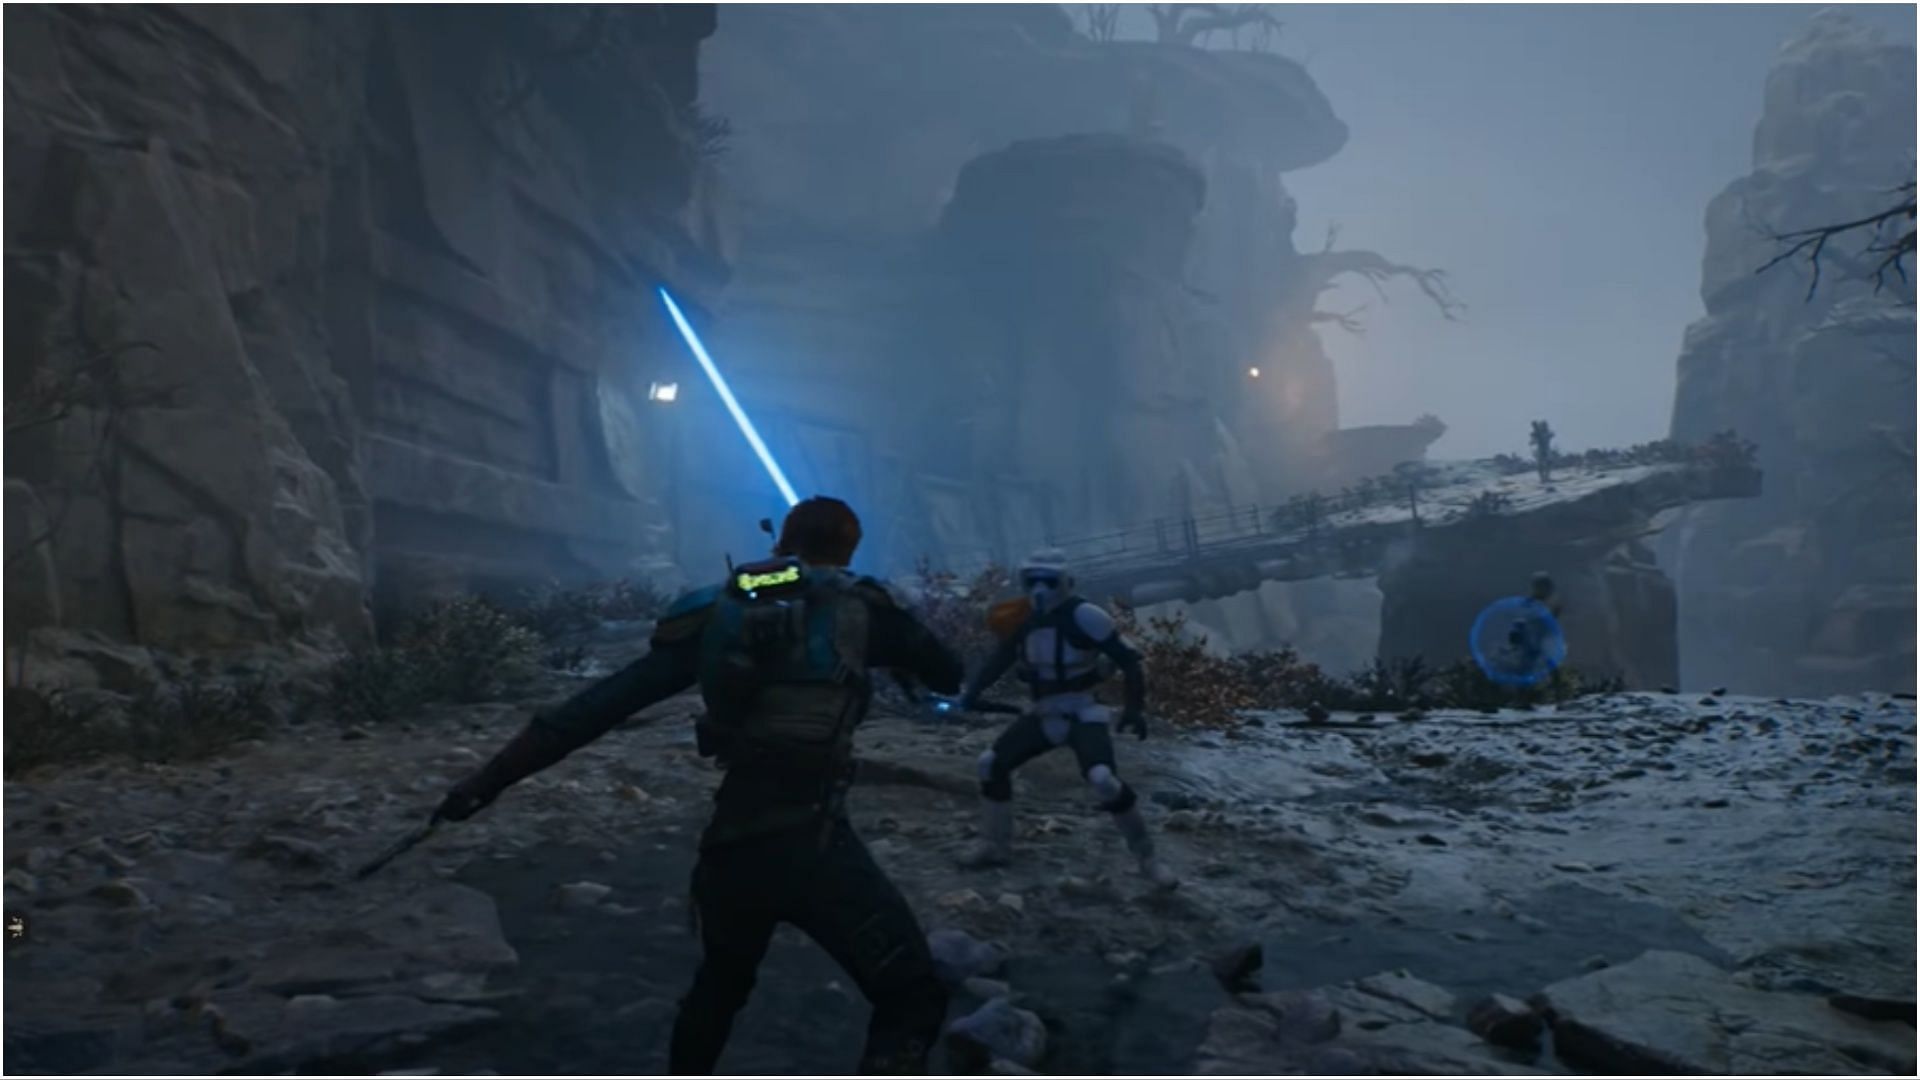
Chapter 5 Mission 16 of Star Wars Jedi Survivor requires you to return to the planet Koboh, where you'll face your toughest challenge yet. As you confront Dagan in this mission you'll need to use all of your skills to take him down and emerge victorious.
This is one of Star Wars Jedi Survivor's longest missions, and it will put your skills to the test. However, with the help of the walkthrough guide, you'll be able to cross the dangerous landscape and emerge triumphant. As you continue through the task, your faithful droid, BD-1, will get a new ability that will come in handy in future confrontations.
Looking for Crossword hints & solutions? Check out latest NYT Mini Crossword Answers, LA Times Crossword Answers, and Atlantic Crossword Answers
Everything you need to do to complete Star Wars Jedi Survivor Chapter 5 Mission 16
Upon arriving at Koboh, proceed towards the hill that is adorned with a red metal path. Ascend the hill and take the path on your right, which will lead you to a zipline. Glide up the zipline and cross the small pond on your left. On the other side of the pond, there is a grapple point that you can use.
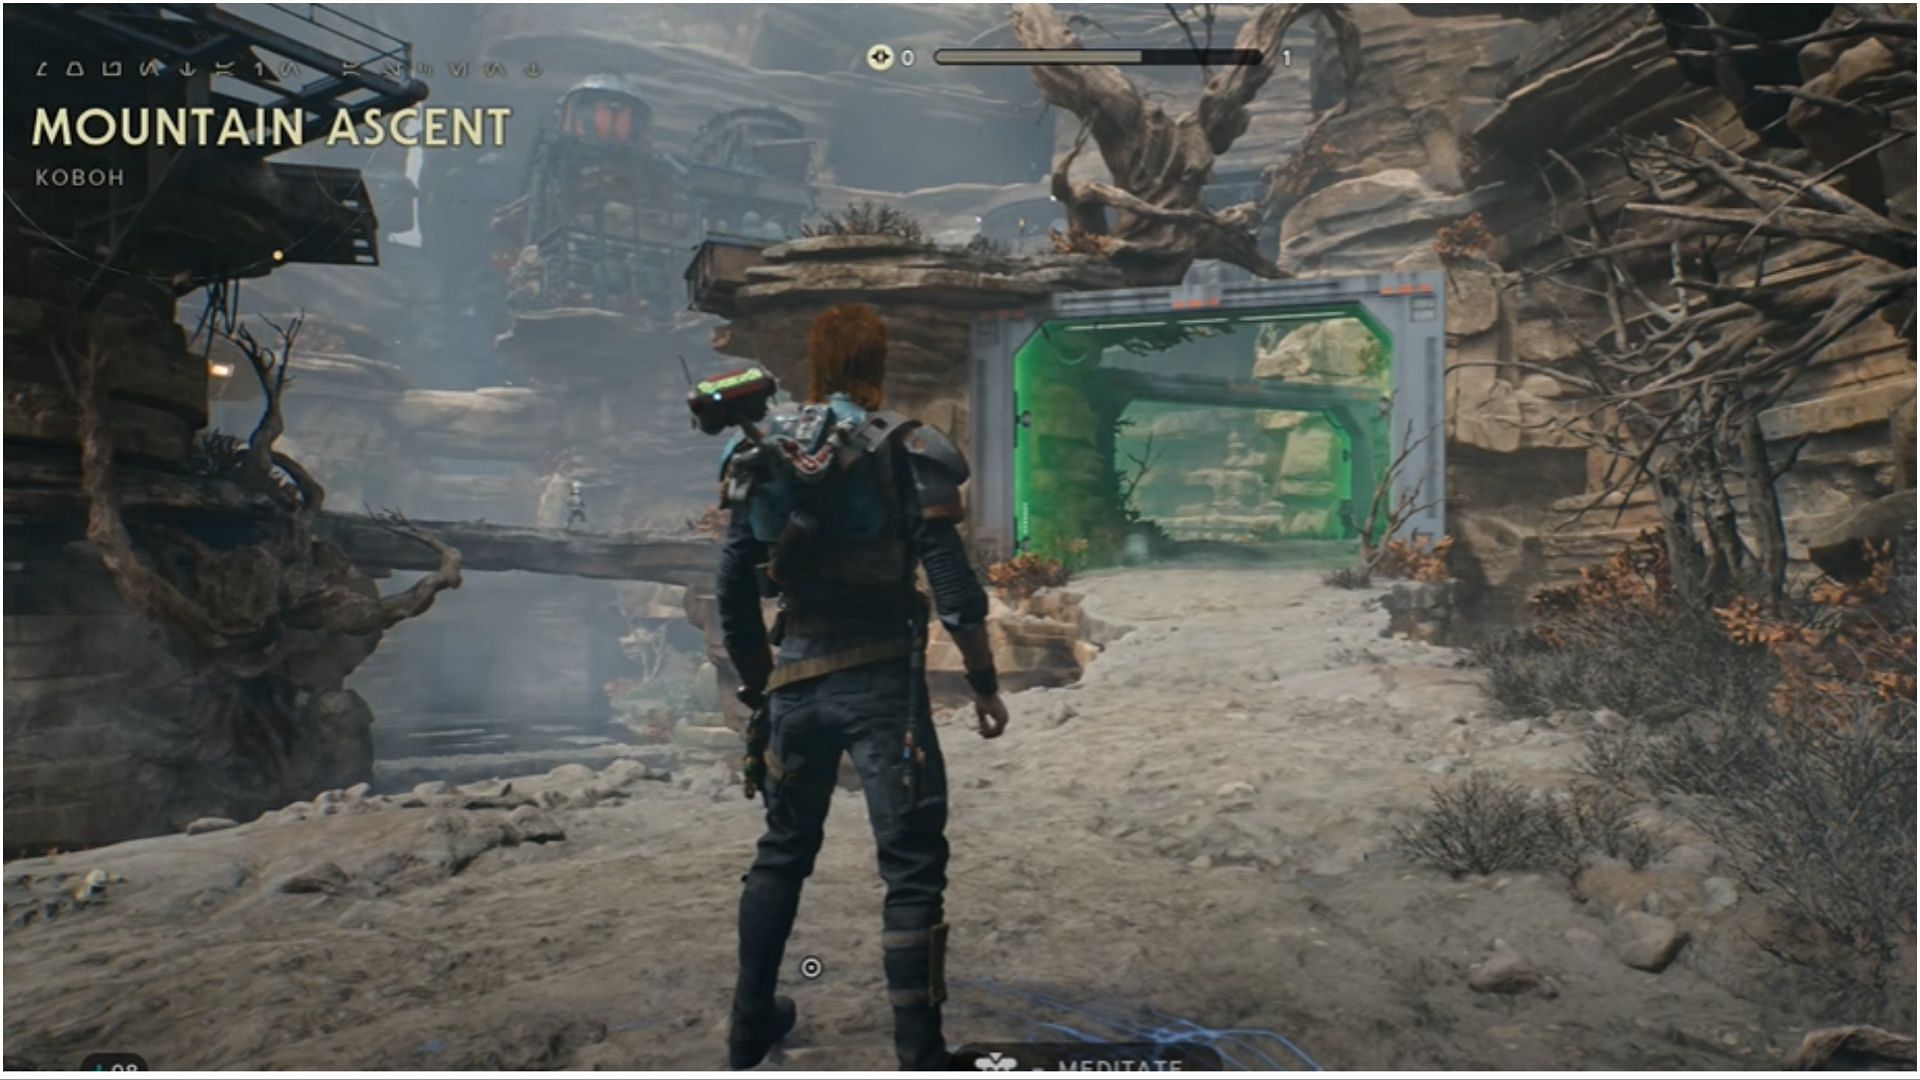
Follow the path through the cave until you arrive at the Mountain Ascent Meditation Point. Once you have rested, use your dash ability to move through the green force field. However, be prepared to engage in combat with a K-405 Droid, Scout Trooper, and Gunner as you progress.
Proceed beyond them and utilize the grapple point to traverse a diminutive pond. Follow the path that lies beyond the pond, where you'll encounter a Scout Trooper and a Flame Trooper. Eliminate them and leap to the ledge situated just after them.
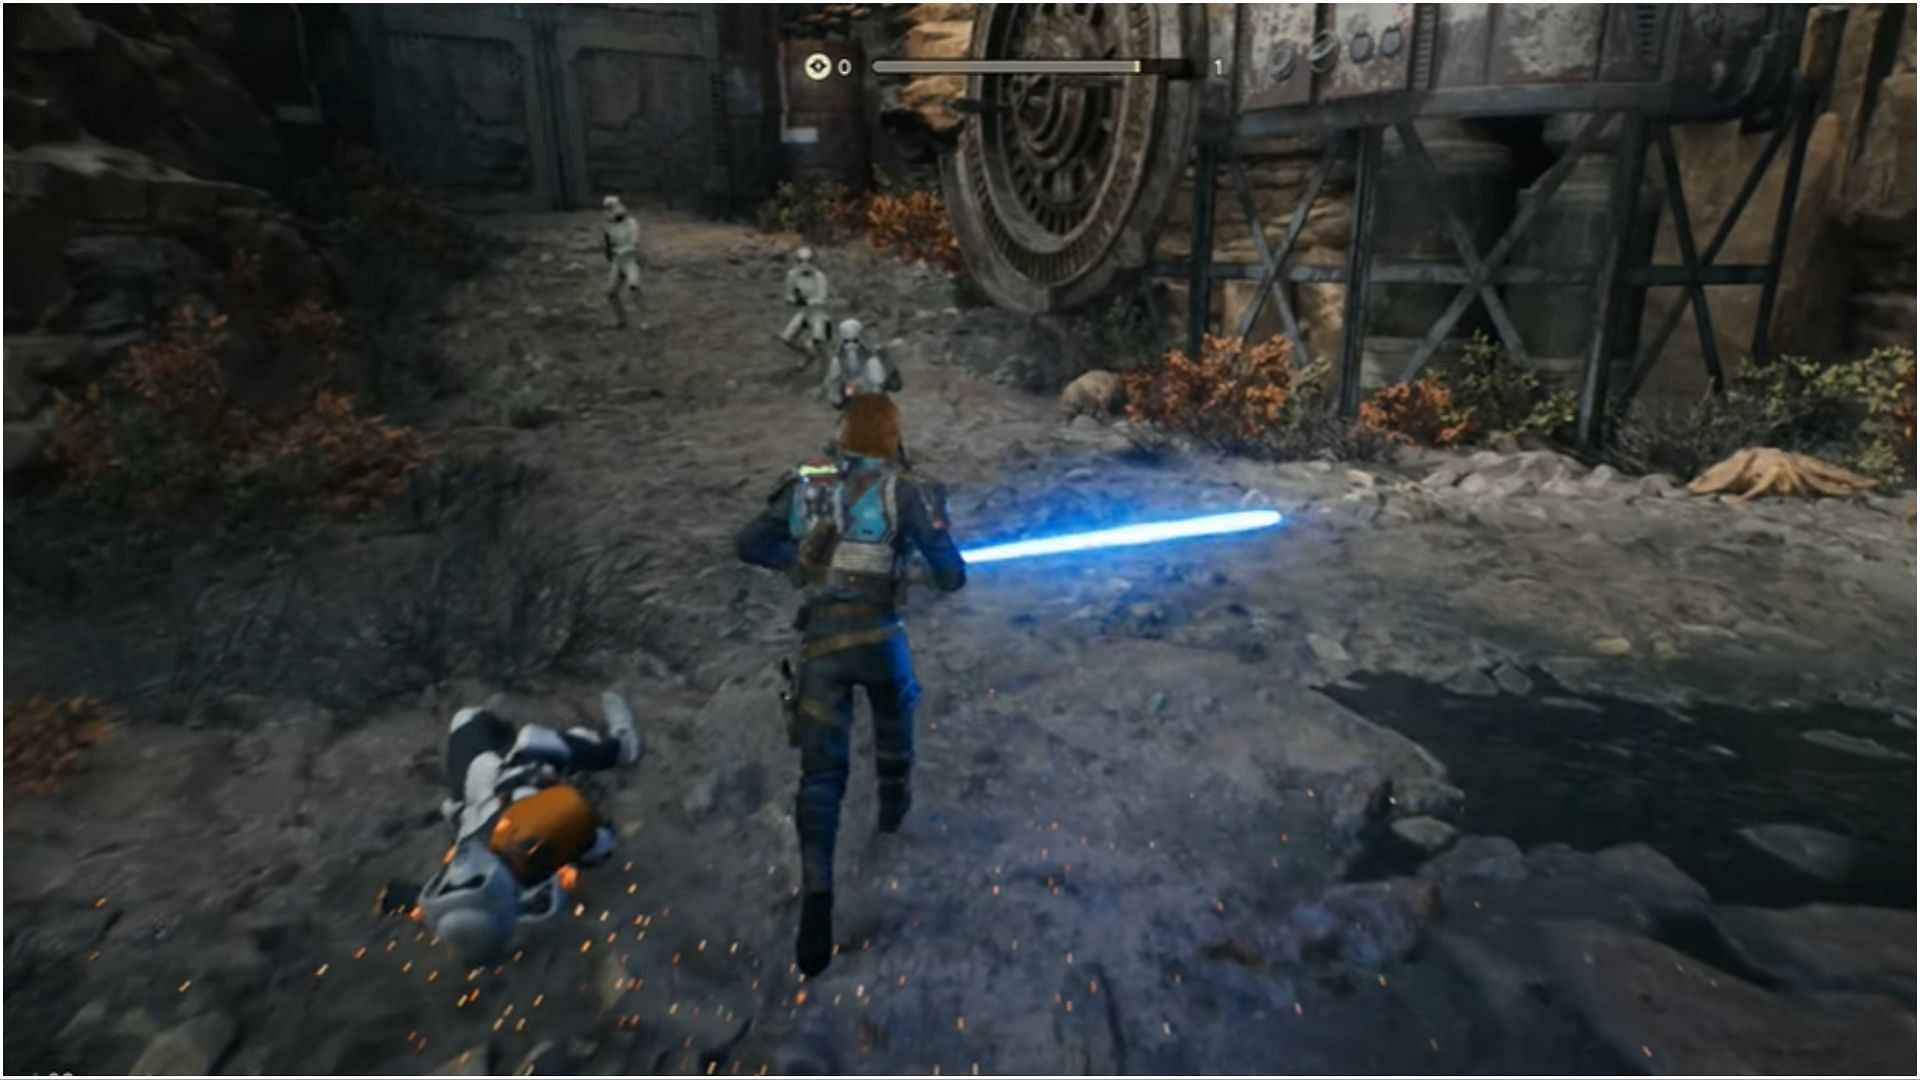
Upon reaching the top, activate the shortcut before moving leftward along the path. Utilize the platforms to traverse above the green forcefield you previously encountered. Once on the other side, you'll confront a Gunner, a Scout Trooper, and three Stormer Troopers.
The door located beyond them has been shut. To open it, you can apply your Force Push technique repeatedly on the adjacent wheel to knock the door open. After that, you might encounter two Bilemaws on the other side, but you can evade them by utilizing the grapple points and reaching a wall that you can run across. Once you cross the wall, you will find yourself at the end of the path in the Fogged Expanse.
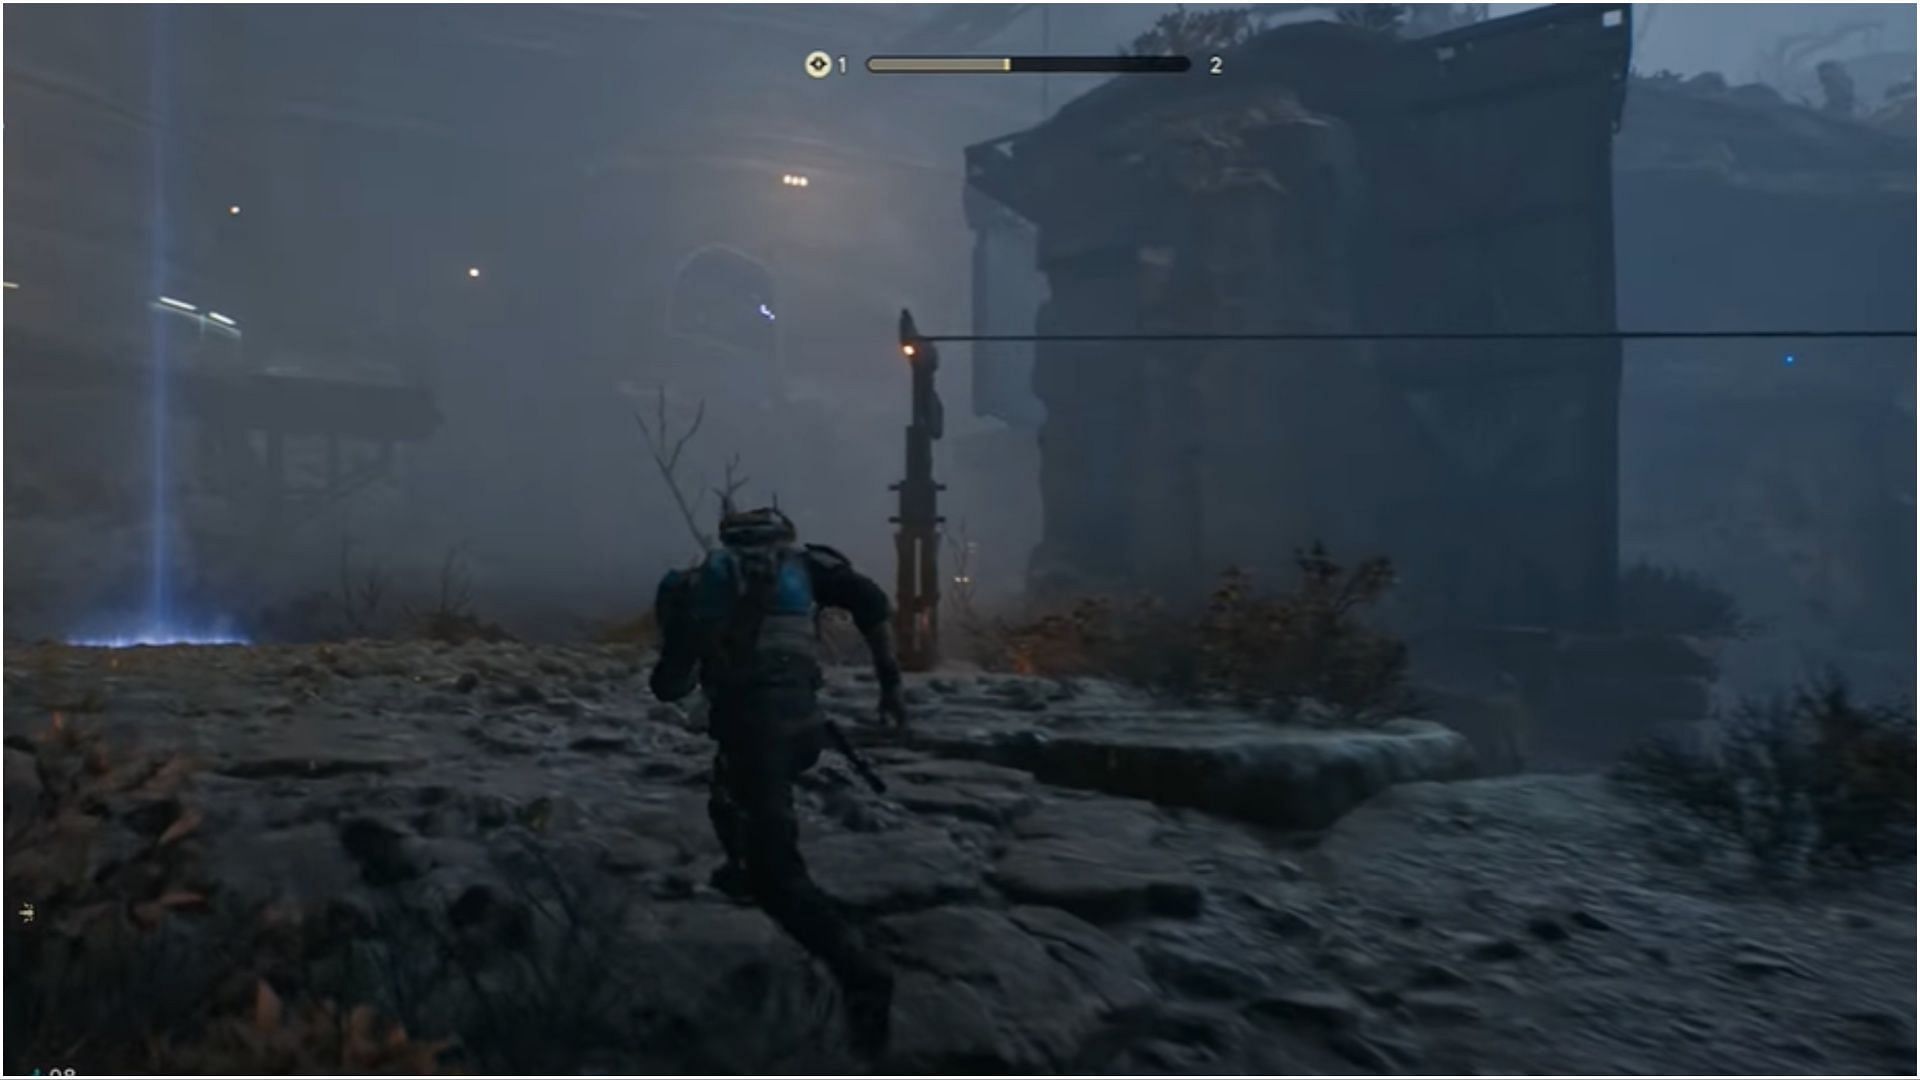
Upon arrival at the Fogged Expanse, make a right turn to arrive at the Meditation Point designated for the area. Upon completing your rest, proceed to the left cave entrance and continue down the path within. At one point, the cave path will split, but both routes lead to the same area.
Proceed through the cave, and at the end of the path, use your grapple to reach the wall. Once you finish traversing the wall, utilize your Force Pull ability to open the door located on your left. Behind the door lies a beast that must be defeated before proceeding through the entrance.
Ascend the vines situated at the path's end to access a shortcut leading to the meditation point. Before progressing, trigger the shortcut and then apply your Force Push ability on the wall beyond it to open up a new route.
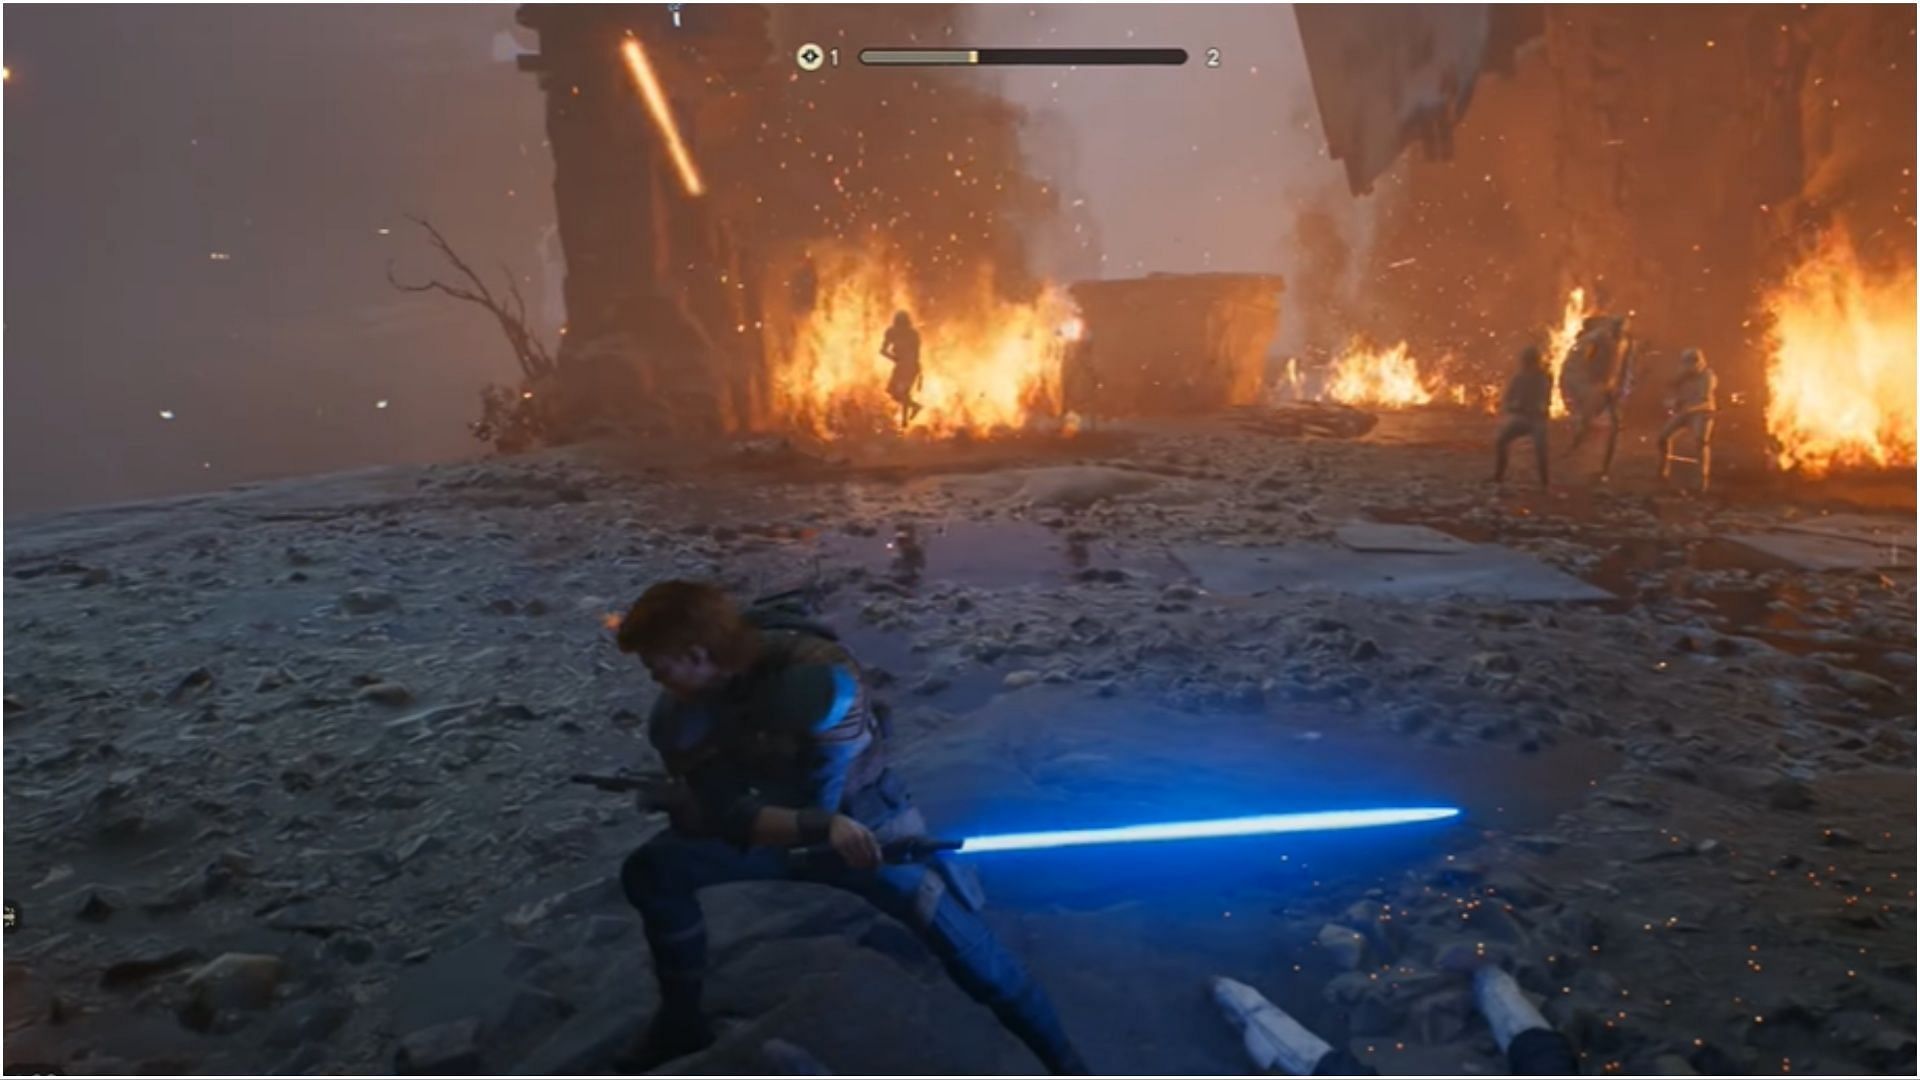
Proceed along this path, confronting a couple of Stormtroopers. Ride the zipline to traverse over an area occupied by multiple adversaries. Instead of engaging them, employ the grapple point to bypass the fiery zone below and arrive at the location of a wrecked spacecraft.
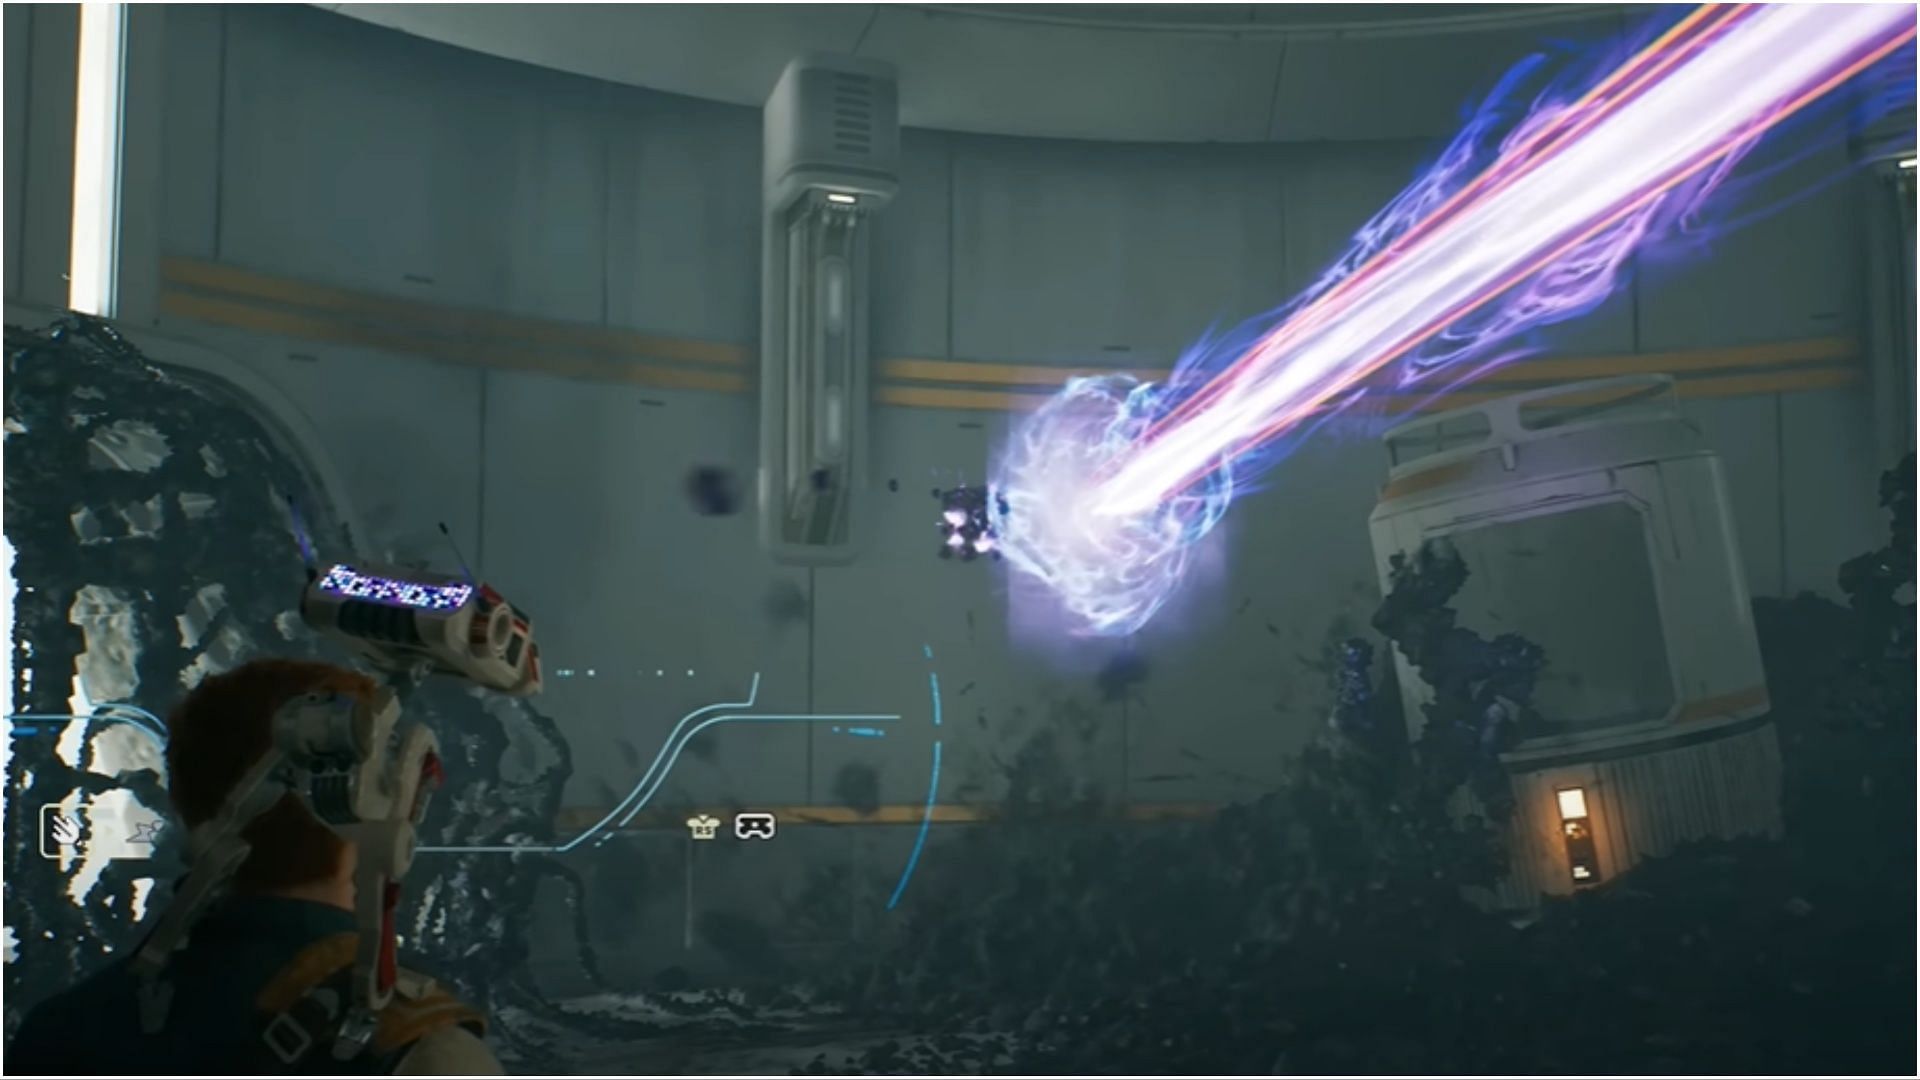
If you make your way through it, you will reach the end and unlock BD-1's Electro Dart ability. As the ship crashes, you will find yourself back in the arena with the same enemies you encountered before, including a K-450 Droid, a Purge Trooper, and several Scout Troopers and Stormtroopers.
You should be prepared to engage in combat with them. Once they are defeated, you can use your new Electro Dart to activate a node on the left side, which will create a pathway back to the Meditation Point. Along the way, you will need to shoot another node, causing an elevator to collapse and creating a running wall.
Proceed beyond the Meditation Point to the location where you initially accessed the Fogged Expanse. Ascend to the uppermost room while being cautious of the three bombs that lie within, and then leap up to the platform outside of the room.
Utilize your Force Push ability to open the window located at the top and subsequently perform a wall run across it until you arrive at the entry point below. Face the direction you came from and employ BD-1's Electro Bolt to target a node through the window, thereby enabling you to traverse a wall and cross the gap before you.
Confront the Gunner, Scout Trooper, and Rocket Trooper who are positioned on the opposite side. Once you have defeated them, proceed to the path where the Rocket Trooper was stationed.
To get past the Rocket Trooper, use your grappling abilities. Then, turn left to find another grappling place. To activate the node at the end, use BD-1's Electro Dart after ascending the path to the top, passing through a door and a brief cave. You'll be able to travel the distance thanks to this.
To get to the stairs, you need to turn around and make use of the wall to cross the gap. Once you're at the top, you'll encounter two Stormtroopers who are reciting affirmations to each other. Take them down before riding the zipline across and confronting another Scout Trooper on the other side.
To reach the Imperial Post 8L-055 Meditation Point, stay on the misty path and confront the K-405 Droid when you're about halfway there. Once you arrive, use your Electro Dart to create a path towards the post, but don't jump down immediately. Instead, navigate around the perimeter of the room using the platforms atop the post.
Activate the node on the other side to bring down a TIE Fighter onto the group of Stormtroopers below. After taking it down, jump off and confront the remaining Stormtroopers. You will encounter three waves of enemies in this area.
After completing the fight, take the elevator up to the location where the DT Security Droids appeared. Upon reaching the top, speak to the Stormtrooper and utilize your Force abilities to open the door. Now proceed through the door and use BD-1's Electro Dart to create a passage through the Imperial base at the end of the small path.
If you proceed straight, you will reach the ultimate boss fight of the game, which is with Rick, the Door Technician. He is an ordinary Scout Trooper with standard health.
After defeating Rick, take the elevator up and move ahead outside. To reach Summit Ridge, take the zipline up and then follow the perimeter of the mountain until you arrive at the Meditation Point for that particular area. Utilize the Electro Dart to access it.
After passing the Meditation Point, ascend using the orange balloon. Then, obtain another balloon from a location on your right below and move to the left to reach the platform on the opposite side. From there, retrieve another balloon on your right and arrange it to connect with the balloons on the right side. Utilize the Relter at the summit to access another group of three balloons and the prominent fortress in the distance.
After landing, take a left turn around the fortress and locate the opening in the wall to gain entry inside. Upon entering, activate the Electro Dart node situated on the left side of the room to unlock a hatch.
Exit the room and proceed along the fortress's perimeter. Descend through the unlocked hatch and unlock the door in the room below to reveal an Orb beam. Star Wars Jedi Survivor players can use the Orb beam to create a Koboh matter path that leads to the outside opening.
Take hold of the orange balloon that's present in the room and transport it to the outside, placing it in a manner that can help you reach the adjacent platform on your left.
Jump over and climb the stairs on the opposite side, and you'll arrive at the Meditation Point in the Observatory Understructure. Take a break here, then proceed to the top of the room and utilize the orange balloons as platforms to navigate through the sky towards your left.
Once you complete the brief section, you will arrive at a bridge where foes, consisting of raiders and Imperial soldiers, are engaged in combat against each other. It is advisable for Star Wars Jedi Survivor players to wait at the rear for a while to allow them to inflict harm on each other before joining the battle and proceeding up the bridge.
At the summit, you may employ a grappling hook to cross over to the left and access a shortcut leading back to the Meditation Point.
To proceed, go straight ahead at the beginning of the bridge. Utilize the wall to sprint up to the edge of the path, and then pivot to activate the Electro Dart node. This will lift the wall, enabling you to sprint across to a climbing wall.
As the wall shifts, you can move on to another one that also moves. When this brief chain of events is over, leap to the climbing wall surrounding a big floating platform and start making your way up.
There are two B2 Droids and a Magnaguard stationed at the top, but fortunately, a rocket will be deployed to eliminate them. To access the main fortress, you can utilize the wall beyond them and proceed on the right track.
Eventually, you will encounter an electric field that cannot be traversed. You can navigate around it by looking down and utilizing the edges of the platforms below. After that, use the grapple point on the opposite side to gain access to a climbing wall, and then climb upwards.
Proceed to the upper room and you can either take the elevator down to the bottom of the fortress or use your Force Lift to open the door and access the Meditation Point for a well-deserved rest. Star Wars Jedi Survivor players are recommended to take a break at this point. Upon passing through the door, you will encounter a mini-boss for this section.
In Star Wars Jedi Survivor, you will face a mini-boss named Urgost, Fist of Rayvis. Once Urgost is defeated, you can unlock the door next to the boss by utilizing BD-1's Electro Dart. After opening the door, proceed through it and jump to the platform on the opposite side.
Shoot another node with your Electro Dart, which will enable you to grab a balloon. Toss the balloon at the far platform and utilize it along with another already-floating balloon to ascend a climbing wall and make your way to the top of the platform.
Up ahead, Bode is waiting for you. Make your way to the opposite side and target the Electro Dart node that you previously activated. This will cause the arm to rise up again, enabling you to seize another balloon and use it to propel yourself to the higher platform.
Once there, use Force Lift to open the door and enter the facility. Keep following Bode until you come across a series of rotating walls. Use them to maneuver around the facility's right side, and make sure to evade the green forcefield at the end.
Once you are back on stable terrain, descend the stairs towards the left side to arrive at a Meditation Point. Access the terminal located beyond the Meditation Point and proceed into the adjacent room. Expect to confront two Magnaguards inside.
You won't be able to depart from the room just yet, so navigate towards the left section and utilize BD-1's Electro Dart. This action will cause the walls to rotate, and you'll be challenged by two Bedlam Raiders and B2 Droids. Defeat them and revisit the Electro Dart node to activate it again.
The walls will revolve once more, revealing a chamber containing two Bedlam Raiders and a Bedlam Smasher. Inside this chamber, there is an orange balloon that you can seize. However, it's advisable not to do so immediately. Instead, return to the node and activate it again.
As a result, the walls will spin again, leaving the chamber with the balloon accessible and revealing a path to exit. Once you have done this, take the balloon and toss it outside, which will enable you to traverse the chasm and reach a climbing wall.
Proceed by using the running walls to cross a gap, then reach a bridge where you can utilize the climbing wall to ascend to another ledge where Bode is waiting. From there, accompany Bode around the Observation Deck's edge while facing a swarm of B1 Droids.
At the path's edge, grab onto the grapple point to access the Grand Oculus Meditation Point. It's advisable for Star Wars Jedi Survivor players to take a break here before progressing through the door, as there's a boss battle waiting on the other side.
During your third trip to Koboh in Star Wars Jedi Survivor, you will once again face the challenge of confronting Dagan. You will have the assistance of Bode, who can prove to be a valuable ally in this lengthy battle, which consists of several stages.
After defeating Dagan, make your way to the elevator located in the center of the room and collect the Perplexity perk. Proceed to the next elevator, which leads to the Koboh Observatory, and ride it down. Upon reaching the bottom, open the door to create a shortcut back to the Observatory Understructure Meditation Point.
This is all you need to do to complete Chapter 5 Mission 16 of Star Wars Jedi Survivor.

Struggling in a galaxy far far away? Our guides make it easy. May the force be with you!