
'%20x='0'%20y='0'%20height='100%25'%20width='100%25'%20%0A%20%20%20%20%20%20%20%20%20%20xlink%3Ahref='data:image/jpg;base64,/9j/4AAQSkZJRgABAQAAAQABAAD/2wCEAAMDAwMDAwQEBAQFBQUFBQcHBgYHBwsICQgJCAsRCwwLCwwLEQ8SDw4PEg8bFRMTFRsfGhkaHyYiIiYwLTA+PlQBAwMDAwMDBAQEBAUFBQUFBwcGBgcHCwgJCAkICxELDAsLDAsRDxIPDg8SDxsVExMVGx8aGRofJiIiJjAtMD4+VP/AABEIAAUACgMBIgACEQEDEQH/xABcAAEBAQAAAAAAAAAAAAAAAAAABgcQAAIBBQADAAAAAAAAAAAAAAECAwAEBREhBhJRAQEAAAAAAAAAAAAAAAAAAAAFEQEAAQUAAAAAAAAAAAAAAAABAAIDERIx/9oADAMBAAIRAxEAPwDHPGJ40xl7btAkivAOv0qRvRX5rVVi4O7nUSm+UFx7ELAABvvADSlC3FQFhmlOeE//2Q=='%3E%3C/image%3E%3C/svg%3E)
Elder Scrolls V: Skyrim has been around for a decade due to its active modding community and die-hard playerbase. The game takes place in what is known as the throat of the world.
A civil war breaks out in the mountainous region of Tamriel over the worship of Talos. As the power struggle surges, dragons start appearing out of nowhere, and it is up to the player to solve the mystery and save the world.
Steeped in Viking esthetics and deep Elder Scrolls lore, players will spend hours exploring the large open world. While exploring, they might come across Aetherium Shards or a book called “The Aetherium Wars,” which will eventually lead them to the Aetherium Forge.
Looking for Crossword hints & solutions? Check out latest NYT Mini Crossword Answers, LA Times Crossword Answers, and Atlantic Crossword Answers
You can use Aetherium Shards to get to the Aetherium Forge in Elder Scrolls V: Skyrim
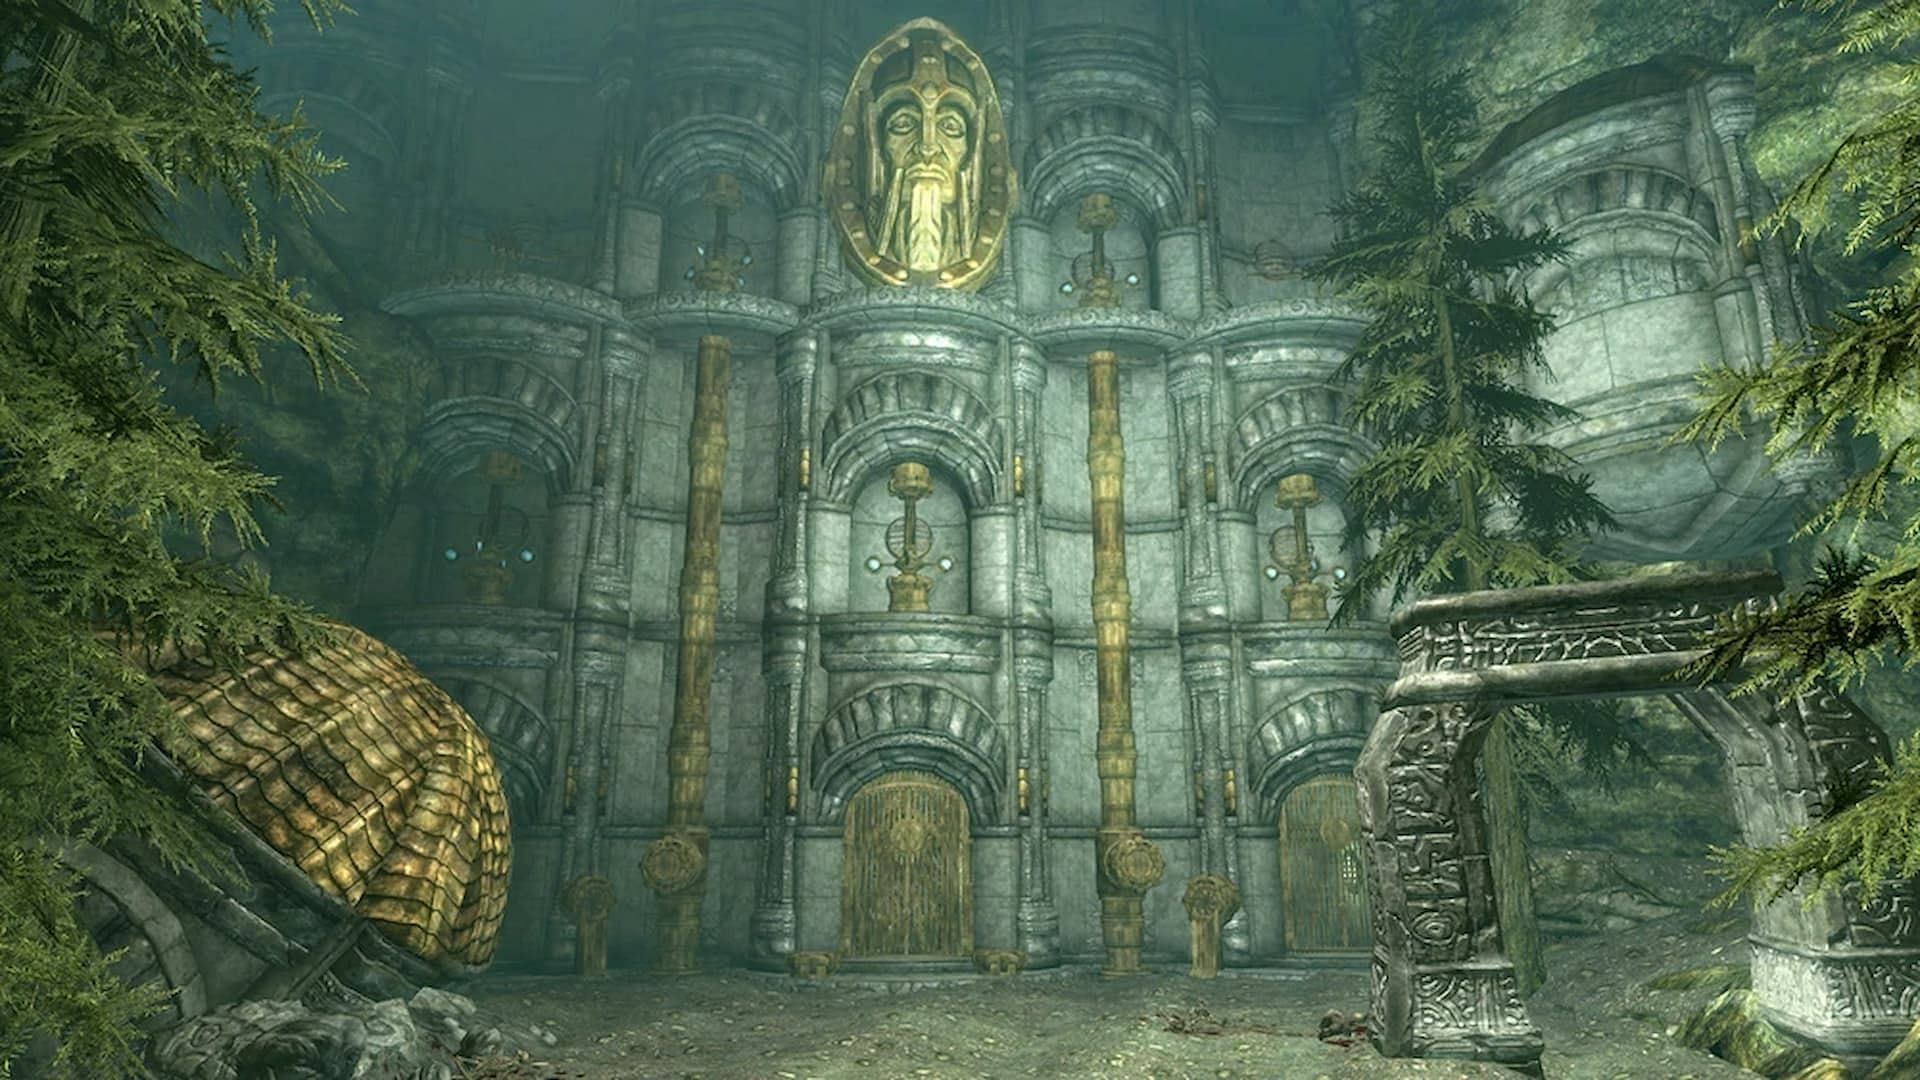
The Aetherium Forge in the Elder Scrolls V: Skyrim is an ancient Dwemer construct that was once used to craft powerful items using a rare resource called Aetherium. It is located under the Ruins of Bthalft. You can get to this forge by taking part in a quest called “Lost to the Ages,” which requires the Dawnguard DLC to be playable.
To access the Forge, you will need to get your hands on four Aetherium Shards:
- The first shard can be found in Arkngthamz, where the quest truly begins. You will be guided to the shard by the spirit of Katria.
- The second one can be found in Deep Folk Crossing, located north of the Reach Imperial Camp. You will find it on a slope across the bride.
- The third shard can be found at the end of a Dwemer dungeon called Raldbthar.
- The final shard can be obtained by looting the chamber right before entering Mzulft, located on the eastern side of Eastmarch.
Upon finding all the shards, you can take them to the Ruins of Bthalft, which is located south of Ivarstead. The forge room has some powerful Dwarven enemies, so the Dragonborn should be prepared. Once these enemies are defeated, you can craft one of three powerful Dwemer items.
The rewards of the Aetherium Forge
In Elder Scrolls V: Skyrim, you can use Aetherium Shards and other miscellaneous items to craft an equipment that provides a powerful effect.
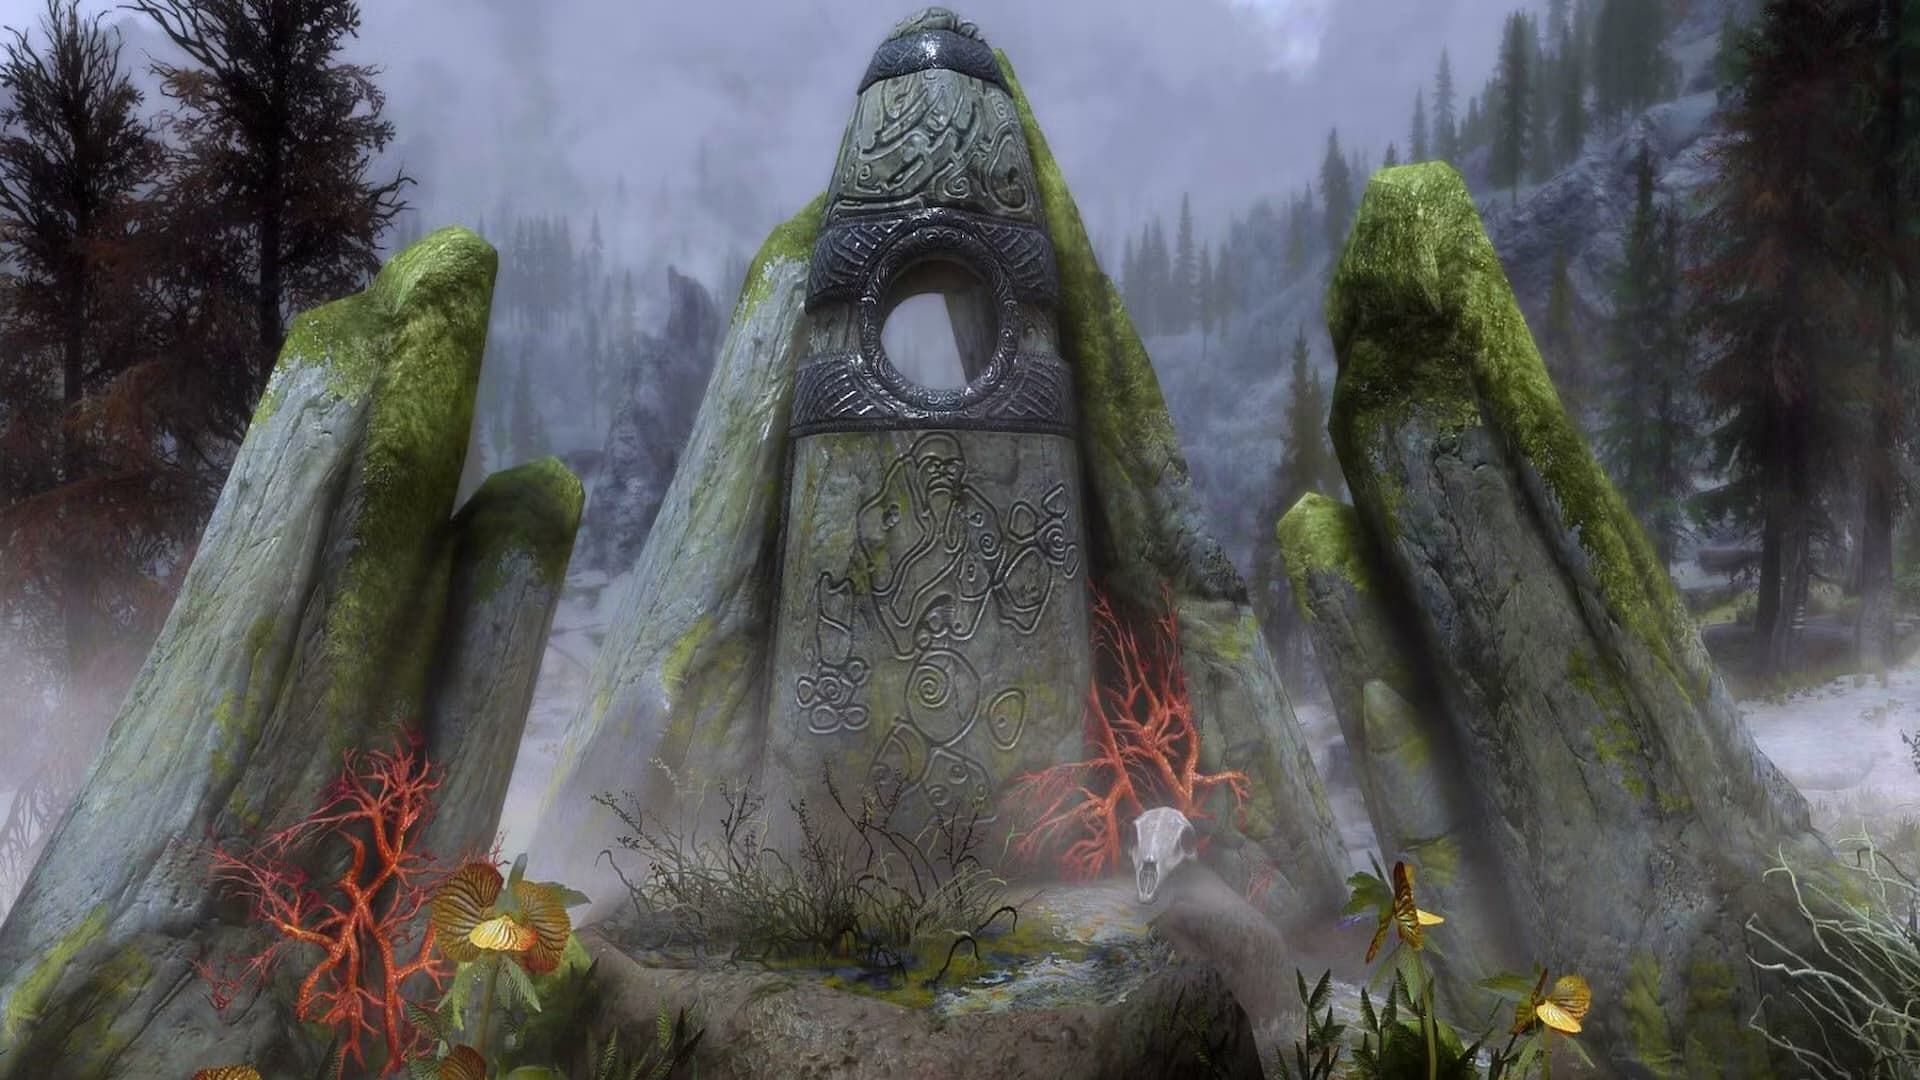
- The Aetherial crown lets the Dragonborn enjoy the benefits of two standing stones instead of one while increasing its effectiveness. The crown must be worn at all times for this to last, and if taken off, the effect of the older activated stone is removed.
- The Aetherial shield turns anyone bashed by it into an ethereal being unable to harm or be harmed. It also causes them to flee.
- The Aetherial Staff summons a Dwemer Spider or Sphere to fight alongside the player for 60 seconds.
Only four Aetherium Shards can be found in Elder Scrolls V: Skyrim, meaning even if you want to, you can only craft one of these items.
The Forge disables itself after the first item is crafted, so even if the player adds shards to their inventory using cheats, it will not work.

Are you stuck on today's Wordle? Our Wordle Solver will help you find the answer.