
'%20x='0'%20y='0'%20height='100%25'%20width='100%25'%20%0A%20%20%20%20%20%20%20%20%20%20xlink%3Ahref='data:image/jpg;base64,/9j/2wBDAAYEBQYFBAYGBQYHBwYIChAKCgkJChQODwwQFxQYGBcUFhYaHSUfGhsjHBYWICwgIyYnKSopGR8tMC0oMCUoKSj/2wBDAQcHBwoIChMKChMoGhYaKCgoKCgoKCgoKCgoKCgoKCgoKCgoKCgoKCgoKCgoKCgoKCgoKCgoKCgoKCgoKCgoKCj/wgARCAAHAAoDASIAAhEBAxEB/8QAFgABAQEAAAAAAAAAAAAAAAAAAAYH/8QAFQEBAQAAAAAAAAAAAAAAAAAAAQL/2gAMAwEAAhADEAAAANYsBj//xAAjEAABAgUDBQAAAAAAAAAAAAABAhIAAwQFExEUIRYxQmPS/9oACAEBAAE/AL/e7t1dRVFCieJIfilbhqFYQ5eQexzR30aIN5lKLtvUc8+P1H//xAAWEQADAAAAAAAAAAAAAAAAAAAAAQL/2gAIAQIBAT8AlH//xAAXEQADAQAAAAAAAAAAAAAAAAAAAQIh/9oACAEDAQE/ALrEf//Z'%3E%3C/image%3E%3C/svg%3E)
Fixing poor posture is essential to keep your back and the rest of the body healthy. The way you sit or stand is called posture. A good posture indicates that your body is in the proper position and that your weight is evenly distributed so that your skeleton, muscles, and ligaments are not overstretched or strained.
Your spine should have three curves, and the muscles on each side of your spine should be strong and balanced. Good posture will relieve back discomfort, increase mobility, and reduce fatigue.
What causes poor posture?
Poor posture not only makes you look unfit and unpleasant, but it also puts your health at risk. Rounded shoulders, slouching, head tilted forward, bowed knees, and a pot belly are all signs of poor posture.
Conditions that impair one or more of the body's supporting components, such as the spine, back muscles, hips, shoulders, neck, and abdominal wall, can also create posture issues.
Our posture often changes as a result of the work we do or other activities that cause misuse of various body parts.
Under-utilization might also be an issue for poor posture. For example, weak back muscles on either side of the spine or weak abdominal wall muscles in the front of our bodies might make it difficult to maintain excellent posture.
Many people's muscles and ligaments tighten or weaken over time as a result of sitting for long periods of time. This can also result in poor posture.
Simple exercises to improve poor posture
Neck pain and muscular imbalance can result from poor posture. We must stretch our tight muscles while activating our weak muscles to remedy this.
Check out this list of exercises that can help you in improving poor posture:
1) Reverse plank bridge
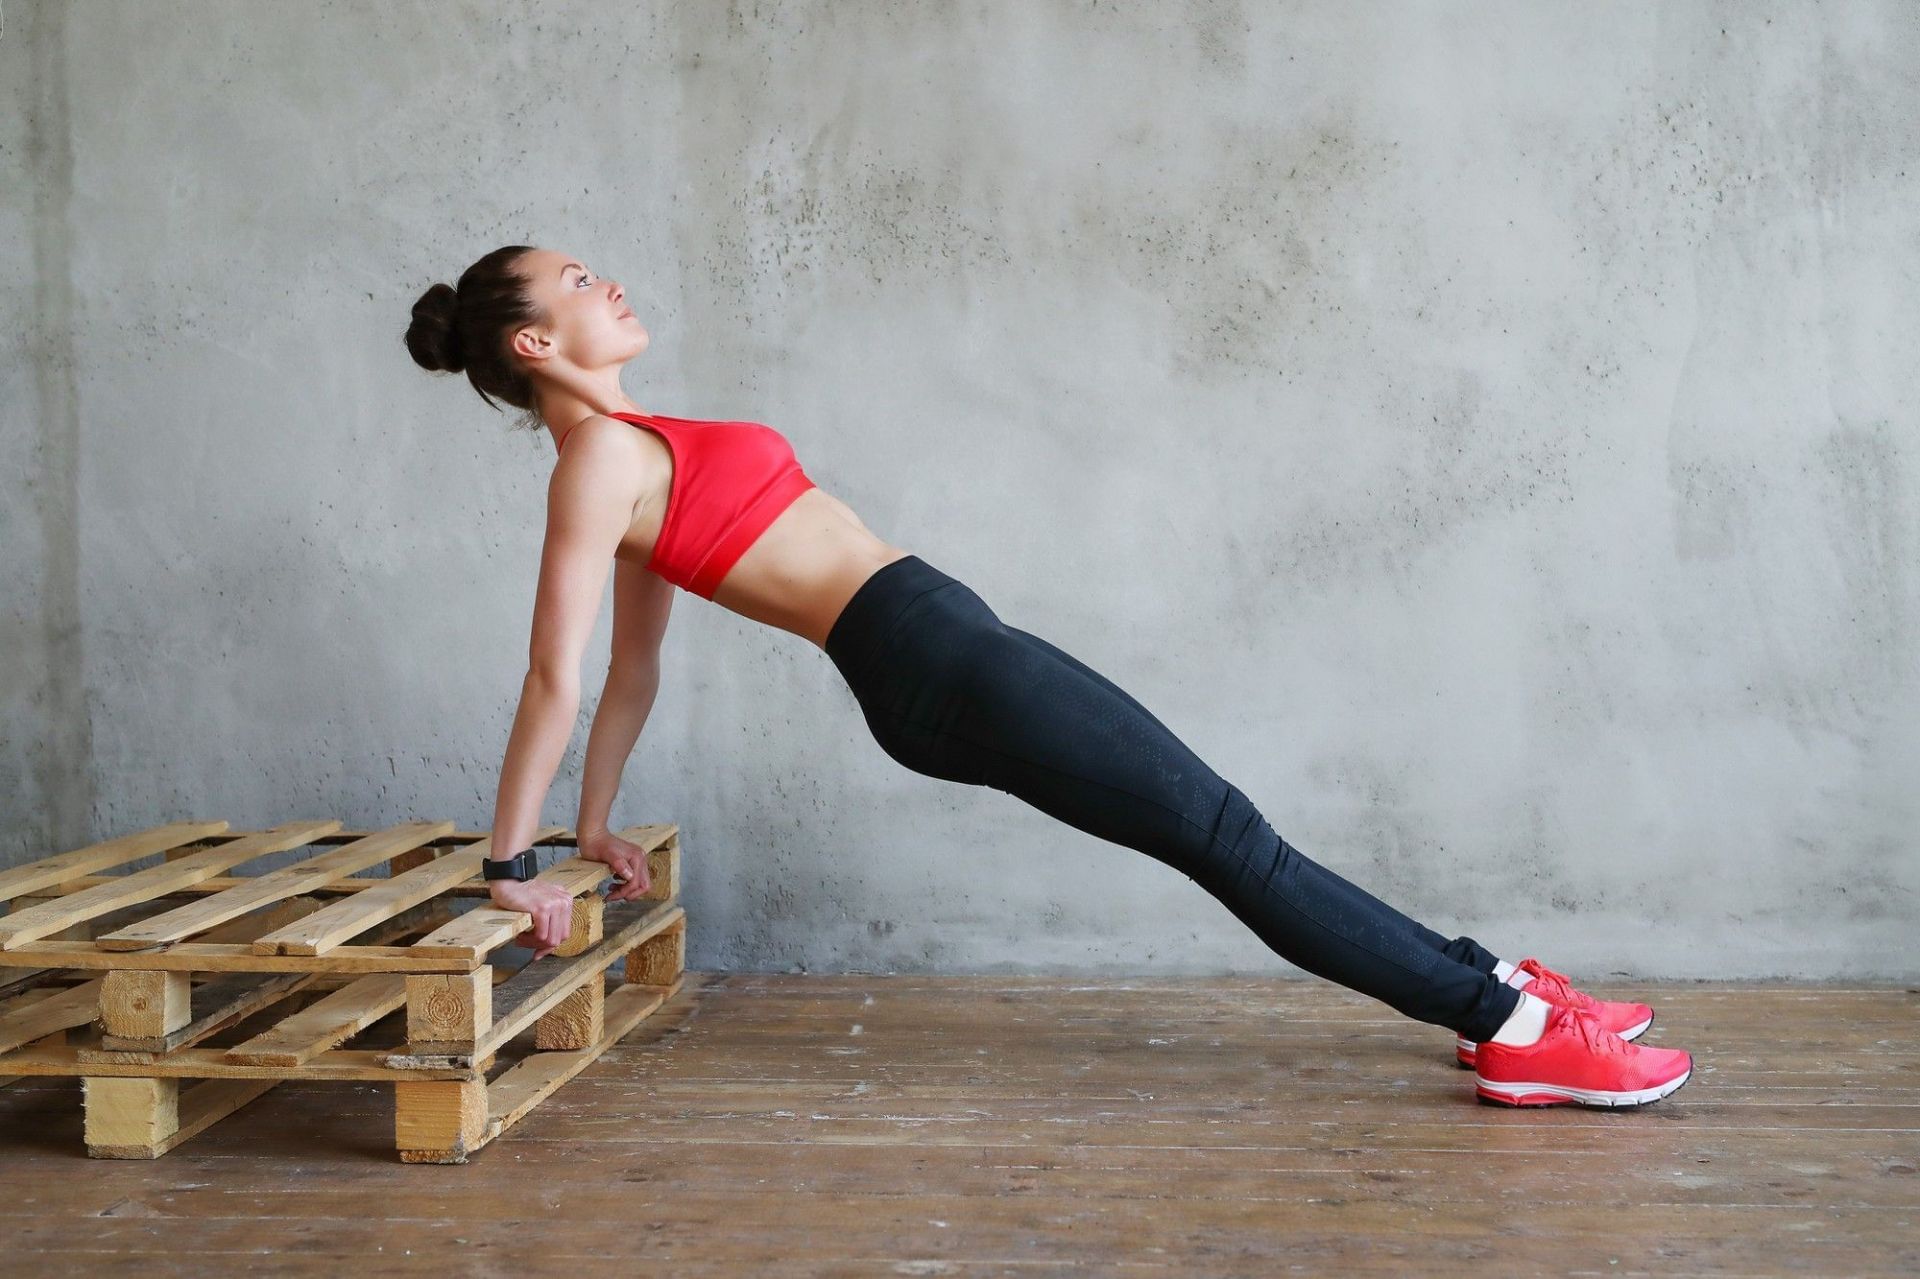
The reverse plank bridge works particular muscles while stretching important ones like your pectorals and neck muscles.
You can follow these steps to do the reverse plank bridge correctly:
- Pull your shoulders back and keep your arms straight.
- Make a fist with your shoulder blades.
- Make a chin tuck.
- Extend your spine and lift your chest.
- You can point your fingers forward or backward.
2) Mountain pose
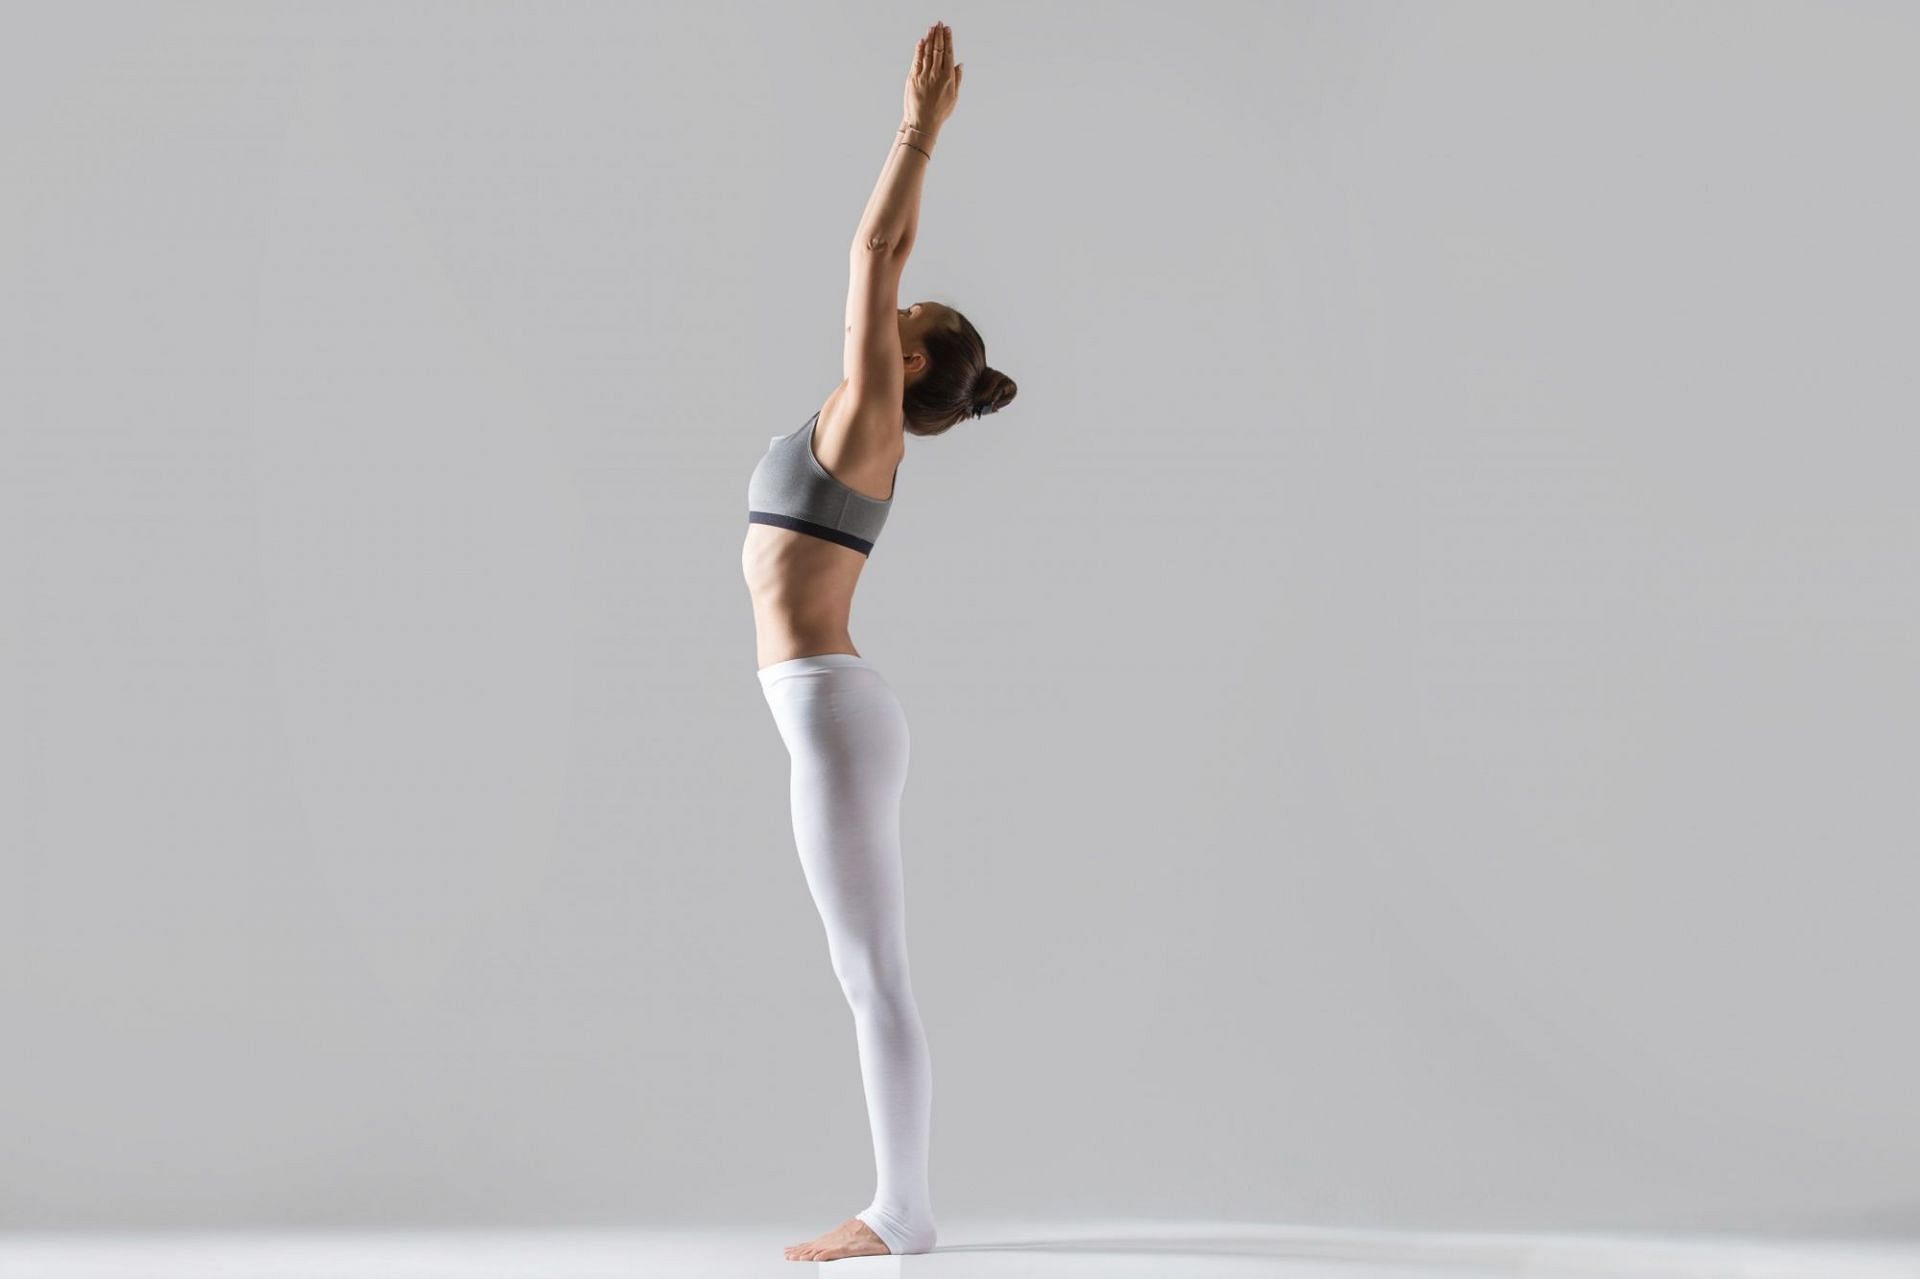
Mountain pose, also known as Tadasana, is a simple yoga practice that can aid with posture.
Here are the steps you can follow to perform the mountain pose correctly:
- Stand tall with your feet at hip distance apart.
- Make sure your weight is distributed evenly between both feet.
- Maintain a slight bend on your knees, tighten your thighs, and lower your tailbone.
- Drop your shoulders back and forth, bringing your chest forward.
- Allow your arms to fall to the sides of your body, palms facing forward, and keep your shoulders relaxed.
- Slowly inhale and exhale a few times.
3) Child’s pose
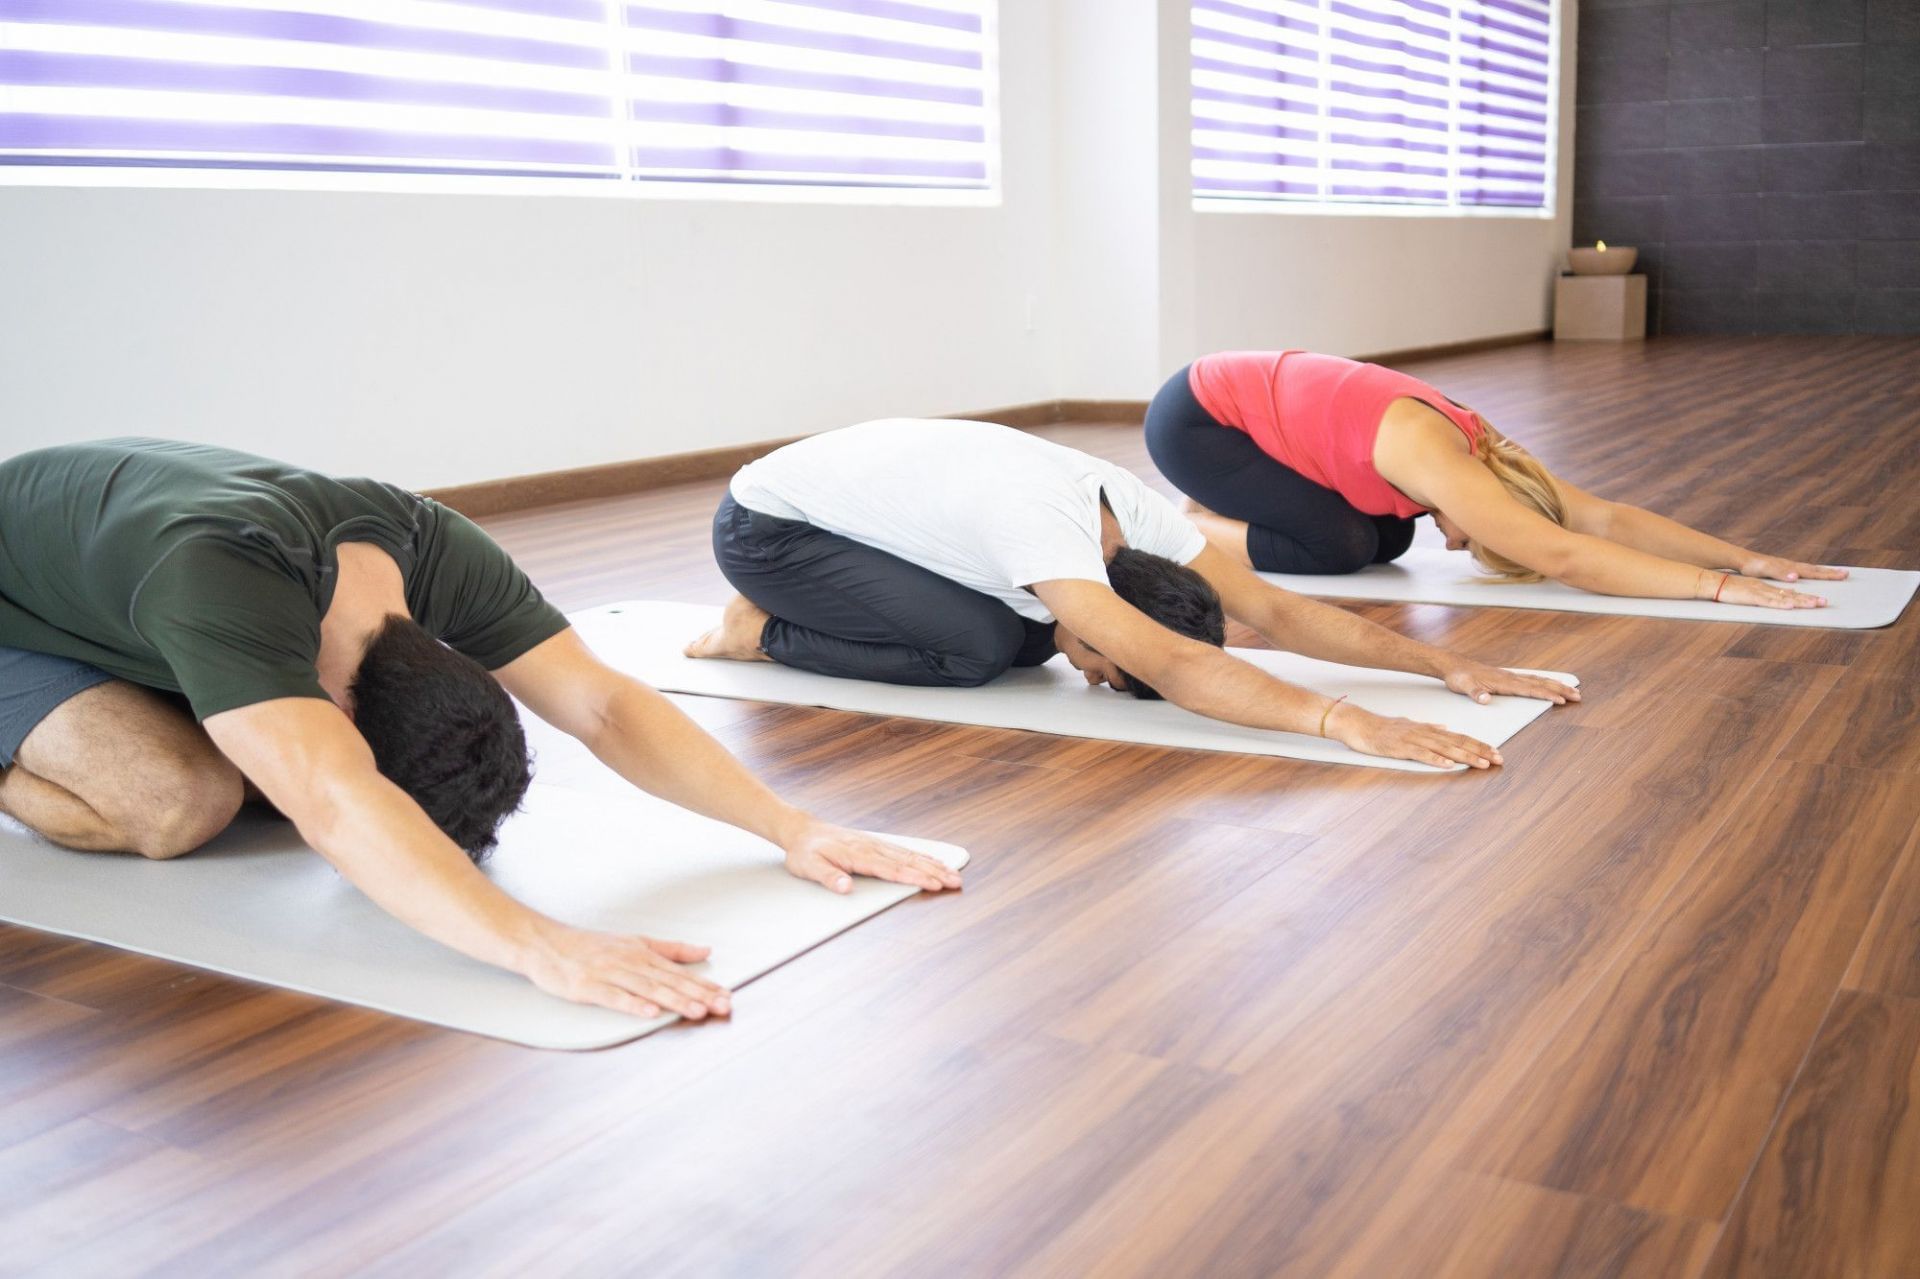
This yoga stance expands the hips and lengthens the lower back.
Here are the steps you can follow to perform the child's pose correctly:
- Kneel on your hands and knees.
- Lean back gently while keeping your hands in the same place.
- Lean back until your brow is in contact with the floor.
- Your arms should be in a straight line with your buttocks resting on your heels.
- Straighten your arms and relax your shoulders.
- This pose can be made more comfortable by placing a mat or towel on the floor.
4) Cobra pose
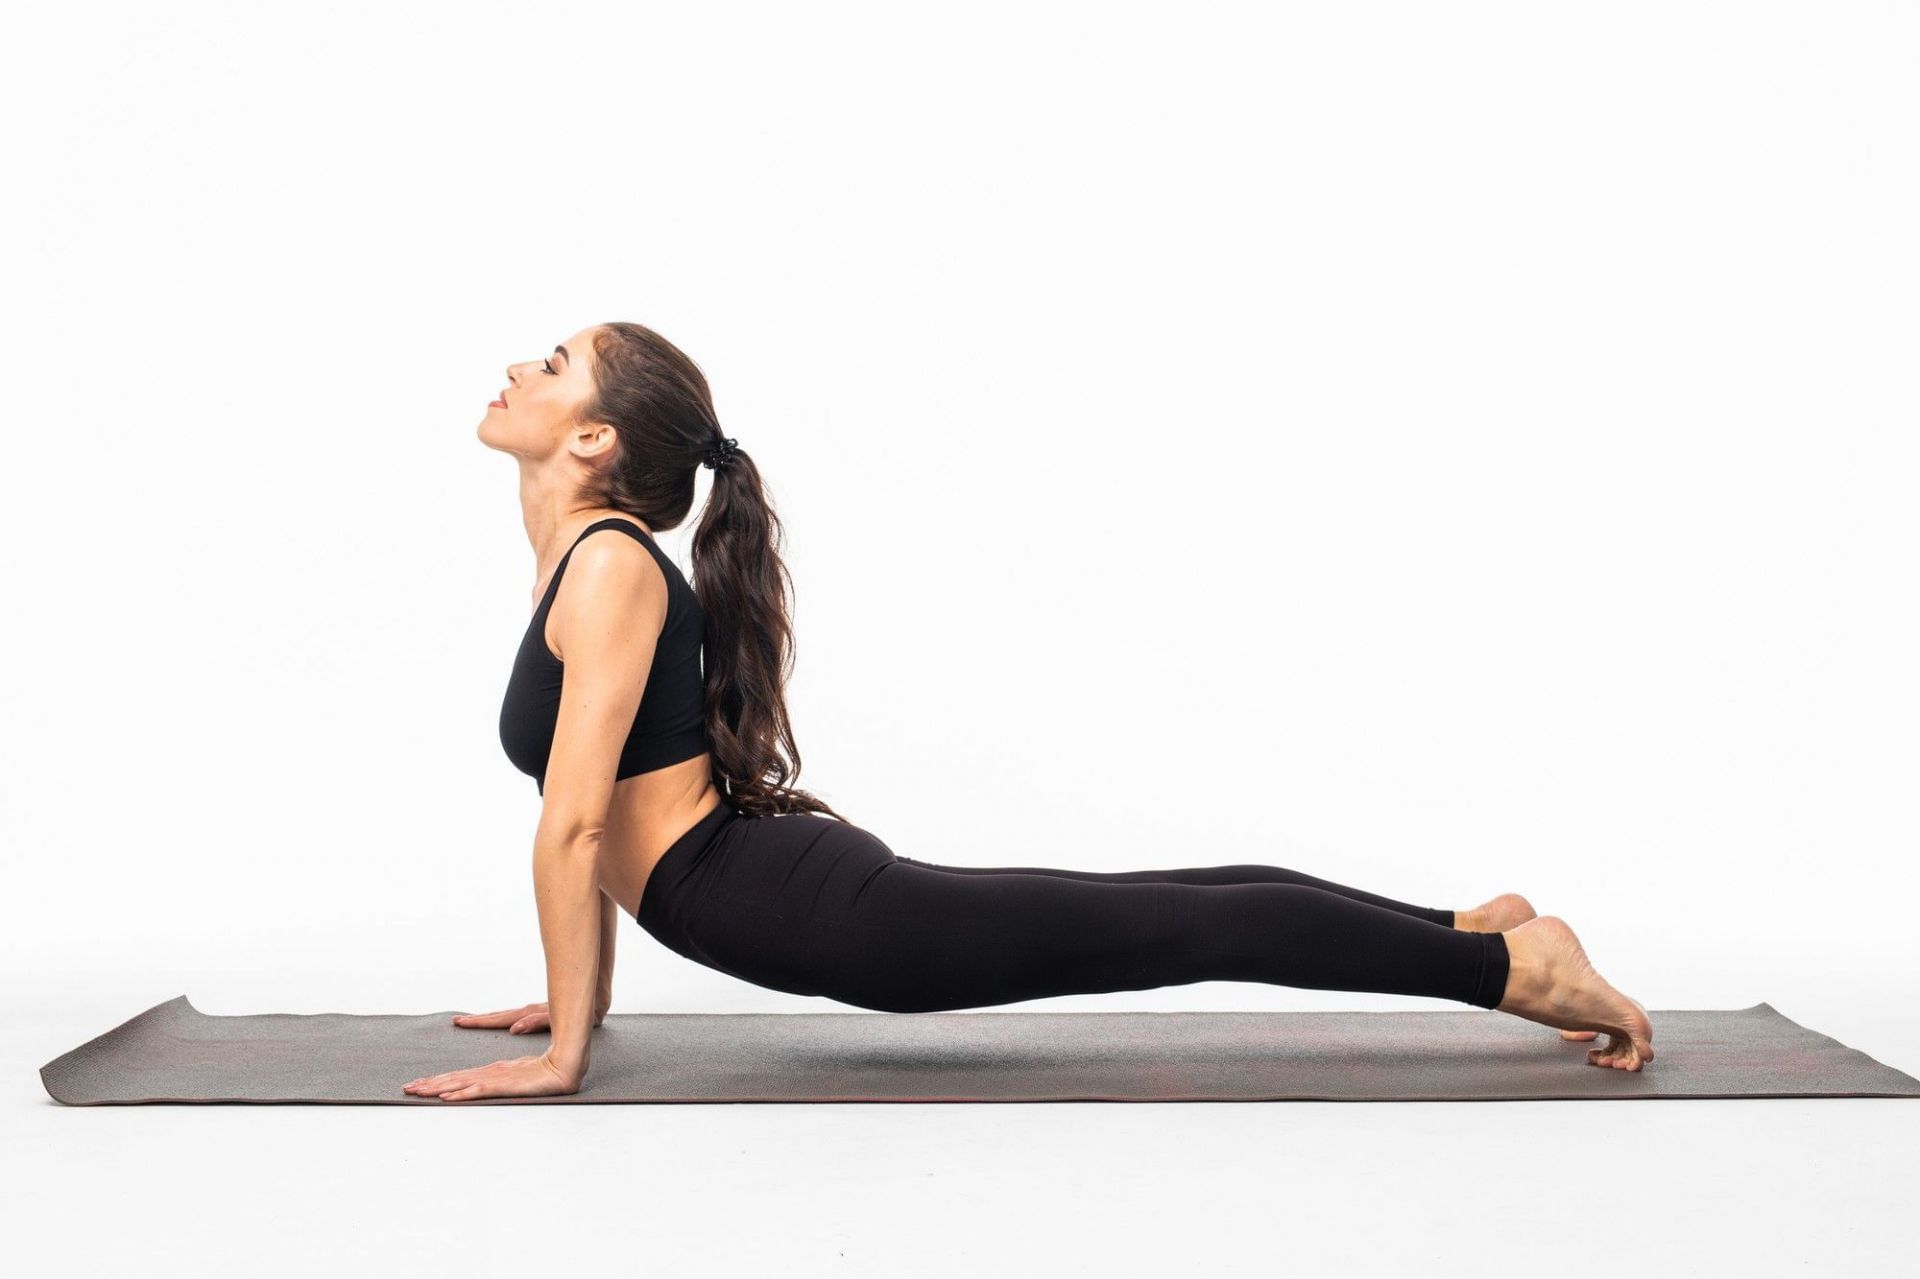
The erector spinae and other lower back muscles are strengthened with the cobra pose.
Here are the steps you can follow to perform the cobra pose correctly:
- Lie face down on the floor, palms flat on the floor near your ribs.
- Straighten your legs behind you and press the tops of your feet into the ground.
- Pull your abdominal muscles in and up toward your spine as you exhale deeply.
- Using solely your back muscles, lengthen out through your spine and steadily elevate your head and chest off the floor.
- Keep your hip bones on the floor and relax your neck muscles by looking down.
- Slowly return to your original position.
- Repeat three to five times, increasing the number of repetitions as your lower back becomes stronger.
5) Bridges
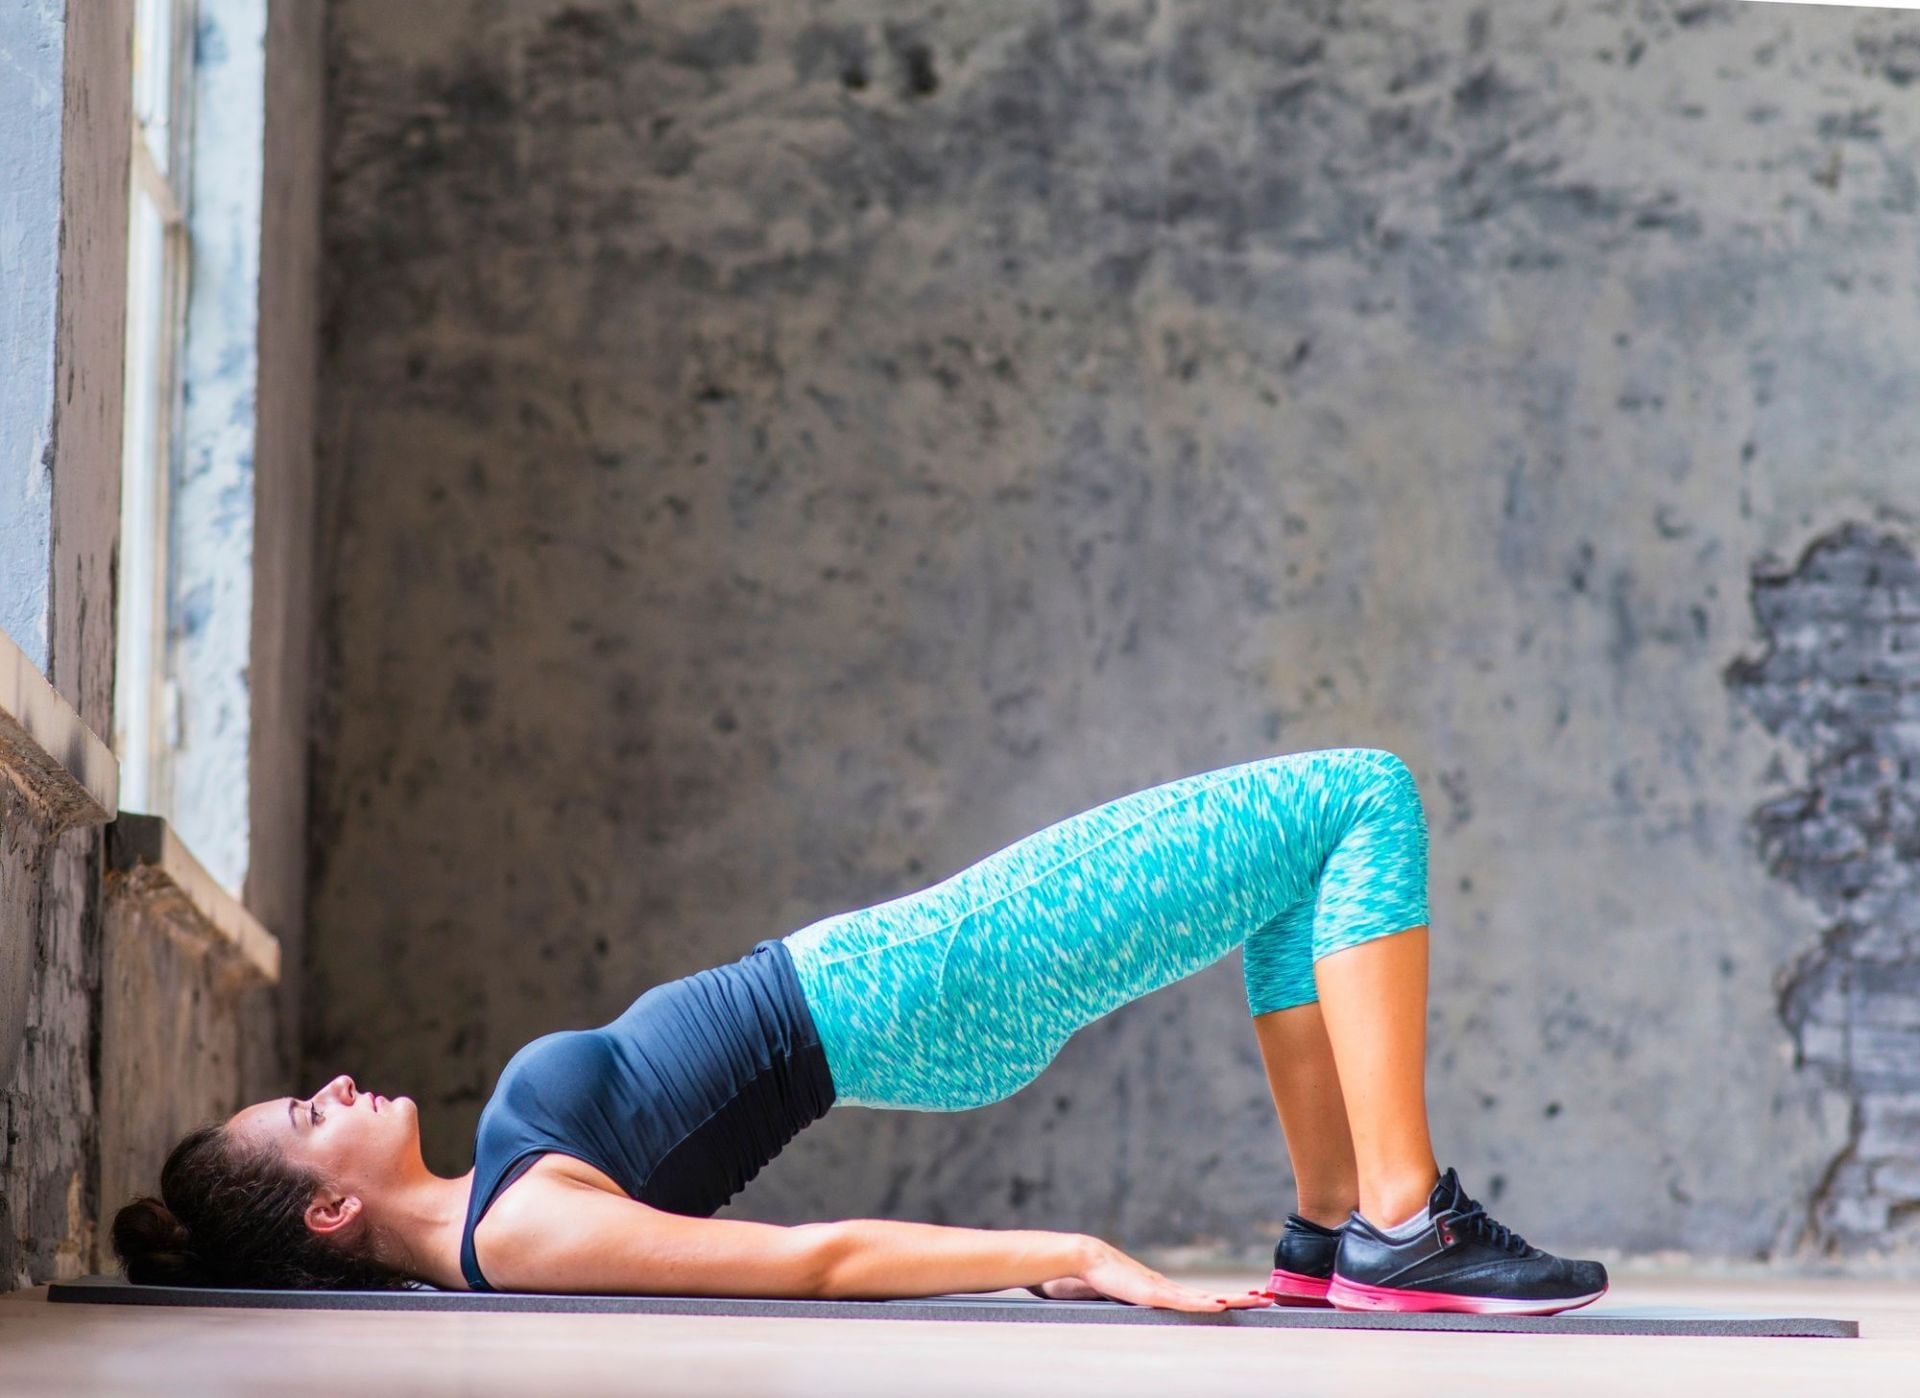
Bridge pose serve to strengthen the gluteal and abdominal muscles, which relieve lower back stress.
Here are the steps you can follow to perform bridges correctly:
- Lie down on your back, knees bent, feet flat on the floor.
- Engage your core and buttocks muscles to lift your hips. Raise your buttocks and lower back off the ground.
- Return to the starting location with care.
6) Plank pose
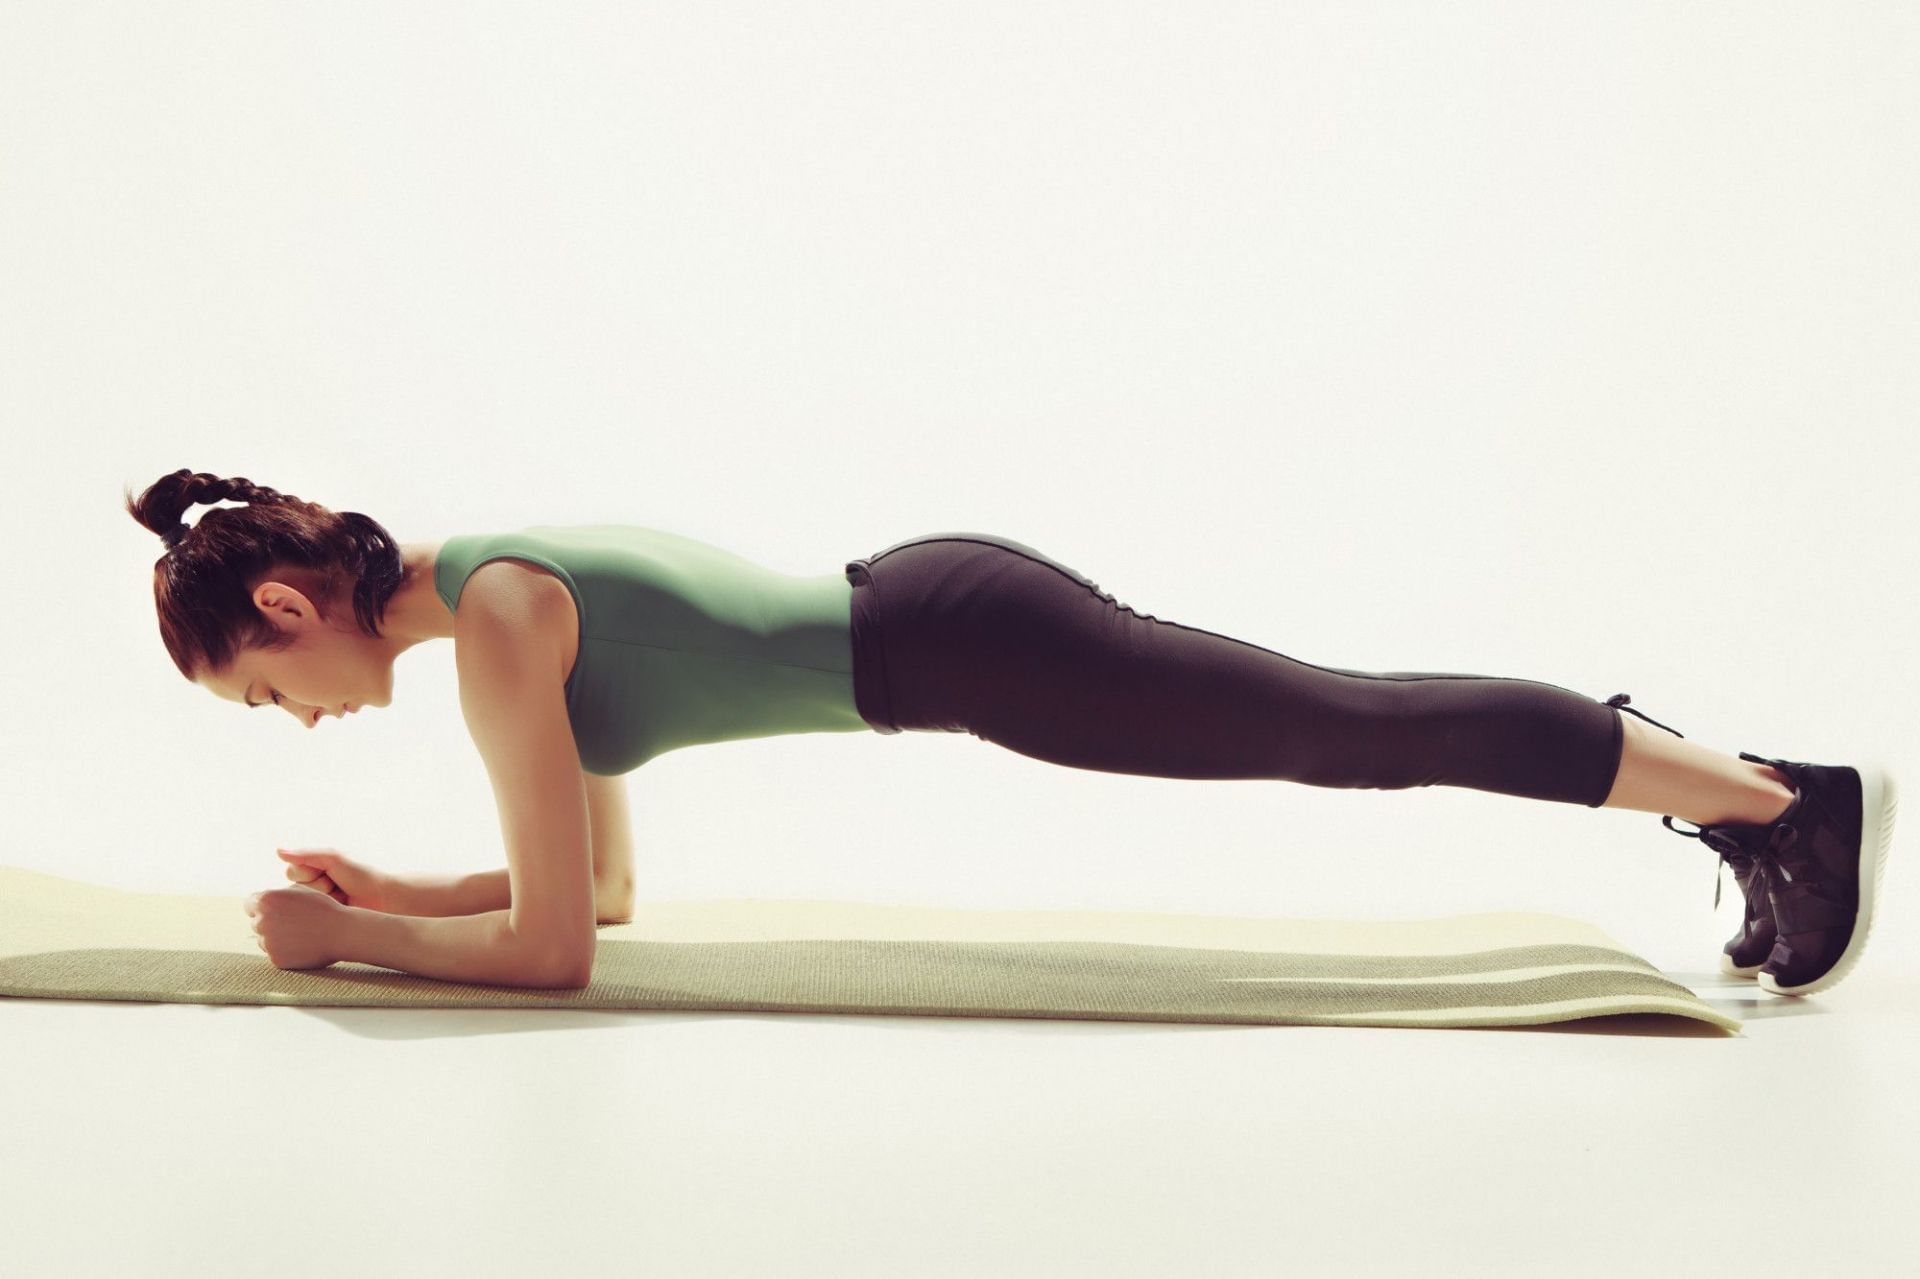
The plank pose improves posture by strengthening the core, glutes, and hamstrings, as well as the shoulders and back muscles. It also encourages appropriate spine alignment.
Here are the steps you can follow to perform the plank pose correctly:
- Kneel on your hands and knees. Make sure your hands and knees are in alignment with your shoulders and hips.
- Lift your heels and straighten your legs to go onto your balls of feet. A straight line should be formed by the body.
- Keep your shoulders back and your chest open.
- For 30–60 seconds, stay in this position.
7) Cat cow pose
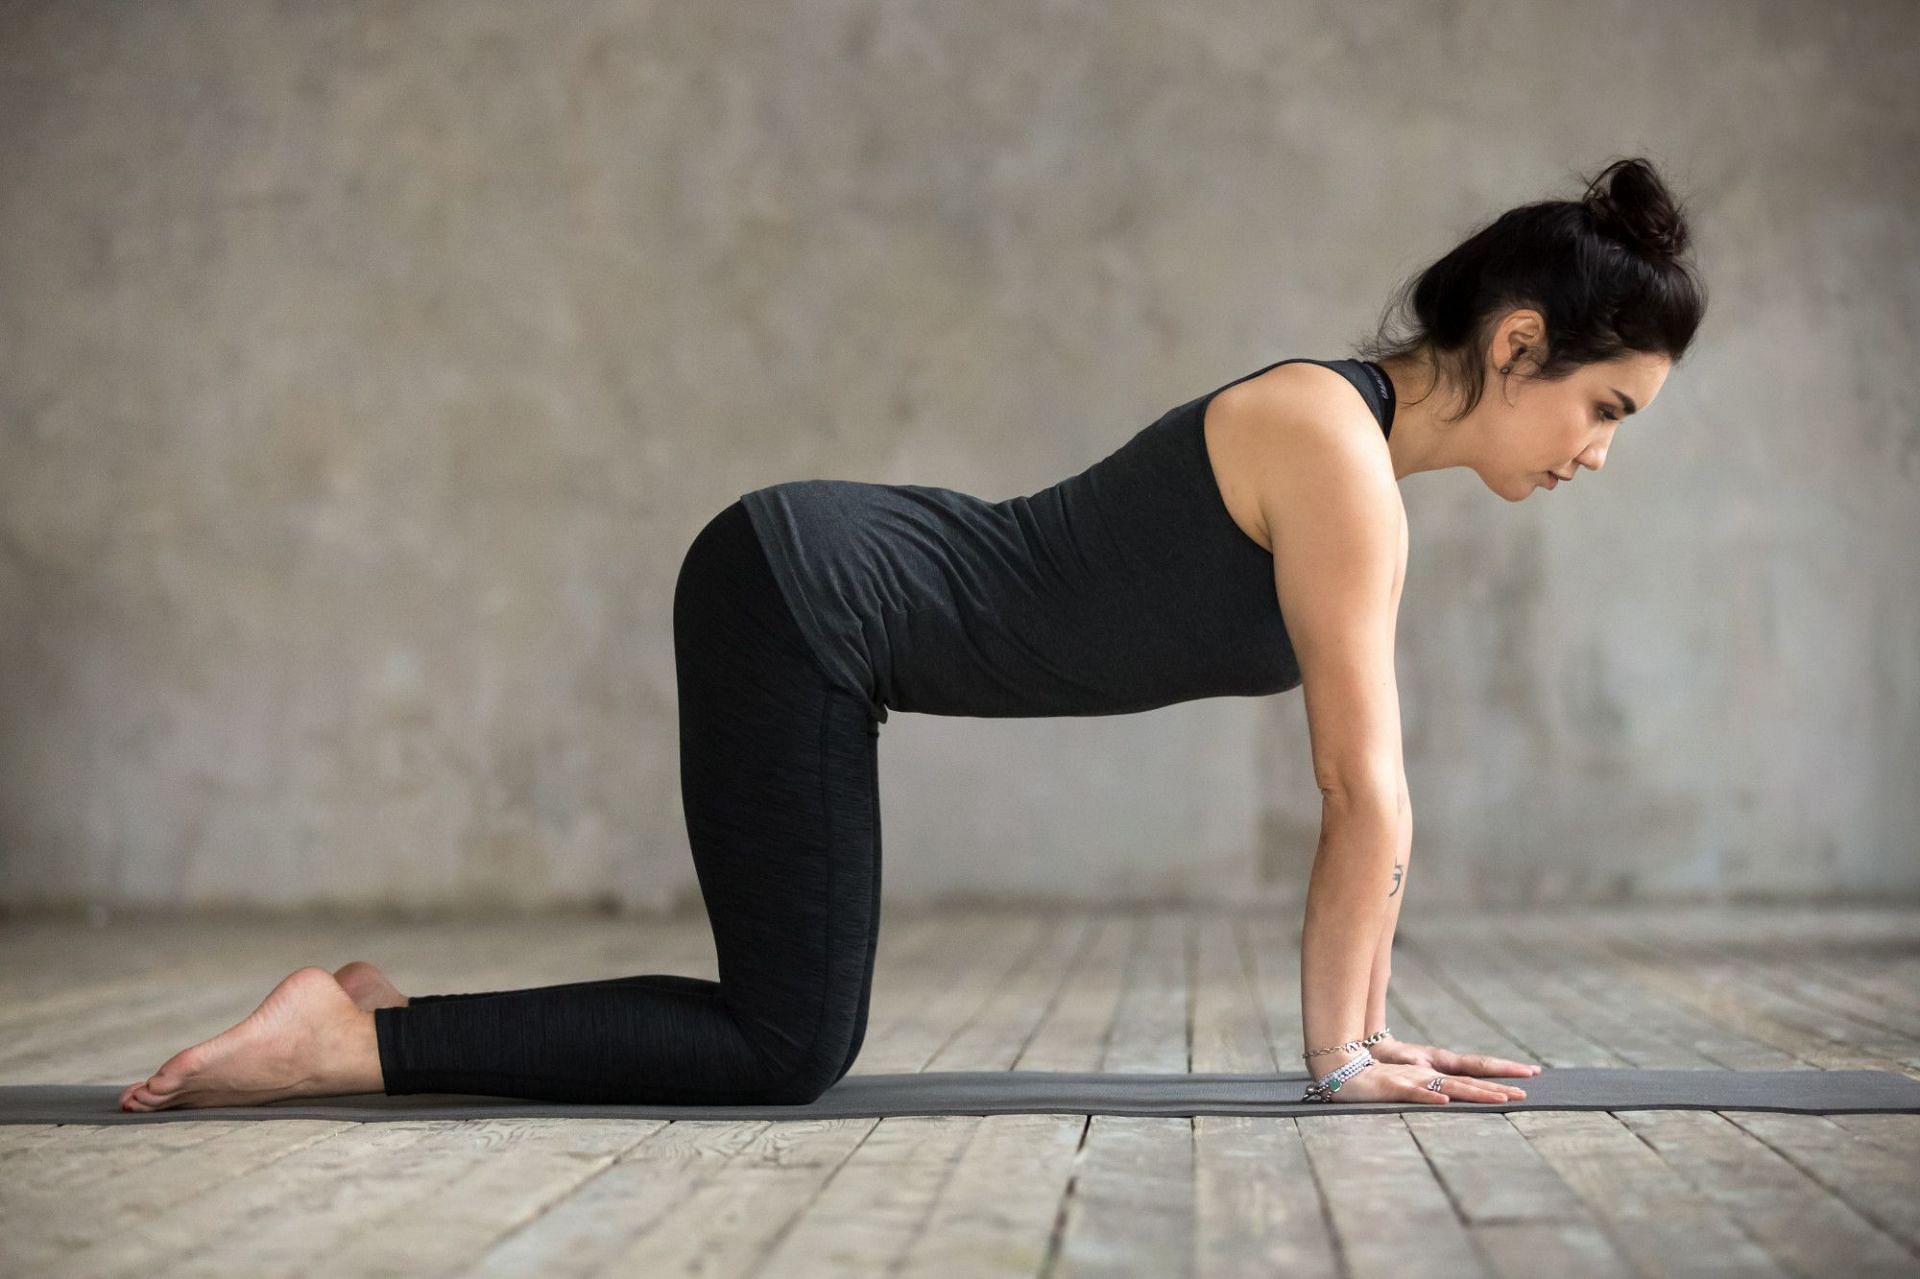
Cat cow pose will stretch and massage your spine. They also promote blood circulation, improve poor posture while relieving tension in the torso, shoulders, and neck.
Here are the steps you can follow to perform the cat cow pose correctly:
- Get down on your hands and knees, balancing your weight evenly across all four points.
- Inhale to raise your head, lowering your abdomen to the ground and extending your spine.
- Exhale and tuck your chin into your chest while arching your spine toward the ceiling.
- Maintain this motion for at least one minute.
