
'%20x='0'%20y='0'%20height='100%25'%20width='100%25'%20%0A%20%20%20%20%20%20%20%20%20%20xlink%3Ahref='data:image/jpg;base64,/9j/2wBDAAYEBQYFBAYGBQYHBwYIChAKCgkJChQODwwQFxQYGBcUFhYaHSUfGhsjHBYWICwgIyYnKSopGR8tMC0oMCUoKSj/2wBDAQcHBwoIChMKChMoGhYaKCgoKCgoKCgoKCgoKCgoKCgoKCgoKCgoKCgoKCgoKCgoKCgoKCgoKCgoKCgoKCgoKCj/wgARCAAHAAoDASIAAhEBAxEB/8QAFAABAAAAAAAAAAAAAAAAAAAAB//aAAgBAQAAAABKLf/EABQBAQAAAAAAAAAAAAAAAAAAAAL/2gAIAQIQAAAAP//EABQBAQAAAAAAAAAAAAAAAAAAAAP/2gAIAQMQAAAAX//EAB4QAAICAgIDAAAAAAAAAAAAAAIDAQQABRIiBxUh/9oACAEBAAE/ANluLnrLpbbWjWvmE8kKbB9YDrMFjvIqHNNprWBGUlI8T+Z//8QAFxEAAwEAAAAAAAAAAAAAAAAAAAEDEf/aAAgBAgEBPwC6w//EABcRAQADAAAAAAAAAAAAAAAAAAEAAxH/2gAIAQMBAT8ApNJ//9k='%3E%3C/image%3E%3C/svg%3E)
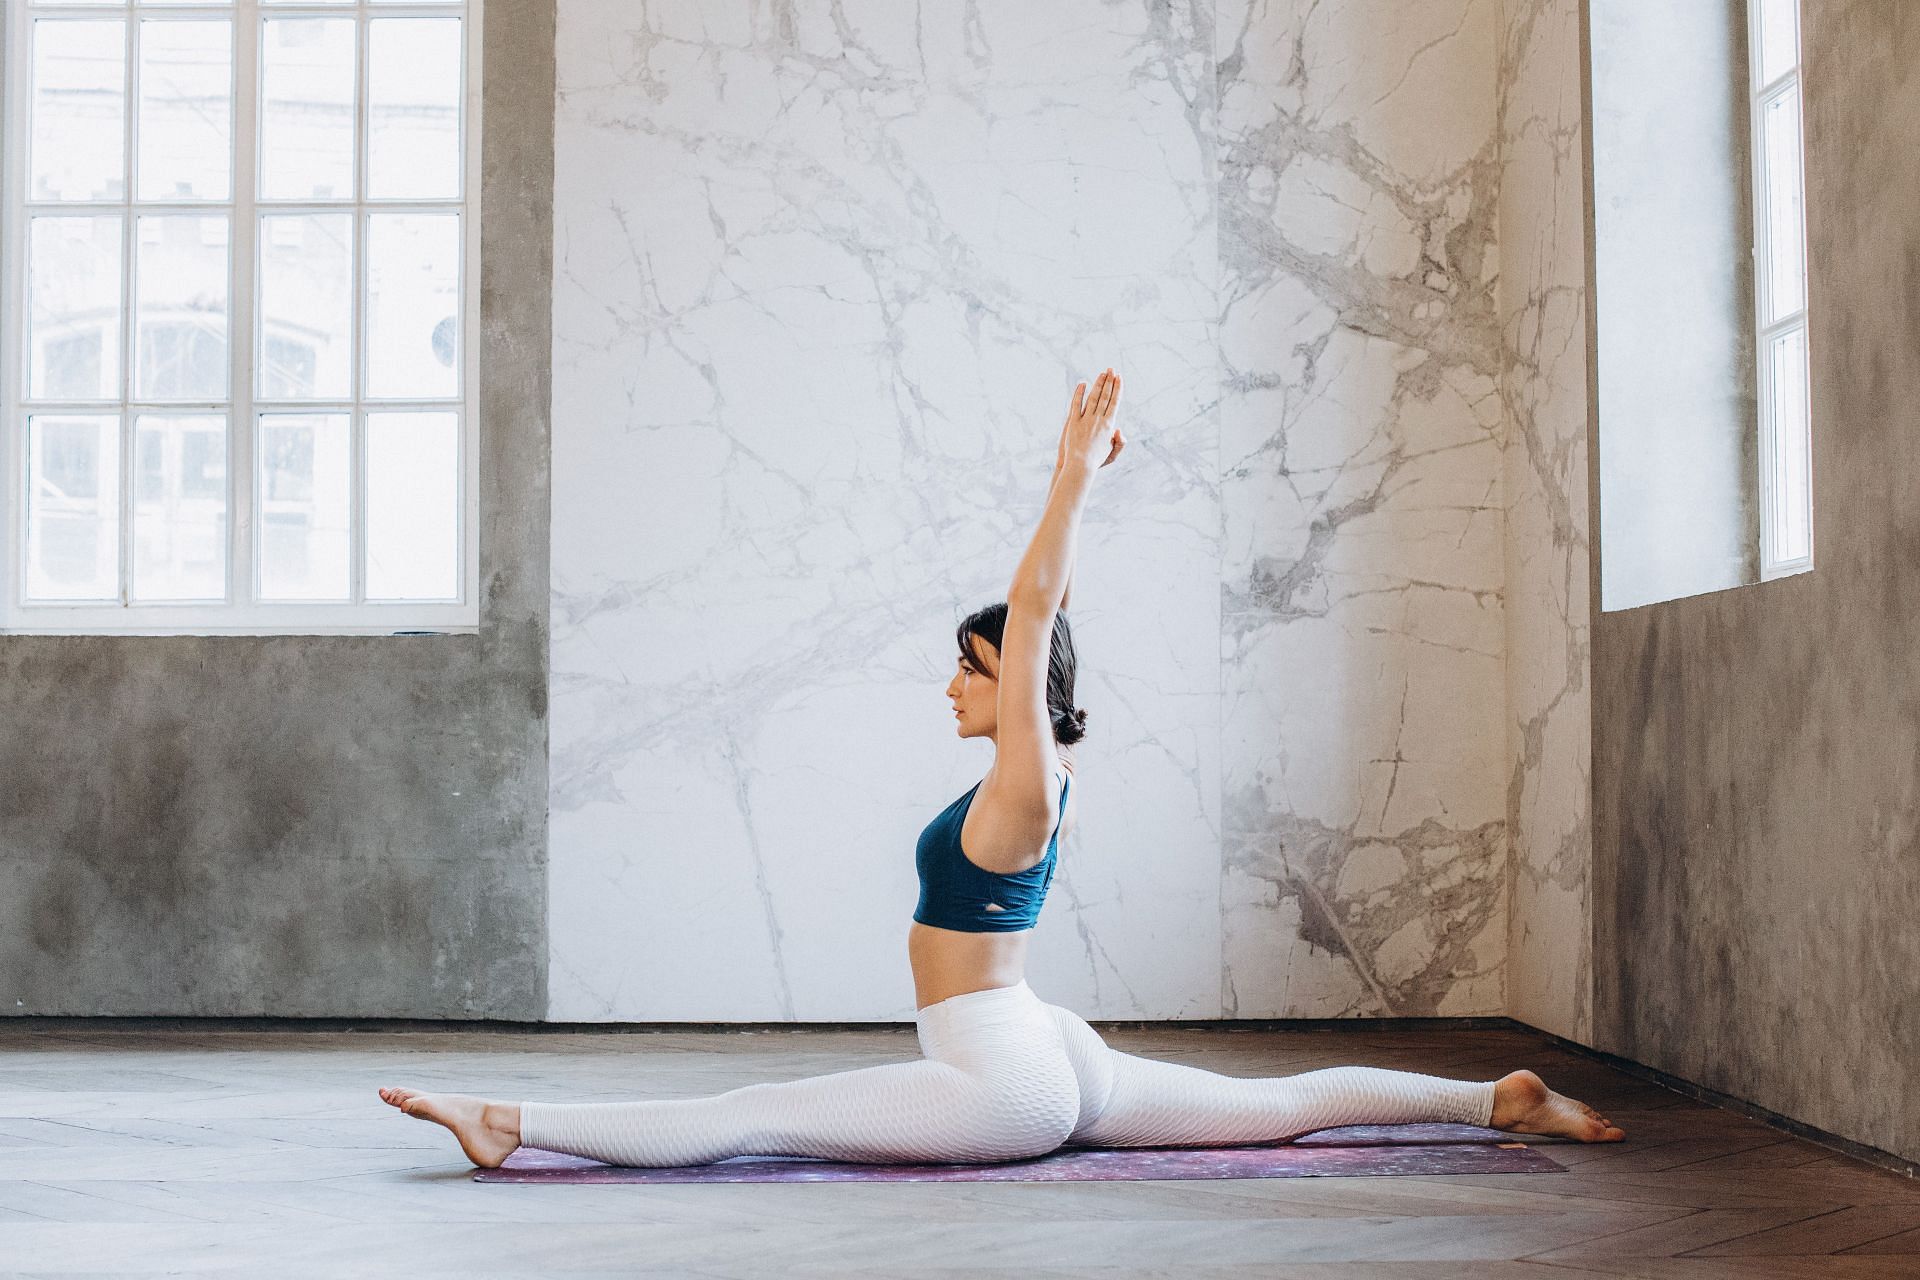
Monkey Pose or Hanumanasana is an intermediate-level stretch that targets the hamstring, hip, and groin area. Otherwise known as the split, the Monkey Pose is done with closed hips in yoga, while in gymnastics and cheerleading it is done with open hips.
Hanumanasana derives its name from the giant leap made by Lord Hanuman from the southern tip of India to the island of Sri Lanka in Ramayana. It is said that Lord Hanuman took a huge step across the straits in order to reach Goddess Sita, who was being held captive by Ravana on the island of Sri Lanka.
The idea behind the pose is to take a leap of faith and be devoted to others. Yoga teachers often like to narrate the story, while one is performing the Monkey Pose, as a lesson in patience.
Monkey Pose (Hanumanasana) in Yoga: Technique and Correct Form
Here's how you can perform the Hanumanasana correctly:
- Start off this position with the Adho Mukha Svanasana (Downward-Facing Dog Pose); in this pose, your upper arms frame your ears, your pelvis is square to the front of the mat, and your thighs are neutral. These elements are central to the final pose.
- With your right foot, step forward between your hands such that your toes are in line with your fingertips. Now, slowly drop your left knee to the mat and flex your toes.
- In the next step, pin your right hip back and inwards, and simultaneously roll your left outer hip forward. Your hips need to be squared toward the front of the mat.
- While maintaining this alignment, shift your hips back such that they are stacked over your left knee, and then adjust your right foot forward to straighten your leg. Keep your hips over your left knee and facing straight forward.
- After getting your bearings, slide your right foot forward while continuing to pin your right hip back and in.
- Move your pelvis forward and down through space as your left leg straightens out.
- Move your pelvis until the back of your right thigh and the front of your left thigh are touching the floor.
- Your pelvis must remain square to the front of the mat and your legs neutral.
- After your tailbone reaches the floor, soften your front ribs, and move your arms towards the ceiling with your upper arms framing your ears.
- Hold Hanumanasana pose for 10–12 breaths, then retrace your path back the way you entered the pose, returning to Downward-Facing Dog Pose.
- Repeat with opposite legs.
Tips for Beginners
A full split is difficult to achieve even if you are a regular yoga practitioner as this is an intermediate-level pose. With regular practice, a full split is achievable. In the initial stages, you may place a blanket below your knees and ankles to lessen the pain and discomfort.
If you wish to increase the length of your torso and spine, press your back foot actively into the floor and, from this pressure, lift the shoulder blades firmly into your back.
Preparatory Poses
Mentioned below are some preparatory poses you must try before attempting Hanumanasana.
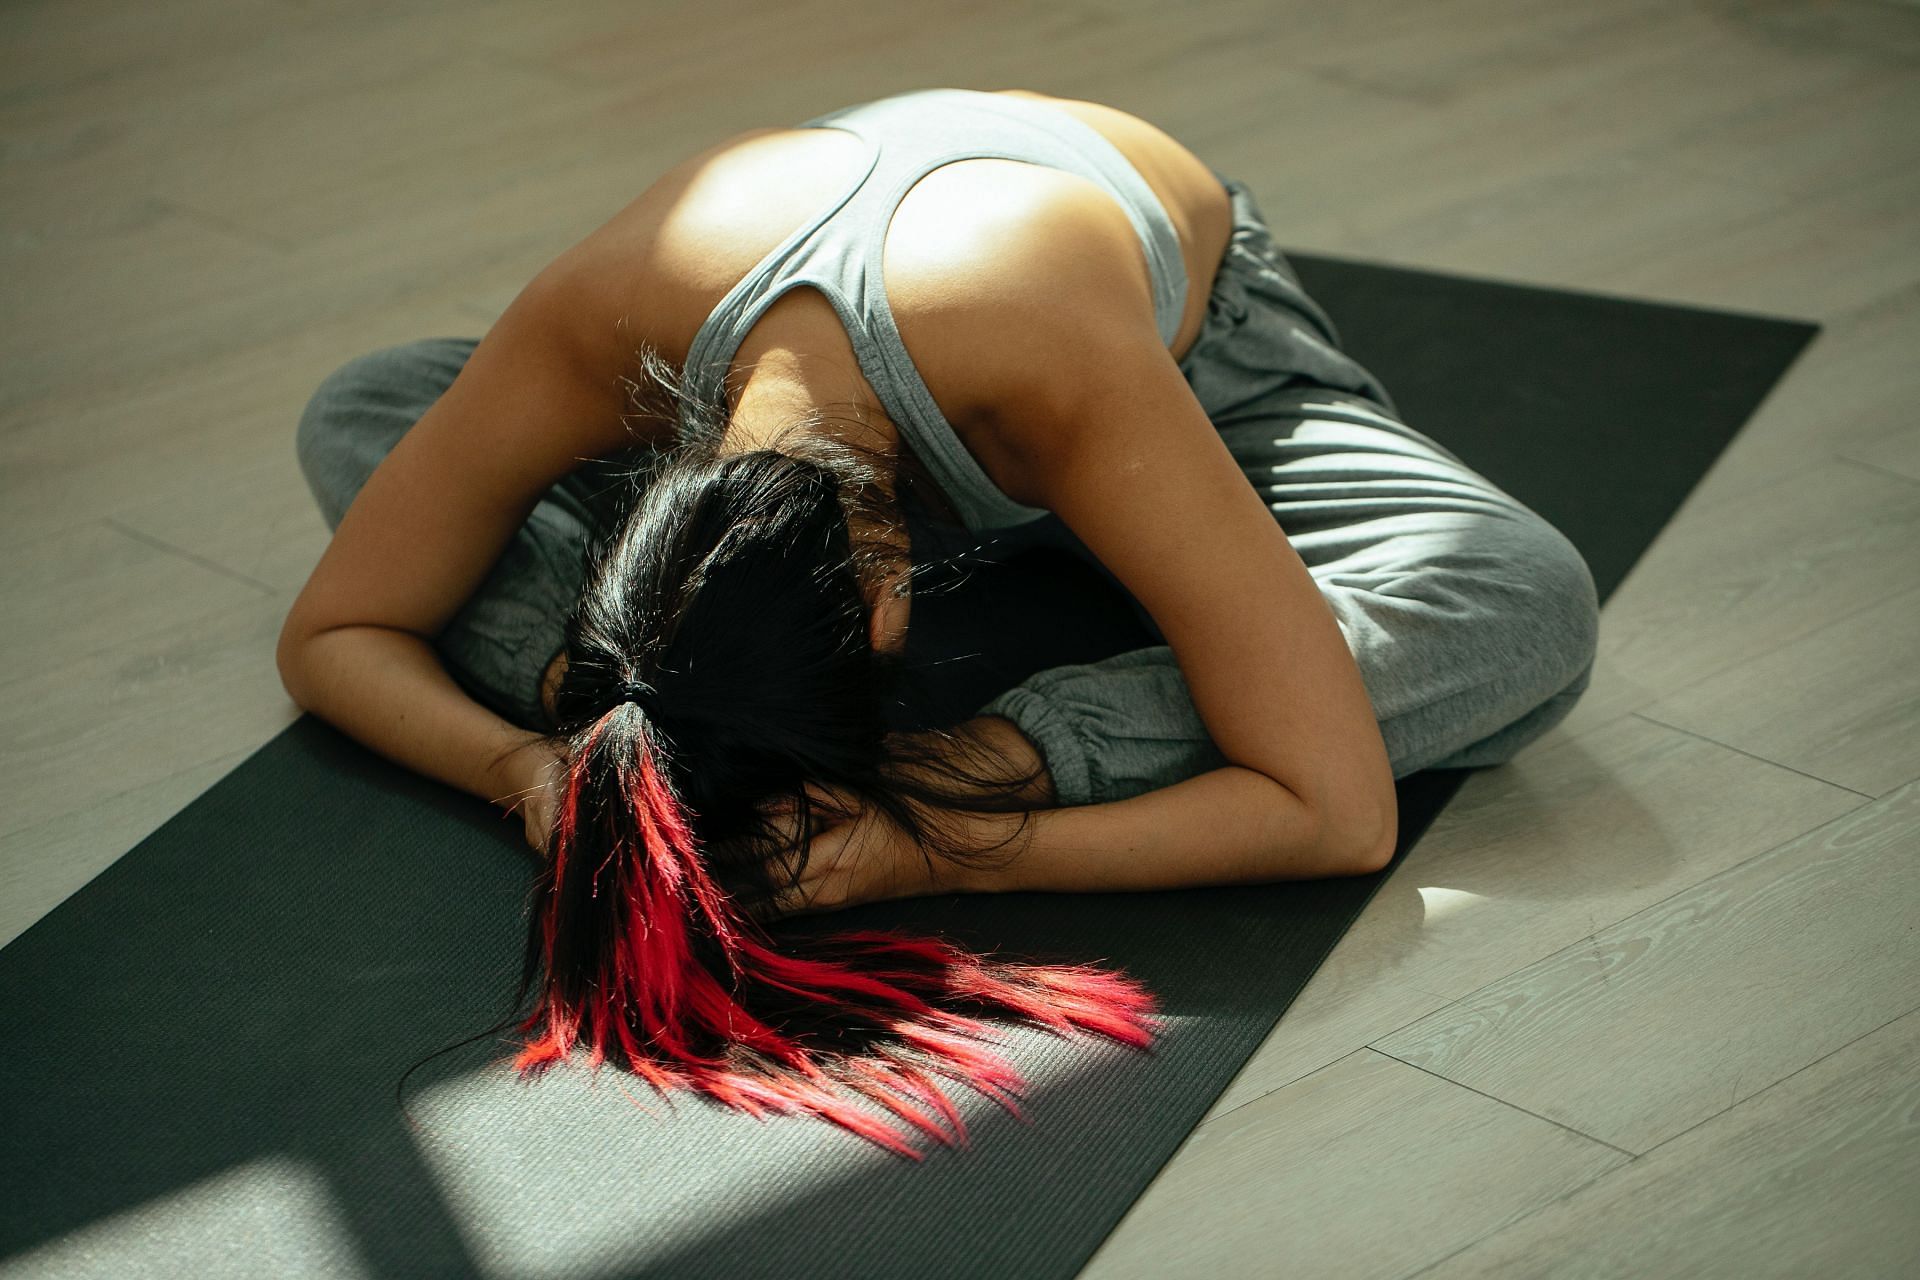
- Paschimottanasana (Seated Forward Bend)
- Baddha Konasana (Bound Angle Pose)
- Janu Sirsasana (Head-t0-Knee Forward Bend)
Follow-Up Poses
These follow-up poses will help alleviate any pain and discomfort from Hanumanasana and make it easier for you to perform it next time.
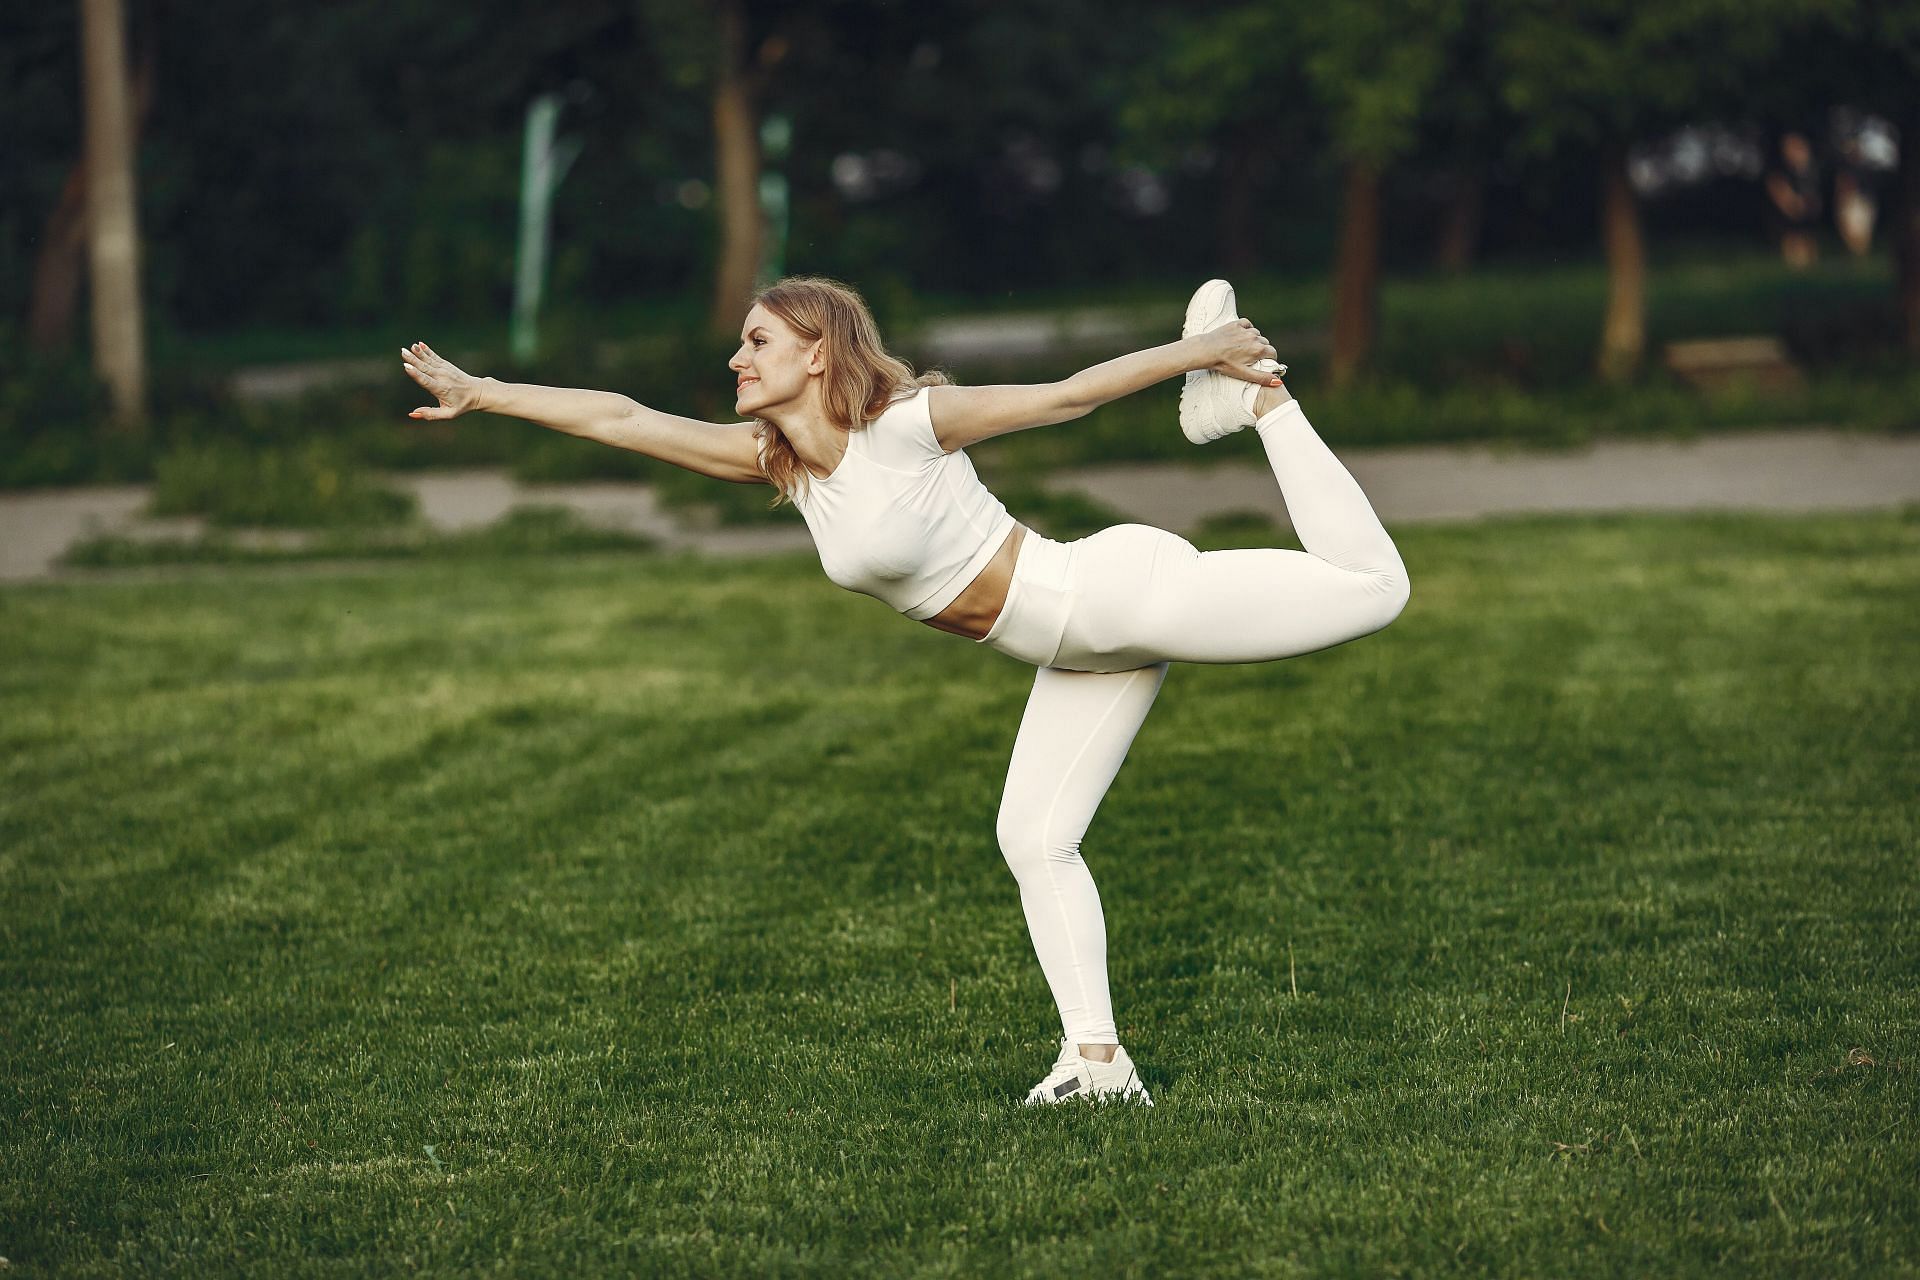
- Natarajasana (Dancer Pose)
- Eka Pada Rajakapotasana (One-Legged King Pigeon Pose)
- Paschimottanasana (Seated Forward Bend)
Benefits of Monkey Pose or Hanumanasana
The Monkey Pose stretches your hamstrings, groin muscles, and hip flexors. The back-facing leg will also feel a quad-stretch. It helps maintain your flexibility for other cardio exercises such as running, cycling, and skiing.
Yoga sequences that contain the Monkey Pose will help you improve your muscle strength, flexibility, endurance, and agility. However, it has to be consistently incorporated into your yoga practice.
Common Mistakes
The most common mistake while performing Hanumanasana is for your hips to be open instead of closed. The Monkey Pose details a closed-hip position, in which both hip points are lined up in the same plane and facing downwards or the front of the mat.
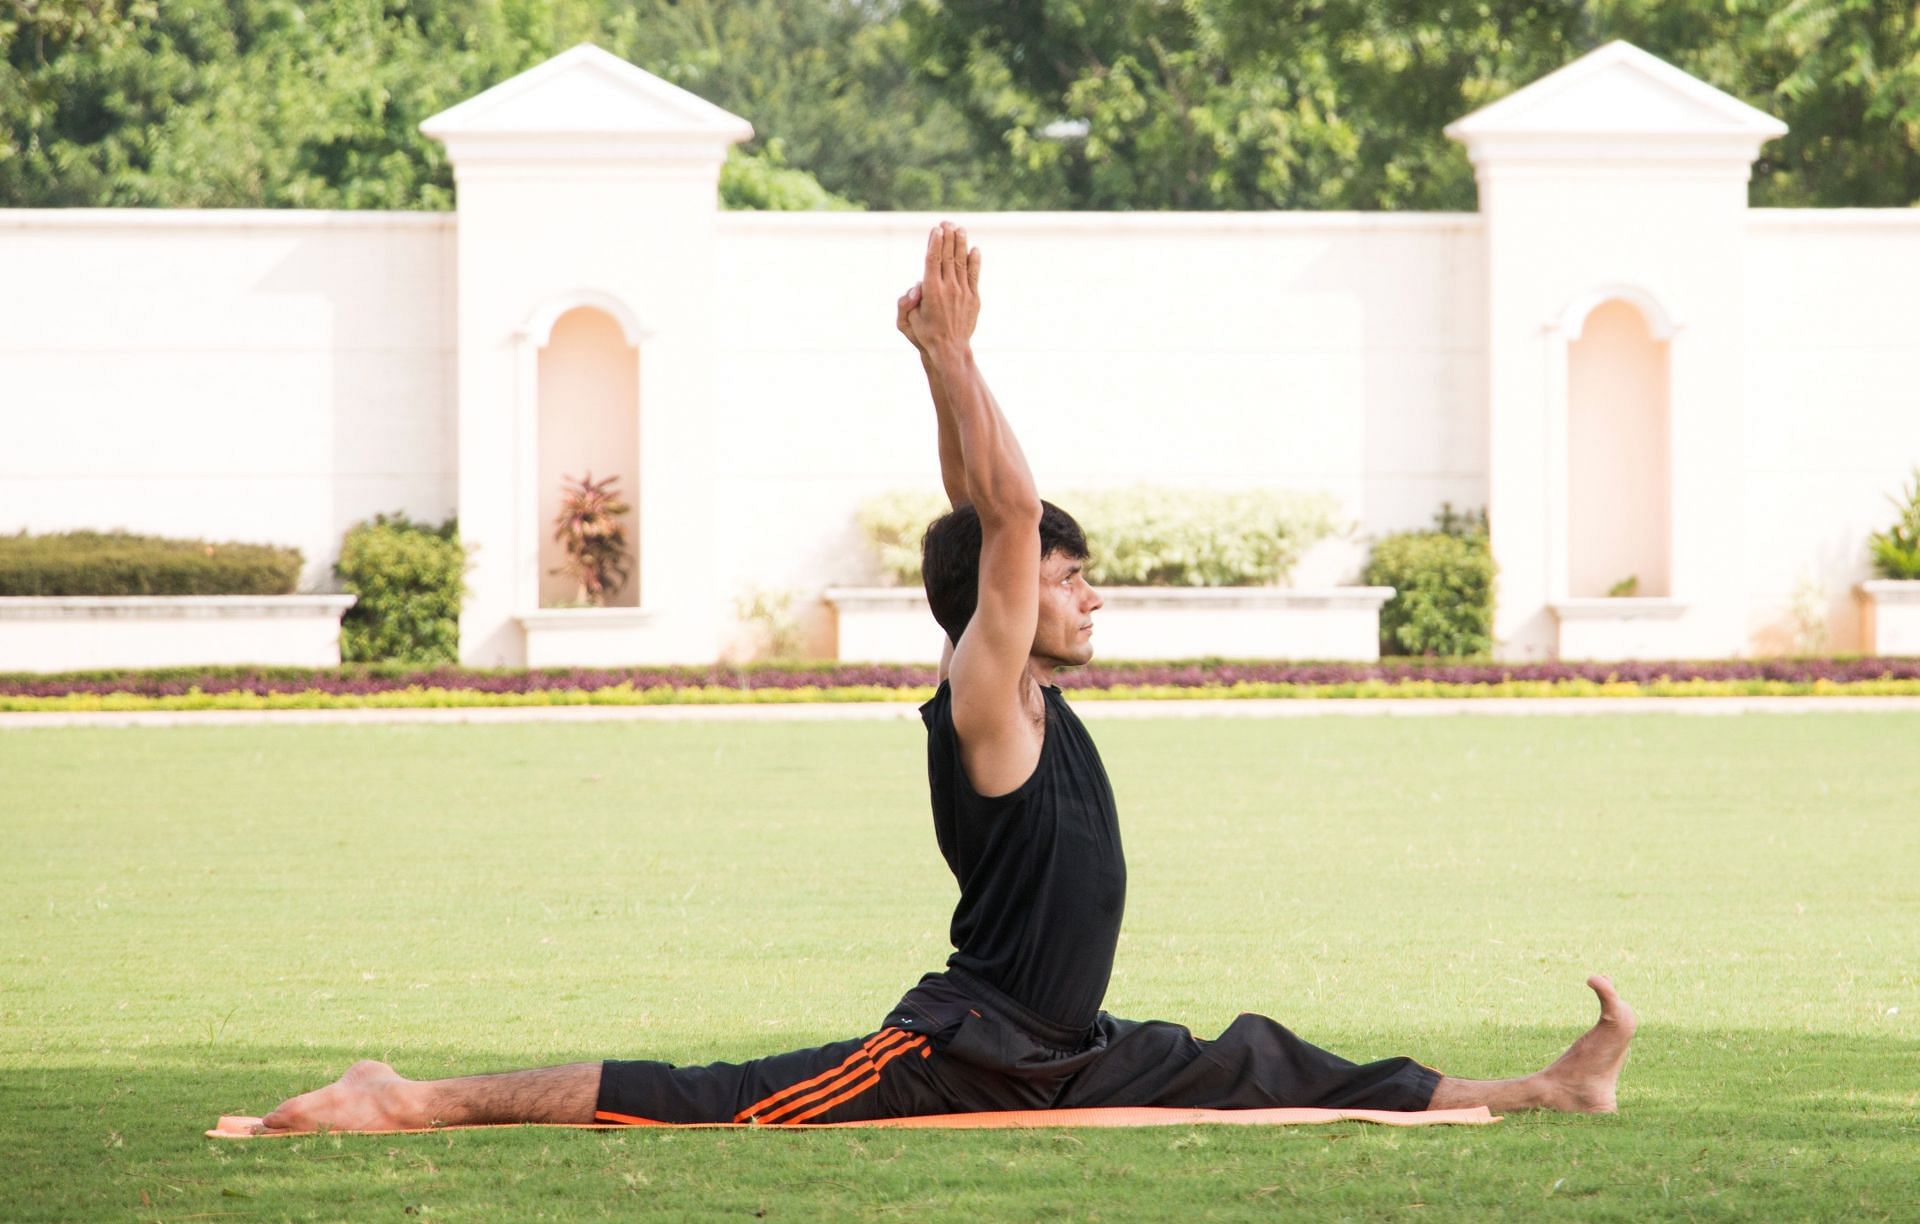
Remember, in yoga the process by which you perform the pose is more important than the final result. If you believe in the process and listen to your body, you will achieve the perfect form of any yoga pose through practice. In Hanumanasana, it is important to align your body in the way it is intended - just having your legs flat on the floor won't do.
Safety and Precautions
Keep the following in mind before attempting Hanumanasana:
- Please avoid the Monkey Pose if you have a hamstring or groin injury.
- While performing the asana, you should drop your body to the floor as close as it feels comfortable for you.
- Do not push yourself to achieve the pose in one day. Work towards it and you shall achieve it through practice.
