
'%20x='0'%20y='0'%20height='100%25'%20width='100%25'%20%0A%20%20%20%20%20%20%20%20%20%20xlink%3Ahref='data:image/jpg;base64,/9j/2wBDAAYEBQYFBAYGBQYHBwYIChAKCgkJChQODwwQFxQYGBcUFhYaHSUfGhsjHBYWICwgIyYnKSopGR8tMC0oMCUoKSj/2wBDAQcHBwoIChMKChMoGhYaKCgoKCgoKCgoKCgoKCgoKCgoKCgoKCgoKCgoKCgoKCgoKCgoKCgoKCgoKCgoKCgoKCj/wgARCAAGAAoDASIAAhEBAxEB/8QAFAABAAAAAAAAAAAAAAAAAAAABv/aAAgBAQAAAAAOK//EABQBAQAAAAAAAAAAAAAAAAAAAAT/2gAIAQIQAAAAf//EABQBAQAAAAAAAAAAAAAAAAAAAAL/2gAIAQMQAAAAP//EACAQAAIBAwQDAAAAAAAAAAAAAAECAwQRIQAFEhQGEzL/2gAIAQEAAT8A6fX8VavpCtNWpF6UmQX5YBbkMDPL6zbU++7g00jdthdibCMAa//EABgRAQEAAwAAAAAAAAAAAAAAAAEDAAJC/9oACAECAQE/AJ3o70F6c//EABsRAAIBBQAAAAAAAAAAAAAAAAECAAMEE0Kh/9oACAEDAQE/AL6kiYwo0Xon/9k='%3E%3C/image%3E%3C/svg%3E)
Low FPS in Valorant can put a player at a natural disadvantage during a fight, but the personal PC settings of the Valorant professional player, Tyson "TenZ" Ngo might help players fix the issue.
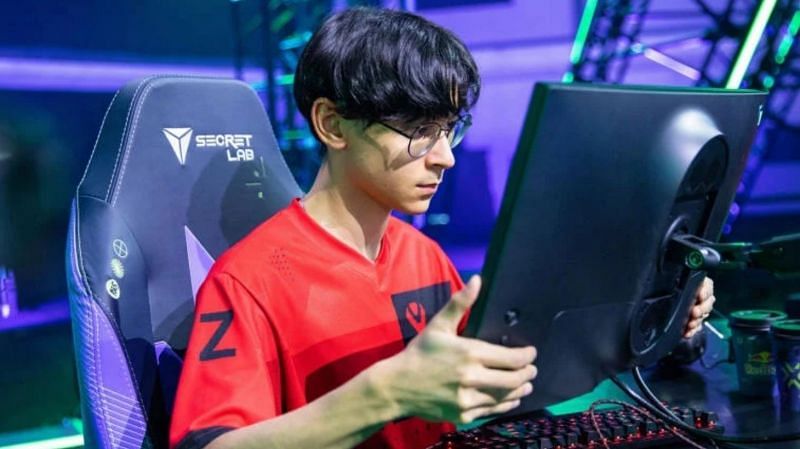
TenZ has been one of the top players in the global Valorant esports scene. His addition to the Sentinels' Valorant roster has been one of the reasons behind the team’s success. One can see him playing Jett often and getting a high kill count with his sharp aim.
A low FPS can make the game stutter, and a better FPS performance can make Valorant smoother to play. Many players tend to follow the settings used by professional players for better in-game performance, and the PC settings of TenZ may help in this regard.

TenZ's PC settings to fix FPS in Valorant
TenZ has got fast reflexes and his flicks are one of the best skills that allows him to get more kills in Valorant. However, this is only possible when the game runs smoothly. One can get higher FPS by upgrading their PCs, as TenZ suggested in one of his recent streams. He pointed out that the game is more CPU demanding, and players need to have a good CPU for better Valorant experience.
Further more, he also added that he upgraded his graphics card from a GeForce GTX 1080 Ti to a GeForce RTX 309, and changed his processor from an Intel Core i7-8700K to a Ryzen 9 5900X. This made his FPS increase from 200 to 500.
Nevertheless, one can also fix an FPS issue by changing the PC settings, following the steps below:
- Right-click on the Valorant and open ‘Properties.’
- Then click on ‘Compatibility’ and switch on the ‘high DPI scaling overdrive’.
- After that got to the ‘Graphic Settings’, and switch on ‘hardware-accelerated GPU scheduling.’
- Then go to ‘Browse’ and search for Valorant installed file location, and change it to ‘high-performance’.
- Move on to NVIDIA Control Panel and switch off the G-Sync.
- Then in ‘Manage 3D settings’, slide the preference setting to performance instead of quality.
- After that, go to the Start button, and search ‘Background Apps’ to turn it off.
- Go to Windows update and turn off the ‘Allow downloads from other PCs’, by clicking on ‘Delivery Optimization’.
- Check if the Windows 10 operating system is updated.
- Go to the Task Manager and disable all your unnecessary applications.
- Switch off the ‘News and Interests’ feature on Start Bar.
- Then go to PC settings and open ‘Power & Sleep.’
- In additional power settings, set it to high performance.
- Turn on the Game Mode in PC settings, and switch off the Xbox Game Bar.
