
'%20x='0'%20y='0'%20height='100%25'%20width='100%25'%20%0A%20%20%20%20%20%20%20%20%20%20xlink%3Ahref='data:image/jpg;base64,/9j/2wBDAAYEBQYFBAYGBQYHBwYIChAKCgkJChQODwwQFxQYGBcUFhYaHSUfGhsjHBYWICwgIyYnKSopGR8tMC0oMCUoKSj/2wBDAQcHBwoIChMKChMoGhYaKCgoKCgoKCgoKCgoKCgoKCgoKCgoKCgoKCgoKCgoKCgoKCgoKCgoKCgoKCgoKCgoKCj/wgARCAAGAAoDASIAAhEBAxEB/8QAFQABAQAAAAAAAAAAAAAAAAAABQf/2gAIAQEAAAAAkZf/xAAUAQEAAAAAAAAAAAAAAAAAAAAD/9oACAECEAAAAC//xAAUAQEAAAAAAAAAAAAAAAAAAAAF/9oACAEDEAAAAFv/xAAhEAACAgECBwAAAAAAAAAAAAABAgMFIQAEBhEUIkFSYf/aAAgBAQABPwDhe6p3qDBuqmPcGMvPI7IFc49ge7Pj6dTGqaZz0BXmxwrYGv/EABgRAAIDAAAAAAAAAAAAAAAAAAECAAMR/9oACAECAQE/AL2LsNn/xAAXEQEAAwAAAAAAAAAAAAAAAAABAAIS/9oACAEDAQE/ACzif//Z'%3E%3C/image%3E%3C/svg%3E)
With the arrival of Destiny 2 Season of Plunder, players have access to multiple new seasonal activities, weapons, and armor pieces. One of the highlights this time around is the variety of quests and activities each player can participate in.
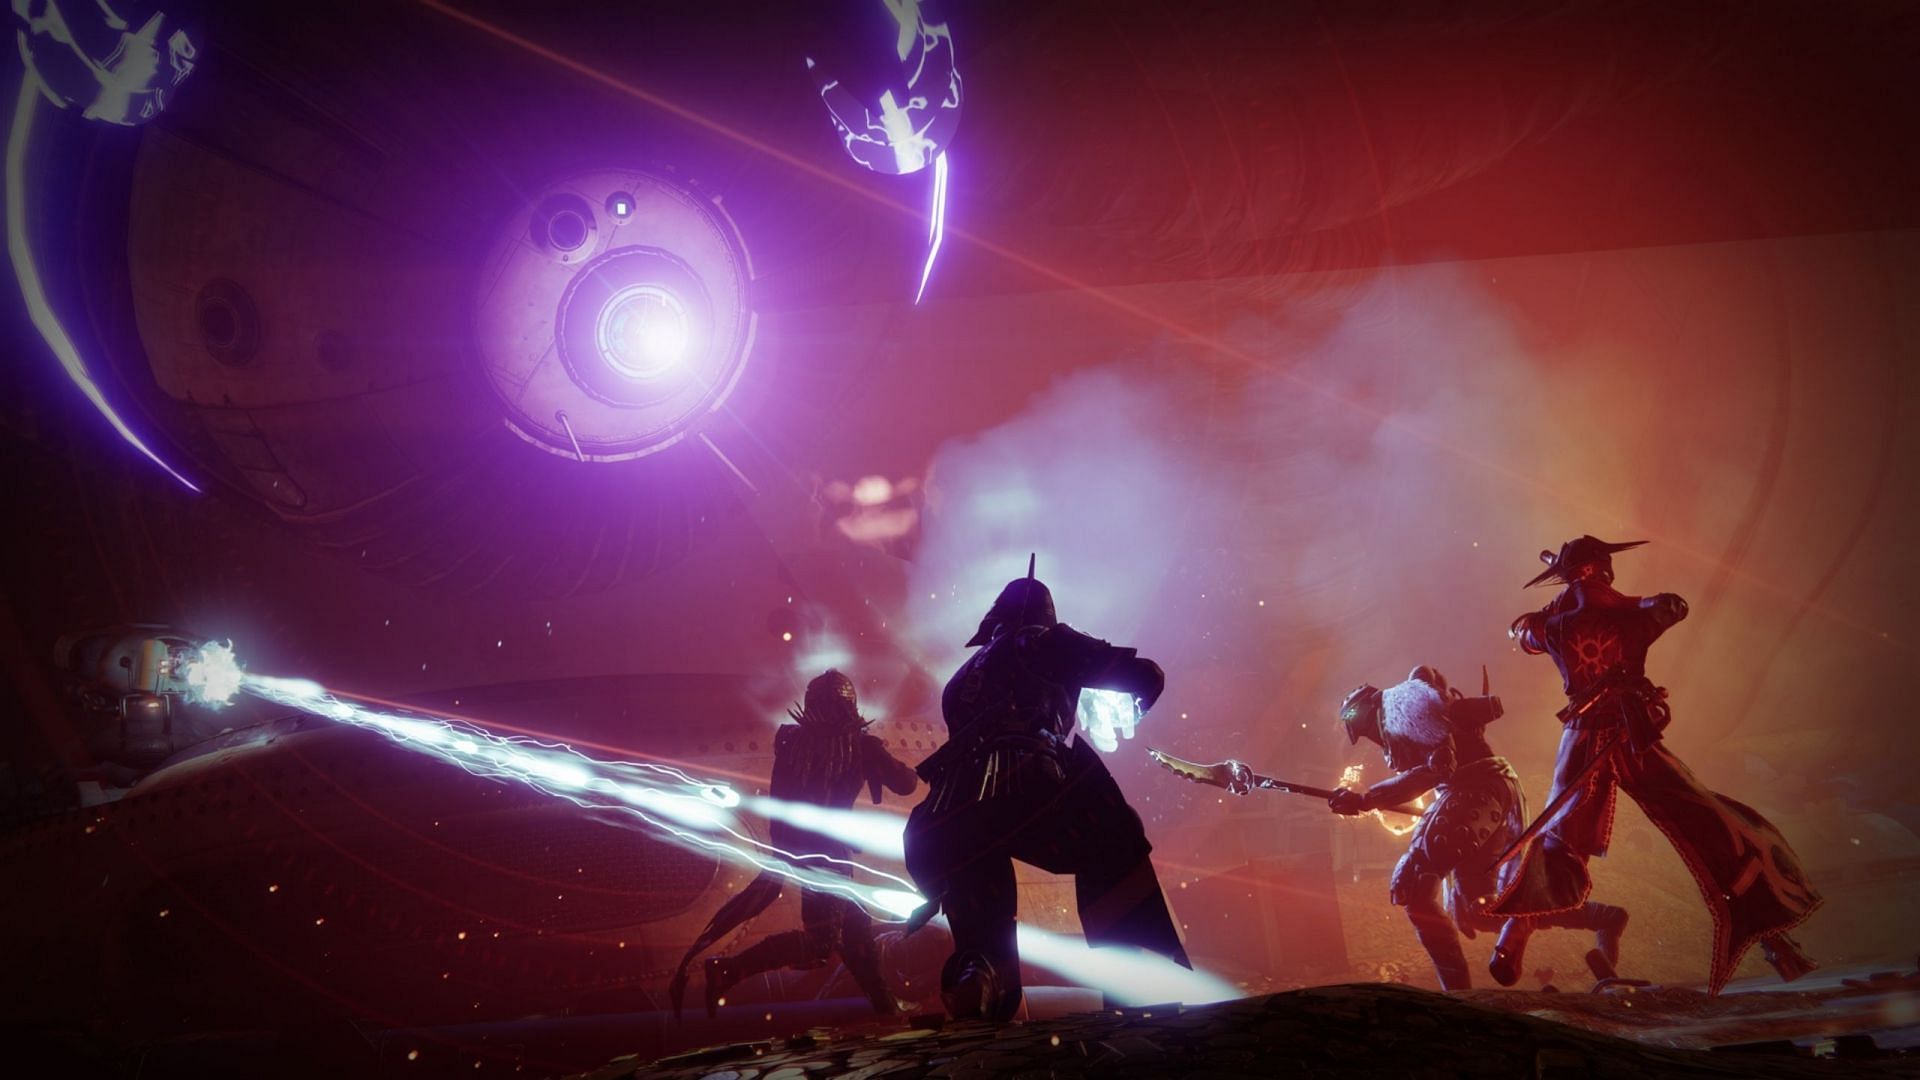
The first six-player activity that the new season offers is called Ketchcrash. A fireteam of six will need to launch themselves on a different Ketch, disable its security system, defeat the final boss, and loot the treasure in the end. It's a very standard procedure that involves slightly complex mechanics in each encounter.
This article will show you how to finish the activity alongside five other random players or friends.
Looking for Crossword hints & solutions? Check out latest NYT Mini Crossword Answers, LA Times Crossword Answers, and Atlantic Crossword Answers
Steps to finish the Ketchcrash seasonal activity in Destiny 2 Season of Plunder (2022)
1) Finish the prologue
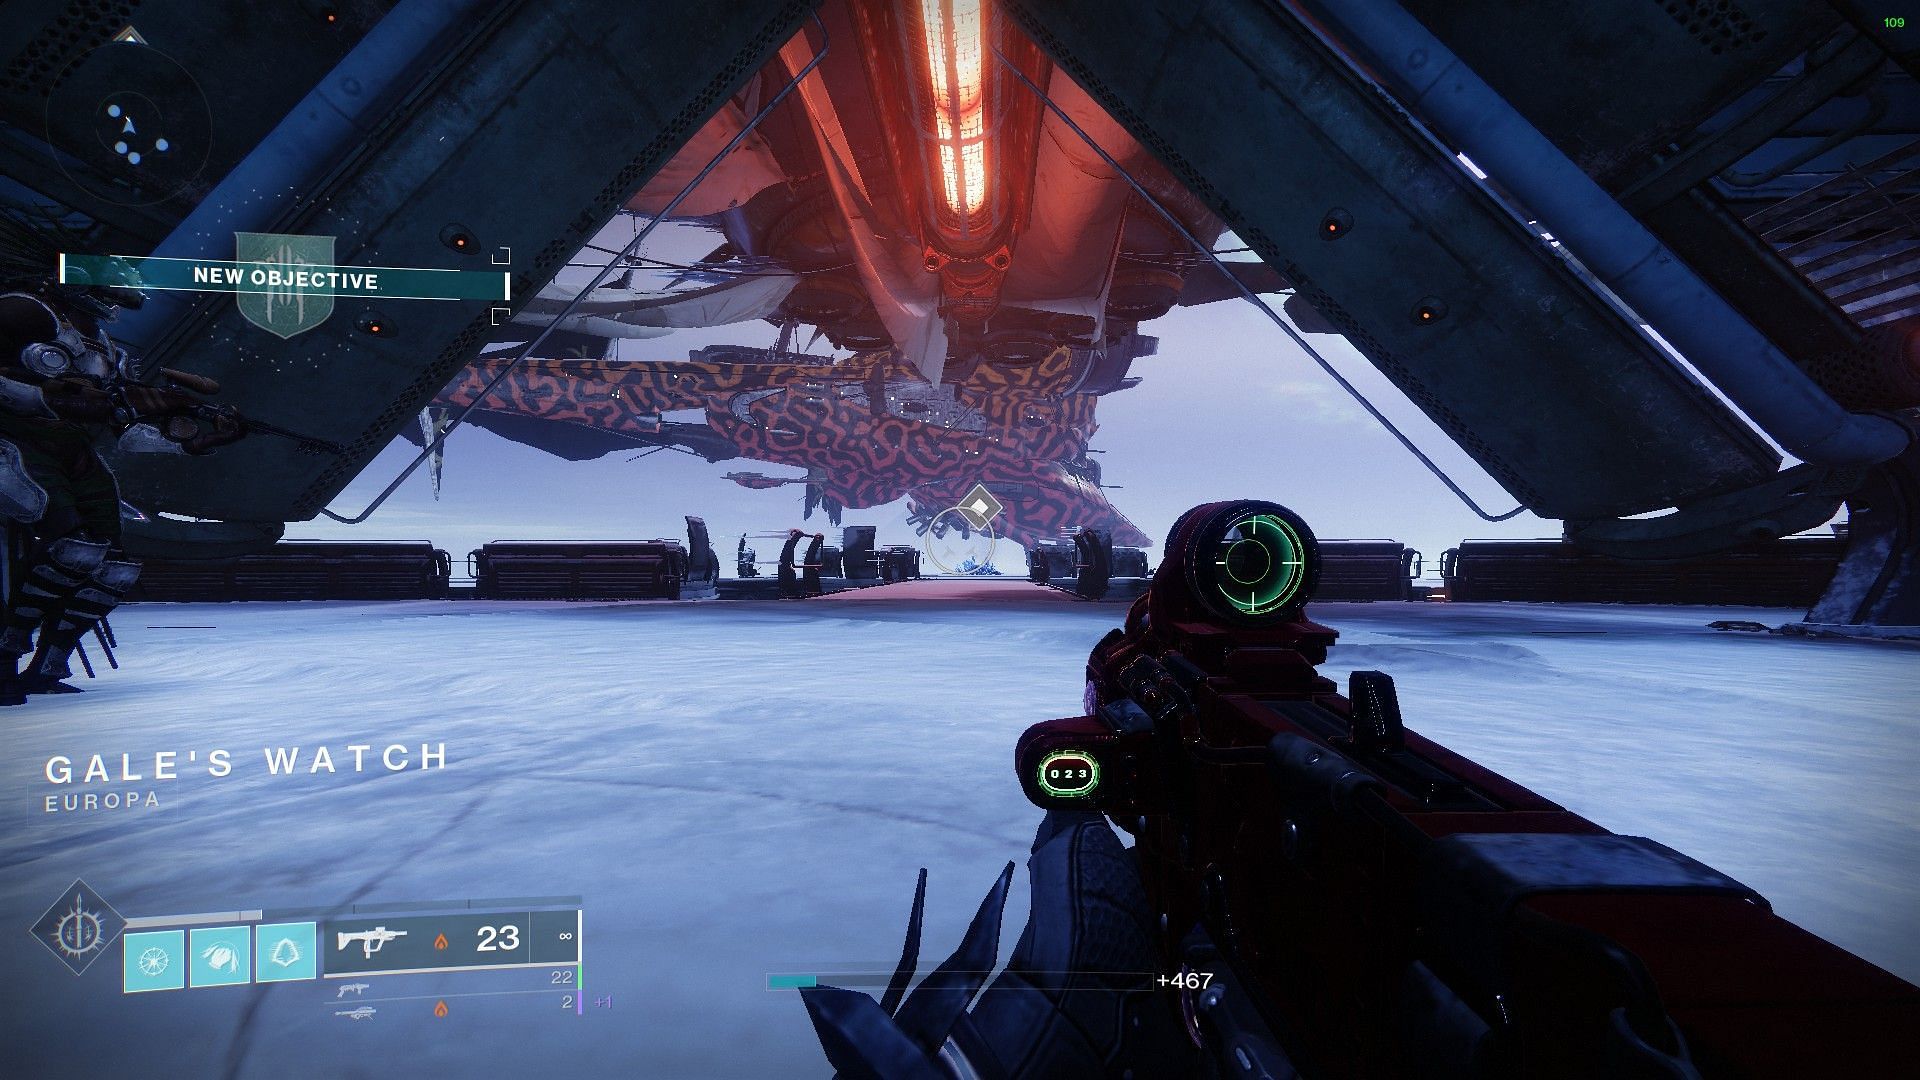
Before anything else takes place, you will be shown a cutscene at the start of the new season followed by a small mission on Europa.
Follow the steps as shown on the screen and rescue Spider. Only after saving and safely escorting him to the Eliksni Quarters will you be able to unlock the next step in the quest, which includes the Ketchcrash activity.
2) Align the accelerators

Once the Ketchcrash activity starts, you will find yourself in an open area with a lot of Fallen enemies. Defeat anyone that is standing to progress to the next objective, which further requires you to "align the accelerators."
The job is simple. You and your teammates will need to step on four different plates and charge them in four different corners of the ship. You're doing this to launch bombs on the ship you're going to board, similar to how a duel between two pirate ships works. Only this time, you're using more sci-fi tech.
There is no time limit during this stage, so you can take as long as you like to fill the bar and launch yourselves into the opposing ship.
3) Activate the console and destroy storage tanks
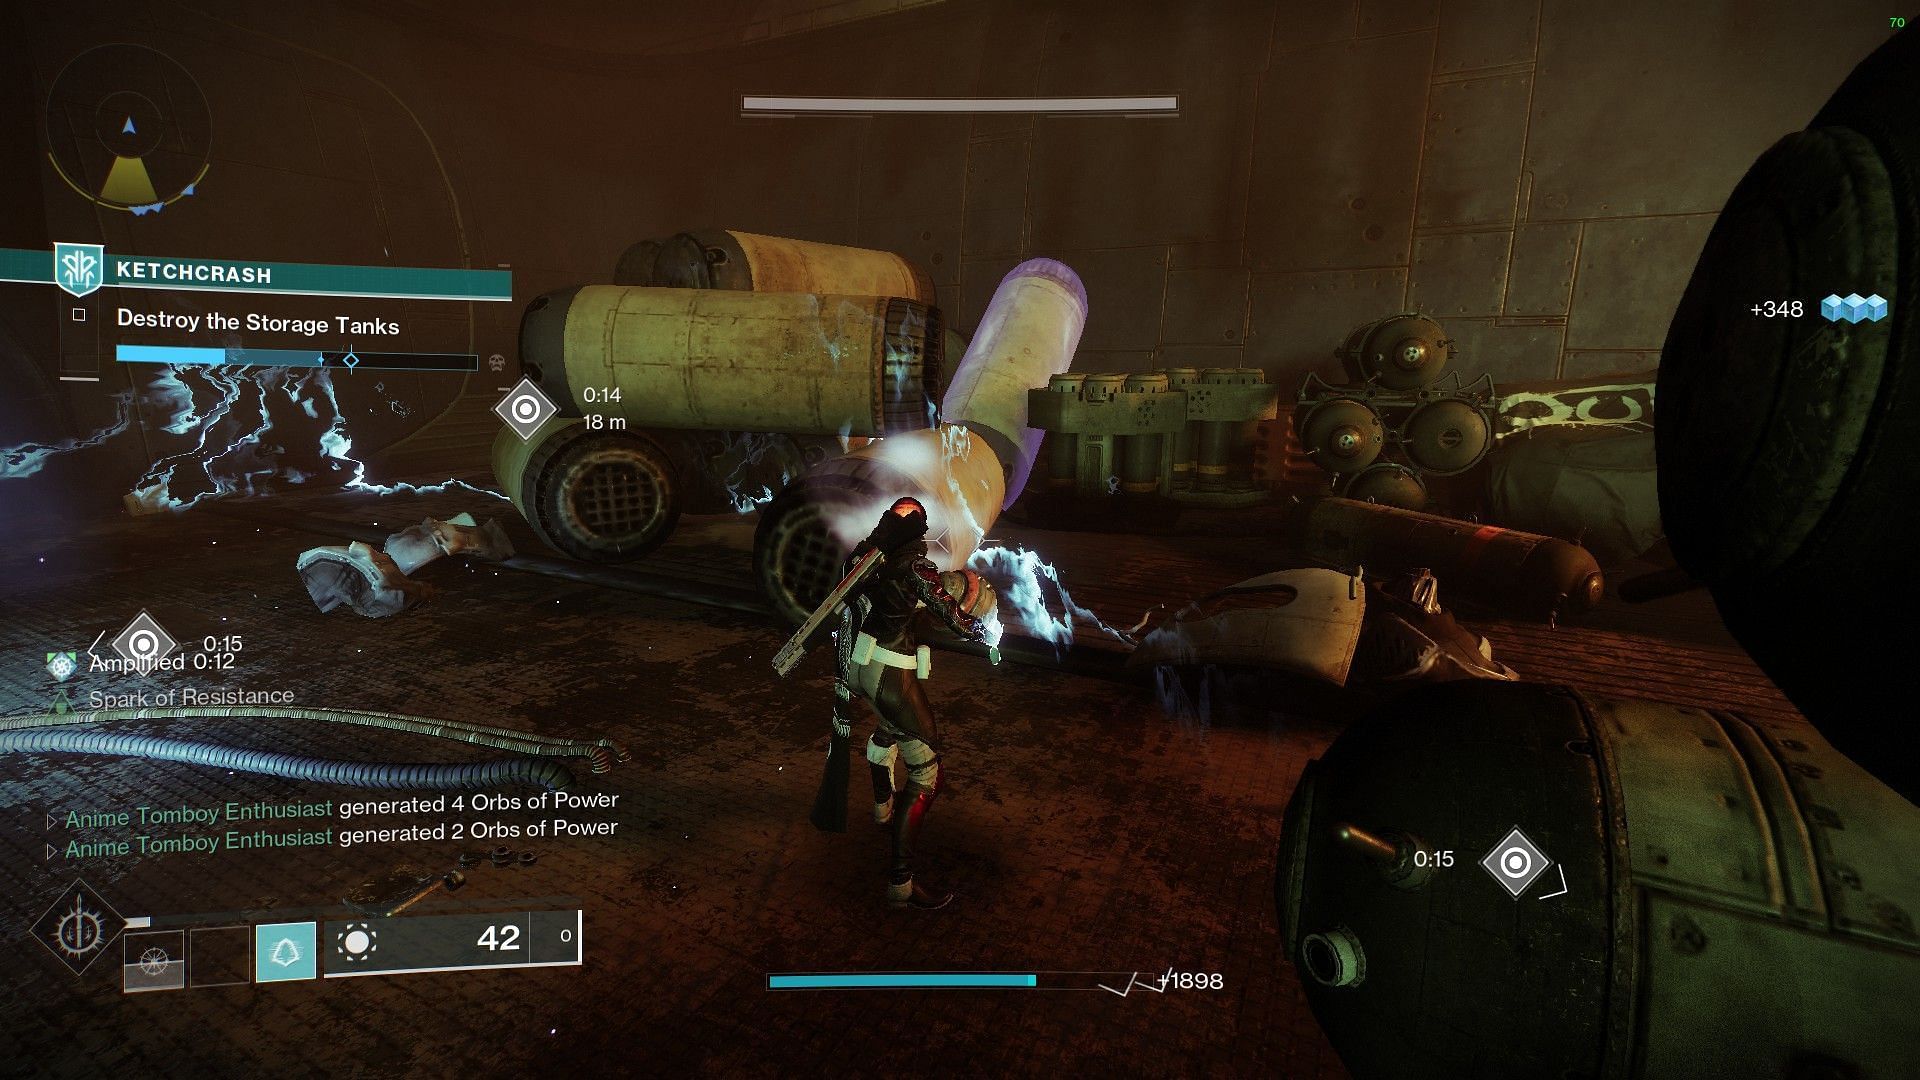
Once you're aboard the ship, follow the waypoint until you come across a Fallen console. Interact and head through the left door to enter the second major encounter of the activity. Here, the objective is to destroy all the storage tanks present in the room.
To do so, look for the big Fallen Shanks that spawn in the room. They will have a yellow bar, which counts as a boss. Defeat them, pick up the unstable orbs that drop from them, and throw them on the highlighted tanks in the room.
This encounter doesn't have a time limit either, and Shanks keep spawning until you break all the tanks.
4) Defeat the Walkers or the Security Optic
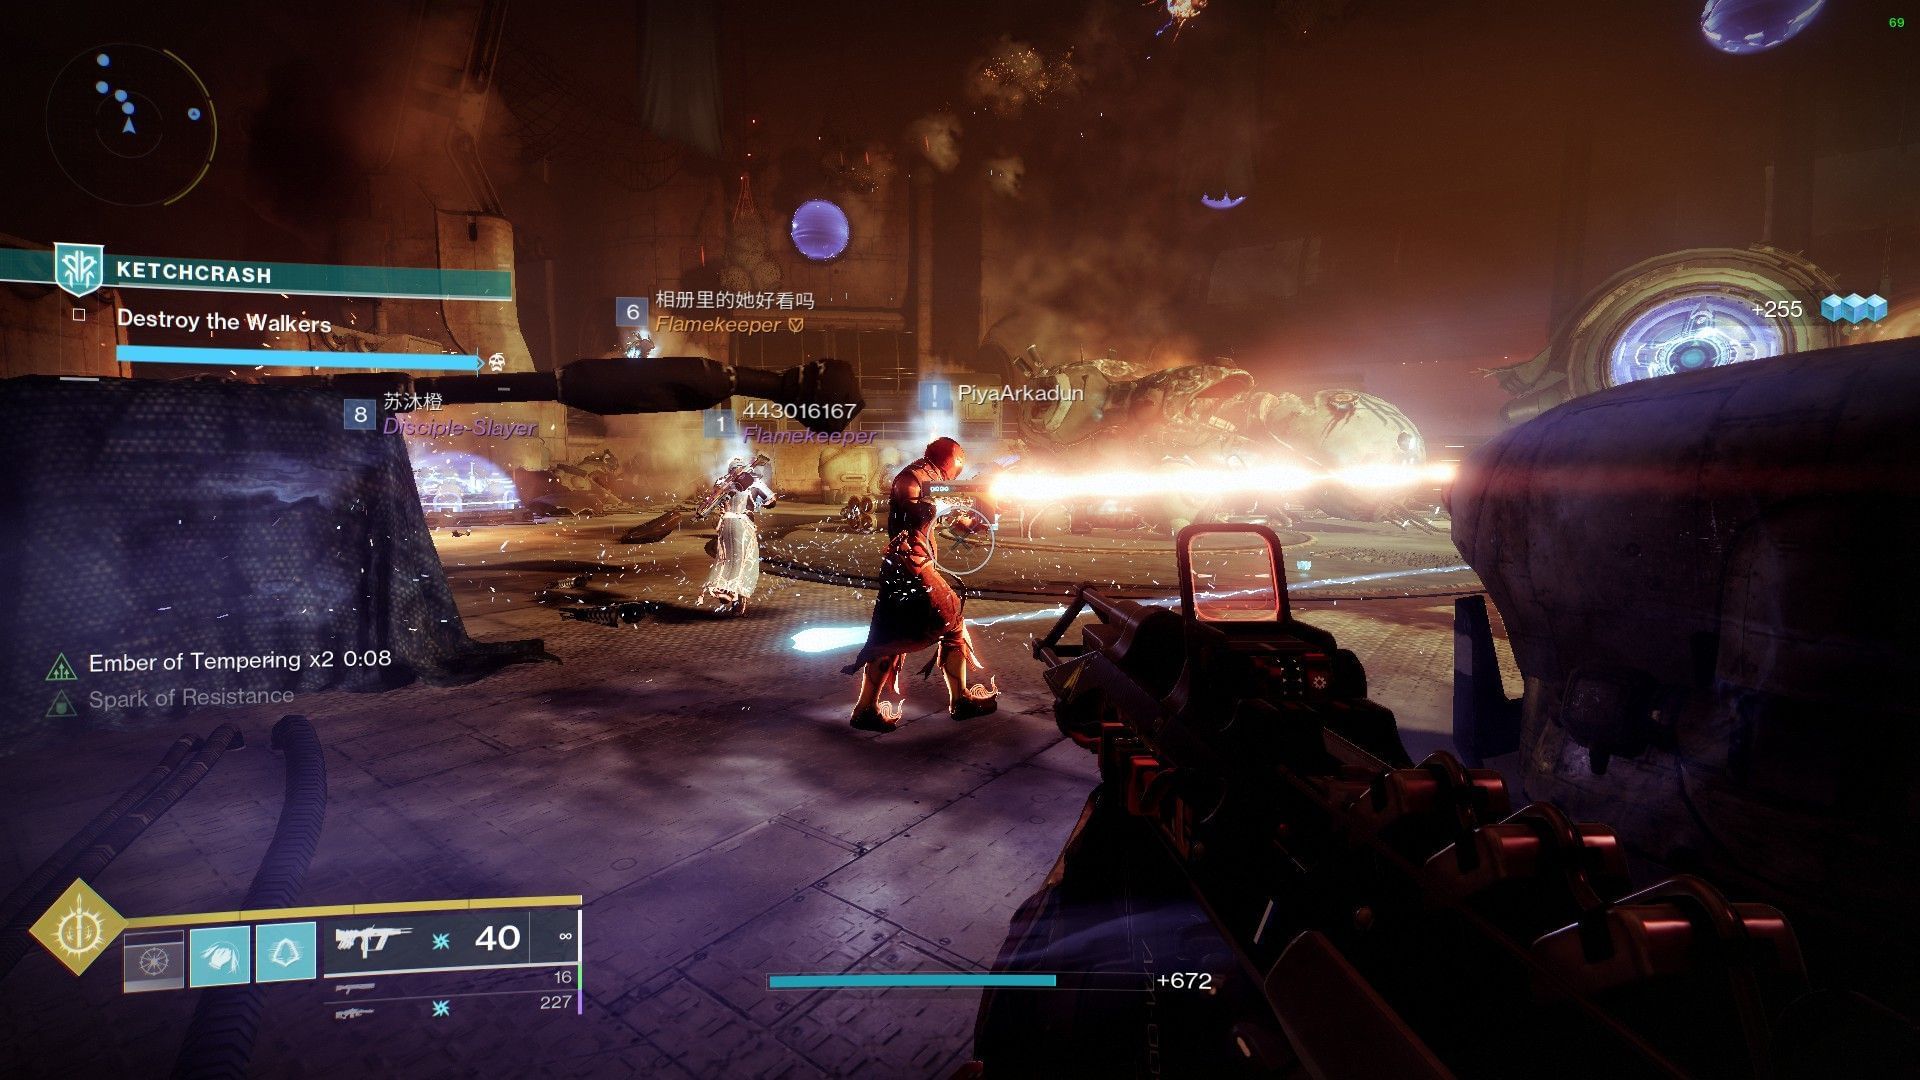
The third encounter requires you to defeat two large Fallen Walkers via the usual means, where you will need to destroy one of its legs to expose its core. However, throughout its damage phase, it will become immune by harnessing ether power from the walls. Pick up Scorched Cannons to shoot the walls and defeat the Walker.
If you come across the Security Optic boss instead of the Fallen Walker, simply follow the waypoint, stand on plates, and shoot the shields to start the damage phase. Repeat the process until it gets disabled completely.
5) The final boss
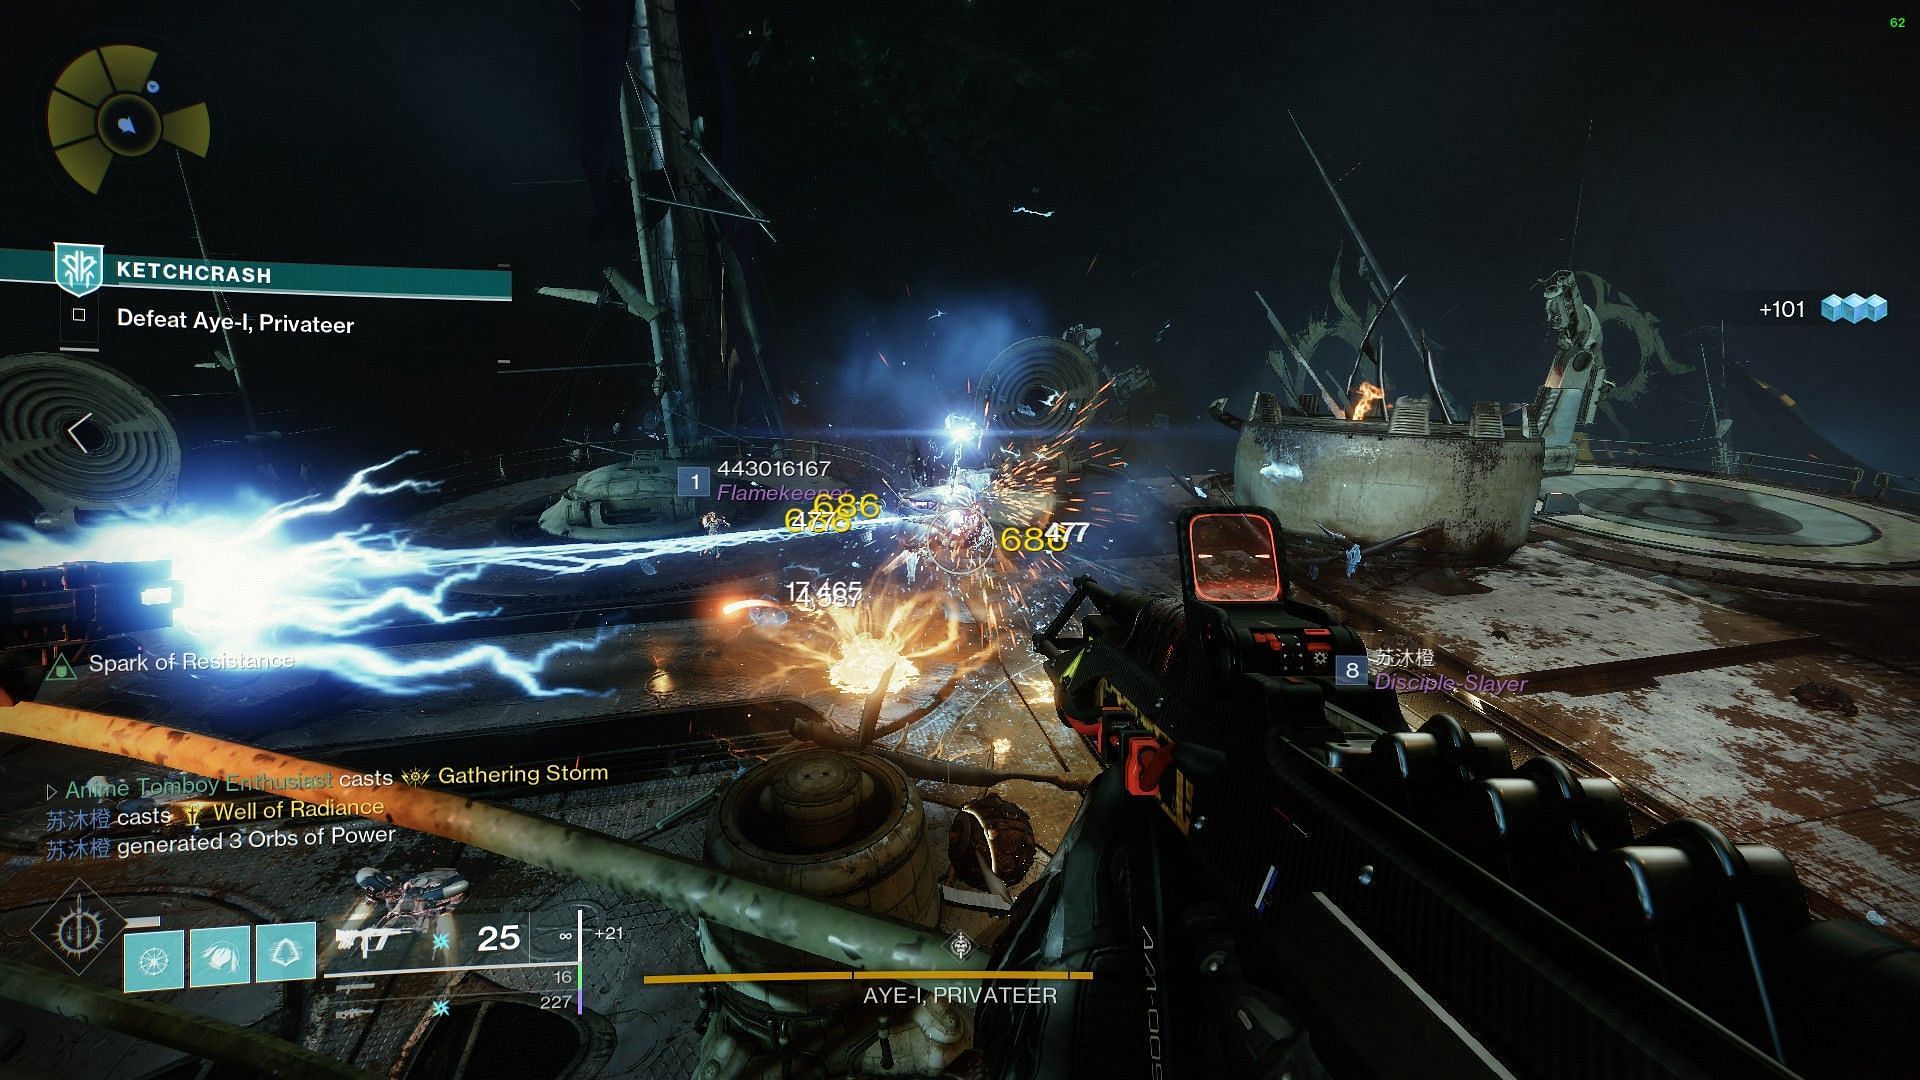
The final boss encounter is very straightforward and consists of a total of three phases. In the first phase, shoot the boss until its health gets drained up to the phase mark. The next two phases will be the same. It will have servitors roaming around, providing it with a shield.
Shoot the servitors to damage the boss. Repeat this process one final time to end the activity and claim the loot from the chest on the deck.

Are you stuck on today's Wordle? Our Wordle Solver will help you find the answer.