
'%20x='0'%20y='0'%20height='100%25'%20width='100%25'%20%0A%20%20%20%20%20%20%20%20%20%20xlink%3Ahref='data:image/jpg;base64,/9j/4AAQSkZJRgABAQAAAQABAAD/2wCEAAMDAwMDAwQEBAQFBQUFBQcHBgYHBwsICQgJCAsRCwwLCwwLEQ8SDw4PEg8bFRMTFRsfGhkaHyYiIiYwLTA+PlQBAwMDAwMDBAQEBAUFBQUFBwcGBgcHCwgJCAkICxELDAsLDAsRDxIPDg8SDxsVExMVGx8aGRofJiIiJjAtMD4+VP/AABEIAAUACgMBIgACEQEDEQH/xABcAAEBAQAAAAAAAAAAAAAAAAAABAgQAAEEAgIDAAAAAAAAAAAAAAEAAgMEBiEREyIxcQEBAQAAAAAAAAAAAAAAAAAAAQMRAQEAAwAAAAAAAAAAAAAAAAEAITGR/9oADAMBAAIRAxEAPwDAE2RzP1SZJWhA4DHSCV2gBt3DVEcqugkdFQ79mvCSfvgiKpgAXsbb/9k='%3E%3C/image%3E%3C/svg%3E)
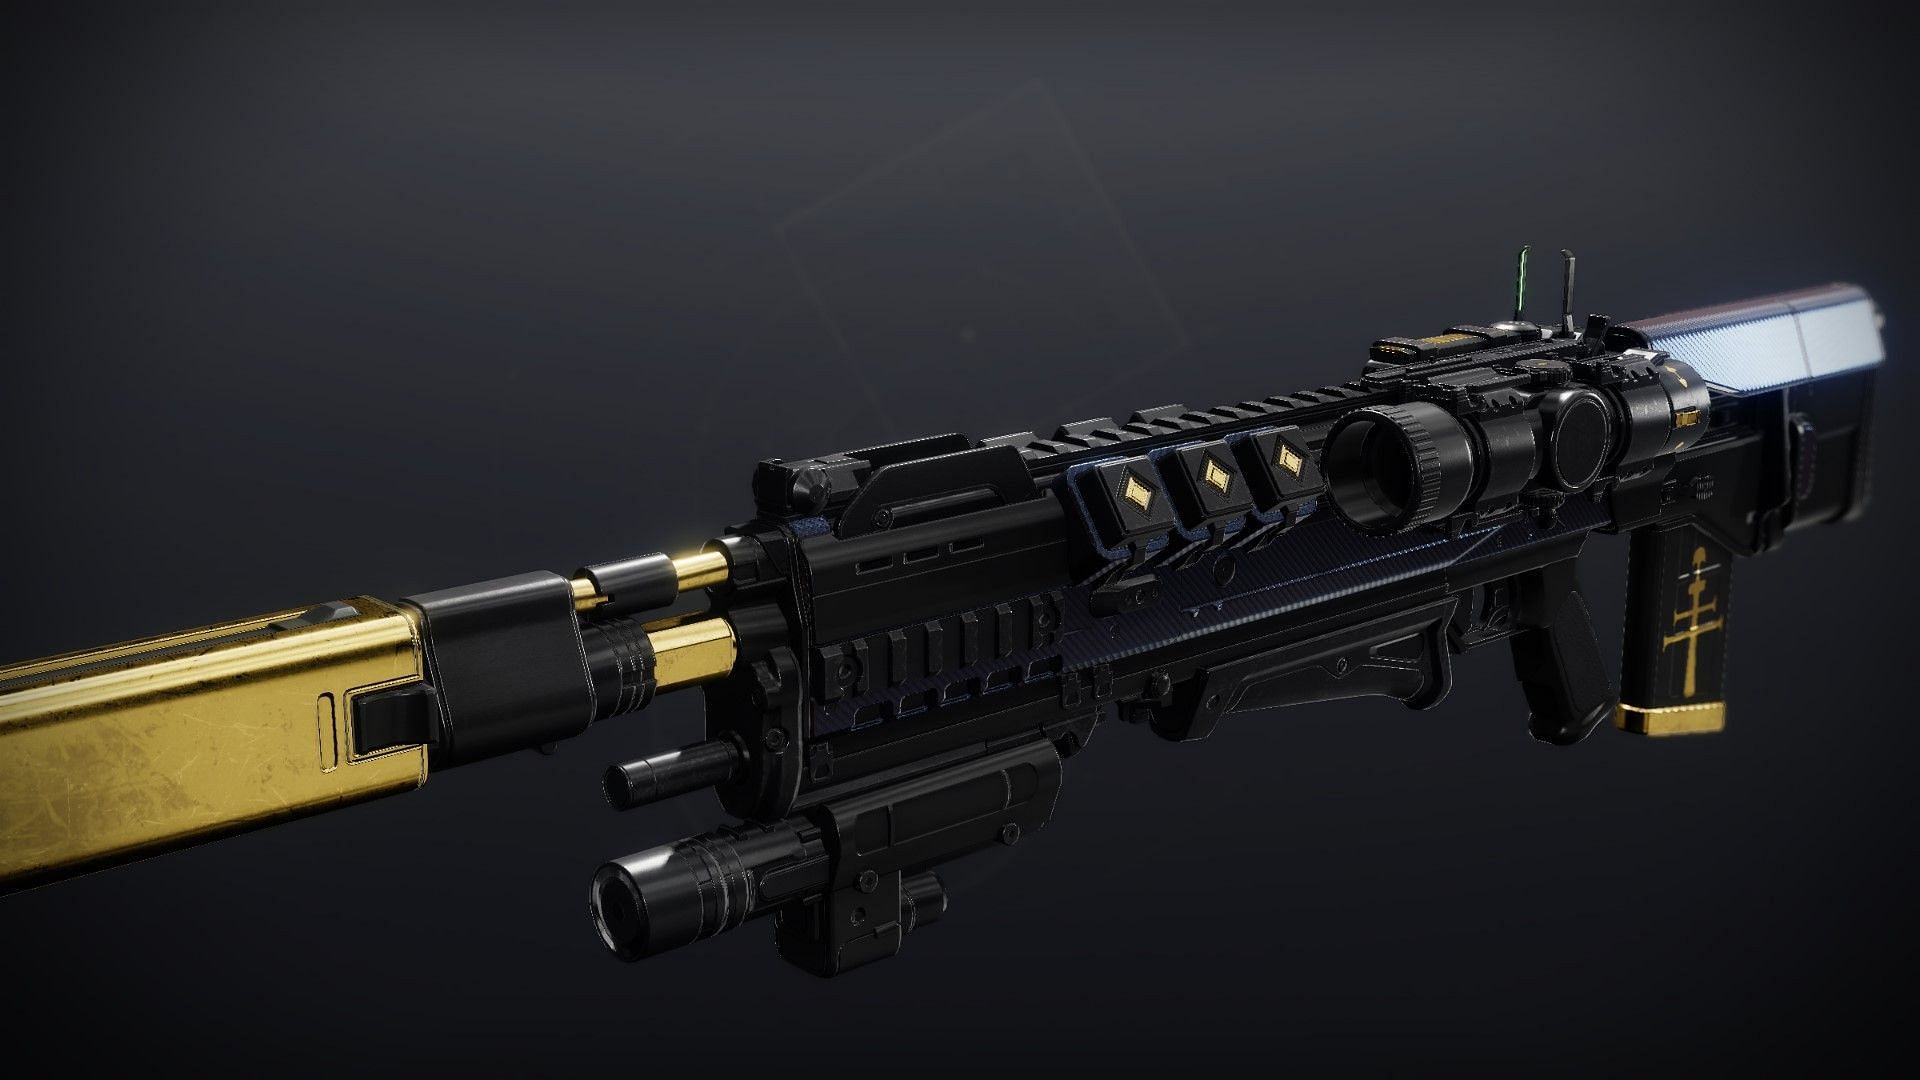
With the weekly reset on December 27, 2022, Destiny 2 players will gain access to the first catalyst in the Revision Zero quest. Typically, everyone must complete the quest steps of More than a Weapon up to week 4. Upon completing the initial steps, the new and reformed Exo Stranger will be handed "Should you choose to accept it, part 1."
This week, the catalyst will provide Feeding Frenzy upon completing multiple quest steps. This article lists all the steps required to complete the quest while guiding you through the crafting process of the weapon.
How to complete the 'Should you choose to accept it' Catalyst quest in Destiny 2
Step 1:
Looking for Crossword hints & solutions? Check out latest NYT Mini Crossword Answers, LA Times Crossword Answers, and Atlantic Crossword Answers
After completing the quest step of the week 4 story, you will be able to pick up a catalyst quest called "Should you choose to accept it."
The first part of this mission requires you to return to Archimedes Annex and download the cryptographic index. For those confused, look for the mission node that says Warmind Launch Facility. Simply complete this mission as you have in the first week.
Step 2:
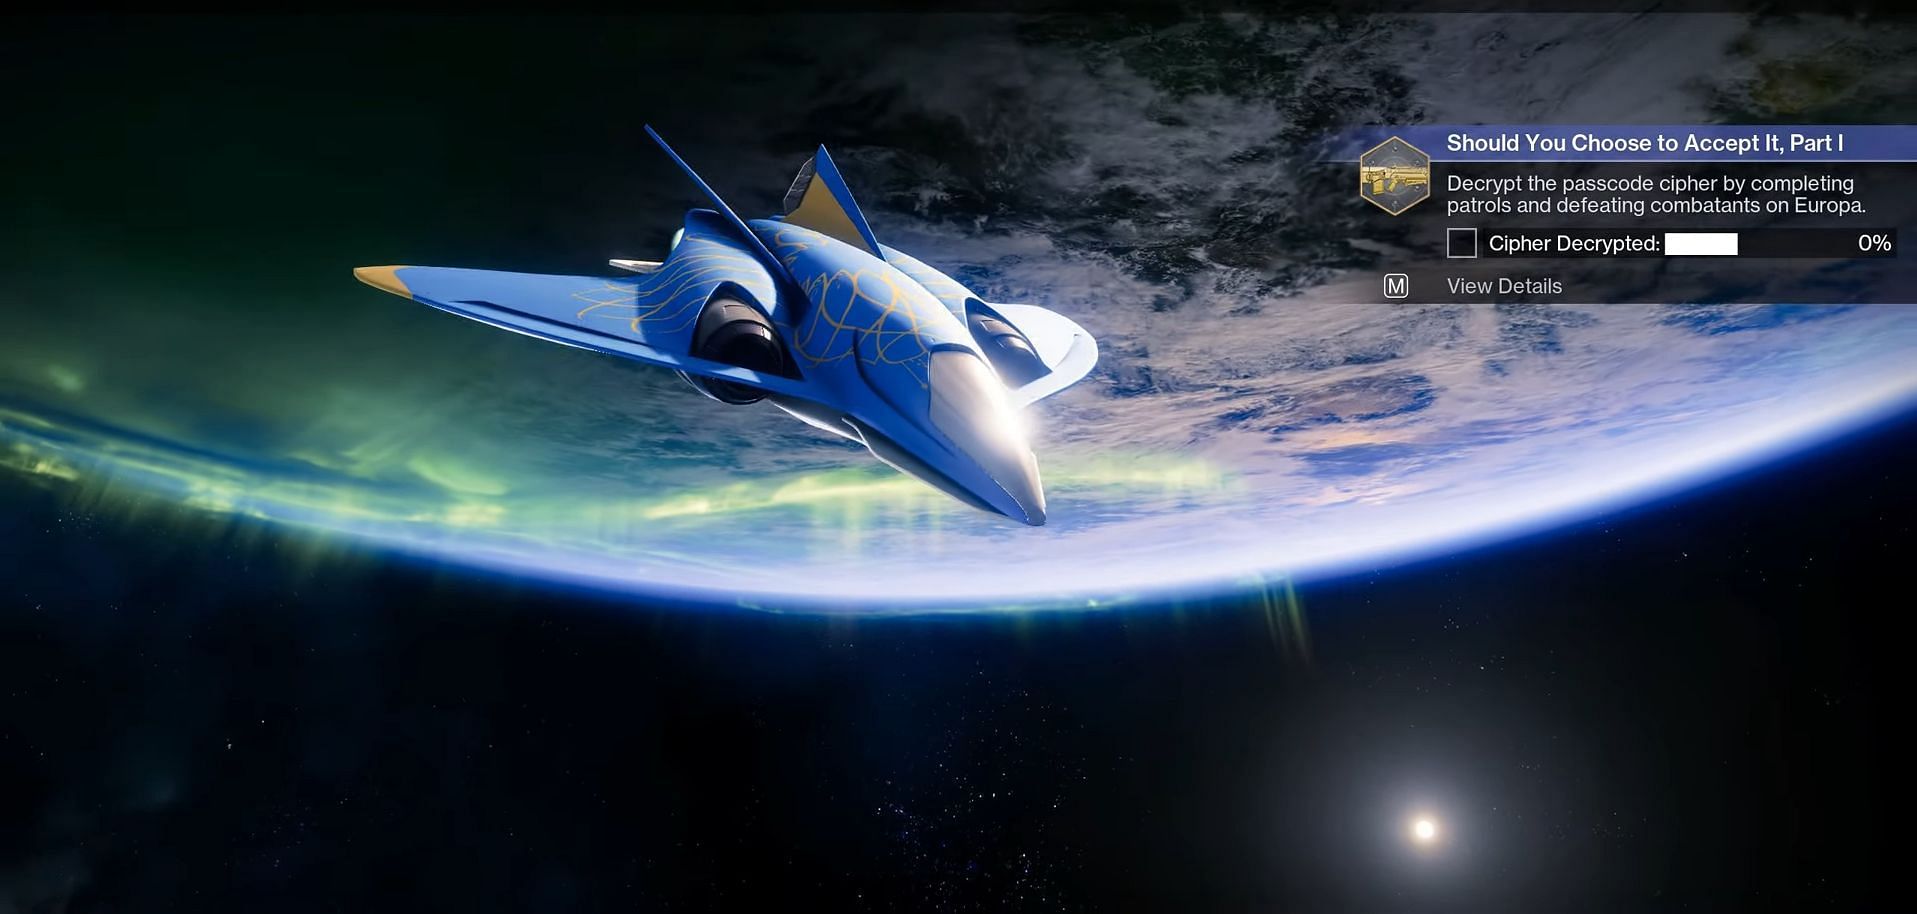
The next step will ask you to travel to Europa for "further instructions." You will need to defeat combatants and complete patrols in any location.
The fastest way to speed through this step is by taking the "combatants defeated" or "supply drops" patrols, which guarantees double progression with each completion.
Step 3:

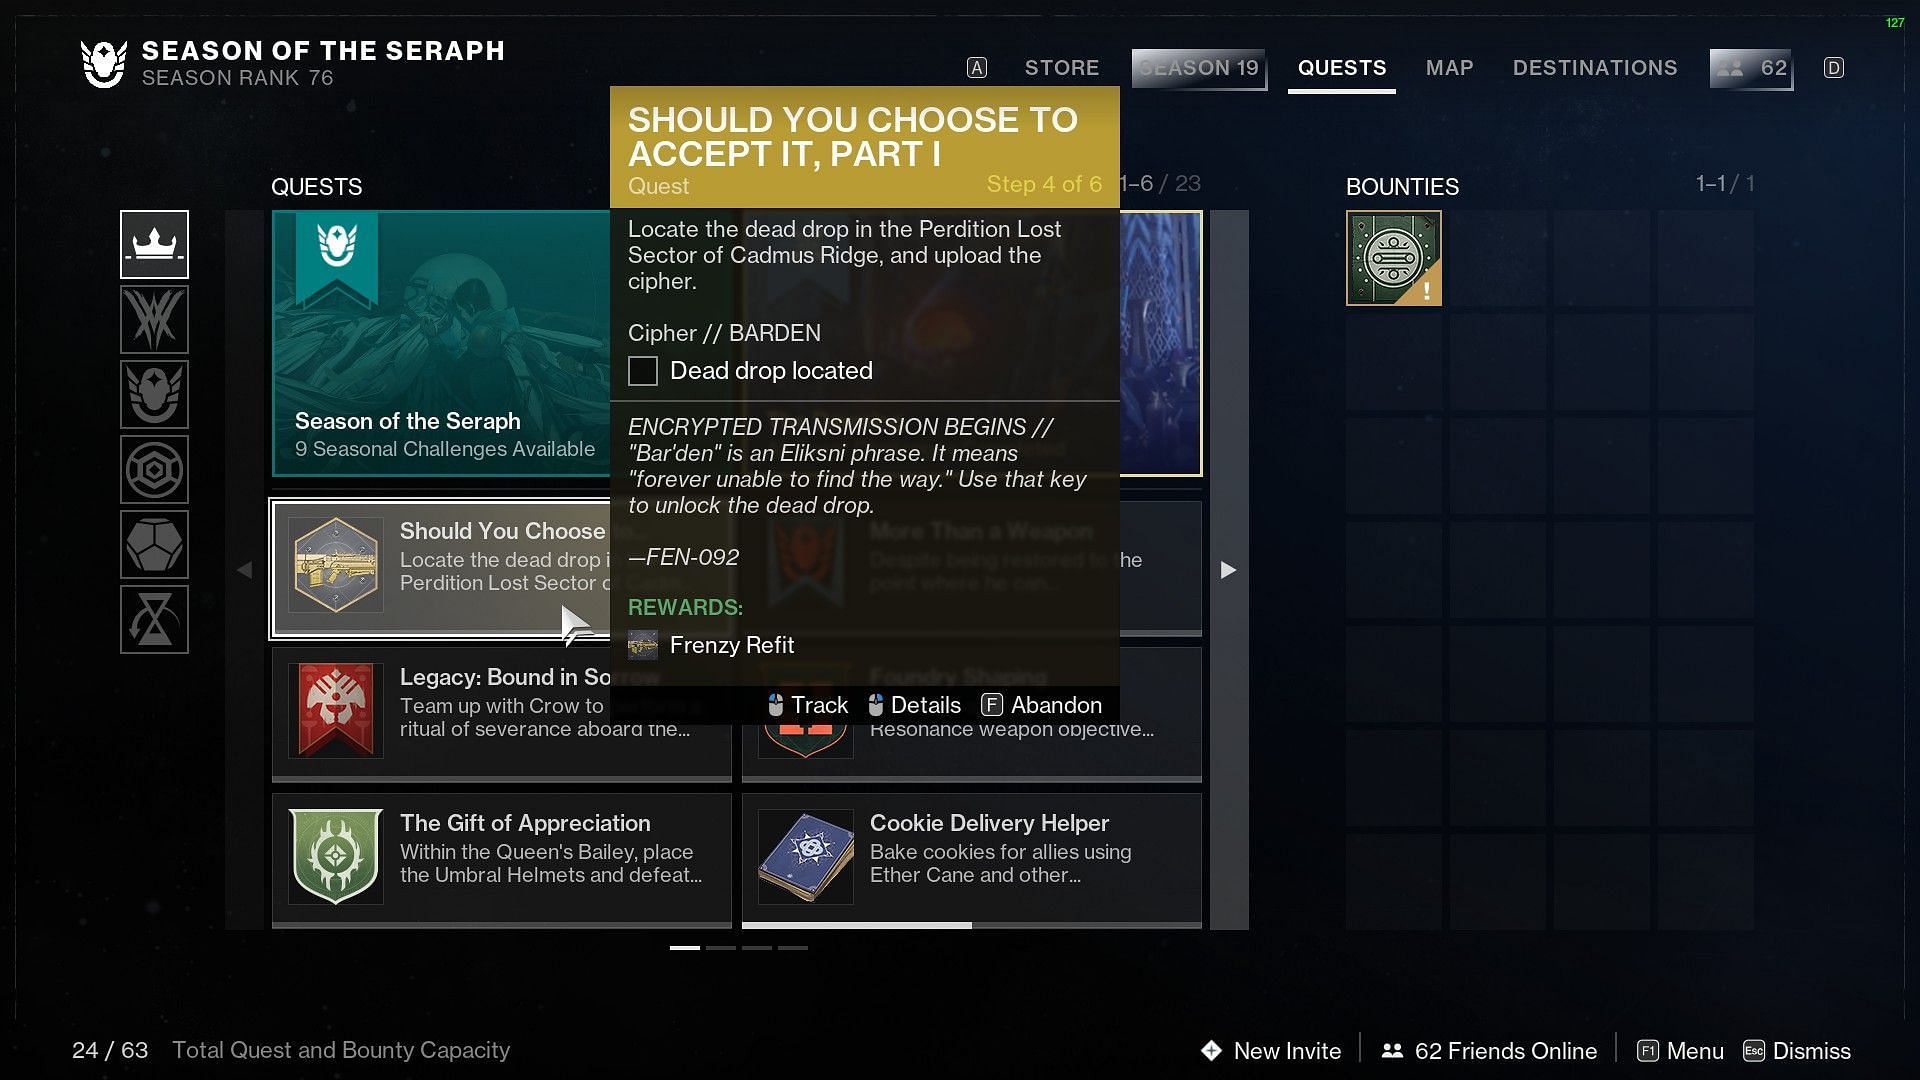
Head inside the Perdition Lost Sector for this next step. It is located within the Cadmus Ridge. Make your way through the hoard of Vex enemies present inside and defeat the final boss. However, while you're going in to loot the final chest, look for a small console to your left in front of the exit.
Interact with this console to trigger the next objective in the mission. If you happen to run the Sector with a fireteam member and can't find the next step to activate, simply hop off the activity and back in to refresh the instance.
Step 4:
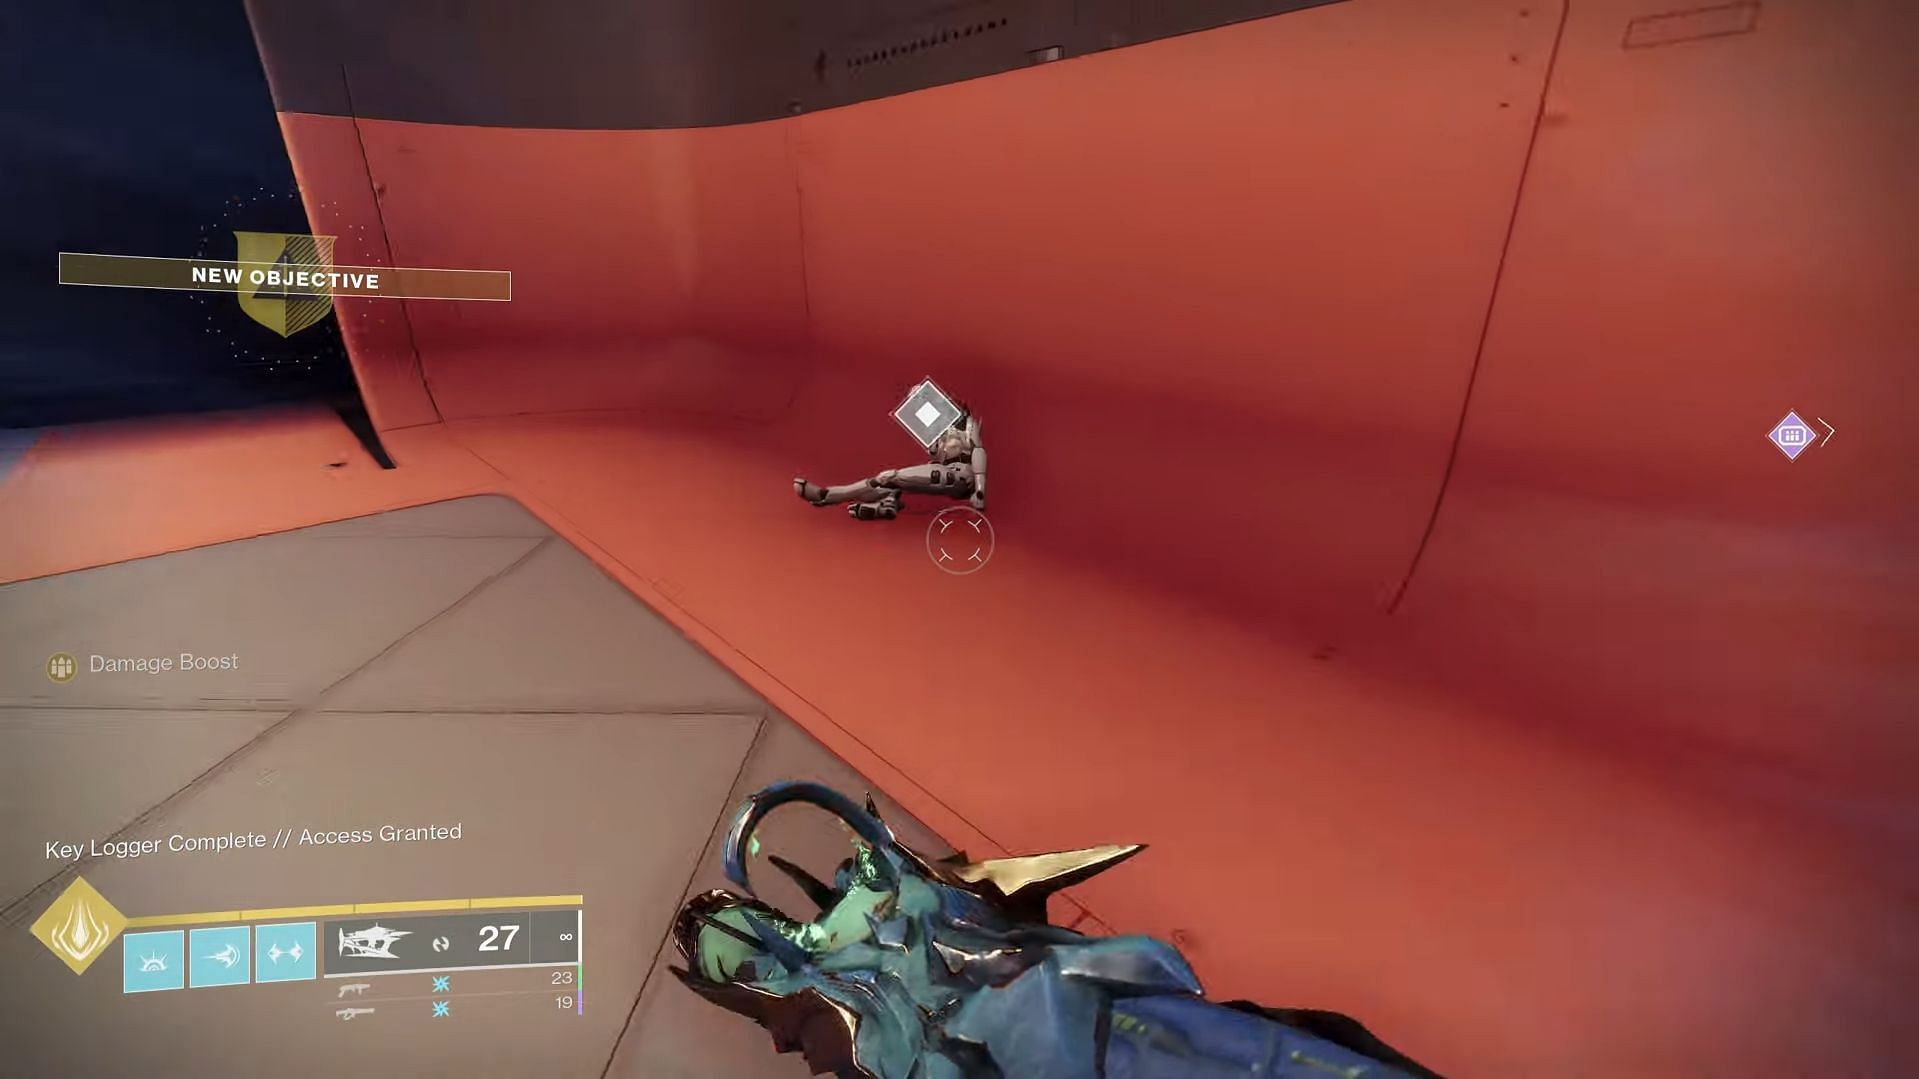
To complete this step, you must launch the Operation Seraph Shield quest with Legend difficulty. The objective will state "Schematic required," which will be made available in the form of a dead Exo.
The location is right within the "microwave" room, where players must hack consoles and step on the correct floors based on the highlighted instances with the Scanner buff. Interacting with the dead Exo inside the room will trigger the next step, which will ask players to complete the remainder of the mission.
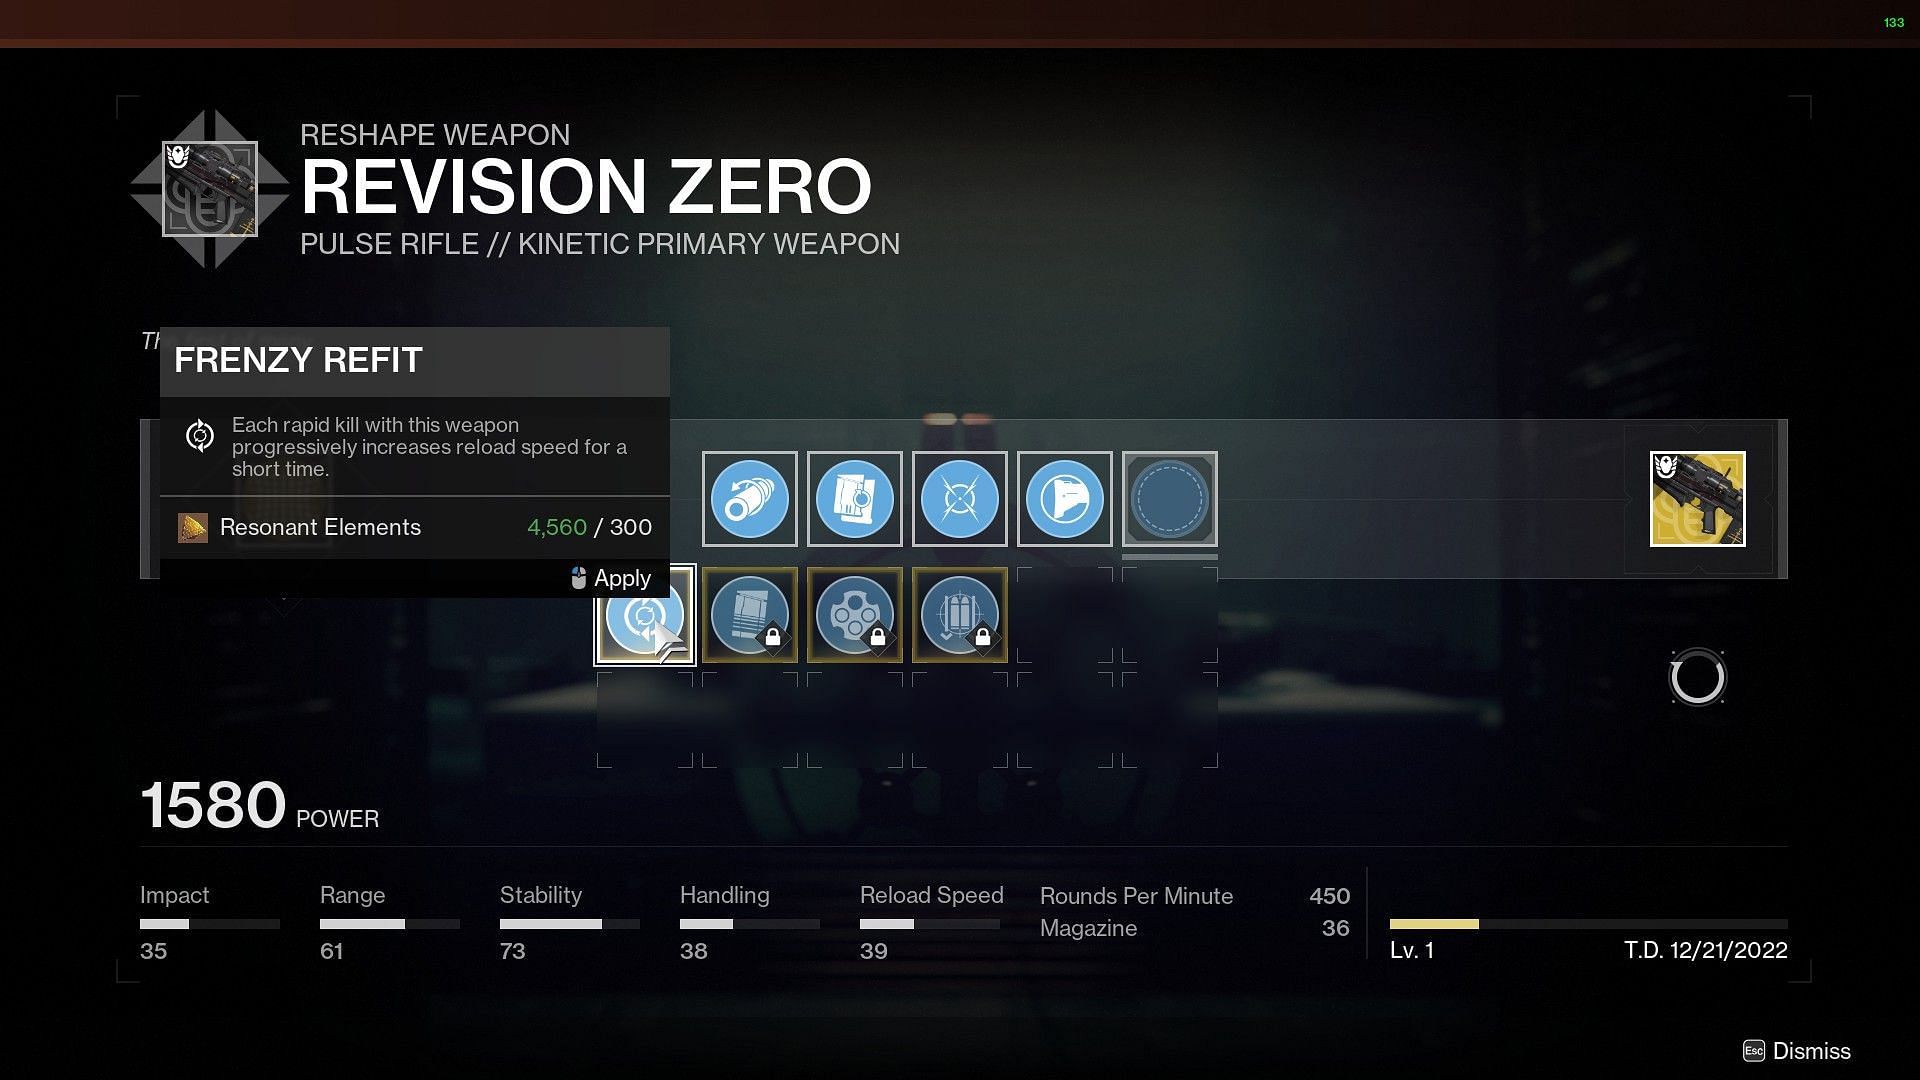
After defeating the final boss, Praksis, upload the virus, and you will be handed the "Frenzy Refit" catalyst and Hunter's Trace II upon completion.
Head to your Enclave and reshape the weapon by putting in the newly acquired intrinsic trait and additional perks alongside the Feeding Frenzy via the catalyst slot.
Putting in the catalyst perk and reshaping the weapon will cost you a total of 600 Resonance elements.

Are you stuck on today's Wordle? Our Wordle Solver will help you find the answer.