
'%20x='0'%20y='0'%20height='100%25'%20width='100%25'%20%0A%20%20%20%20%20%20%20%20%20%20xlink%3Ahref='data:image/jpg;base64,/9j/2wBDAAYEBQYFBAYGBQYHBwYIChAKCgkJChQODwwQFxQYGBcUFhYaHSUfGhsjHBYWICwgIyYnKSopGR8tMC0oMCUoKSj/2wBDAQcHBwoIChMKChMoGhYaKCgoKCgoKCgoKCgoKCgoKCgoKCgoKCgoKCgoKCgoKCgoKCgoKCgoKCgoKCgoKCgoKCj/wgARCAAGAAoDASIAAhEBAxEB/8QAFQABAQAAAAAAAAAAAAAAAAAABAf/2gAIAQEAAAAAiBf/xAAUAQEAAAAAAAAAAAAAAAAAAAAD/9oACAECEAAAAC//xAAUAQEAAAAAAAAAAAAAAAAAAAAD/9oACAEDEAAAAH//xAAeEAACAQUAAwAAAAAAAAAAAAACAwEABAUREgYxof/aAAgBAQABPwDMZRQrTbggDha9kUjxrrn1ETNXvlNq28eycSjZsIvtf//EABURAQEAAAAAAAAAAAAAAAAAAAAB/9oACAECAQE/AI//xAAYEQACAwAAAAAAAAAAAAAAAAAAAQIREv/aAAgBAwEBPwBxWLP/2Q=='%3E%3C/image%3E%3C/svg%3E)
The Caretaker in Destiny 2 Vow of the Disciple is the second major encounter after Acquisition. It is the first time you will be put in front of a boss, alongside the mechanics of previous encounters. Needless to say, there are some new ones added in as well.
The following article will break down the mechanics required to crack The Caretaker boss fight in the Vow of the Disciple raid.
Disclaimer: This guide is based on the assumption of Acquisition clearance and on the fact that you are already accustomed to all the basic signs and callouts.
Looking for Crossword hints & solutions? Check out latest NYT Mini Crossword Answers, LA Times Crossword Answers, and Atlantic Crossword Answers
Guide for The Caretaker encounter in Destiny 2 Vow of the Disciple
1) Rooms and teams
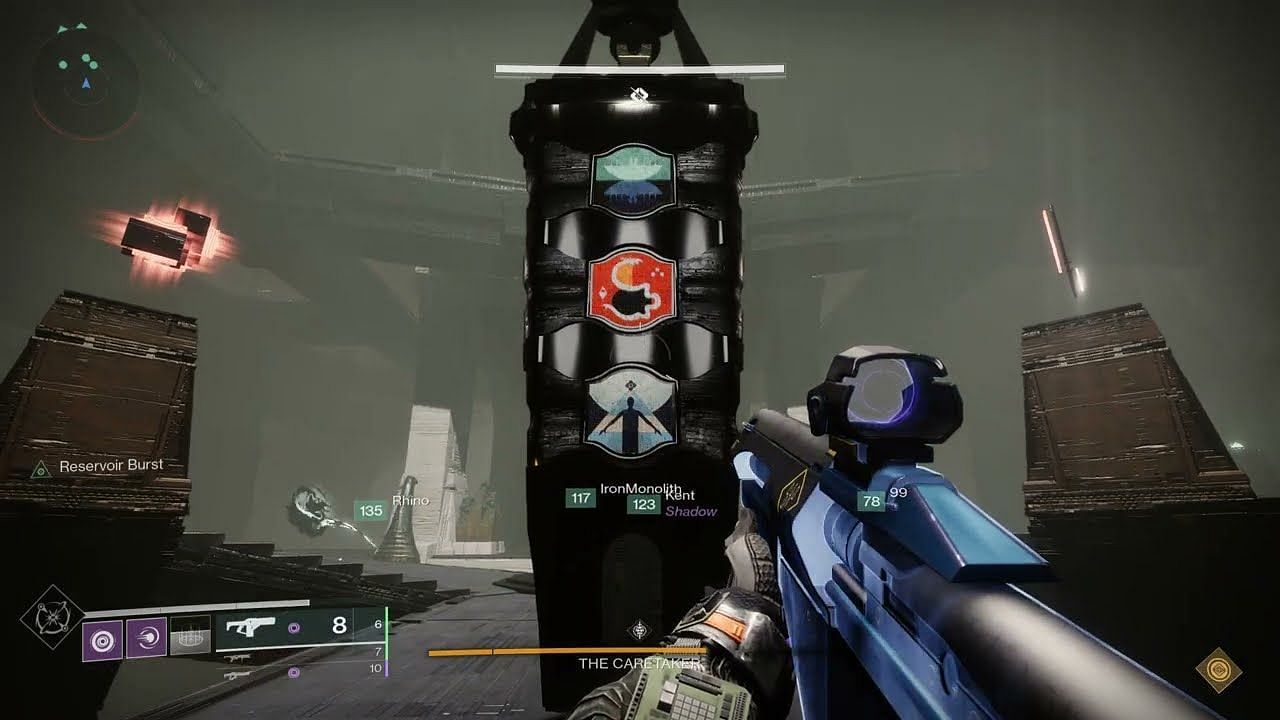
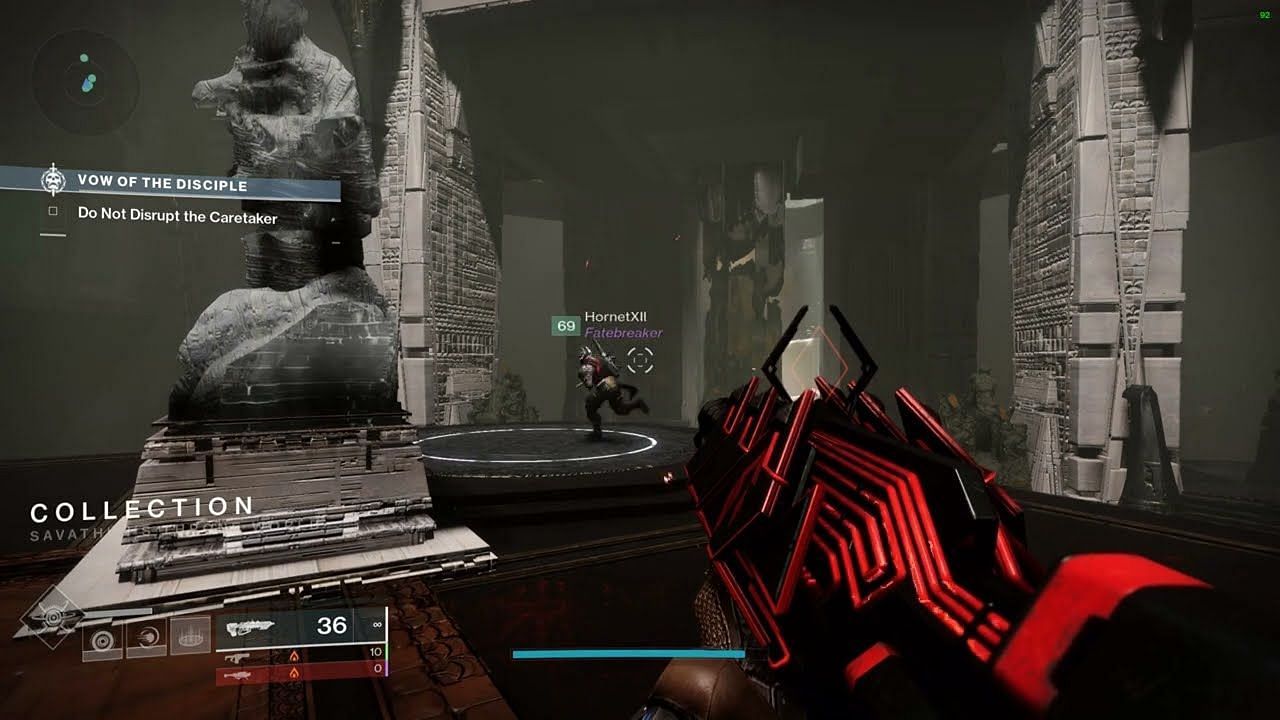
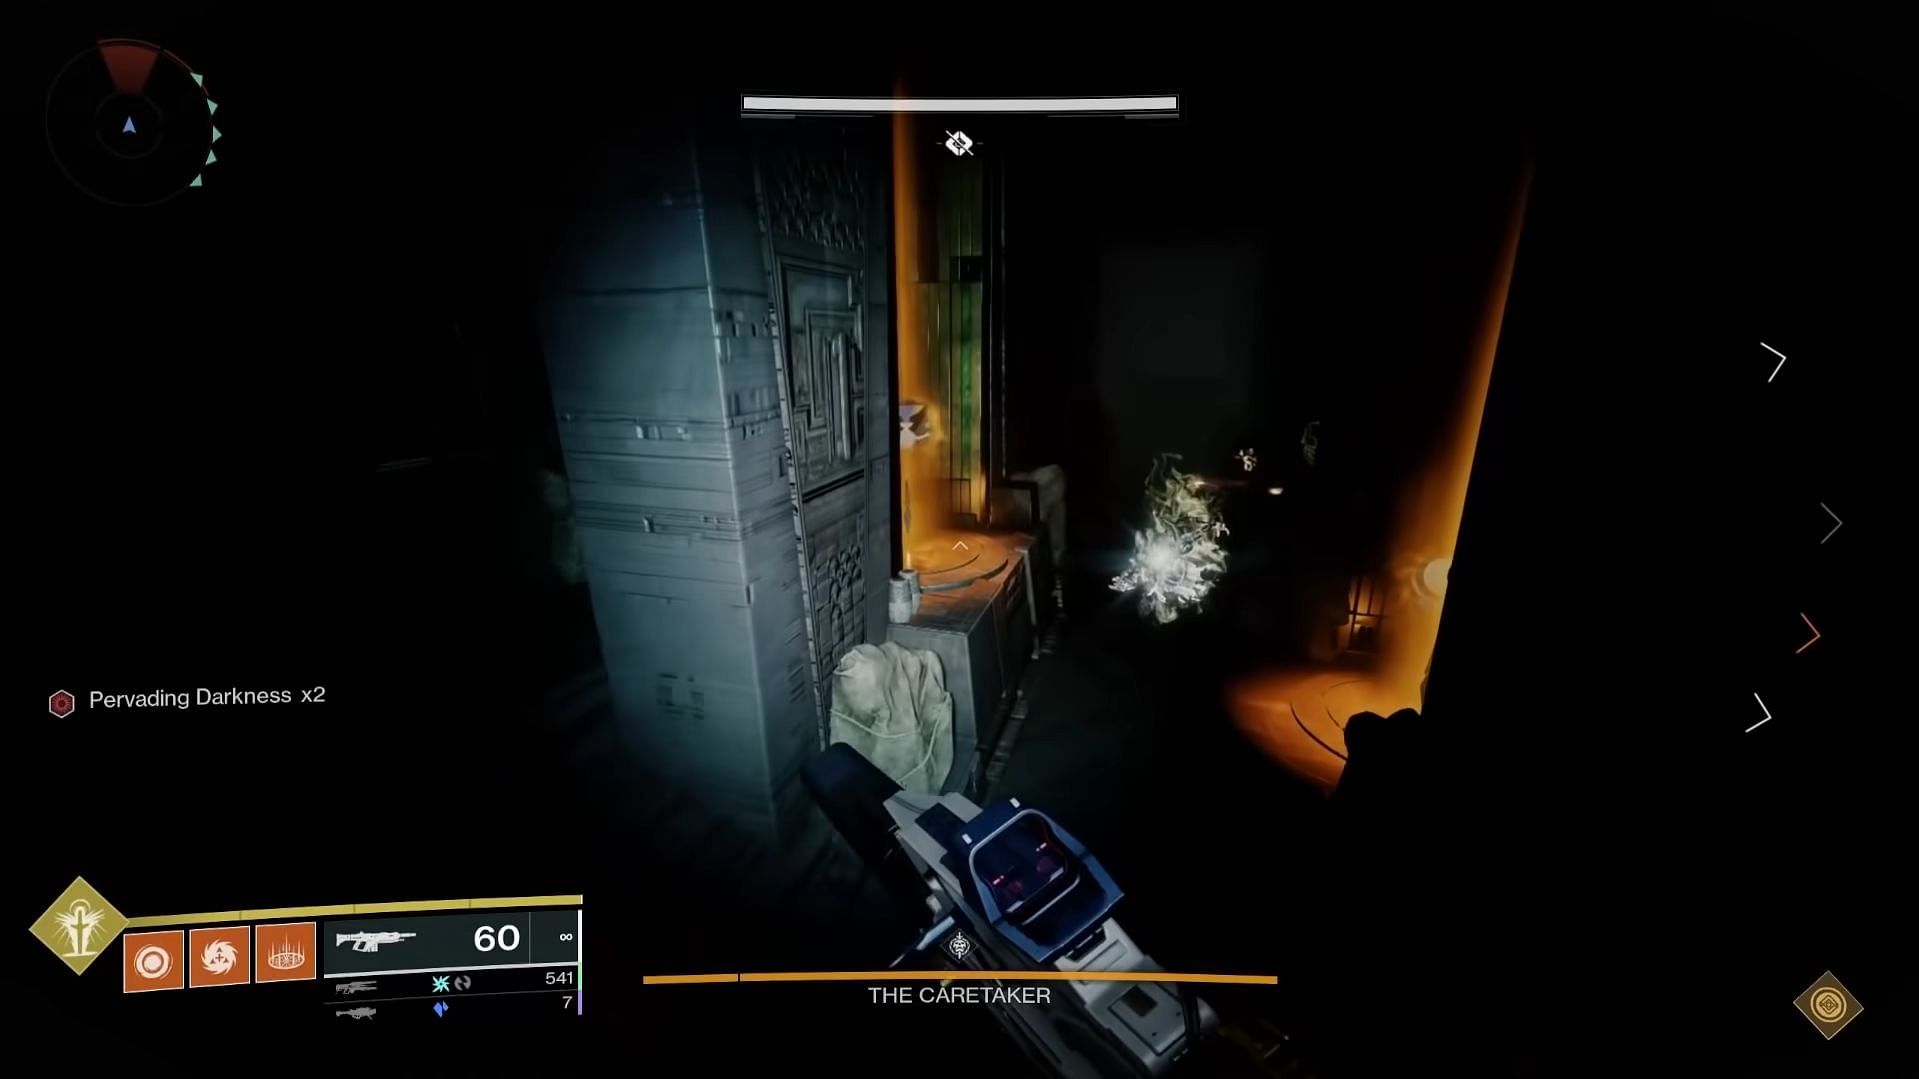
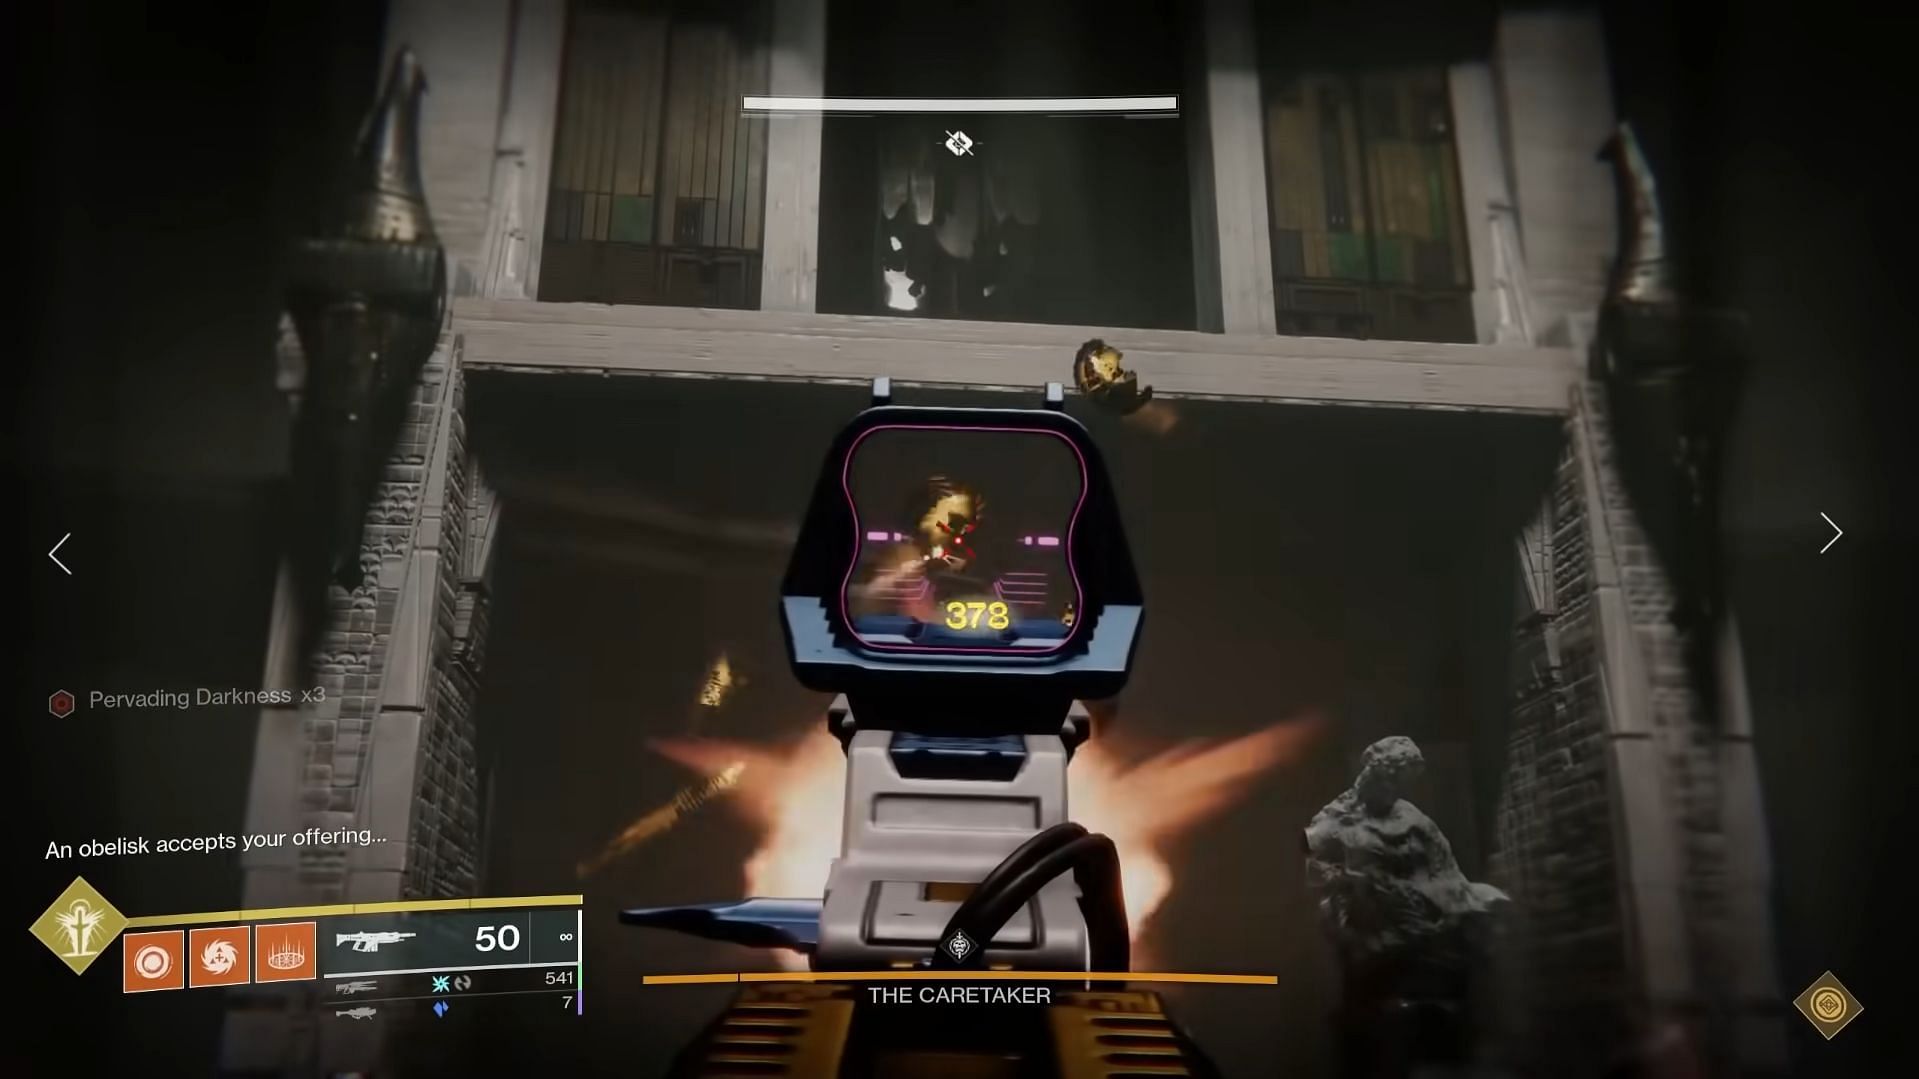
The Caretaker encounter takes place on a total of four floors inside the Pyramid, with each signifying the boss's DPS phase. Once you're in the main area, you will see an Obelisk with a door leading to a whole room full of Witches and Glyphs.
Divide your teams into three, with two members stunning the boss, two clearing adds, and two offering Glyphs to the Obelisk. There are three additional plates on each floor, which is the main area to damage the boss.
2) Main mechanics and DPS phase
The main objective of this encounter is to offer a total of nine Glyphs per floor to Obelisk and start the damage phase on The Caretaker. As mentioned before, there need to be three teams, each having their own objectives.
The tasks for each team are as follows:
1) Offerings/Obelisk team: This team must gather nine Glyphs before The Caretaker makes it to the Obelisk to wipe. If you're on this team, coordinate with your fellow fireteam members and take turns when it comes to going inside the room and picking up the Glyphs.
Once three Glyphs have been picked up, the other members outside will shoot the Darkness Crux to open the door and let the Glyph carrier out. Now shoot only the signs on the Obelisk that you or your teammate has picked up.
2) Adds/Worms clearing team: If you're in this team, go for Heavy weapons that excel in crowd control. Other builds such as Vortex grenades, Bleakwatchers, and even the new Volatile Rounds are great choices to clear the room.
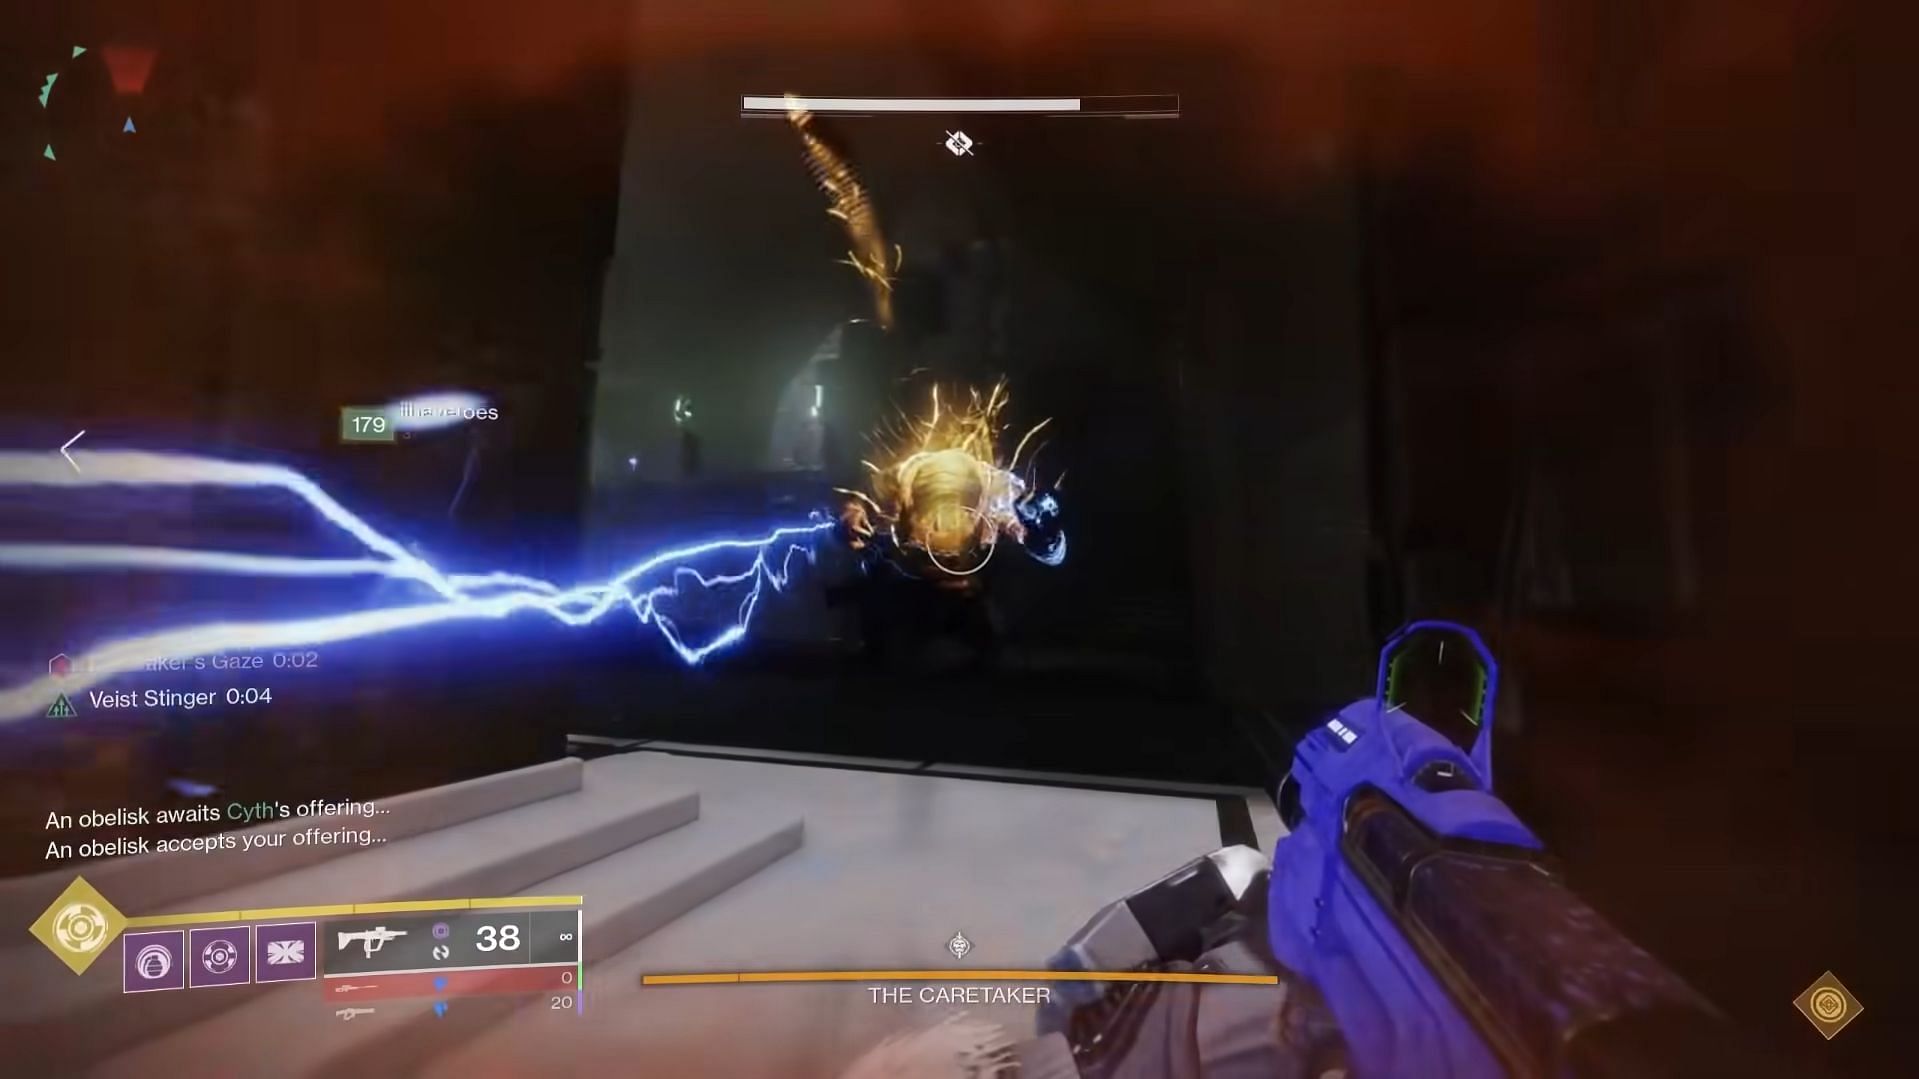
The Caretaker boss also shoots out Darkness Worms from his back, which can track a player and instantly kill them. Be sure to shoot them out instantly after they're launched into the air.
3) Boss taunting team: Each boss in Destiny 2 has stomping mechanics once you go near them. This encounter is no different. In a team of two, bait the boss into stomping you, which will make its head and back vulnerable to damage.
Shoot the head first, and then the back to stun. This process delays him from getting to the main Obelisk. Shooting the back will spawn the Darkness Worms into the air that the Add clearing team should take care of.
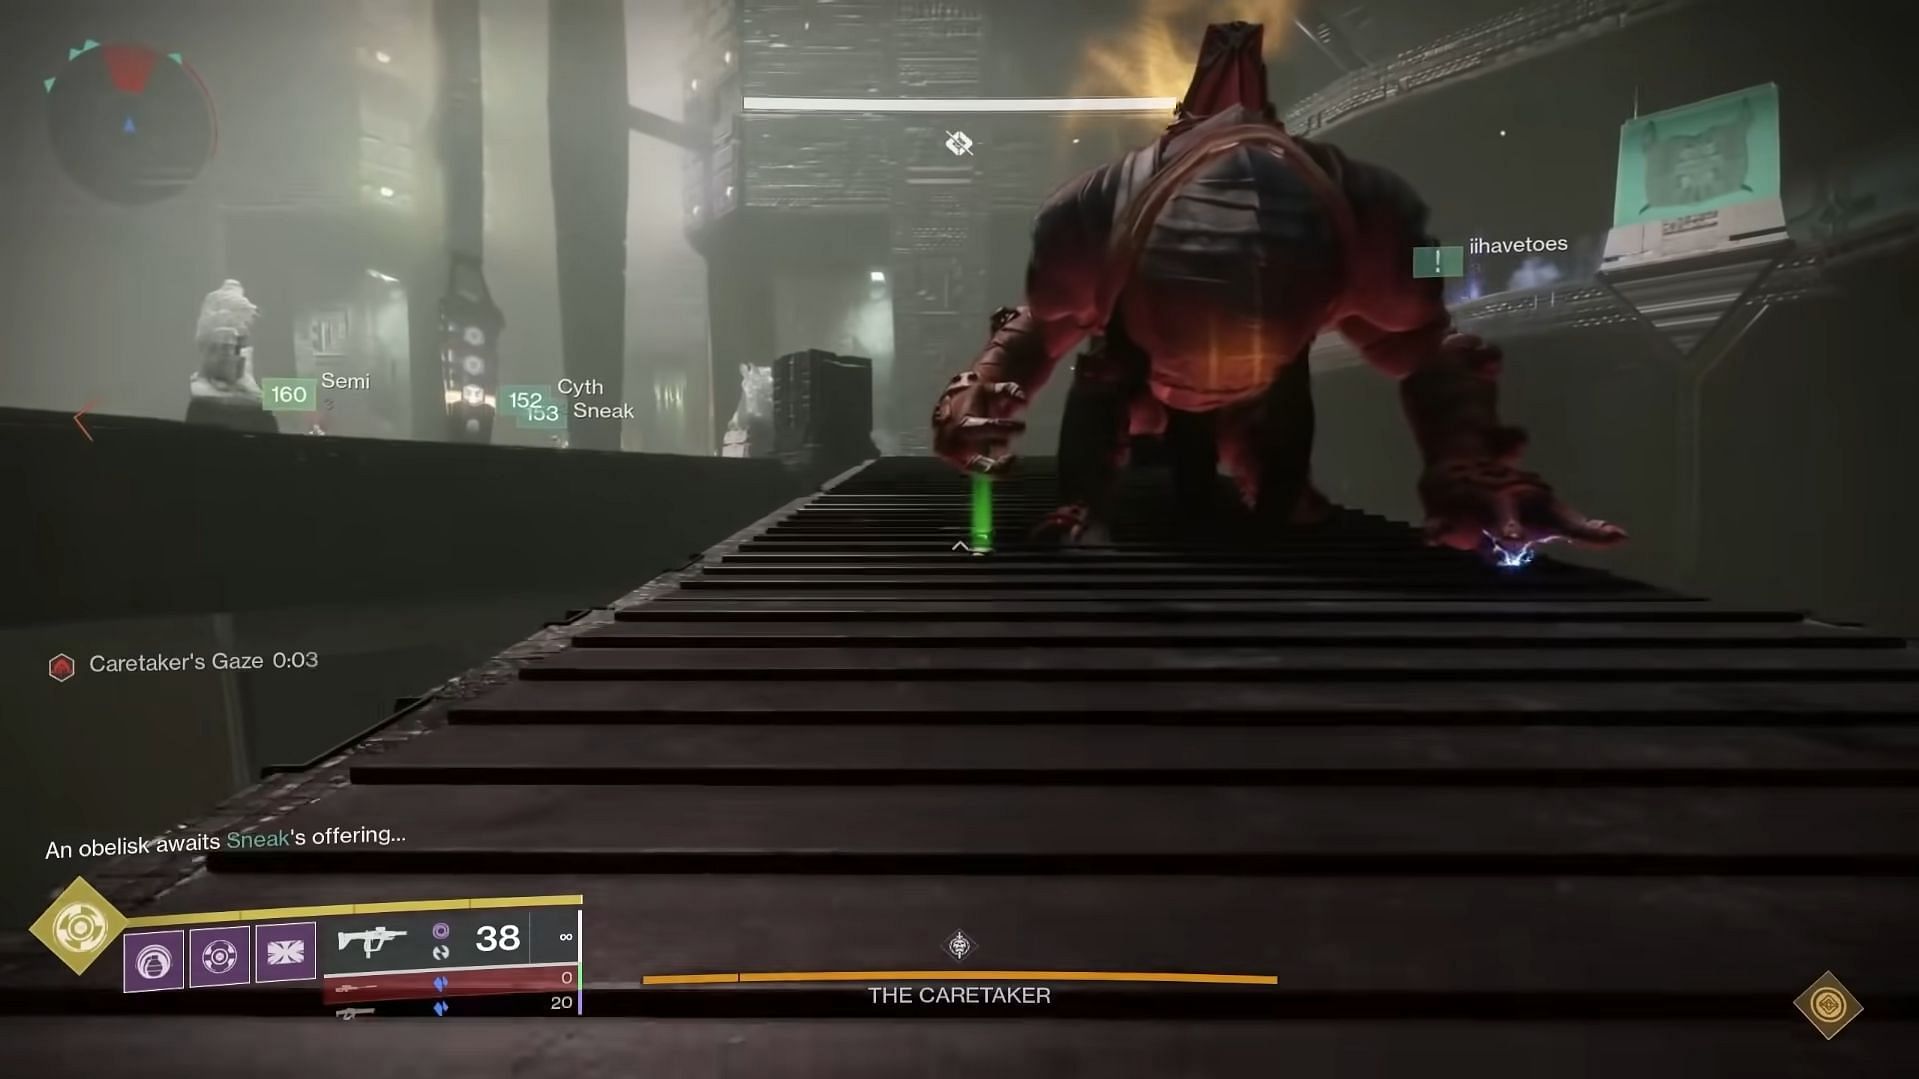
Once the Obelisk team has offered all nine Glyphs to Obelisk, the damage phase will begin. All six members of the fireteam must stand on three plates in total until the boss goes away. Repeat this process on the next two floors until the final stand.
The final stand doesn't require any additional mechanics, only raw damage output from all fireteam members to kill The Caretaker.

Are you stuck on today's Wordle? Our Wordle Solver will help you find the answer.