
'%20x='0'%20y='0'%20height='100%25'%20width='100%25'%20%0A%20%20%20%20%20%20%20%20%20%20xlink%3Ahref='data:image/jpg;base64,/9j/2wBDAAYEBQYFBAYGBQYHBwYIChAKCgkJChQODwwQFxQYGBcUFhYaHSUfGhsjHBYWICwgIyYnKSopGR8tMC0oMCUoKSj/2wBDAQcHBwoIChMKChMoGhYaKCgoKCgoKCgoKCgoKCgoKCgoKCgoKCgoKCgoKCgoKCgoKCgoKCgoKCgoKCgoKCgoKCj/wgARCAAGAAoDASIAAhEBAxEB/8QAFgABAQEAAAAAAAAAAAAAAAAAAAUG/8QAFQEBAQAAAAAAAAAAAAAAAAAABAb/2gAMAwEAAhADEAAAAMvEEx//xAAfEAACAQQCAwAAAAAAAAAAAAABAgQAAxEhBRIUFdH/2gAIAQEAAT8A4iE/rpYFqOPLRCNseutUjOVBaNY7Y3hz8r//xAAbEQAABwEAAAAAAAAAAAAAAAAAAQIDESJB4v/aAAgBAgEBPwBsptvSh//EABcRAAMBAAAAAAAAAAAAAAAAAAIDEgD/2gAIAQMBAT8AUsTqt//Z'%3E%3C/image%3E%3C/svg%3E)
Thalia and Melpomene is the fourth sub-quest to break the final seal in Genshin Impact's Search in the Algae Sea World Quest. Once again, you need to solve an Orthant's puzzle, which is located inside an underwater ruin south of the Tower of Gestalt. Solving this puzzle can be quite tricky because of the location of the first energy flow mechanism in the ruin. That said, the rest of the challenge is pretty easy.
You can earn a good amount of Primogems for free by solving the puzzle and completing the quest. Without further delay, this article will help you solve the final Orthant's Puzzle in Genshin Impact's Thalia and Melpomene quest.
If you are looking for solutions to other Orthant's Puzzles, then check out:
- Orthant's puzzle from Muse's Mother quest
- Orthant's puzzle from Cupid's Lover quest
- Orthant's puzzle from Meteoric Lance quest
Looking for Crossword hints & solutions? Check out latest NYT Mini Crossword Answers, LA Times Crossword Answers, and Atlantic Crossword Answers
Genshin Impact: Thalia and Melpomene Orthant's puzzle guide
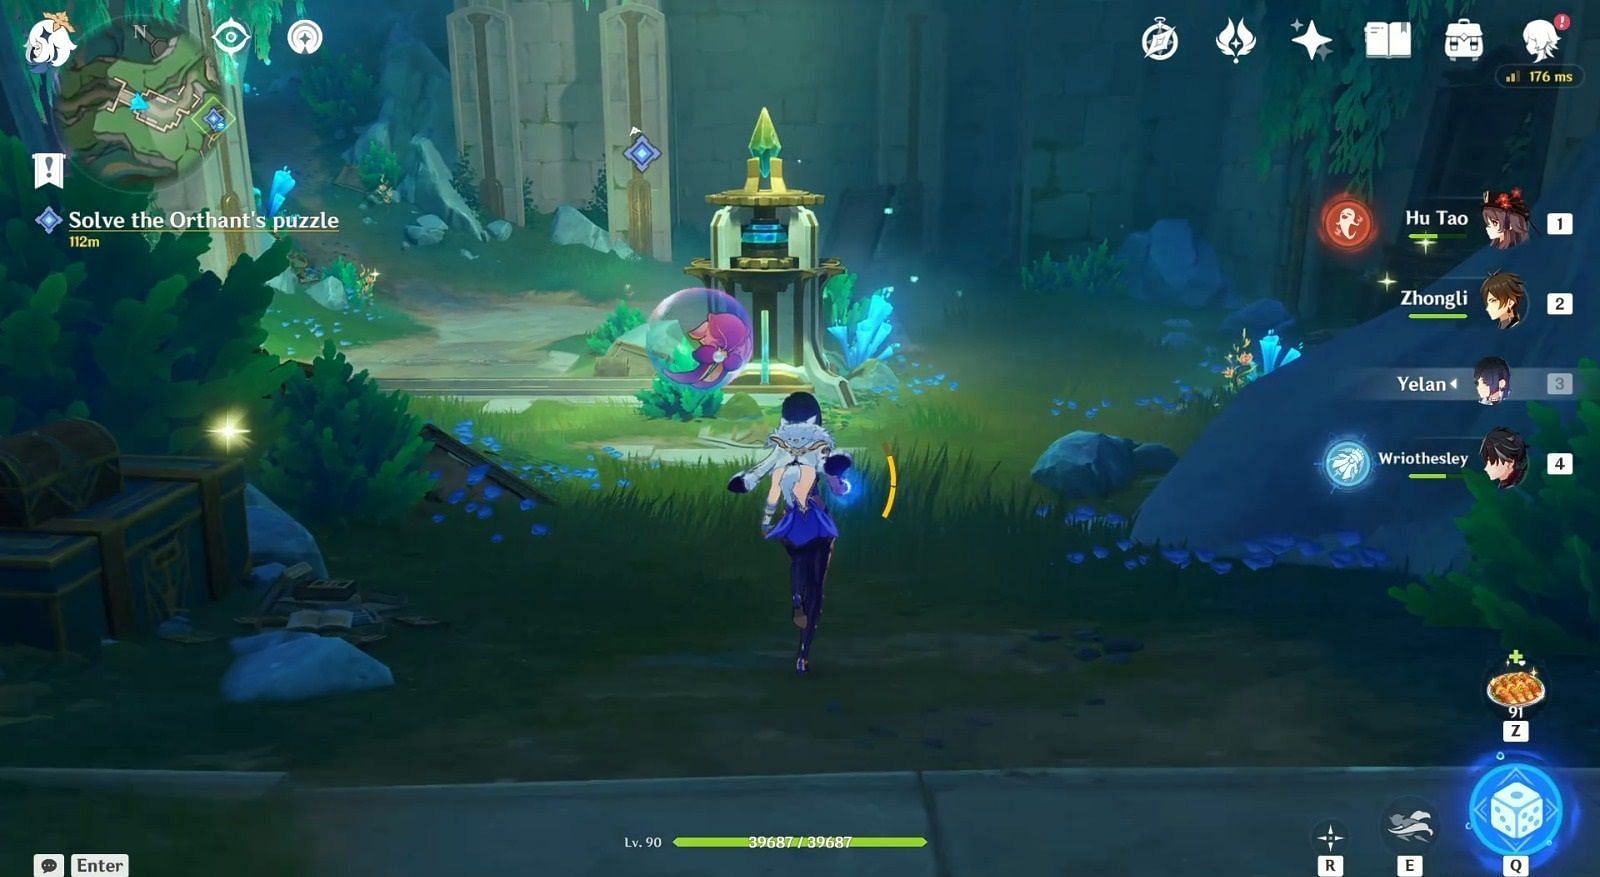
As mentioned earlier, you visit an underwater ruin south of the Tower of Gestalt during the Thalia and Melpomene quest in Genshin Impact. As soon as you enter the ruin, you will find the first energy flow machine and a purple mirror nearby. Release the water from that mechanism and head deeper into the tunnel until you find the second energy flow machine.
Interact with the machine to release the water and follow the channel. You will find the third mechanism on the lift. Use it to go up and release the water again.
Next, head into the main puzzle room and swim underneath the large machine in the middle. Keep moving ahead until you find a valve and three breakable rocks. You can use the Xenochromatic Crab's skill to break them.
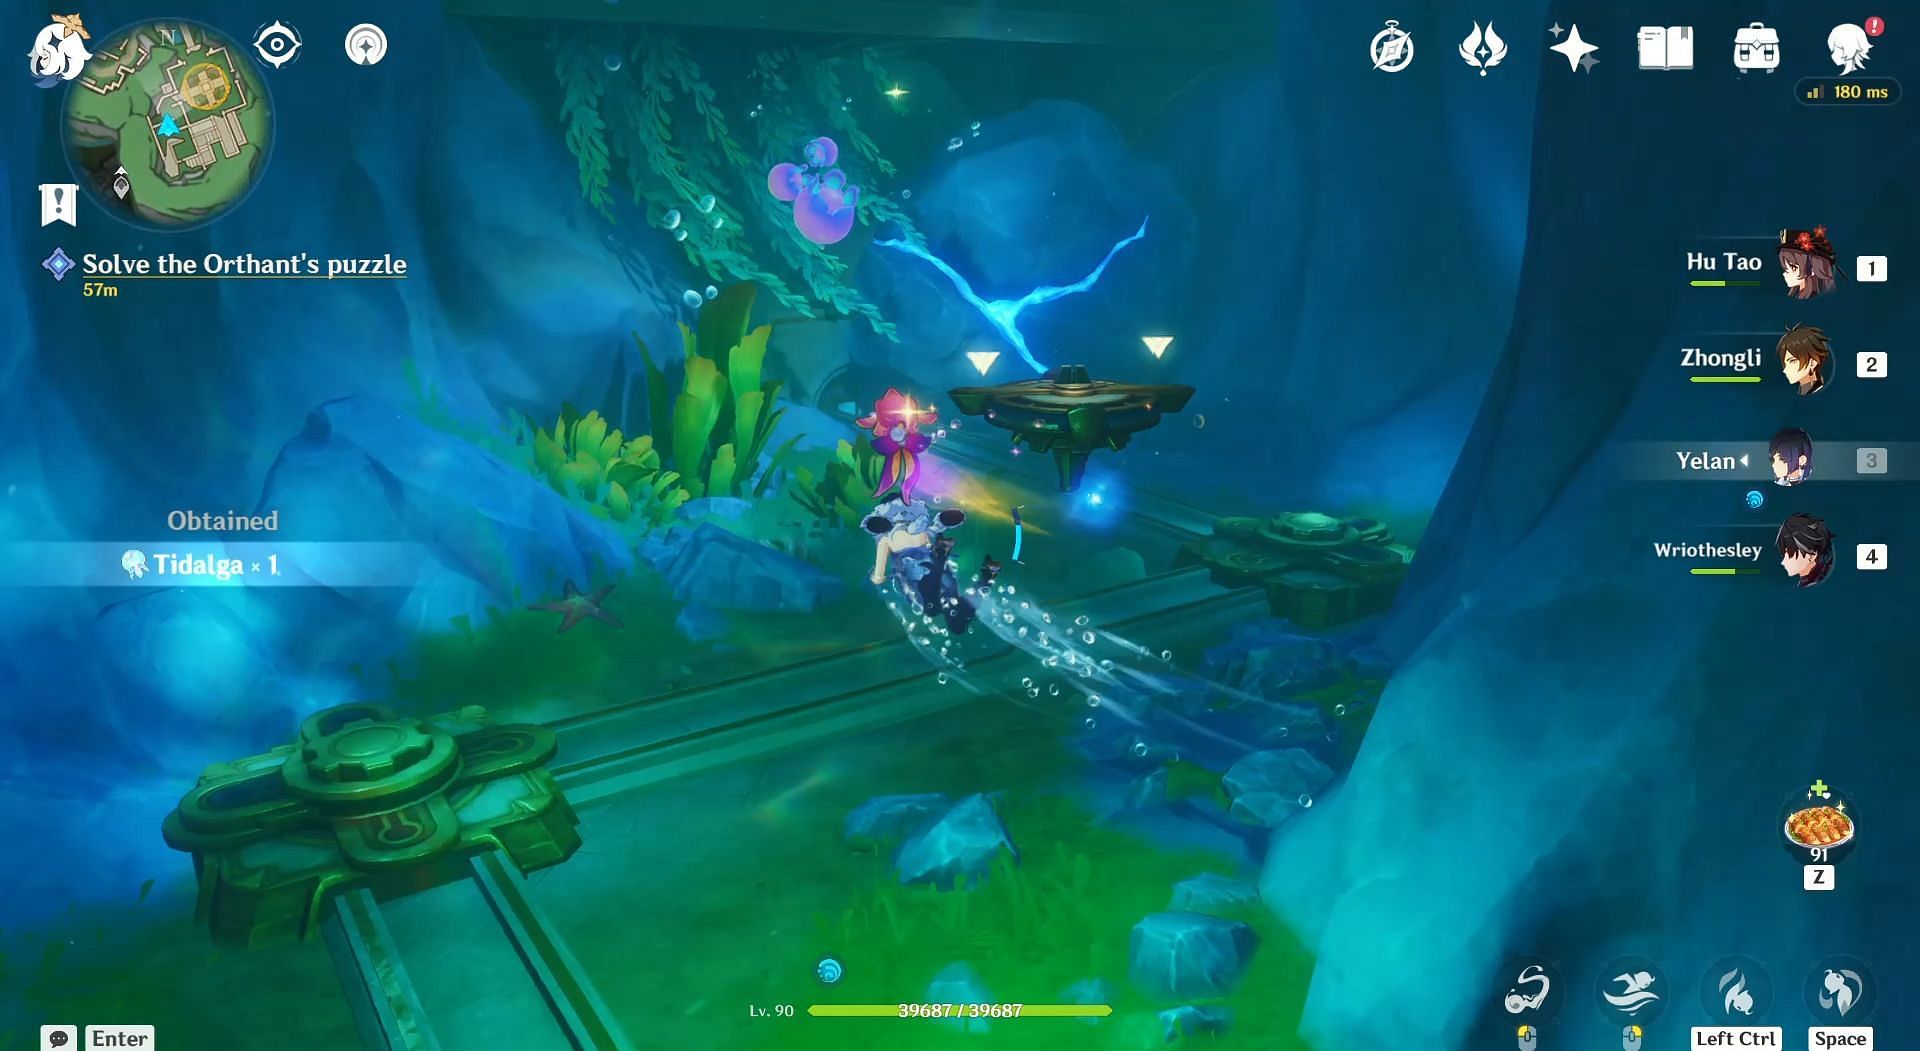
Under one rock, you will find two blue diamond-shaped crystals. Install them on the valve and use the Xenochromatic Ball Optopus' skill to operate the water channels. Finally, release the water from the machine and wait for it to reach the second machine. Interact with the latter and head to the next room.
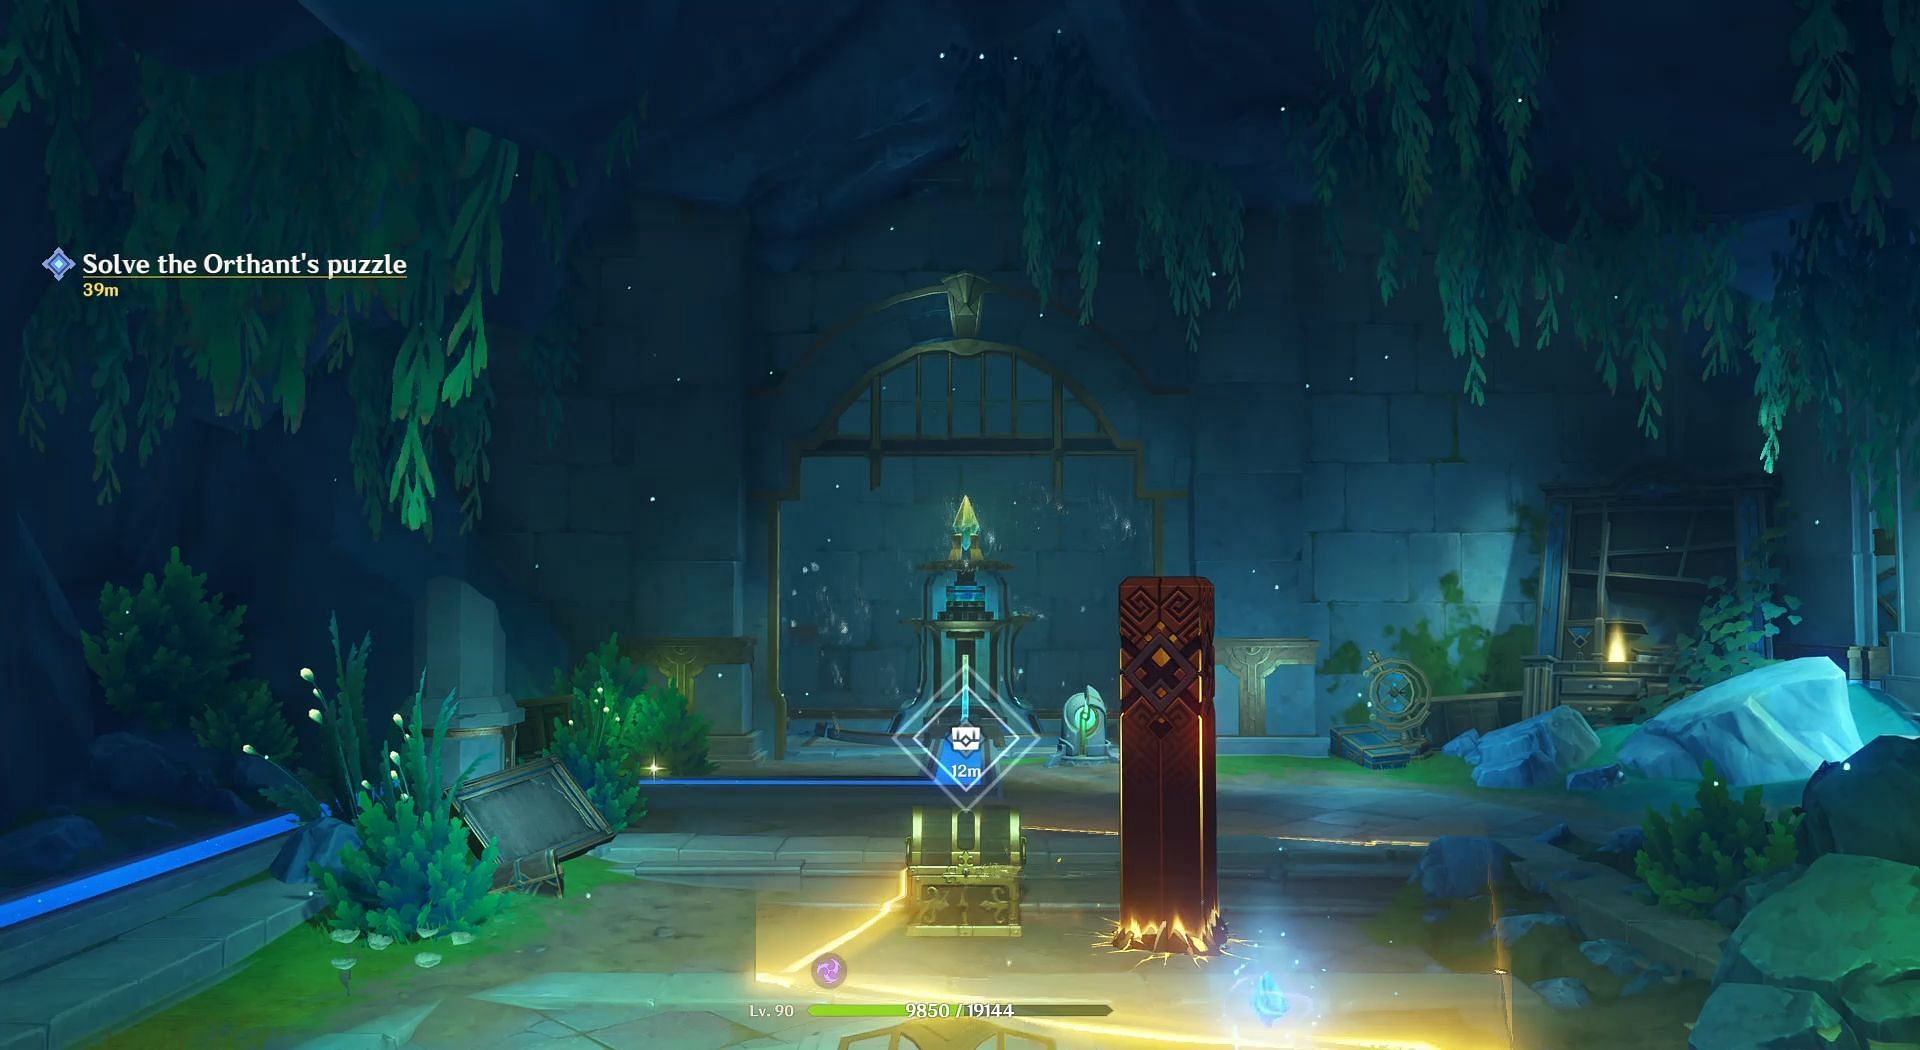
Keep moving ahead and defeat the Clockwork Meka enemies. A Precious Chest will spawn after the fight, and the gate to the lift will be unlocked. Additionally, you will also notice a white spot on the bookshelf in the corner. Interact with it to obtain a Special Key and head over to the lift to go up.

Release the water from the final machine and approach the large machine in the main puzzle room. This will trigger a brief cutscene and spawn a Luxurious Chest worth 10 Primogems in Genshin Impact.

Are you stuck on today's Wordle? Our Wordle Solver will help you find the answer.