
'%20x='0'%20y='0'%20height='100%25'%20width='100%25'%20%0A%20%20%20%20%20%20%20%20%20%20xlink%3Ahref='data:image/jpg;base64,/9j/2wBDAAYEBQYFBAYGBQYHBwYIChAKCgkJChQODwwQFxQYGBcUFhYaHSUfGhsjHBYWICwgIyYnKSopGR8tMC0oMCUoKSj/2wBDAQcHBwoIChMKChMoGhYaKCgoKCgoKCgoKCgoKCgoKCgoKCgoKCgoKCgoKCgoKCgoKCgoKCgoKCgoKCgoKCgoKCj/wgARCAAGAAoDASIAAhEBAxEB/8QAFgABAQEAAAAAAAAAAAAAAAAAAAMH/8QAFQEBAQAAAAAAAAAAAAAAAAAAAAH/2gAMAwEAAhADEAAAAMAmR//EAB4QAQEAAQMFAAAAAAAAAAAAAAIBAwAEIRIiYWLh/9oACAEBAAE/ADlJ2uRZYkjOk02HxzNLcIqzu49vmv/EABURAQEAAAAAAAAAAAAAAAAAAAAB/9oACAECAQE/AI//xAAVEQEBAAAAAAAAAAAAAAAAAAAAAv/aAAgBAwEBPwCn/9k='%3E%3C/image%3E%3C/svg%3E)
The Glider in Rise of the Ronin plays a significant role in enabling players to move freely and easily throughout the massive game world. It is an open-world game set in the Bakumatsu era with numerous places of interest, such as towns, temples, and battlefields. Thus, having a Glider in your inventory elevates your experience.
It is worth mentioning, though, that the Glider in Rise of the Ronin game is not available right from the beginning. You have to complete a specific mission to get it. Fortunately, the mission comes early in the game and is quite straightforward to complete.
This article will fully guide you on how to unlock the Glider in Rise of the Ronin.
Looking for Crossword hints & solutions? Check out latest NYT Mini Crossword Answers, LA Times Crossword Answers, and Atlantic Crossword Answers
Easy steps to unlock the Glider in Rise of the Ronin
Unlocking the Glider (Avicula) is an imperative requirement before going into the story mission known as "Locating the Camera." Notably, it can be unlocked during the prologue mission, "The Bridge to Yokohama."
Follow these steps from the "The Bridge to Yokohama" mission to unlock the Glider in Rise of the Ronin:
- Upon following the waypoint, which leads you to the guard station at the entrance to Yokohama city across the bridge in "The Bridge to Yokohama," you will have to find and obtain a checkpoint permit from this place.
- Then, when you pursue this mission further, you end up in Ishikawa prefecture, where a ronin will be your first encounter. He will lead you to the magistrate’s estate.
- Then, you will be ready to initiate the "Curtain Falls, Curtain Rises" mission.
- There’s a locked storeroom to the right just before you go up to a building where you’re going to battle the boss, Gonzo. After beating Gonzo, the rewards will be a checkpoint permit and a storehouse key.
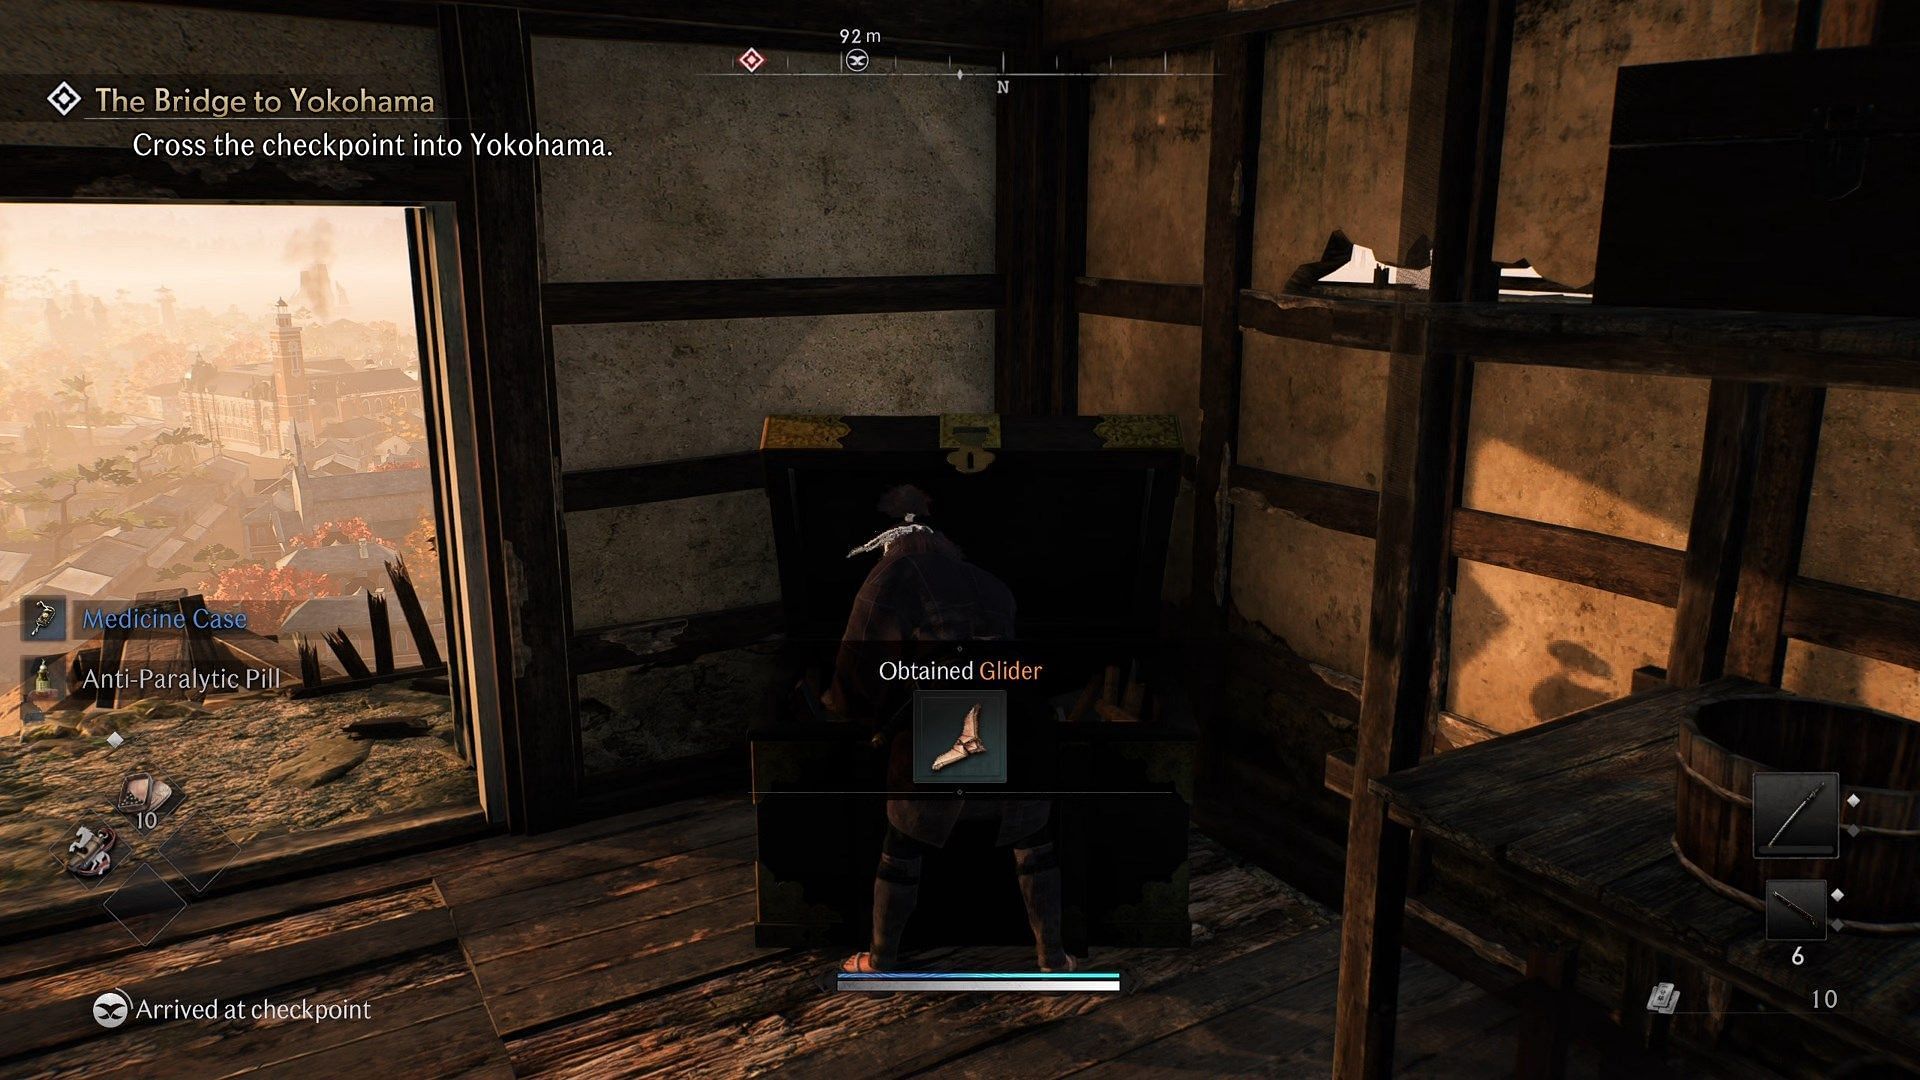
- Finally, turn around and head back to the storehouse you visited previously. Locate the door with the loot and open it to reveal a chest housing the Glider.
Now that you have obtained the Glider in Rise of the Ronin, you can utilize it at any time while airborne.
How to operate the Glider in Rise of the Ronin
To use the Glider once you unlock it, refer to these steps:
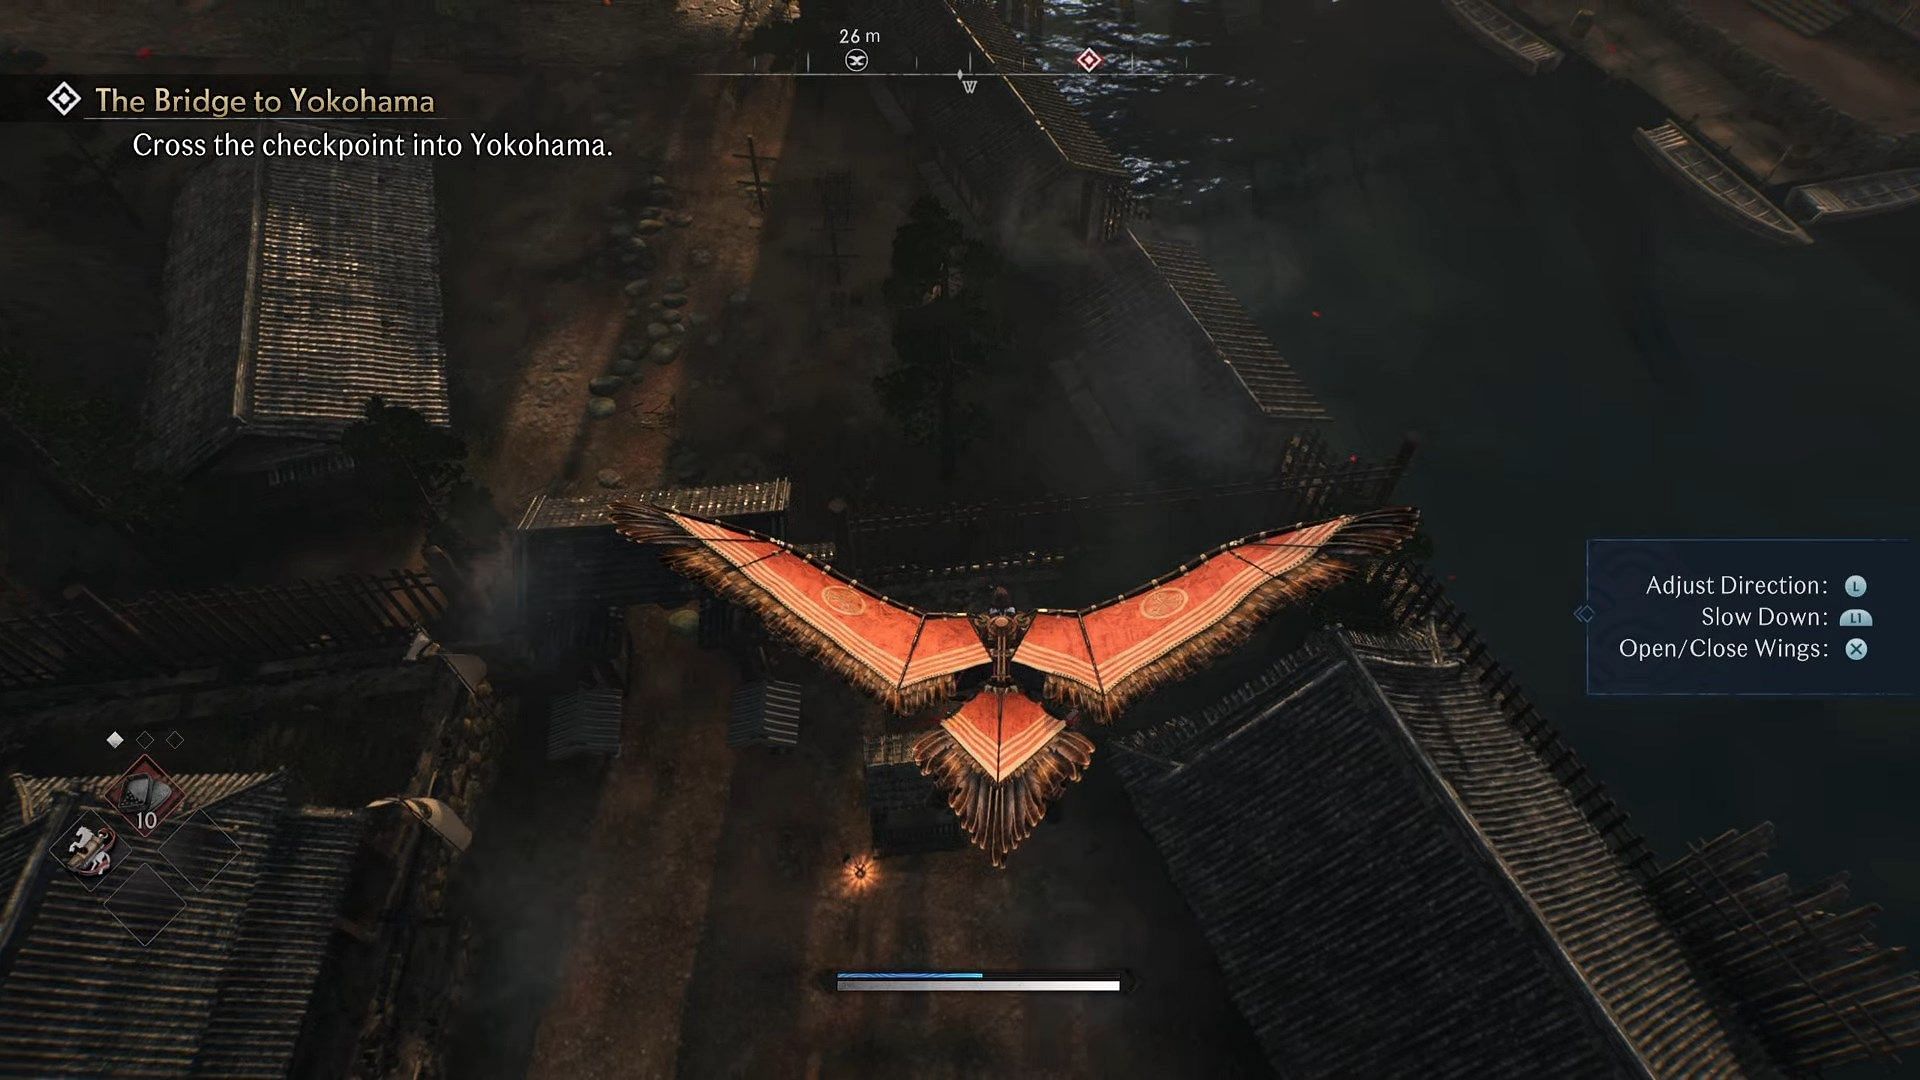
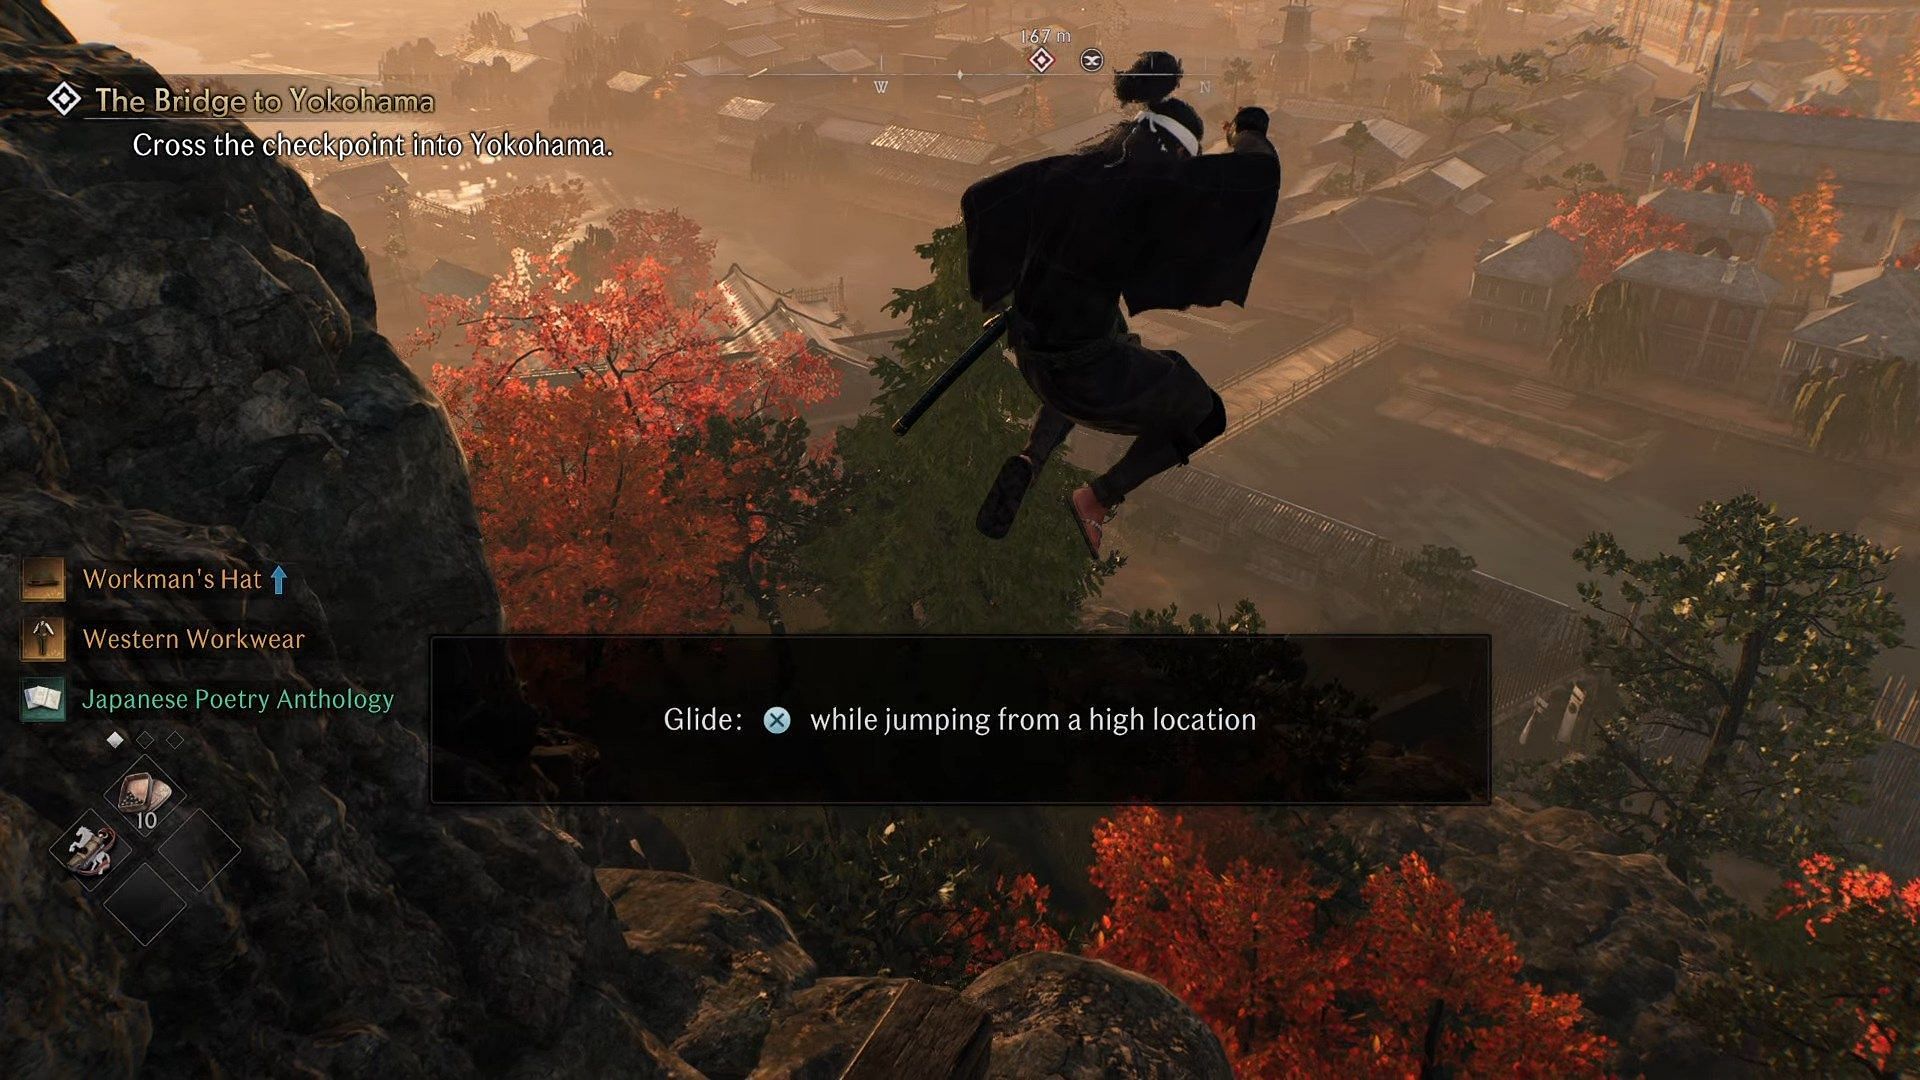
- When you jump from a high place, press the X button on your controller and adjust your direction using the left analog stick.
- To decelerate the Glider, use the R1 button.
- Use the X button to regulate and steady the Glider’s wings. It's an amazing way to descend quickly.
That said, when gliding, remember that your Ki will decrease constantly, so it is important to monitor this factor to avoid falling abruptly to the ground.
Check out other Rise of the Ronin features:
Rise of the Ronin multiplayer || Rise of the Ronin vs. Wo Long || Rise of the Ronin trophy list || Is Rise of the Ronin on PlayStation 4?

Are you stuck on today's Wordle? Our Wordle Solver will help you find the answer.