

'%20x='0'%20y='0'%20height='100%25'%20width='100%25'%20%0A%20%20%20%20%20%20%20%20%20%20xlink%3Ahref='data:image/jpg;base64,/9j/4AAQSkZJRgABAQAAAQABAAD/2wCEAAMDAwMDAwQEBAQFBQUFBQcHBgYHBwsICQgJCAsRCwwLCwwLEQ8SDw4PEg8bFRMTFRsfGhkaHyYiIiYwLTA+PlQBAwMDAwMDBAQEBAUFBQUFBwcGBgcHCwgJCAkICxELDAsLDAsRDxIPDg8SDxsVExMVGx8aGRofJiIiJjAtMD4+VP/AABEIAAYACgMBIgACEQEDEQH/xABgAAEBAQAAAAAAAAAAAAAAAAAAAQgQAAEEAgMBAAAAAAAAAAAAAAECAwQFABIGByEUAQEBAAAAAAAAAAAAAAAAAAACBBEAAgEEAwAAAAAAAAAAAAAAAQMAAgQRIjFBkf/aAAwDAQACEQMRAD8AlTfWsvt665JXtwo7EP6EBtTR3W6uIGPdSBoFDYek5snjPYEK743T2cuC4iTOro0h5LRToHHmwtQRsCdQT5jGNG1zcg8CoY8kLCaVrx2J/9k='%3E%3C/image%3E%3C/svg%3E)
Star Wars Jedi Survivor boasts a grueling journey toward freedom. As Cal Kestis, players will fight tooth-and-nail to save the world from the Galactic Empire's influence. This journey takes the hero and his little droid BD-1 to locations across the galaxy, like Coruscant and Koboh. The latter is where things pick up steam as Cal finds his ship crash-landed and must seek help to progress further. This takes them to Pyloon's Saloon, where they meet up with returning character Greez and even Bode Akuna.
After convincing the duo to fix the Mantis by retrieving the Gyro Module, Cal heads to the Forest Array. New information has come to light thanks to the rescued droid Zee who speaks about a place called Tanalorr. This walkthrough for Star Wars Jedi Survivor will guide you through every step of the main plot, from exploring the Forest Array to getting the Mantis fixed.
Here's how to complete the sub-mission Fallen Jedi in Star Wars Jedi Survivor
Players will follow and complete these mission objectives in order in Star Wars Jedi Survivor:
Looking for Crossword hints & solutions? Check out latest NYT Mini Crossword Answers, LA Times Crossword Answers, and Atlantic Crossword Answers
- Open Forest Gate
- Reach Forest Array
- Move Through Tanalorr
- Defeating Dagan Gera
- Check on the Mantis
Head to the Forest Gate in Star Wars Jedi Survivor
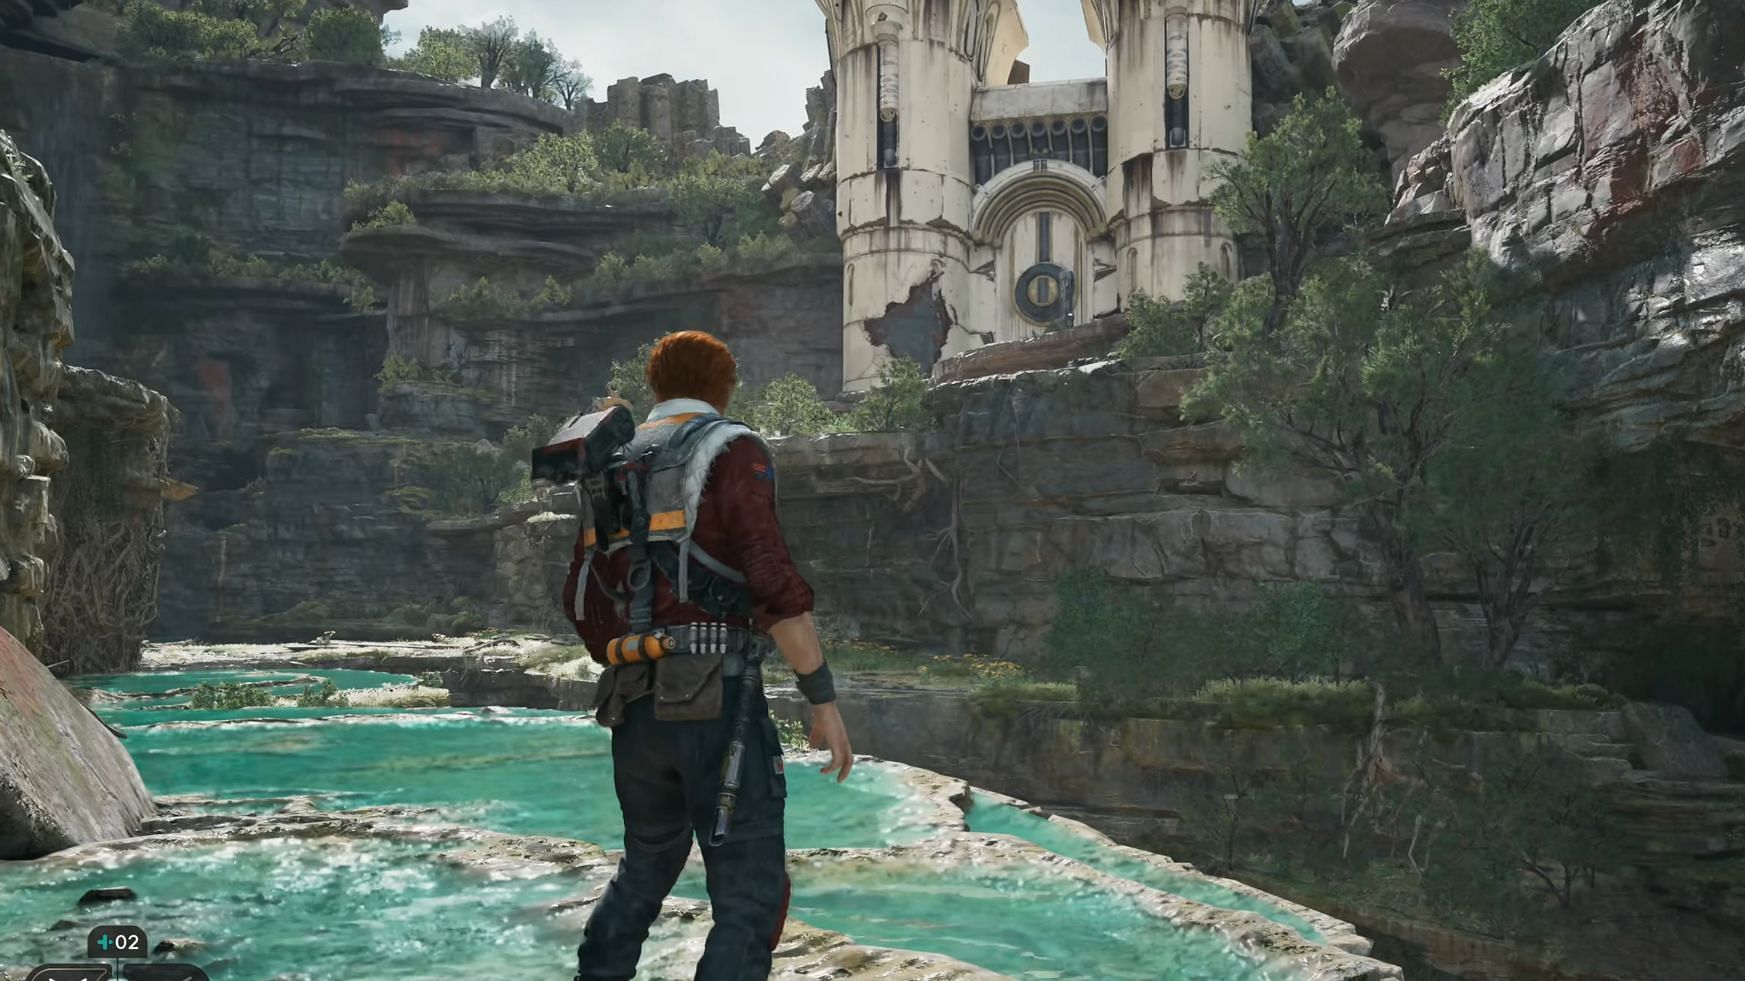
With things sorted out at the Cantina, head towards the Forest Gate. Exit the Saloon towards the large marble gate past the ranch in Rambler's Reach outpost. It can be reached by parkour across a series of ledges, but beware of enemy spawns, including Bedlam Raiders. Furthermore, the Swindler's Wash Meditation Point is also nearby, allowing players to replenish lost health.
Now, there are two paths here: One is the bridge on the right, which is broken. The other is the path leading further inland to the left. Take the former and follow the path until you reach a waterfall below. Look down to see Bilemaw near the waterfall. This beast is one of the toughest common foes in Star Wars Jedi Survivor, so caution is advised.
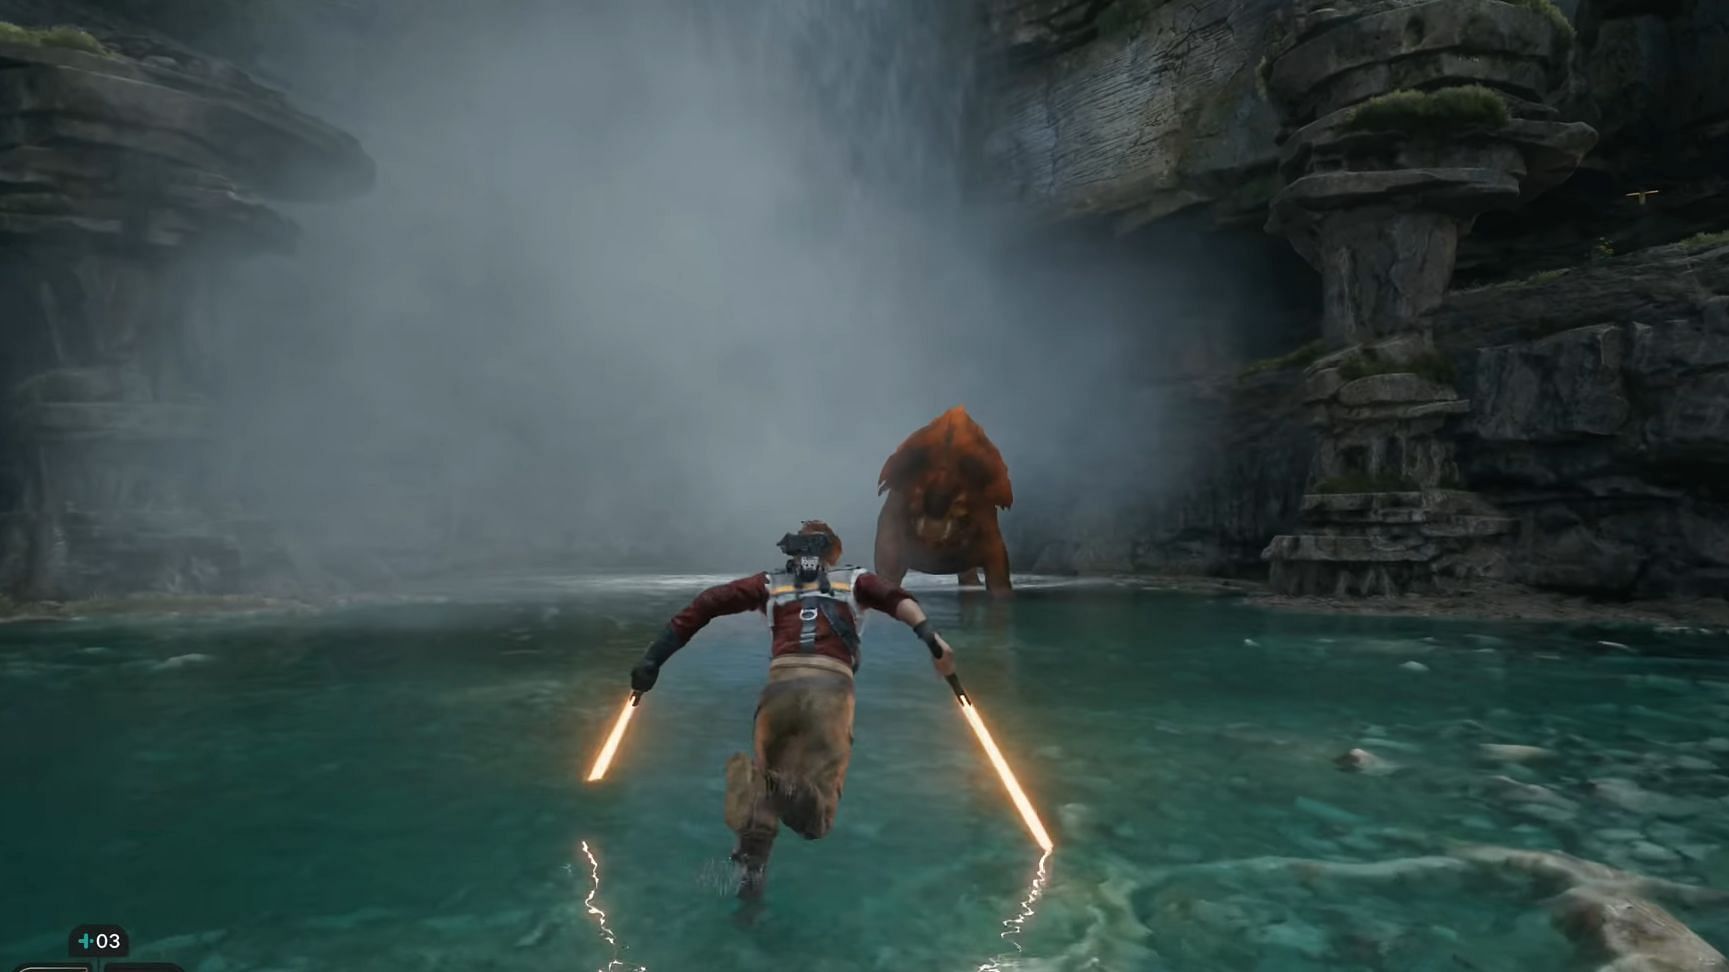
There is no way around it, and it will be impossible to climb back up after jumping to where the creature is. As such, be prepared for a fight. The monster can occasionally chuck Bramliks out of its mouth, which will follow and attack Cal. It has an unblockable stomp as well as a side slam.
It can also perform blockable chomps and headbutts, so pay attention to every move it makes to block its attacks and dodge as needed.
Since it is slow to turn, try to target its rear. Once defeated, head towards the waterfall to see a scalable wall. Run across it to get to the upper ledge and follow the path to the other side of the broken bridge.
However, many B1 Melee Battle Droids will be dropped before Cal to impede his progress. Thankfully, they are easy to deal with despite outnumbering him 4-to-1.
Reach the gate and activate the nearby zipline to allow easy access to the Swindler's Wash Meditation Point. Deal with a pair of Bedlam Raiders guarding the gate and interact with the door mechanism to open it.
Head to the Forest Array
Enter the Gate and head down the path to reach a bunch of vines blocking the way. This is the first step towards reaching the Forest Array. Check out our extensive guide to see how to make it through this new area in Star Wars Jedi Survivor.
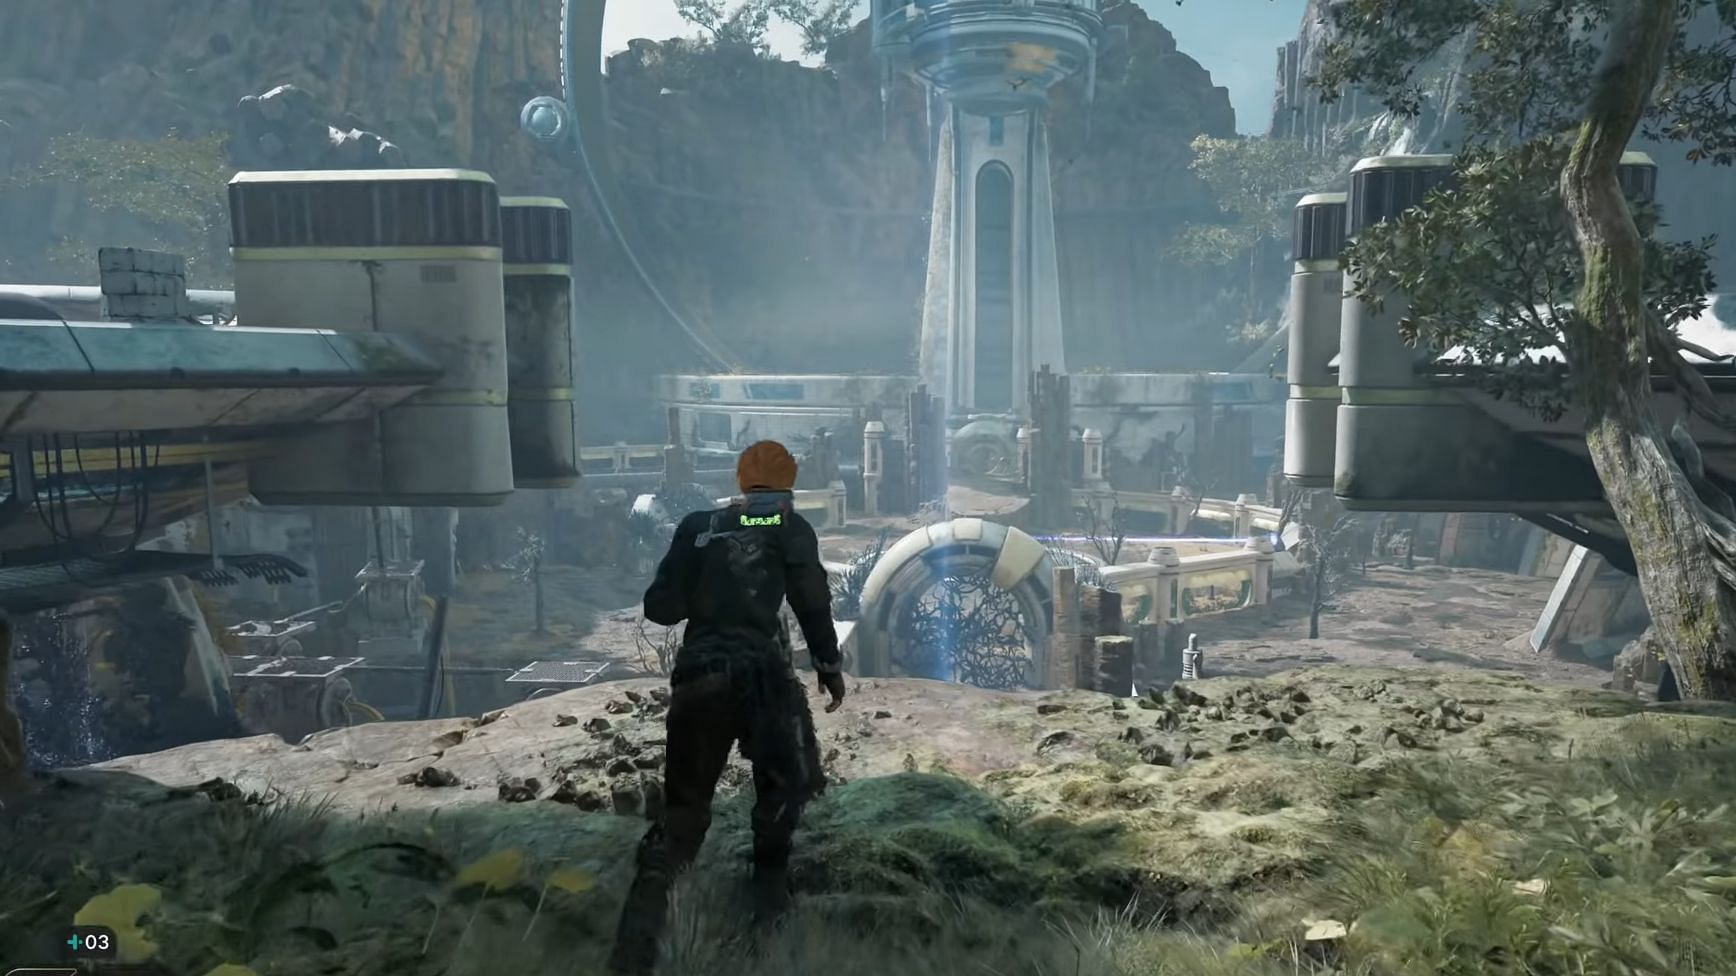
Exploring the Forest Array in Star Wars Jedi Survivor
Hidden amidst the near-impenetrable wall of wilderness lies a series of high-tech ruins. Hop down onto the platform below and activate the Forest Array Meditation Point ahead.
Each Meditation Point has doorways to the left, right and forward sides, but all are blocked by a substance known as Koboh Barrier. Since Cal cannot proceed past it yet, the only way forward is to create a makeshift bridge by knocking down a metal pole on the left side of the area.
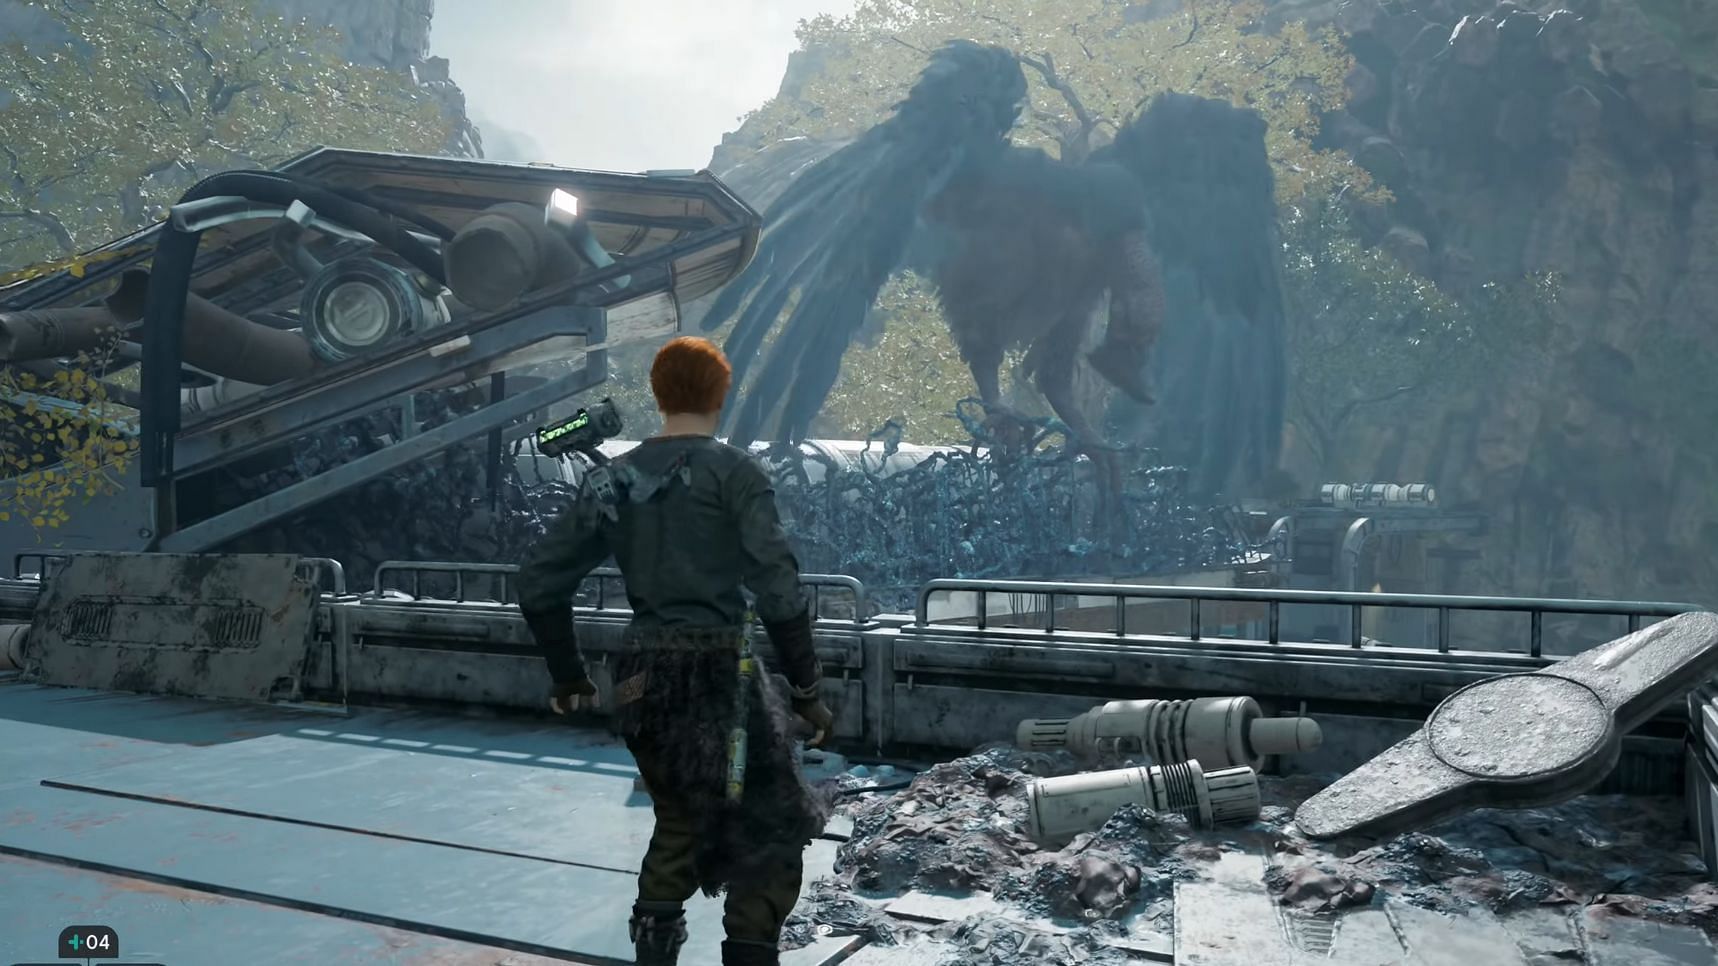
Follow the linear parkour challenge and climb to the top of the landing to see a large bird-like creature trapped in a cluster of Koboh Barrier. Proceed to the left and create a zipline pathway to and from the Meditation Point.
To progress further, go to the zipline machine and head downwards until you encounter a blocked door. Climb the metal grates next to it and make your way past the giant bird - which will lead to Cal getting knocked down onto an area below.

Follow the linear path, and unlock the door on the left that leads back to the zipline. Back on the main path, get ready for another challenging fight against a Mogu.
This brute can lunge toward Cal and even grab him, leading to a QTE segment. Overall, it’s best to focus on dodging rather than parrying against this monster. Once dealt with, move on by climbing upwards to the top of the roof. However, past here, the only way is down, which leads Cal to an Orb Amplifier.
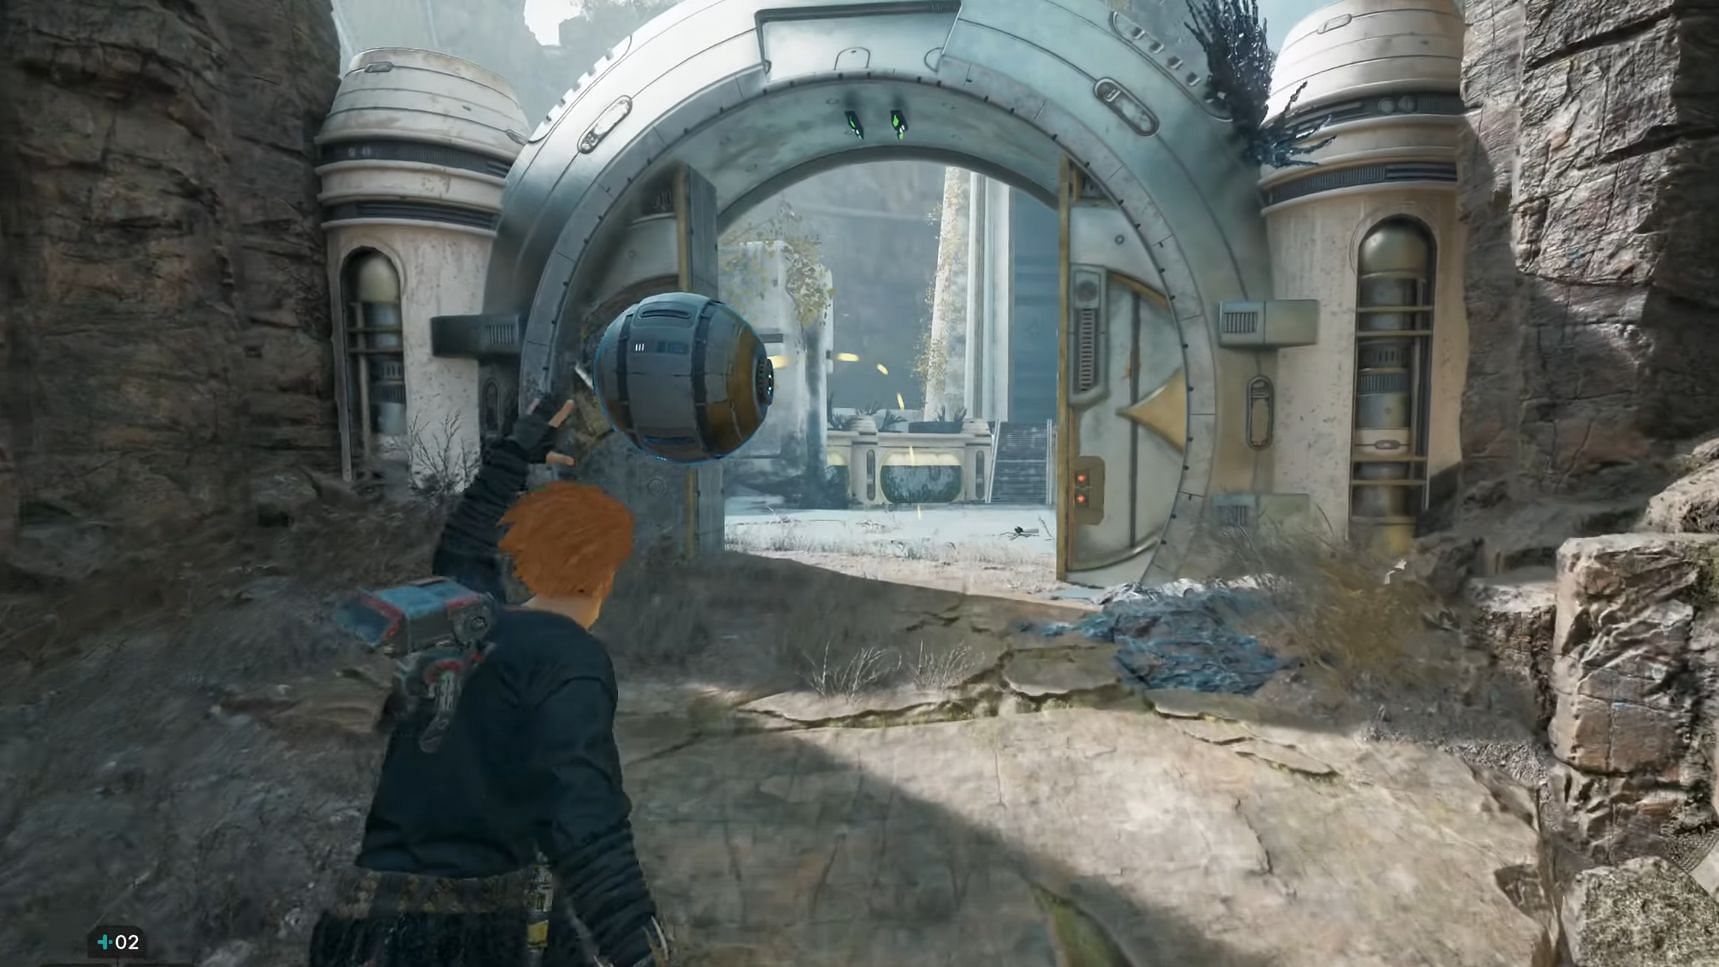
Grab the Orb nearby and slot it into this contraption to clear the Koboh Barrier that blocks the way. This clears both left and right doorways near the Forest Array Meditation Point as the Orb Amplifier beam travels in a straight line.
Move to another room where the beam clears up and parkour upwards. After dropping on the landing, be sure to cut the rope to create a shortcut, then jump down the other side.
New adventures in the Bilemaw Den
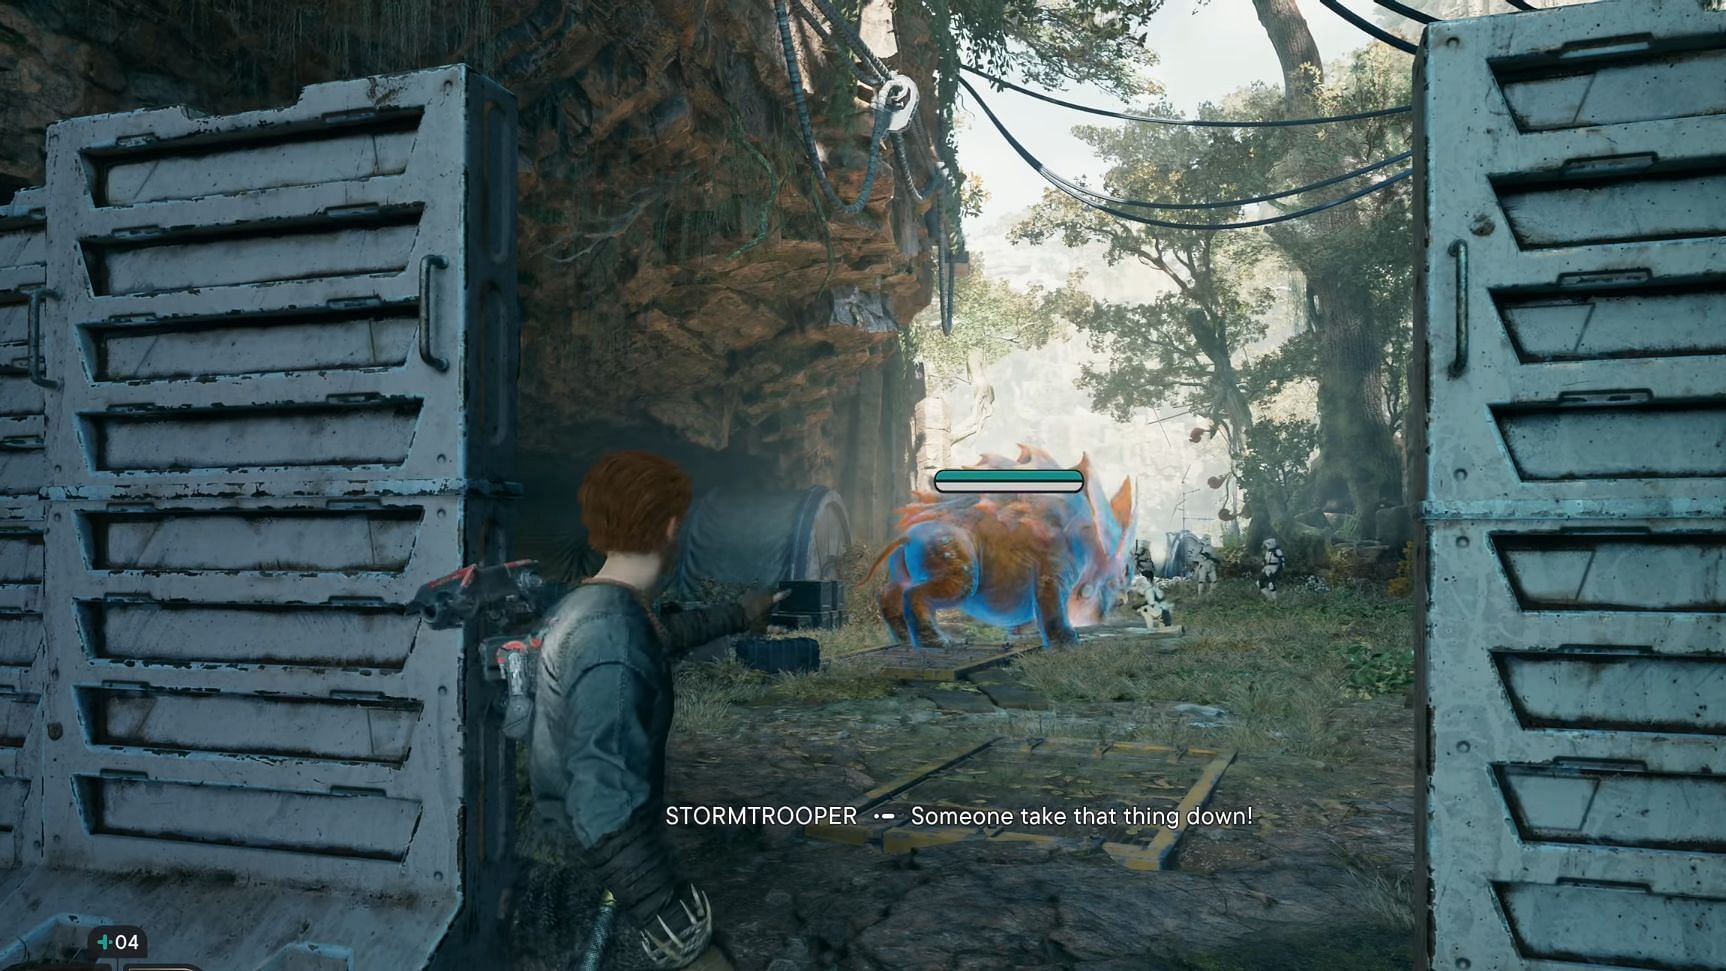
Take the path to the right and head onwards until you reach a Stormtrooper enemy with a bunch of orange floating devices. Since these cannot be used yet in Star Wars Jedi Survivor, turn around and look to the right to see an area that leads underground. Squeeze through the gap to reach the Bilemaw Den.
Players should grab the Confusion: Major Fauna Force upgrade that lies ahead, as it will come in handy in the upcoming fight. Before that, be sure to rest at the Bilemaw Den Meditation Point up ahead.
Head past to reach the enclosure with a sleeping Bilemaw and a few Stormtroopers. Use the newly obtained ability on the beast to temporarily alter its allegiance, making it fight for Cal.
The effect should wear off when the Stormtroopers have been dealt with, so be prepared to face Bilemaw. After it has been defeated, take a left to head past the small camp. Follow the wooden ramp, which is a linear parkour section across a series of vines.
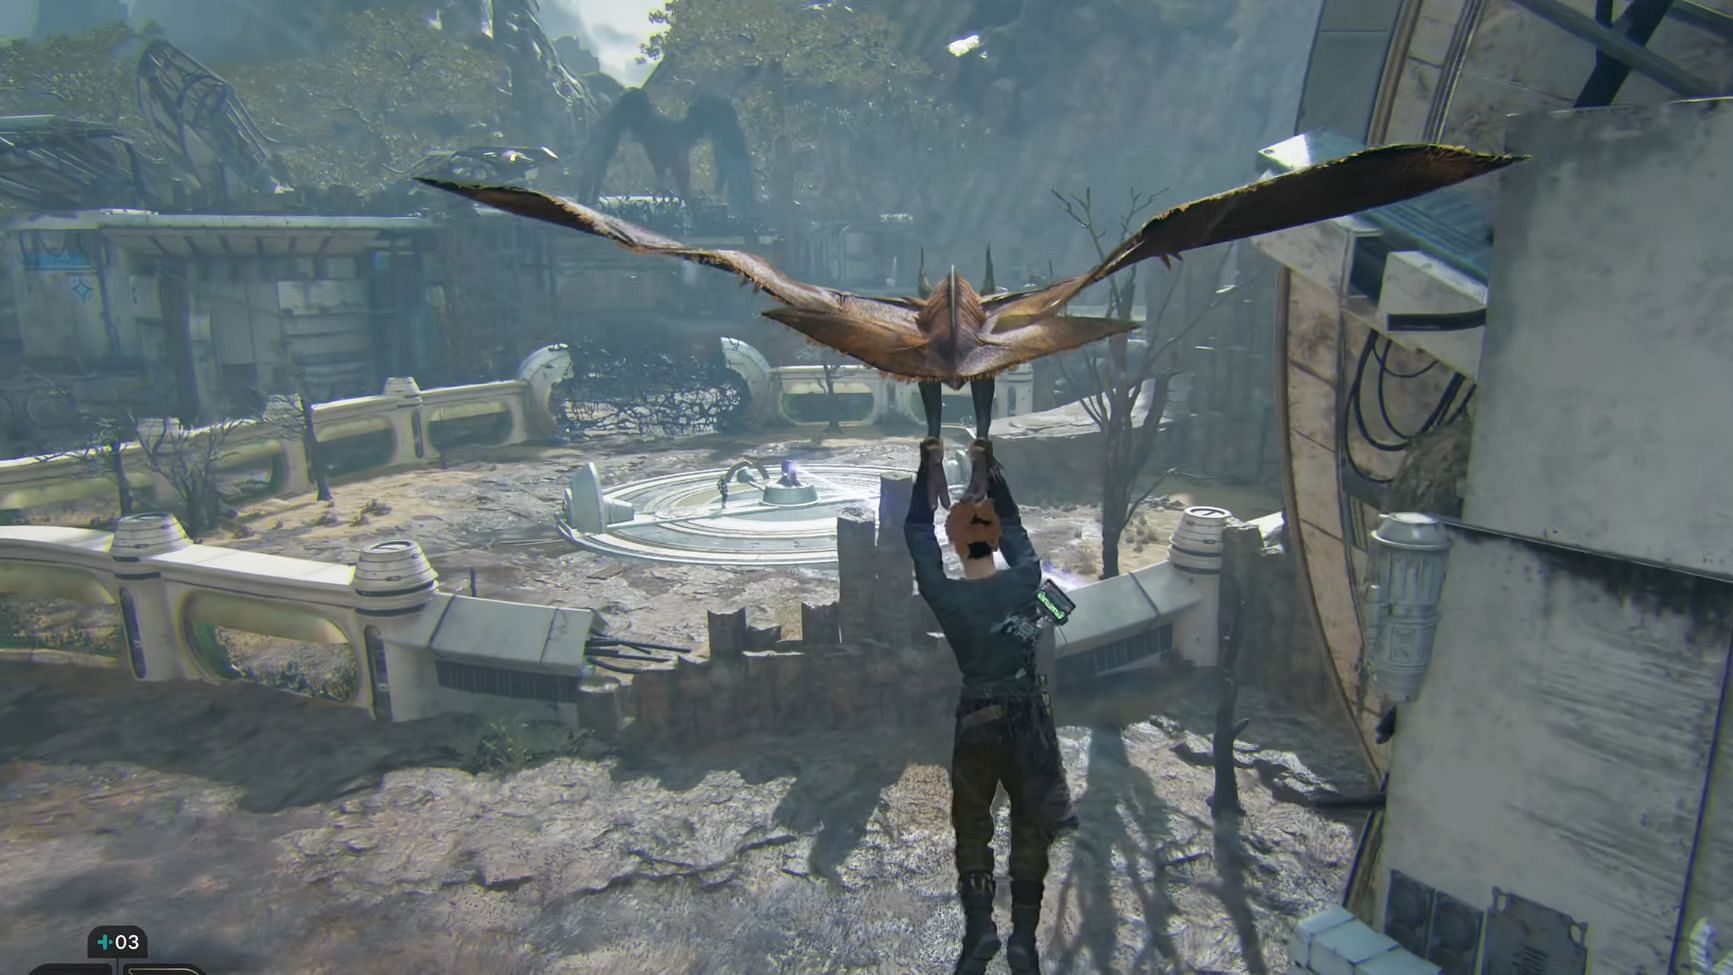
Eventually, the duo will reach a flying creature called Relter that kicks off a brief cutscene. This allows Cal to control a Relter through set segments. Hang on to it and follow the path back to the main Forest Array area in Star Wars Jedi Survivor.
Back to the search
After dropping onto the platform, look to the left to see a door embedded in the rocky cliffside. Interact with it to unlock a shortcut. Back on the main path, follow the curve of the platform to fight a Gunner Stormtrooper. Deal with him and reach the other end to find more of these Imperial soldiers. The Gunner atop the platform above should be the most problematic, so first deal with the ground forces and then scale the wall to get to him.
Once done, reach out to Relter at the end of the platform to initiate another flight segment. This leads Cal to an area with an Orb Amplifier beyond the sea of Koboh Dust.
Deal with the Stormtrooper here and initiate the mechanism once to make the beam hit the doorway with the Forest Array Meditation Point. Hit it another time to have it face the giant bird. This should release it from the substance's grasp. Follow the beam to reach a metal grating and climb up.
Follow the linear path to the end until you reach another Relter, which takes Cal to a group of enemies, including a Bilemaw. Using the Confuse ability on the monster is recommended to help deal with the mob of Stormtroopers.
Deal with all threats and unlock the door past the ramp near the Stormtroopers that leads back to the Orb mechanism.
Standing on the platform's edge, release the Orb from the contraption using Force and take it back to the area with the Stormtroopers. Chuck it across the gap to cross, then pick it back up and slot it into the machine at the top of the stairs to create a bridge. Use Force to install the Orb into subsequent mechanisms to keep moving forward using makeshift bridges.
Take the elevator up to the Rehabilitation Wing Meditation Point.
The key of Tanalorr and the fight against Dagan Gera
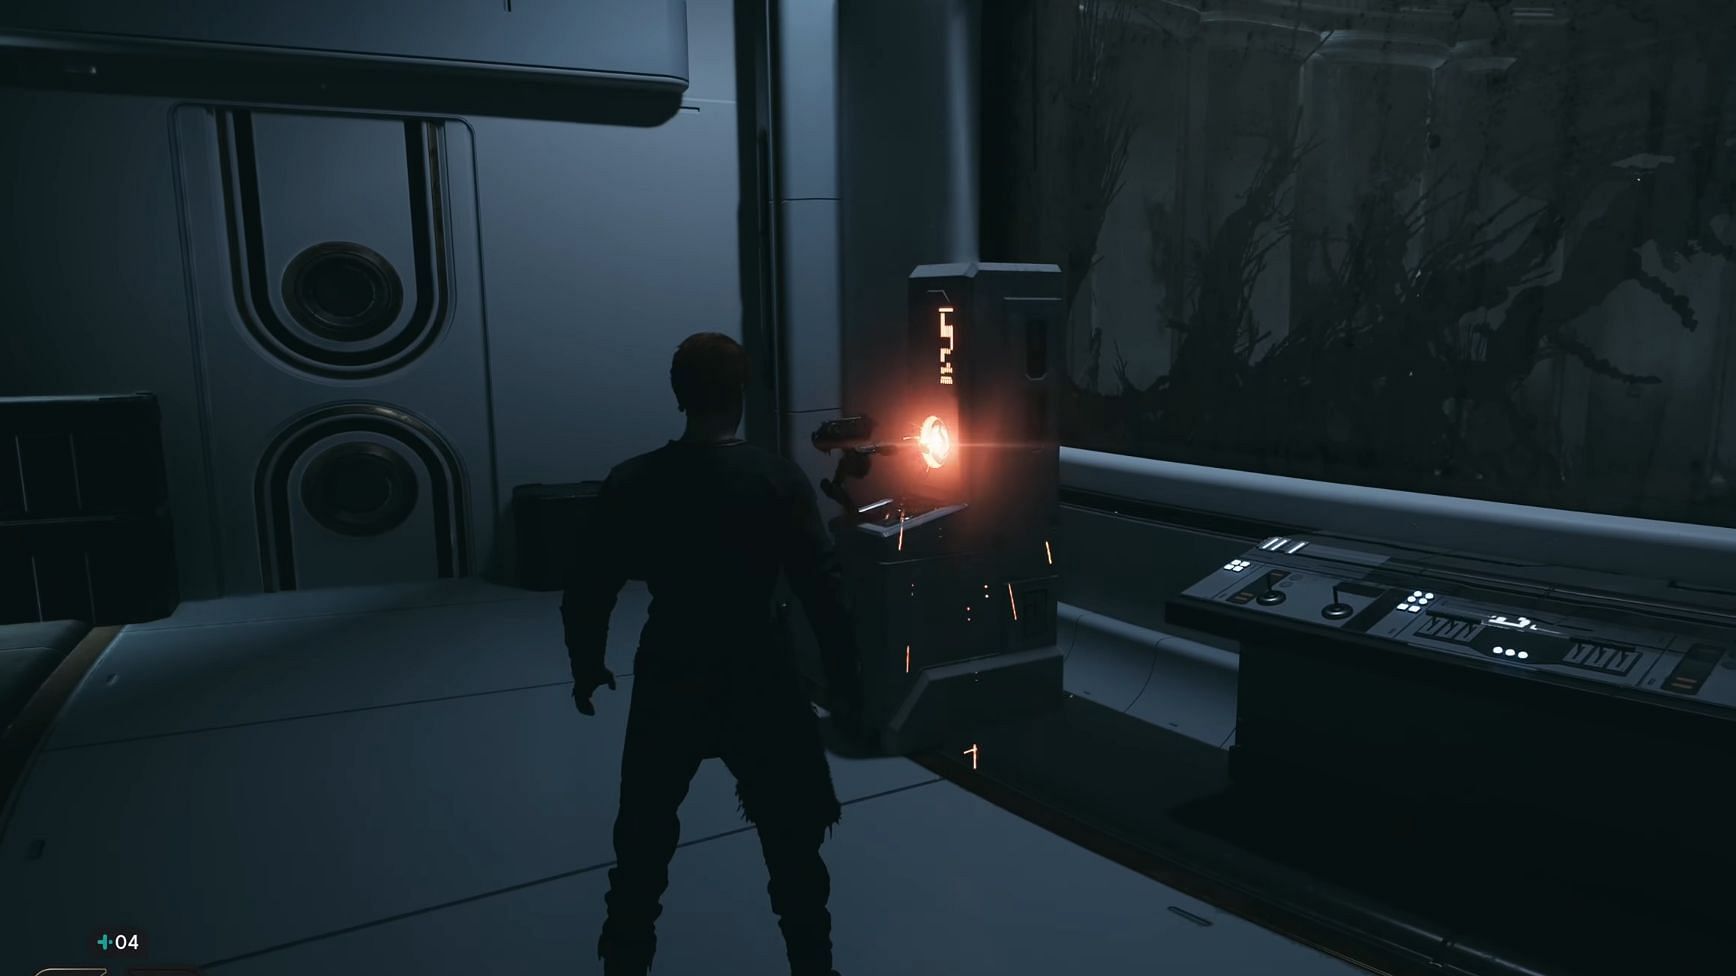
Unlock the door past the Meditation point and look to the left to find a blinking machine BD-1 can interact with. This initiates the power-up process for the Array. Head right into a chamber that will initiate a cutscene. This drops Cal into Tanalorr, which is a narrative-heavy dream sequence. It is a linear path with no enemies to fight or puzzles to solve.
Simply let the NPCs wrap up their dialogue before this segment is over. Back in the real world, Cal releases the locked-away Dagan Gera, leading to one of the most memorable boss encounters in Star Wars Jedi Survivor. He may be one-handed now, but that has no bearing on his agility and power.

Dagan Gera attacks with his lightsaber, both by lunging for a melee attack or using the force to cause it to spin toward Cal. He can also easily counter Cal's attacks. Stay on your toes and focus on getting his stun gauge down.
When at 50% health, this will initiate a QTE. Mash the corresponding button on the screen to win, after which Cal can continue fighting him.
In addition to being more aggressive with the offense, he adds a new unblockable attack to his arsenal: a ground slam that will force Cal to maintain distance. Unfortunately, as his health drops to critically low levels, the plot armor steps in to save Dagan Gera's hide as he is whisked away in a follow-up cutscene.
This wraps up the first Dagan Gera fight in Star Wars Jedi Survivor.
Back to the Mantis
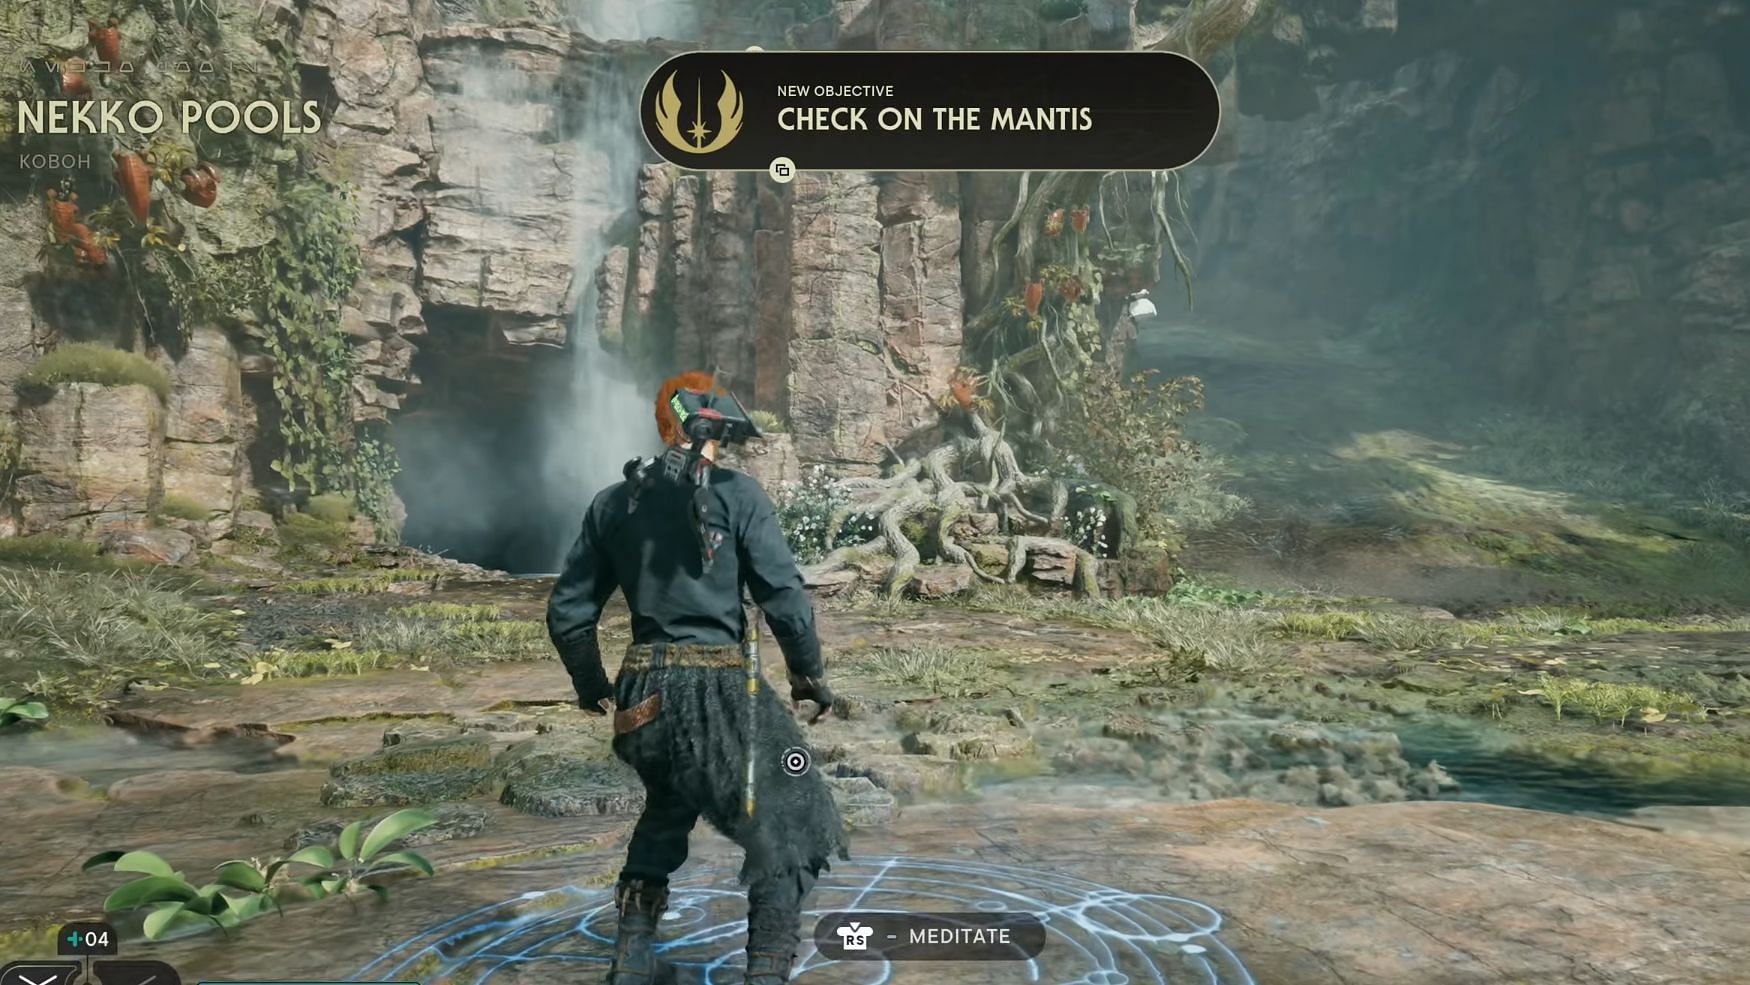
Be sure to grab the Health Essence shard offered as a reward. Step out the broken window and hang onto the railing to parkour across the Observatory's top. Grab the zipline and make your way down to a Relter. Ride it and make your way to the Mantis.
The creature will drop Cal next to Nekko Pools Meditation Point. Look to the left of the point to see a scalable wall and make your way across until you drop down into a secluded area.
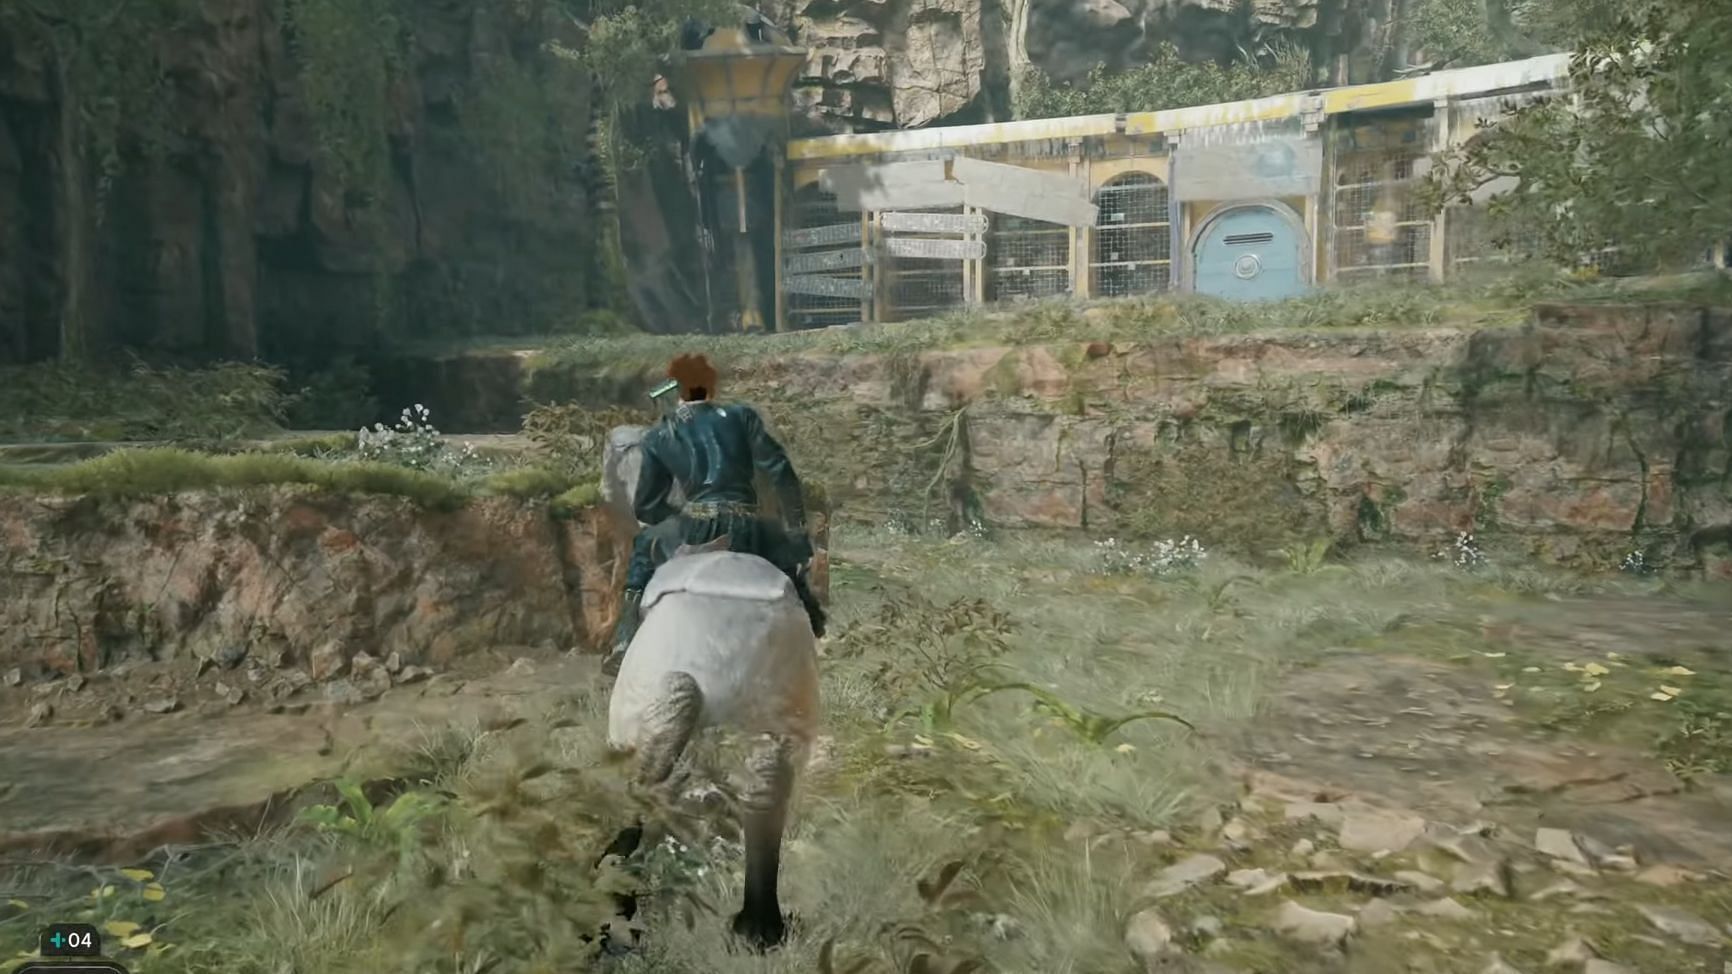
Head inside the cave to unlock the Nekko Mount in Star Wars Jedi Survivor. This bipedal beast should make traversing the rocky landscape easy. For one, it should allow climbing slopes so Cal can get back to the Meditation point.
From there, head down the main path and reach an area with a blue door. Use the Nekko Mount t boost Cal atop the grating and then drop to the other side to unlock the door. Get back up on the mount to reach the Bygone Settlement.
Stick to the main path to eventually encounter the Mantis back in top shape. Hereon, the group is ready to travel across planets once again. This covers the Fallen Jedi walkthrough for Star Wars Jedi Survivor.
Star Wars Jedi Survivor was released on April 28, 2023, for PC, PS5, and XSX|S platforms.

Struggling in a galaxy far far away? Our guides make it easy. May the force be with you!