
'%20x='0'%20y='0'%20height='100%25'%20width='100%25'%20%0A%20%20%20%20%20%20%20%20%20%20xlink%3Ahref='data:image/jpg;base64,/9j/4AAQSkZJRgABAQAAAQABAAD/2wCEAAMDAwMDAwQEBAQFBQUFBQcHBgYHBwsICQgJCAsRCwwLCwwLEQ8SDw4PEg8bFRMTFRsfGhkaHyYiIiYwLTA+PlQBAwMDAwMDBAQEBAUFBQUFBwcGBgcHCwgJCAkICxELDAsLDAsRDxIPDg8SDxsVExMVGx8aGRofJiIiJjAtMD4+VP/AABEIAAYACgMBIgACEQEDEQH/xABgAAEBAQAAAAAAAAAAAAAAAAAABwgQAAEEAQQDAQAAAAAAAAAAAAIBAwQFAAYHERIVIVEiAQEAAAAAAAAAAAAAAAAAAAAEEQEBAAIDAQAAAAAAAAAAAAABAgAEEhMhI//aAAwDAQACEQMRAD8AxnrLcvaa7pNCxKjQbdfLpoJtXMhAZHyDysNti4vT2XBApfr7ksOTt8ZkawLoeyqvUZDKCnPxFBfWMY/Xt6uKQhS+yOA2Z+olULIeUmf/2Q=='%3E%3C/image%3E%3C/svg%3E)
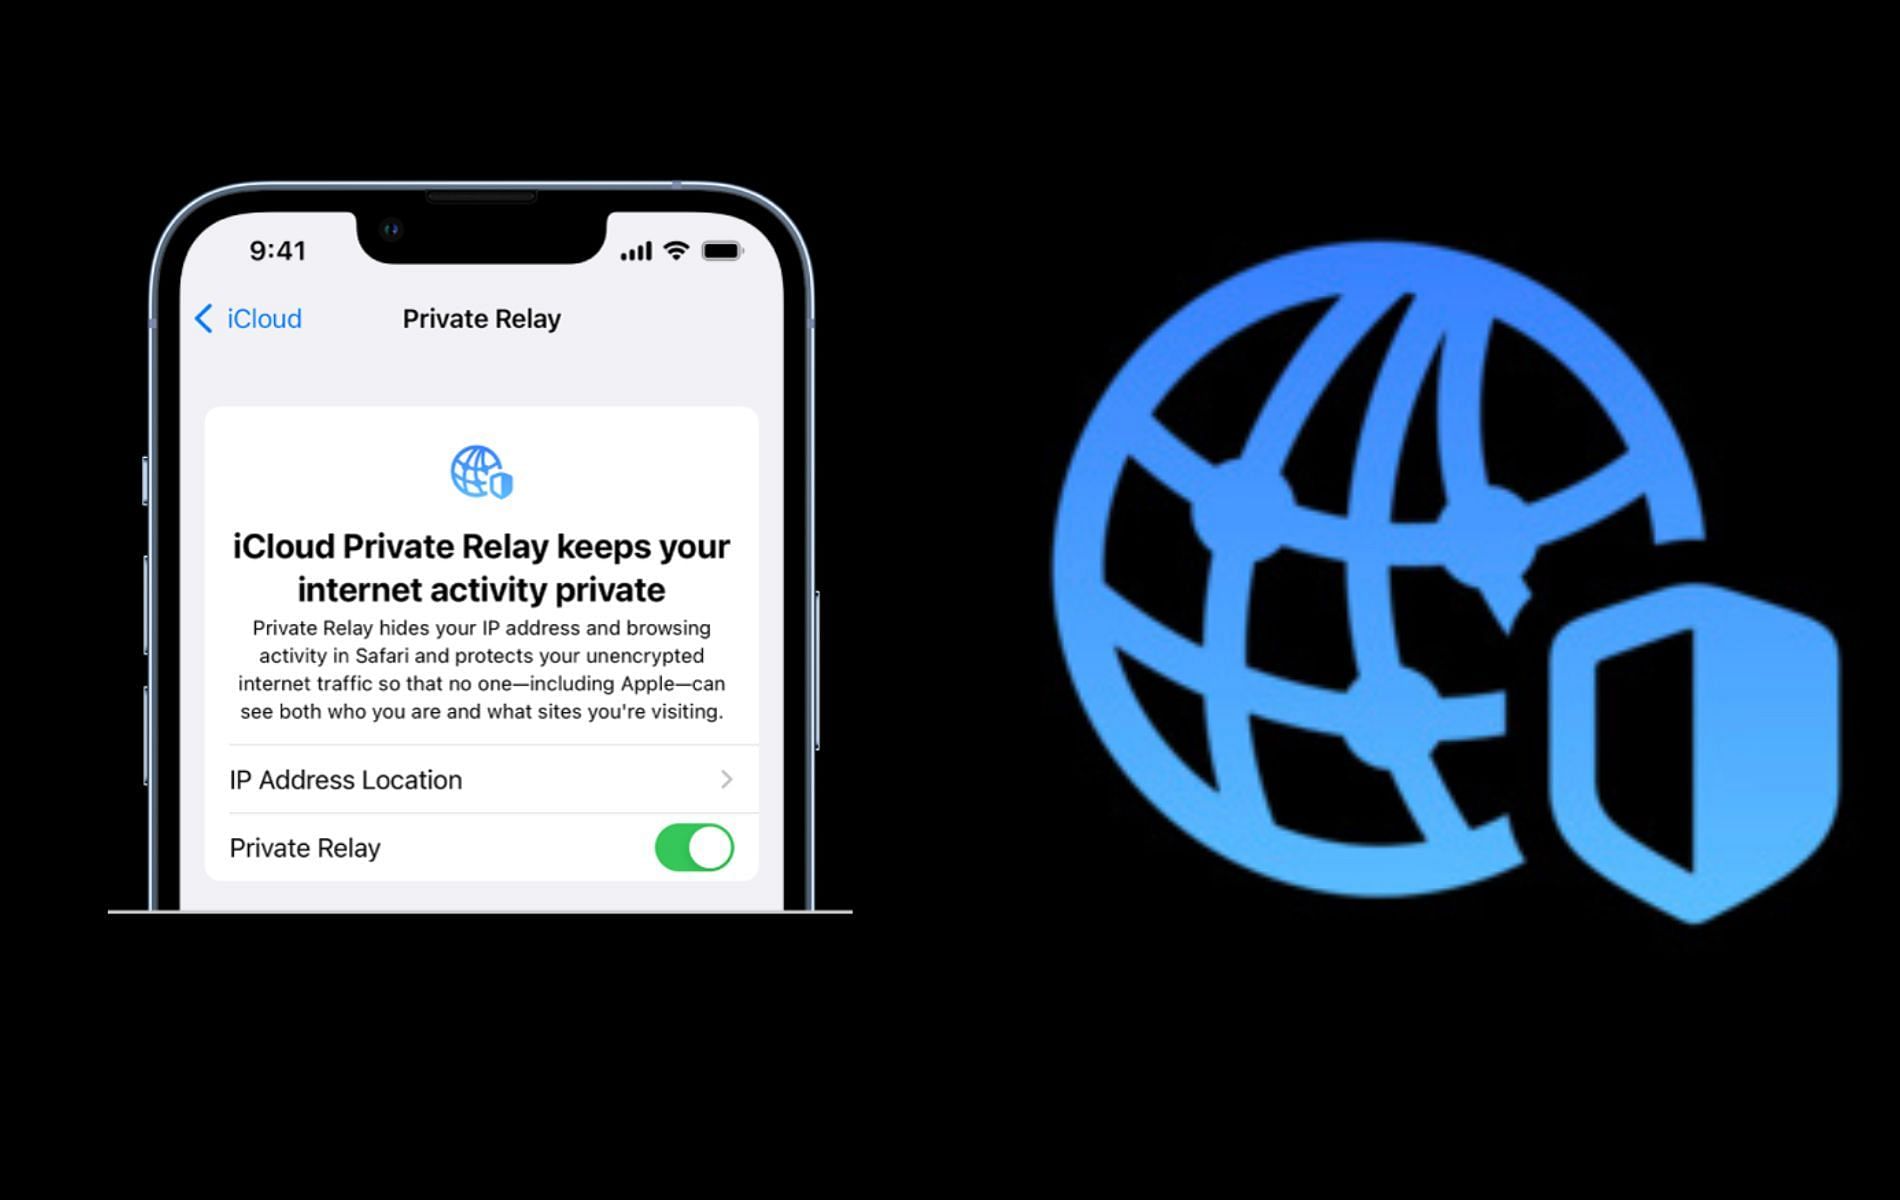
If you’re looking to protect your internet affairs from intruders, Apple has the perfect solution for you. However, you’ll need to subscribe to iCloud+ or Apple One to avail the company's free-to-use online privacy tool for the Safari browser. In addition to two independent internet relays (proxies), the former's Private Relay encrypts your outgoing traffic, shielding your IP address, browsing information and preferences, as well as location data.
For those in doubt, this feature is not the same as Virtual Private Networks (VPNs), although they have a few things in common. To help readers use iCloud Private Relay to their advantage, this article elaborates on the process of setting up the service on their devices.
How you can enable iCloud Private Relay on your Apple device and enhance your privacy
If you have a valid iCloud+ subscription, you can go to the Apple ID iCloud settings to enable Private Relay. Note that you can use this privacy feature across multiple gadgets, including iPhones, iPads, and Macs. Follow these steps on an iPhone or iPad to enable it:
- Go to Settings > [Your ID] > iCloud.
- Next, tap on Private Relay and then enable the service by toggling the button.
Hit the IP Address Location option under Private Relay to change the location for browsing content on Safari. You can choose to Maintain General Location to view content in your area. Alternatively, select Use Country and Time Zone to hide your location entirely.
You can also turn on Private Relay for specific Wi-Fi networks and data lines. To enable the feature for a Wi-Fi network, go to Settings > Wi-Fi and tap on Actions Available. Now, enable Limit IP Address Tracking.
For a data line, go to the Cellular tab in Settings and select the one you want to limit using Private Relay. Tap on Cellular Data Options and then enable Limit IP Address Tracking.
If you want to enable Private Relay on a Mac, follow these steps:
- On your Mac device, go to Apple menu > System Settings and then click [your ID].
- Next, click on iCloud and then select Private Relay.
- Enable Private Relay.
You can enable this feature for a Wi-Fi network you’re using on your Mac. Simply go to Apple Menu > System Settings > Network and select the network or ethernet connection. Go to Advanced Settings for an Ethernet connection or Details for a Wi-Fi network. Here, turn on the Limit IP Address Tracking option to enable Private Relay for that network.
Note that iCloud Private Relay is not available in certain countries. Also, the feature may not work as intended if used alongside a VPN. In this case, you may get an error message stating the presence of a conflict with third-party apps. Make sure to disable any VPN services to make things work with Private Relay.
Once Private Relay is enabled, you can hop onto the Safari browser to enjoy a protected browsing experience.
