
'%20x='0'%20y='0'%20height='100%25'%20width='100%25'%20%0A%20%20%20%20%20%20%20%20%20%20xlink%3Ahref='data:image/jpg;base64,/9j/2wBDAAYEBQYFBAYGBQYHBwYIChAKCgkJChQODwwQFxQYGBcUFhYaHSUfGhsjHBYWICwgIyYnKSopGR8tMC0oMCUoKSj/2wBDAQcHBwoIChMKChMoGhYaKCgoKCgoKCgoKCgoKCgoKCgoKCgoKCgoKCgoKCgoKCgoKCgoKCgoKCgoKCgoKCgoKCj/wgARCAAGAAoDASIAAhEBAxEB/8QAFgABAQEAAAAAAAAAAAAAAAAAAAQH/8QAFQEBAQAAAAAAAAAAAAAAAAAAAgP/2gAMAwEAAhADEAAAAMAjHb//xAAdEAEAAQQDAQAAAAAAAAAAAAABAwACBDEREyEi/9oACAEBAAE/ALpCHFIb8eBXh7A+903+6K//xAAWEQADAAAAAAAAAAAAAAAAAAAAAzH/2gAIAQIBAT8AZT//xAAWEQEBAQAAAAAAAAAAAAAAAAABAAL/2gAIAQMBAT8AdN//2Q=='%3E%3C/image%3E%3C/svg%3E)
Building a PC might sound very challenging. However, it can become a lot easier with proper research and sound knowledge about gaming PCs. You need to ensure certain things before building your first gaming PC to avoid messing up. If you’ve decided to build a PC on your own and selected your parts, this guide is here to help.
We've tried to cover basic but important tips that will help you build your dream gaming PC, irrespective of the type of components you are using. Stick around till the end to make sure you do everything right.
Tips for building a Gaming PC for the first time
1) Check for any incompatibilities before buying the parts
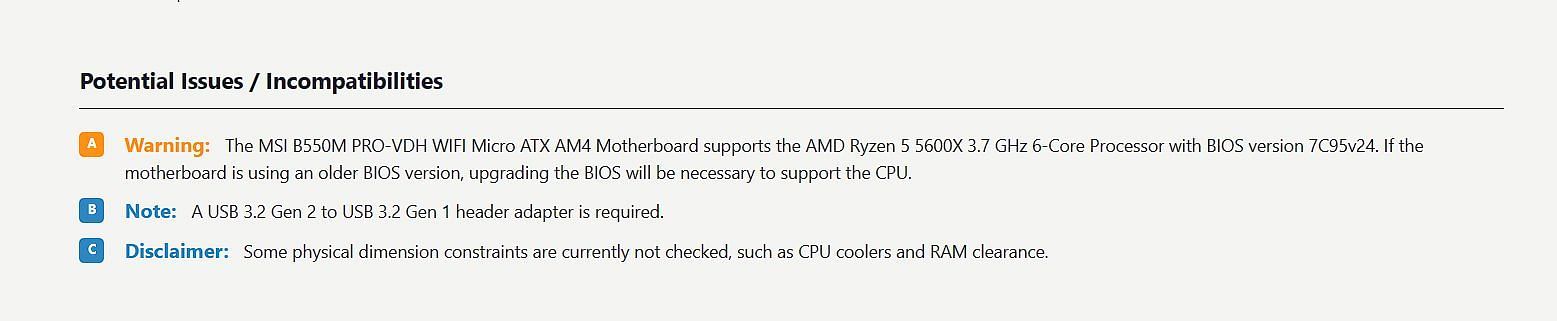
Buying the wrong parts is one of the most common mistakes made by people new to building PCs. Oftentimes, things like the BIOS version of the motherboard affect a gaming PC build, and the system might not even turn on because of it. To solve this, there are various websites that check the parts the user selects and look for any compatibility issues.
One of the most trusted and most used websites is PCPartPicker. It tells the user if there are any incompatibilities with their selected parts for their Gaming PC. Upon selecting the wrong motherboard, the website will warn that since it supports the CPU only after a particular BIOS version, it may or may not work out of the box. So do your research and choose your parts correctly.
2) Choose the right power supply
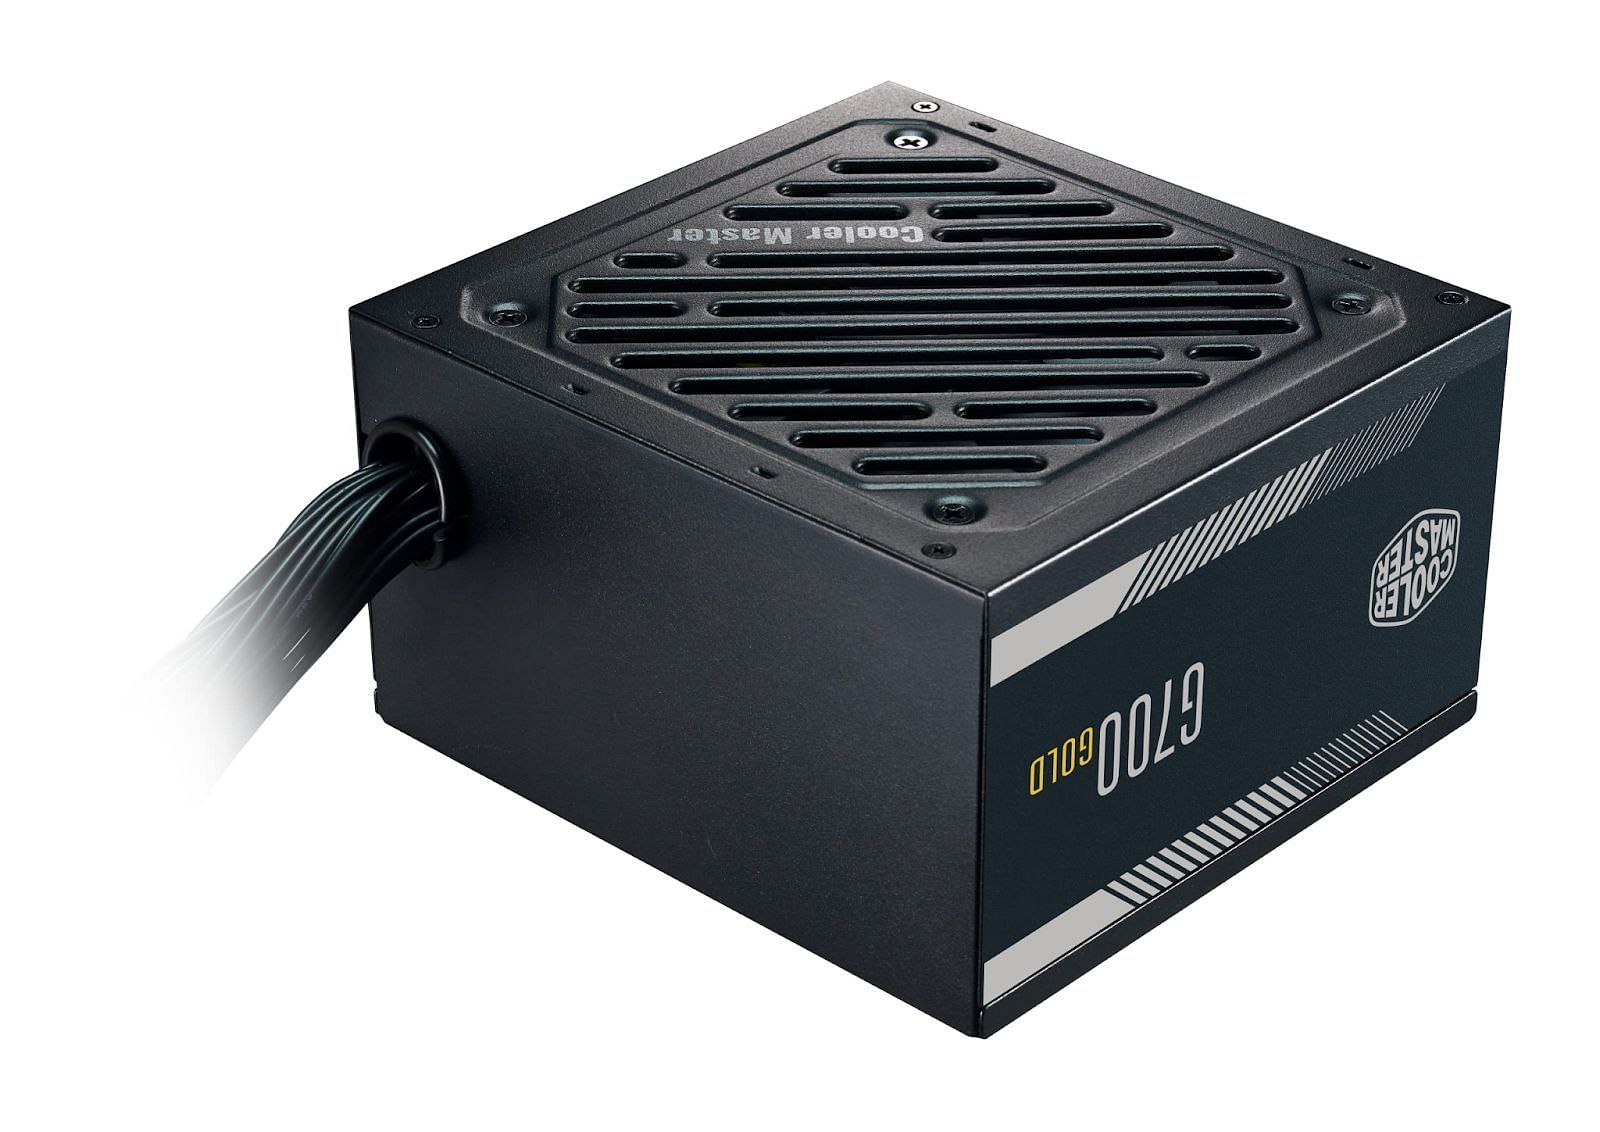
The power supply is the most important component of a gaming PC. No matter how strong the PC's CPU or graphics card is, choosing a bad power supply could kill the entire system. However, with so many options in the market, choosing the right power supply can be difficult.
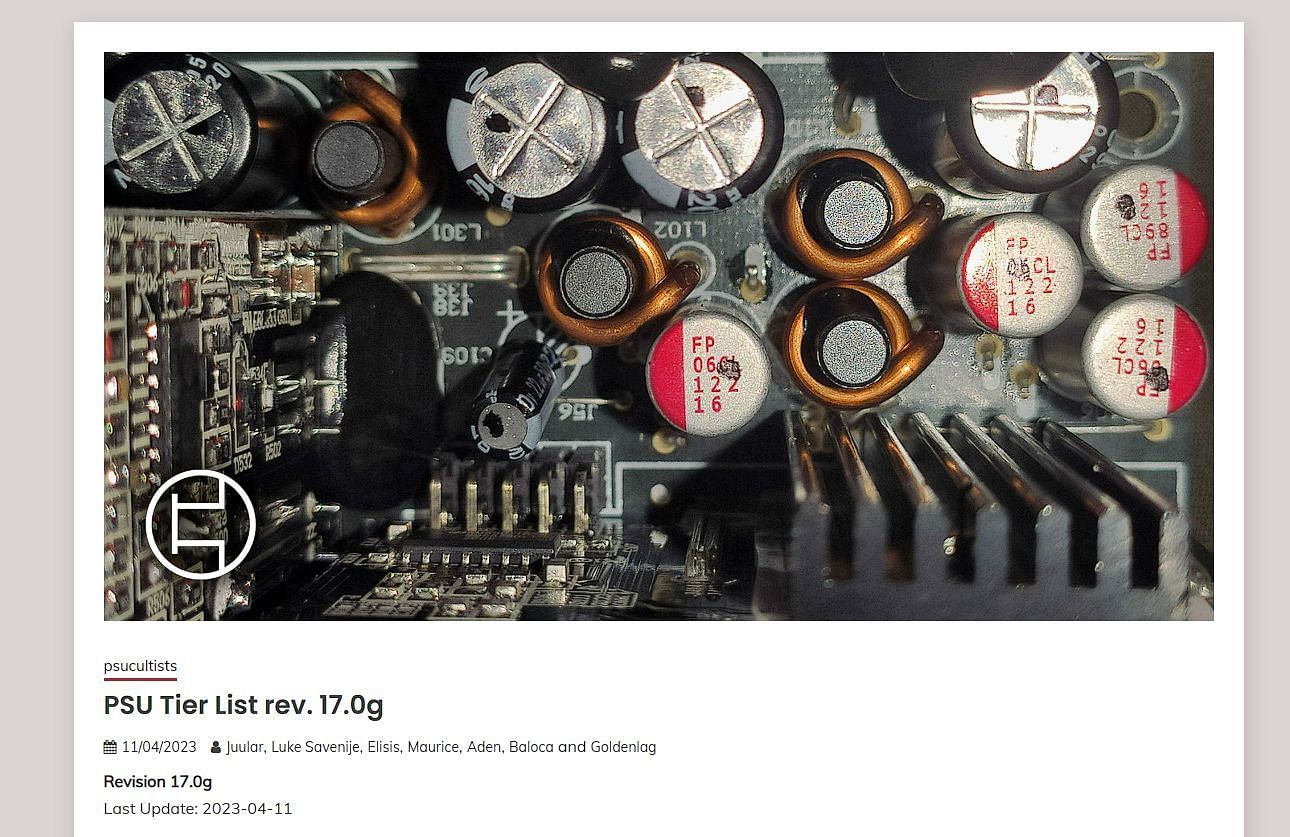
That’s where the PSU Tier List comes into play. These lists are operated by the community members and updated regularly. There are different tiers, and most power supplies sold by reputed brands are listed here. Make sure to check if the one you’re looking to buy is listed or not.
3) Keep your components away from static electricity
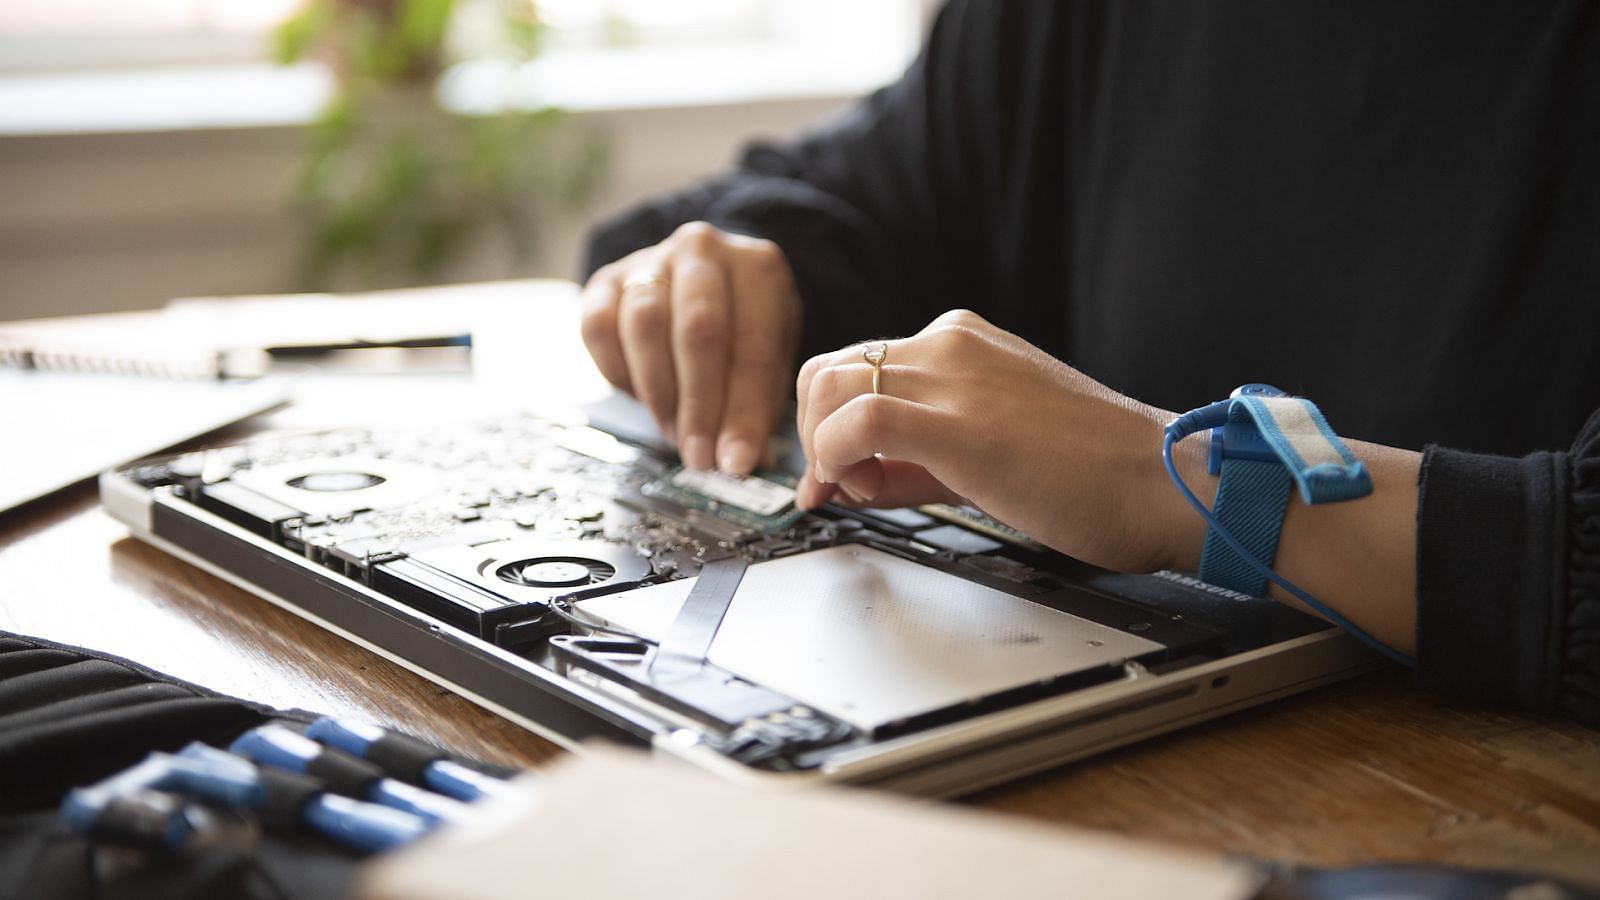
Static electricity is one of the most common things that can kill a brand-new gaming PC build. While it may not sound like a big issue, static electricity builds up on the body and tries to find somewhere else to go. This usually involves jumping to another conductive object, and since most of the PC components are highly conductive, a static discharge can cause issues.
It is not recommended to build a gaming PC in high-static environments. However, if you have no other place, using an anti-static wrist strap can greatly help as it grounds the body resulting in no static electricity.
4) Do a test boot before completing the build
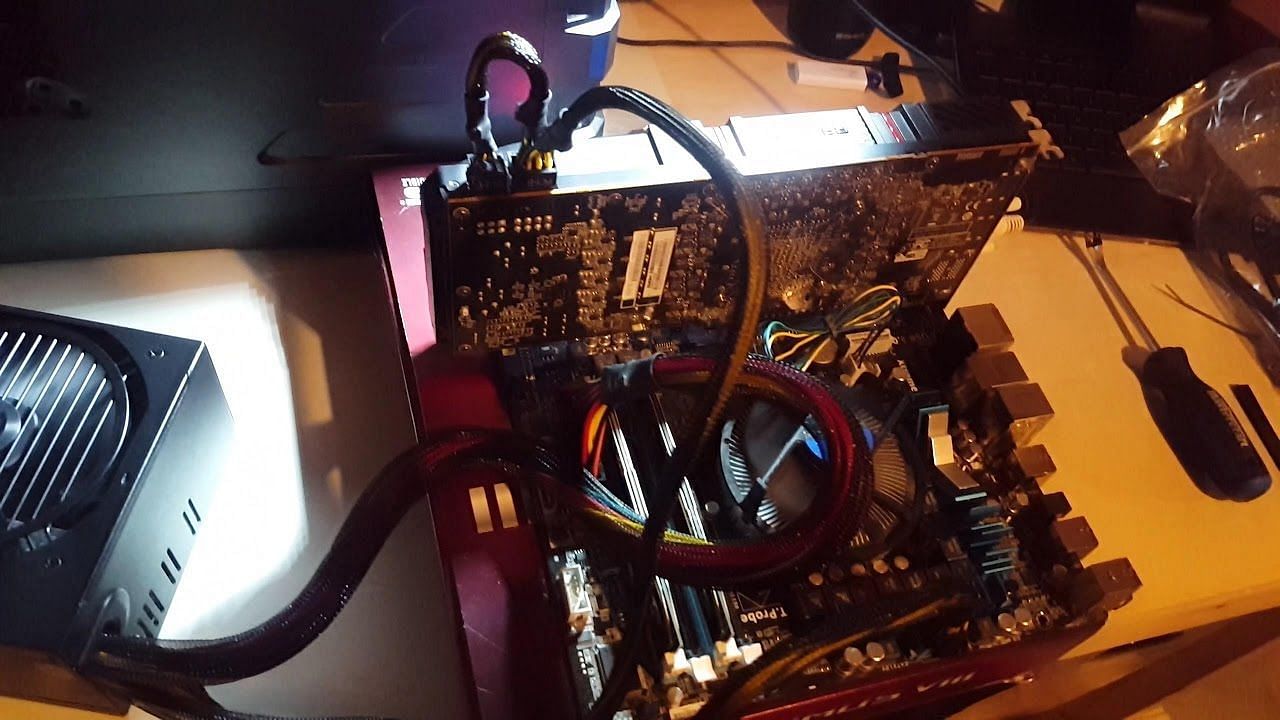
Conducting a test boot is always a good idea after installing the CPU, CPU Cooler, and RAM on the motherboard. If there are any issues with the components, they can be fixed right away.
A test boot is done outside of the gaming PC cabinet, so there is no need to remove the motherboard from the cabinet in case the system does not turn on. It requires the user to install the power supply cables along with the graphics card if one is being used in the build. A display and a keyboard are also required to enter the BIOS.
5) Prepare a Windows Install USB Drive
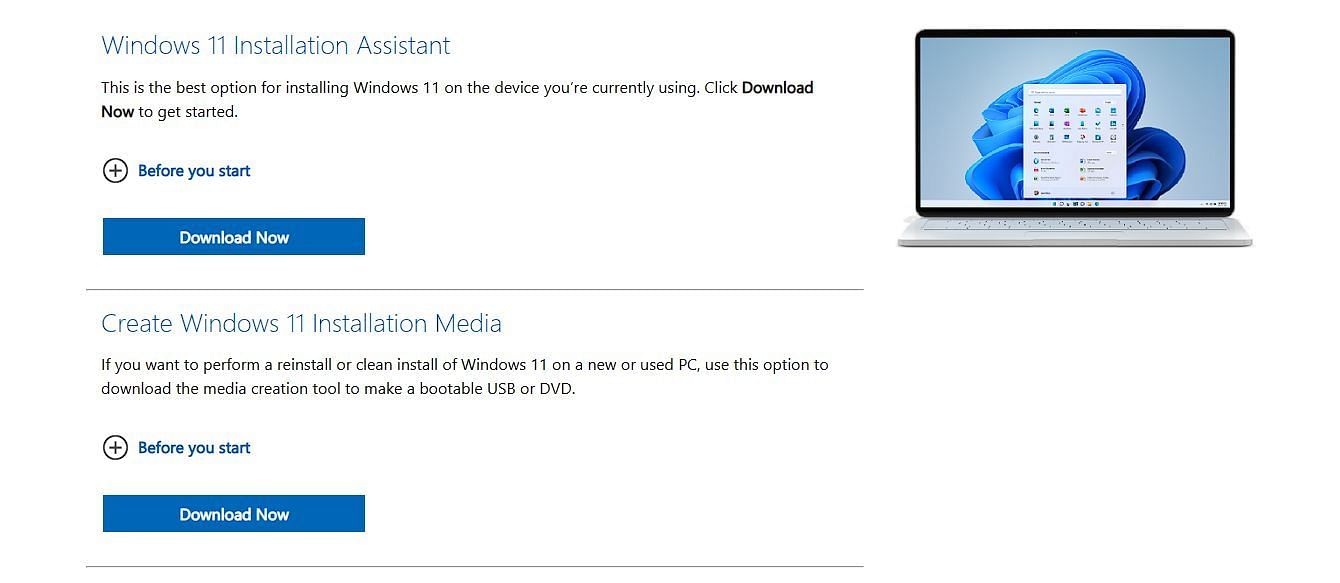
As soon as the gaming PC build is completed and everything is working fine, the system will require the user to install an OS onto the storage device to use the system. Preparing a USB boot drive in advance is always a good idea, as much time can be saved.
An installation media of Windows can be created by following this link. Using a different computer and a USB drive of at least 8GB, Windows Media Creation can be used to create a bootable USB drive. The Media Creation will install the OS onto the USB drive, which can be used to install Windows on a new PC.
