
'%20x='0'%20y='0'%20height='100%25'%20width='100%25'%20%0A%20%20%20%20%20%20%20%20%20%20xlink%3Ahref='data:image/jpg;base64,/9j/2wBDAAYEBQYFBAYGBQYHBwYIChAKCgkJChQODwwQFxQYGBcUFhYaHSUfGhsjHBYWICwgIyYnKSopGR8tMC0oMCUoKSj/2wBDAQcHBwoIChMKChMoGhYaKCgoKCgoKCgoKCgoKCgoKCgoKCgoKCgoKCgoKCgoKCgoKCgoKCgoKCgoKCgoKCgoKCj/wgARCAAGAAoDASIAAhEBAxEB/8QAFQABAQAAAAAAAAAAAAAAAAAAAQf/2gAIAQEAAAAAm5//xAAUAQEAAAAAAAAAAAAAAAAAAAAB/9oACAECEAAAAD//xAAUAQEAAAAAAAAAAAAAAAAAAAAC/9oACAEDEAAAAB//xAAgEAABAwQCAwAAAAAAAAAAAAABAgMSAAQFIQYRE0FS/9oACAEBAAE/AE8lyDTU7m488DOIaSgEfOt9UM/cuALClJluI9V//8QAFxEAAwEAAAAAAAAAAAAAAAAAAAECUf/aAAgBAgEBPwBVWn//xAAWEQADAAAAAAAAAAAAAAAAAAAAARL/2gAIAQMBAT8Atn//2Q=='%3E%3C/image%3E%3C/svg%3E)
First-time Minecraft players may be a bit lost when it comes to surviving their first night, and this dangerous night is made much more difficult if players don't have a shelter to keep them safe from hostile mobs.
Shelters come in many shapes in sizes for Minecraft players, but many that are just starting out likely won't want to create one that's complex. It takes enough time to collect necessary materials as is, and there's no time to waste to build a shelter before nightfall.

Fortunately, it doesn't take much to build a basic shelter in Minecraft, and even new players should be able to accomplish this task relatively quickly.
Minecraft: Detailed steps players can use to create a simple shelter
1) Gather building blocks
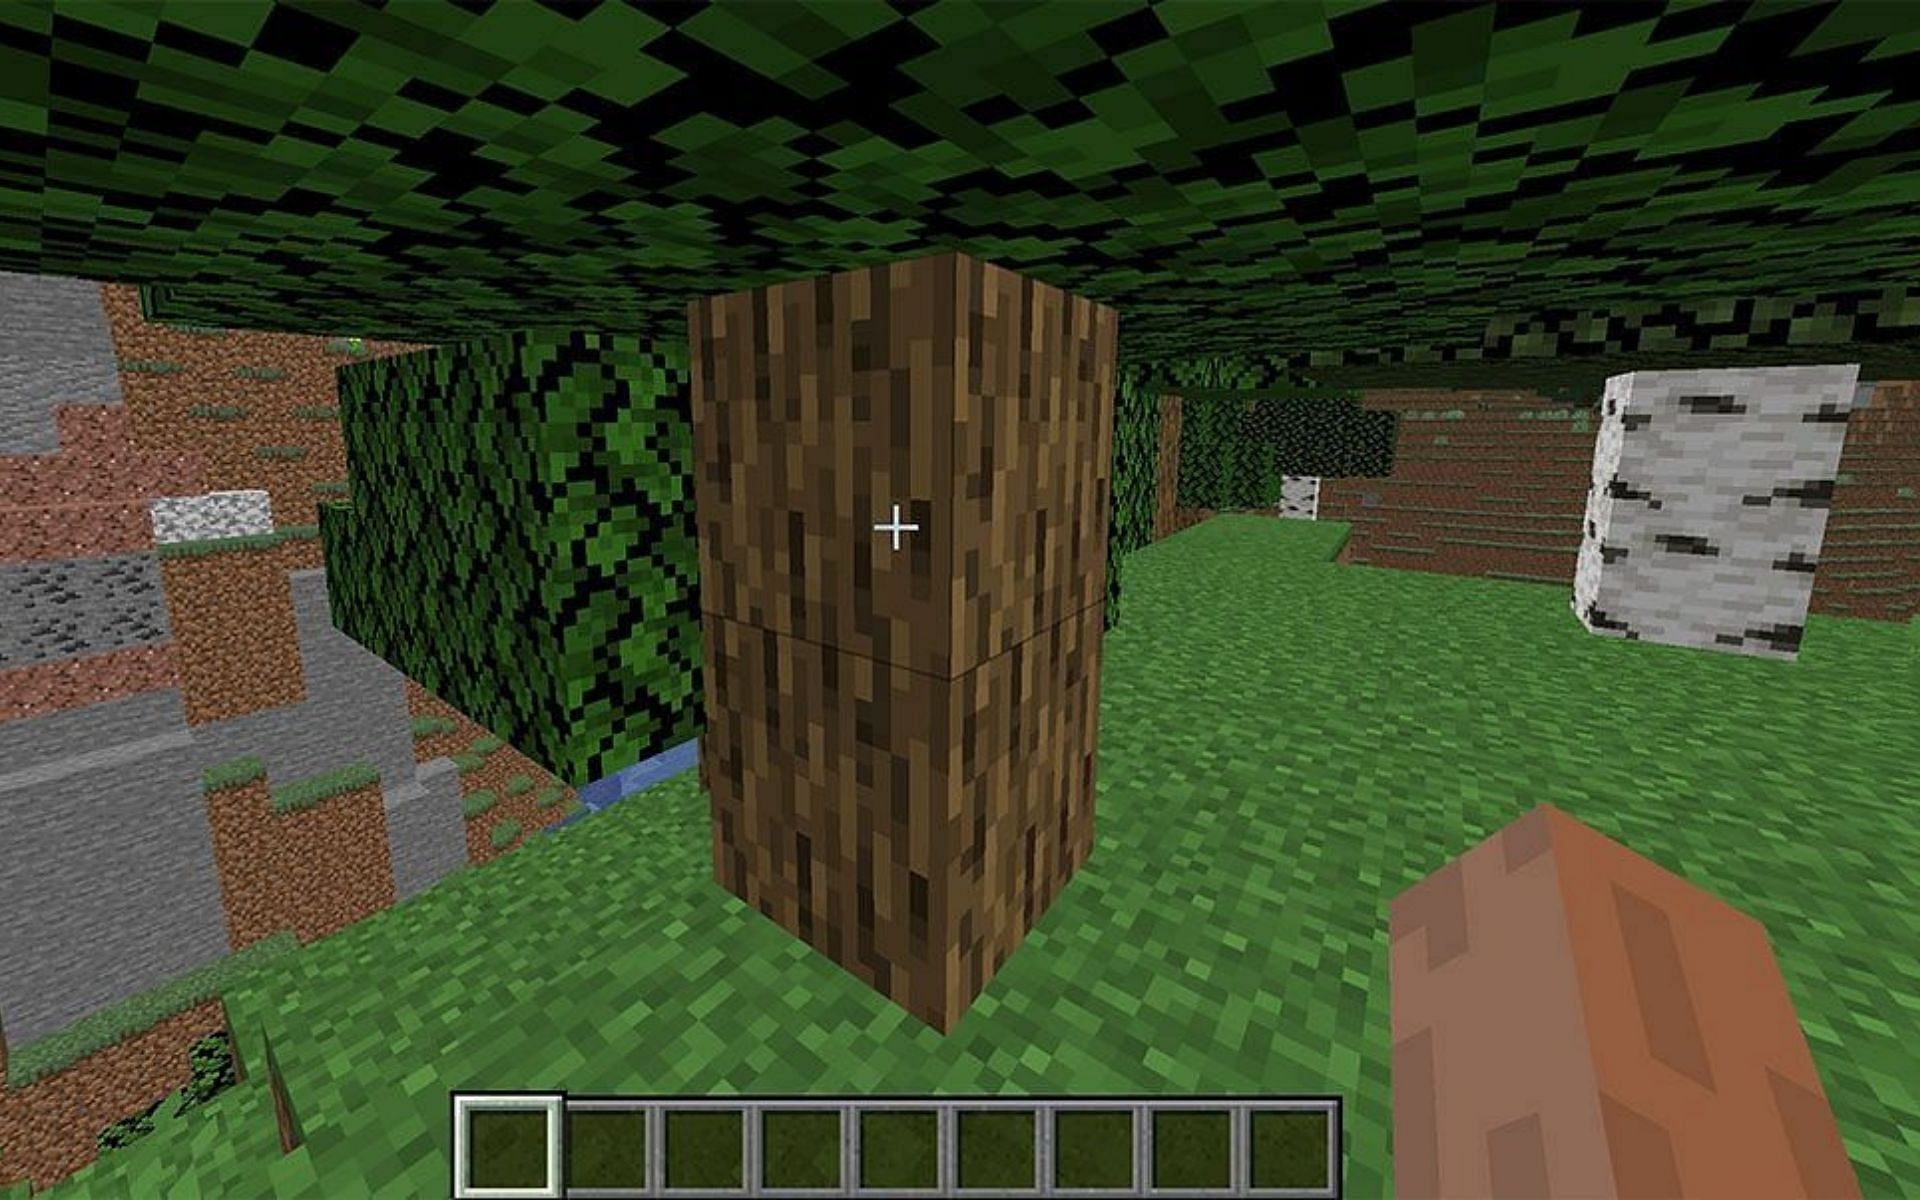
One of the first things many Minecraft players do when entering a new world is to collect wood. Without punching a few trees and collecting wood blocks, players can't make crafting tables, and by extension, tools.
For a shelter, players can gather wood blocks from trees and use them to build. However, crafting wooden log blocks into planks will provide more blocks to work with.
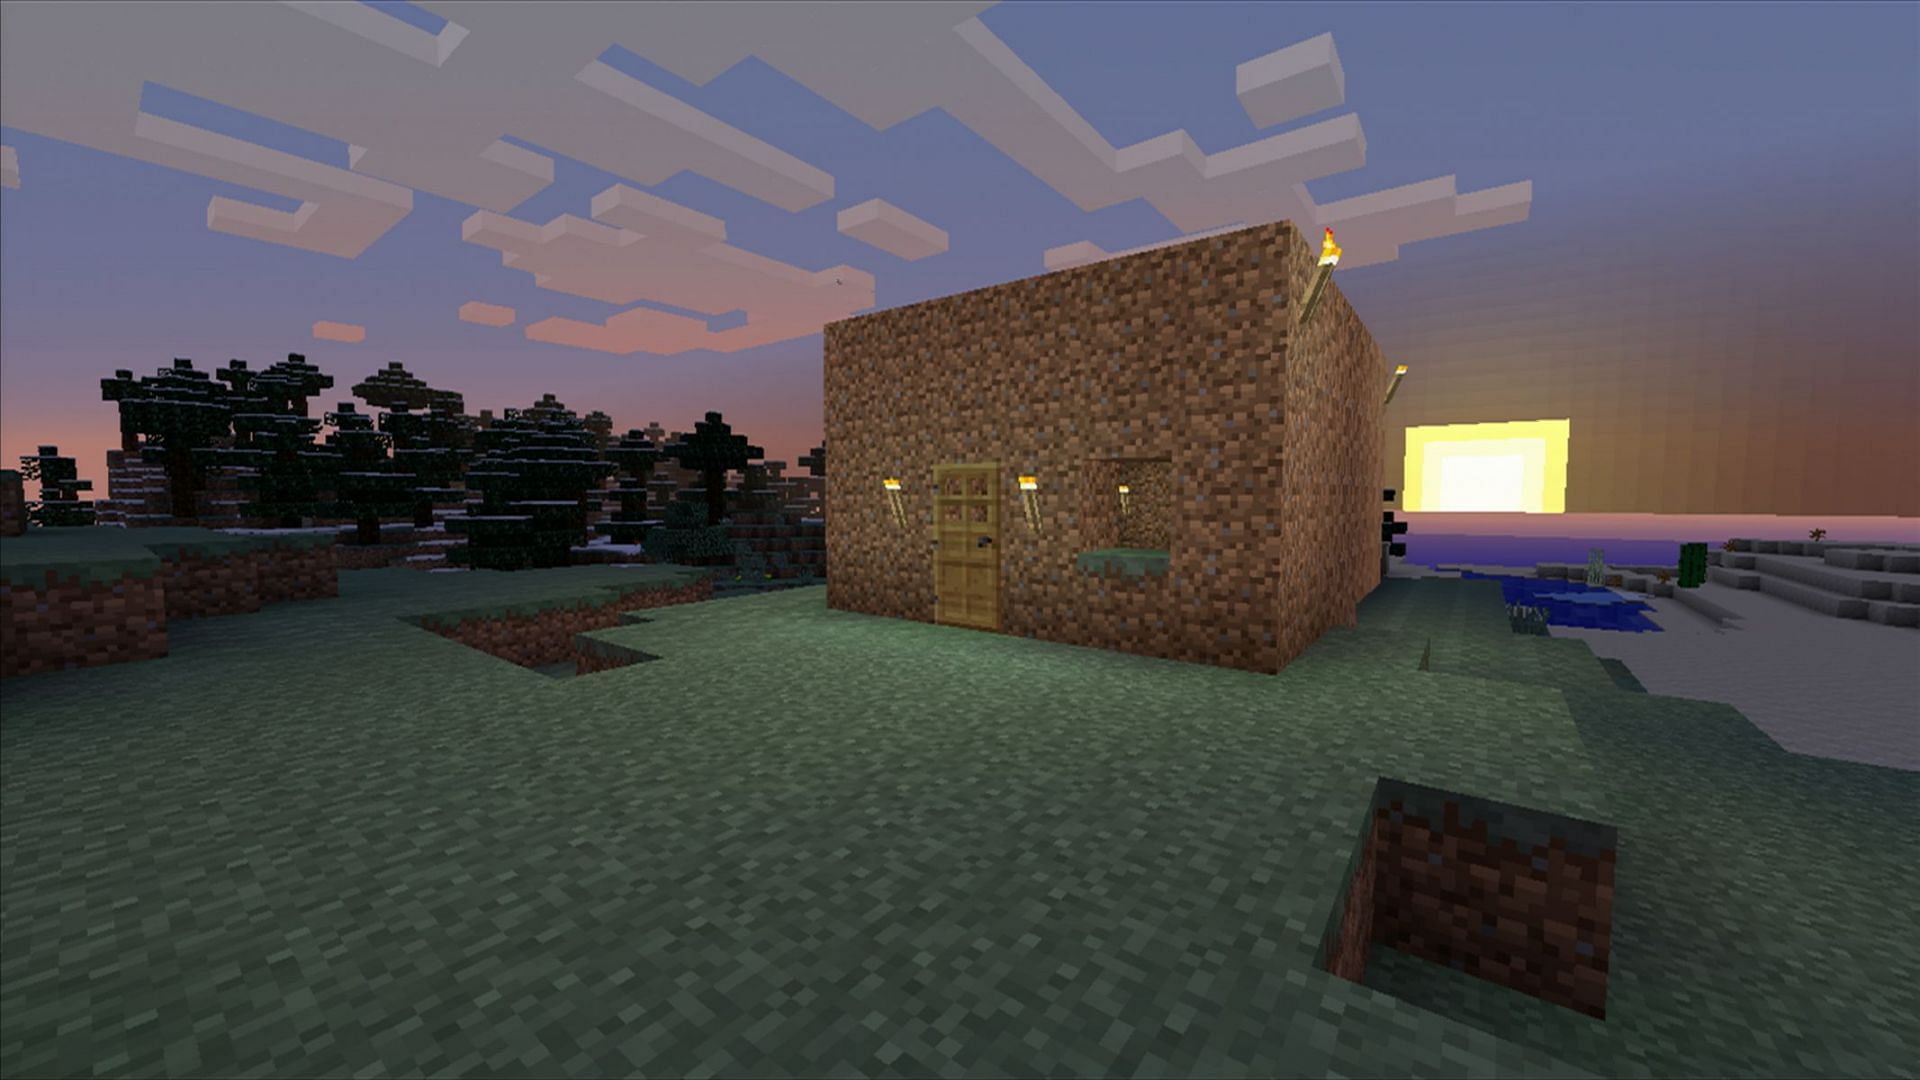
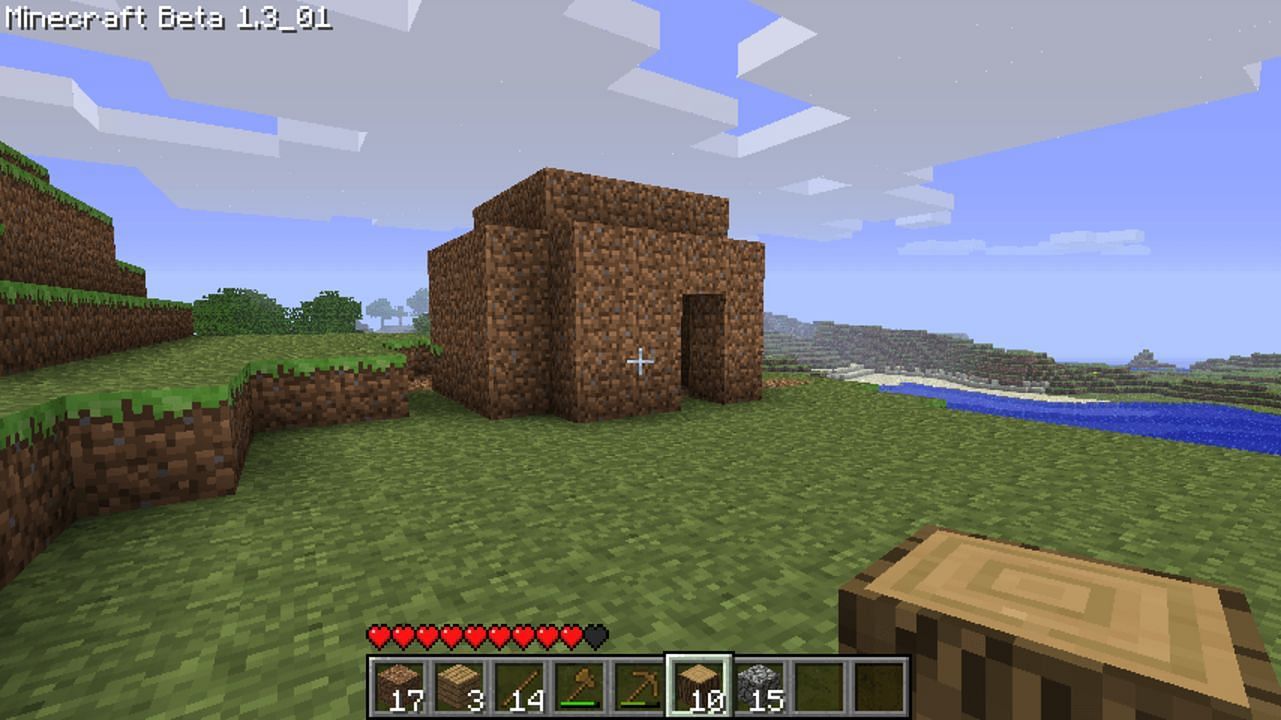
It shouldn't take more than two stacks (of 64 blocks total) to make a basic shelter out of wooden planks. Many players can accomplish the job with even less. As an alternative, if players haven't spawned in a forested area, dirt blocks can be used for shelters as well.
2) Create the exterior
With the building blocks in hand, players will want to create an enclosed space large enough to place a few vital blocks inside. Creating a roof overhead is also advised, as it keeps out hostile spiders from crawling up a player's walls and attacking.
Once the enclosure is created, Minecraft players will likely want to create a 2x1 entrance for a door, which can be crafted at the crafting table using wooden plank blocks.
Be certain there are no gaps in the walls of the shelter, as this may invite skeletons to attempt to fire at players through the openings.
3) Light up the interior and add important things
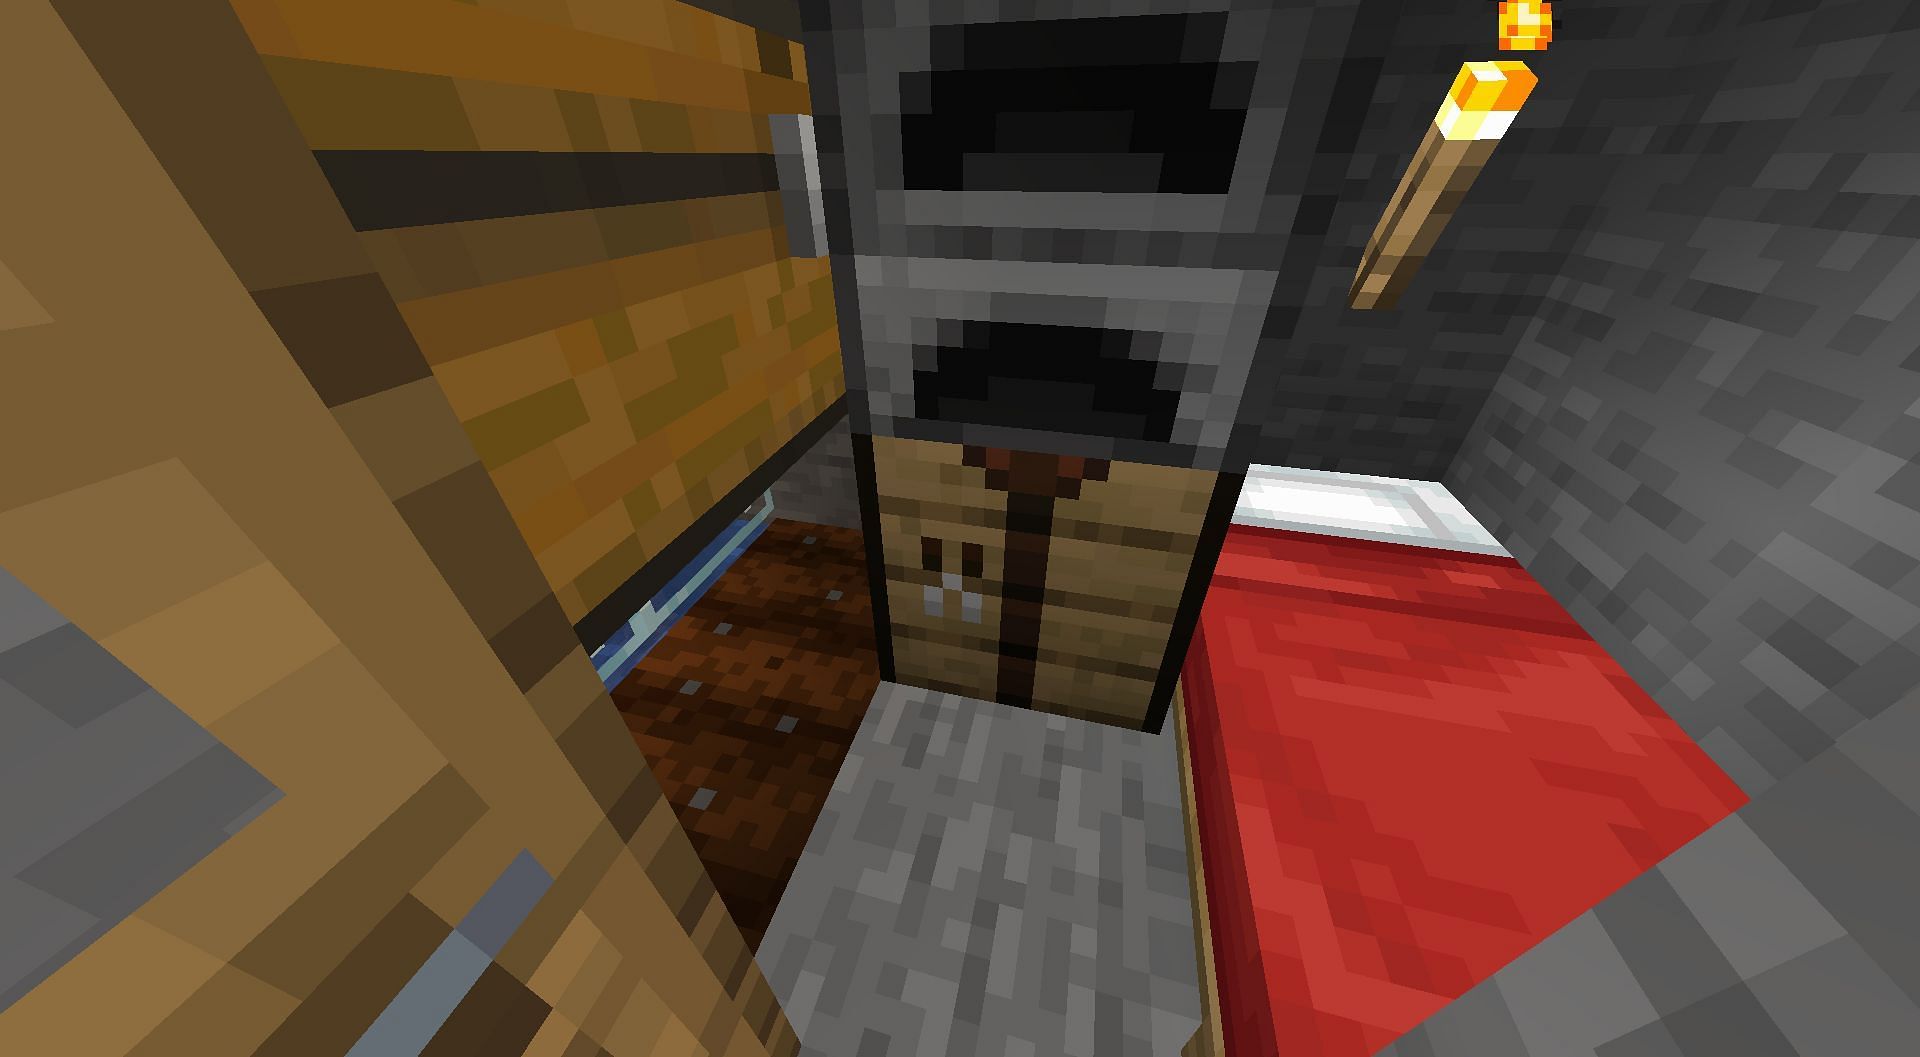
Once the Minecraft shelter has its walls and a door in place, players can fill the shelter with the necessities they'll need for future days. The basic amenities include chests for storage, a crafting table, and a furnace.
If players can find wool from nearby sheep in time, they can also place a bed here, but sometimes this isn't possible and players will need to spend the night in the shelter without sleeping.
After placing all the most important survival blocks into their shelter, Minecraft players can then make torches by combining sticks with coal (which is mined) or charcoal (which can be made by burning wood log blocks). Place torches within the shelter to illuminate it, as well as around the shelter if possible.
Thanks to Minecraft 1.18's new rules for spawning hostile mobs, placing a healthy amount of torches will completely keep hostiles from spawning too close to a player's shelter.
Upon completion of these steps, Minecraft players should have a shelter capable of keeping them safe during the early nights of their new survival world. Once things are safer and players have accrued additional materials, they can either expand their shelter or create an entirely new one.
