
'%20x='0'%20y='0'%20height='100%25'%20width='100%25'%20%0A%20%20%20%20%20%20%20%20%20%20xlink%3Ahref='data:image/jpg;base64,/9j/2wBDAAYEBQYFBAYGBQYHBwYIChAKCgkJChQODwwQFxQYGBcUFhYaHSUfGhsjHBYWICwgIyYnKSopGR8tMC0oMCUoKSj/2wBDAQcHBwoIChMKChMoGhYaKCgoKCgoKCgoKCgoKCgoKCgoKCgoKCgoKCgoKCgoKCgoKCgoKCgoKCgoKCgoKCgoKCj/wgARCAAGAAoDASIAAhEBAxEB/8QAFQABAQAAAAAAAAAAAAAAAAAABAf/2gAIAQEAAAAAsB//xAAUAQEAAAAAAAAAAAAAAAAAAAAG/9oACAECEAAAAAv/xAAUAQEAAAAAAAAAAAAAAAAAAAAG/9oACAEDEAAAAEv/xAAiEAABAgQHAQAAAAAAAAAAAAABAgMABAUGEhMUITEyodH/2gAIAQEAAT8Ao1454Ww1TmwttO5U5z5DtxTi3Fq0ssMRJ7n5H//EABwRAAAGAwAAAAAAAAAAAAAAAAABAgMFIQQTQf/aAAgBAgEBPwCVkMhp7WhVVwh//8QAGBEBAAMBAAAAAAAAAAAAAAAAAgABBAP/2gAIAQMBAT8AwZOLNpVP/9k='%3E%3C/image%3E%3C/svg%3E)
As many fans are aware, Minecraft Caves & Cliffs update was recently released. This highly anticipated update contained a myriad of new features, including new mobs, blocks, items, and achievements.
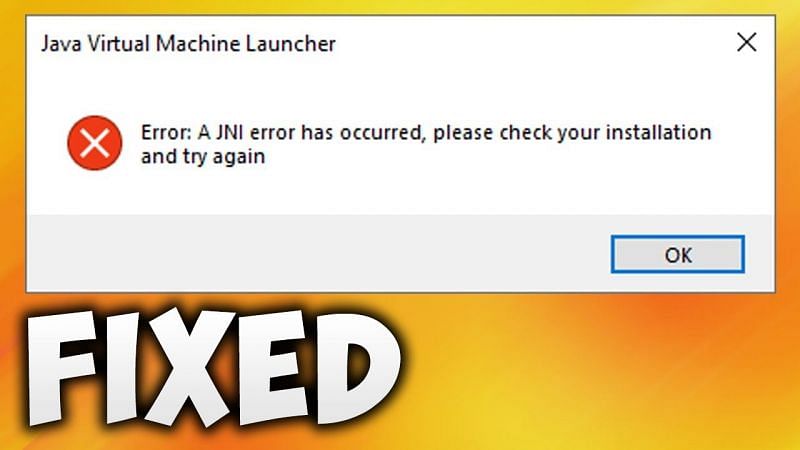
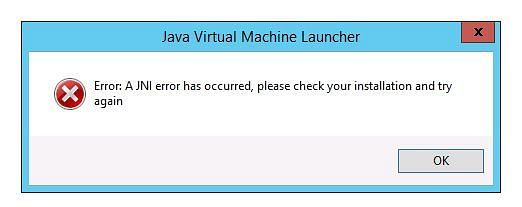
Unlike previous versions, Minecraft server software now relies on the latest version of Java (Java 16) in order to function correctly. The most common cause of the JNI error while trying to set up a Minecraft server is due to the Java version installed on the machine being outdated.

Fortunately, it's easy enough to fix this issue via simply updating Java. This will only take a few minutes at the most, and all the relevant steps will be carefully explained below.
Why are players getting a JNI Error while trying to set up a Minecraft server?
Previous versions of Minecraft carried server software that was compatible with older versions of Java. However, this was not the case with the latest Minecraft update, which now requires Java in order to launch and run correctly. Players can download the latest version of Java and install it to avoid any JNI errors in the game.
This is why players who have successfully run Minecraft servers in the past with older versions may now be seeing this error upon trying to set up a 1.17 server.
How can players fix the JNI Error?
In most cases, the JNI error can be fixed simply by updating Java on the device to match the latest release. In this case, it's Java 16.
Players can follow the steps below in order to complete the installation of Java 16 for Minecraft:
Step 1.)
The first step is to download the Java 16 installer. Players can easily do this by visiting the official Oracle website. Oracle are the creators of Java, and direct downloads for Java 16 can be found here.
Players can select their correct download based on whether they are on a Windows or Mac machine. The majority of Windows users will want to download the file ending with .exe, as shown in the image below.

Step 2.)
After successfully downloading the Java 16 installer, players now need to install the software on their machine. This process can be initiated by simply double-clicking the executable file that has been downloaded and allowing the installer to make changes if asked.
Step 3.)
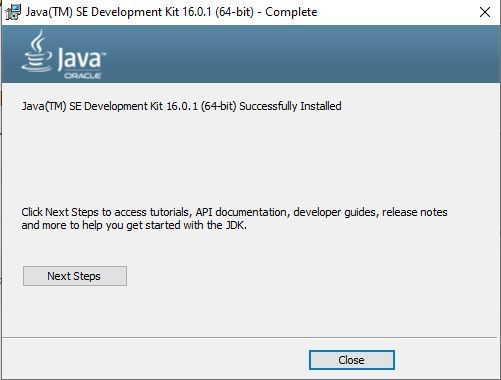
After the installer has been launched, it's smooth sailing from there. All players need to do is hit the "next" button a few times, and the installer should do the rest.
Once complete and fully installed, players should be greeted with the message below. The JNI error should now be fixed, and players can try launching the 1.17 Minecraft server software.
Also read: How to copy and paste using WorldEdit in Minecraft
