
'%20x='0'%20y='0'%20height='100%25'%20width='100%25'%20%0A%20%20%20%20%20%20%20%20%20%20xlink%3Ahref='data:image/jpg;base64,/9j/2wBDAAYEBQYFBAYGBQYHBwYIChAKCgkJChQODwwQFxQYGBcUFhYaHSUfGhsjHBYWICwgIyYnKSopGR8tMC0oMCUoKSj/2wBDAQcHBwoIChMKChMoGhYaKCgoKCgoKCgoKCgoKCgoKCgoKCgoKCgoKCgoKCgoKCgoKCgoKCgoKCgoKCgoKCgoKCj/wgARCAAHAAoDASIAAhEBAxEB/8QAFQABAQAAAAAAAAAAAAAAAAAABAj/2gAIAQEAAAAAp1n/xAAUAQEAAAAAAAAAAAAAAAAAAAAA/9oACAECEAAAAH//xAAUAQEAAAAAAAAAAAAAAAAAAAAA/9oACAEDEAAAAH//xAAeEAADAAIBBQAAAAAAAAAAAAABAgMEIQAFERJBcf/aAAgBAQABPwC0+rLmxolseUAGV5eJJbemB+ejxDnFFLjGDdtgFuf/xAAUEQEAAAAAAAAAAAAAAAAAAAAA/9oACAECAQE/AH//xAAUEQEAAAAAAAAAAAAAAAAAAAAA/9oACAEDAQE/AH//2Q=='%3E%3C/image%3E%3C/svg%3E)
Firstly, to clear any doubts, Minecraft has been made compatible with the Oculus Quest 2.
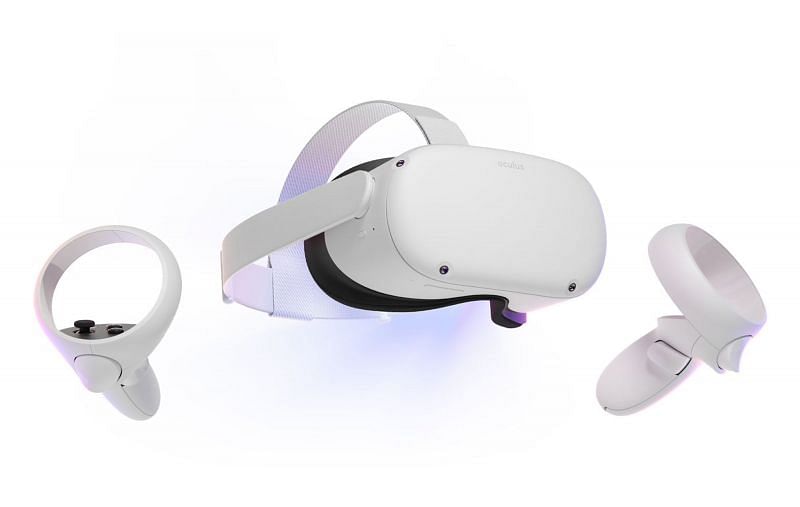
The Oculus Quest 2 is Oculus's newest Virtual Reality system. Luckily, everyone's favorite game can run on it! If players are fans of the idea of Minecraft with VR, there's a good chance the game in such a setting will blow their minds!
While it is able to run brilliantly, the installation process can seem a bit daunting to the lesser tech-savvy individuals.

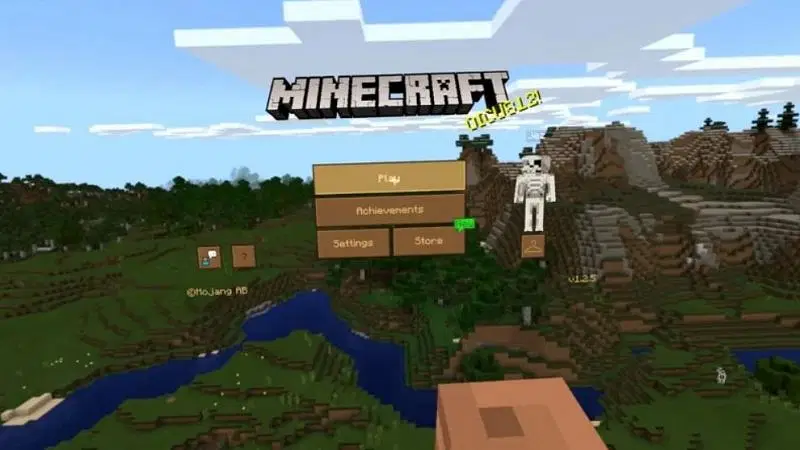
The above is an example of how Minecraft VR will look.
A glimpse at the gameplay makes it easy to surmise that VR is something that takes getting used to, so if players are new to VR and start experiencing motion sickness, they must stick with it. At some stage, the illness will go away, mostly after a few uses.
How to install Minecraft for Oculus Quest 2
A few steps are required to get Minecraft working correctly for the Oculus Quest 2. These steps are as followed:
- Install Java here
- Install Minecraft here
- Install SteamVR here
- Install Vivecraft here
- Install Virtual Desktop here
Once all these prerequisites are installed, the player can now run Minecraft. After the game is launched and the player is looking at the Launcher, they must hit the Installations button in the top left and then select the Vivecraft installation. Before they run it, gamers must launch Virtual Desktop Streamer (VDS).
Once players have launched VDS, they can put on their Oculus Headset. In the headset, they must do exactly as mentioned below:
- Run VDS
- Connect to PC
- Start Steam VR
- Run Minecraft
Once users have followed all of these steps, they can now play Minecraft on the Oculus Quest 2!
