
'%20x='0'%20y='0'%20height='100%25'%20width='100%25'%20%0A%20%20%20%20%20%20%20%20%20%20xlink%3Ahref='data:image/jpg;base64,/9j/2wBDAAYEBQYFBAYGBQYHBwYIChAKCgkJChQODwwQFxQYGBcUFhYaHSUfGhsjHBYWICwgIyYnKSopGR8tMC0oMCUoKSj/2wBDAQcHBwoIChMKChMoGhYaKCgoKCgoKCgoKCgoKCgoKCgoKCgoKCgoKCgoKCgoKCgoKCgoKCgoKCgoKCgoKCgoKCj/wgARCAAGAAoDASIAAhEBAxEB/8QAFgABAQEAAAAAAAAAAAAAAAAAAAUH/8QAFQEBAQAAAAAAAAAAAAAAAAAAAwT/2gAMAwEAAhADEAAAAMviCyf/xAAfEAACAgIBBQAAAAAAAAAAAAABAgMRAAQFBhIhctH/2gAIAQEAAT8A0ereQk0S+zIHEaFOxUVFIC+LC1h56ck2ov2b7n//xAAWEQEBAQAAAAAAAAAAAAAAAAACAAH/2gAIAQIBAT8Axq//xAAZEQABBQAAAAAAAAAAAAAAAAAAAQIDETH/2gAIAQMBAT8ASJl4f//Z'%3E%3C/image%3E%3C/svg%3E)
Viper lineups for Valorant’s Pearl can help you secure vital map areas and even aid you in post-plant setups. Viper is a versatile Agent and is likely one of the best Controllers on Pearl, along with the likes of Harbor and Astra. Her unique quality, however, is that she can use her Snakebites to gain control of small but crucial spaces on the map.
Apart from the Toxic Screen, you can also use the Poison Cloud to defend the main entrances. The map has seen a few minor changes since its introduction in Episode 5 Act 1. This article will go over a series of Viper lineups for Valorant’s Pearl and provide some tips on how to play the Valorant Agent to perfection on the map in its current state.
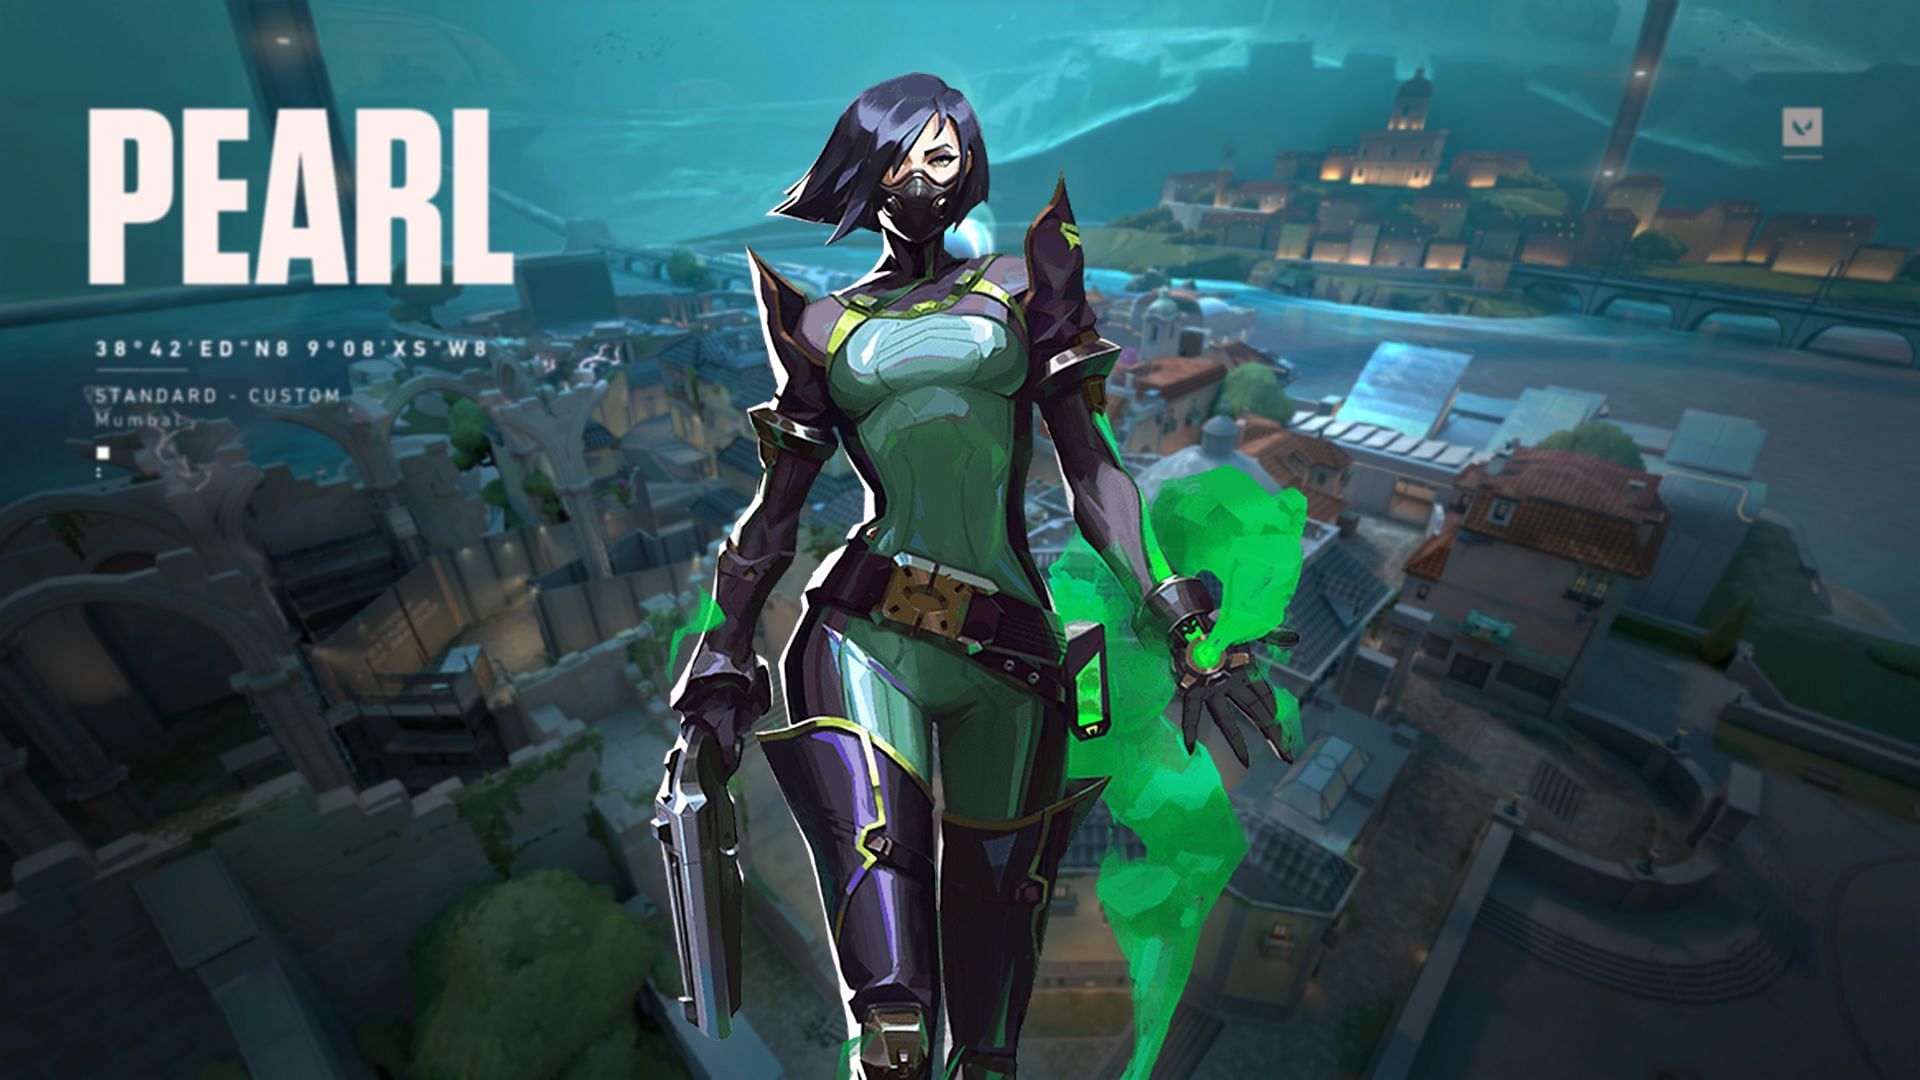
Viper lineup guide for Valorant’s Pearl
Poison Cloud lineup for the attacking half
1) Poison Orb from A Main to Secret


This lineup can be executed before your team fully enters the A Site on Valorant's Pearl. Position yourself in the small corner in A Main, as shown in the image, and then align the crosshair with the metal structure.
For reference, you can check the mini-map, which will show you exactly where the orb will land as you scan the exact space to aim at. This will help you pinpoint where to aim, and then a simple left-click throw will finish the job.
Also read: Valorant guide: Best Brimstone lineups on Sunset map
2) B Long to B Tower orb


This is another lineup that can be executed quickly. Just tuck yourself into the corner on B Long and look upwards towards the gap between the ship and the large metal beam which makes up the dome of Pearl. Yet again, use your mini-map as a guide here to observe where your orb will fall on the map.
Once the green orb indicator on the mini-map perfectly covers up B Tower from this lineup position, simply let it go, and you can enter the site with some support from the Toxic Screen as well.
Also read: Valorant: Complete Viper Sunset guide
3) Mid to B Link


You must position yourself close to the box in mid, but not exactly tucked into the corner. Then, aim upwards at the centermost line of bulbs and aim your crosshair approximately in the center of it as well. You can see it in the picture. Also, try to position your throw based on the mini map in Valorant's Pearl.
Then, execute a simple left click throw, and you're ready to rush the site with a deeper smoke setup.
Snakebite post-plant lineups
1) A Main to Default


This is a very potent Viper lineup on Valorant's Pearl. You need to position yourself once again in A Main. The position appears similar to the Orb lineup shown earlier; however, it's slightly different. You must not tuck yourself into the corner. If you do, the projectile might collide with the rock overhead.
Instead, you must stand about three small steps outside the corner and then aim upwards. You can also line up the fourth bar on Viper's fuel gauge to the second-top tier of the metal aperture as before.
Execute the lineup as you please. However, it's best used based on intel or an estimate right before the enemy sits down to defuse. Use it to stall and not to get a kill on Valorant's Pearl.
2) B Long to B Default open plant


This is a fantastic and easy-to-execute Viper lineup on Valorant's Pearl. Simply go down B Long and tuck yourself into the corner as shown in the image. Next, look upwards towards the roof, and you must align the fourth bar in your fuel gauge to the roof.
In the image, you will notice a ping marker. This is where the bar and the roof alignment must occur. Once you have similarly aligned your aim, shoot the Snakebite and it will land perfectly.
Also read: Complete Viper Abyss guide
Toxic Screen setups
1) A Site offensive wall

Simply aim down the wall and use the map as your guide on Valorant's Pearl. Aim to cover up A Link as well as the back of the site. The goal here is to ensure that the enemies get no space to peek at you.
You can use the image above as a reference and execute a similar Toxic Screen while going to A Site on Pearl in Valorant.
2) B Site offensive wall

Finally, this is the B wall in conjunction with the B Tower orb shown earlier in the article. The two work perfectly to block enemy sight and make it difficult for them to retake the site. Whenever your teammates cross to the other side of the wall, make sure flashes are used appropriately to make the most out of the situation.
Best tips to use Viper’s abilities on Pearl in Valorant

Viper's kit is essentially perfect for the map. She can cover up large open areas with the wall and smaller entryways with the orb. Here are some tips to help you use the Agent successfully:
- Viper's wall and orb require fuel. Her fuel gauge will allow any one ability to stay up for about 12 seconds, and both abilities will be active at the same time will only last you 8.5 seconds.
- The fuel regenerates on its own, but it takes 30 seconds to go from zero to 100.
- Her Snakebite only lasts for about 6.5 seconds and applies 12.5 HP damage per second.
- Her Ultimate has an 8-second max timer if she leaves its area.
Best Gameplay Tips for Viper on Pearl in Valorant
Capable setups
If you're running a solo controller composition with Viper on a map like Pearl, you may feel like you're stretched too thin. Pearl is a medium-sized map, so even though it looks big, on the defensive side, it isn't a problem.
You can go to B Link, execute a defensive wall, and then quickly run to A Site to use your Orb to cover up the main entrance. In this way, you simply protect both sites with smokes. However, it's often best to let your Sentinel handle one site while you handle another with a wall in mid to keep space in your favor.
Open plants and post-plants
Try to plant the Spike out in the open whenever possible. You can then easily execute post-plant Snakebite lineups and also take a fight with the opponent with weapons.
Instruct your teammates in Valorant to plant the Spike according to your lineup and use it whenever needed. Also, remain wary of any flanking opponents as they can certainly catch you by surprise while you try to use a lineup.
Lurking
Viper is a fantastic Agent to use for lurking. Condition your enemies by using the same wall setup during the attacking half. This works especially well with a double Controller team composition.
Lurk in mid and on the site opposite your team. Try to find space and take down opponents when they're not looking. Much like Team Liquid's nAts, who made a name out of being a fantastic lurker on Viper and Cypher.
