
'%20x='0'%20y='0'%20height='100%25'%20width='100%25'%20%0A%20%20%20%20%20%20%20%20%20%20xlink%3Ahref='data:image/jpg;base64,/9j/2wBDAAYEBQYFBAYGBQYHBwYIChAKCgkJChQODwwQFxQYGBcUFhYaHSUfGhsjHBYWICwgIyYnKSopGR8tMC0oMCUoKSj/2wBDAQcHBwoIChMKChMoGhYaKCgoKCgoKCgoKCgoKCgoKCgoKCgoKCgoKCgoKCgoKCgoKCgoKCgoKCgoKCgoKCgoKCj/wgARCAAGAAoDASIAAhEBAxEB/8QAFQABAQAAAAAAAAAAAAAAAAAABgf/2gAIAQEAAAAAiZP/xAAUAQEAAAAAAAAAAAAAAAAAAAAB/9oACAECEAAAAH//xAAUAQEAAAAAAAAAAAAAAAAAAAAB/9oACAEDEAAAAD//xAAfEAABAwUAAwAAAAAAAAAAAAACAwQFAAEGERIhQXL/2gAIAQEAAT8Ansvj5XEIOJRx9i3WjhPt4A6Nf6oHClgHlwsNteBt6r//xAAVEQEBAAAAAAAAAAAAAAAAAAAAAv/aAAgBAgEBPwCn/8QAFxEAAwEAAAAAAAAAAAAAAAAAAAEhAv/aAAgBAwEBPwDMUP/Z'%3E%3C/image%3E%3C/svg%3E)
The Oryx encounter is the final encounter in the King's Fall raid in Destiny 2. In this encounter, Guardians will face the Taken King himself. Although the encounter is very straightforward, there are a few tricky bits that everyone needs to take note of.
The Taken King Oryx was one of the three main Hive Gods in Destiny 2 lore. Guardians defeated Savathun in the Witch Queen campaign and now Oryx in the King's Fall raid. It will be interesting to see when Xivu Arath, the Hive Goddess of War, makes an appearance in the storyline.
Here's a guide to the Oryx encounter in the King's Fall raid in Destiny 2.
Looking for Crossword hints & solutions? Check out latest NYT Mini Crossword Answers, LA Times Crossword Answers, and Atlantic Crossword Answers
How to defeat Oryx in the King's Fall raid in Destiny 2
This encounter occurs in the room where the Guardians defeated Ir Anuk and Ir Halak, the Daughters of Oryx. To trigger the final encounter, Guardians will have to make it to the middle of the room where a small wisp is present. Interacting with this wisp should trigger the encounter.
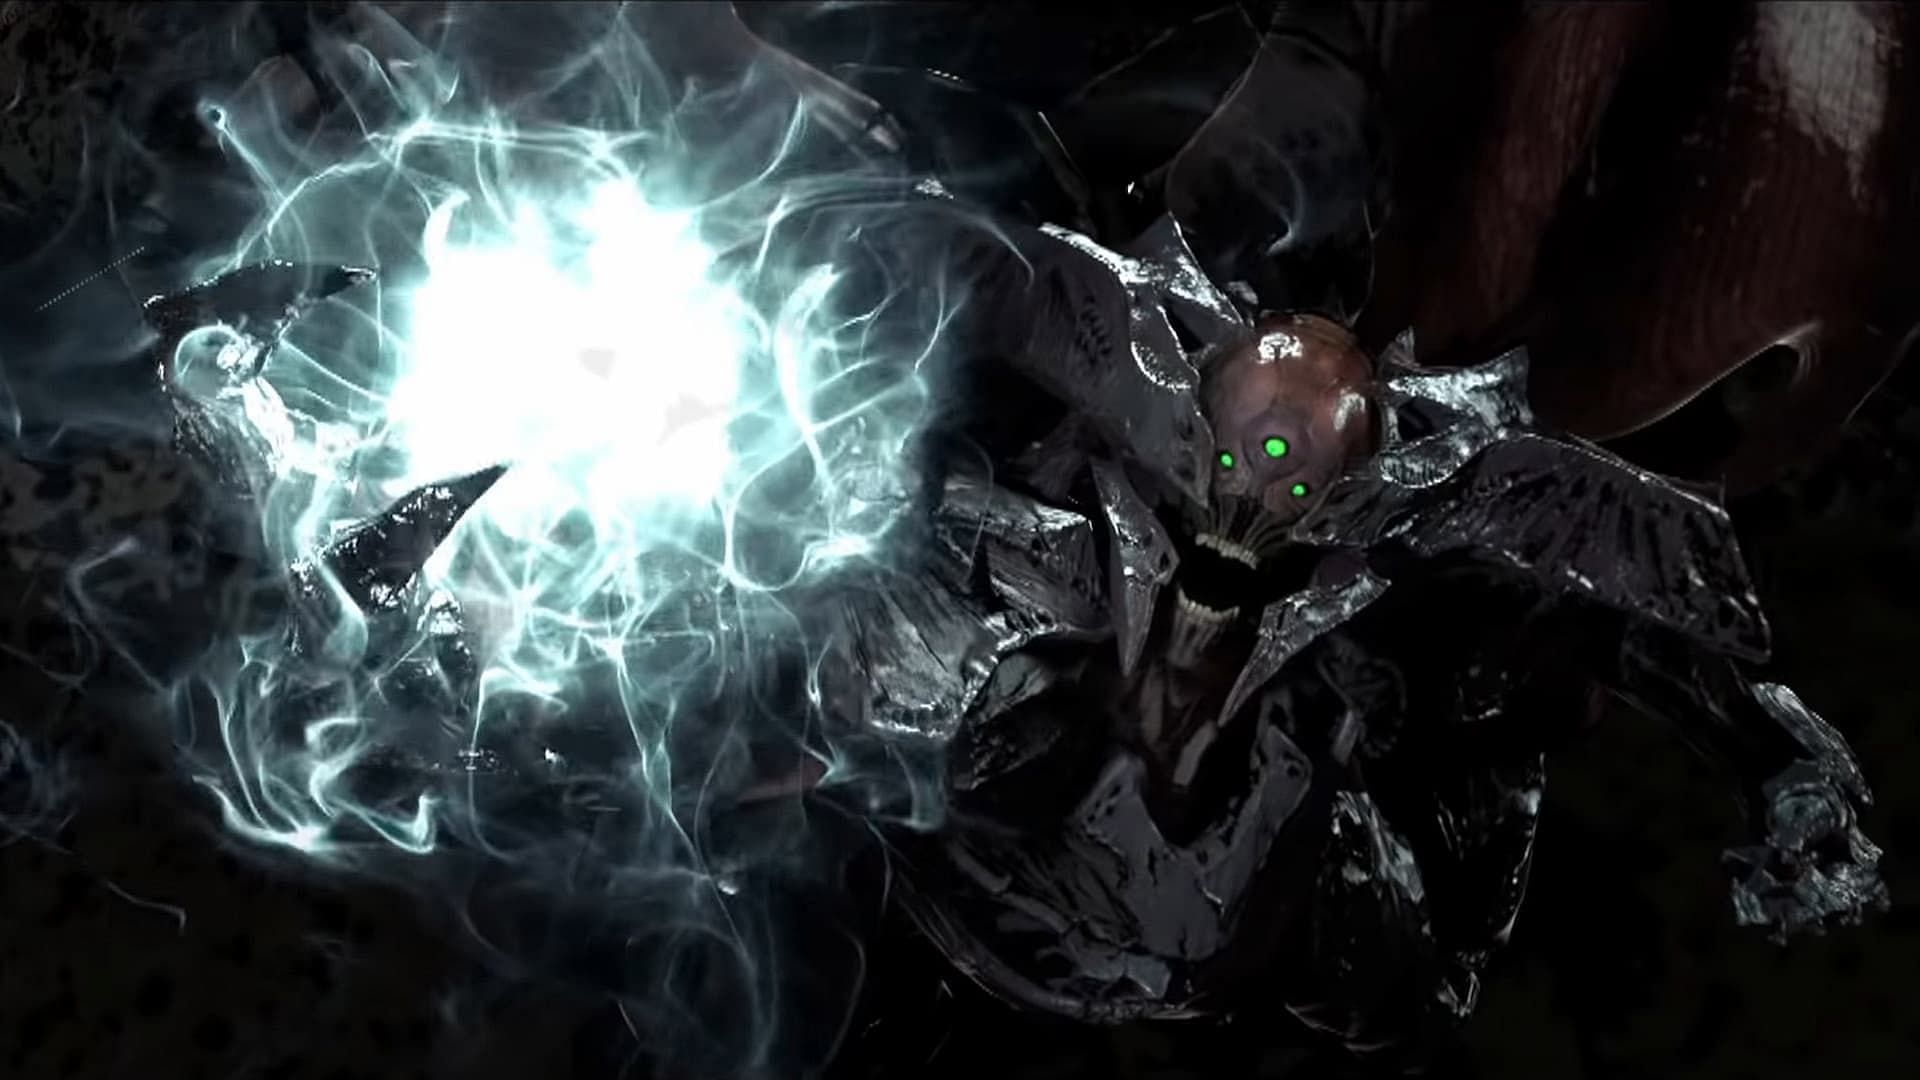
The encounter begins with Oryx appearing at the back of the room. After the Guardians kill all the ads that spawn, the Taken King moves to one of the four platforms in the room and strikes it with his closed fist. The struck platform gets a greenish aura.
When this happens, the spark that appeared during the Daughters of Oryx encounter in Destiny 2 spawns again. One player stands on this glowing platform while another player, selected at random, gets the "Torn between dimensions" debuff. Others must then stand on the four platforms in the room, starting with the platform that Oryx hit, followed by the others in a counter-clockwise direction.
This should bring up the platforms for the Guardian with "Torn between Dimensions" debuff. This Guardian then needs to grab the spark and eventually the Aura of Immortality buff. This needs to be repeated a total of three times.
While the Spark runner is busy grabbing the spark, the Guardians standing on the platforms need to eliminate the Light-Eating Ogres that spawn near these platforms. Upon defeating them, they turn into Blight Bombs. Light-Eating Knights also spawn after the Ogres have been defeated and must be eliminated as well.
After claiming the spark and the buff, the Spark runner must defeat the Vessel of Oryx. After this enemy has been defeated, they must come back and stack with the rest of the Fireteam. Players must focus on damaging Oryx by shooting at the opening on his chest, which should stun Oryx.
Once stunned, a Guardian can run to the previously formed Blight Bombs and stand close to them to activate them. The Blight Bomb should heavily damage Oryx. If the Guardian activating the bomb isn't back with the rest of the Fireteam on time, they might die from the resulting explosion in Destiny 2.
After the damage phase is over, Oryx travels to the back of the room in Destiny 2 and creates a different dimension into which a few Guardians are pulled. The ones inside will have to defeat the Shade of Oryx to break free.
The entire process needs to be repeated until Oryx is taken down. The battle can be broken down into three damage phases, meaning the above steps have to be repeated thrice.
Once completed, this should be enough to teach the evil Hive God in Destiny 2 a lesson for the eons to come.

Are you stuck on today's Wordle? Our Wordle Solver will help you find the answer.