
'%20x='0'%20y='0'%20height='100%25'%20width='100%25'%20%0A%20%20%20%20%20%20%20%20%20%20xlink%3Ahref='data:image/jpg;base64,/9j/2wBDAAYEBQYFBAYGBQYHBwYIChAKCgkJChQODwwQFxQYGBcUFhYaHSUfGhsjHBYWICwgIyYnKSopGR8tMC0oMCUoKSj/2wBDAQcHBwoIChMKChMoGhYaKCgoKCgoKCgoKCgoKCgoKCgoKCgoKCgoKCgoKCgoKCgoKCgoKCgoKCgoKCgoKCgoKCj/wgARCAAGAAoDASIAAhEBAxEB/8QAFQABAQAAAAAAAAAAAAAAAAAABQf/2gAIAQEAAAAAgBf/xAAUAQEAAAAAAAAAAAAAAAAAAAAD/9oACAECEAAAAC//xAAUAQEAAAAAAAAAAAAAAAAAAAAC/9oACAEDEAAAAH//xAAgEAABAgUFAAAAAAAAAAAAAAABAgMABAUSIREiQYKx/9oACAEBAAE/AJWlImEu3EBCN/XT3Agu5NzLRPJzH//EABcRAQADAAAAAAAAAAAAAAAAAAEAAiH/2gAIAQIBAT8Aq6z/xAAVEQEBAAAAAAAAAAAAAAAAAAAAAv/aAAgBAwEBPwCn/9k='%3E%3C/image%3E%3C/svg%3E)
After years of waiting, the Destiny 2 community finally got to play the famous King's Fall Raid with their preferred loadouts and weapons.
Bungie has released previous weapons and armor pieces from Destiny 1 back into the loot pool in the reprised version of the Raid.
However, not everything was the same as in the previous game since players had to adjust a lot in the second and third main encounters of the Destiny 2 version of the King's Fall.
This article will guide you through the Totems and Warpriest boss encounters.
Looking for Crossword hints & solutions? Check out latest NYT Mini Crossword Answers, LA Times Crossword Answers, and Atlantic Crossword Answers
Note: This article reflects the opinions of the writer
How to summon Warpriest and defeat him in Destiny 2 King's Fall (2022)
The Totems encounter overview
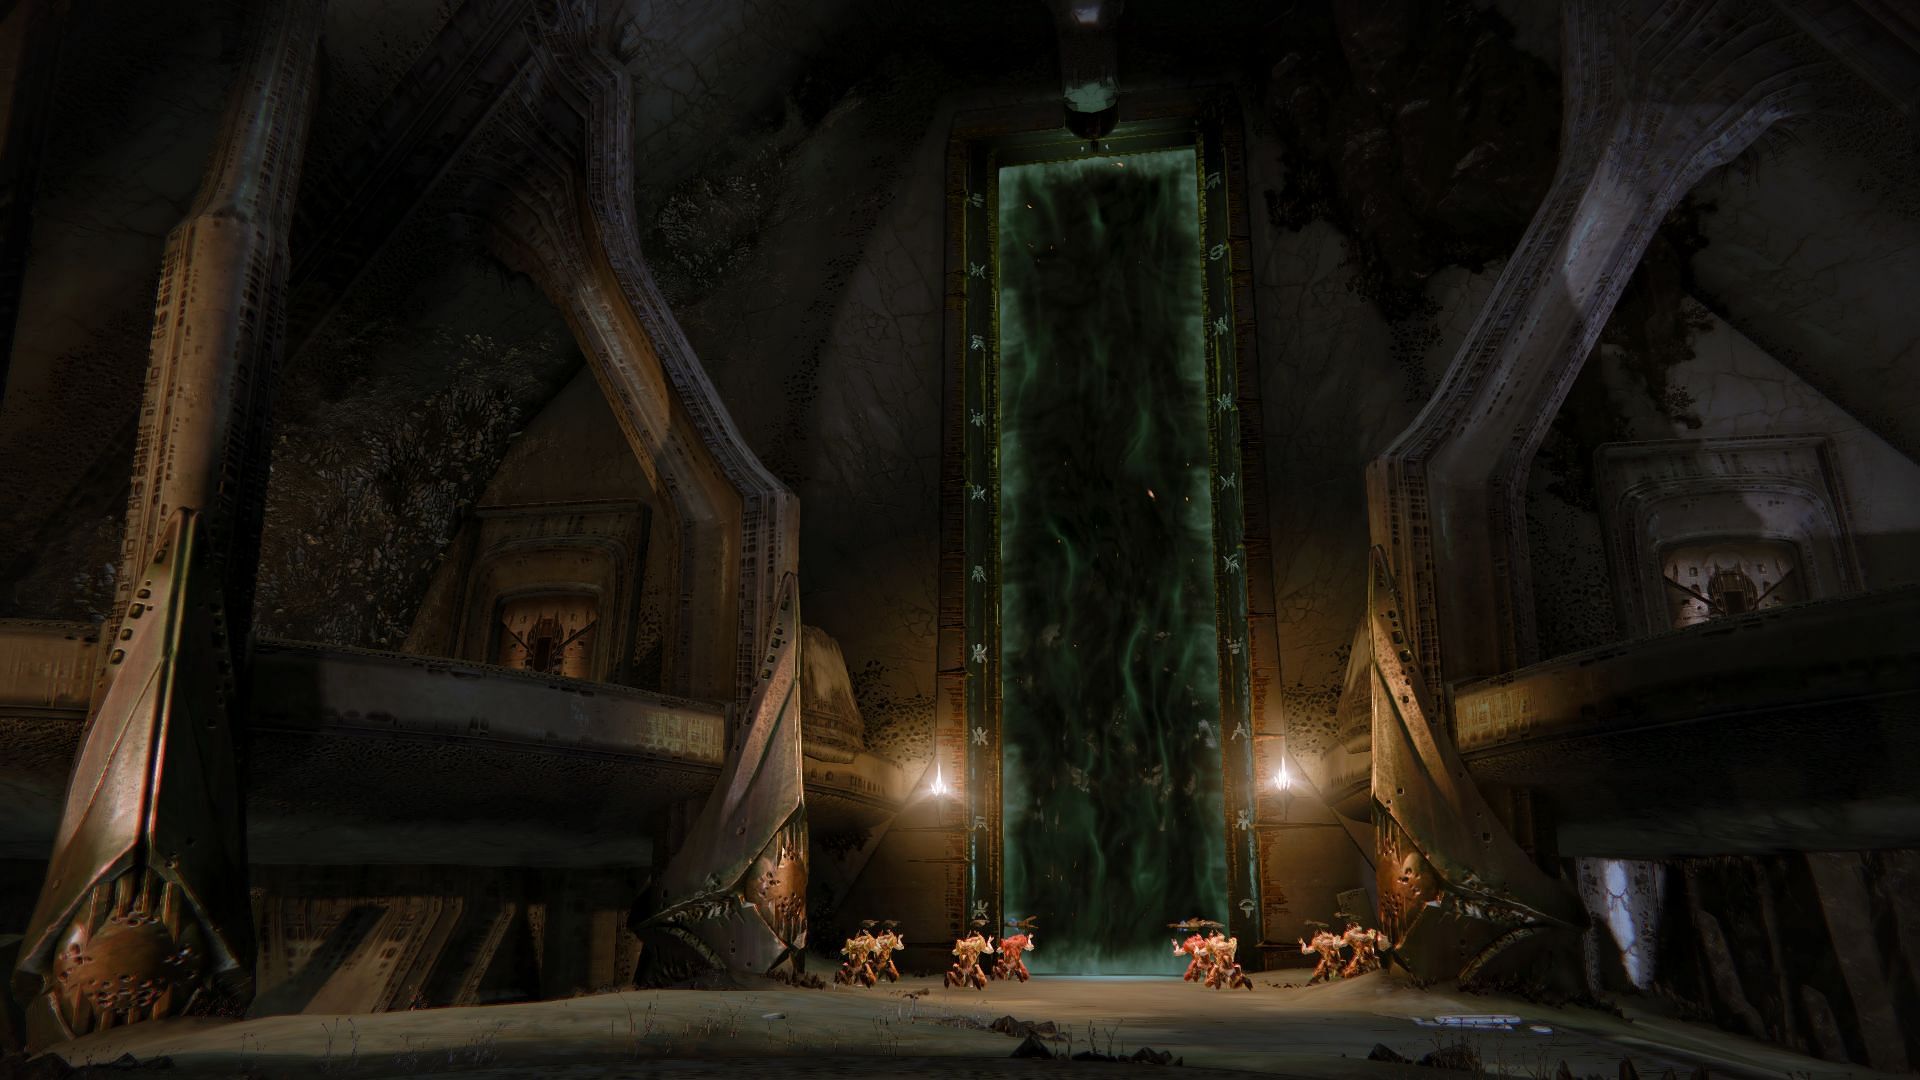
After depositing relics on six statues in the opening encounters, you will come across a long doorway with Hive inscriptions on both sides.
The goal is to fill every Hive sign until each one has been lit up in green. Players will need to switch buffs, defeat Taken enemies, and repeat the process until all the totems light up in the doorway.
How to approach the encounter in Destiny 2 King's Fall
To start things off, you will need to divide your fireteam into three teams, with two members in each team.
Right from the beginning, you will see one area in the middle and two additional areas both to your left and right. One team in the middle can clear adds, and the other two teams can stand on plates by picking up a buff.
A player from the left and right teams can pick up buffs from either side and stand on a plate. The encounter starts upon picking up these buffs, so plan accordingly.
The one who picks up the buff will have the Brand of the Weaver and further gain an additional stacked buff called Deathsinger's Power upon killing enemies. However, during this buff, the Brand of the Weaver will have a cooldown that needs to be switched.
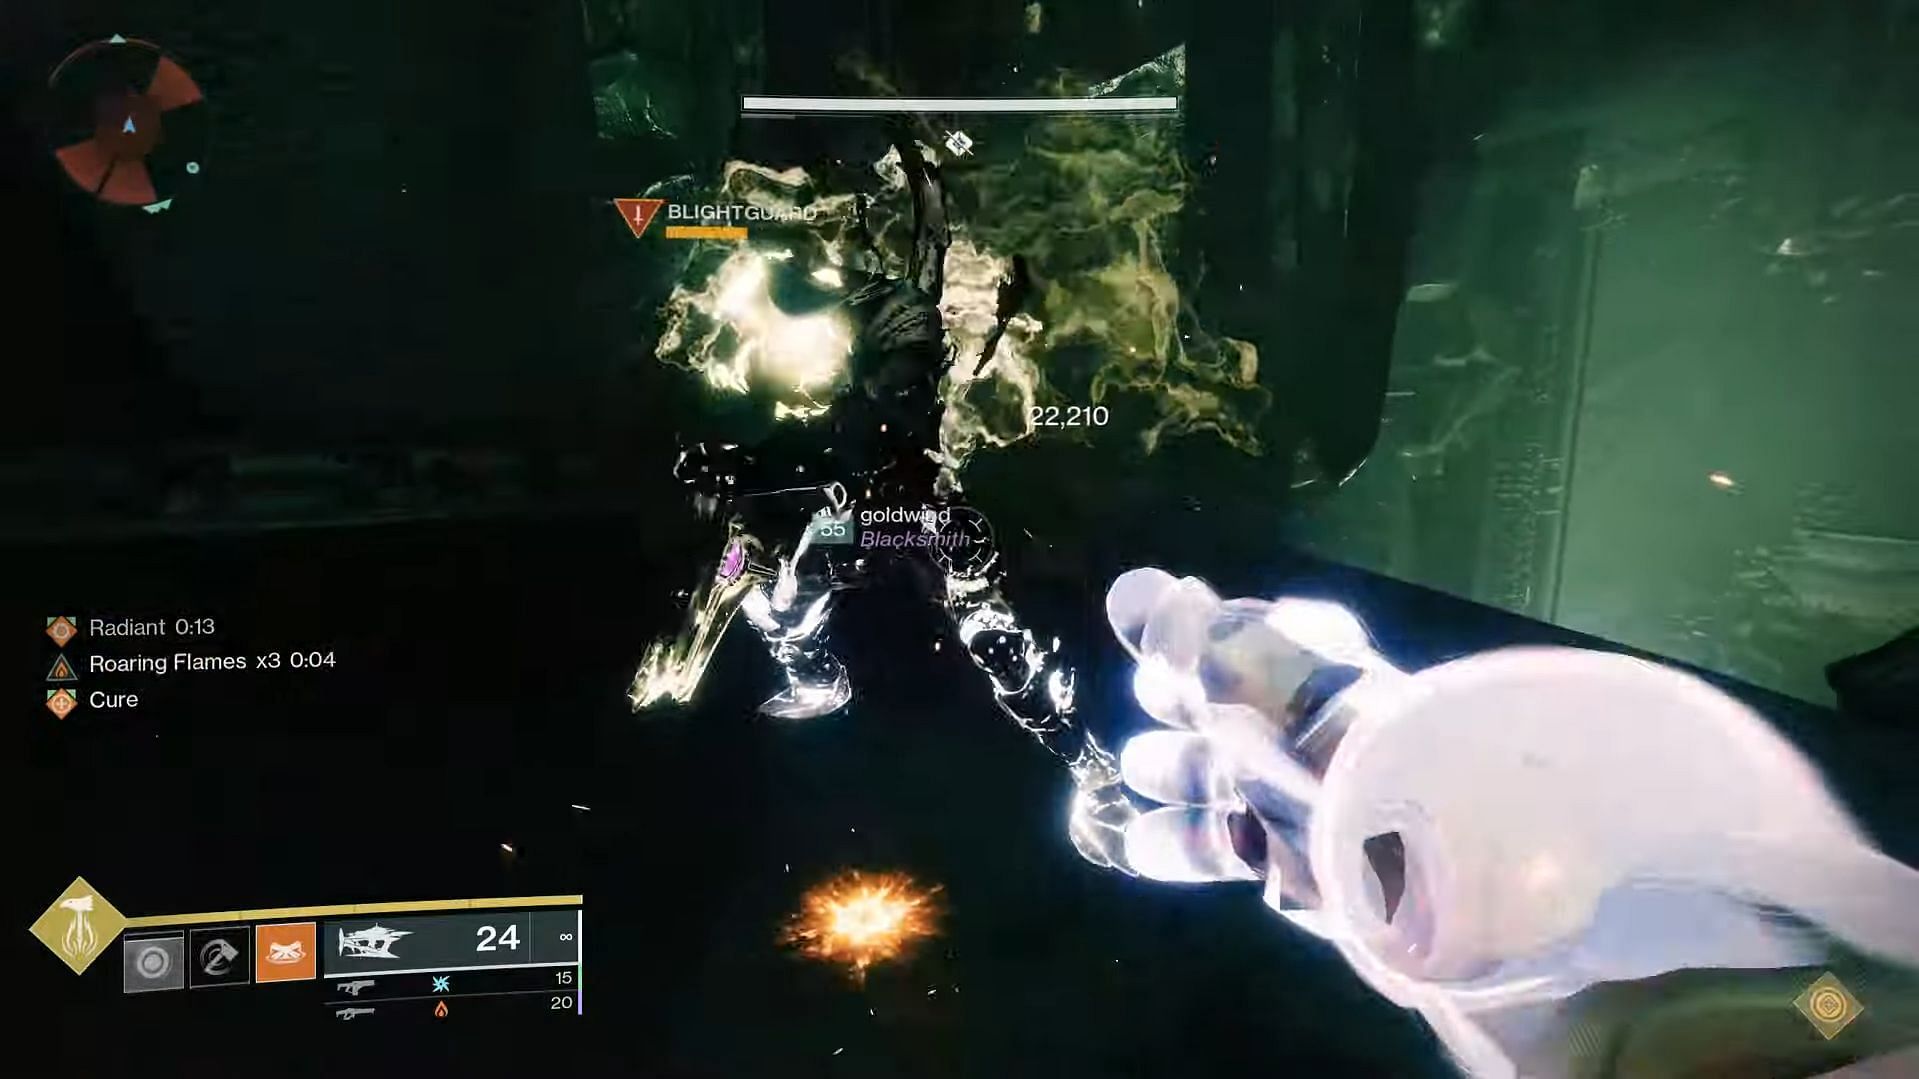
Now, a player from the middle will need to defeat a Taken Knight called Blight Guard and pick up a buff called Braid Claimer. This particular player will need to switch buffs with the Brand of the Weaver holder before the latter's countdown reaches zero.
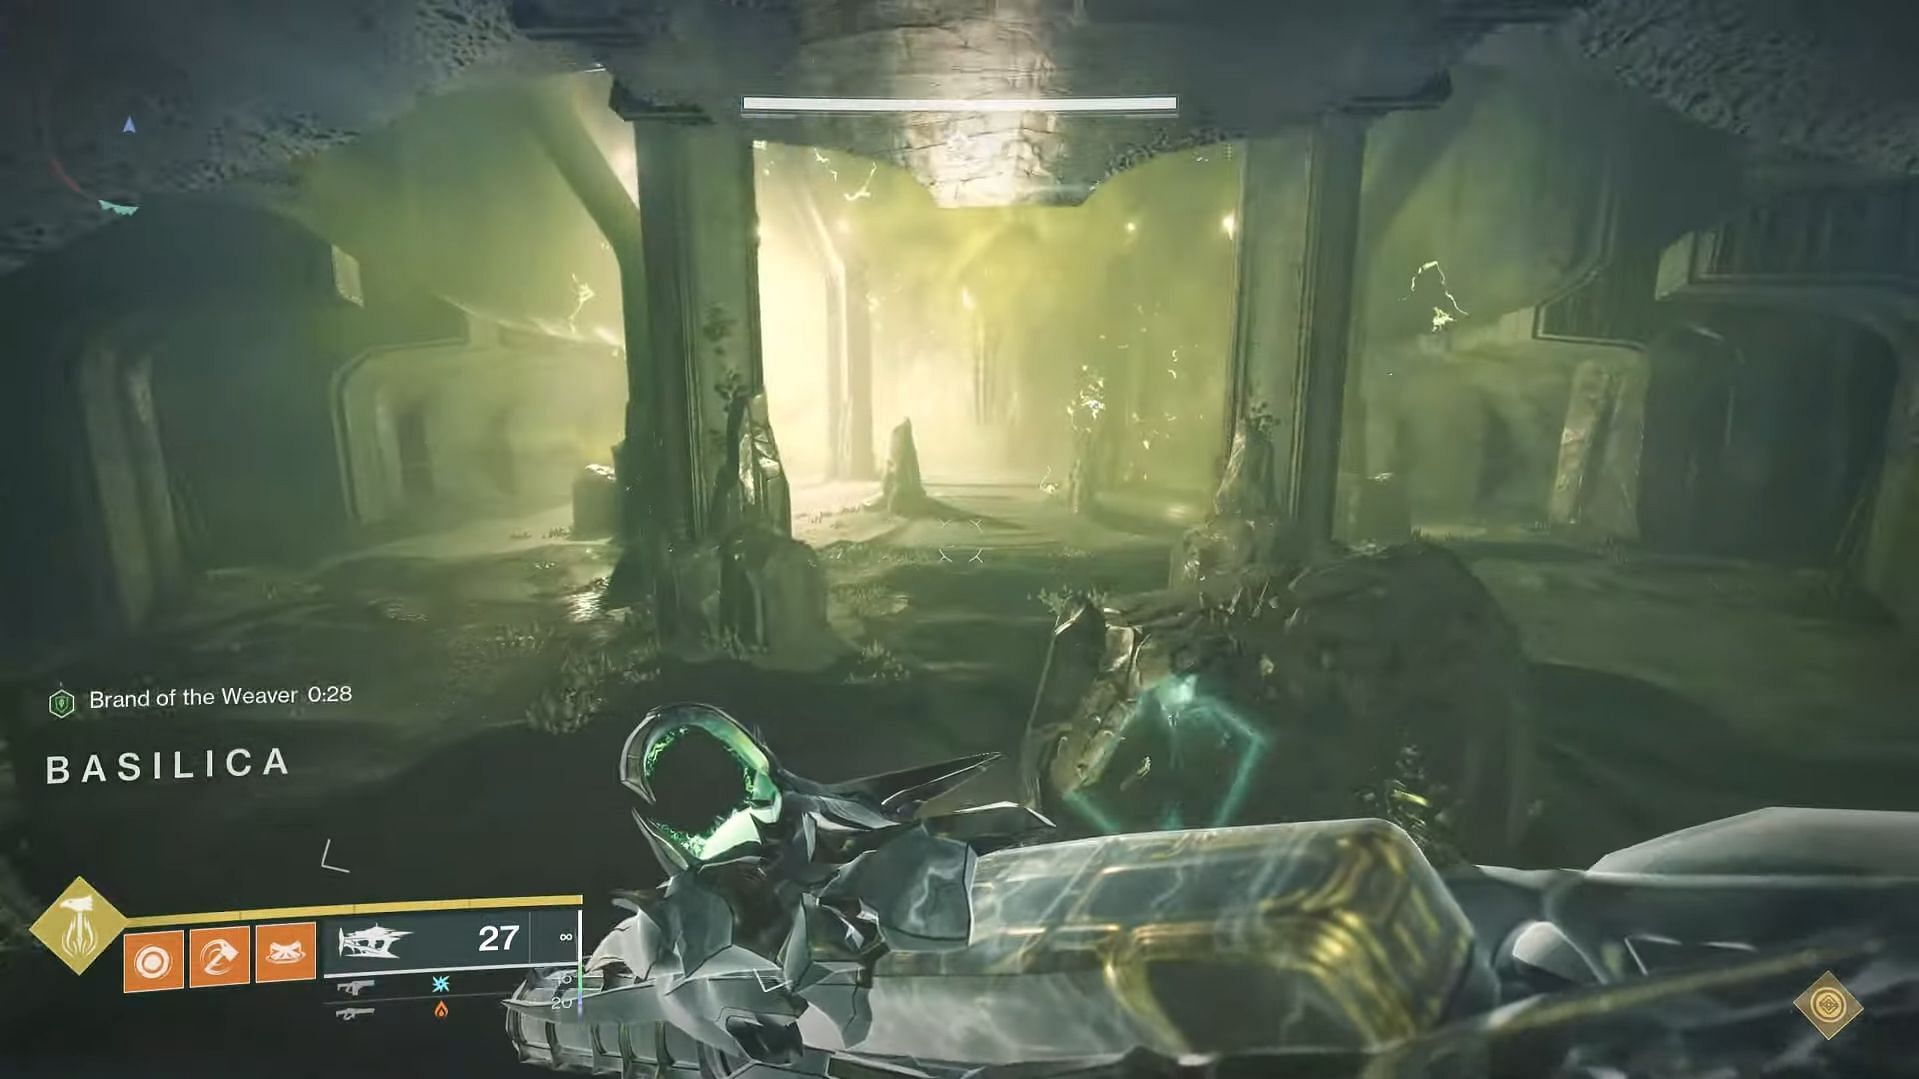
Both sides need to have this rotation, where players with the Deathsinger's Power will need to deposit the buff in the middle and repeat the process until all the totems light up. The doorway to the Warpriest boss will light up once all Hive totems are lit up.
The Warpriest boss fight
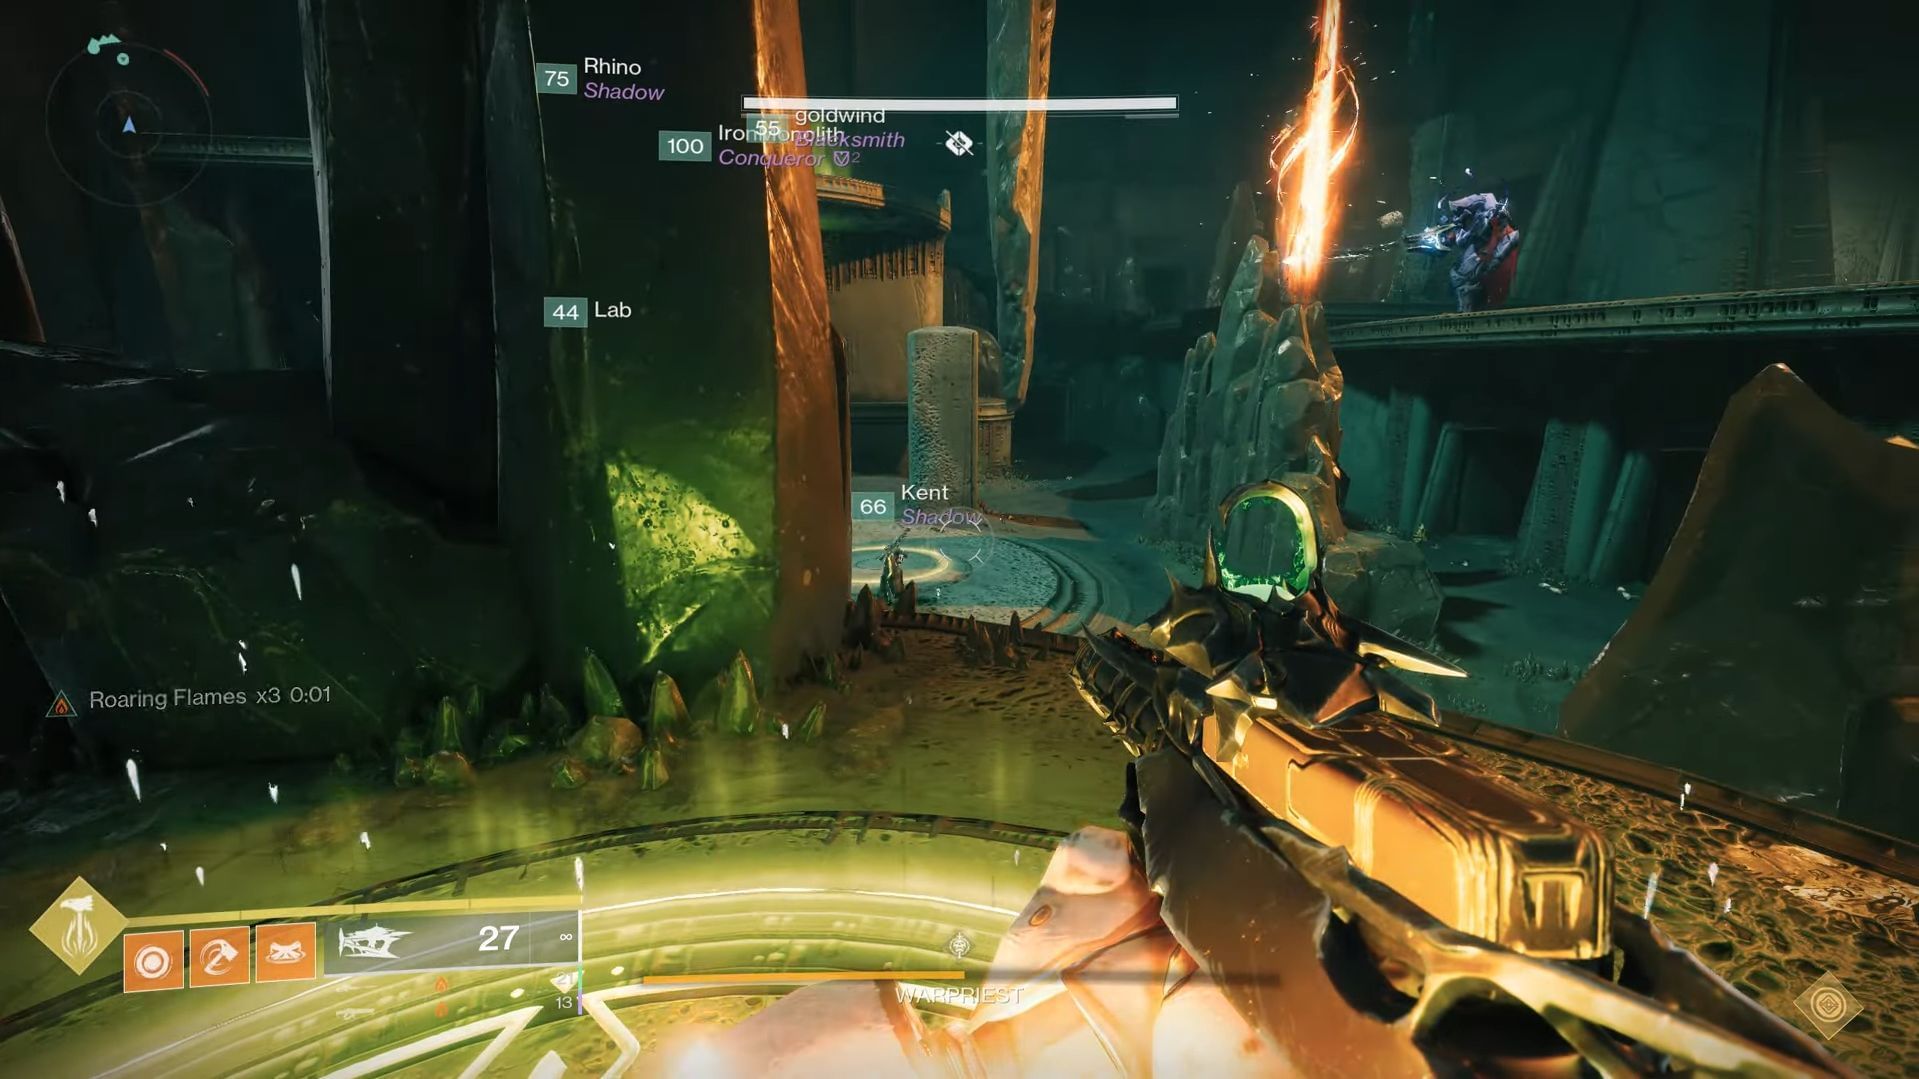
To start the Warpriest boss encounter, split your fire team into three separate teams of two Guardians and have each player stand on three plates at the same time.
These three teams need to focus on clearing adds and Hive Knights called Revenant Knight. Once all three Knights are killed, look for a glowing sequence on the three pillars and follow the order.
You will need to step on the plates based on the order of the sequence. The player who steps on the last plate of the sequence will get a Brand of the Initiate buff, which needs to be used by everyone to damage the boss.
To extend the damage phase, one player needs to defeat a Blight Guard Knight to claim the Brand Claimer buff and stand inside the Brand of the Infinite aura.
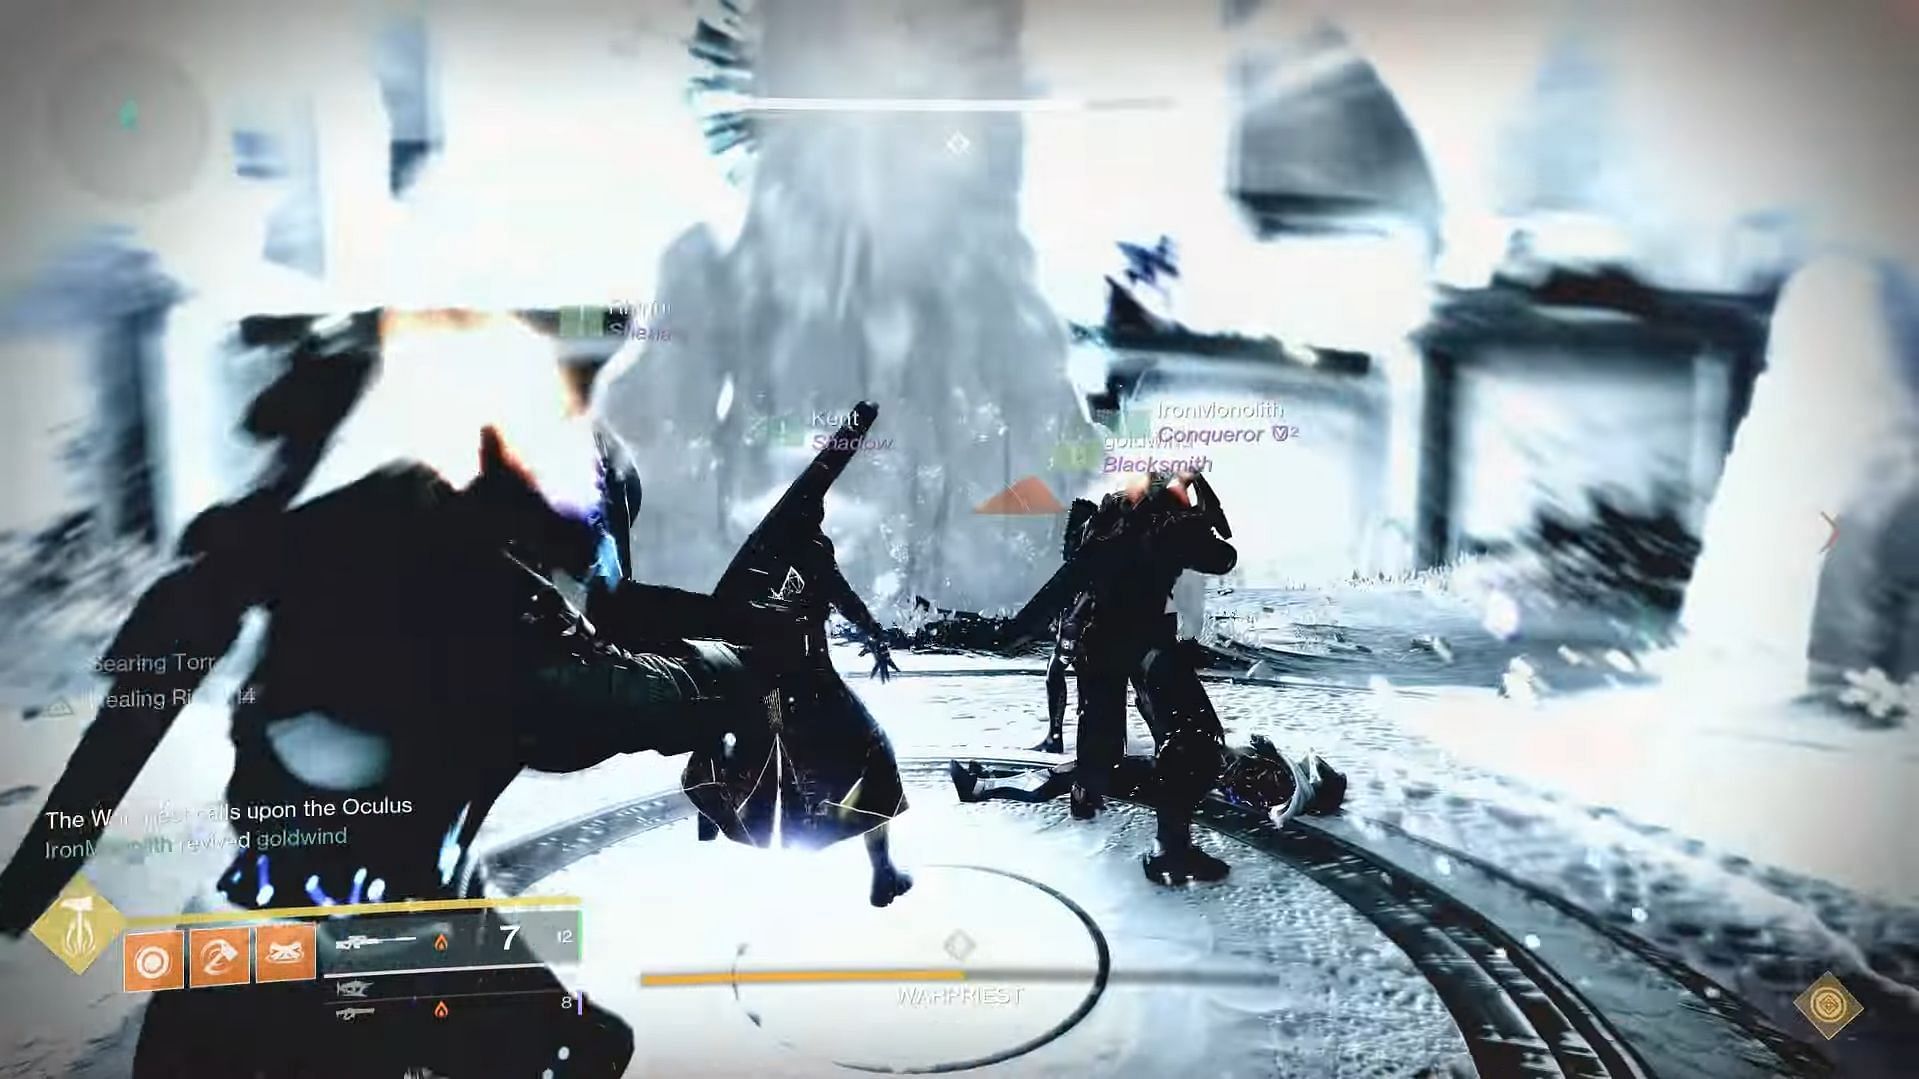
After the damage phase ends, the Warpriest boss will emit an AOE attack, which can be evaded by hiding behind either the left, middle, or right pillar. However, with each AOE attack, the pillar you're hiding behind will vanish. Hence, you will need to carefully pick an area to damage the boss from.
Since there are three pillars in total, having all of them obliterated will result in a wipe after the fourth damage phase.

Are you stuck on today's Wordle? Our Wordle Solver will help you find the answer.