
'%20x='0'%20y='0'%20height='100%25'%20width='100%25'%20%0A%20%20%20%20%20%20%20%20%20%20xlink%3Ahref='data:image/jpg;base64,/9j/2wBDAAYEBQYFBAYGBQYHBwYIChAKCgkJChQODwwQFxQYGBcUFhYaHSUfGhsjHBYWICwgIyYnKSopGR8tMC0oMCUoKSj/2wBDAQcHBwoIChMKChMoGhYaKCgoKCgoKCgoKCgoKCgoKCgoKCgoKCgoKCgoKCgoKCgoKCgoKCgoKCgoKCgoKCgoKCj/wgARCAAGAAoDASIAAhEBAxEB/8QAFgABAQEAAAAAAAAAAAAAAAAAAAQF/8QAFAEBAAAAAAAAAAAAAAAAAAAAA//aAAwDAQACEAMQAAAAzJgW/8QAHxAAAQMEAwEAAAAAAAAAAAAAAgEDBAAFBxMGEcLi/9oACAEBAAE/AIGZ4tjnoJWNomAANaMjr9VIznEdkOmvGoZKRKXah9V//8QAGBEAAgMAAAAAAAAAAAAAAAAAAAIDBFH/2gAIAQIBAT8AWtFh/8QAGBEAAgMAAAAAAAAAAAAAAAAAAQIAAyH/2gAIAQMBAT8Ae9ydM//Z'%3E%3C/image%3E%3C/svg%3E)
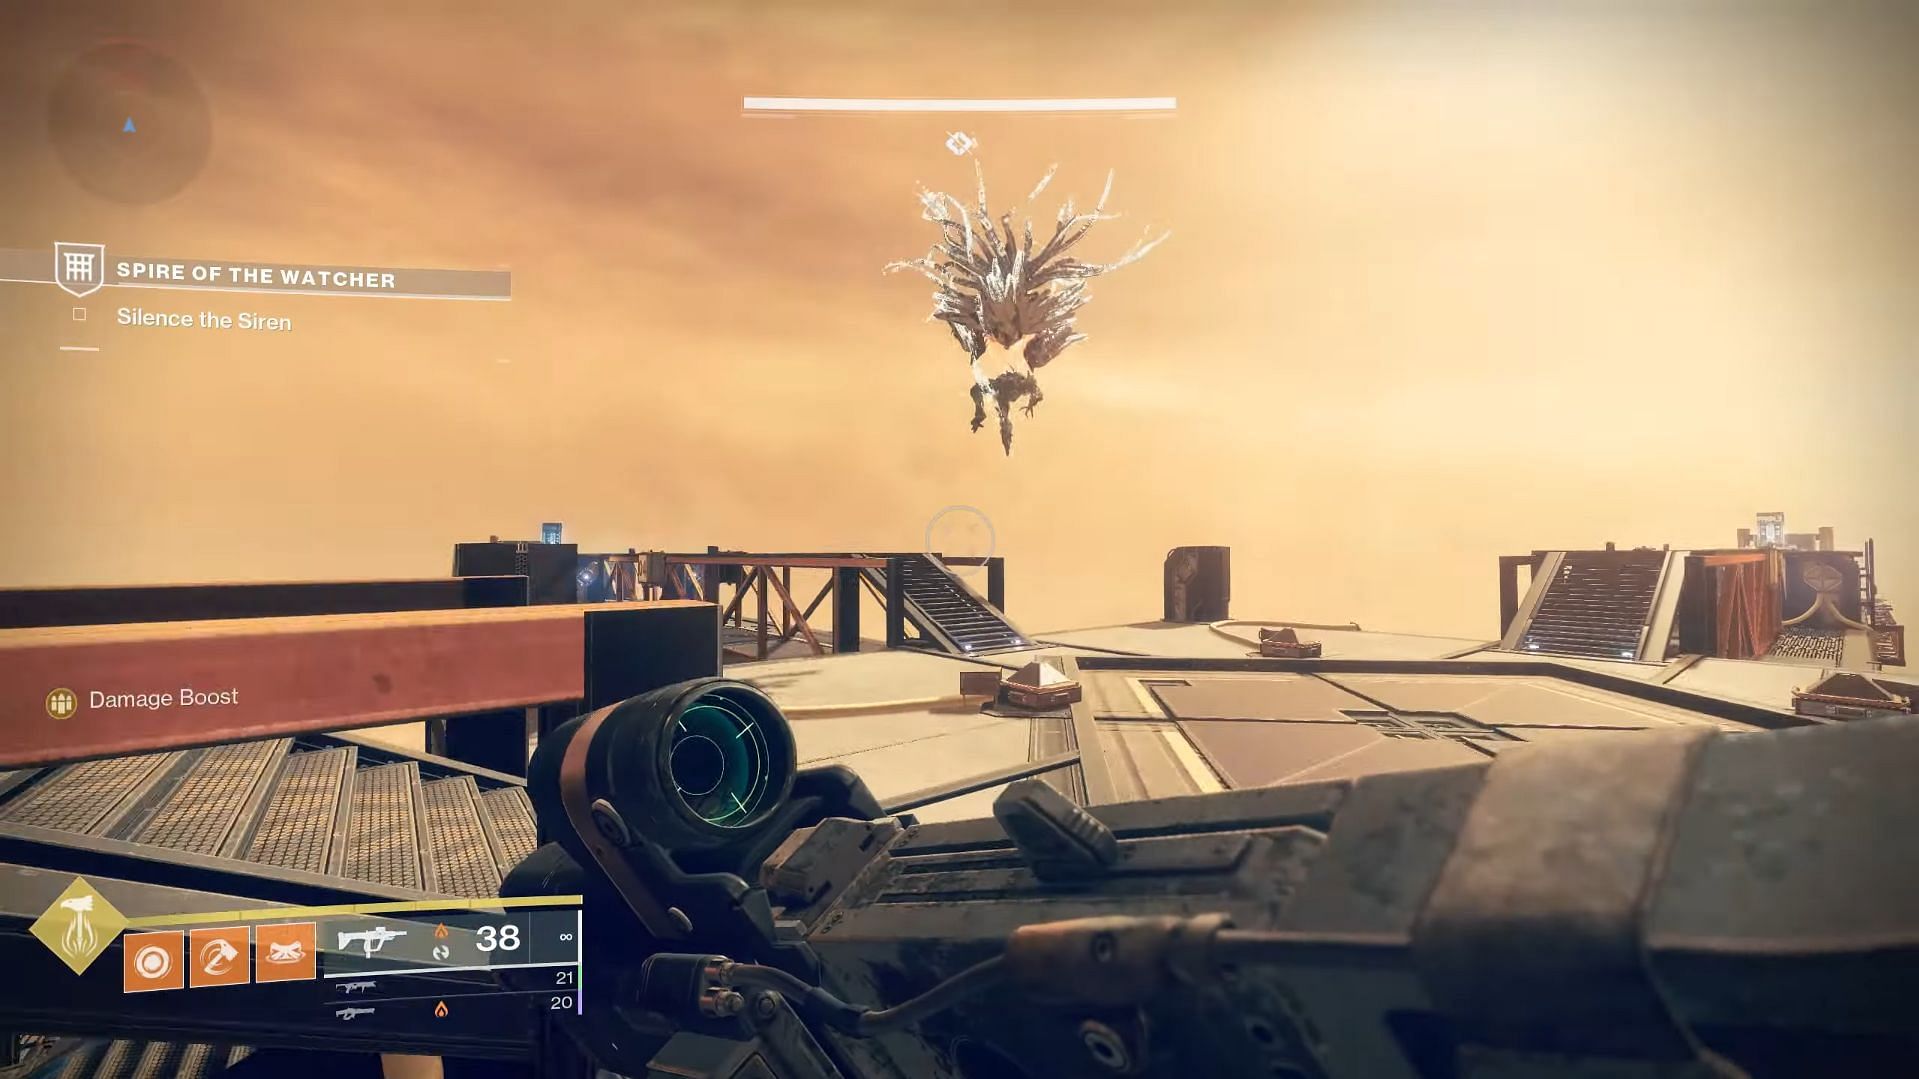
The Akelous encounter inside Destiny 2 Spire of the Watcher is the first major boss, involving a giant Harpy Vex Mind similar to Garden of Salvation. Players will find this encounter right after "Ascend" at the topmost point of the facility.
The encounter itself is pretty straightforward, and the final boss mechanic follows the same DPS phase as the Consecrated Mind from the Garden of Salvation Raid. The following article will guide you through the encounter and provide some tips to make the boss fight easier.
Disclaimer: This guide is based on the assumption that you are already accustomed to all the basic callouts and Arctrician mechanics.
Looking for Crossword hints & solutions? Check out latest NYT Mini Crossword Answers, LA Times Crossword Answers, and Atlantic Crossword Answers
How to defeat Akelous, The Siren's Current in Destiny 2 Spire of the Watcher
1) Overview of the encounter
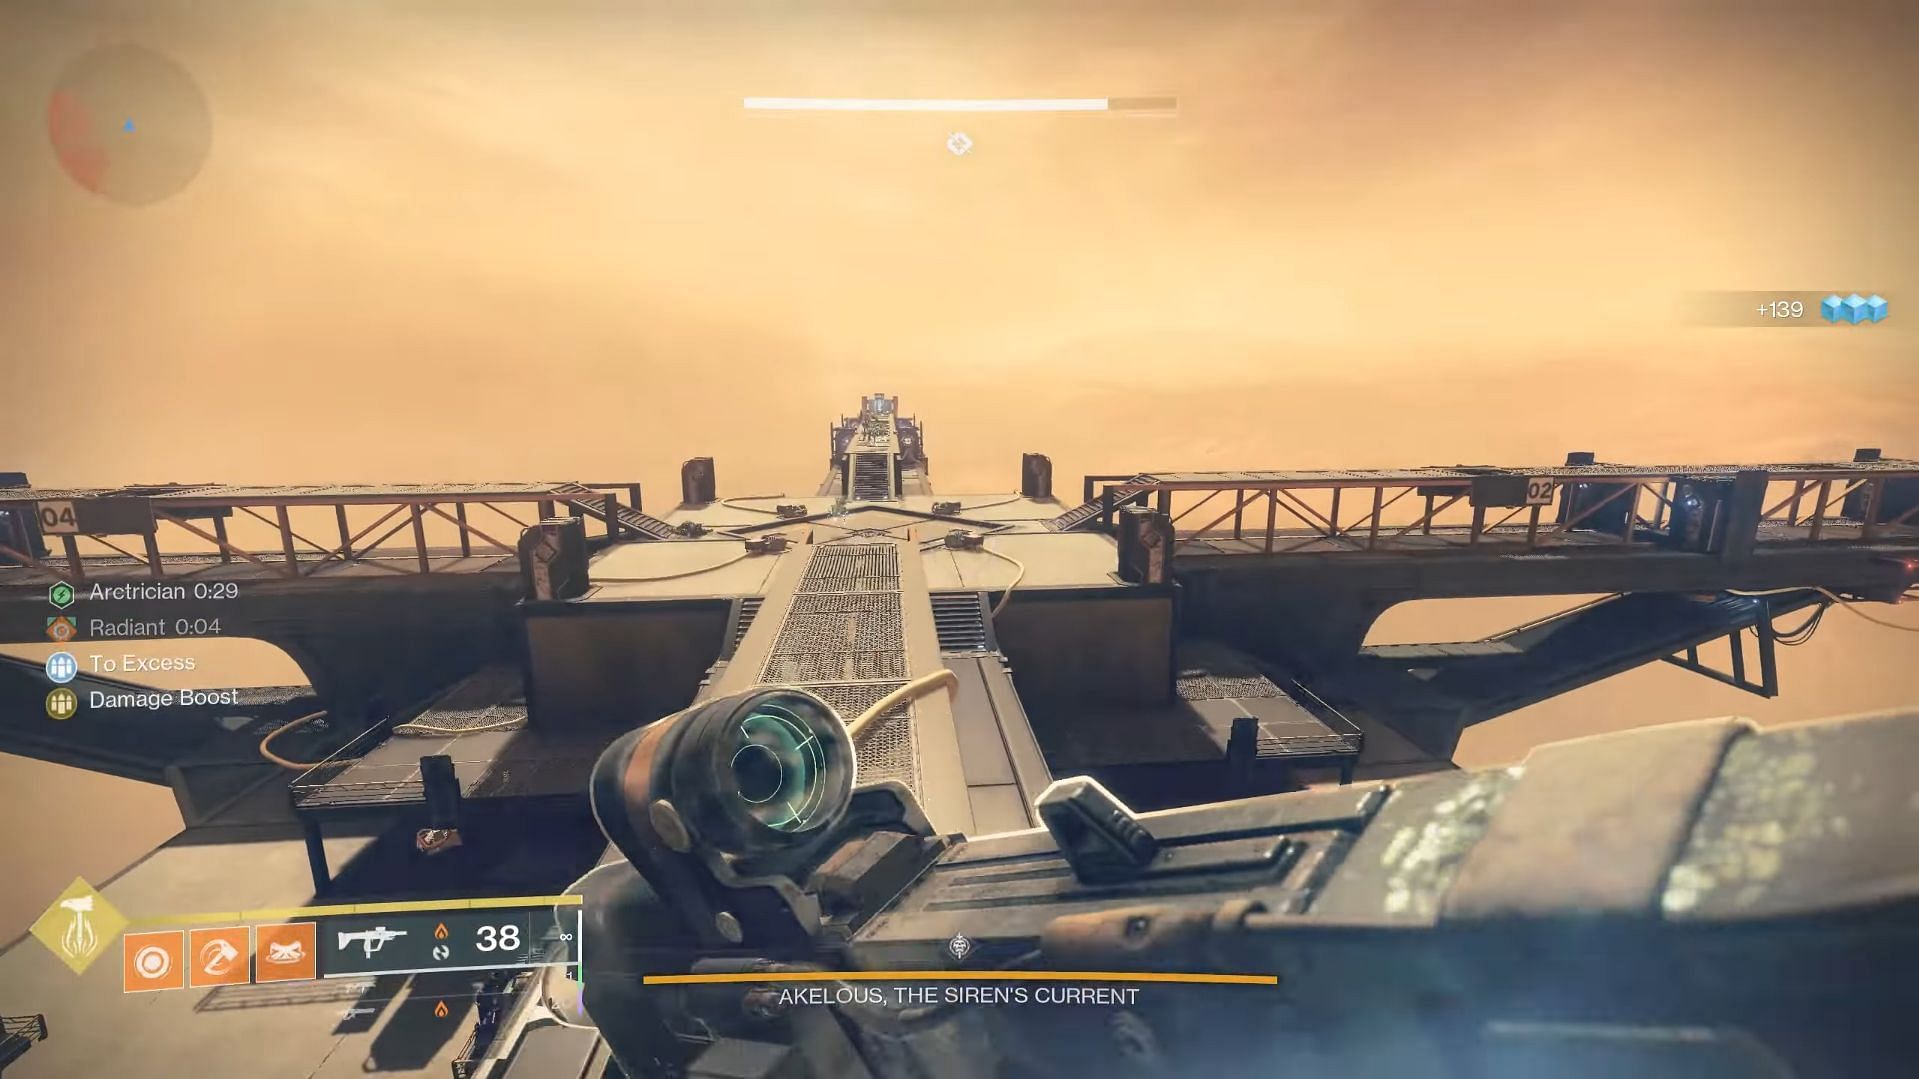
The primary objective for players here is to lower the Arc batteries located on four sides of the arena. This can be done by following the power-establishing mechanics from the first two encounters. Once all the Arc batteries get disabled, the boss will come to you with multiple eyes on the front, similar to Consecrated Mind.
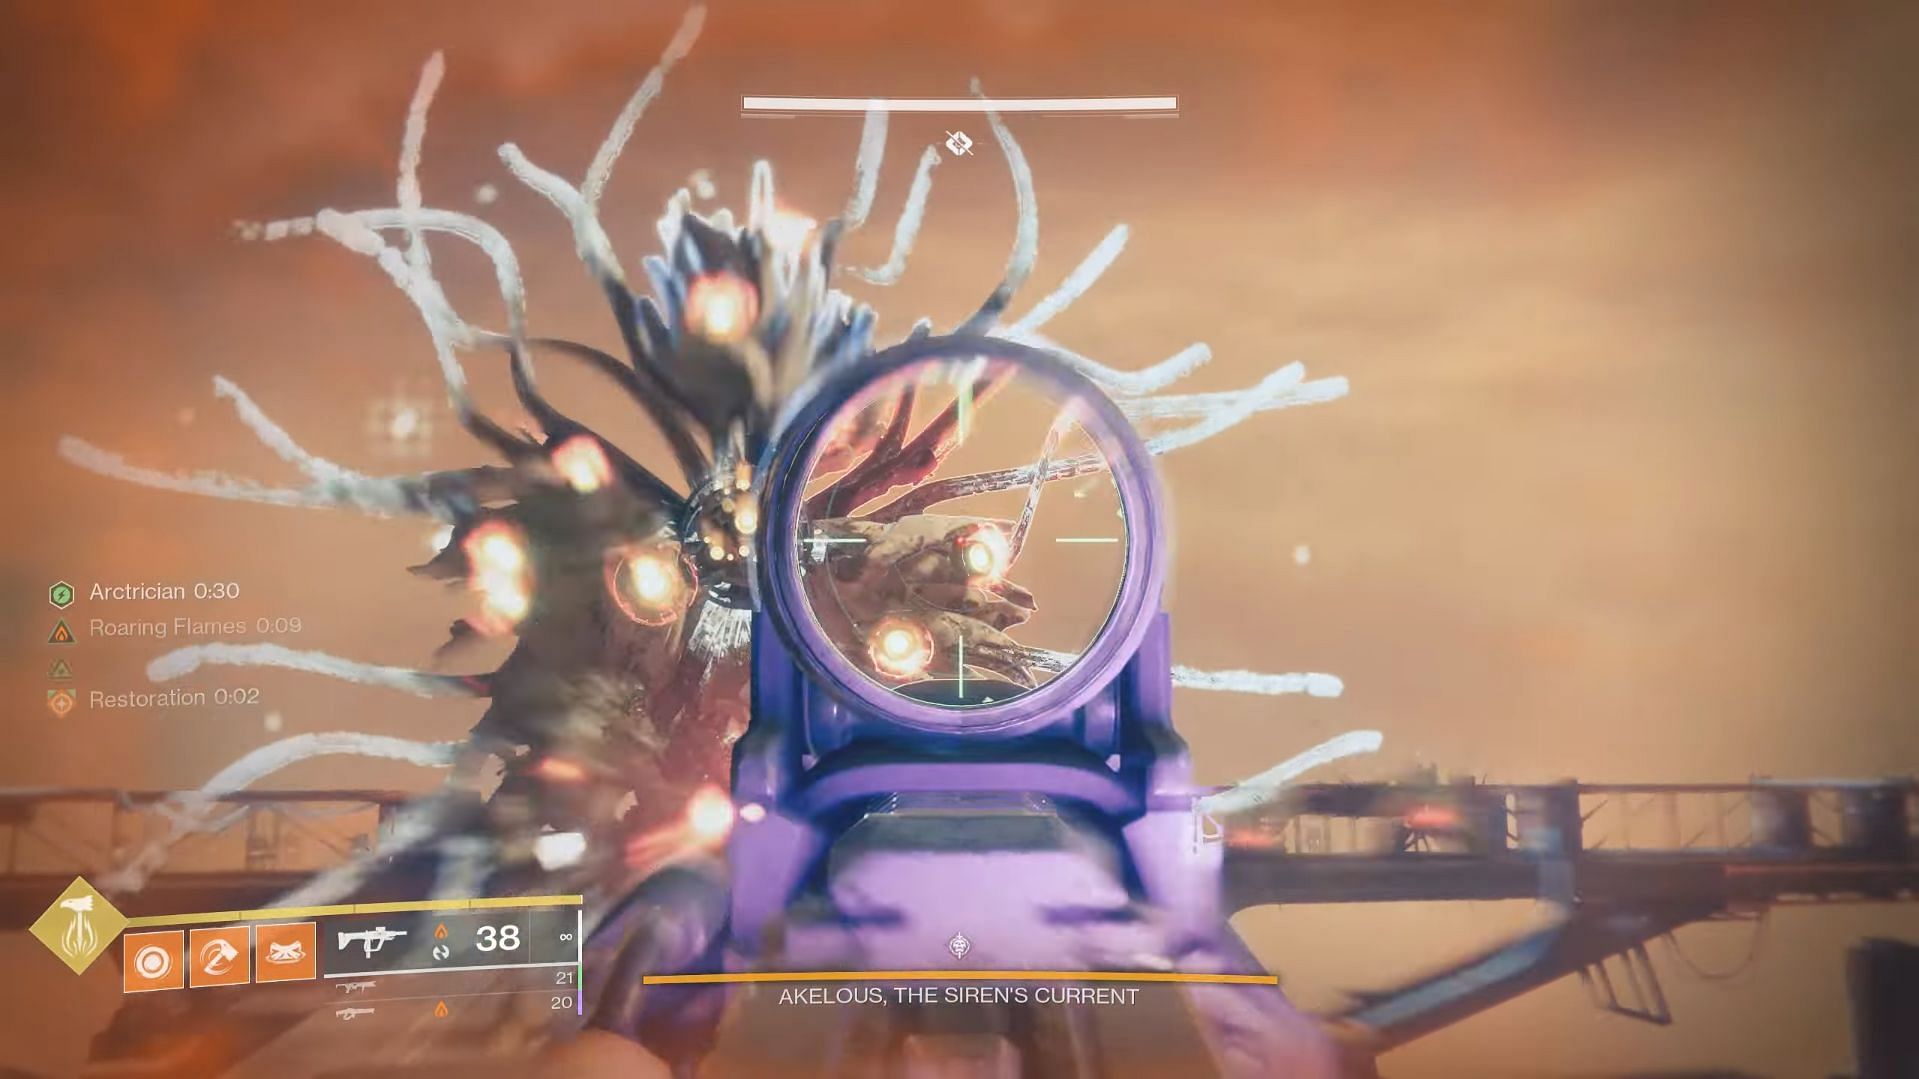
To start the DPS phase here, you will need to destroy all the crimson eyes and damage the boss as it goes away. Be careful not to get caught in its pushing attack, and repeat the same process until the boss is dead. You can repeat the mechanics countless times.
2) Encounter mechanics
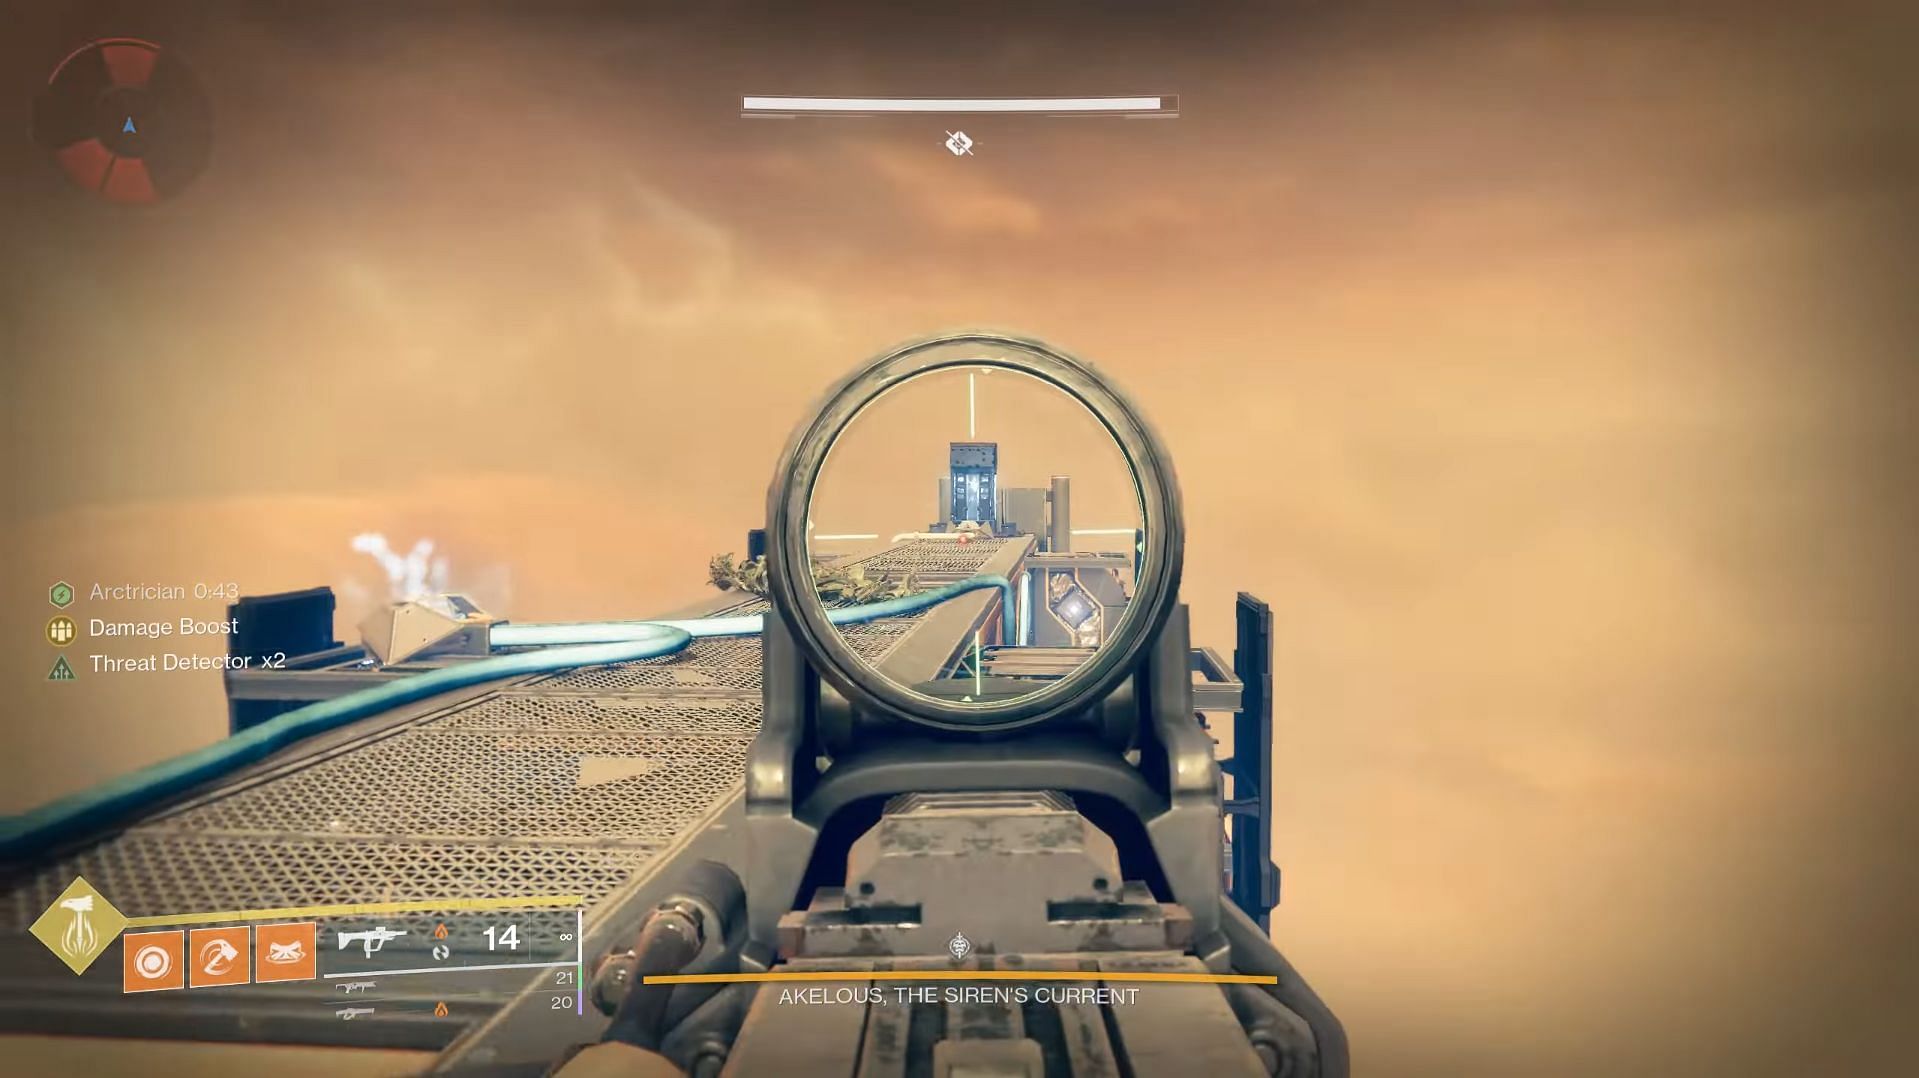
If you're in a party of three, have two players assigned to two batteries on any side of the arena. The third player should clear out the adds (additional enemies) located in the ground and in the air. If you're assigned to lower an Arc battery on one side, start by defeating a Minotaur to get the Arctrician buff.
Now, shoot any one of the four nodes present in the middle, and follow the yellow wires from the node you just shot. The battery will go down once you shoot the final node on one side. Repeat this process on all the rest until the boss comes at you.
Take note that Akelous will rush towards the last battery that you lower. Hence, get into position and be ready to shoot down its 12 eyes as quickly as possible. Once the eyes are shut down, the damage phase will begin as the boss will keep going backwards from the battery to the middle.
Akelous will end its first phase when it reaches the middle and performs a blast attack to push Guardians back. Simply repeat the mechanics of establishing connections and lowering four batteries to initiate another phase.
3) Recommended loadout

The only shield present here is the Minotaur's Void. Akelous' eyes can be countered using primary weapons. However, the trick here is to deal the maximum amount of damage while the boss moves backward. The ideal approach here is Divinity paired with Hunter's Tether and powerful weapons.
Izanagi's Burden with Honed Edge and Linear Fusion Rifles with burst damage are viable choices here. Thundercrash, although not the ideal option, can be used at the beginning of the fight. However, this could put the player outside the Well of Radiance.
Lastly, Witherhoard with Weakened Clear Artifact mod can also be used directly on the boss.

Are you stuck on today's Wordle? Our Wordle Solver will help you find the answer.