
'%20x='0'%20y='0'%20height='100%25'%20width='100%25'%20%0A%20%20%20%20%20%20%20%20%20%20xlink%3Ahref='data:image/jpg;base64,/9j/2wBDAAYEBQYFBAYGBQYHBwYIChAKCgkJChQODwwQFxQYGBcUFhYaHSUfGhsjHBYWICwgIyYnKSopGR8tMC0oMCUoKSj/2wBDAQcHBwoIChMKChMoGhYaKCgoKCgoKCgoKCgoKCgoKCgoKCgoKCgoKCgoKCgoKCgoKCgoKCgoKCgoKCgoKCgoKCj/wgARCAAGAAoDASIAAhEBAxEB/8QAFgABAQEAAAAAAAAAAAAAAAAAAAUG/8QAFAEBAAAAAAAAAAAAAAAAAAAABf/aAAwDAQACEAMQAAAAgYgHb//EACAQAAEEAQUBAQAAAAAAAAAAAAMBAgQFEgAGESIxE0H/2gAIAQEAAT8AvI9dtjaFaZsidMNKfFj/AEIADVGFjslRnX3t+5c6t9jw32s1xrGQUqneryKBjcly94Rdf//EABoRAAICAwAAAAAAAAAAAAAAAAECAxEAEiH/2gAIAQIBAT8AhnfQNfTef//EABoRAAICAwAAAAAAAAAAAAAAAAIDACEBERL/2gAIAQMBAT8AJC+8jqqn/9k='%3E%3C/image%3E%3C/svg%3E)
Destiny 2 Spire of the Watcher Dungeon is finally underway, with a few bumps on day 1. Players must crack four encounters with new Legendary weapons tied to the loot pool. Typically, these weapons aren't craftable, and each drop can be considered the pinnacle from today onwards.
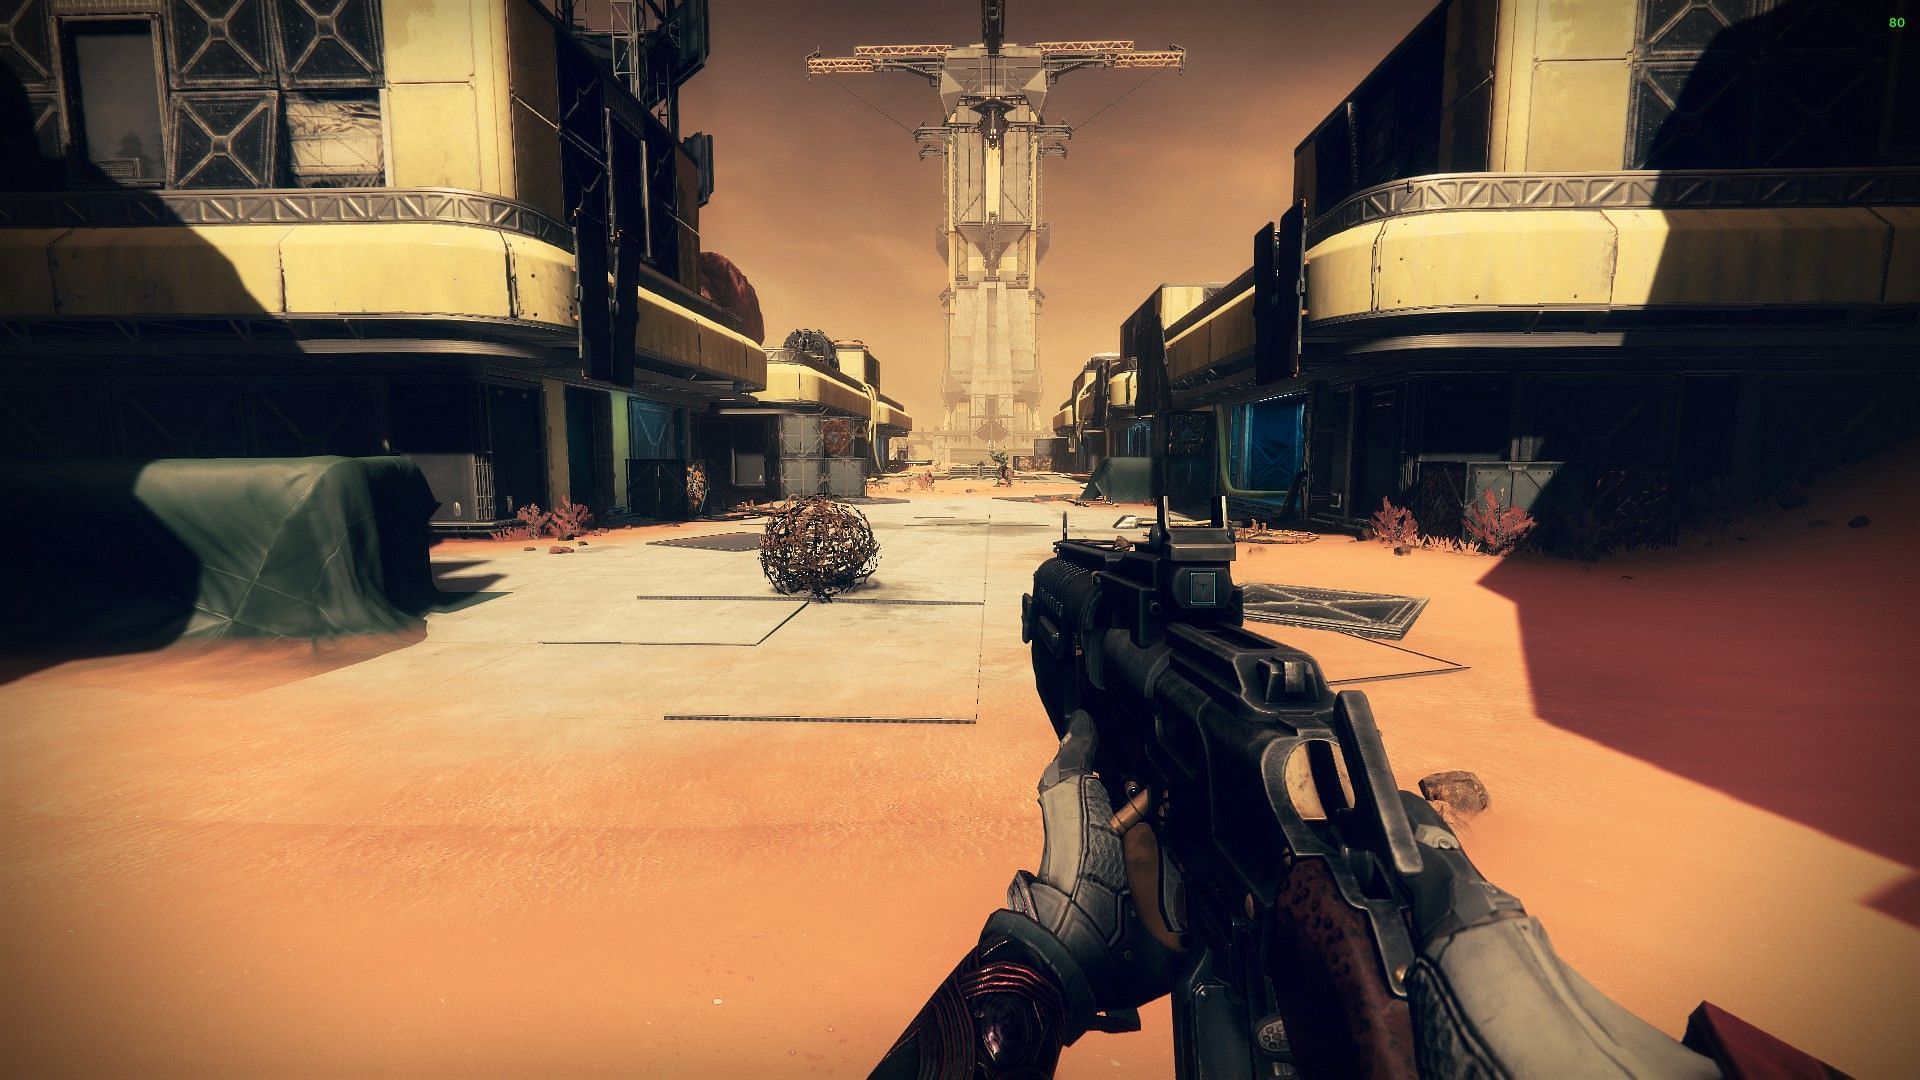
Players can access the Dungeon via Savathun's Throne World, as the node is located right above the newly placed Enclave in the expansion. The minimum power level required is 1570, as the players progress, each encounter will increase the power level requirement by 10.
The following article will guide you through the opening and the Ascend encounter, leading you to the Spire of the Watcher Dungeon's first major boss.
Looking for Crossword hints & solutions? Check out latest NYT Mini Crossword Answers, LA Times Crossword Answers, and Atlantic Crossword Answers
Destiny 2 Spire of the Watcher: How to complete the opening and the Ascend encounter
1) Re-establishing power (opening)
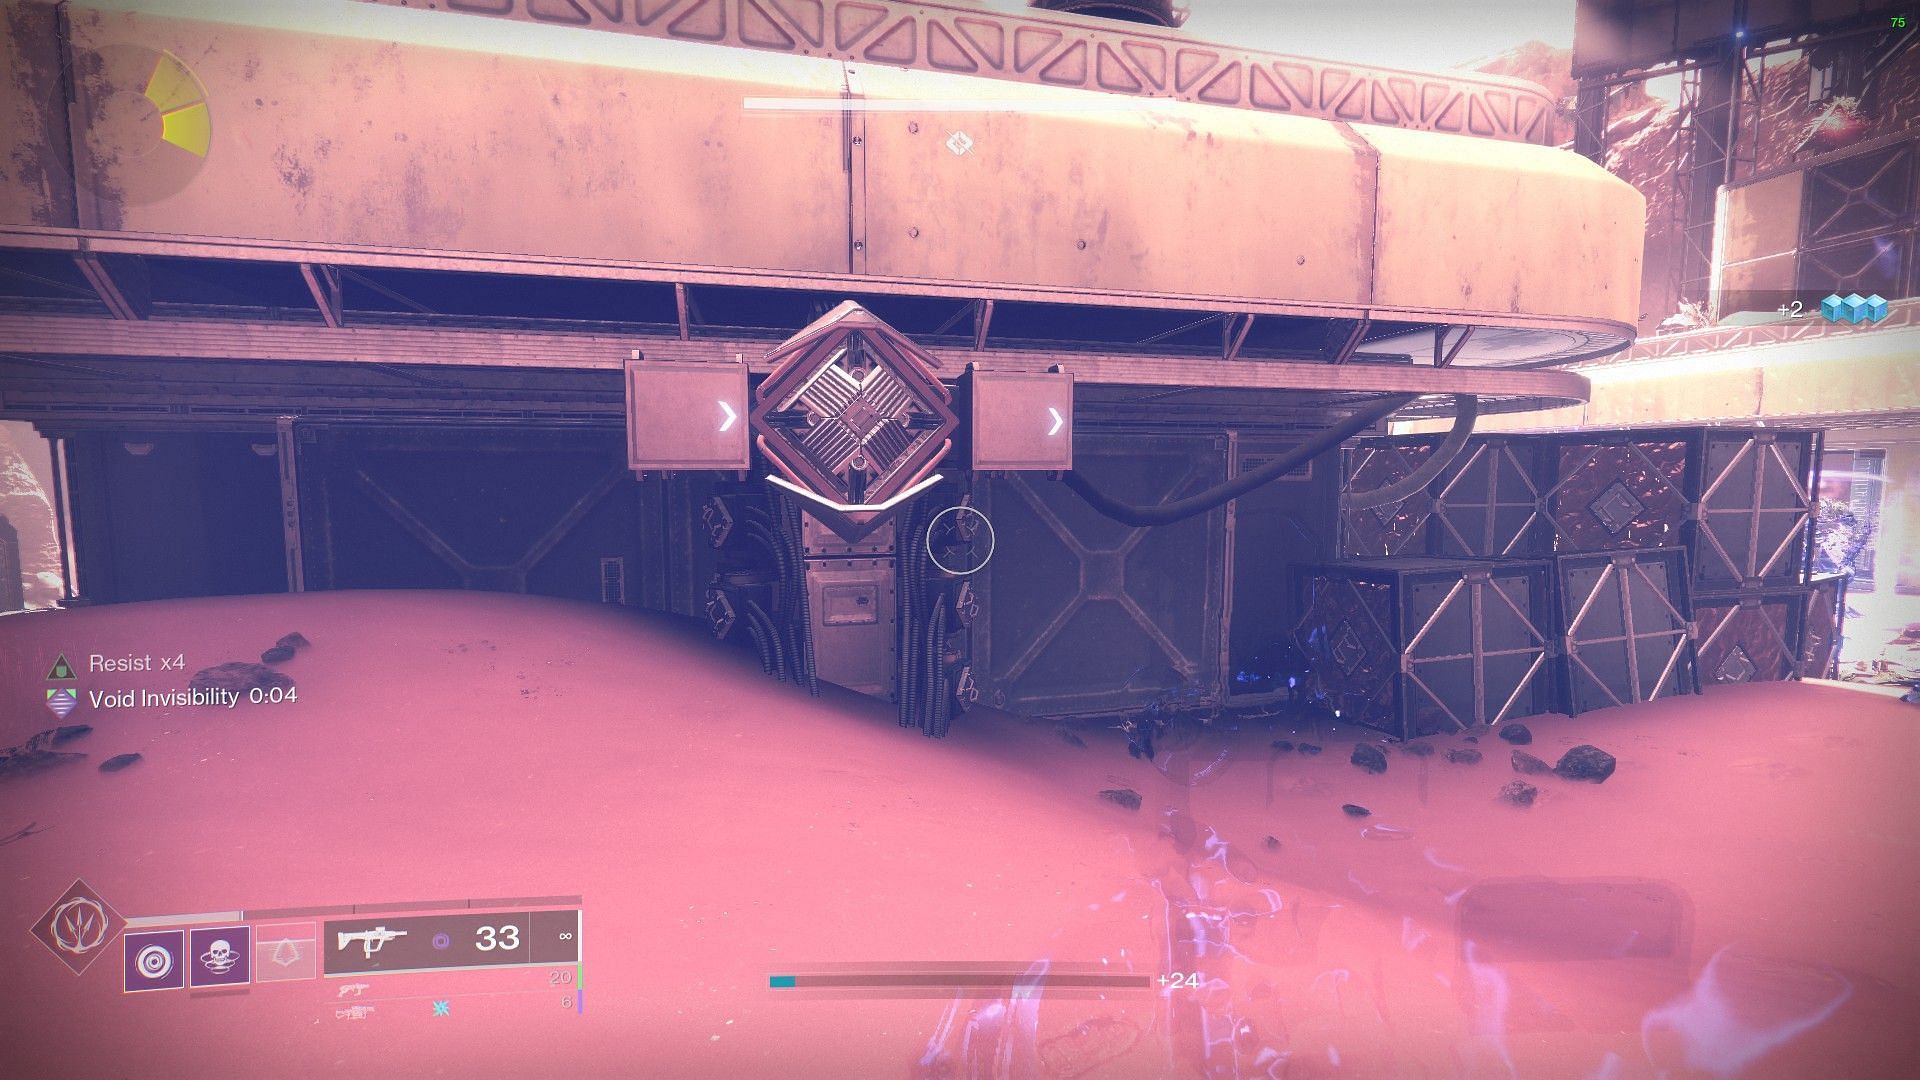
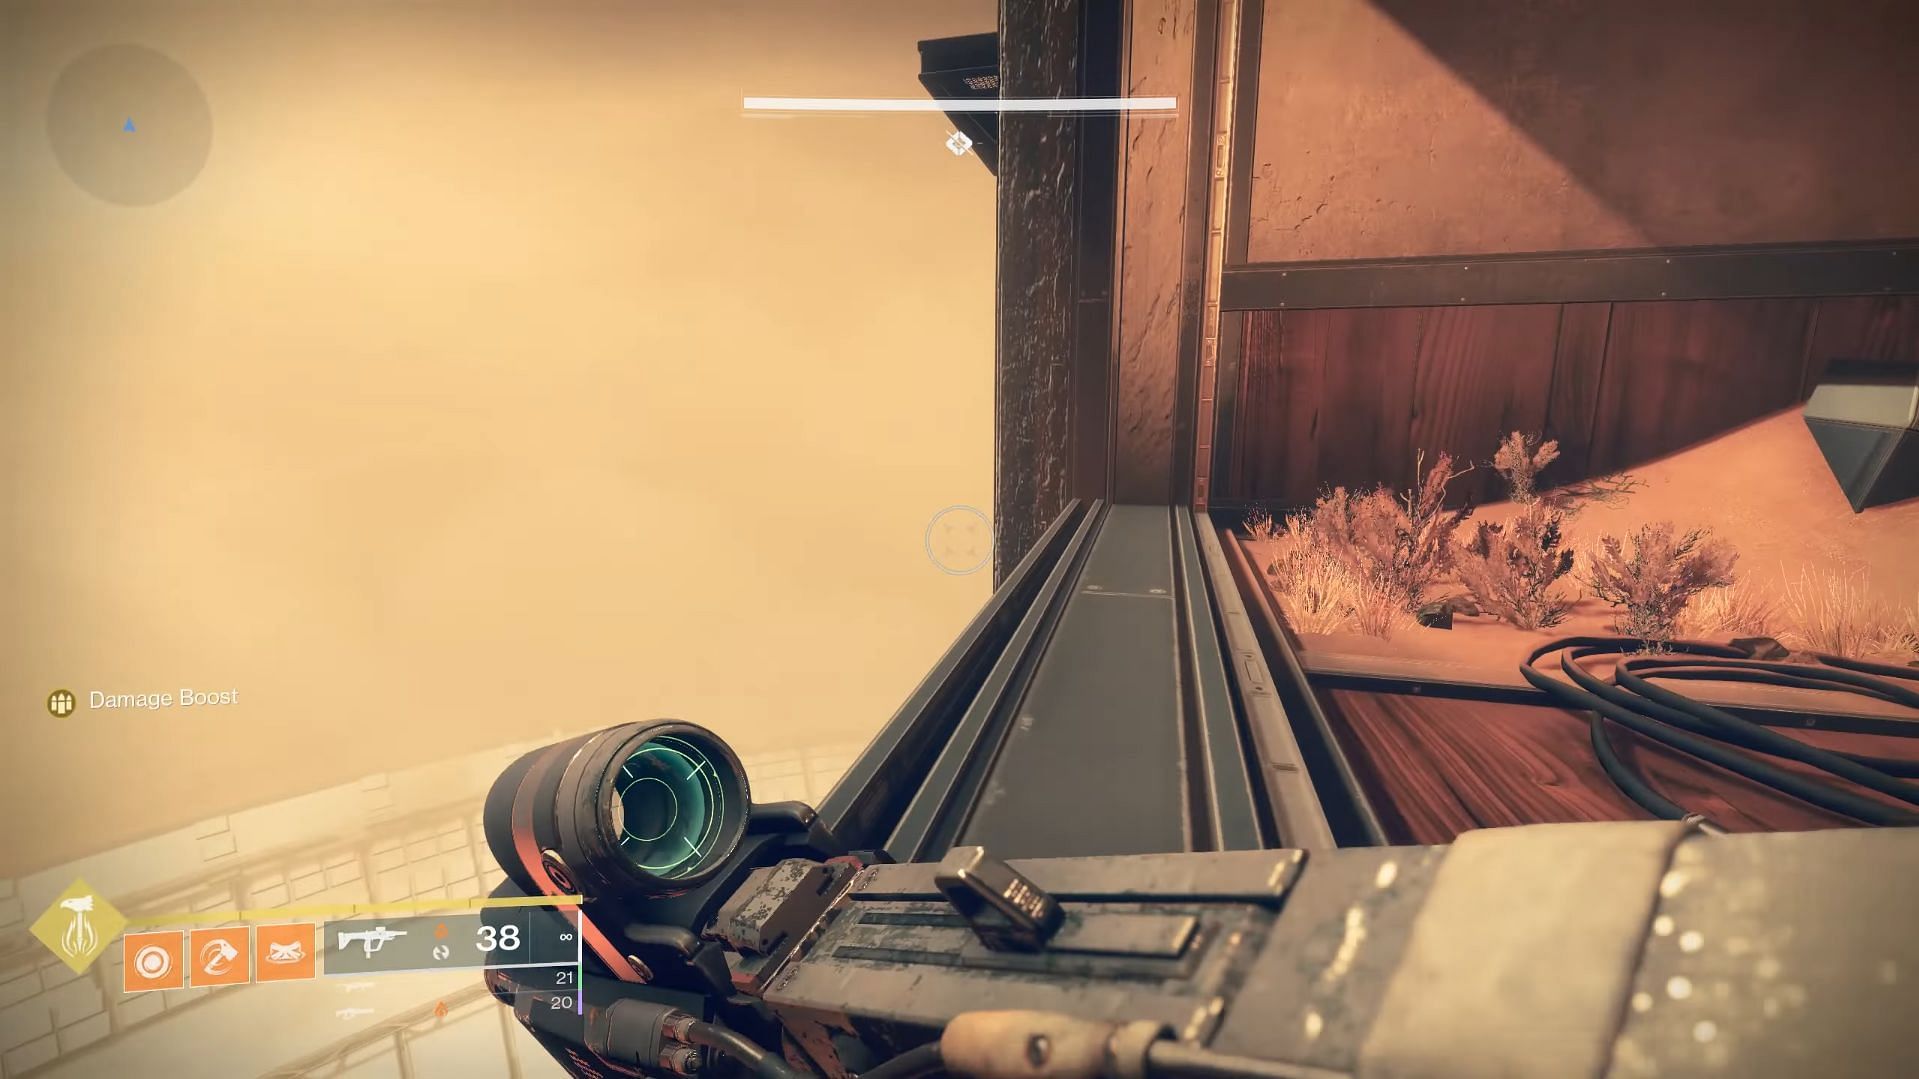
The main objective in this encounter is to shoot nodes and direct power through the yellow wires into the generator in the middle. However, it needs to be done in a specific order. If you happen to randomly start shooting on specific nodes, everything will reset.
Hence, you need to find the "starting point," which only has one wire coming out of it. The image below might provide a clearer idea of what you should look for.
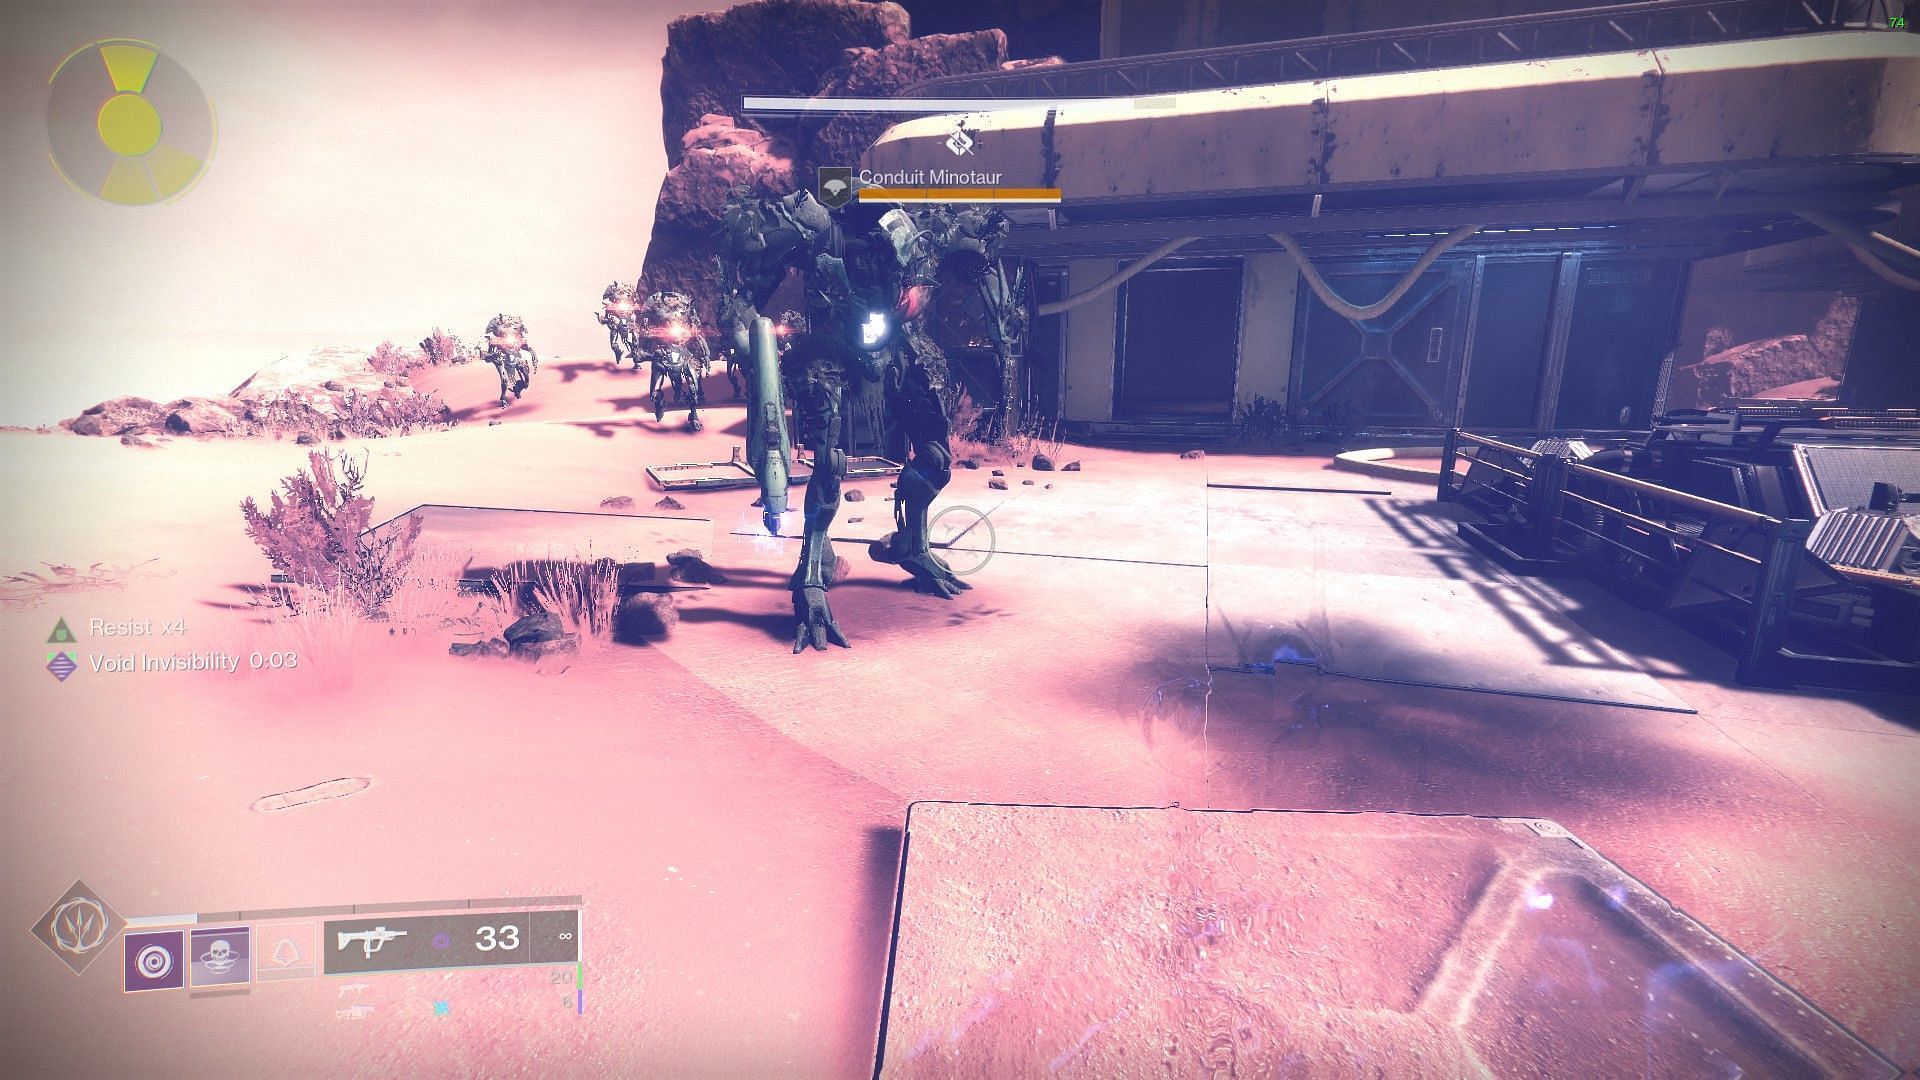
After you start the encounter, look for a special Minotaur called "Conduit Minotaur" and pick up the "Arctrician" buff. This is a 30-second buff that will allow you to interact with the nodes. As mentioned earlier, shoot the "starting point" with the buff. Once done, follow the yellow wires to the second node.
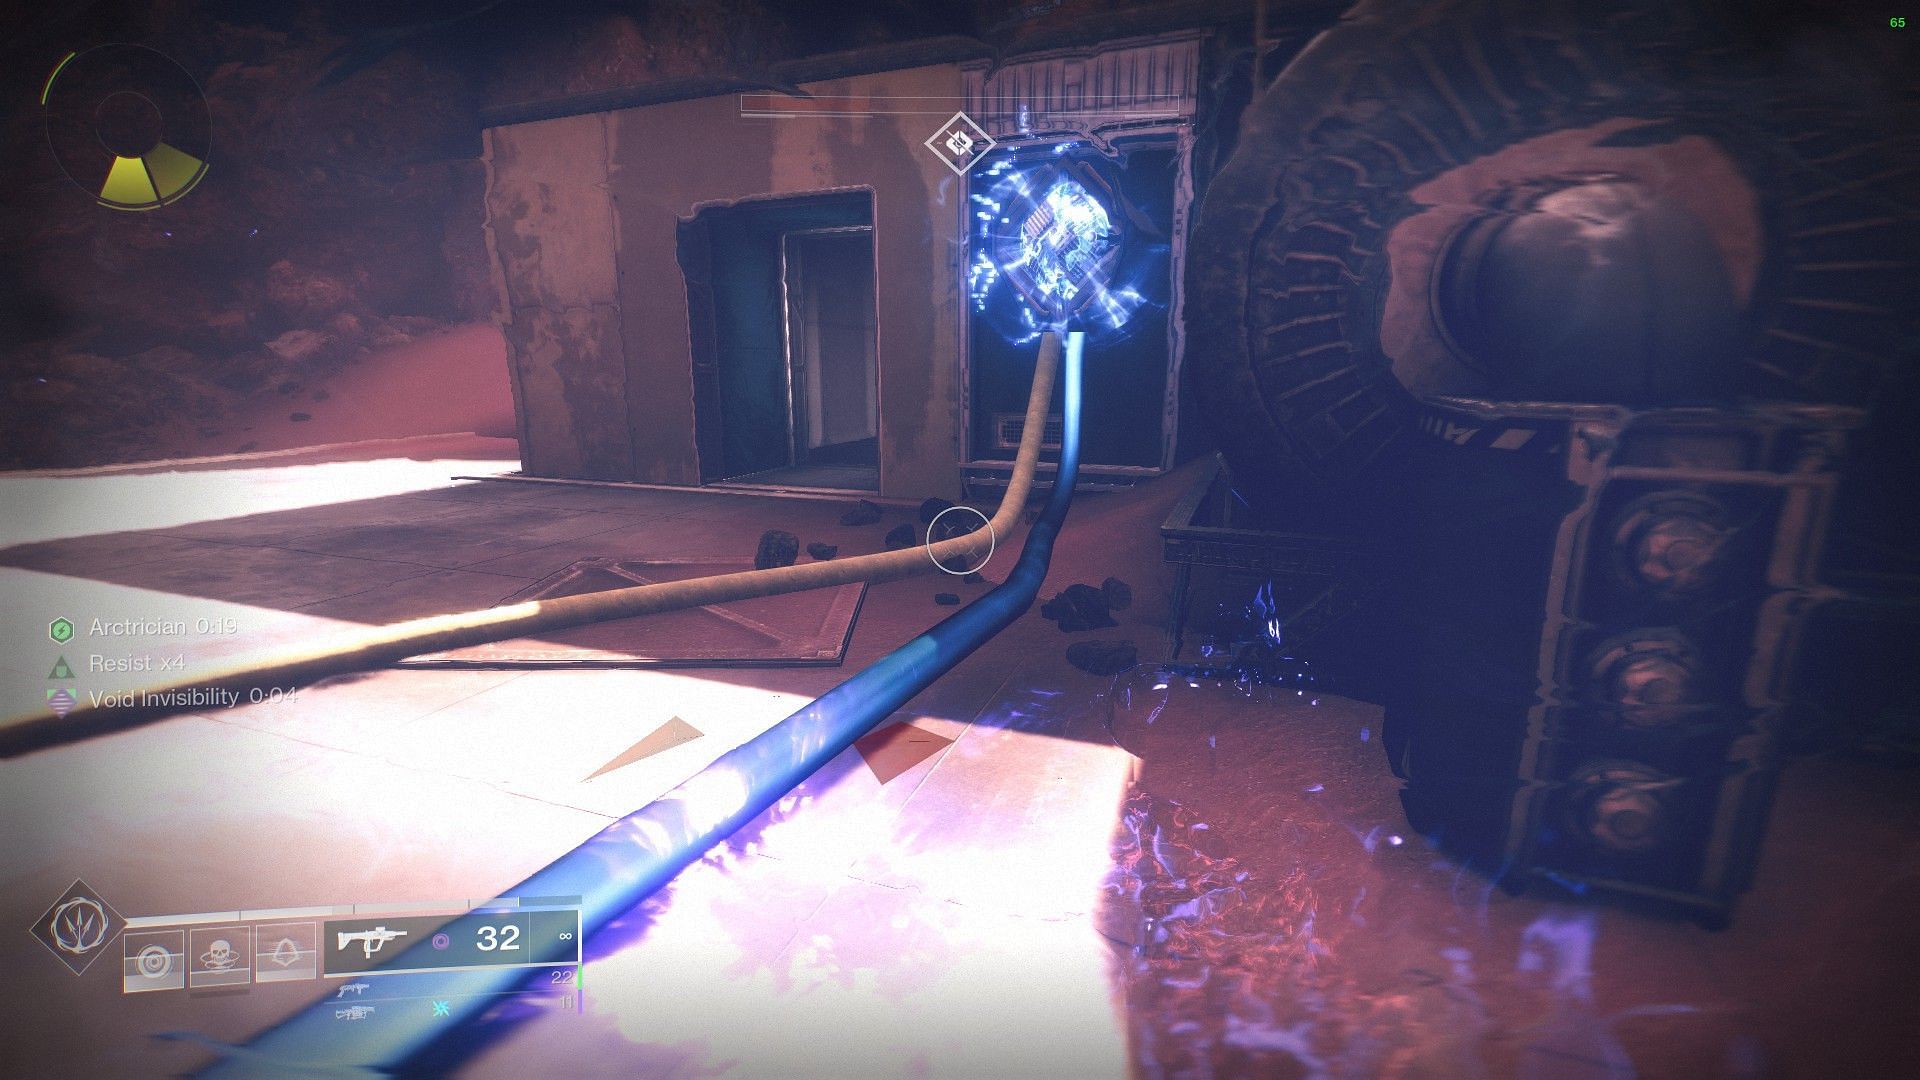
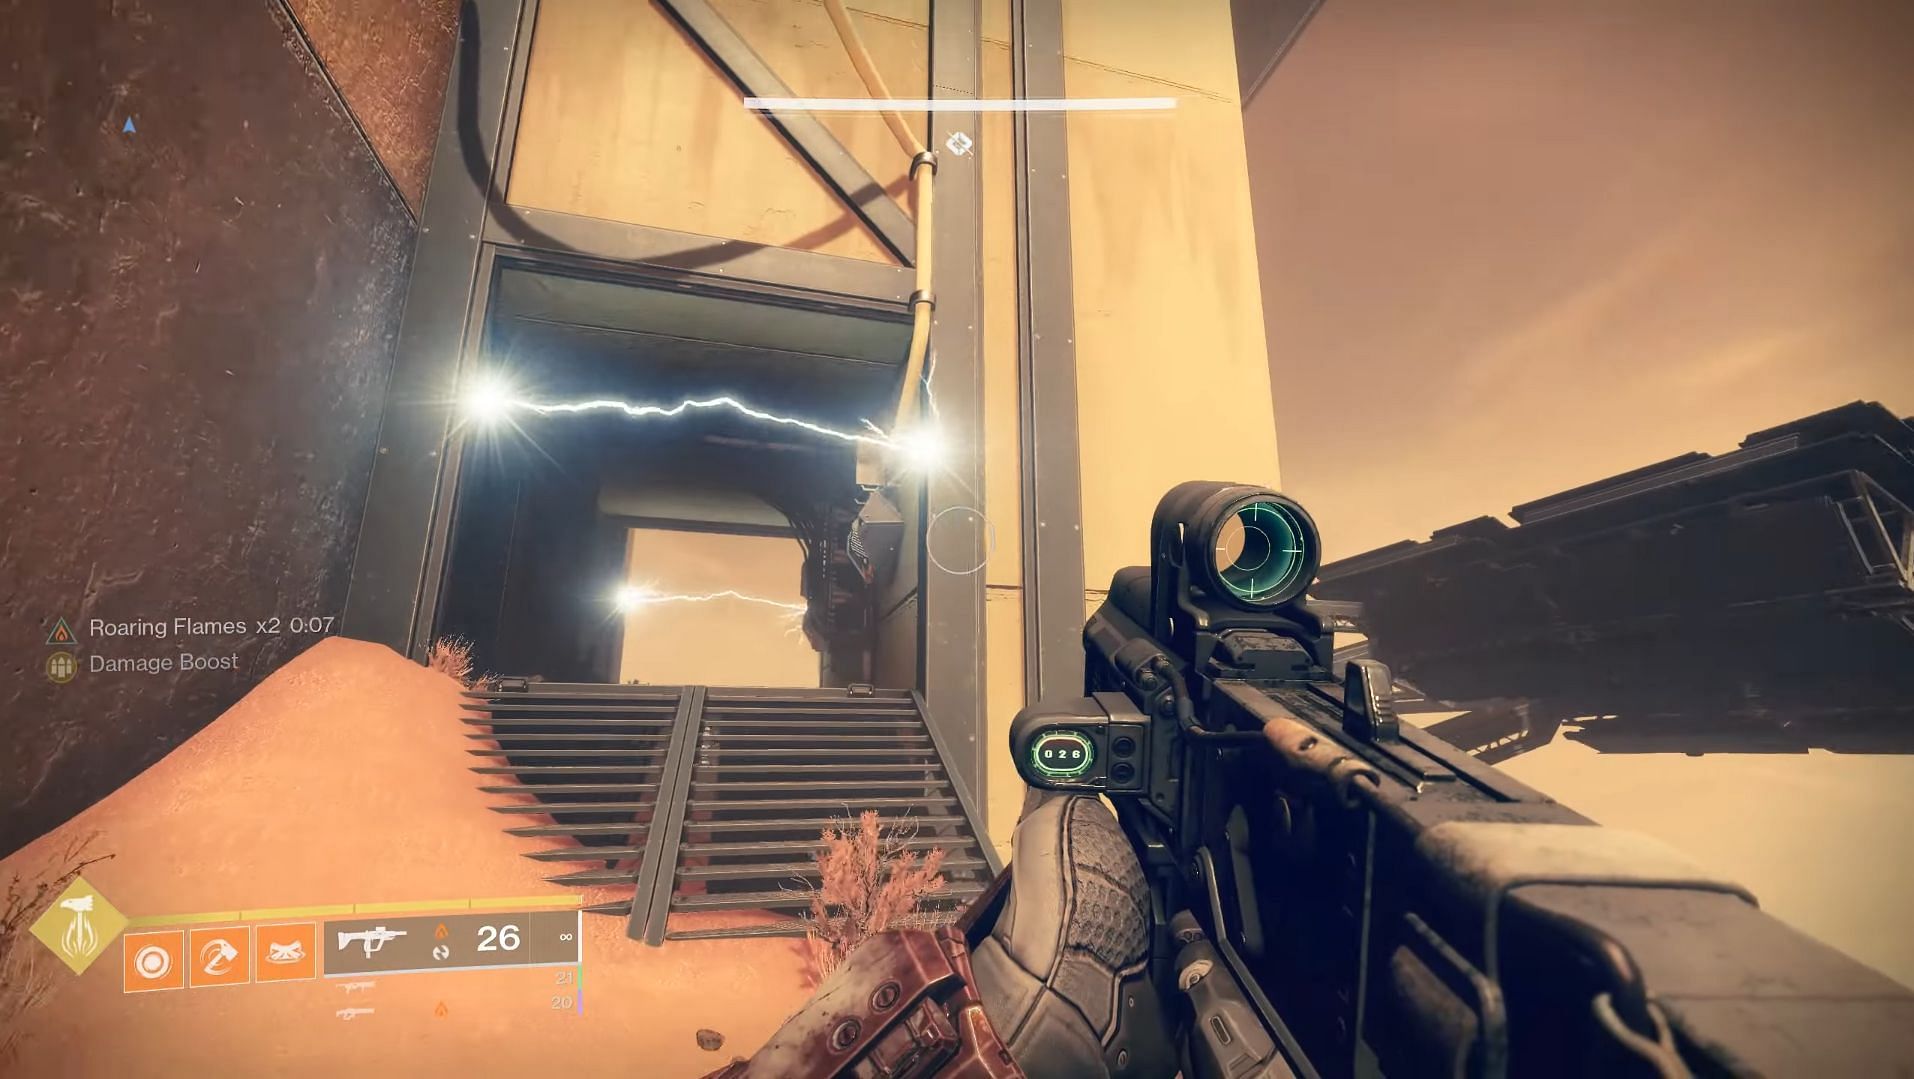
If the wire turns blue, as shown in the image above, you are on the right path. Simply follow another yellow wire from one point to another, collect the buffs, shoot the nodes, and power the generator in the middle. Once everything's done, an underground passageway will open up, leading to a jumping puzzle.
Supposedly, the drops after completing this encounter are Gauntlets, Leg armor piece, Seventh Seraph Carbine, and Long Arm Scout Rifle.
2) Ascend
The Ascend could be considered the first major encounter in the Dungeon, following a brief jump puzzle. Here, you will need to place the rally banner flag within the white circle and head towards multiple platforms to make your way up. The areas with the yellow wires are where the encounter takes place.
The objective here is simple and quite similar to the first encounter. You will need to switch on two generators to activate the anti-gravity elevator to ascend to the top. Start by defeating the Conduit Minotaur and picking up the buff. Now, shoot the nodes on the wall, as shown in the image below.
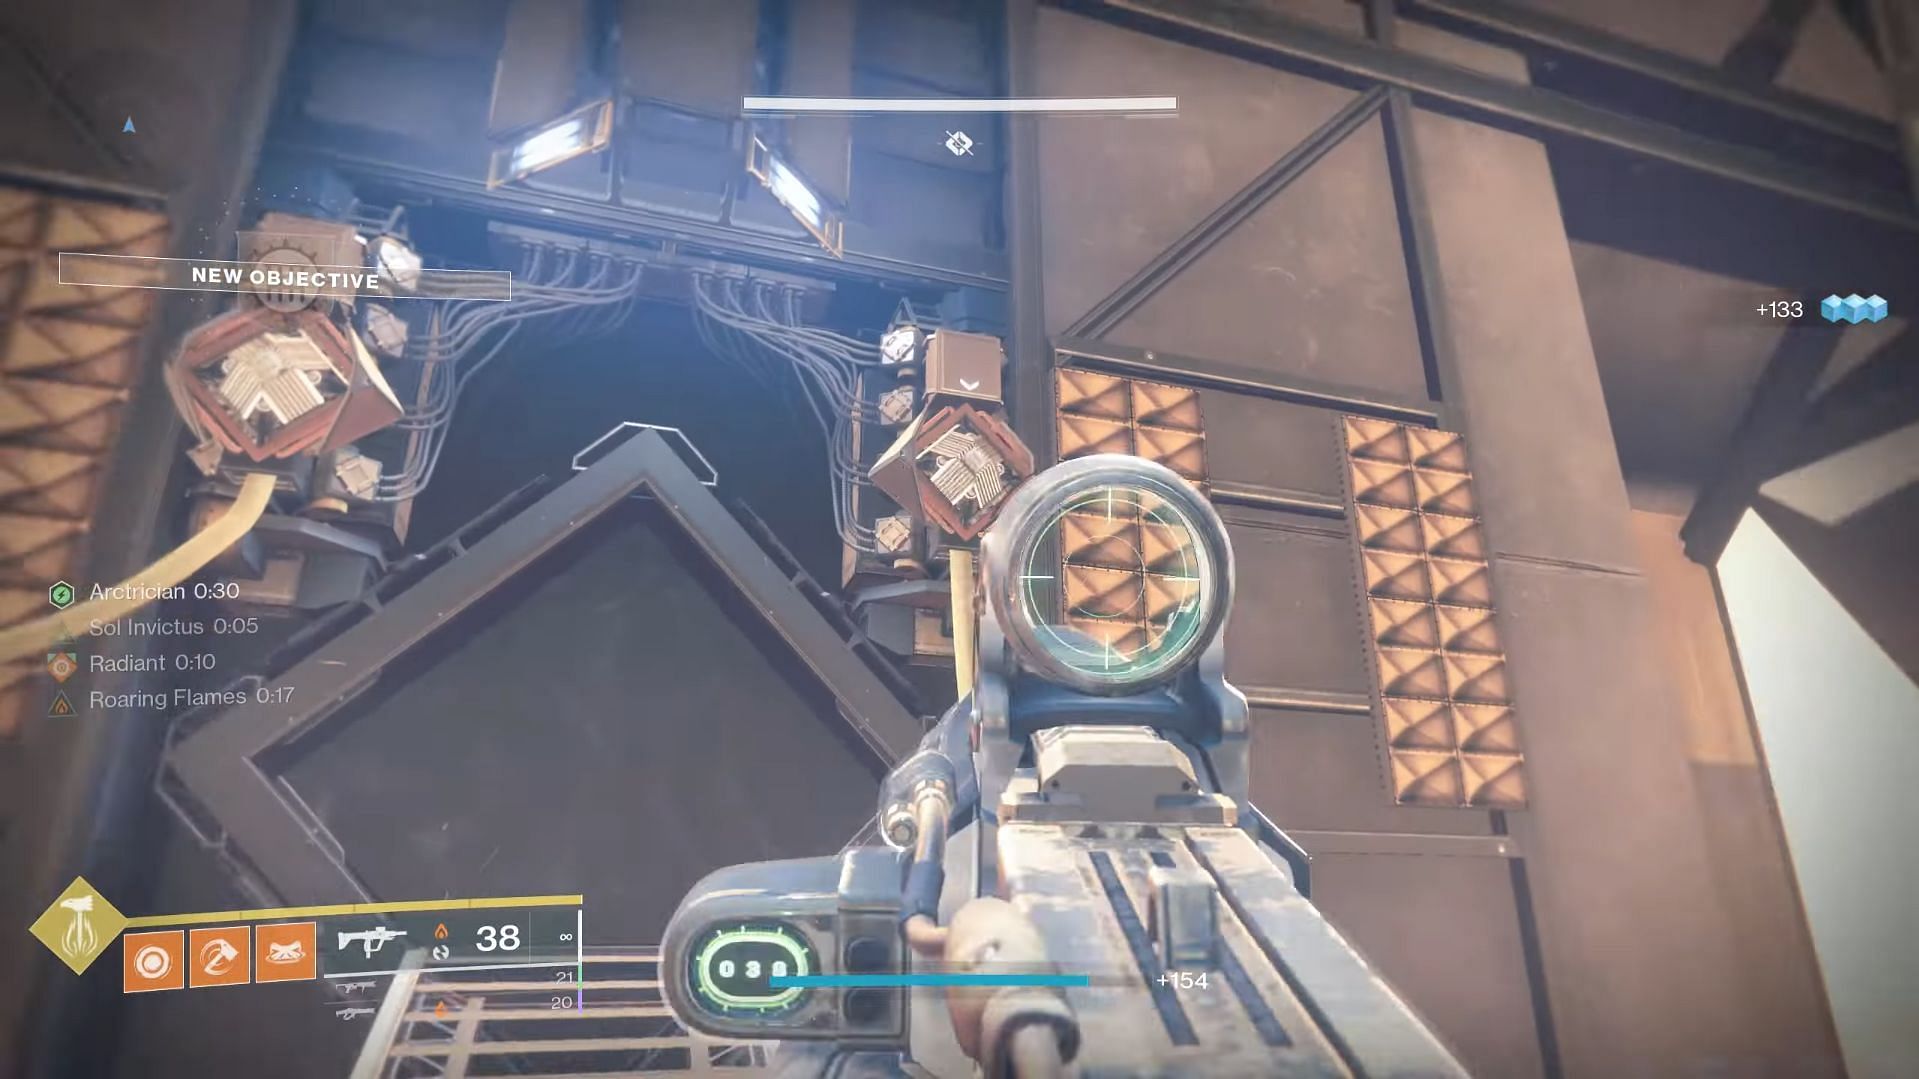
Whichever node you just shot, follow the wires from it and keep making connections through multiple nodes in the same location. Once all connections have been made between the two starting nodes, take the elevator to the next section of the encounter. Repeat the same process here.
The loot available in this encounter includes Gauntlets, Chest armor, and a Terminal Horizon Machine Gun.

Are you stuck on today's Wordle? Our Wordle Solver will help you find the answer.