

'%20x='0'%20y='0'%20height='100%25'%20width='100%25'%20%0A%20%20%20%20%20%20%20%20%20%20xlink%3Ahref='data:image/jpg;base64,/9j/2wBDAAYEBQYFBAYGBQYHBwYIChAKCgkJChQODwwQFxQYGBcUFhYaHSUfGhsjHBYWICwgIyYnKSopGR8tMC0oMCUoKSj/2wBDAQcHBwoIChMKChMoGhYaKCgoKCgoKCgoKCgoKCgoKCgoKCgoKCgoKCgoKCgoKCgoKCgoKCgoKCgoKCgoKCgoKCj/wgARCAAGAAoDASIAAhEBAxEB/8QAFQABAQAAAAAAAAAAAAAAAAAABQb/2gAIAQEAAAAAmi//xAAUAQEAAAAAAAAAAAAAAAAAAAAE/9oACAECEAAAABf/xAAUAQEAAAAAAAAAAAAAAAAAAAAE/9oACAEDEAAAADf/xAAiEAACAgAEBwAAAAAAAAAAAAABAwIEAAUGEhMiIzGBkqL/2gAIAQEAAT8AooZmGnV1q7WBym8XqulsAA5fonxhuW2ZNmWSiZkncQ49/XH/xAAZEQABBQAAAAAAAAAAAAAAAAABAAMEERL/2gAIAQIBAT8AEh0CtL//xAAYEQACAwAAAAAAAAAAAAAAAAAAAQISIf/aAAgBAwEBPwC7i8P/2Q=='%3E%3C/image%3E%3C/svg%3E)
Disney Dreamlight Valley is a new life-simulation game that allows you to live a new life with your favorite Disney characters. It takes place in a magical land known as the Dreamlight Valley, which is a hub world of sorts that houses many popular and iconic personalities from Disney as permanent residents.
The game is generous enough to provide you with accommodation free of cost, although it is up in the air whether you can call the broken-down hovel a house. Thus, in Disney Dreamlight Valley, you will need to put in some work to make your residence look grand and suitable for the hero that you are.
This guide will take you through the steps on how to upgrade your house in Disney Dreamlight Valley and get you on your way to feeling like Disney royalty. Although you will have to start at the bottom of the food chain, so humble yourself for the time being.
Looking for Crossword hints & solutions? Check out latest NYT Mini Crossword Answers, LA Times Crossword Answers, and Atlantic Crossword Answers
How to upgrade your house in Disney Dreamlight Valley
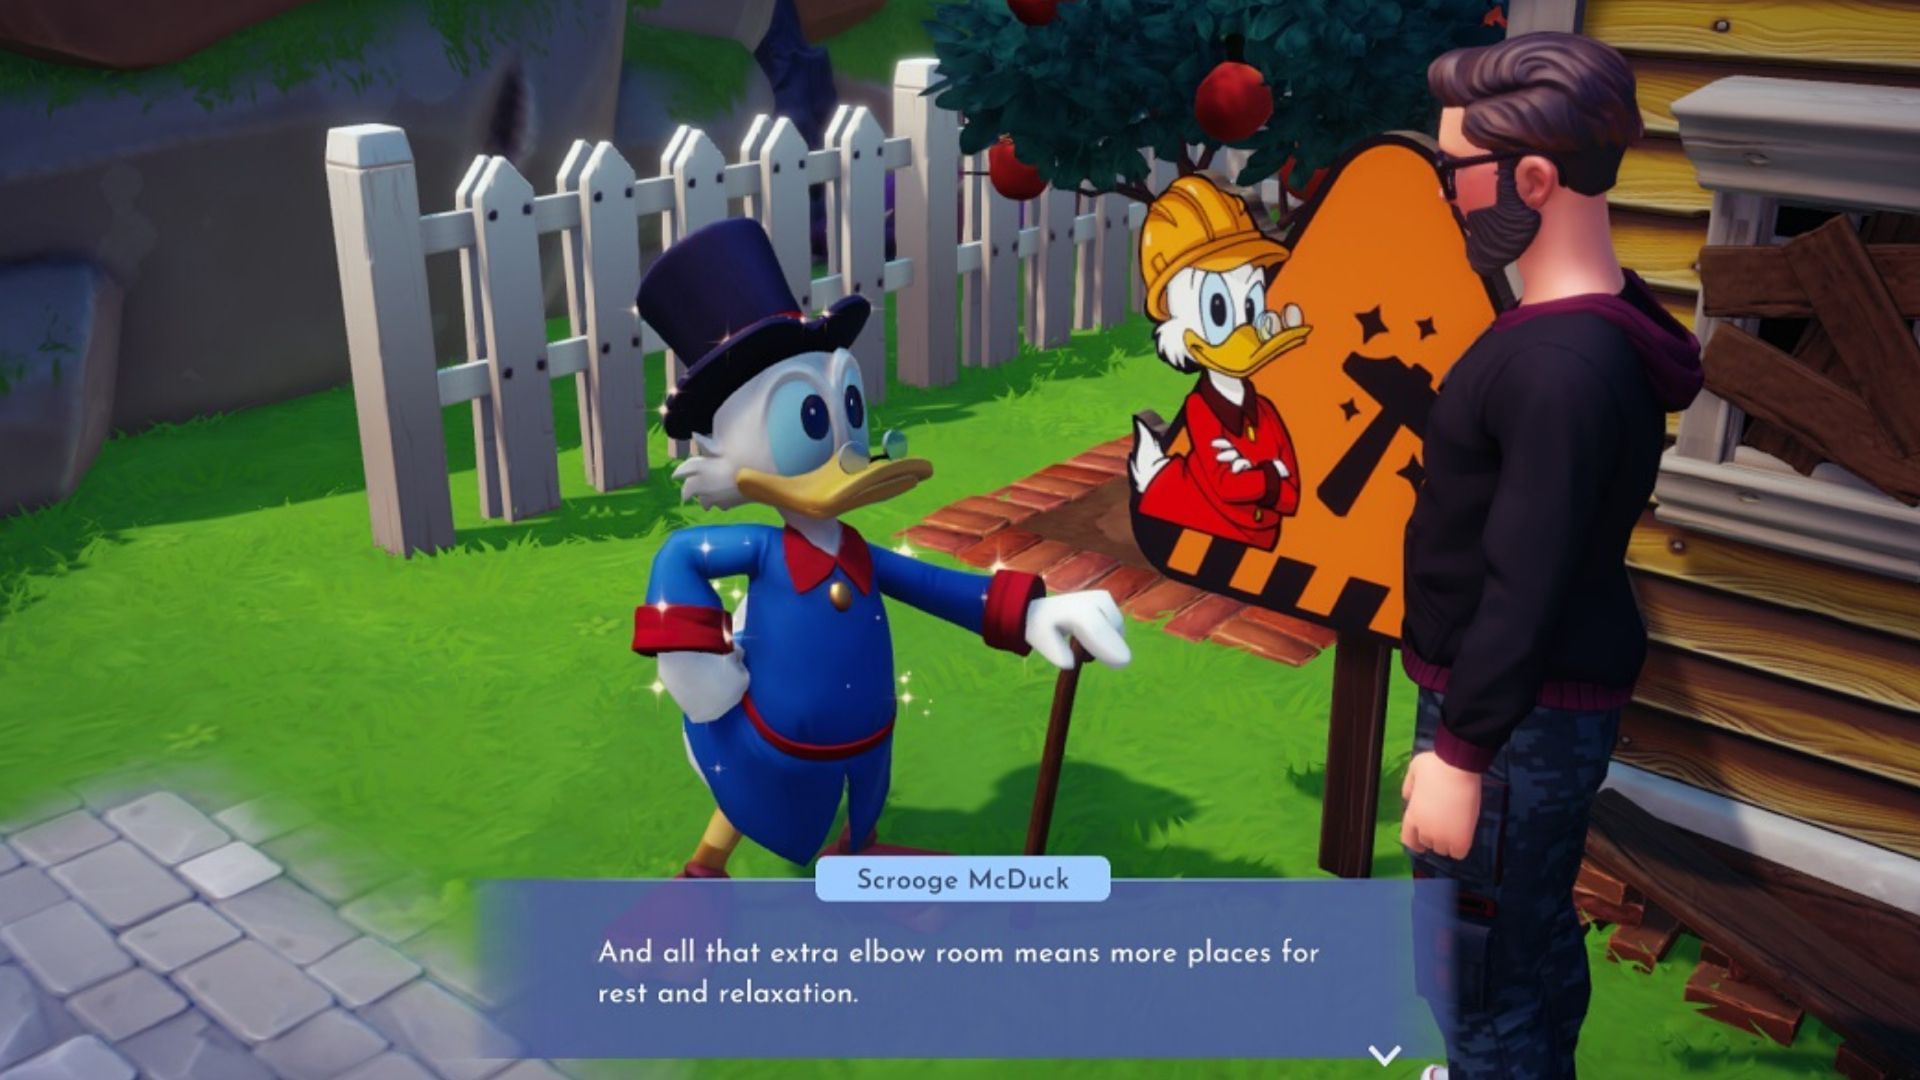
Upgrading your house is a task that requires money in Disney Dreamlight Valley, so you can guess which white-featured duck you will need to go to (hint: it is not Donald). That is right, Scrooge is the way to get your house looking spick and span, so you will want to advance through his quests as best you can.
Specifically, you will need to complete the quest Dreamlight Valley Economy 101 in Disney Dreamlight Valley to have Scrooge be pleased with you enough to gift you with an elevator. This can be seen beside the entrance, inside your house, through which you can edit the floor plan and add new rooms.
But wait. Turns out Scrooge forgot to point out that you will first need to upgrade your house to add new rooms. This can be done via the Scrooge McDuck upgrade sign right beside your home (congratulations, Scrooge owns your house now).
House upgrades: How do they work?
So what is the difference between upgrades and using the elevator? Well, essentially there are two different forms of customizations, with only the first upgrade being tied into using the elevator to change the floor plan.
All possible house upgrades using the Scrooge sign are as follows:
- Upgrade 1 (2,000 Star Coins) - gives the house a slight external makeover and unlocks the use of the elevator to add rooms.
- Upgrade 2 (20,000 Star Coins) - another external makeover, and unlocks the second floor.
- Upgrade 3 (75,000 Star Coins) - final external makeover and unlocks the third floor.
These upgrades give you access to a much larger storage space, where you can denote different rooms, such as a bedroom for lounging or a kitchen to cook, and decorate them using the various furniture you’ve unlocked so far.
How to use the elevator
The elevator allows you to manage and add rooms to each floor. Before you have upgraded your house using the Scrooge sign, the elevator will allow you to expand the main room you already have. There will be two expansions:
- Medium expansion - 1,000 Star Coins
- Large expansion - 2,000 Star Coins
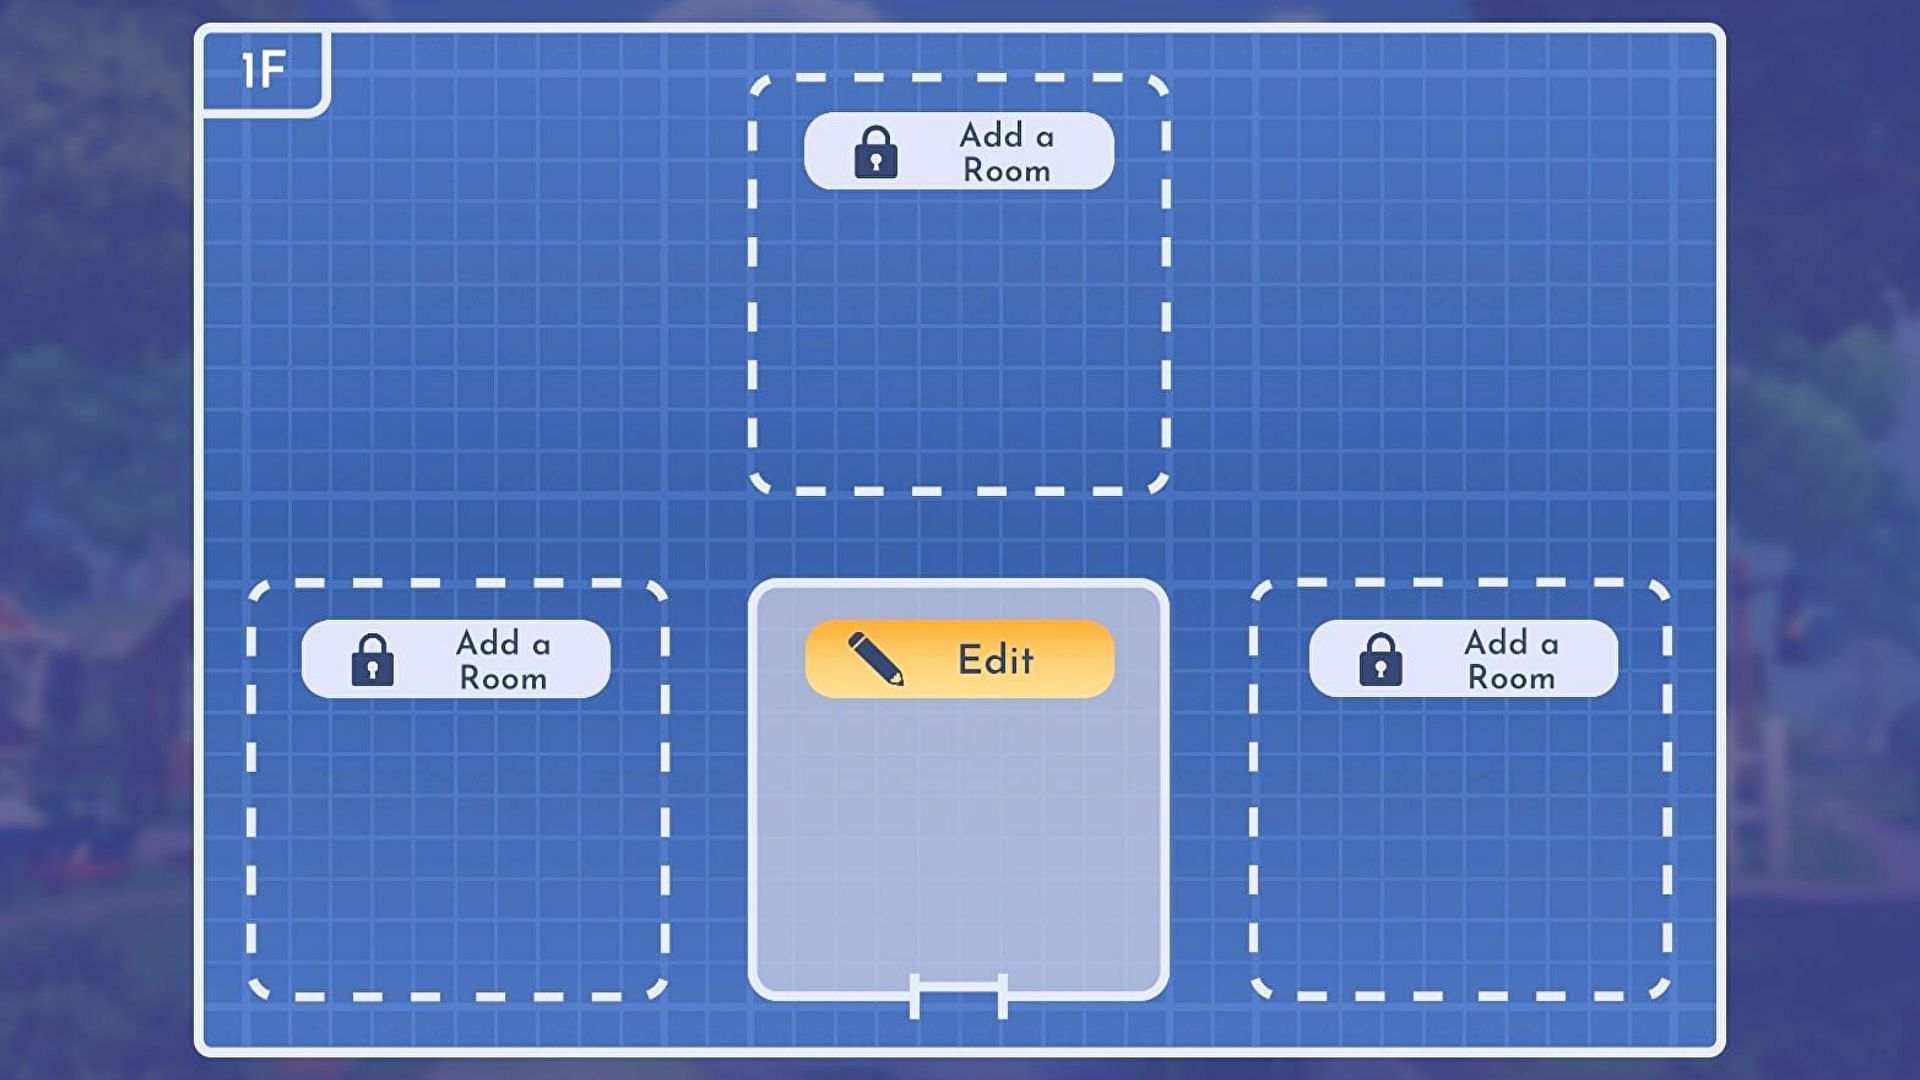
After the first upgrade, you can access it to add rooms to the first floor, and you may use it to add up to three new rooms using one of three pre-set sizes:
- 6x6 room - 1,000 Star Coins
- 8x8 room - 2,000 Star Coins
- 10x10 room - 3,000 Star Coins
After successive second and third floor upgrades, you can then add more rooms, just like before, to each of these floors. Fully upgrading the house and adding all the rooms will make your house equivalent to a mini castle and have you feeling richer than Scrooge McDuck himself in Disney Dreamlight Valley.

Are you stuck on today's Wordle? Our Wordle Solver will help you find the answer.