
'%20x='0'%20y='0'%20height='100%25'%20width='100%25'%20%0A%20%20%20%20%20%20%20%20%20%20xlink%3Ahref='data:image/jpg;base64,/9j/2wBDAAYEBQYFBAYGBQYHBwYIChAKCgkJChQODwwQFxQYGBcUFhYaHSUfGhsjHBYWICwgIyYnKSopGR8tMC0oMCUoKSj/2wBDAQcHBwoIChMKChMoGhYaKCgoKCgoKCgoKCgoKCgoKCgoKCgoKCgoKCgoKCgoKCgoKCgoKCgoKCgoKCgoKCgoKCj/wgARCAAGAAoDASIAAhEBAxEB/8QAFgABAQEAAAAAAAAAAAAAAAAAAAMH/8QAFQEBAQAAAAAAAAAAAAAAAAAAAQL/2gAMAwEAAhADEAAAAMosNf/EABsQAAICAwEAAAAAAAAAAAAAAAECAwQAESEF/9oACAEBAAE/AIvReGyLJAkAGgH7rBfmcBwsWm71c//EABYRAAMAAAAAAAAAAAAAAAAAAAABMf/aAAgBAgEBPwBQ/8QAFBEBAAAAAAAAAAAAAAAAAAAAAP/aAAgBAwEBPwB//9k='%3E%3C/image%3E%3C/svg%3E)
Doom The Dark Ages' 'Spire of Nerathul' mission dives into a path of rescuing Commander Thira alongside other allies who were pulled into a different dimension. The Slayer must take a difficult path and fight demons in unknown areas to figure out the whereabouts of the Sentinel tower that was taken out by a massive creature with tentacles through a demonic portal. This chapter is quite long and has different secret areas and loot that you may choose to explore.
This article will highlight the Doom The Dark Ages 'Spire of Nerathul' mission walkthrough.
Note: Parts of this article are subjective and reflect the author’s opinion.
Looking for Crossword hints & solutions? Check out latest NYT Mini Crossword Answers, LA Times Crossword Answers, and Atlantic Crossword Answers
How to complete Doom The Dark Ages 'Spire of Nerathul' mission
Here are the objectives you need to complete in Doom The Dark Ages 'Spire of Nerathul' mission:
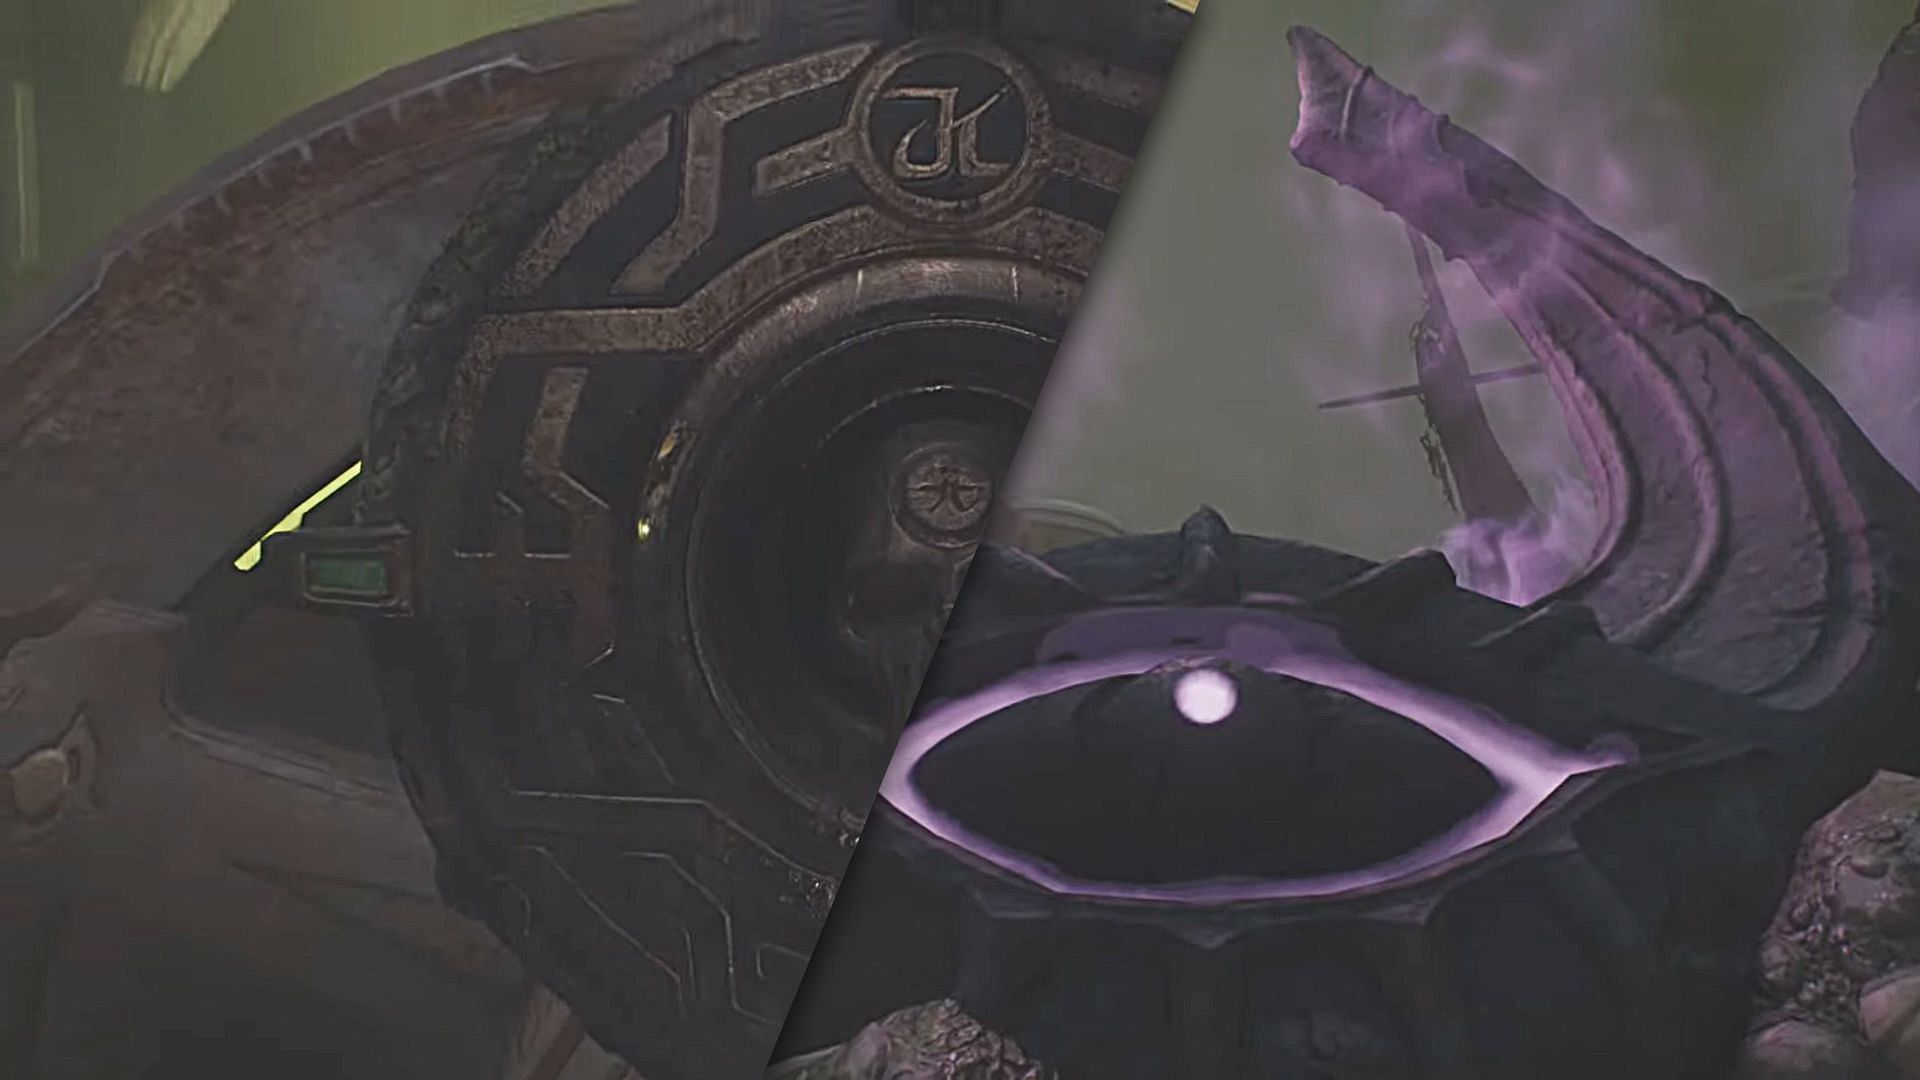
Rescue Thira
- Drain Water Levels
- Deactivate the Stasis Emitters
- Obtain the B.F.C
- Release the Old One
1) Drain Water Levels
The stage begins with an immediate one-on-one fight where you need to defeat the Komodo Champion. This monster is quite strong but has a slower attack pattern, which you can use to dodge and launch melee combos. The enemy also deploys reflectable spells that you can use to dish out even more damage. Once the champion is defeated, start following the quest marker.

Also read: 7 things you should know before starting Doom The Dark Ages
You will find an otherworldly console that can be interacted with at an altar-like location. This will trigger a mechanism that drains the water in the area completely. A cutscene is shown to provide you with a reference to the location.
2) Deactivate the Stasis Emitters
After the cutscene ends, the Serrat comes back and lands in front of you. You are now tasked with deactivating the Stasis Emitters. Follow along the objective markers to find the exact locations. The emitters can be targeted individually, so you can pick freely.
In the middle location that requires you to go through a hallway of stairs, dismount Serrat and walk the rest of the way. Waves of enemies will try to block your route, but they are easy targets and can be defeated without much hassle. Closer to the objective, you will start encountering tougher demons and Leaders. Interact with a lever mechanism to open the gates that protect the Stasis Emitter.

Once the emitter is destroyed, climb back on Serrat and move over to the next objectives. The lowermost location provides you with a new Shield Rune at the start. Use this newfound skill to mow down all monsters in your path to reach the next emitter.
Follow the quest markers once again to deactivate the final emitter with Serrat’s help. Fly to the next location and take down any enemies on the way. The final one is present on the upper floors and is protected by a demonic turret. Climb down from the Serrat and navigate with the markers to get to the last emitter.
3) Obtain the B.F.C
In this part, ride Serrat and clear out different objective markers. Drop down to the ground and eliminate all monsters on the way. You will be able to interact with and use a crossbow-like weapon on the platform after defeating all the demons. The bullet needs to be shot at the tower in front, which makes it explode and reveals an underlying cage structure.

Read more: Is Doom The Dark Ages coming to PS4 and Xbox One?
Slayer then dismounts the weapon, and you can use the Ballistic Force Crossbow for the mission.
4) Release the Old One
Each bolt from the Crossbow can pulverize enemies in a large area. However, this firepower is compensated with a low ammo capacity. Use it to defeat the monsters blocking your path and follow the objective marker once again. Swim through an underground tunnel to reach the next stage.

The final phase will take you to the upper floor of the massive cage that holds a creature inside. Interact with the last console that will release the Old One from the holding area. A cutscene will be triggered and show gigantic chains being released as the Slayer jumps on and uses his shield to fly up with the creature to exit through a huge portal. This marks the end of the chapter and completes Doom The Dark Ages 'Spire of Nerathul' mission.
Follow Sportskeeda for more updates, guides, and news.
- Doom The Dark Ages PC system requirements revealed
- Is Doom The Dark Ages a standalone title?
- Doom The Dark Ages review: Rip and Tear until it is done
- How to get Discord x Doom: The Dark Ages Shield Saw Decoration for free

Are you stuck on today's Wordle? Our Wordle Solver will help you find the answer.