

'%20x='0'%20y='0'%20height='100%25'%20width='100%25'%20%0A%20%20%20%20%20%20%20%20%20%20xlink%3Ahref='data:image/jpg;base64,/9j/2wBDAAYEBQYFBAYGBQYHBwYIChAKCgkJChQODwwQFxQYGBcUFhYaHSUfGhsjHBYWICwgIyYnKSopGR8tMC0oMCUoKSj/2wBDAQcHBwoIChMKChMoGhYaKCgoKCgoKCgoKCgoKCgoKCgoKCgoKCgoKCgoKCgoKCgoKCgoKCgoKCgoKCgoKCgoKCj/wgARCAAGAAoDASIAAhEBAxEB/8QAFgABAQEAAAAAAAAAAAAAAAAAAAQH/8QAFAEBAAAAAAAAAAAAAAAAAAAABP/aAAwDAQACEAMQAAAAzGMC3//EAB4QAAICAgIDAAAAAAAAAAAAAAECAxEABAUSITGB/9oACAEBAAE/ANDklk4maeTVQspjFK/VWosTY+Vgj2GAYQ6dHz6Of//EABcRAQADAAAAAAAAAAAAAAAAAAEAAiH/2gAIAQIBAT8Aqaz/xAAXEQEAAwAAAAAAAAAAAAAAAAABAAIh/9oACAEDAQE/ALOE/9k='%3E%3C/image%3E%3C/svg%3E)
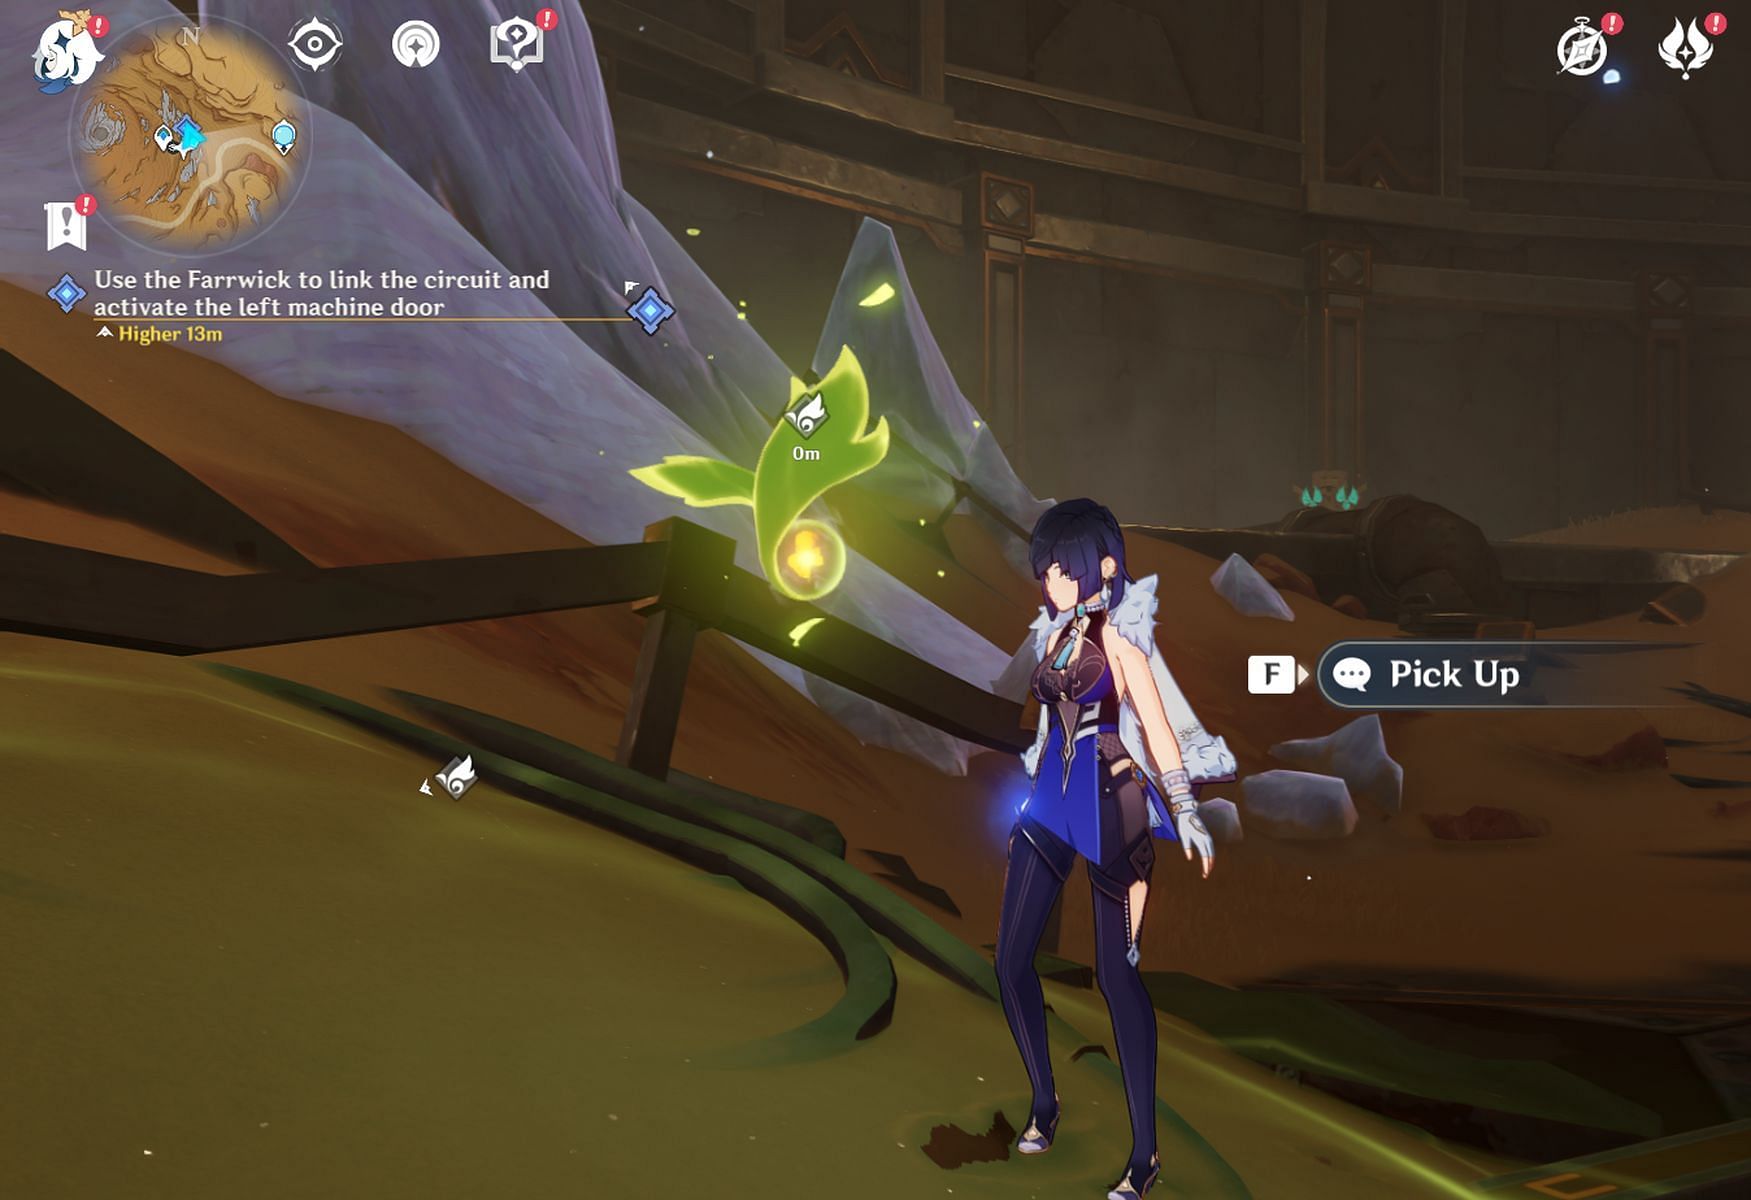
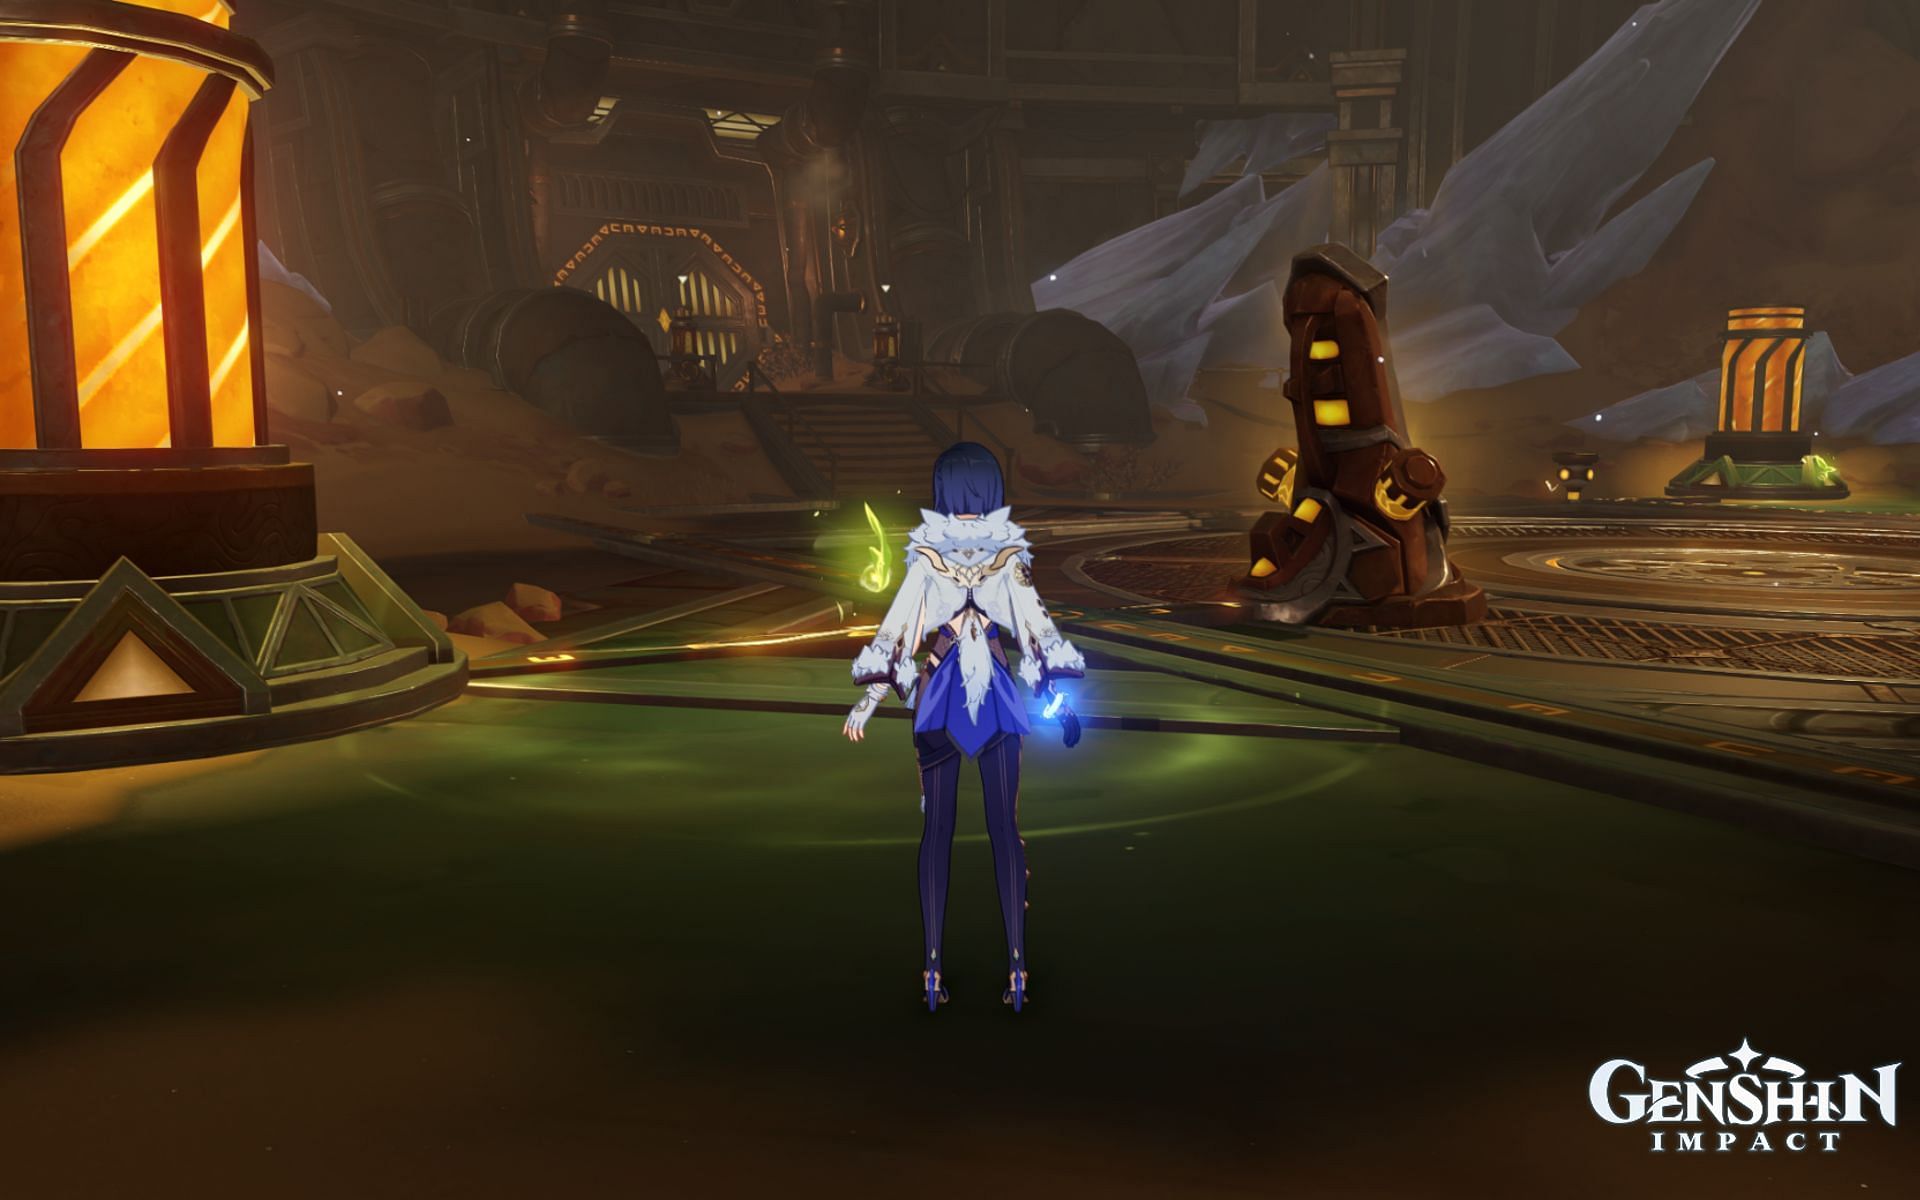
As the Khvarena's Light Shows is a quest in Genshin Impact, where you are required to use a Farrwick to link some circuits together. The first thing you need to do is activate the nearby Teleport Waypoint for convenience. Not to mention, you get five Primogems just for doing so.
This quest involves placing the Khvarena in certain spots to interact with the environment properly. It is vital to mention that these little green spirits can be picked up just by interacting with them in the overworld. If you wish to drop them, press the button you would usually use to teleport to nearby Four-Leaf Sigils. For example, PC players would press 'T.'
How to use the Farrwick to link circuit and activate the left machine door in Genshin Impact
Looking for Crossword hints & solutions? Check out latest NYT Mini Crossword Answers, LA Times Crossword Answers, and Atlantic Crossword Answers
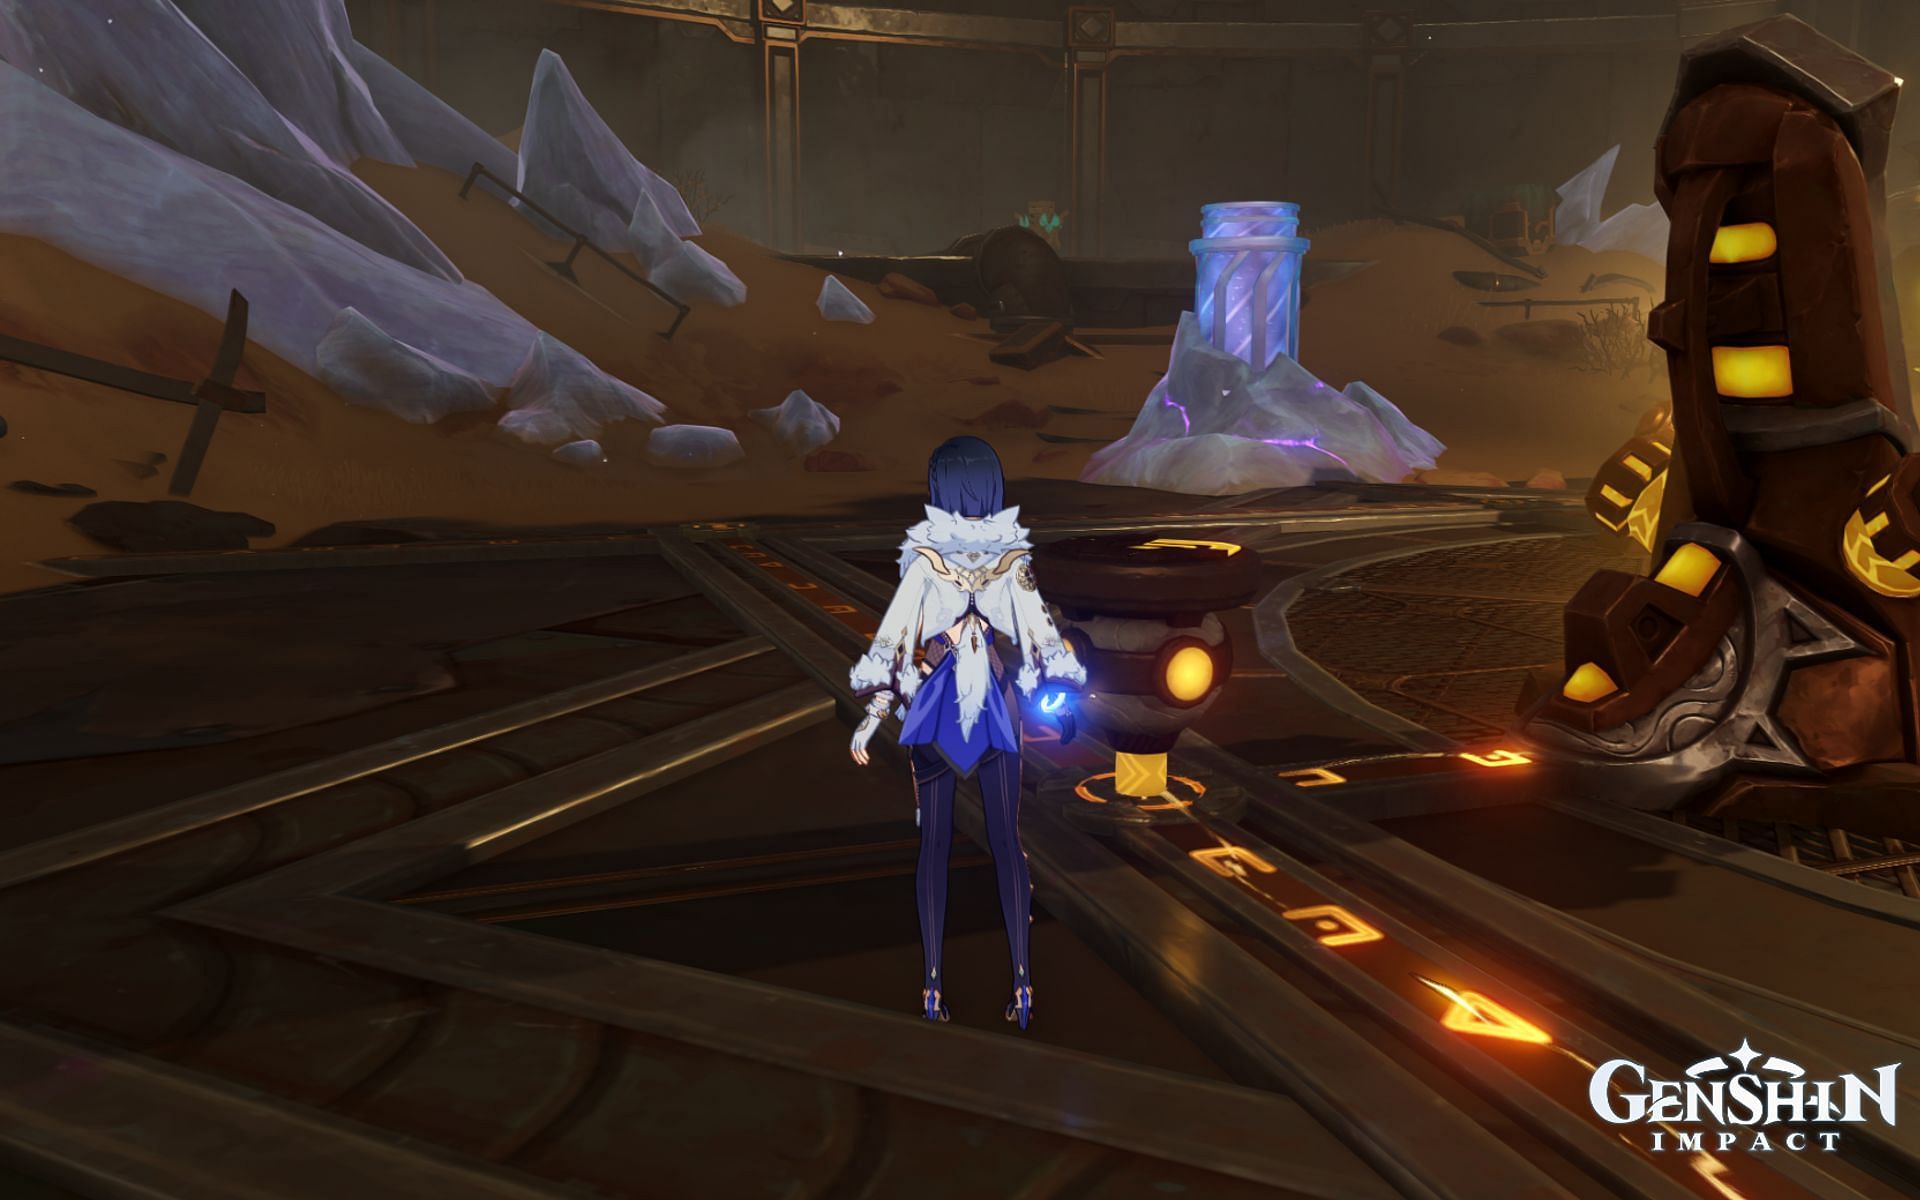
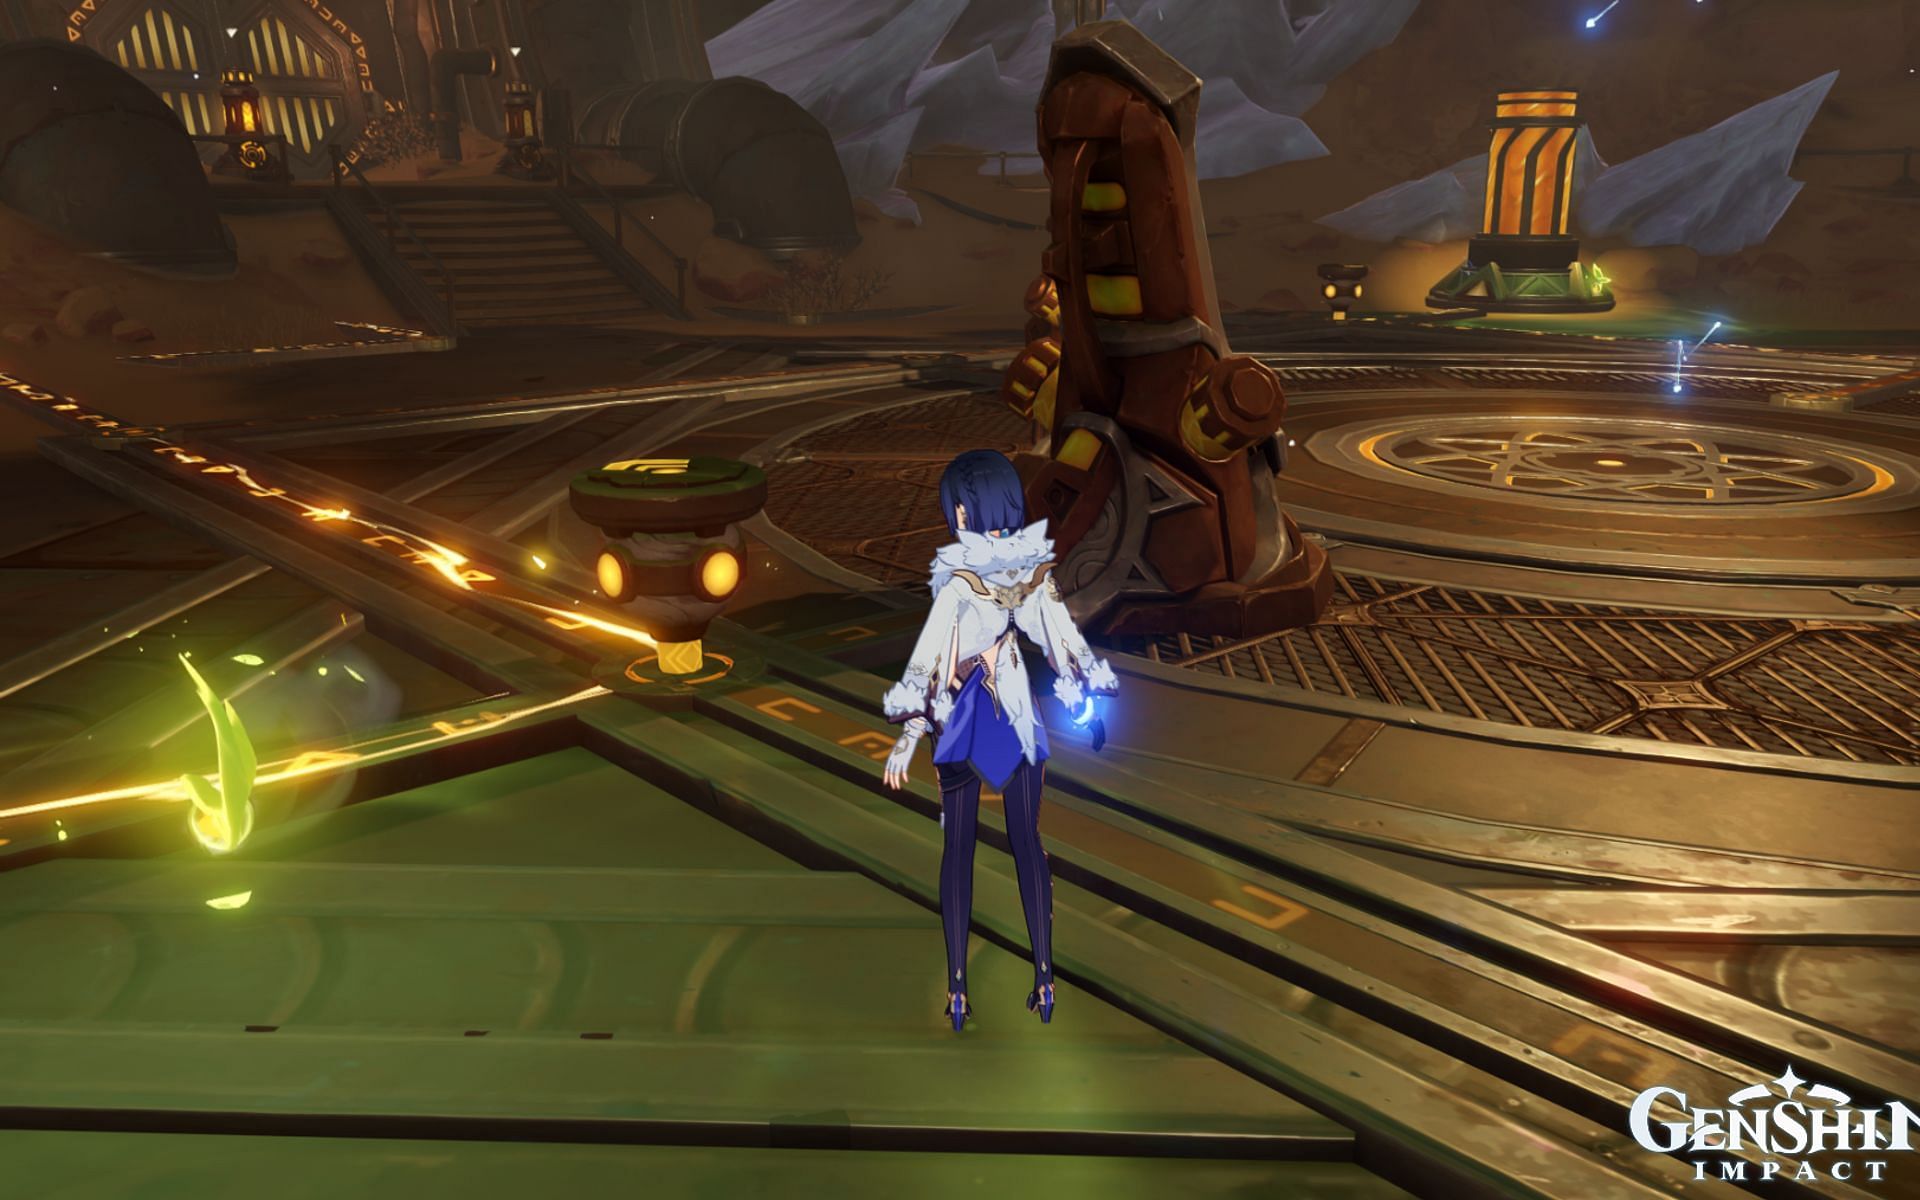
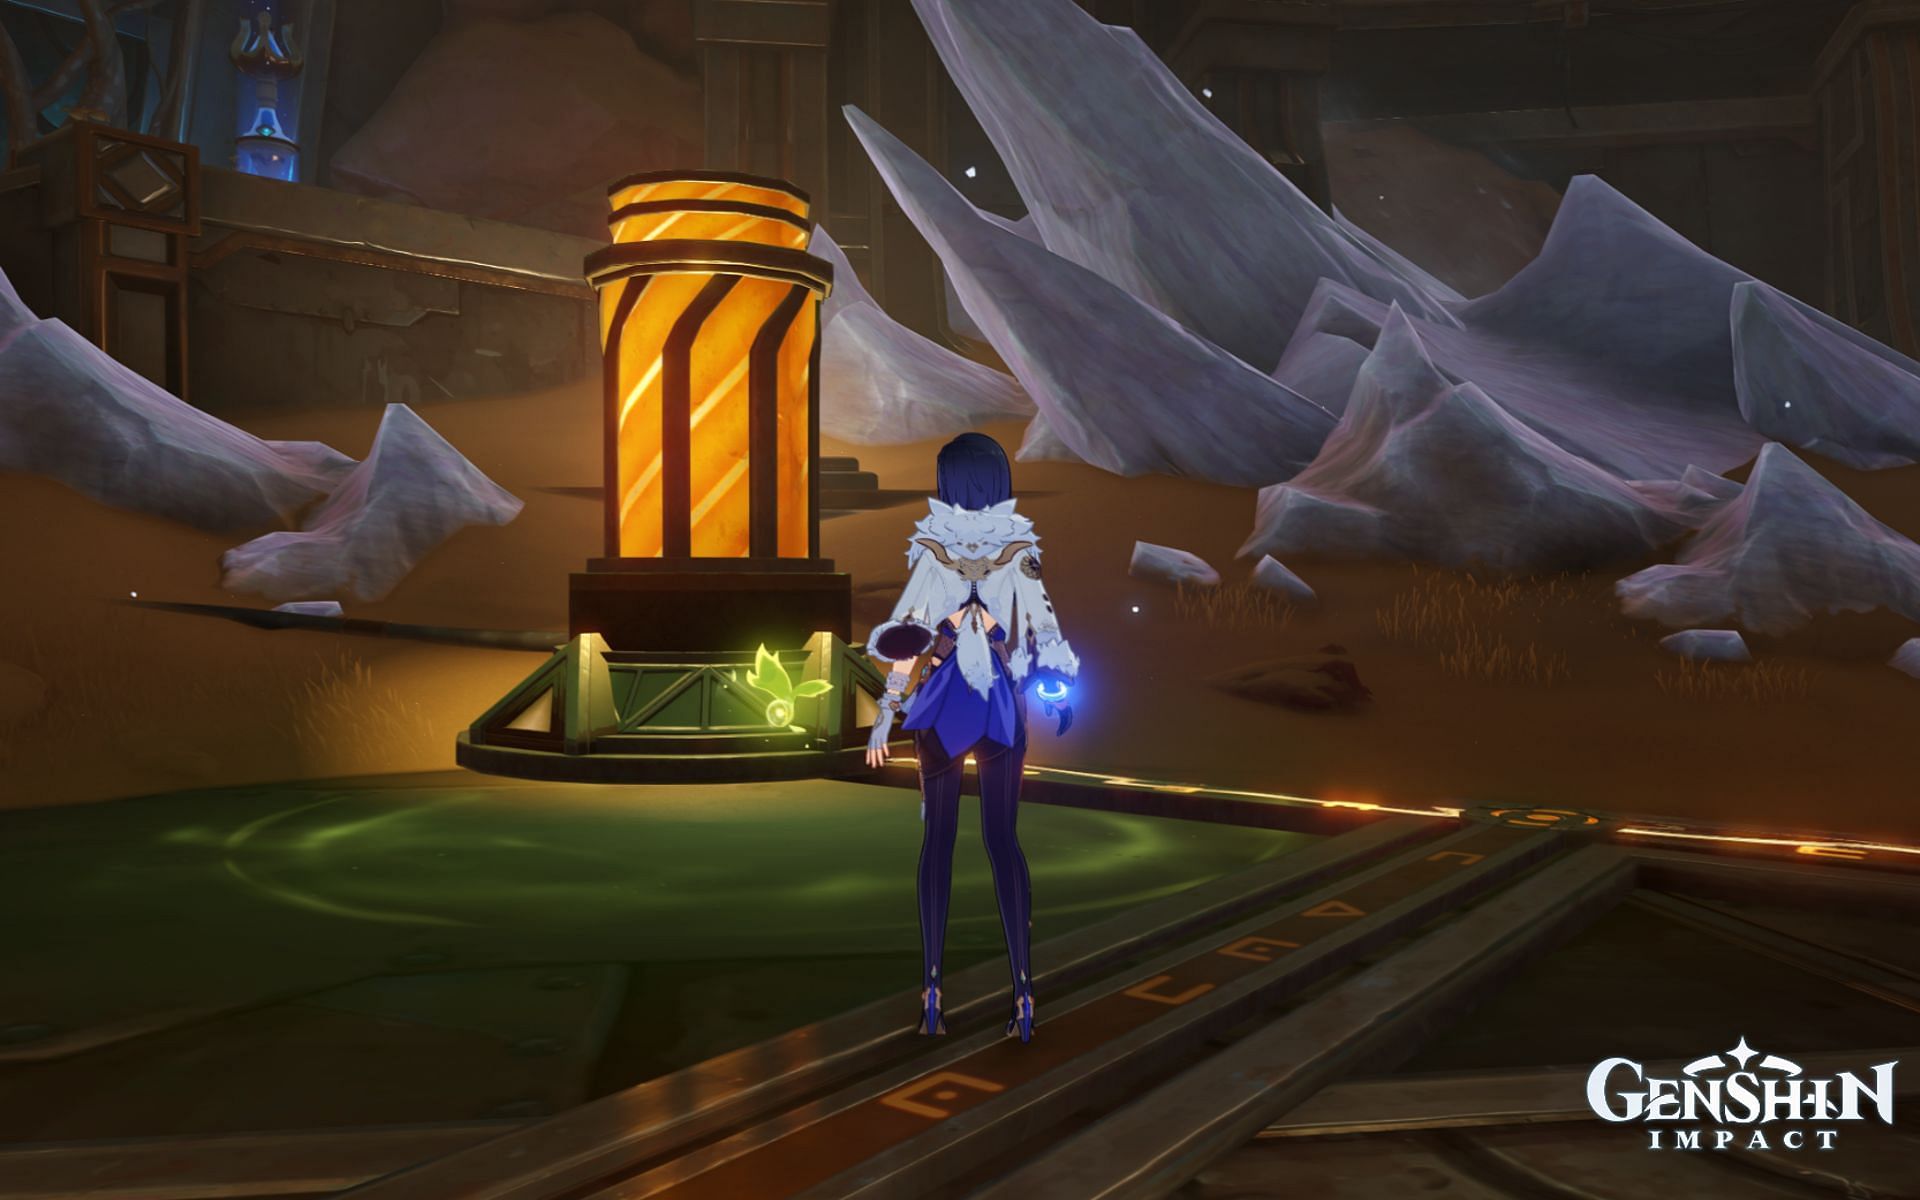
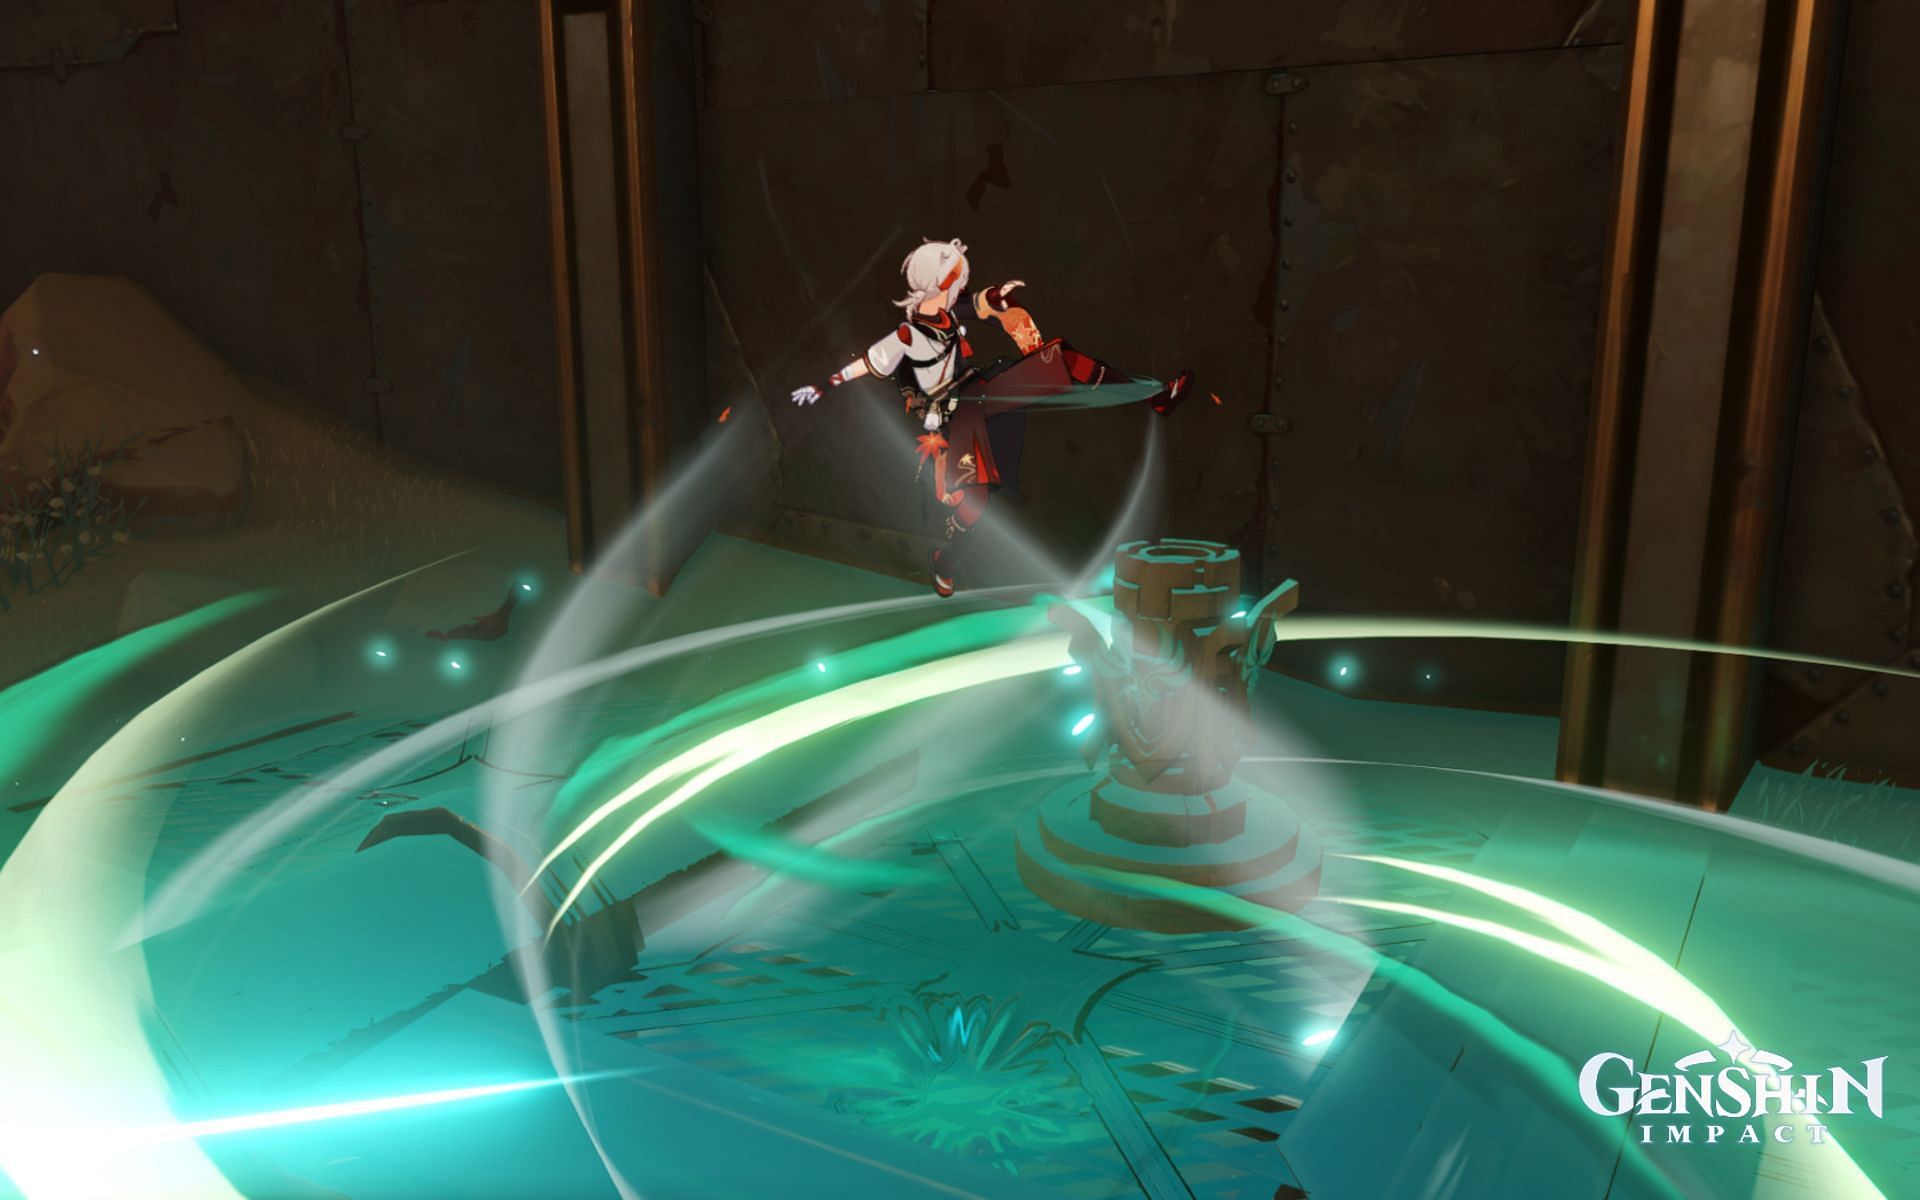
First, go to the Farrwick near the center of the room. The game even has a little icon to let you know its location and how far away you are from it. Pick it up and then drop it at the location, as shown in the following image.

You should drop the Farrwick here to cause the electricity to run through the circuit again. This step is simple, but you're not done yet. There is one more important thing to do.
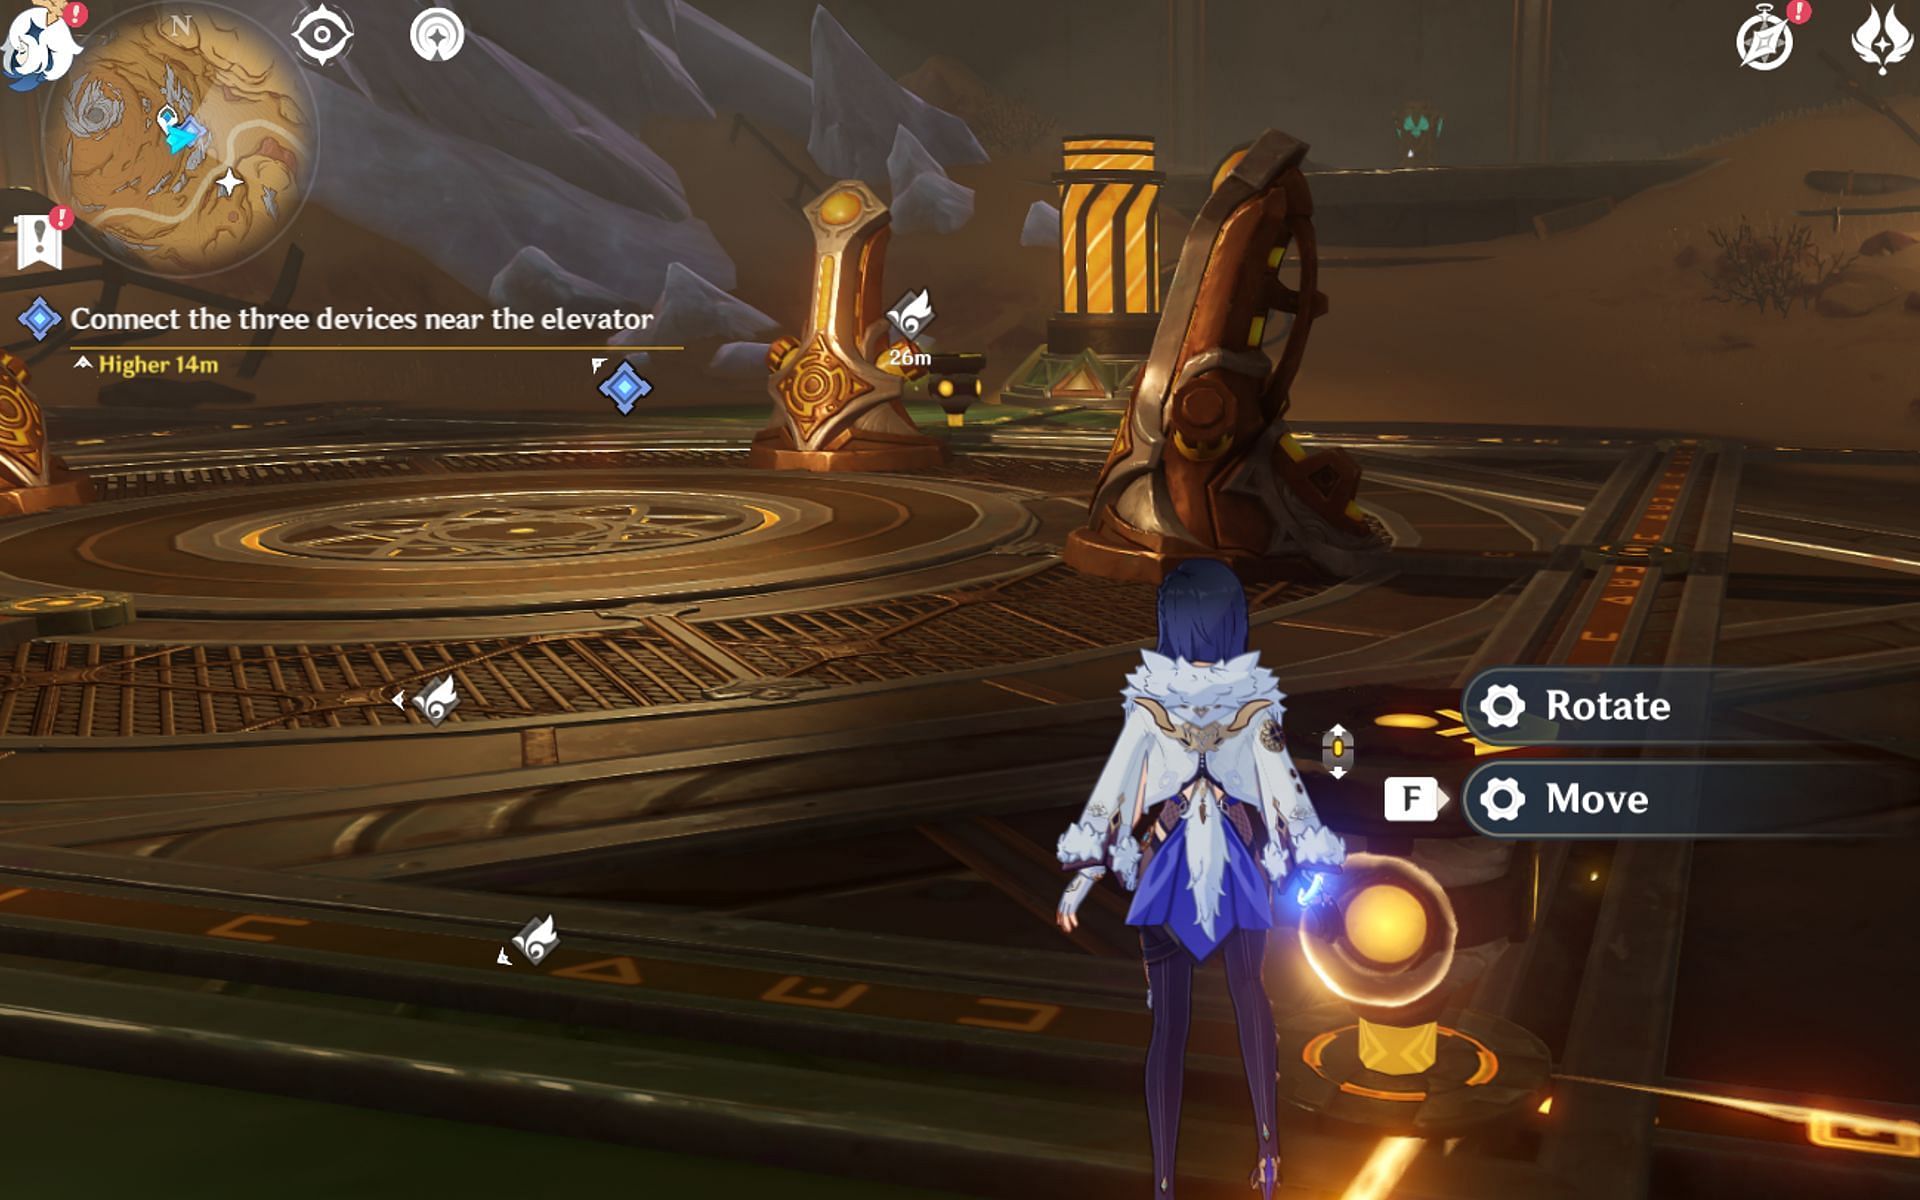
Do you see the device shown in the above image? Here is what you must do to it:
- Rotate it.
- Move it.
- Rotate it one more time.
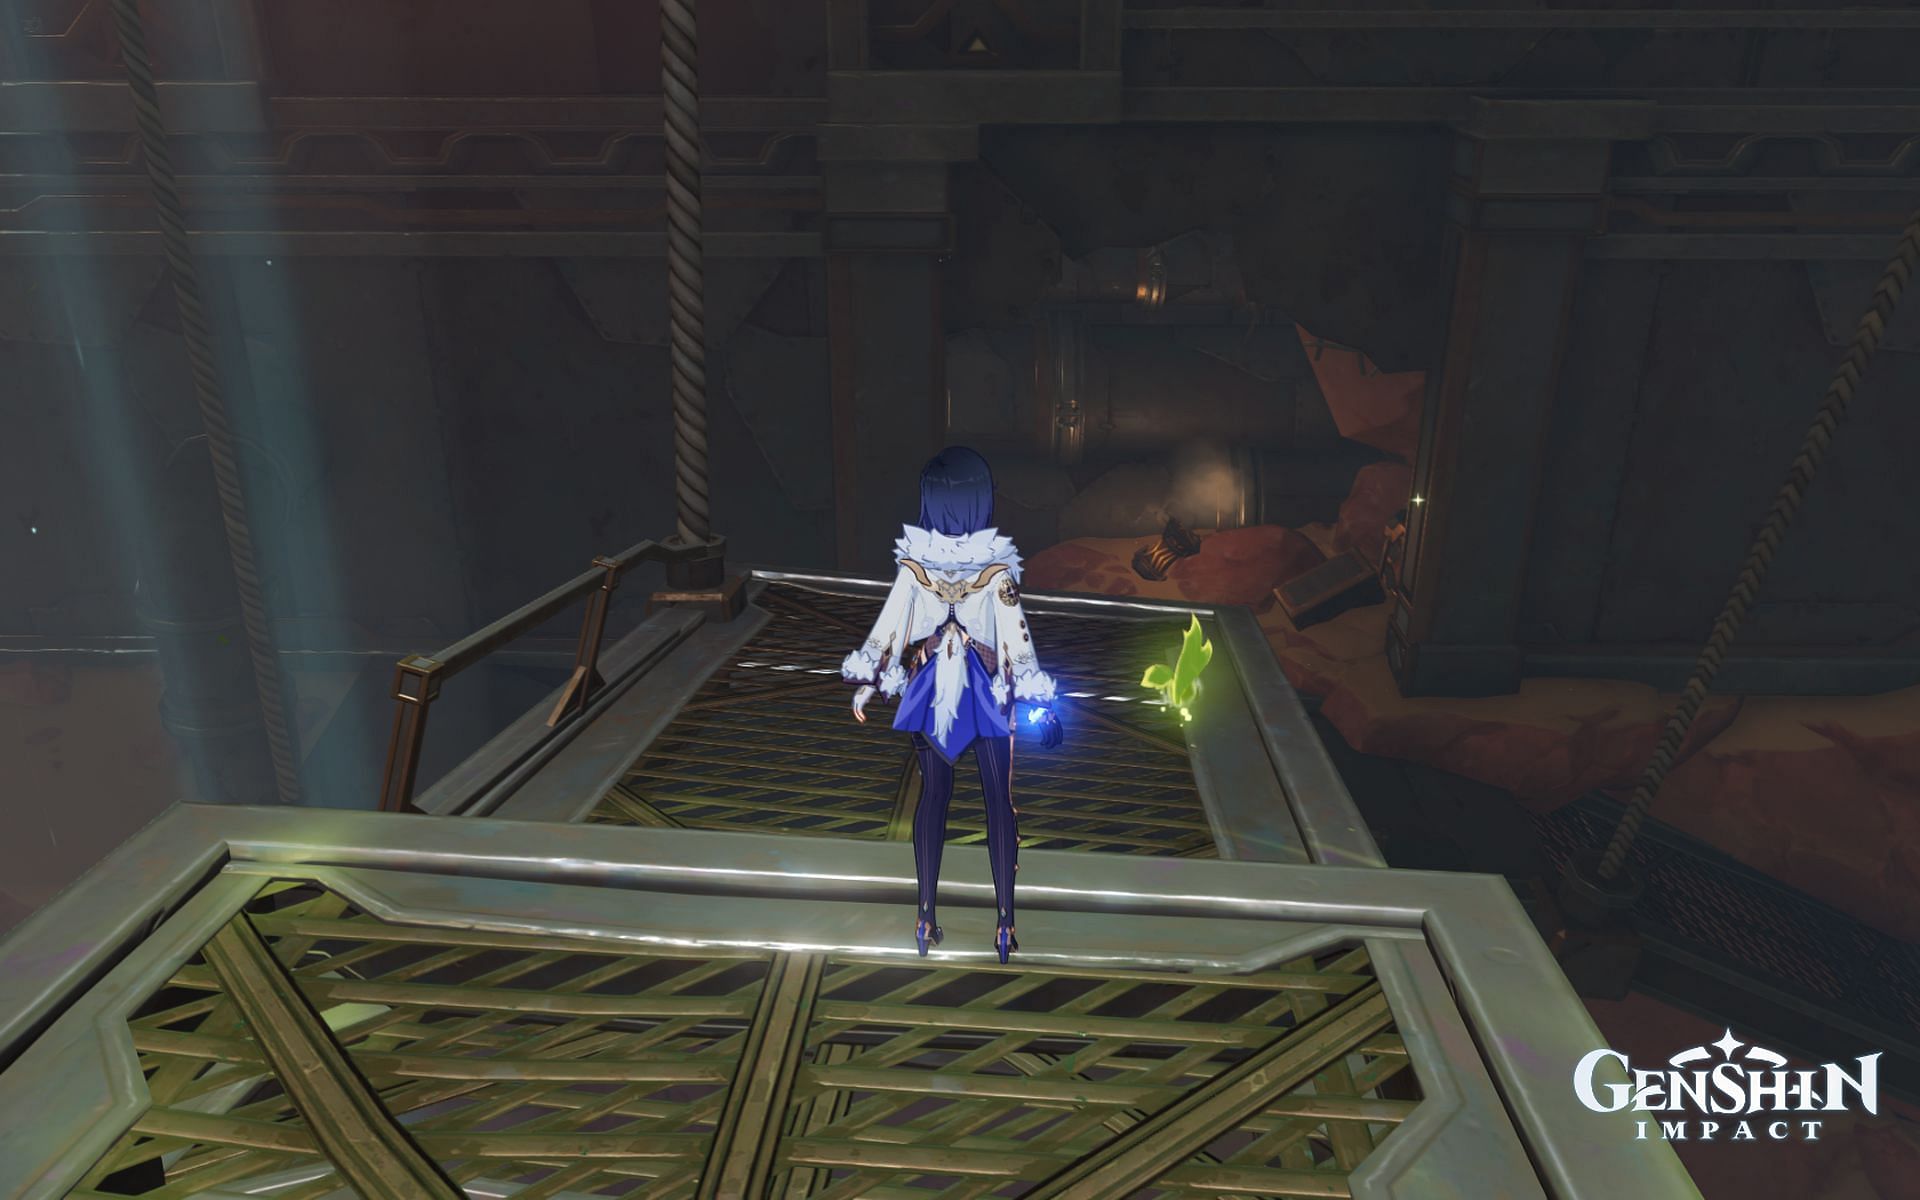
A brief cutscene will be played. Now, you have to look for the second Farrwick. Make sure to pick up the previous Farrwick you placed before heading out to the next one's location.
How to use the Farrwick to link circuit and activate the right machine door
Once you head to the next room, you should notice a Seelie. You should follow it for some treasure, especially since it leads you to their next objective. Defeat the Hilichurls near the Seelie Court to unlock something you can interact with in order to open the nearby drain.
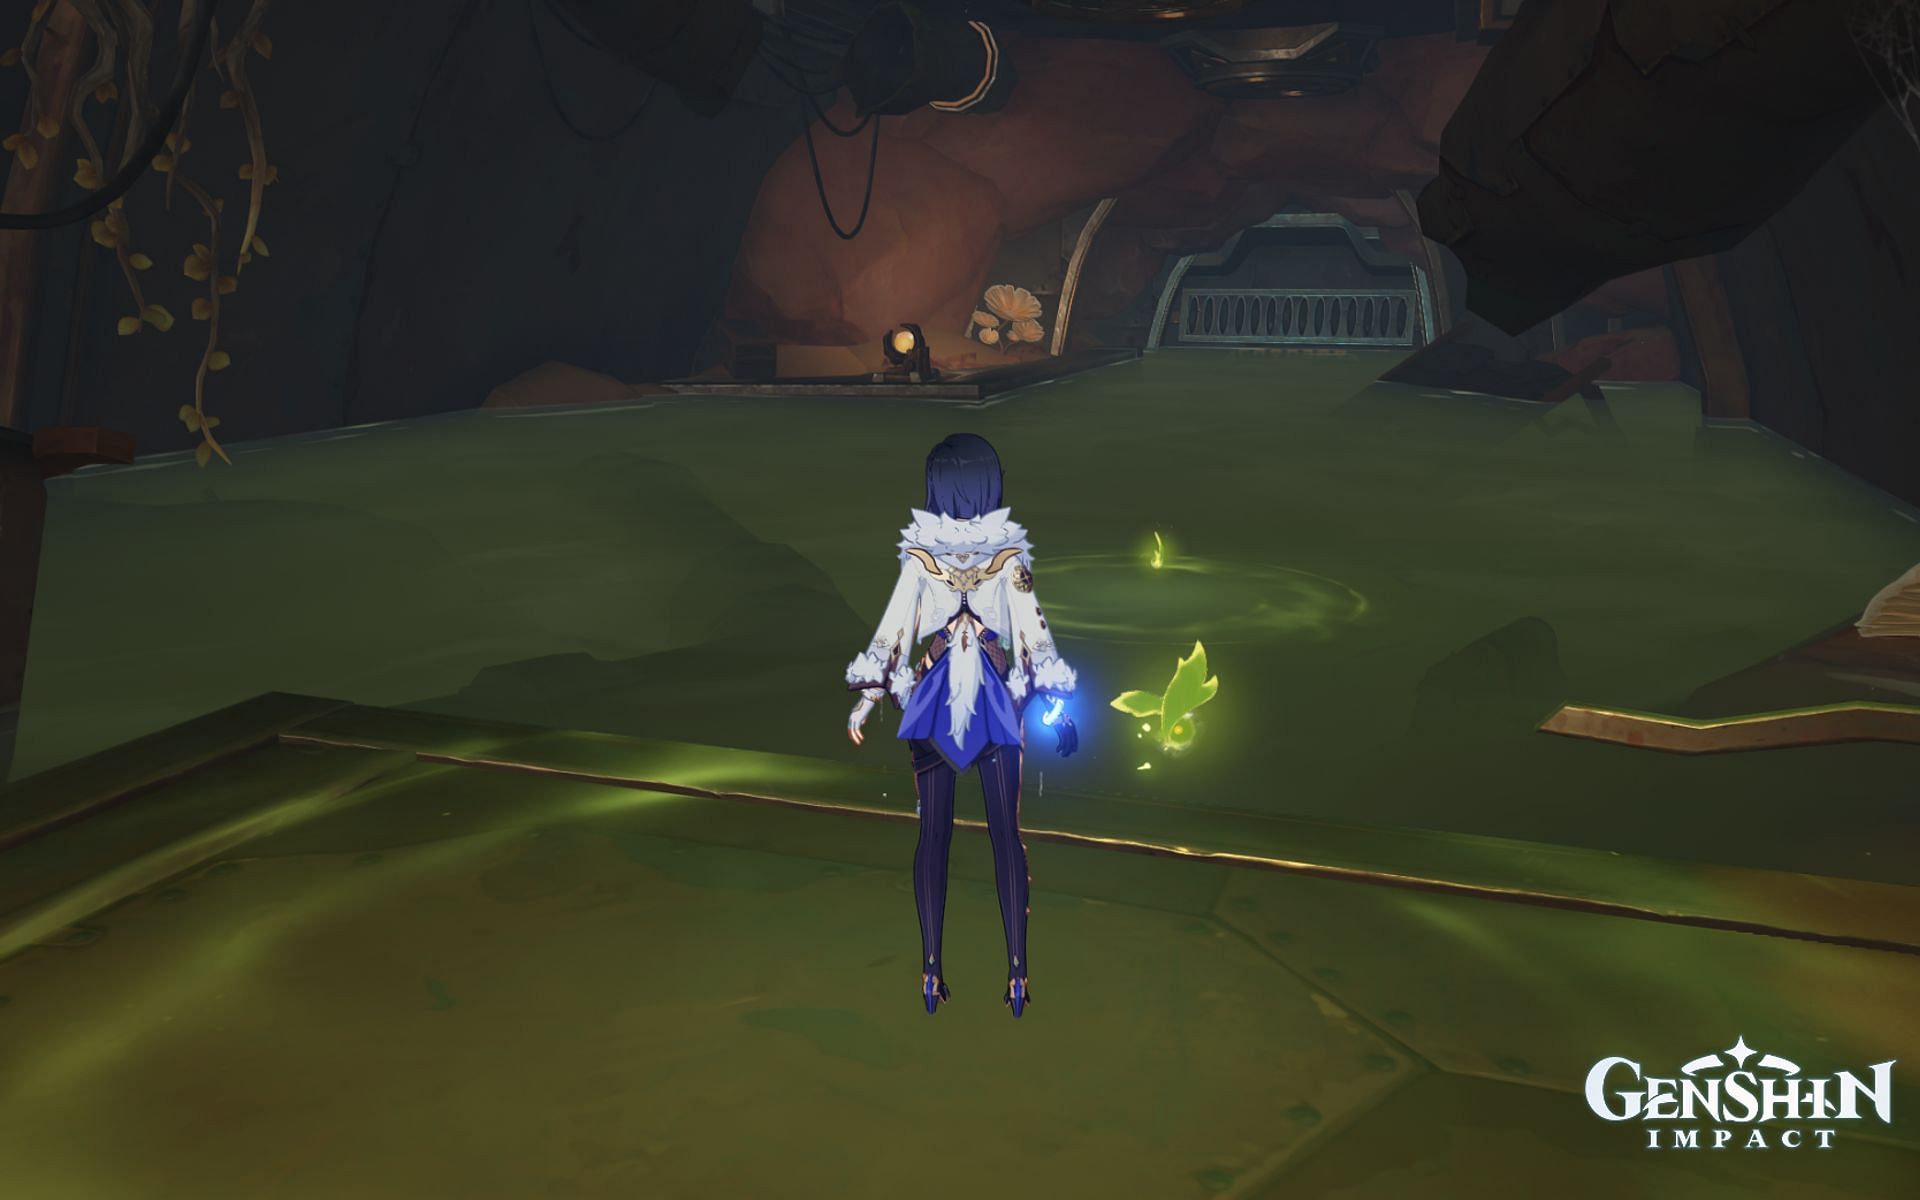
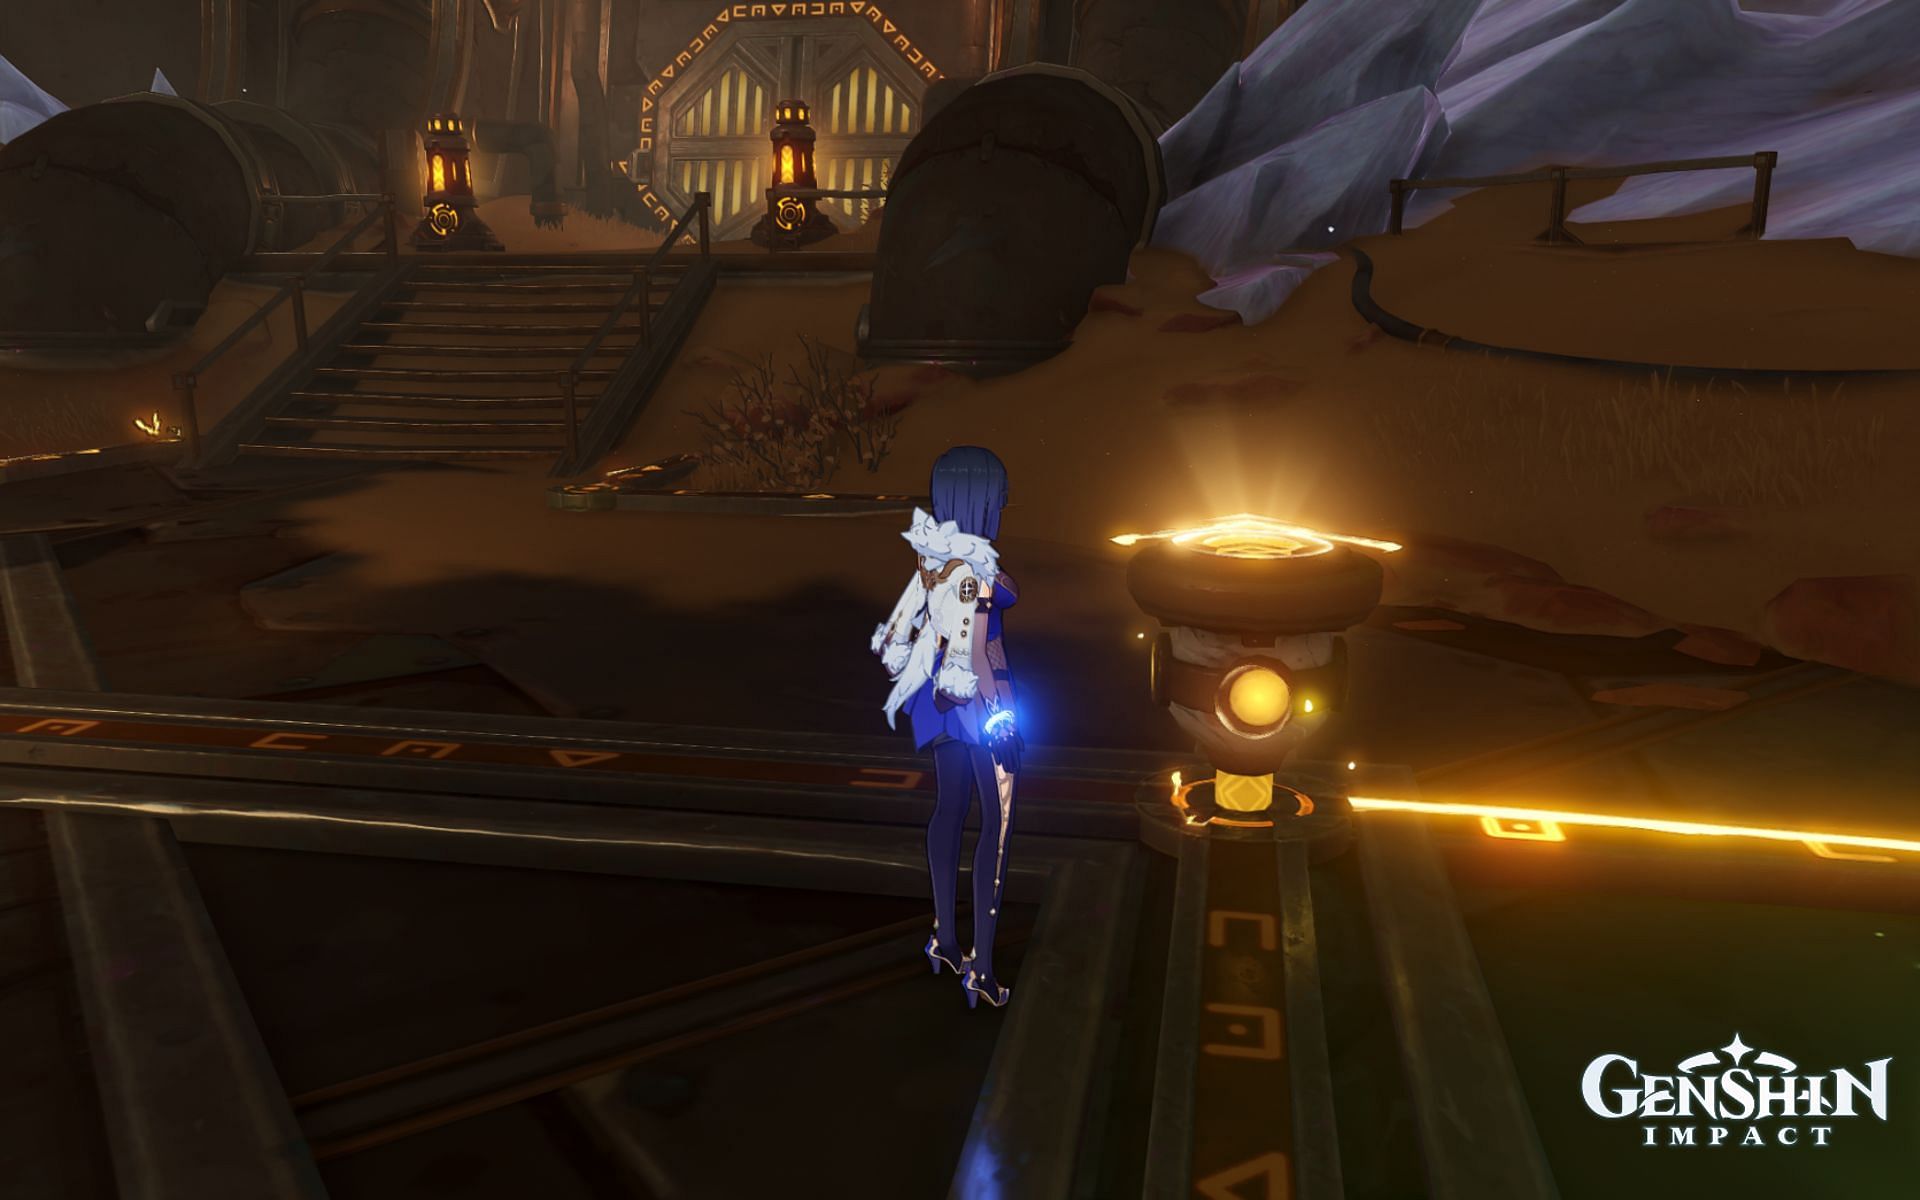
Go to the device far across the water. Interact with it to drain some of the water. Pick up the second Farrwick to get the next objective in this Genshin Impact quest. As a side note, there is a Remarkable Chest just a few steps away from the Farrwick you just collected, so open it while you're here.
Exit through the southwestern tunnel and continue going up until you reach Nasejuna again.
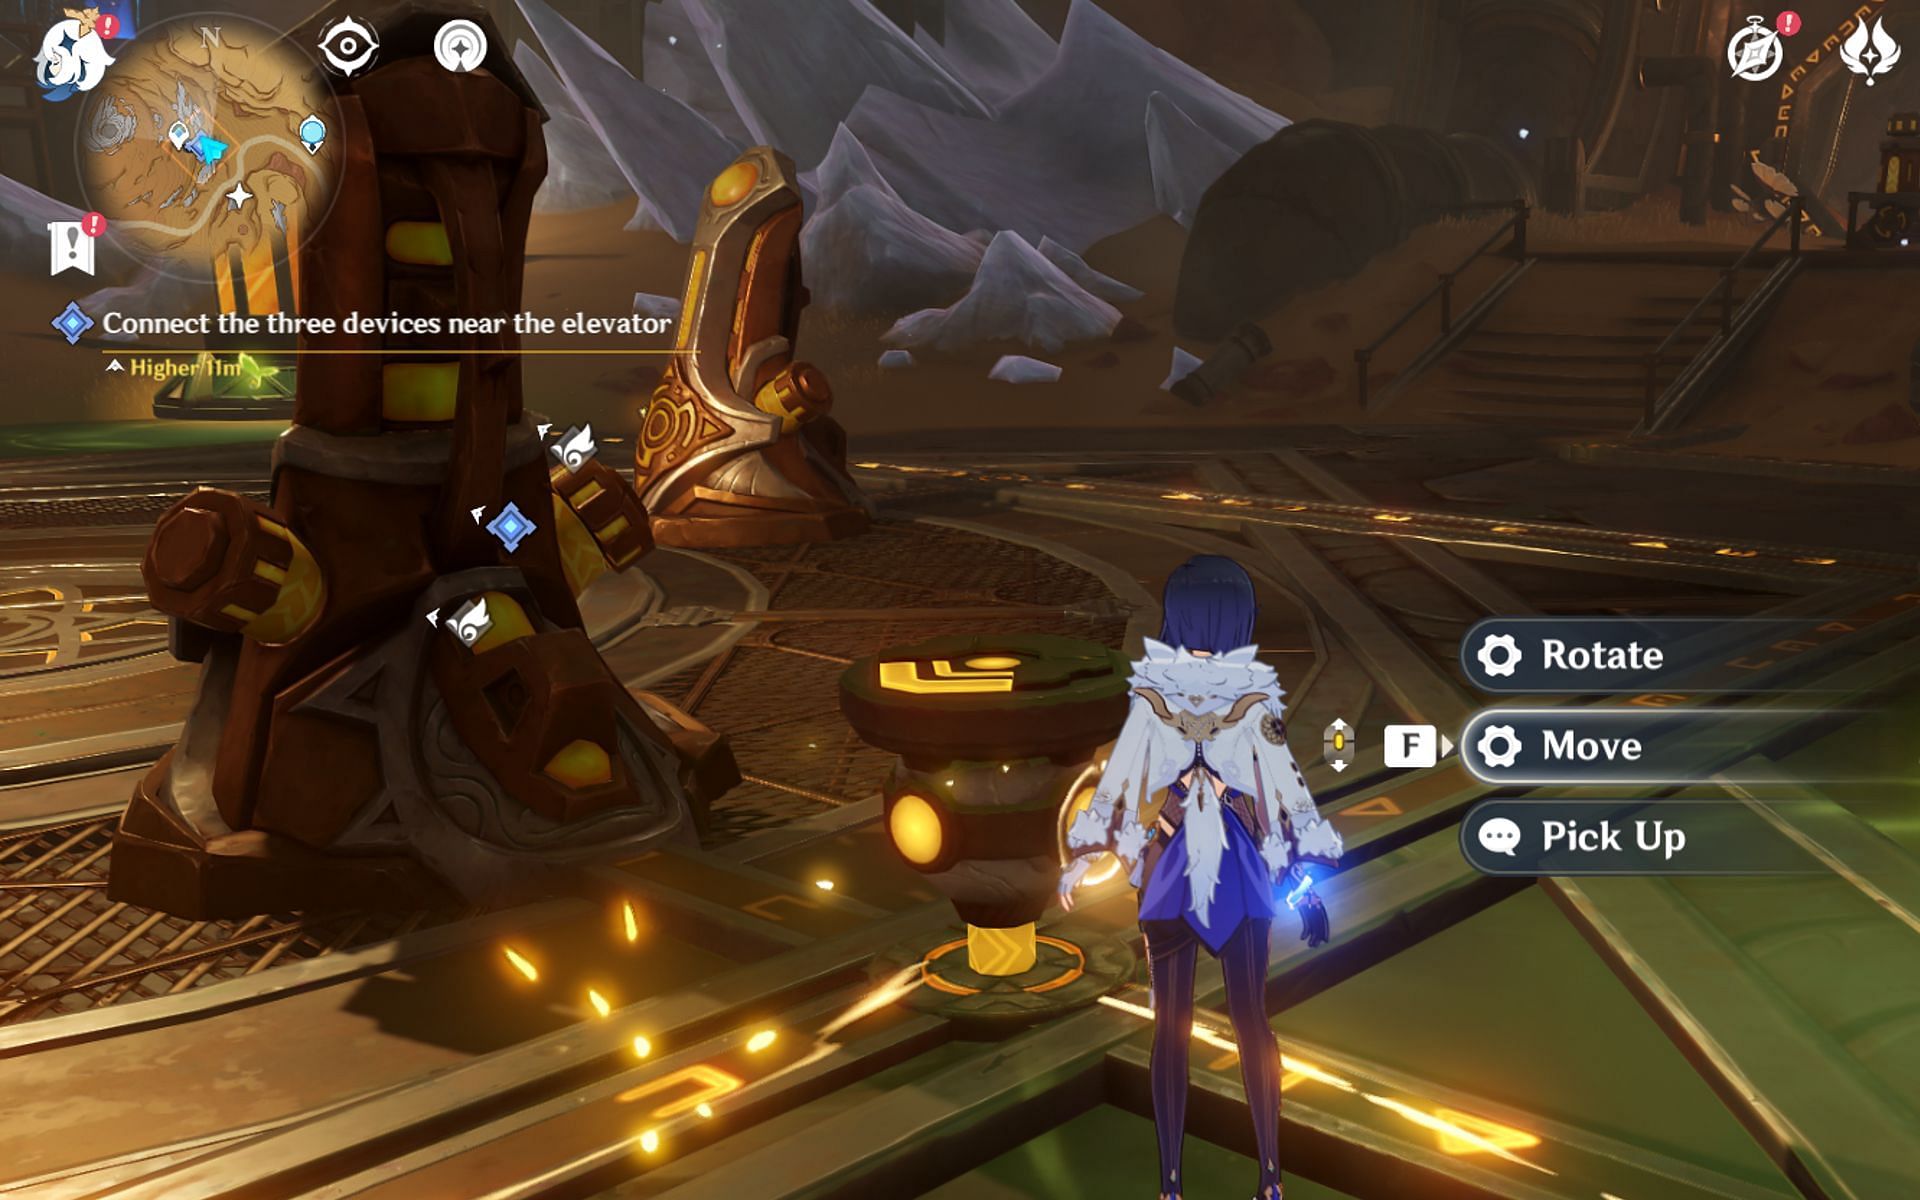
Drop the two Farrwicks near the Gray Crystals. Move and rotate the nearby device to resemble the following image.
Move that device and rotate it twice. Now head to where the second Farrwick was placed.
Rotate the western device twice to make it point south. The nearby door will open, so you should move there since you're done with these two circuits.
Just follow the spot marked on the map to eventually arrive at a location near a Viewpoint.
Look for the third Farrwick in Genshin Impact
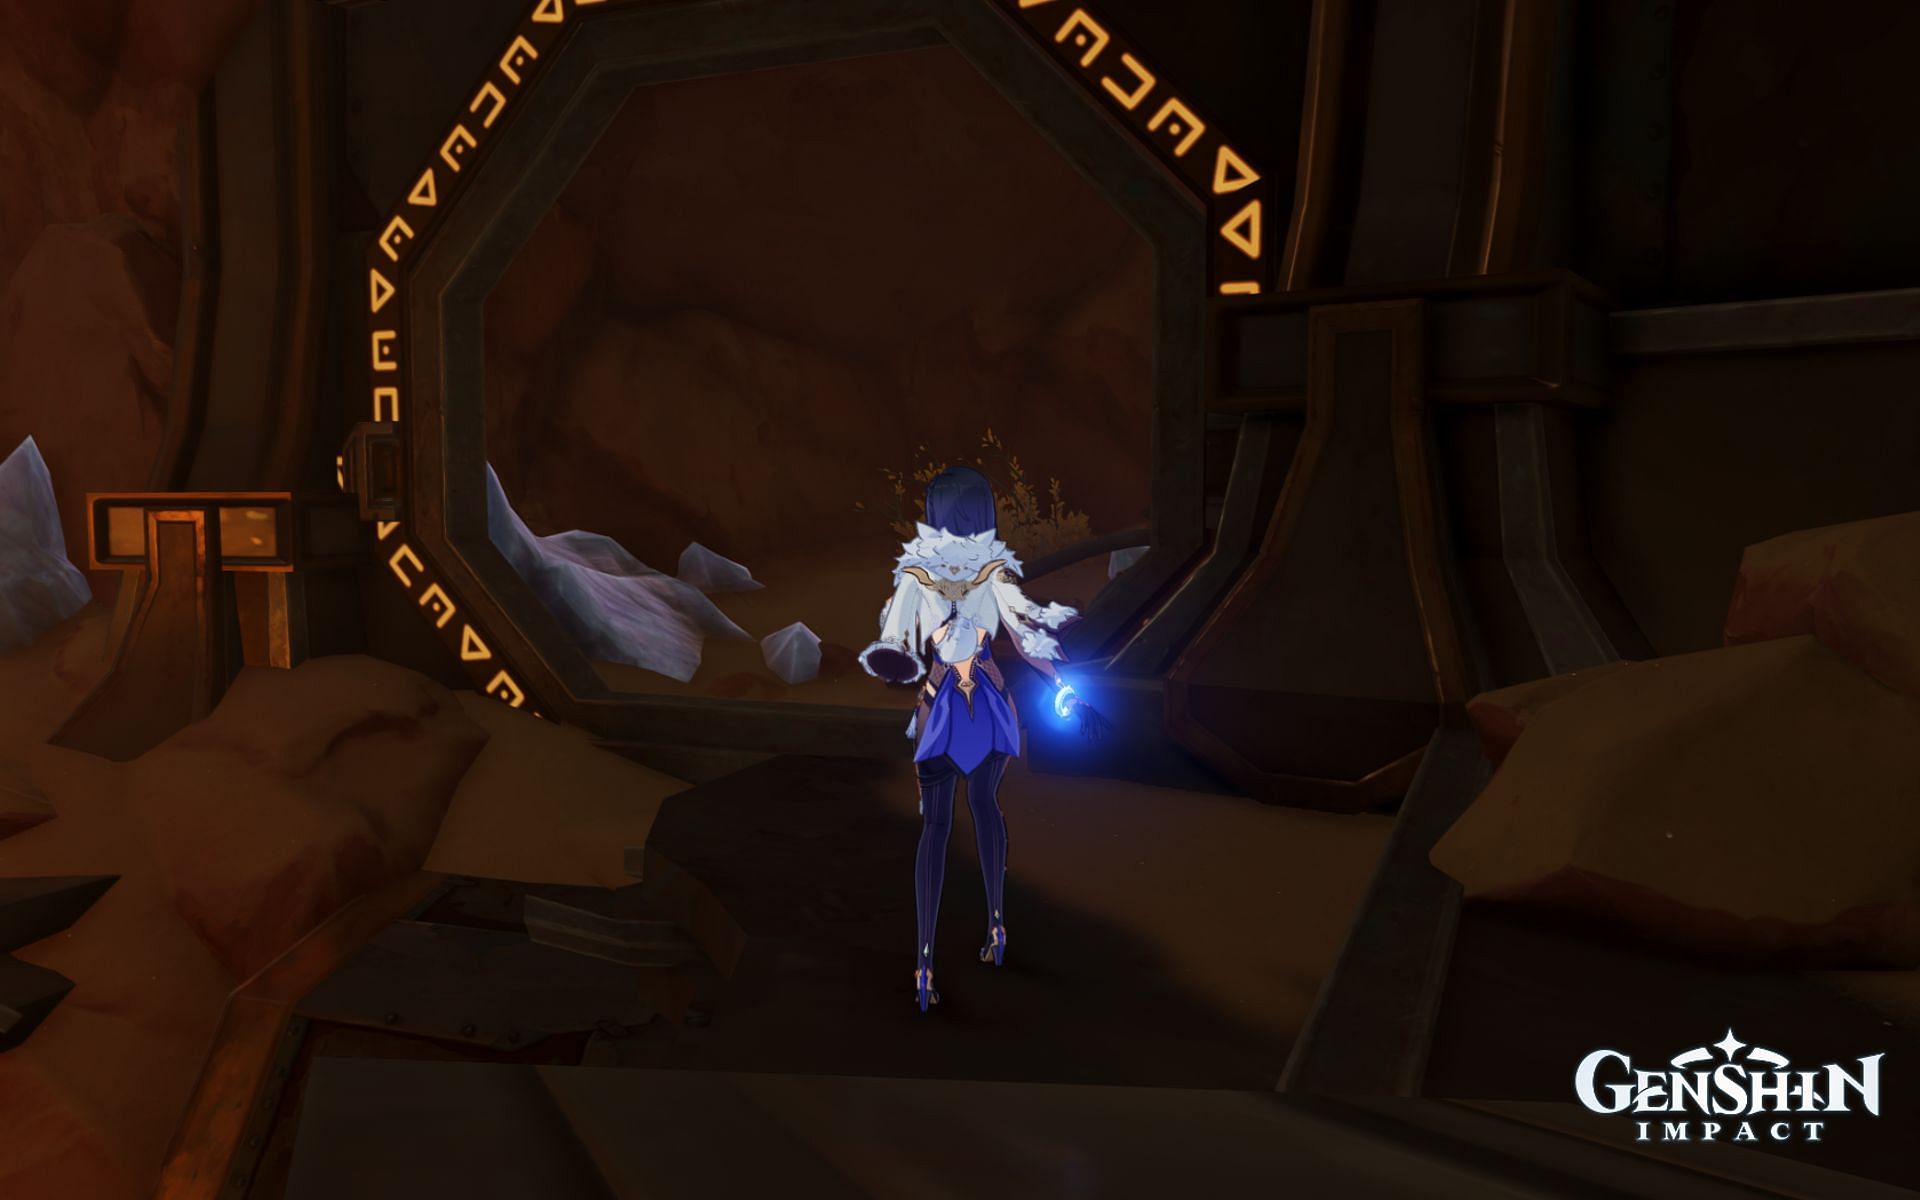
Defeat the Ruin enemies below the Viewpoint to unlock a Precious Chest. Afterward, head east to the open entrance. You will eventually find the third Farrwick over a cliff.
After picking it up, you need to backtrack to the previous room. You should follow the nearby Seelie to collect more treasure and find an easy way back to the room with circuits in it.
Put the Farrwick near the Gray Crystal to get more power for the circuits here. Now, it's time to do some more moving and rotating to control where the electricity goes.
Move this device. Once it reaches its destination, rotate it twice.
Just move the other device twice to complete this puzzle for As the Khvarena's Light Shows.
On the eastern side of this room is an Anemo Totem. Activate it to create a gust of wind that you can glide through to reach the top.

The solution to the next puzzle is simple:
- Rotate the upper level twice.
- Rotate the middle level once.
- Rotate the bottom level once.
Afterward, a cutscene will be played, and you must take the elevator to go down. Defeat the enemies here to proceed lower. Once all enemies are beaten, take the small elevator in the middle to reach the next area. Use Sorush's Elemental Skill to access the Great Song of Khvarena.
Nasejuna will betray the Genshin Impact protagonist, so defeat the Abyss Herald and then talk to Sorush to finish As the Khvarena's Light Shows.

Are you stuck on today's Wordle? Our Wordle Solver will help you find the answer.